Kids Tea Cart

The free plans on this website are made possible with advertising and affiliate links.  Thank you for helping us keep plans free.


diy tea cart kids pretend
Difficulty
Intermediate
| Print this plan

DIY kids tea cart using stair spindles, free tutorial plans by ANA-WHITE.com

diy tea cart kids pretend


Kids Tea Cart

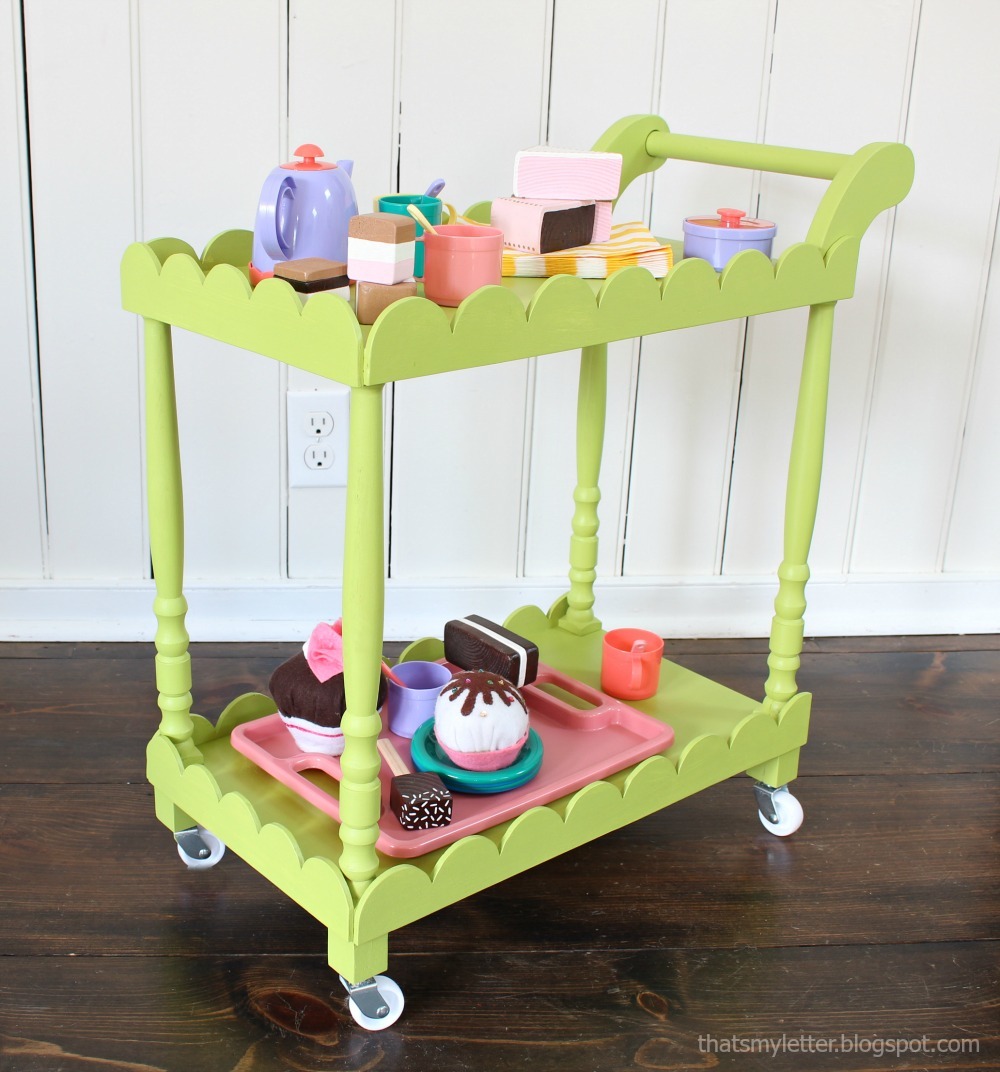
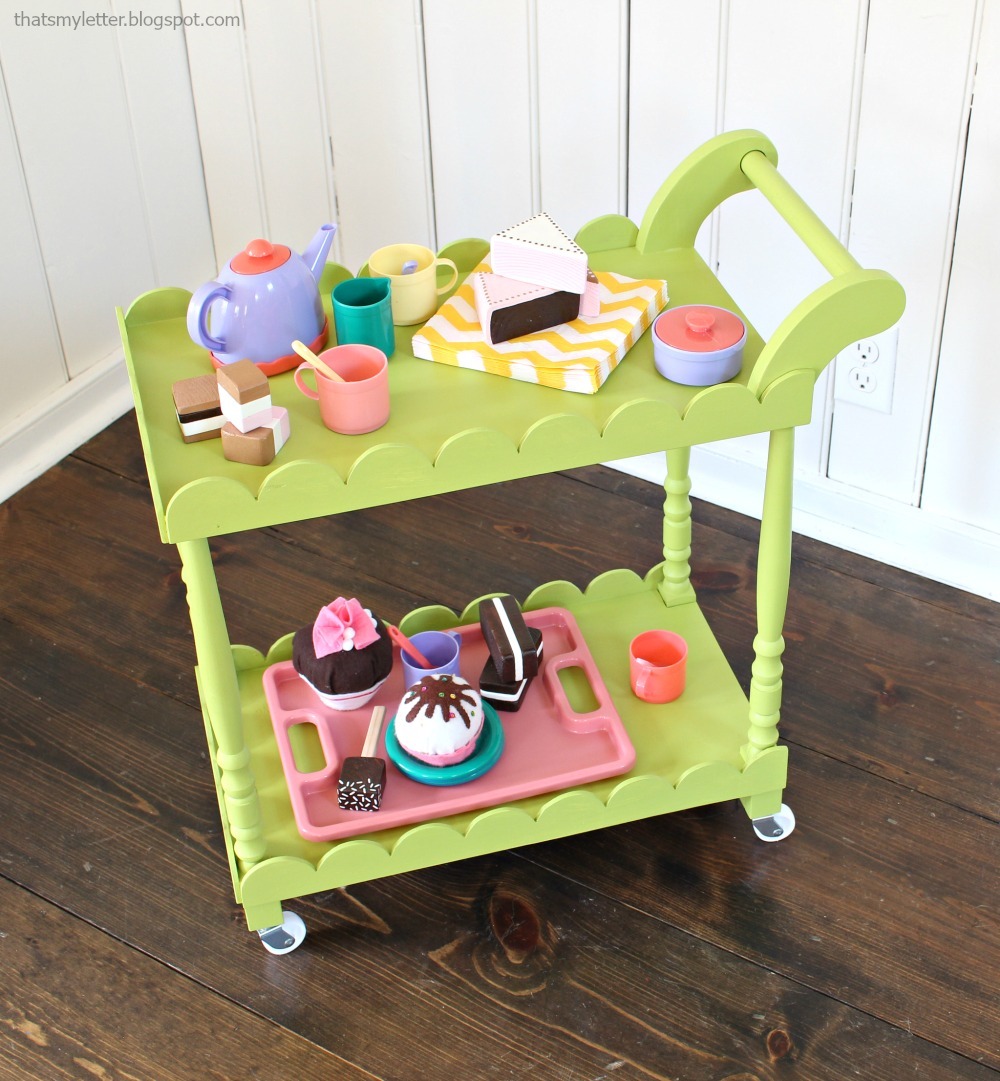
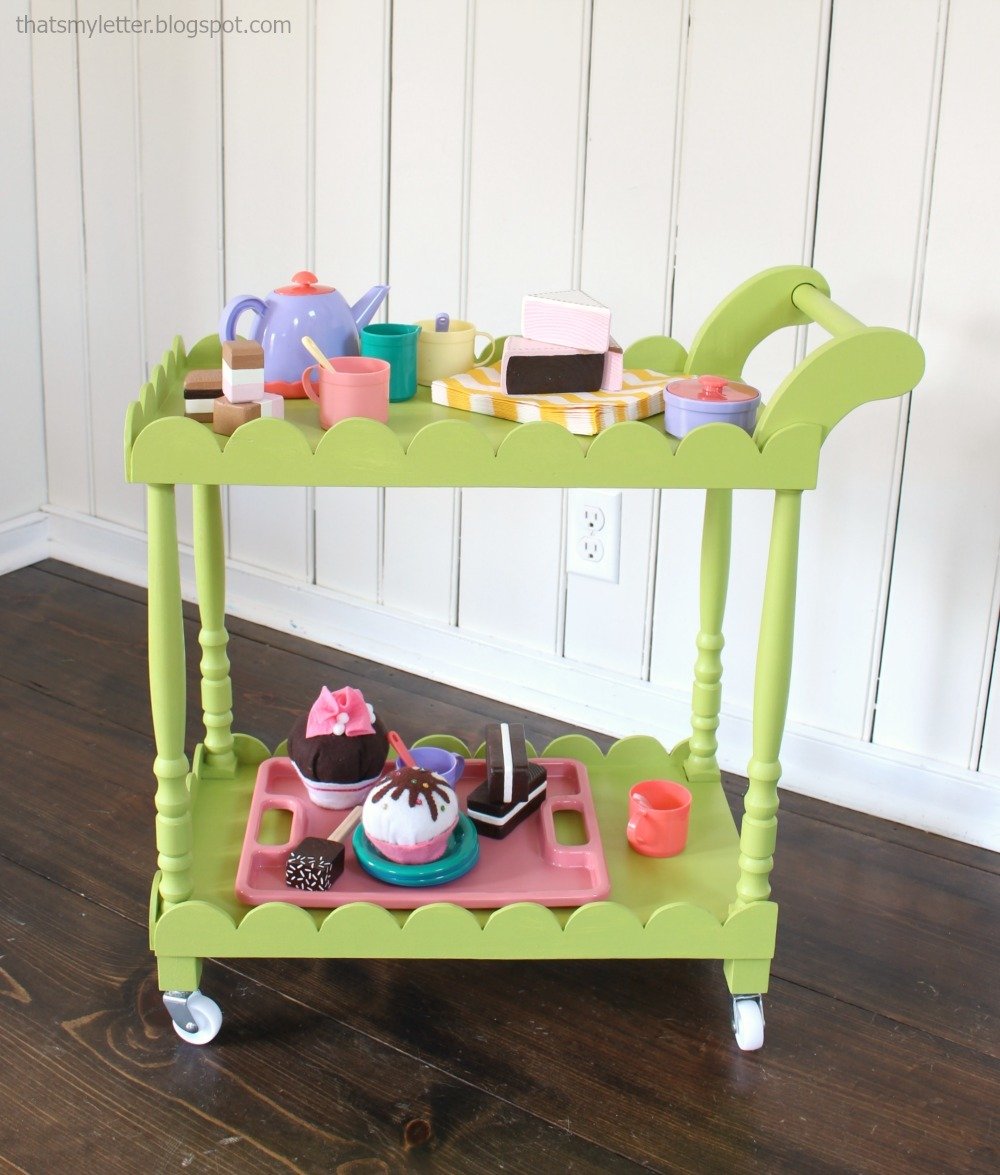
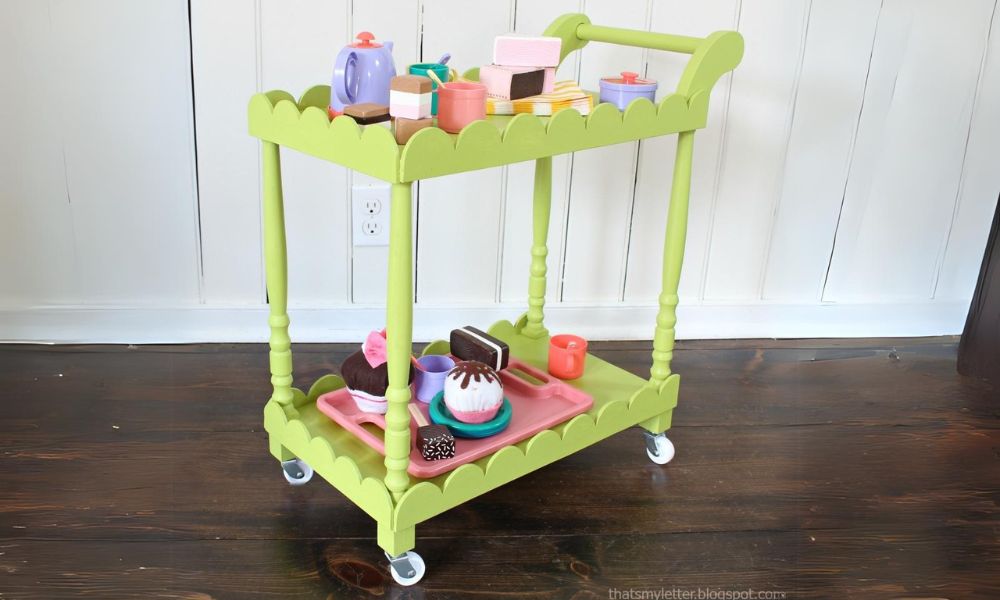
This adorable kids tea cart is designed for toddlers, and is made of wood and stair spindles for legs.  It's sturdy and easy to make, sure to be treasured!

Fun paint color is NOT optional! Spray paint is your friend here.

We are delighted to share the plans for this kids tea cart below (if this is the homepage click READ MORE below), but do check out Jaime's buid post for lots more photos and building details.

Have an amazing weekend!

XO Ana


CLICK HERE FOR MORE PHOTOS AND BUILD DETAILS FROM JAIME

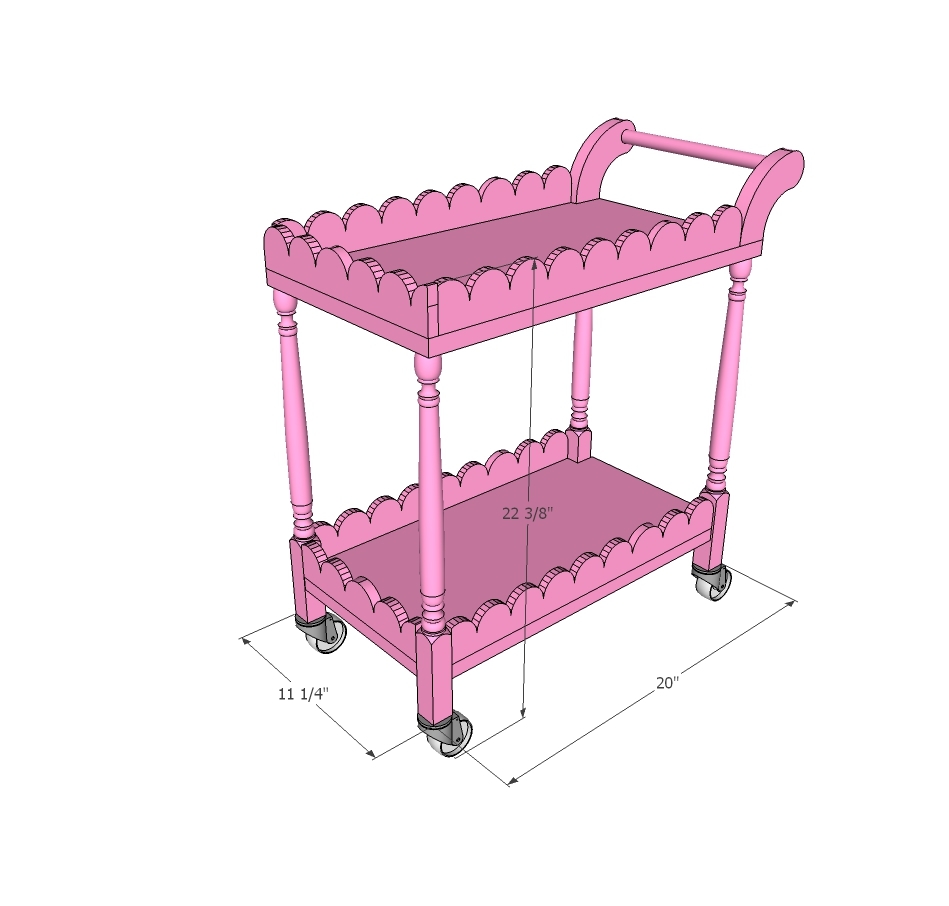
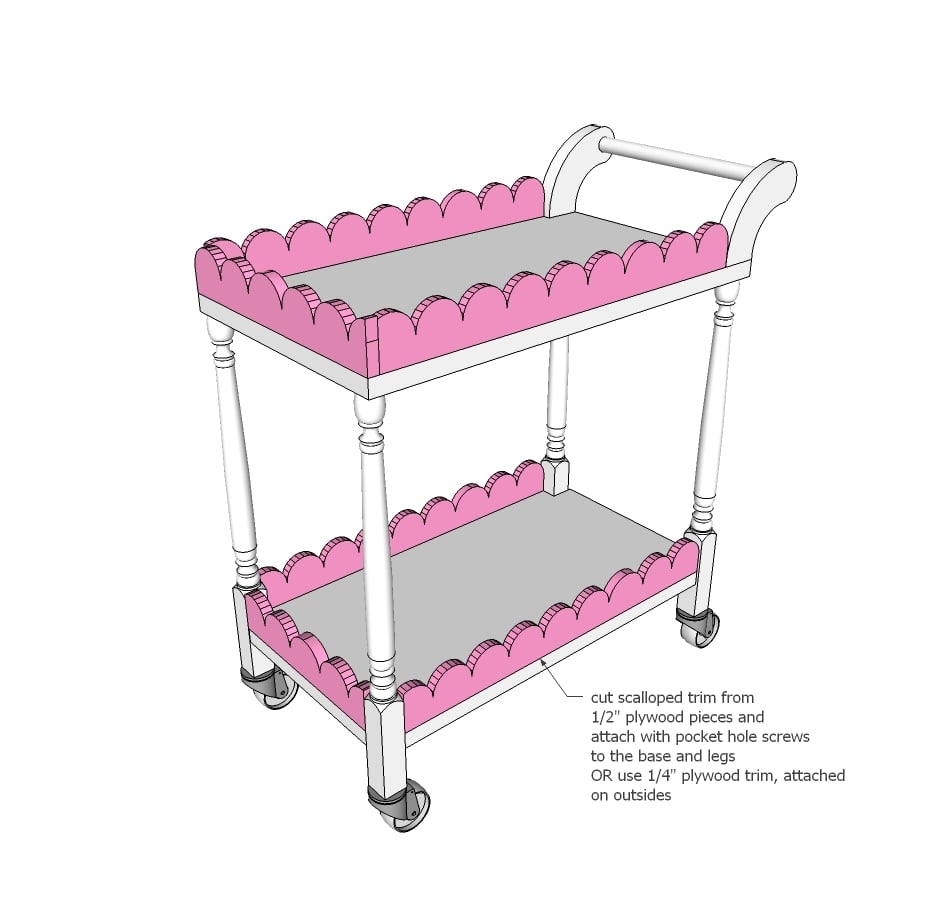
Dimensions
diy tea cart kids pretend
Dimensions shown above

Preparation

Shopping List

40" of 1x12 boards

4 stair spindles

scrap plywood strips, 2-1/2" wide x 8 feet long, or trim or 1x material for the scalloped trim

dowel for handle

4 post style caster wheels

wood glue

2" wood screws

1-1/4" pocket hole screws also recommended 

additional scrap 1x3, 1x2 for handle

Cut List

2 - 1x12 @ 20"

4 - stair spindles @ 17-1/2"

trim cut to fit


Tools
Tape Measure
Speed Square
Pencil
Safety Glasses
Hearing Protection
Kreg Jig
Drill
Jigsaw
Power Sander

Instructions

Step 1

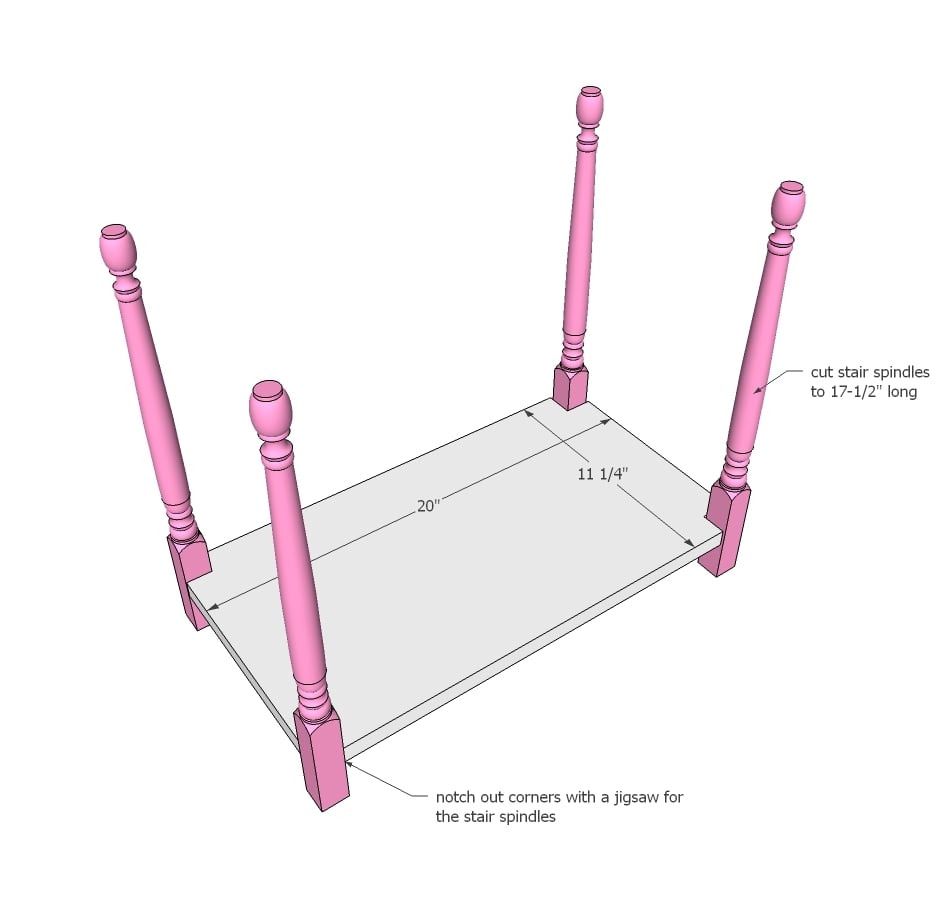
Measure the square part of the stair spindles and cut this amount out of the bottom 1x12 with a jigsaw.  Cut stair spindles down in size.  Attach to the bottom 1x12 with 3/4" pocket holes and 1-1/4" pocket hole screw and wood glue on underside of 1x12.

Step 2

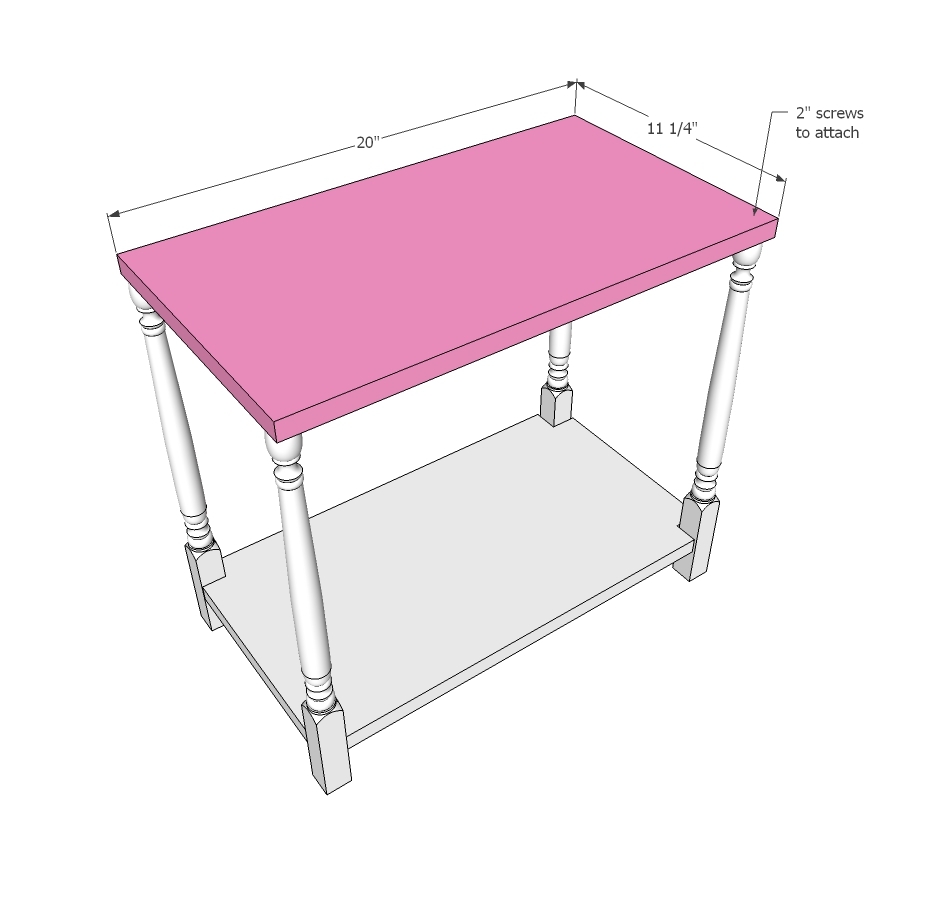
Attach top to tops of cut stair spindles with 2" wood screws, predrilling holes and using glue.

Step 3

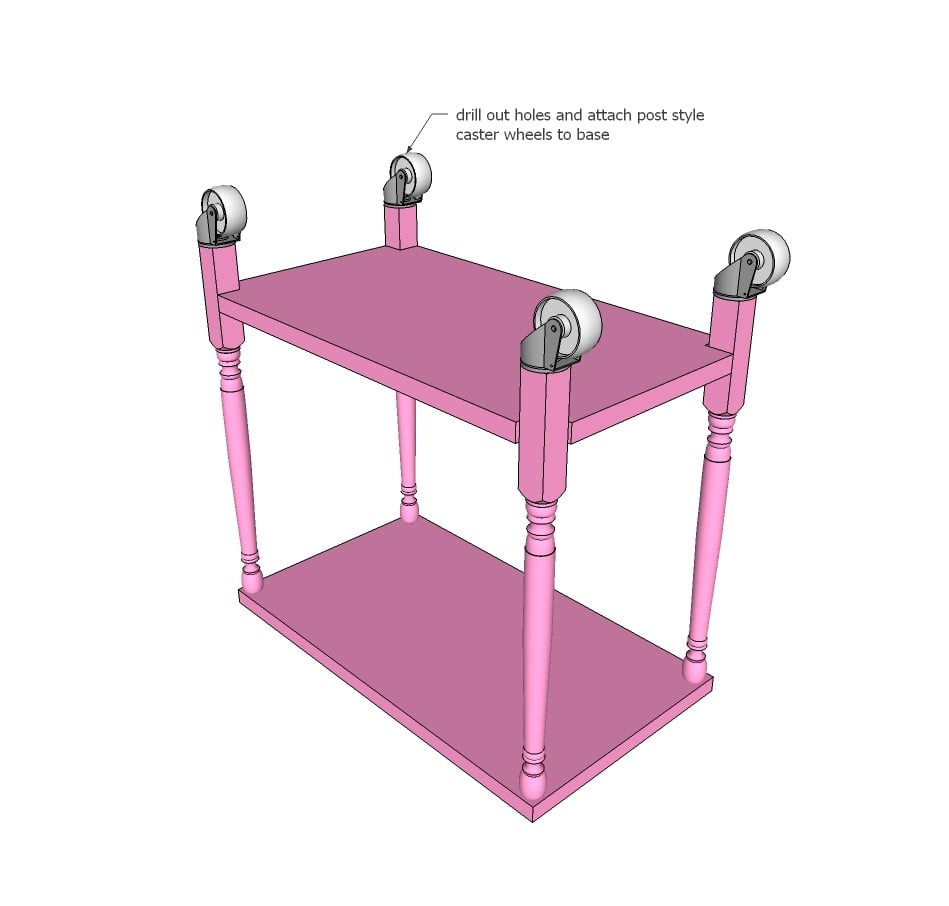
Drill holes in bottoms of stair spindles and insert the caster wheels.  Glue in place.

Step 4

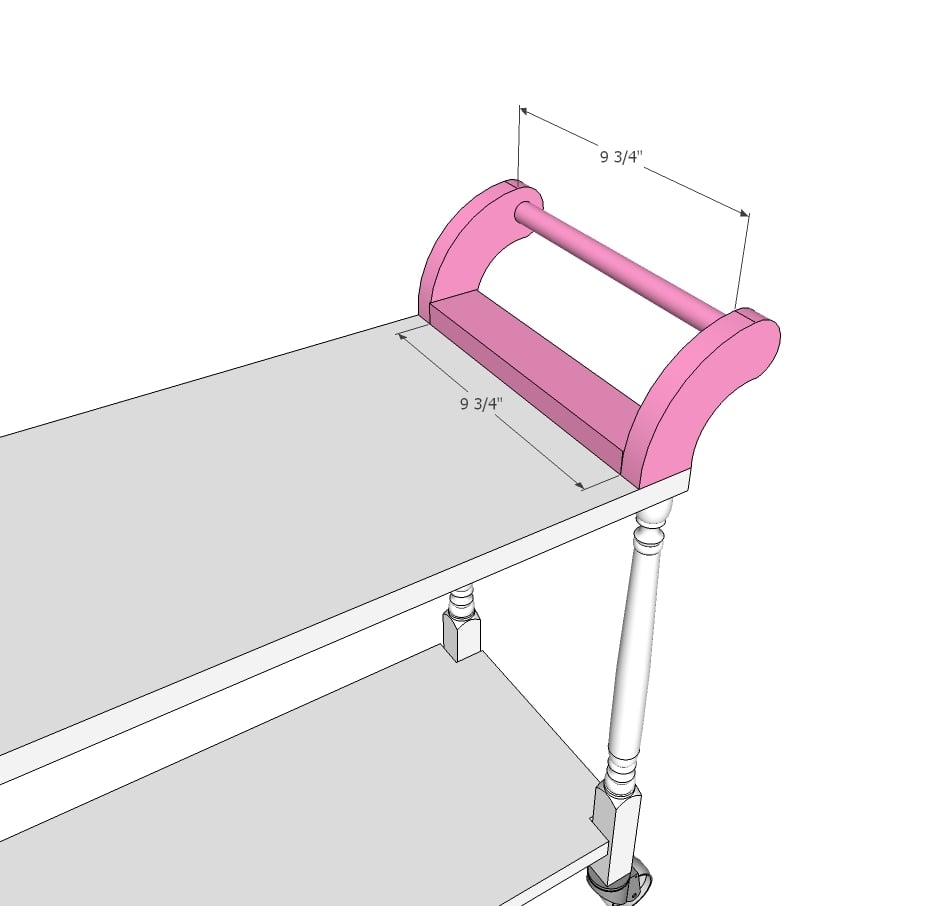
Build the handle from scrap wood, 1x2 for the base and 1x3 for the sides.  Attach together, then attach entire handle unit to the top of the cart with 1-1/4" screws and wood glue (you can use pocket hole screws)

Step 5