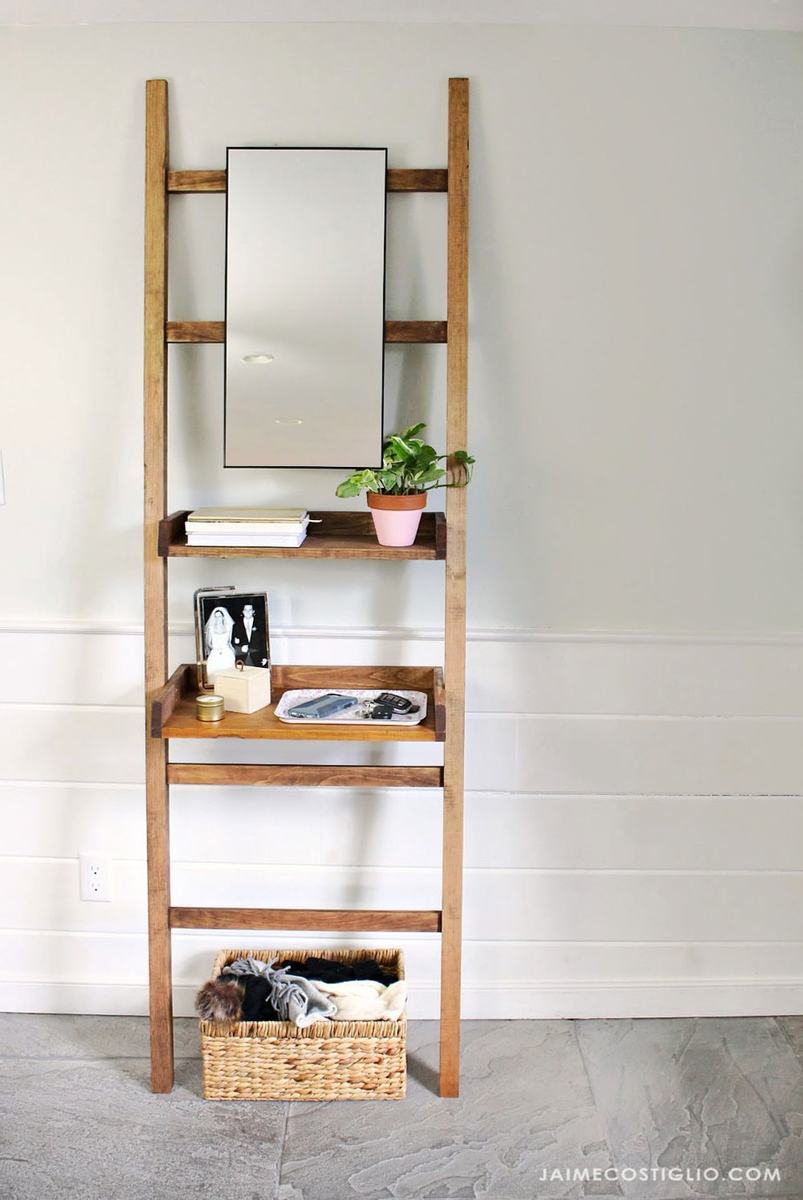


Easy DIY Project! Free plans by ANA-WHITE.com to build a leaning vanity.
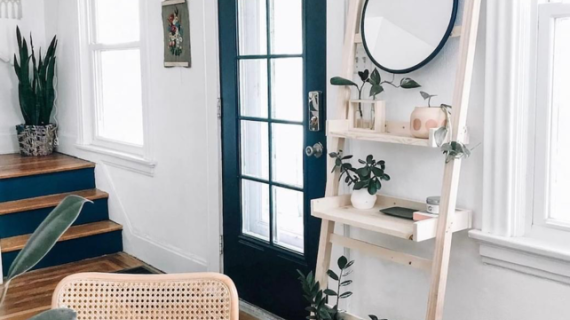
Add a mirror and shelving to even the smallest space, without putting any holes in your wall! This easy to build leaning mirror shelf packs alot of function into a small footprint. It's perfect for tight entryway, bathroom, closet, or bedroom - anywhere you need a mirror and some storage. We love it as a teen gift idea or a small entryway dropzone!

This project was built by Jaime Costiglio for our Handbuilt Holiday Series - where we give you a new, free gift plan every Friday in the weeks leading up to Christmas.

Jaime Costiglio and I have been at it for several years now and have created quite the catalog of plans! You can see all of our previous Handbuilt Holiday plans here.
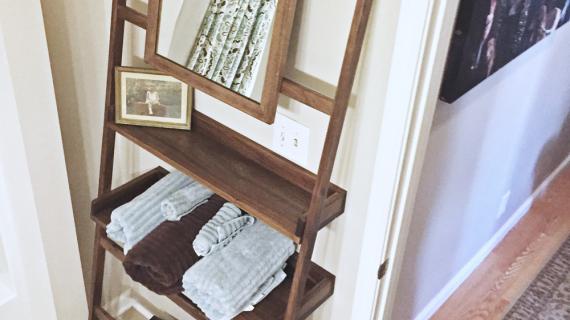
Jaime built this project for you and shared her build post here. You can see LOTS more photos and building tips and details here.
The free plans follow. Enjoy! Ana
CLICK HERE FOR MORE PHOTOS AND BUILDING TIPS AT JAIMECOSTIGLIO.COM
Preparation
2 - 2x2 @ 8 feet long
1 - 1x2 @ 8 feet long
1 - 1x3 @ 8 feet long
1 - 1x8 @ 2 feet long
1 - 1x12 @ 2 feet long
small mirror, less than 24" tall and 20" wide
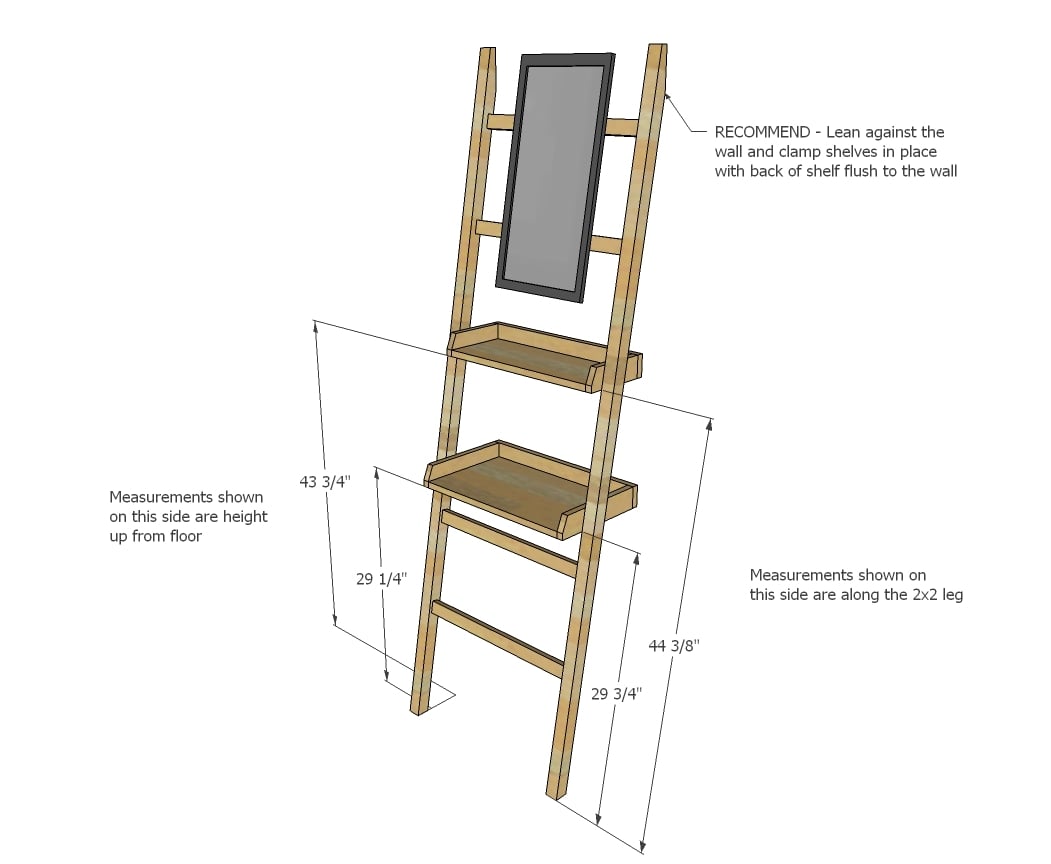
2 - 2x2 @ 77" long - both ends cut at 10 degrees off square, ends parallel, long point to short point measurement
4 - 1x2 @ 21"
1 - 1x8 @ 19-1/2"
1 - 1x12 @ 19-1/2"
2 - 1x3 @ 21"
2 - 1x3@ 7-1/4"
2 - 1x3 @ 11-1/4"


Instructions
Step 1

Cut the 2x2 legs with the compound miter saw set to 10 degrees off square. Then use the speed square to mark the top of the leg perpendicular as shown in the photo. Cut off with a cirucular saw or jigsaw.
Step 2
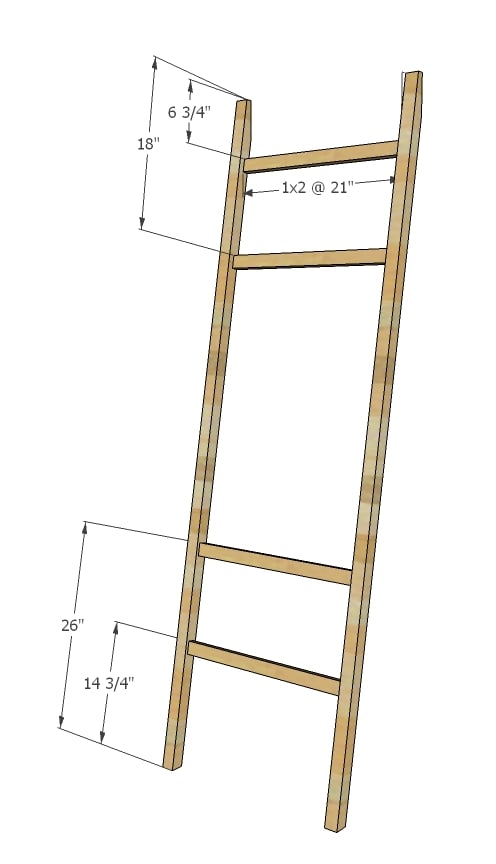
Drill two 3/4" pocket holes on each end of the 1x2s. Attach flush to backs of legs with 1-1/4" pocket hole screws and glue.
Step 3

Cut the shelf pieces with a compound miter saw. Use either pocket holes or 1-1/4" brad nails to attach trim to shelves.
OPTIONAL: Use a jigsaw to cut top corners off of the shelves to soften edges.
Step 4

Lean ladder against wall. Position shelves as shown and clamp in place. Attach shelves to legs with 2" screws and wood glue.
TIP: Use a level to make sure the shelves are attached level.