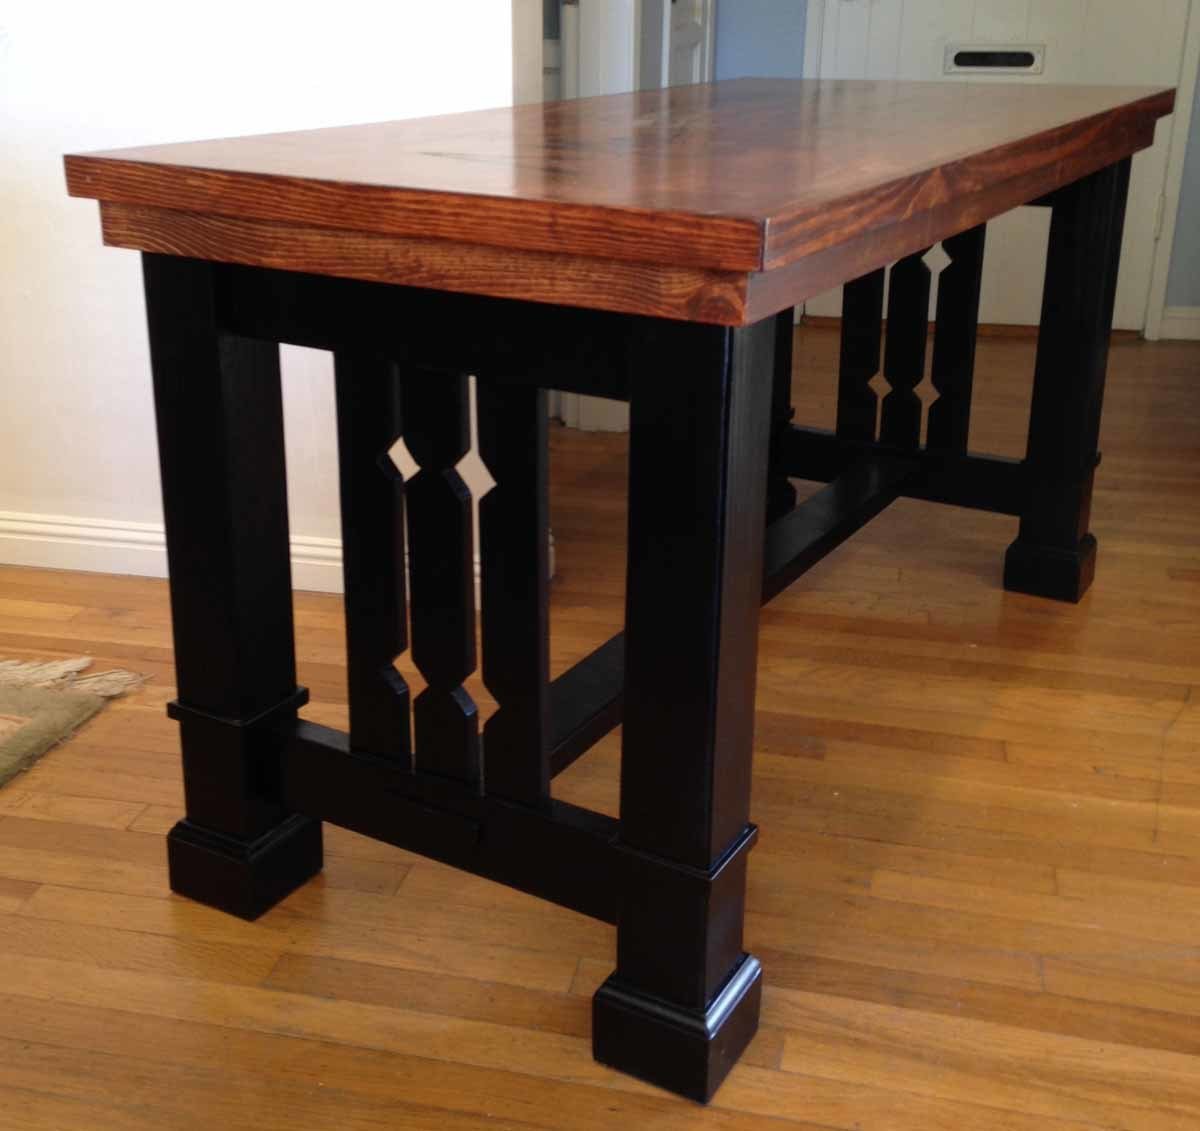
This mission-inspired table is sturdy and practical, and is made of standard lumber sizes.
Preparation
1- 4x4 10 feet long
2- 2x4 8 feet long
2- 1x4 8 feet long
4- 1x2 8 feet long
1- 3.5" wide base molding - 8' long
1- 3/4" screen molding - 8' long
4 pieces 4x4 - 29" long
4 pieces 2 x 4 - 17" long
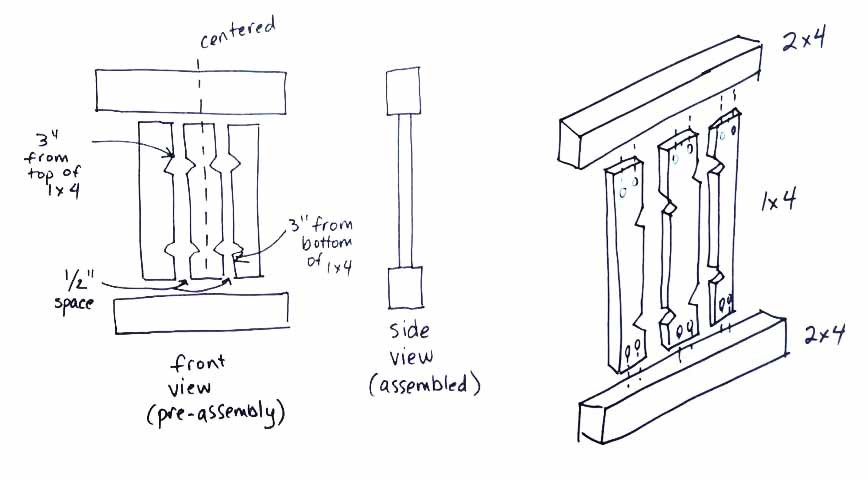
6 pieces 1 x 4 -16.5" long
1 piece 2x4 - 49.5" long
2 pieces 1x4 - 26" long
1 piece 3/4" plywood 26x56
2 pieces 1x2 57.5" long
2 pieces 1x2 27.5" long
2 pieces 1x2 - 56" long
2 pieces 1x2 26" long
16 pieces base molding 5.5" long
16 pieces screen molding 5.5" long
2 pieces screen molding 3" long
1 x 2s will be cut with 45 degree miters to fit tabletop as noted in directions.
screen molding and base molding pieces will be mitered to fit as noted in directions.
Please read through the entire plan and all comments before beginning this project. It is also advisable to review the Getting Started Section. Take all necessary precautions to build safely and smartly. Work on a clean level surface, free of imperfections or debris. Always use straight boards. Check for square after each step. Always predrill holes before attaching with screws. Use glue with finish nails for a stronger hold. Wipe excess glue off bare wood for stained projects, as dried glue will not take stain. Be safe, have fun, and ask for help if you need it. Good luck!
Instructions
Step 1
Step 2
Step 3
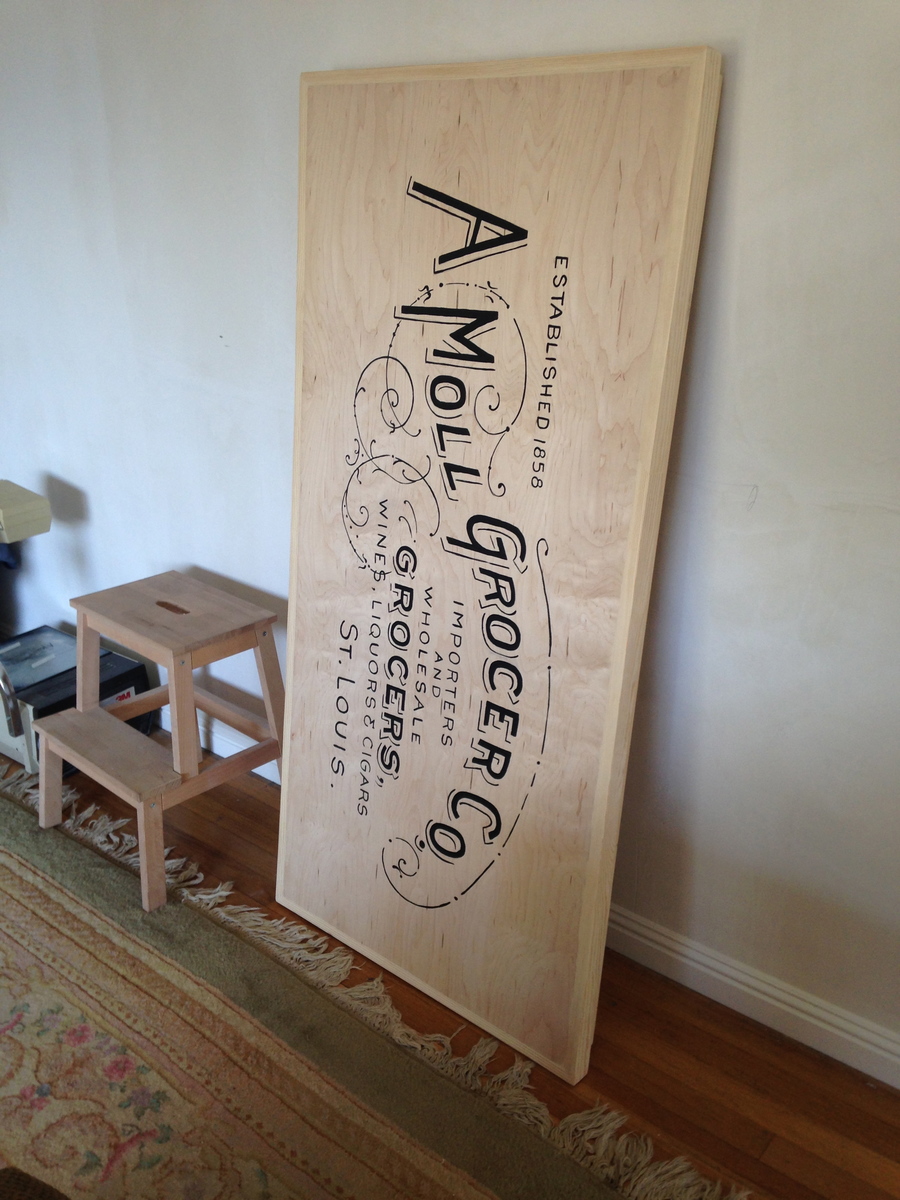
If you wish to create a typographic design on the table top, project an image (I found this one at http://thegraphicsfairy.com/ ), trace with pencil and then use a fine brush and black acrylic paint to fill in. Let dry thoroughly, then sand lightly to age the graphics, being sure not to sand too much off. Stain to desired shade, then apply 3-6 coats of a poly varnish.
Step 4
Step 6
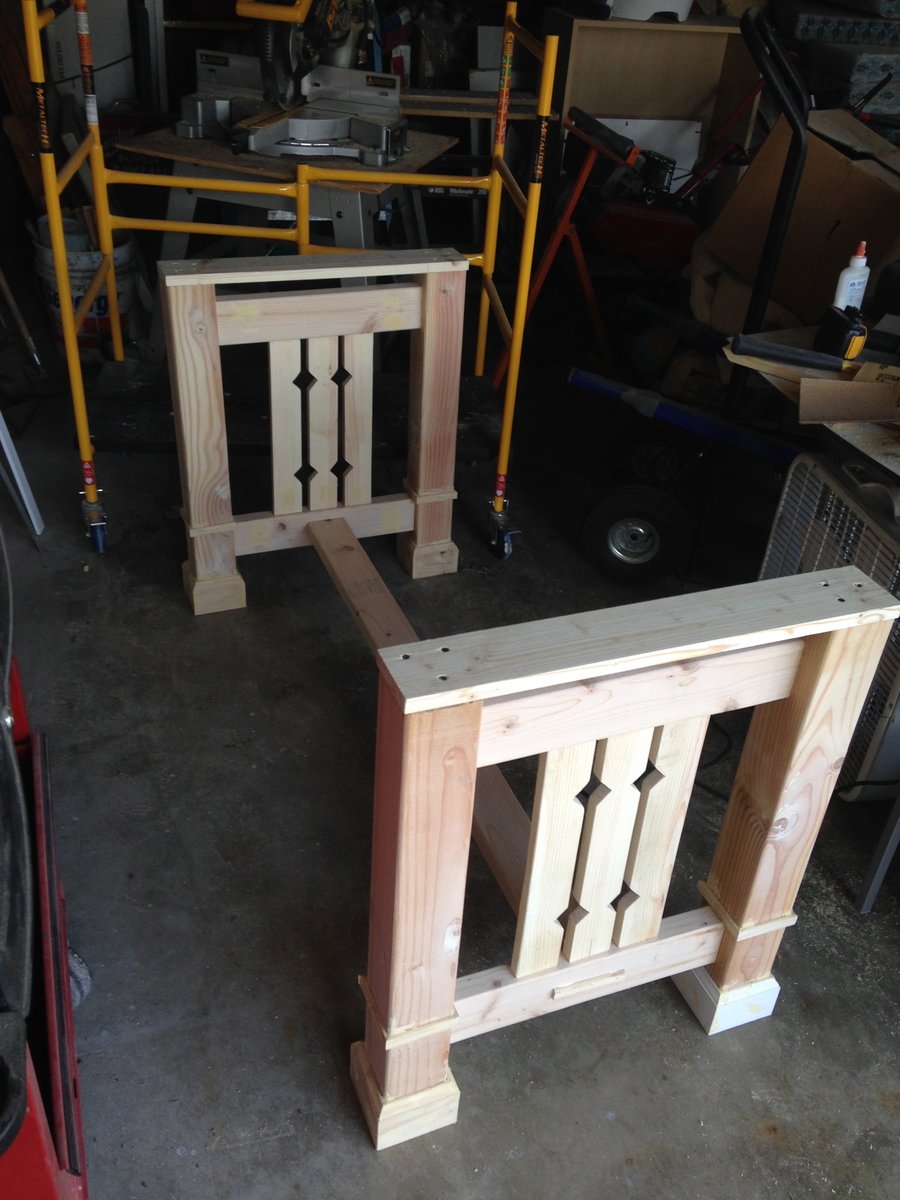
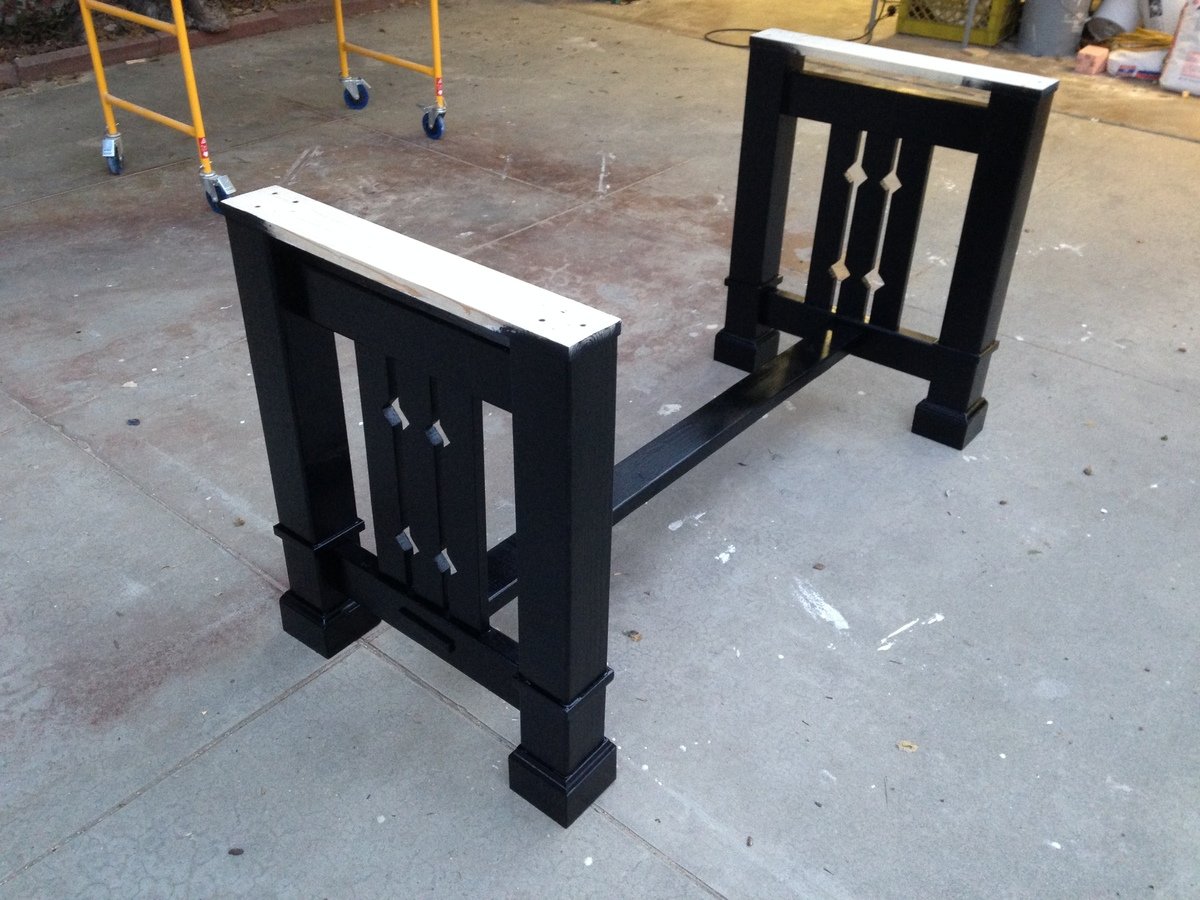
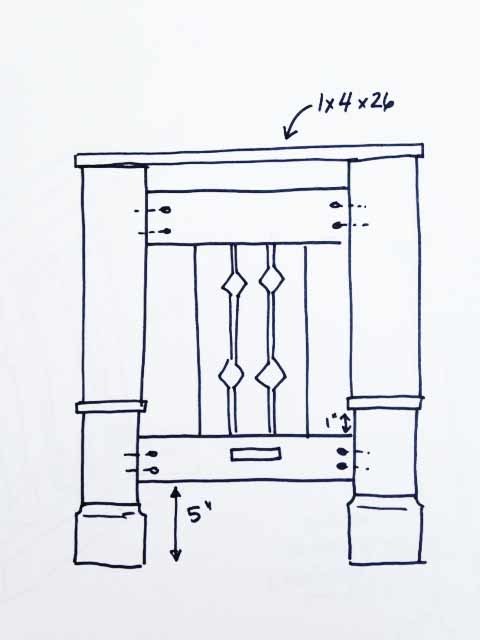
Using kreg jig, attach each unit between 4x4s, 5" from bottom, using 2 -2.5" screws on each 2x4. Check for level. Repeat for other side. Use 1x4x26 across top, glue and screw to top, centering. For decorative molding: on bottom of each leg, attach the base molding, mitering to fit and attaching with glue and nails. One inch above the bottom rail, attach screen molding, using glue and nails, mitering to fit.
Step 7
Attach 2x4x49.5" from bottom 2x4 on each side, centering on 2x4, glue and screw with 2.5" screw from outside. Check again for level.
Step 8
It is always recommended to apply a test coat on a hidden area or scrap piece to ensure color evenness and adhesion. Use primer or wood conditioner as needed.




Comments
little stuf
Fri, 03/14/2014 - 12:51
WOW!
I love this! It's very unique. The top looks great with the typographic design. Thanks so much for sharing this with us!
DIYER_MD
Wed, 09/10/2014 - 16:26
Table Top Dimensions
The dimensions to the top are liste dunder the cut list:
1 piece 3/4" plywood 26x56
Thanks