

Build your own mudroom hutch - place on a bench to create an instant mudroom! This classic frameless design is easy to build using plywood and pocket hole screws. This is a long term solution for a mudroom, a project that could be a permanent fixture in your mudroom area.
Pair with the matching open shelf bench and the bookshelf hutch to create an entire mudroom system!
Free plans and video tutorial with step by step instructions from Ana-White.com
Why I Built this Project
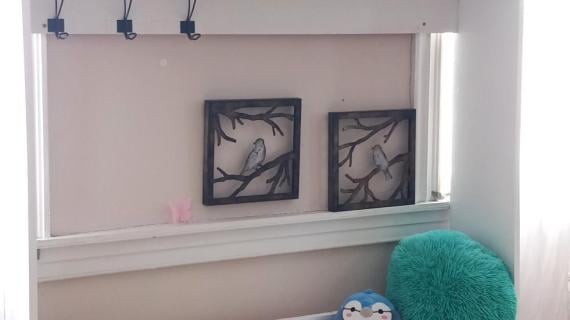
Several years ago, I built a toy storage center for my young kids. This was a very well made project that held up to lots of use (and abuse).
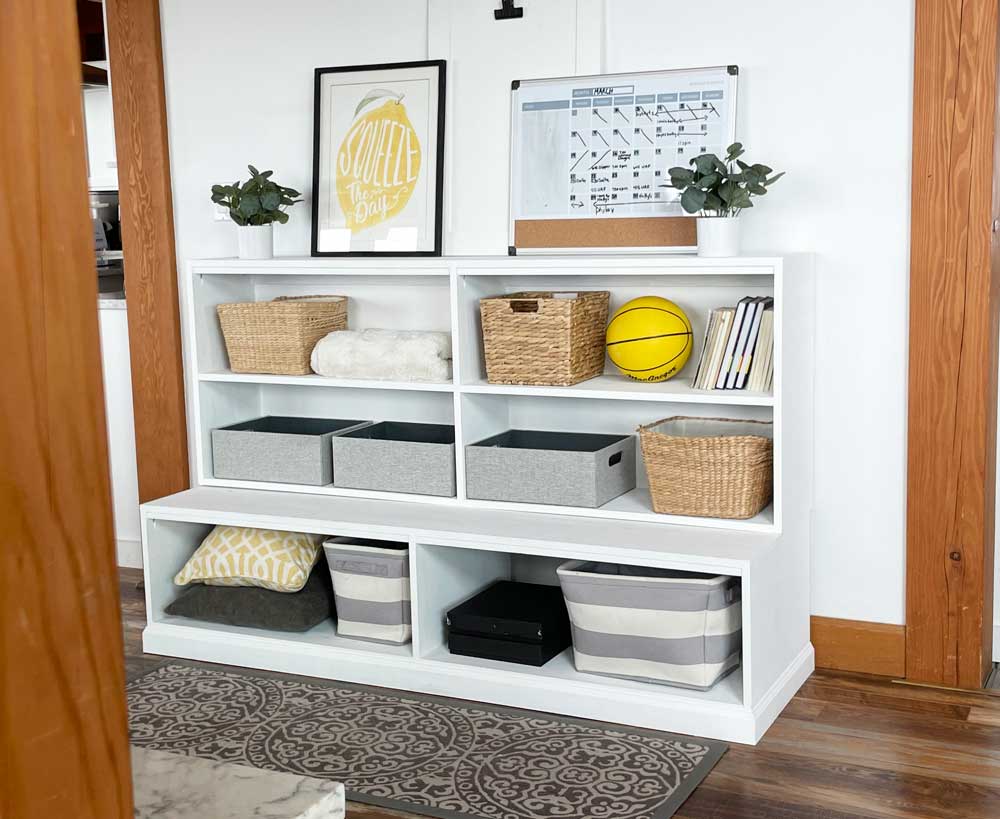
My kids are now older and not playing with toys much, but I didn't want to donate such a nice project. I also needed an expanded mudroom in our basement, as the kids gear got larger in size and in now taking up more space.
So what to do?
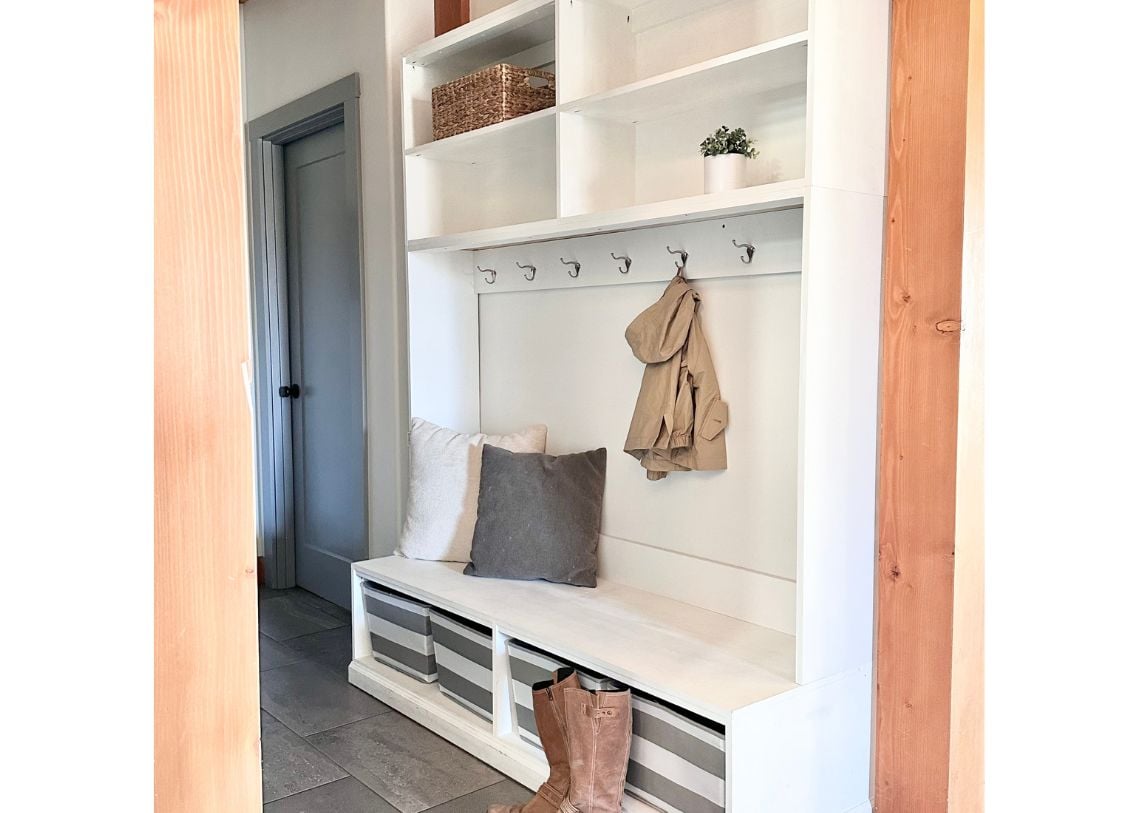
I separated the bench from the bookshelf hutch and built a mudroom hutch and moved it all to the basement -
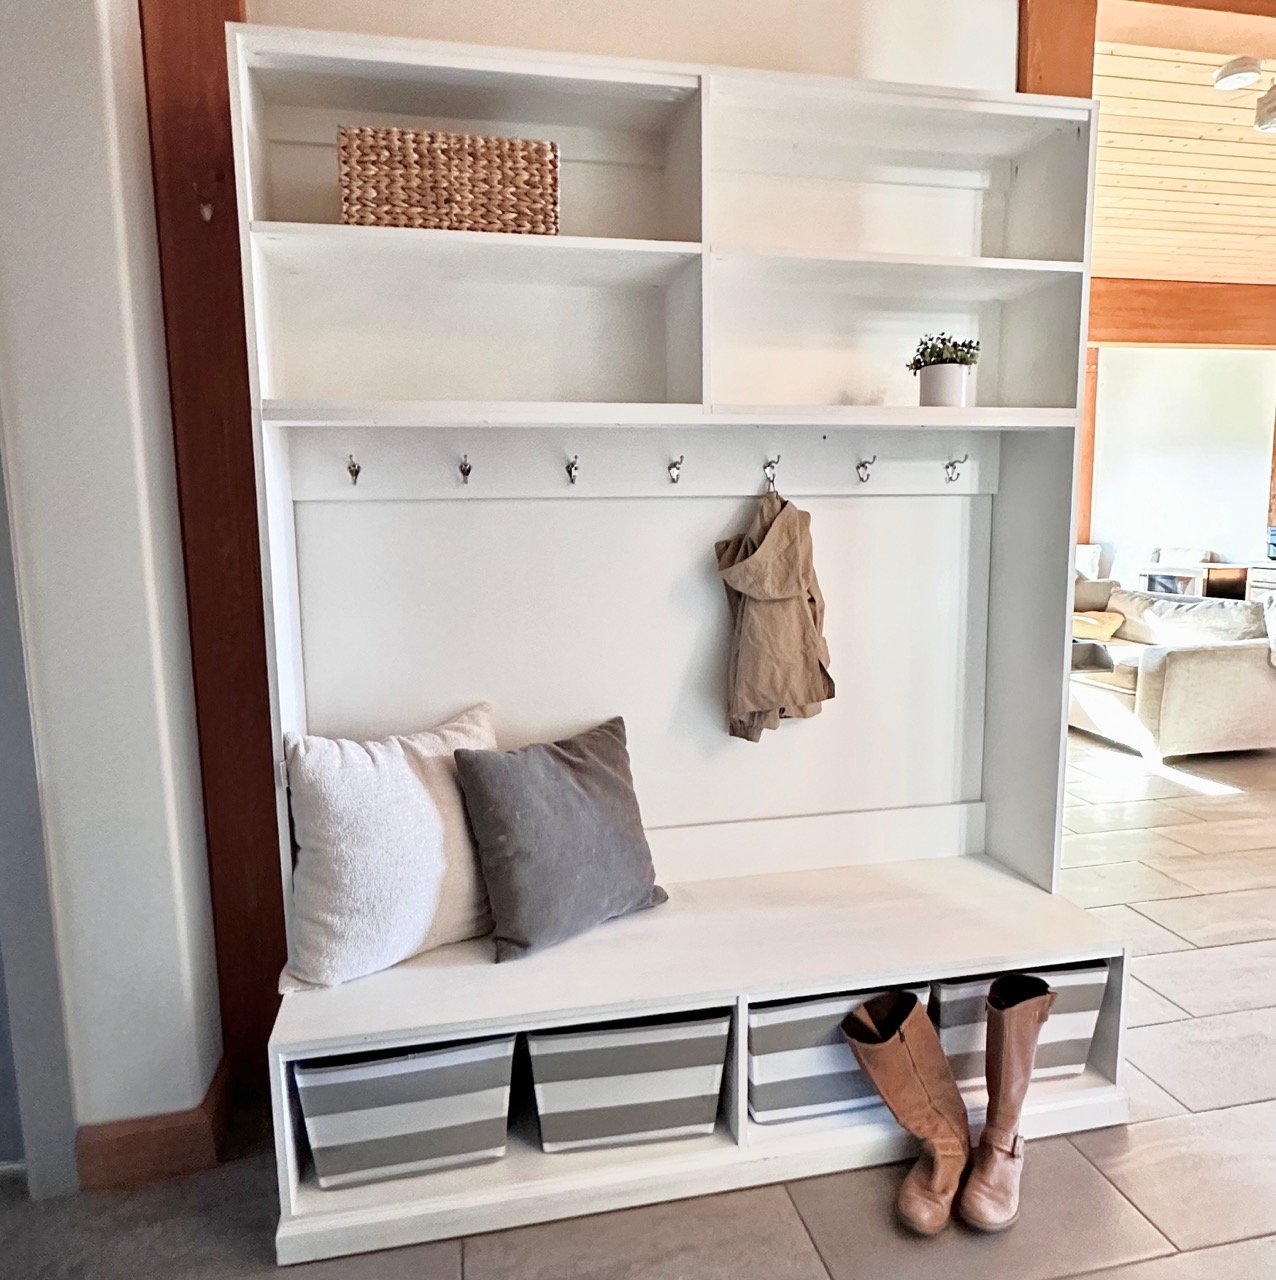
For about $60 in materials, this toy storage center got converted to a mudroom cabinet. How cool is that?
Why We Love this Mudroom Hutch Cabinet
- Cabinet style piece looks professional and well permanent
- Lots of hooks coat storage
- Enclosed sides to conceal coats from side view
- Very easy to build and install
- Works with other cabinetry - can be used with store bought cabinets, or build your own!
Watch! Build Video for This Project
Here's how I built this mudroom hutch cabinet:
Can I Use a Different Bench?
Yes! This hutch can fit over any bench - here's a few I would recommend:
- Easiest to build 2x4 drawer bench
- Plywood drawer bench
- Open bottom bench (floor is open at the bottom for easy cleaning)
Free Plans to Build Your Own Mudroom Hutch Cabinet?
Ready to build this yourself?
Here's the free matching open shelf bench and the free bookshelf hutch plans. Find the free mudroom hutch plans below.
Pin For Later!

Preparation
Shopping List as Shown in Photos and Video (Can be modified to different sizes easily)
- 8 feet of 11-1/4" wide plywood, front edge finished with edge banding
- 2 - 1x6 @ 6 feet long
- 1 - 1x3 @ 6 feet long
- About 25 1-1/4" pocket hole screws
- 7 hooks
- Finishing Supplies: Wood filler, sandpaper, paint
Cut List for Mudroom Hutch as shown in photos and video
- 2 - 3/4" plywood ripped into 11-1/4" wide and crosscut @ 42"
- 2 - 1x6 @ 64-1/2"
- 1 - 1x4 @ 64-1/2"


Instructions
Step 1
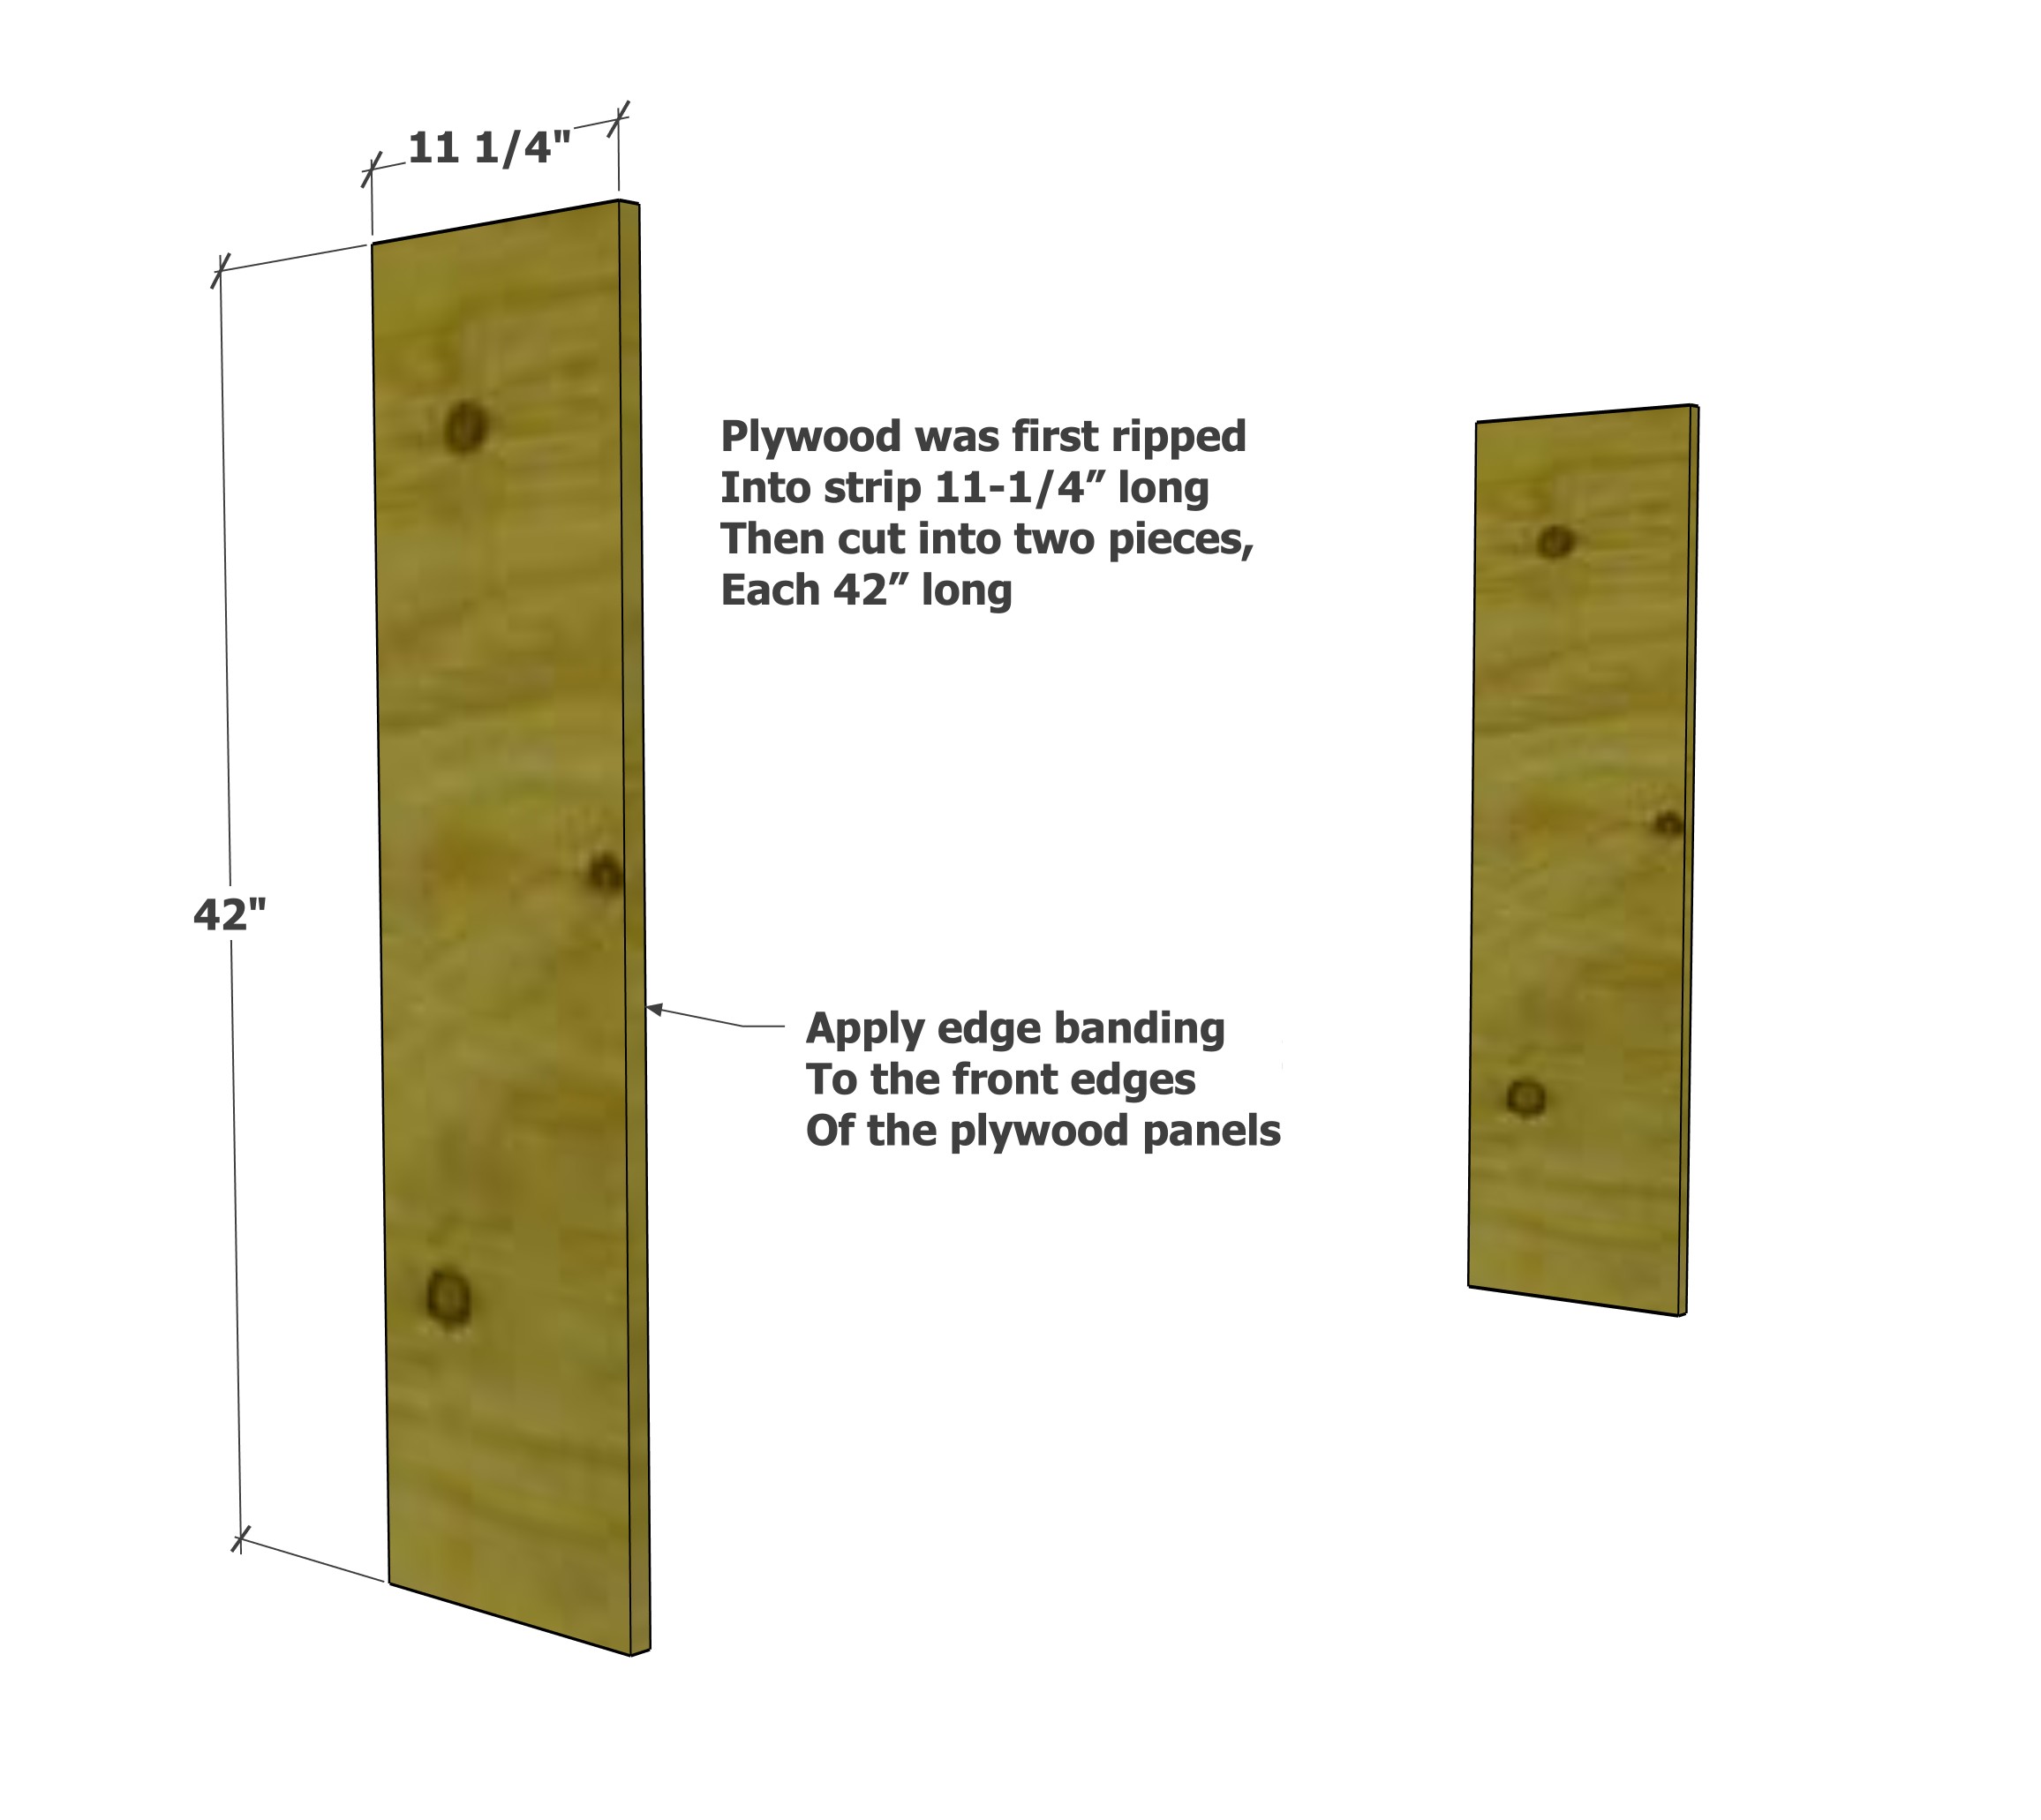
Rip the plywood into strip 8 feet long by 11-1/4" wide. Use a tablesaw (preferred) or use a rip jig.
Cross cut the pieces with a miter saw to get the correct lengths.
Apply edge banding to the front edges.
Here's a video on making a rip jig:
Here's a video on edge banding:
Step 2
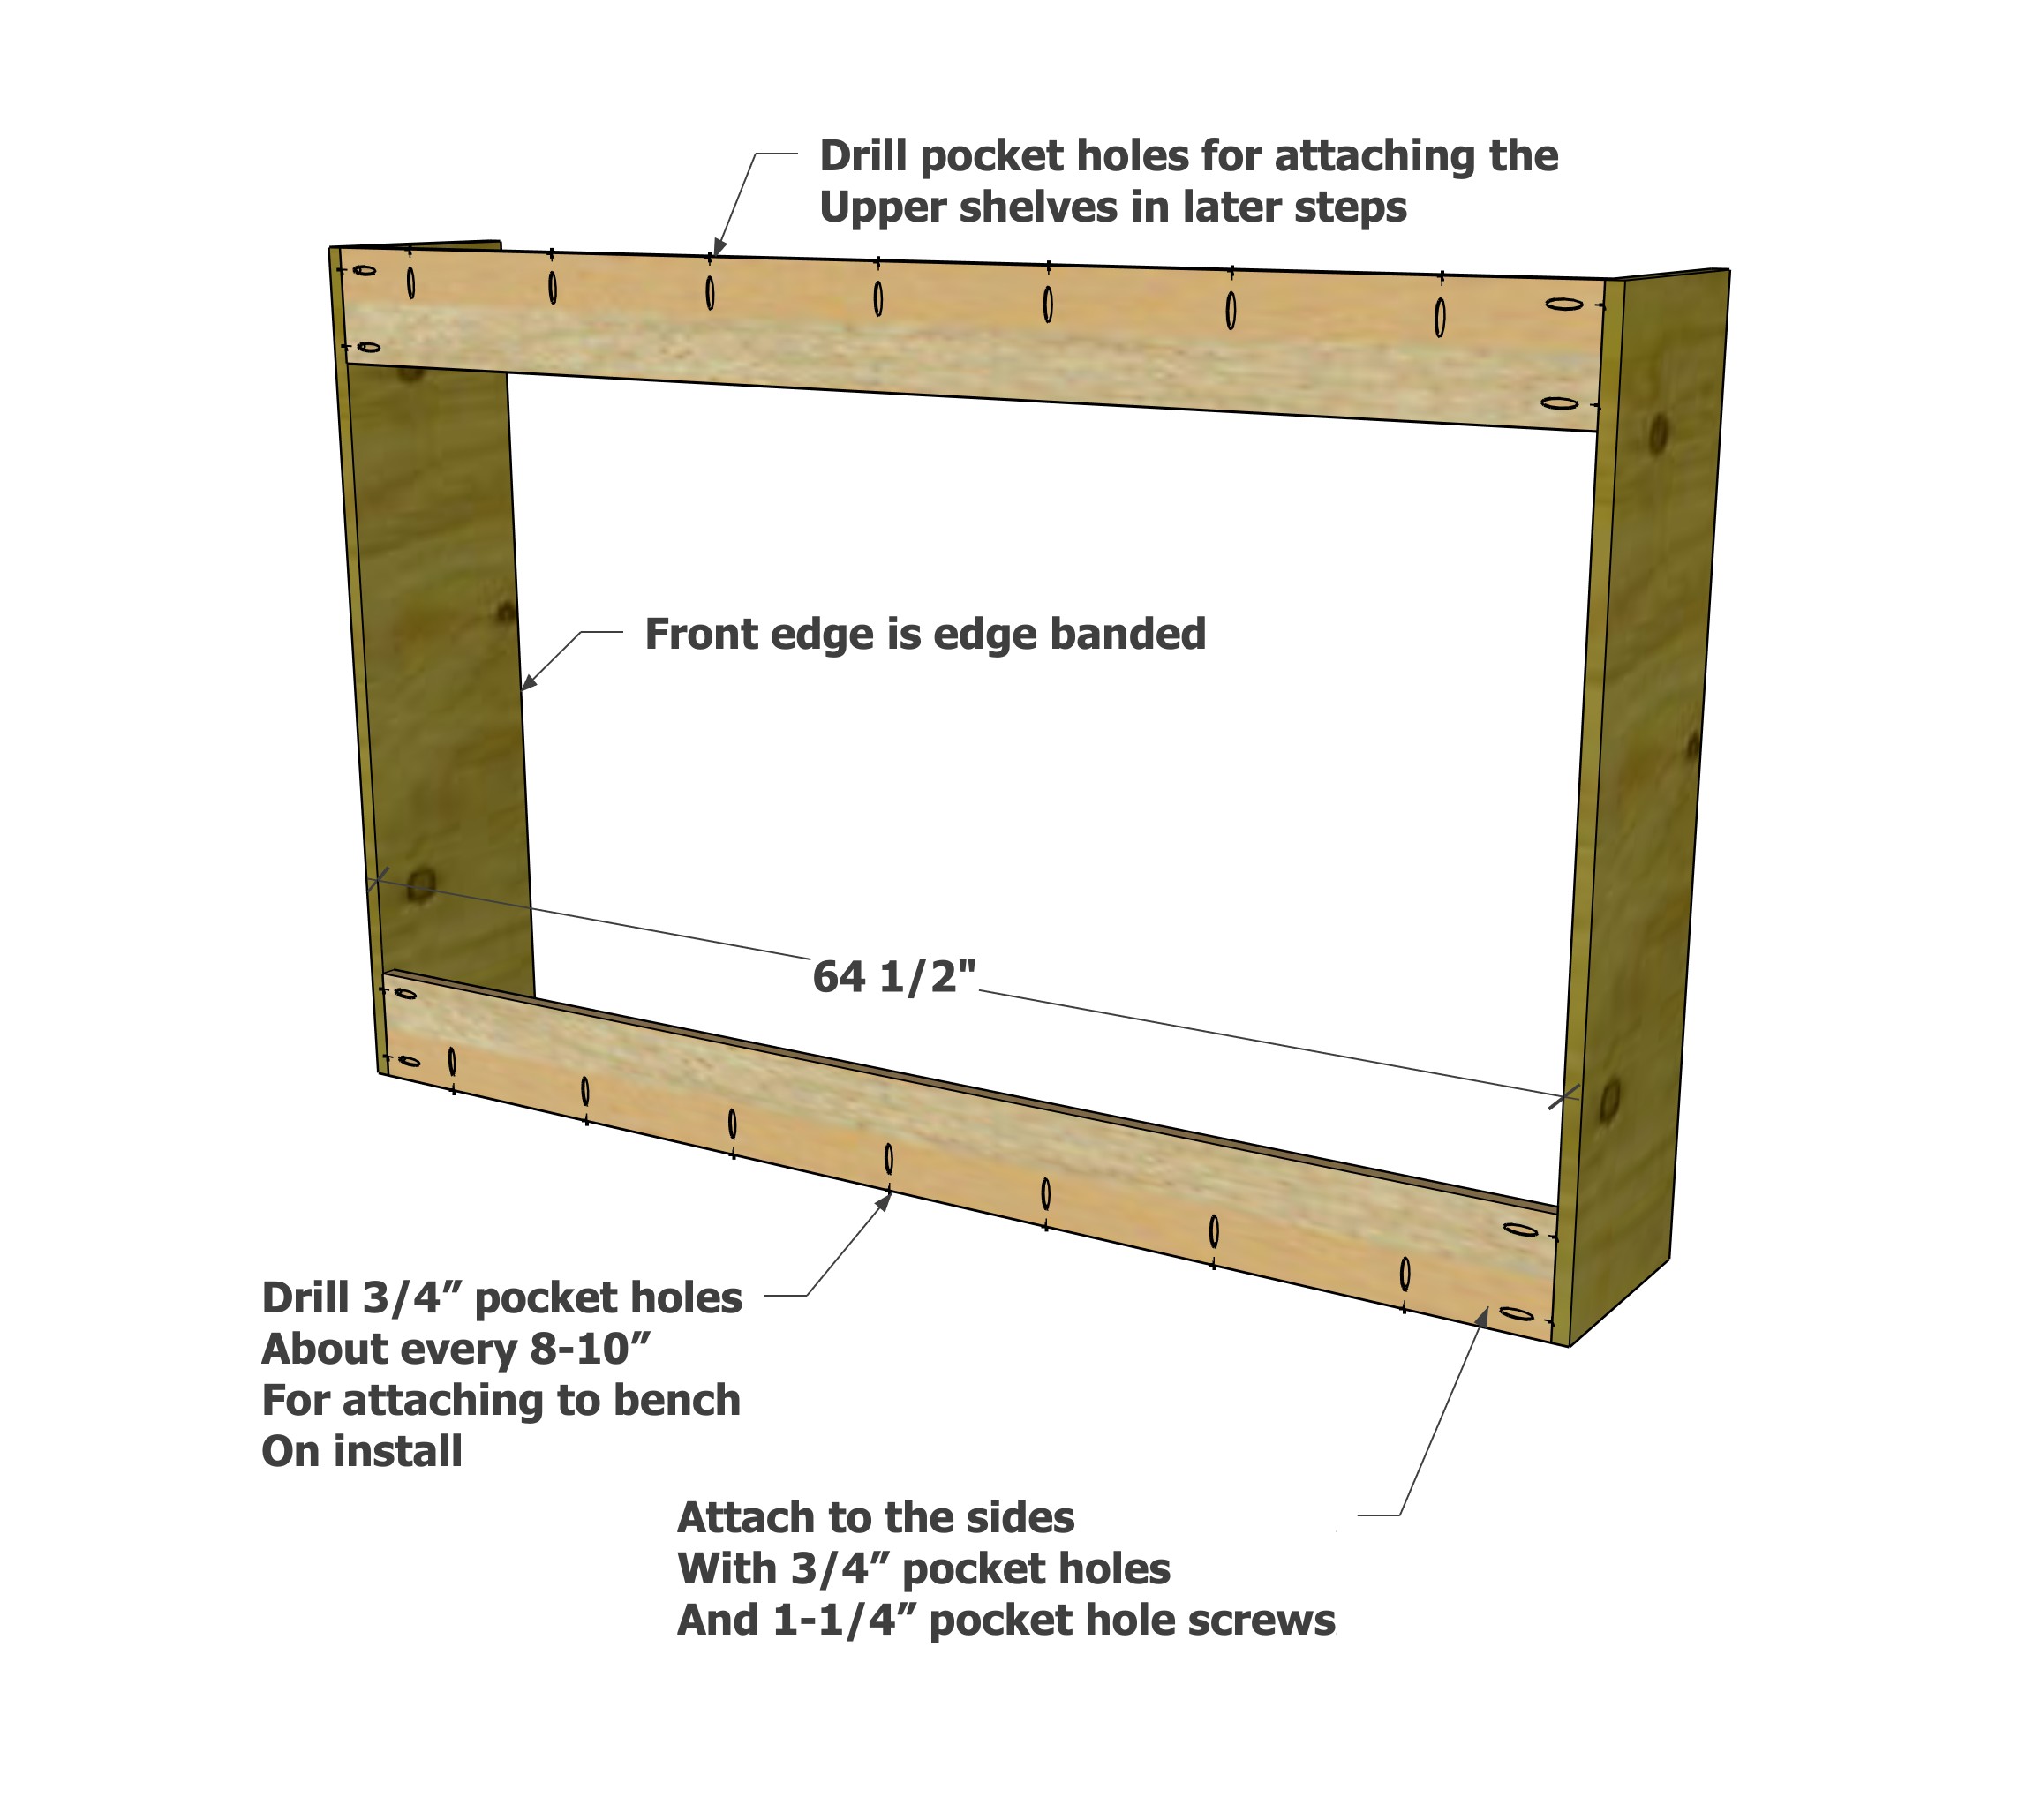
Drill 3/4" pocket holes on both ends of the 1x6 boards, then along one long edge as shown in the diagrams.
Attach the 1x6s to the plywood sides.
Here's a video with tips for using pocket holes:
Step 3
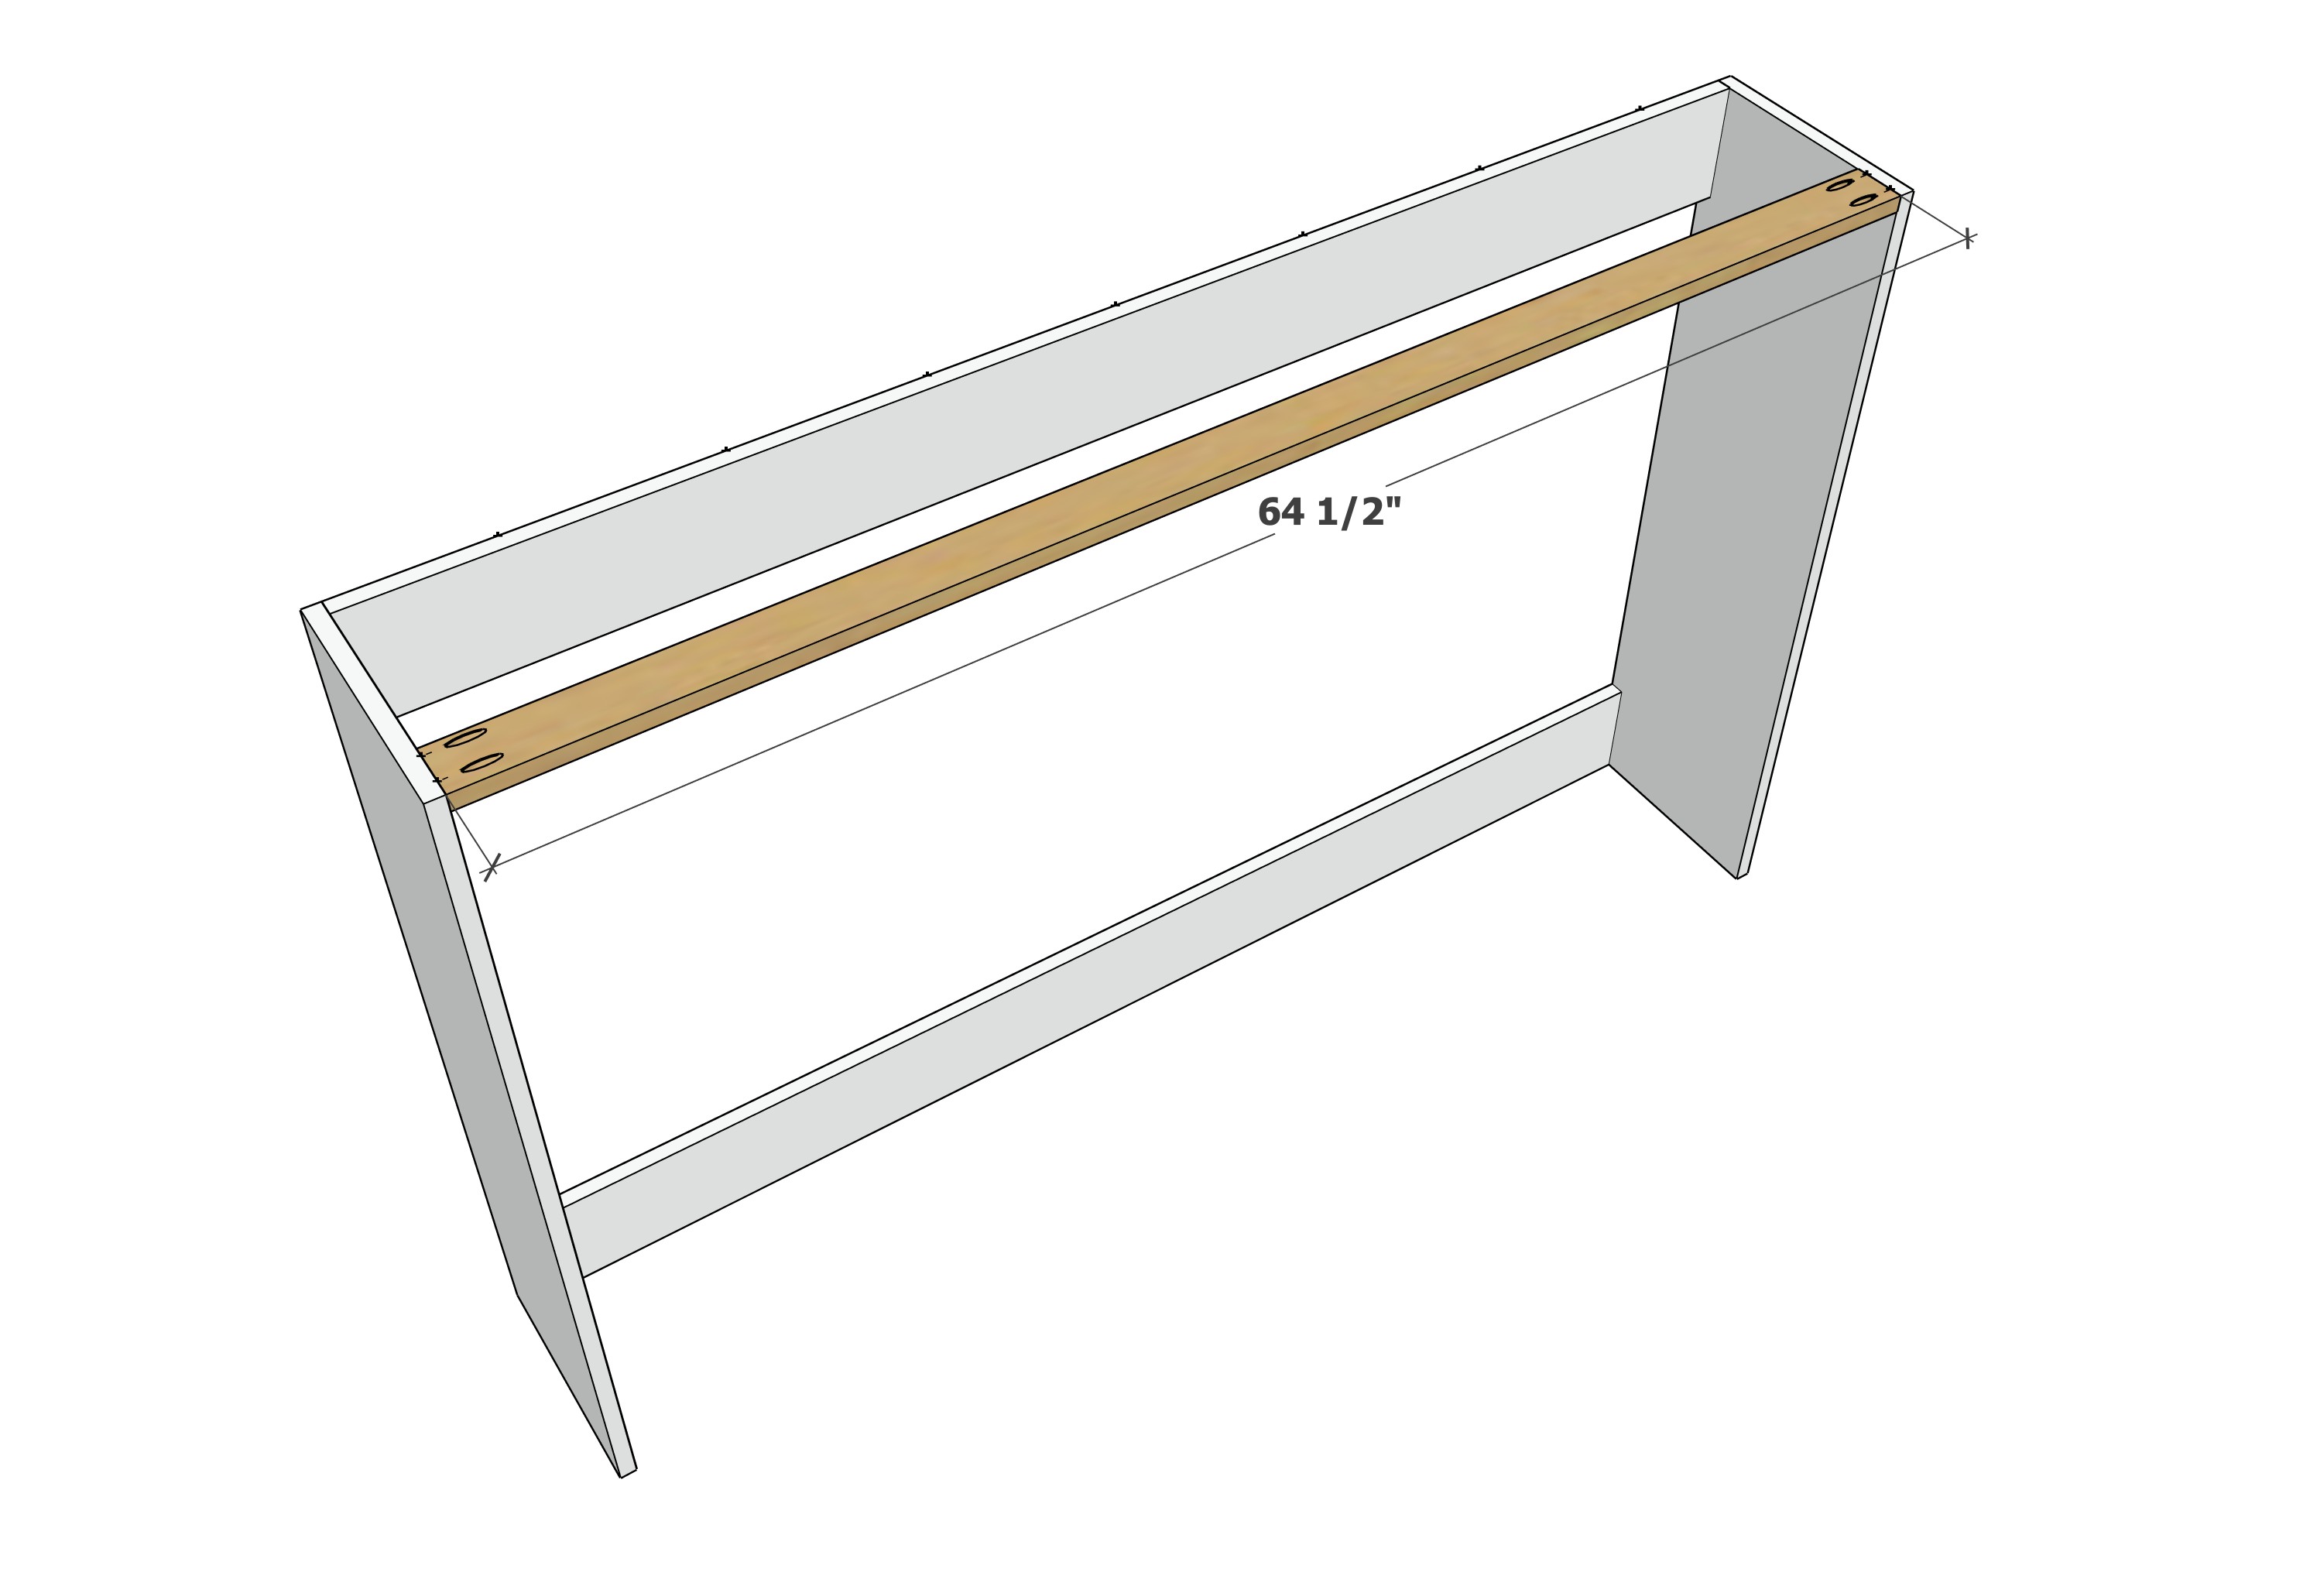
Add the front 1x3 piece with pocket holes.
Step 4
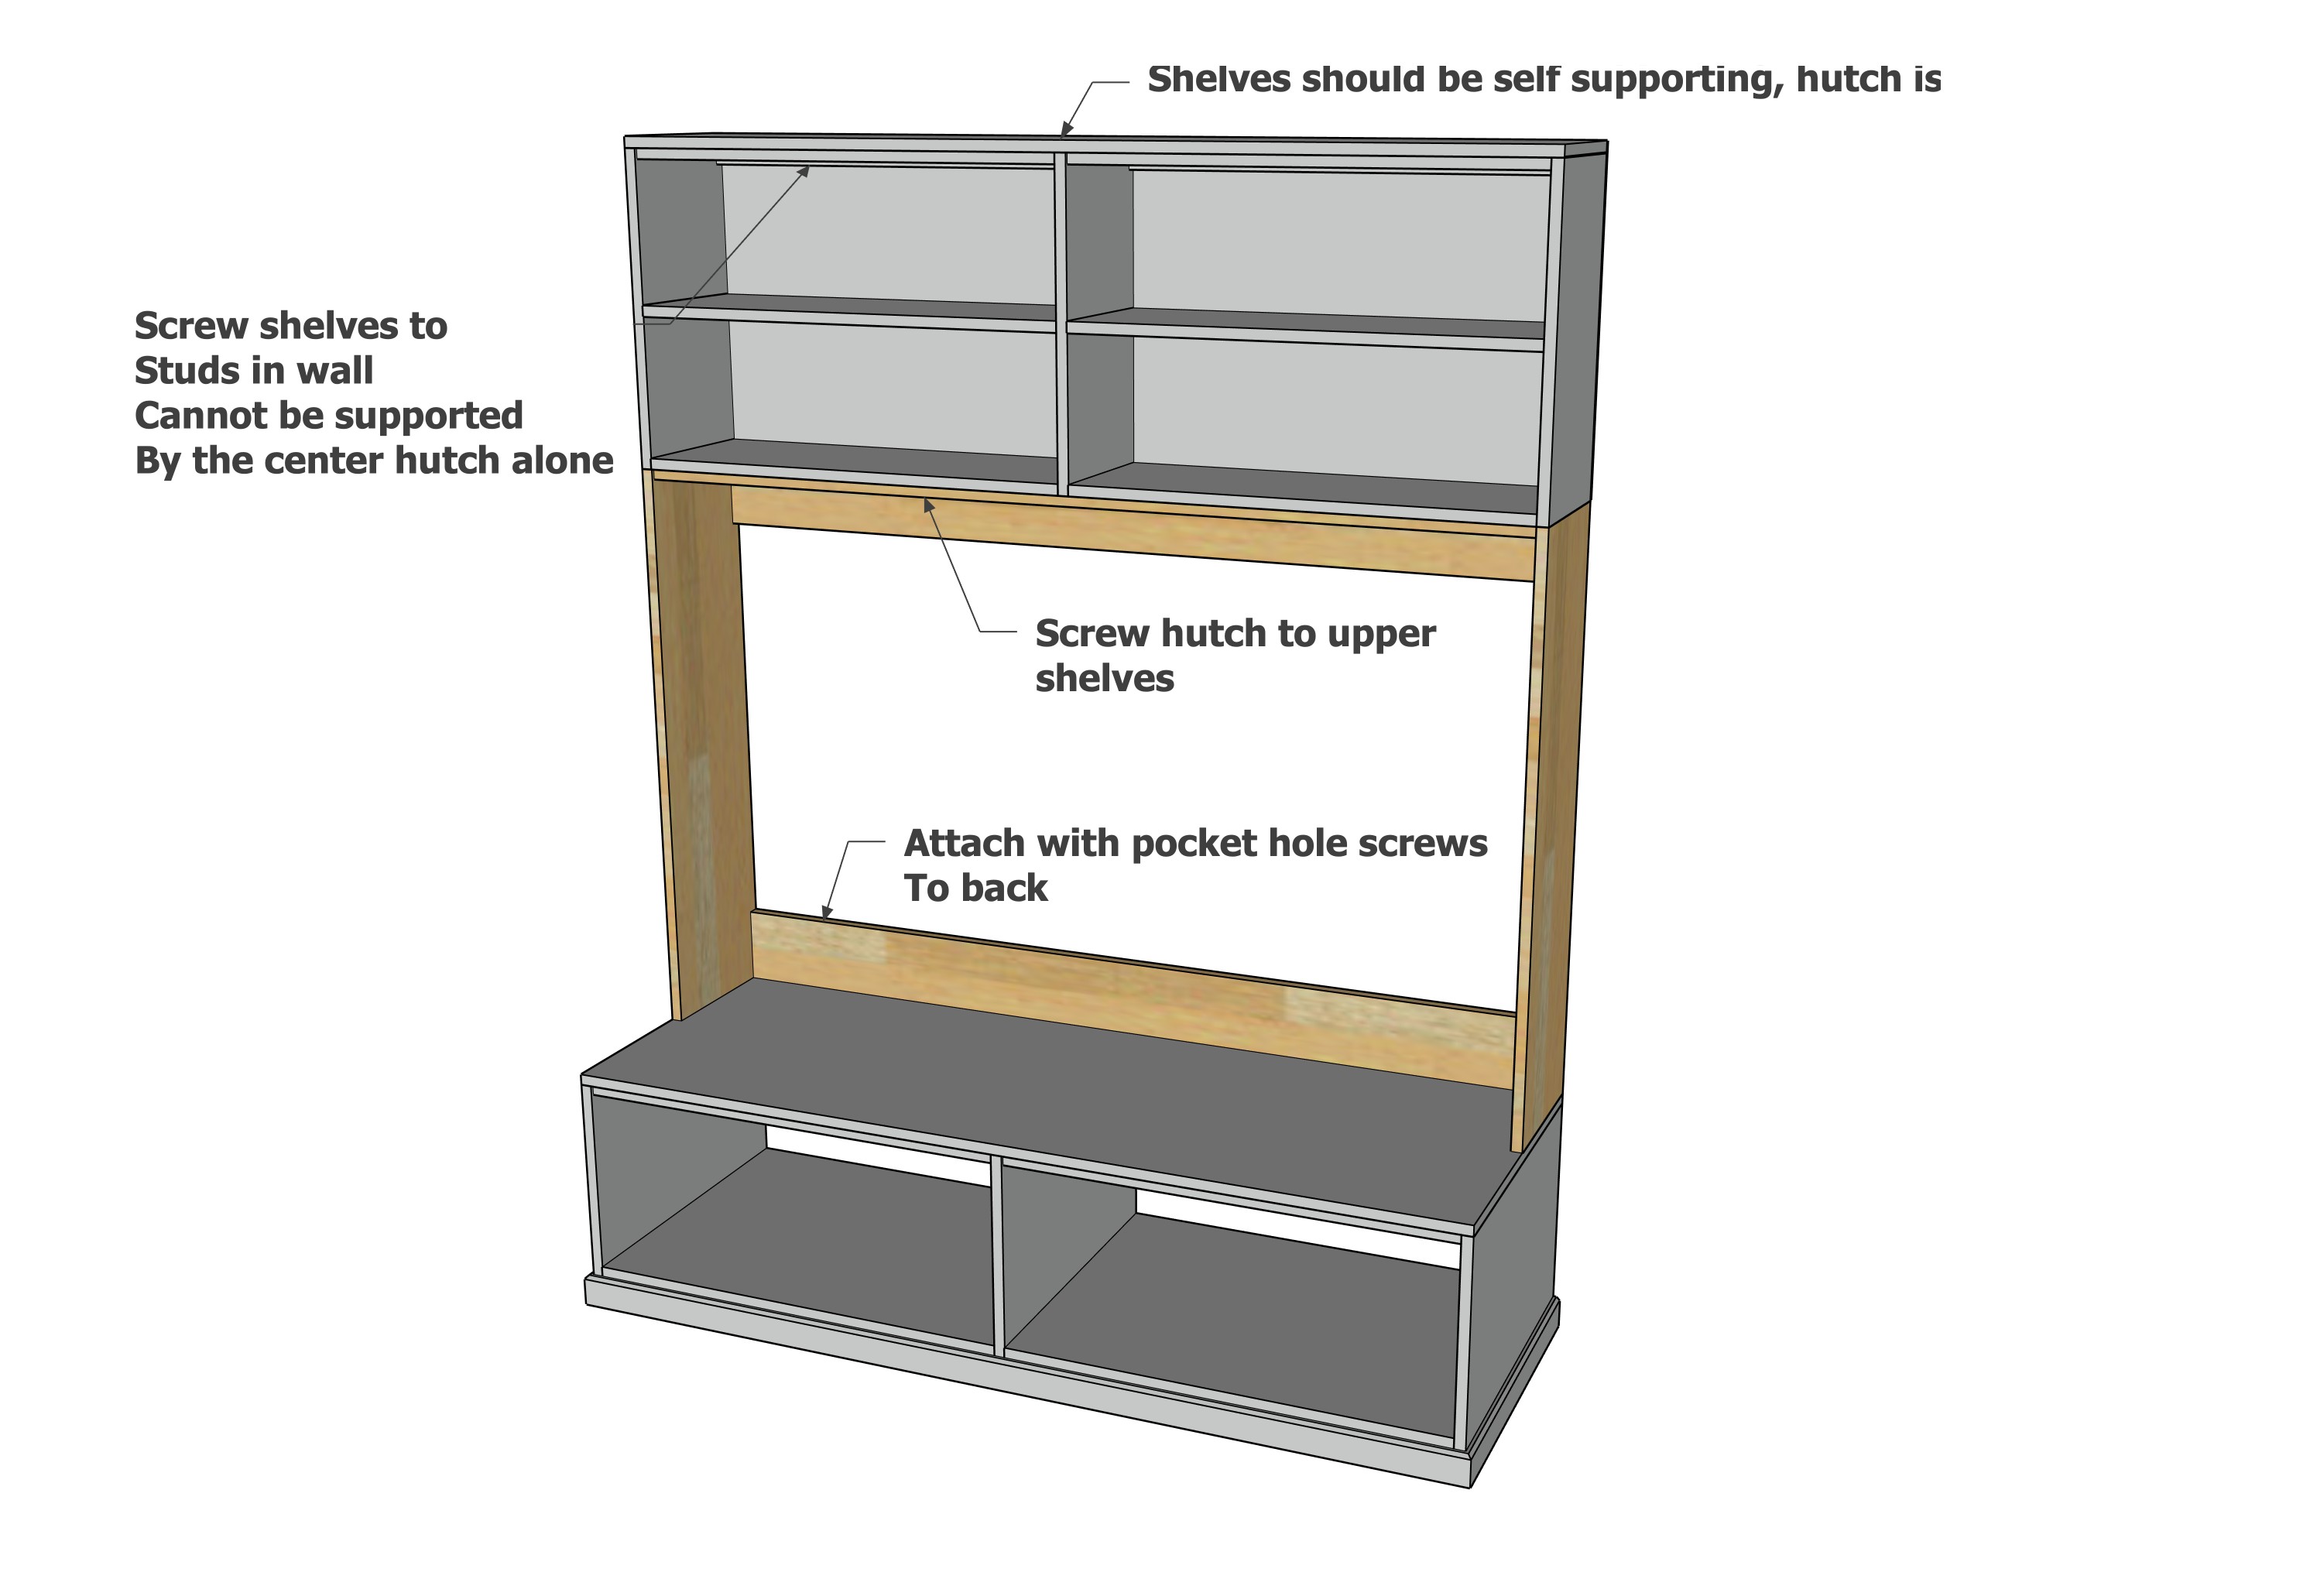
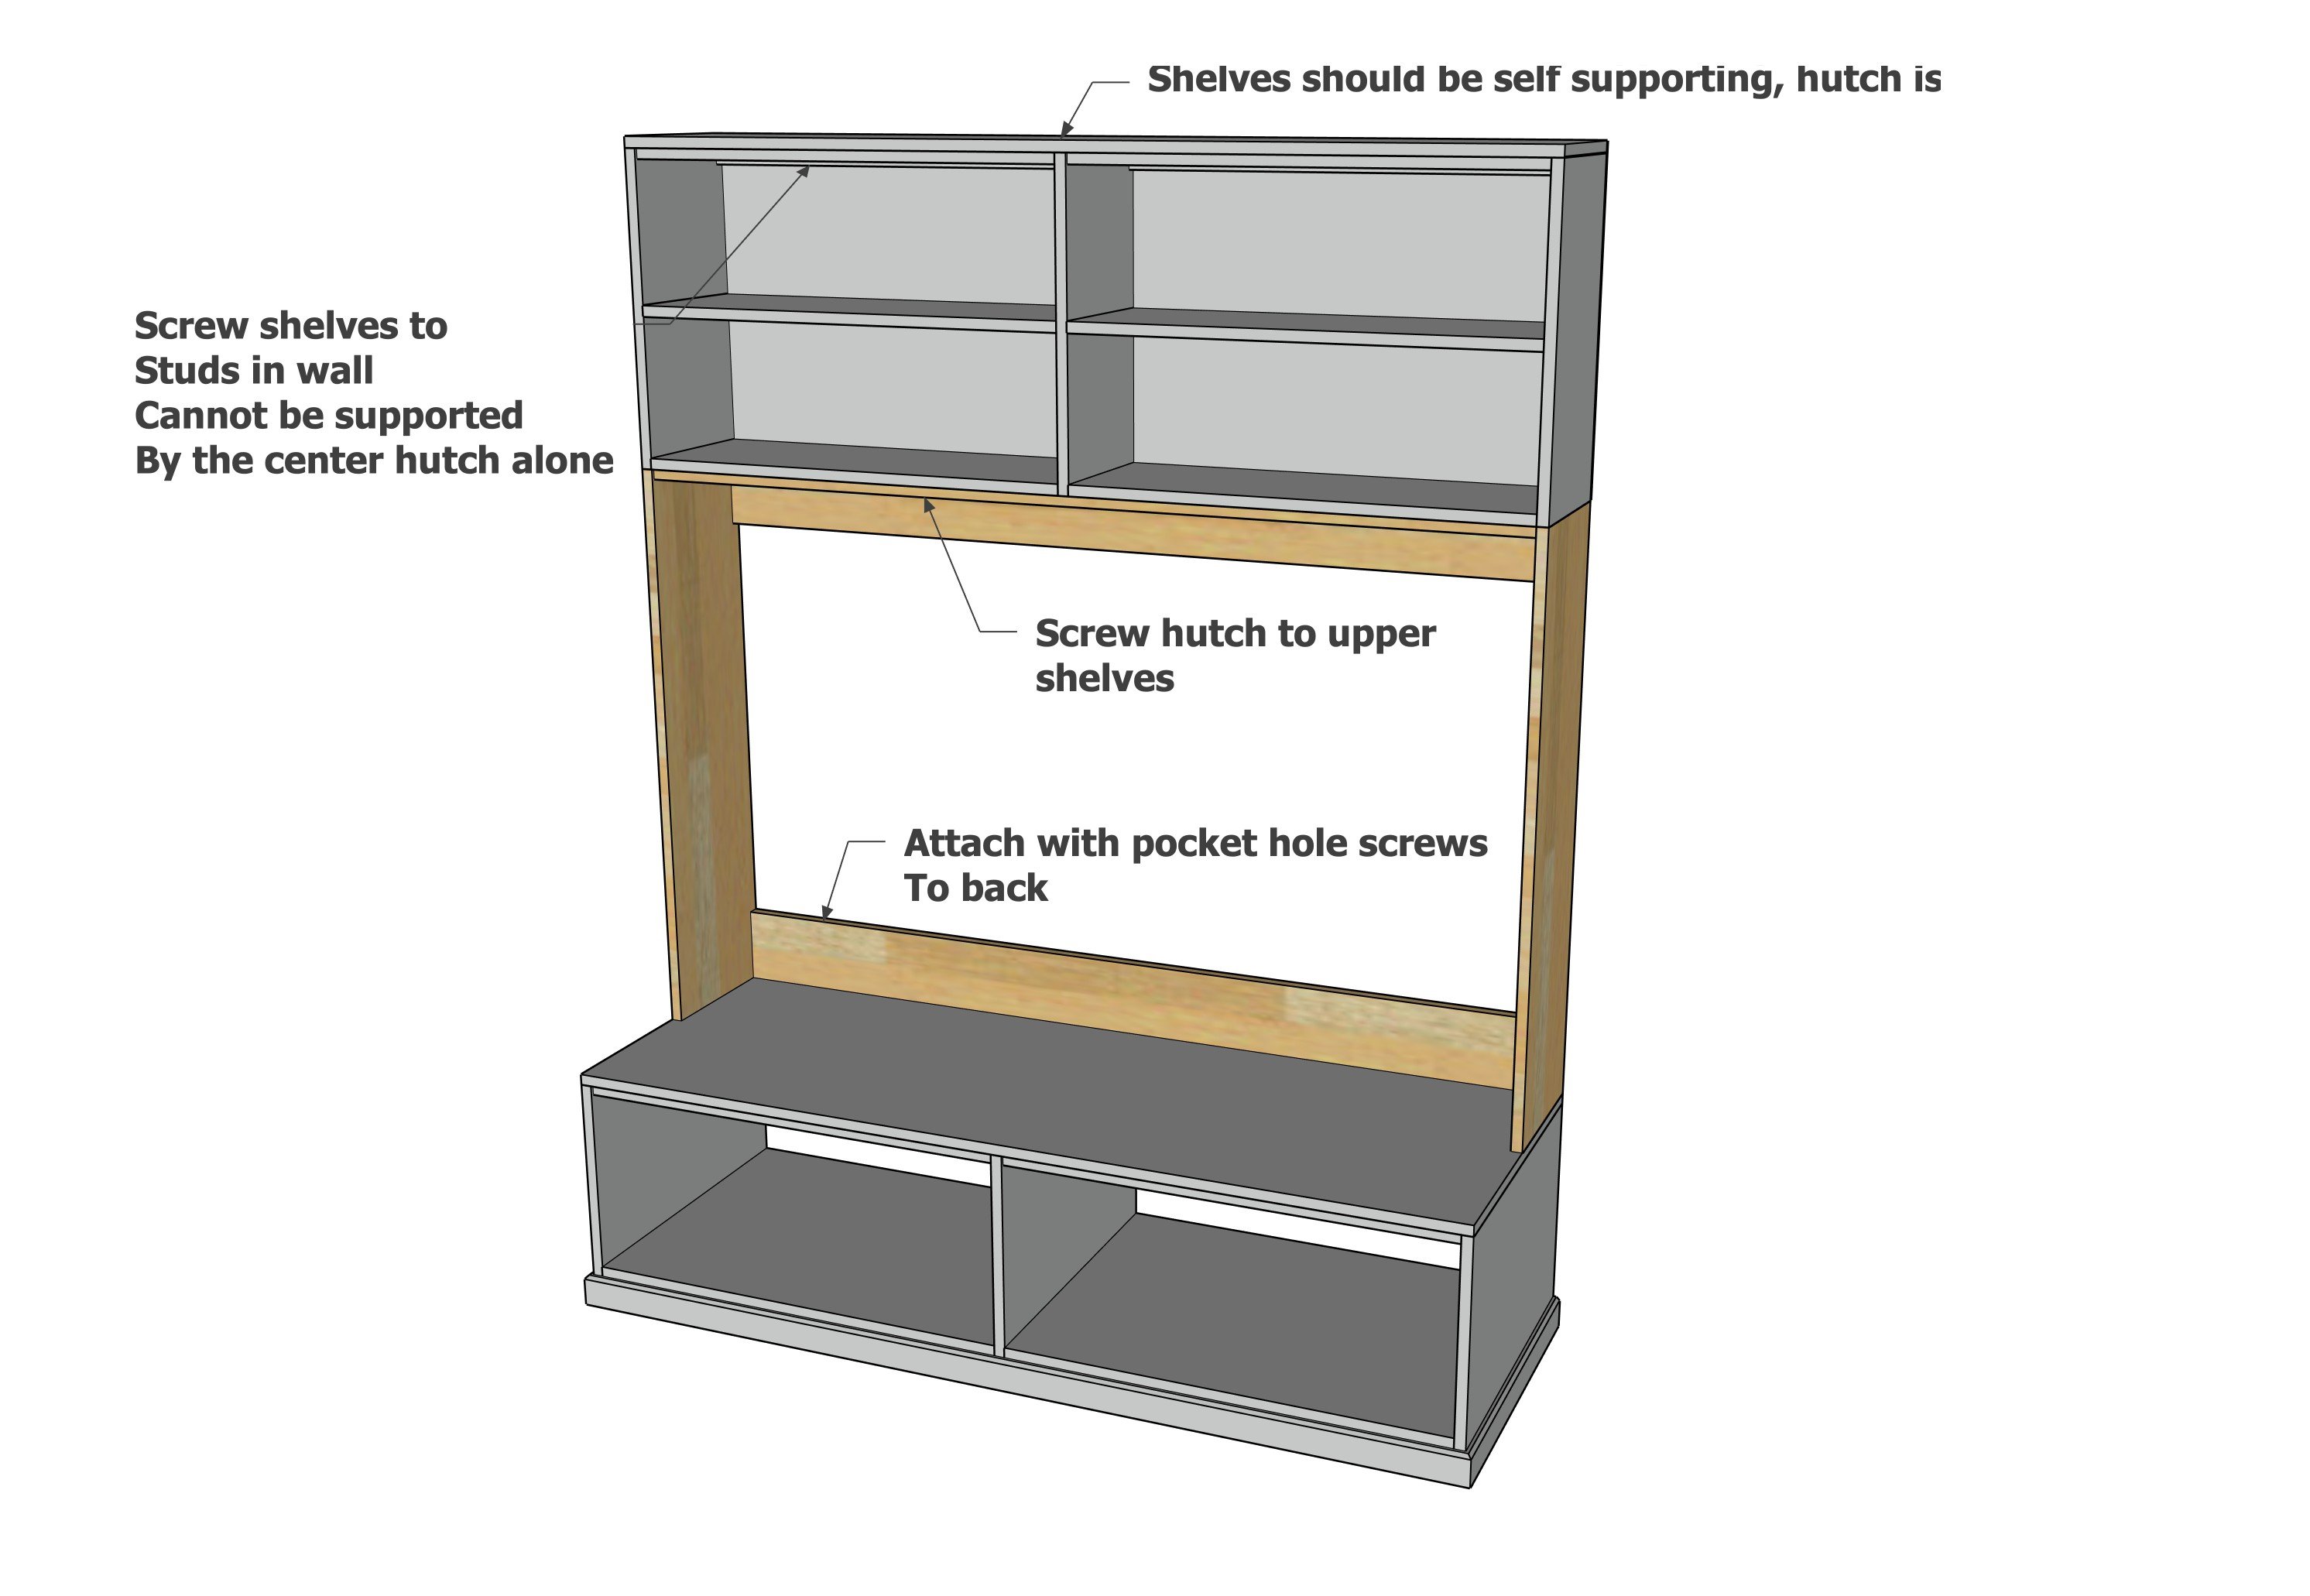
Install the pieces together. This will be a very tippy process, be careful and having a second person is necessary to lift the upper shelves on top.
The hutch is NOT STRUCTURAL so the upper shelves must be self supporting and screwed to studs in the wall.
I had intended to attach the hutch at the front to the bench with screws from underneath, but ended up not, as it didn't seem to need the attachment point, and I didn't want an exposed pocket hole there.
There was no exposed holes for fasteners so I went straight to paint with primer.
I rolled/brushed on three light coats, with light sanding with fine sandpaper in between coats.