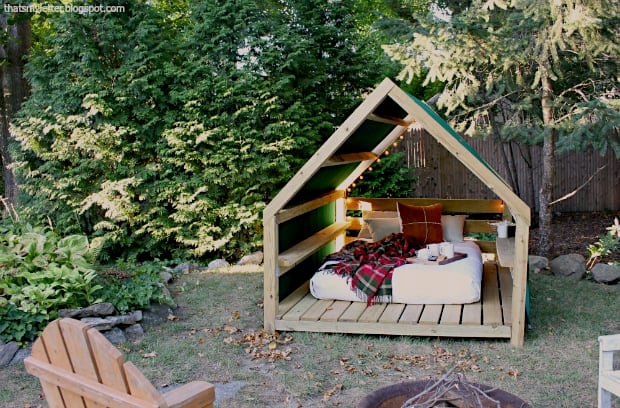
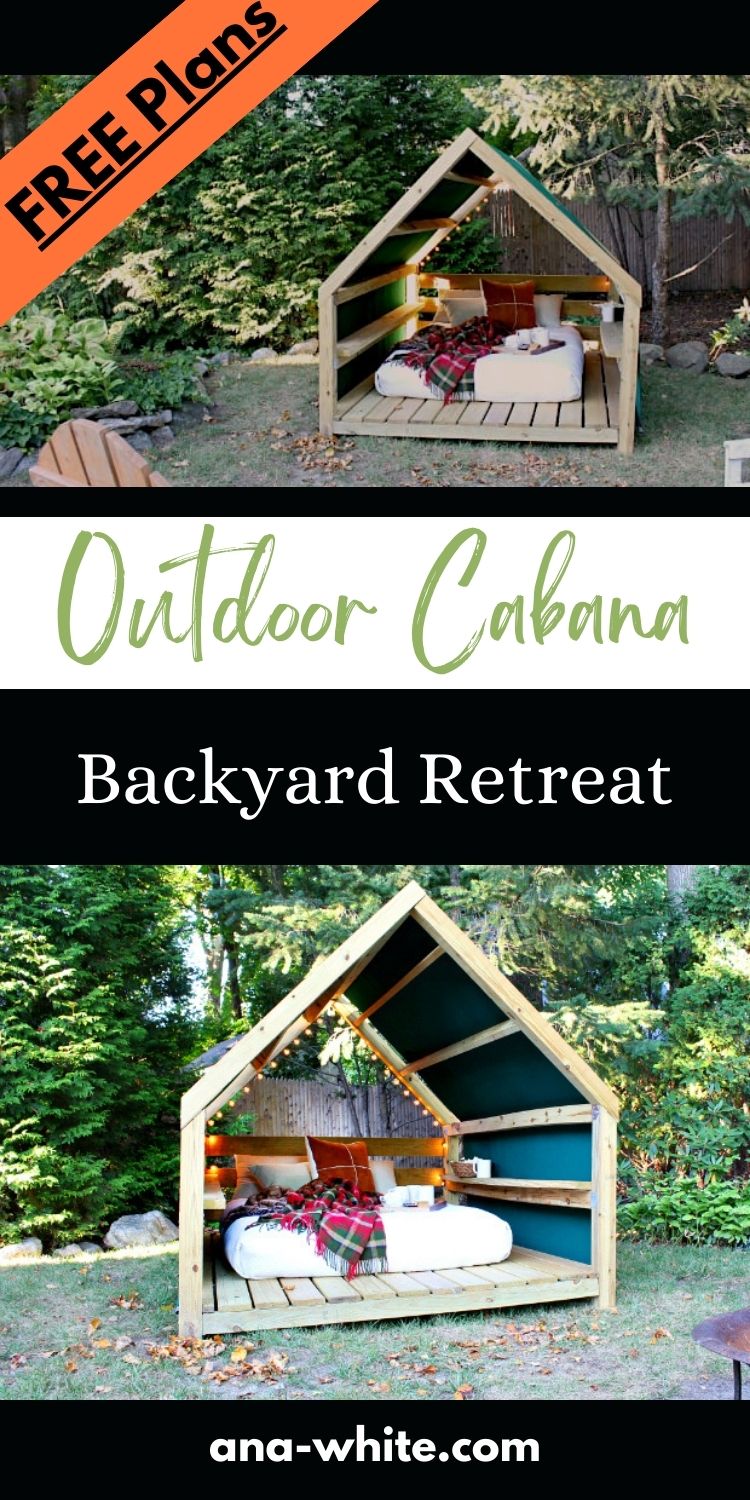
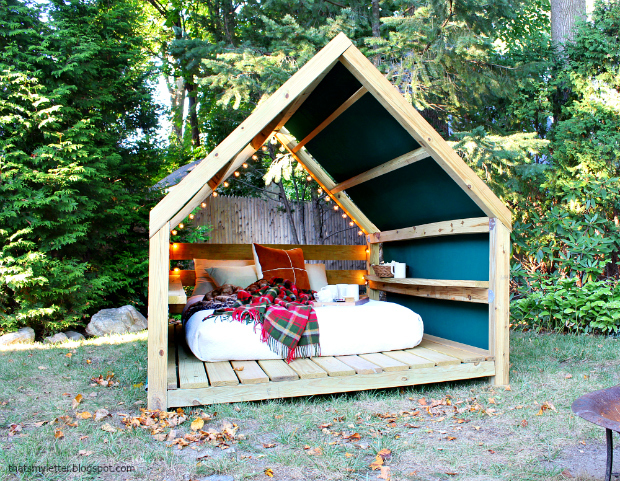
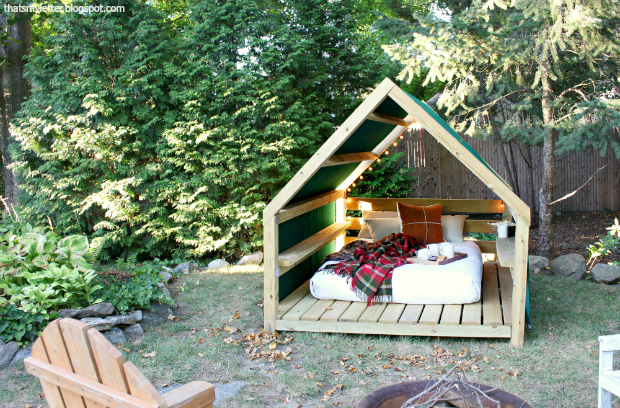
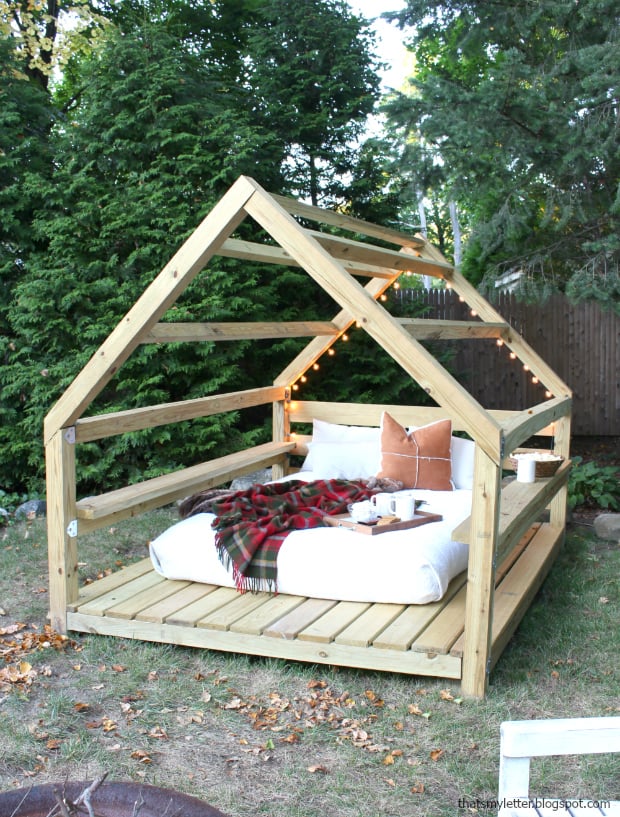
Amazing DIY outdoor cabana - create your own backyard hideout with free plans from ANA-WHITE.com
Pin For Later!
Preparation
- 6 - 4x4 @ 8 feet long
- 12 - 2x4 @ 8 feet long
- 16 - 2x6 @ 8 feet long
- 2 - 2x8 @ 8 feet long
- 3" exterior decking screws
- 2-1/2" exterior pocket hole screws
- Simpson strong tie post connectors (see That's My Letter's post for more details)
- concrete pier blocks or similar for leveling project on in it's permanent location
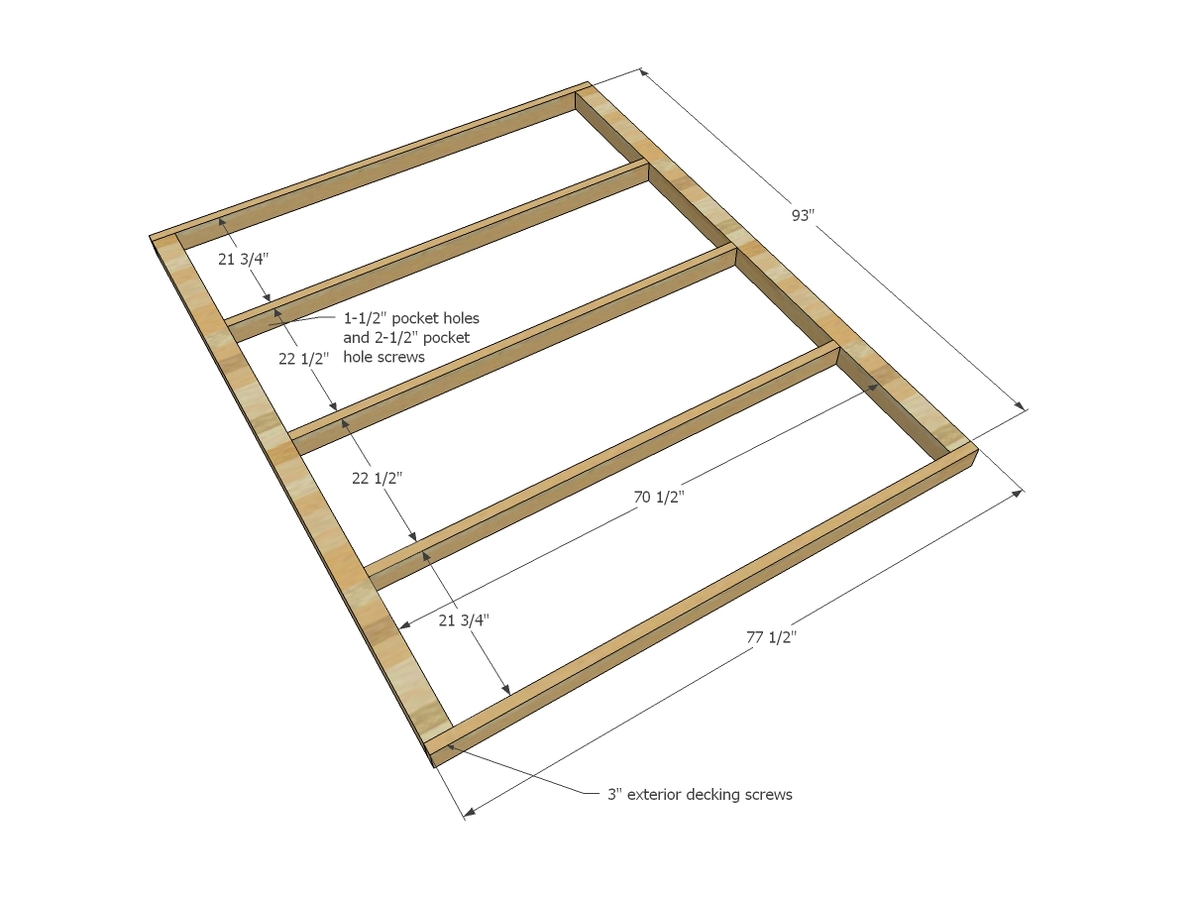
- 2 - 4x4 @ 93"
- 2 - 2x4 @ 77-1/2"
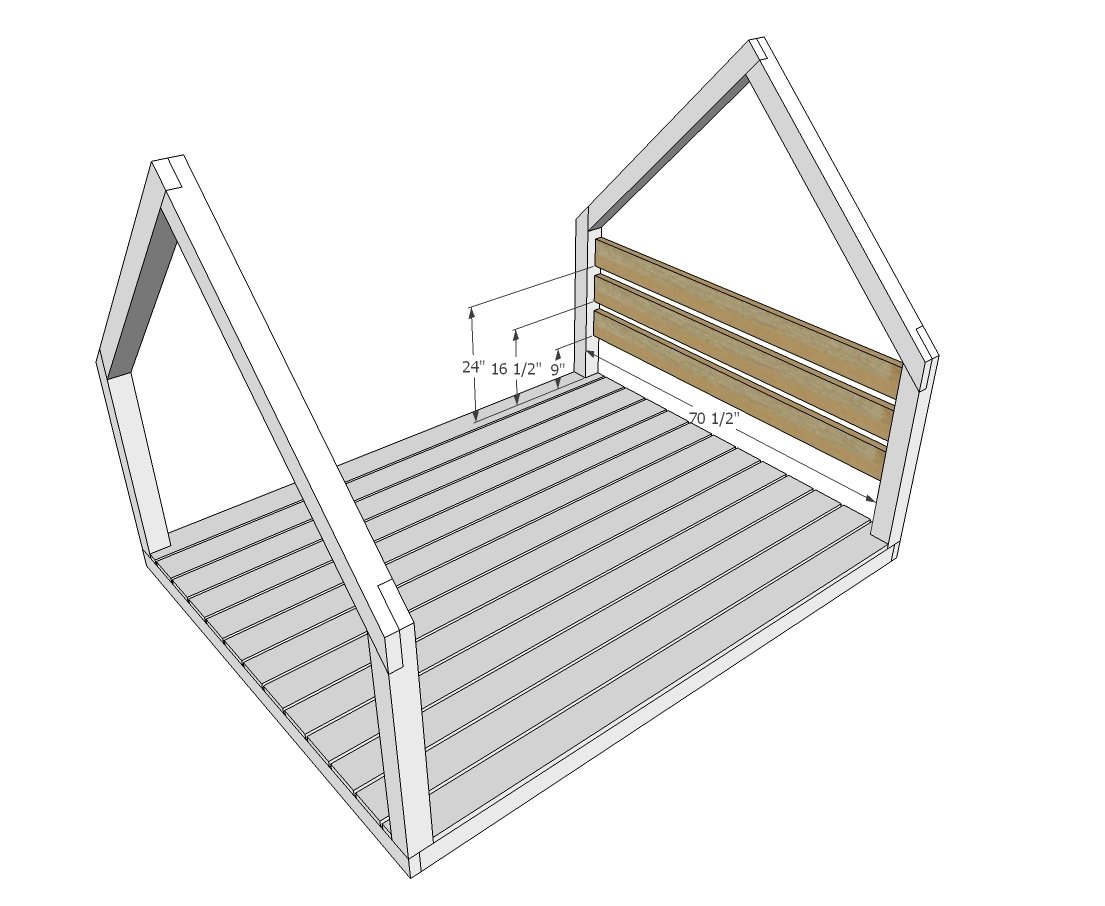
- 3 - 2x4 @ 70-1/2"
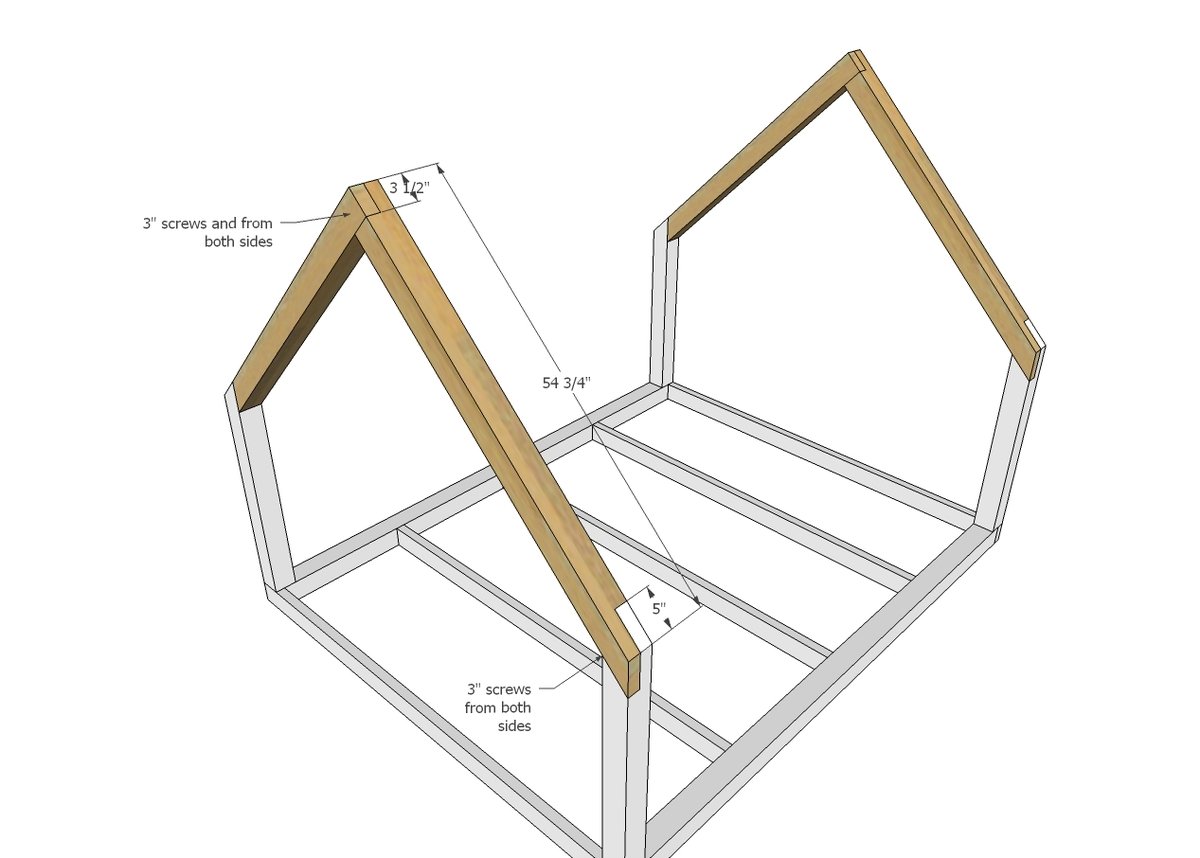
- 4 - 4x4 @ 37-1/2" - One end cut at 45 degrees off square, longest point measurement
- 4 - 4x4 @ 58-1/4" - One end cut at 45 degrees off square, longest point measurement
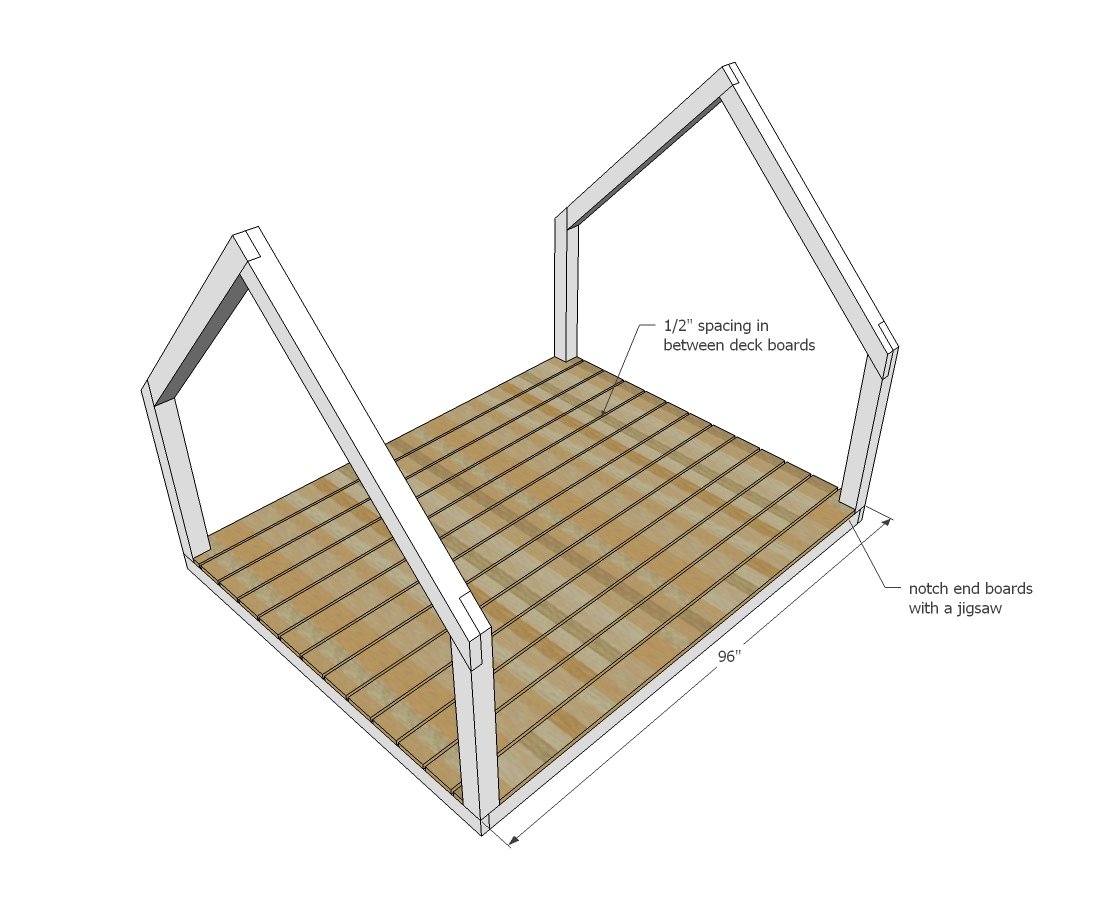
- 13 - 2x6 @ 96" - decking boards
- 3 - 2x6 @ 70-1/2"
- 7 - 2x4 @ 89"
- 2 - 2x8 @ 89"
Instructions
Step 1
NOTE: The plans differ slightly from Jaime's build to have the floor built first, with upper framing built on top. See Jaime's post here on how she kept her legs longer, building the floor into the legs.
Build the floor, using pocket holes for the inner floor joists and 3" screws for the outer front 2x4s. Adjust for square. Place the floor in it's final position now, level if necessary or place on pier blocks and bolt down.
Step 2
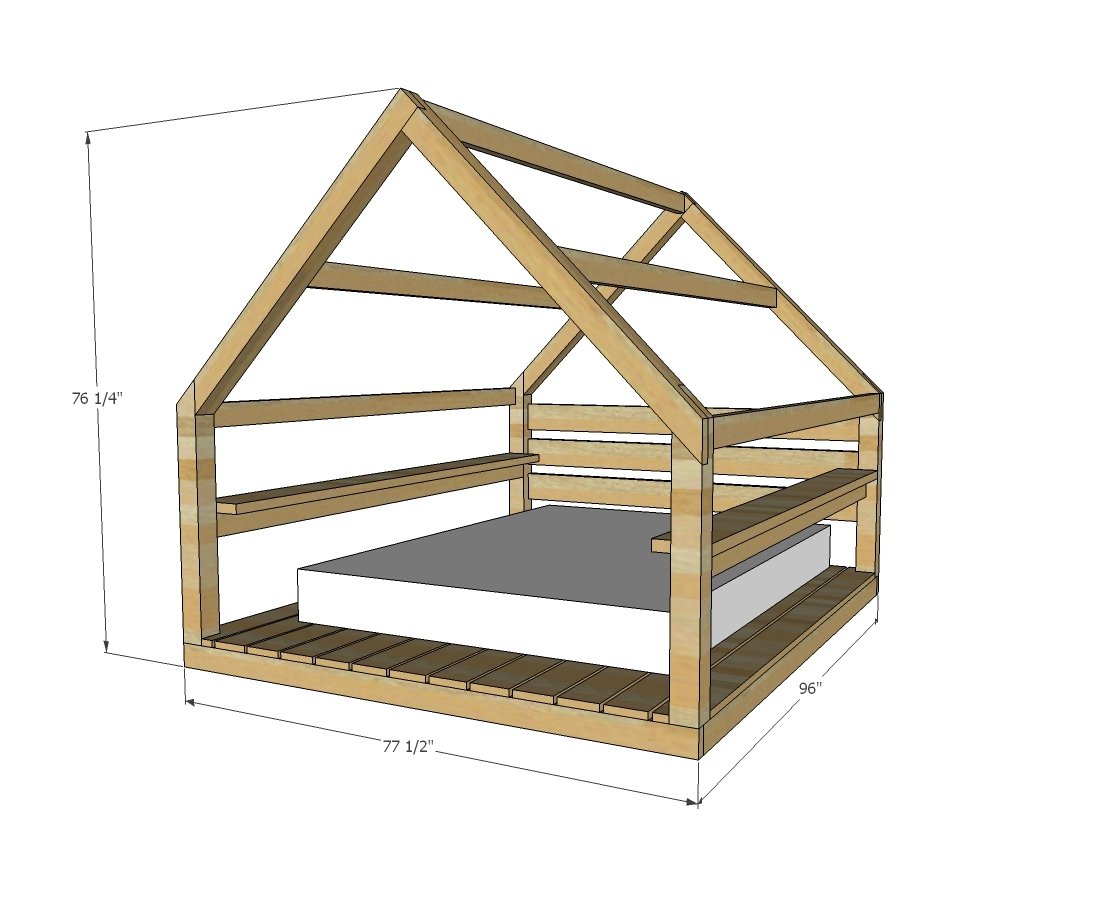
Notch all of the leg tops as shown above. See That's My Letter's build post for photos and details on how she notched her 4x4s.
Attach legs on top of 4x4 with Simpson Strong Tie post upright connector or 5" lag screws from underneath or pocket holes on the two inside sides.








Comments
brianmwise
Mon, 10/03/2016 - 13:00
Nice - do you have a Sketchup file for this?
This is very similar to what I'm trying to build, but I have different dimensions, and want to keep the floor to a 60" by 80" footprint (IE, queen-sized bed only). You used to attach the .skp files to these; do you have them to share?
In reply to Nice - do you have a Sketchup file for this? by brianmwise
Ana White
Mon, 10/03/2016 - 20:00
Not at this time, but we're
Not at this time, but we're working on it!
erochelle87
Wed, 02/22/2017 - 16:45
mattress
How is the mattress made? Is it a regular mattress that gets wet or an air mattress?
ftdnotlsd
Tue, 05/14/2019 - 09:40
I'm planning on building…
I'm planning on building this as a playhouse for my daughter and while reviewing the plans I noticed that the photos look like the decking boards are 1x6s rather than the 2x6s that are listed in the shopping list. Could you please confirm, so i don't purchase the incorrect size planks?
Many Thanks
Evan