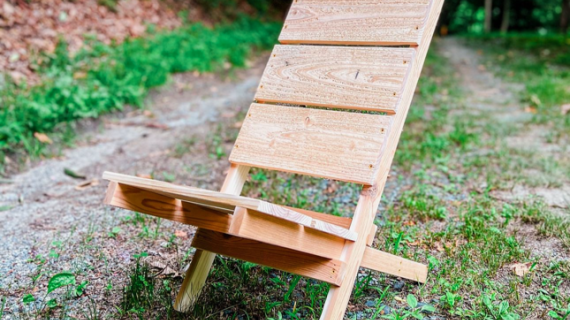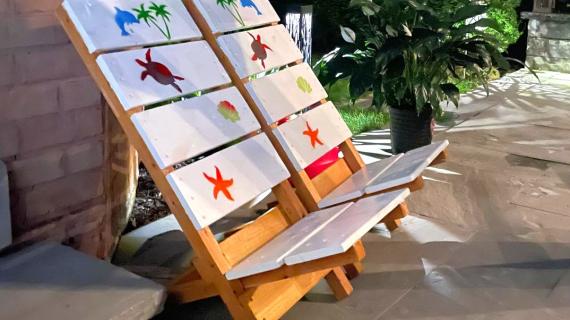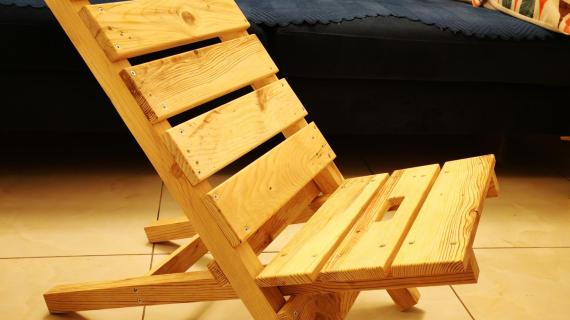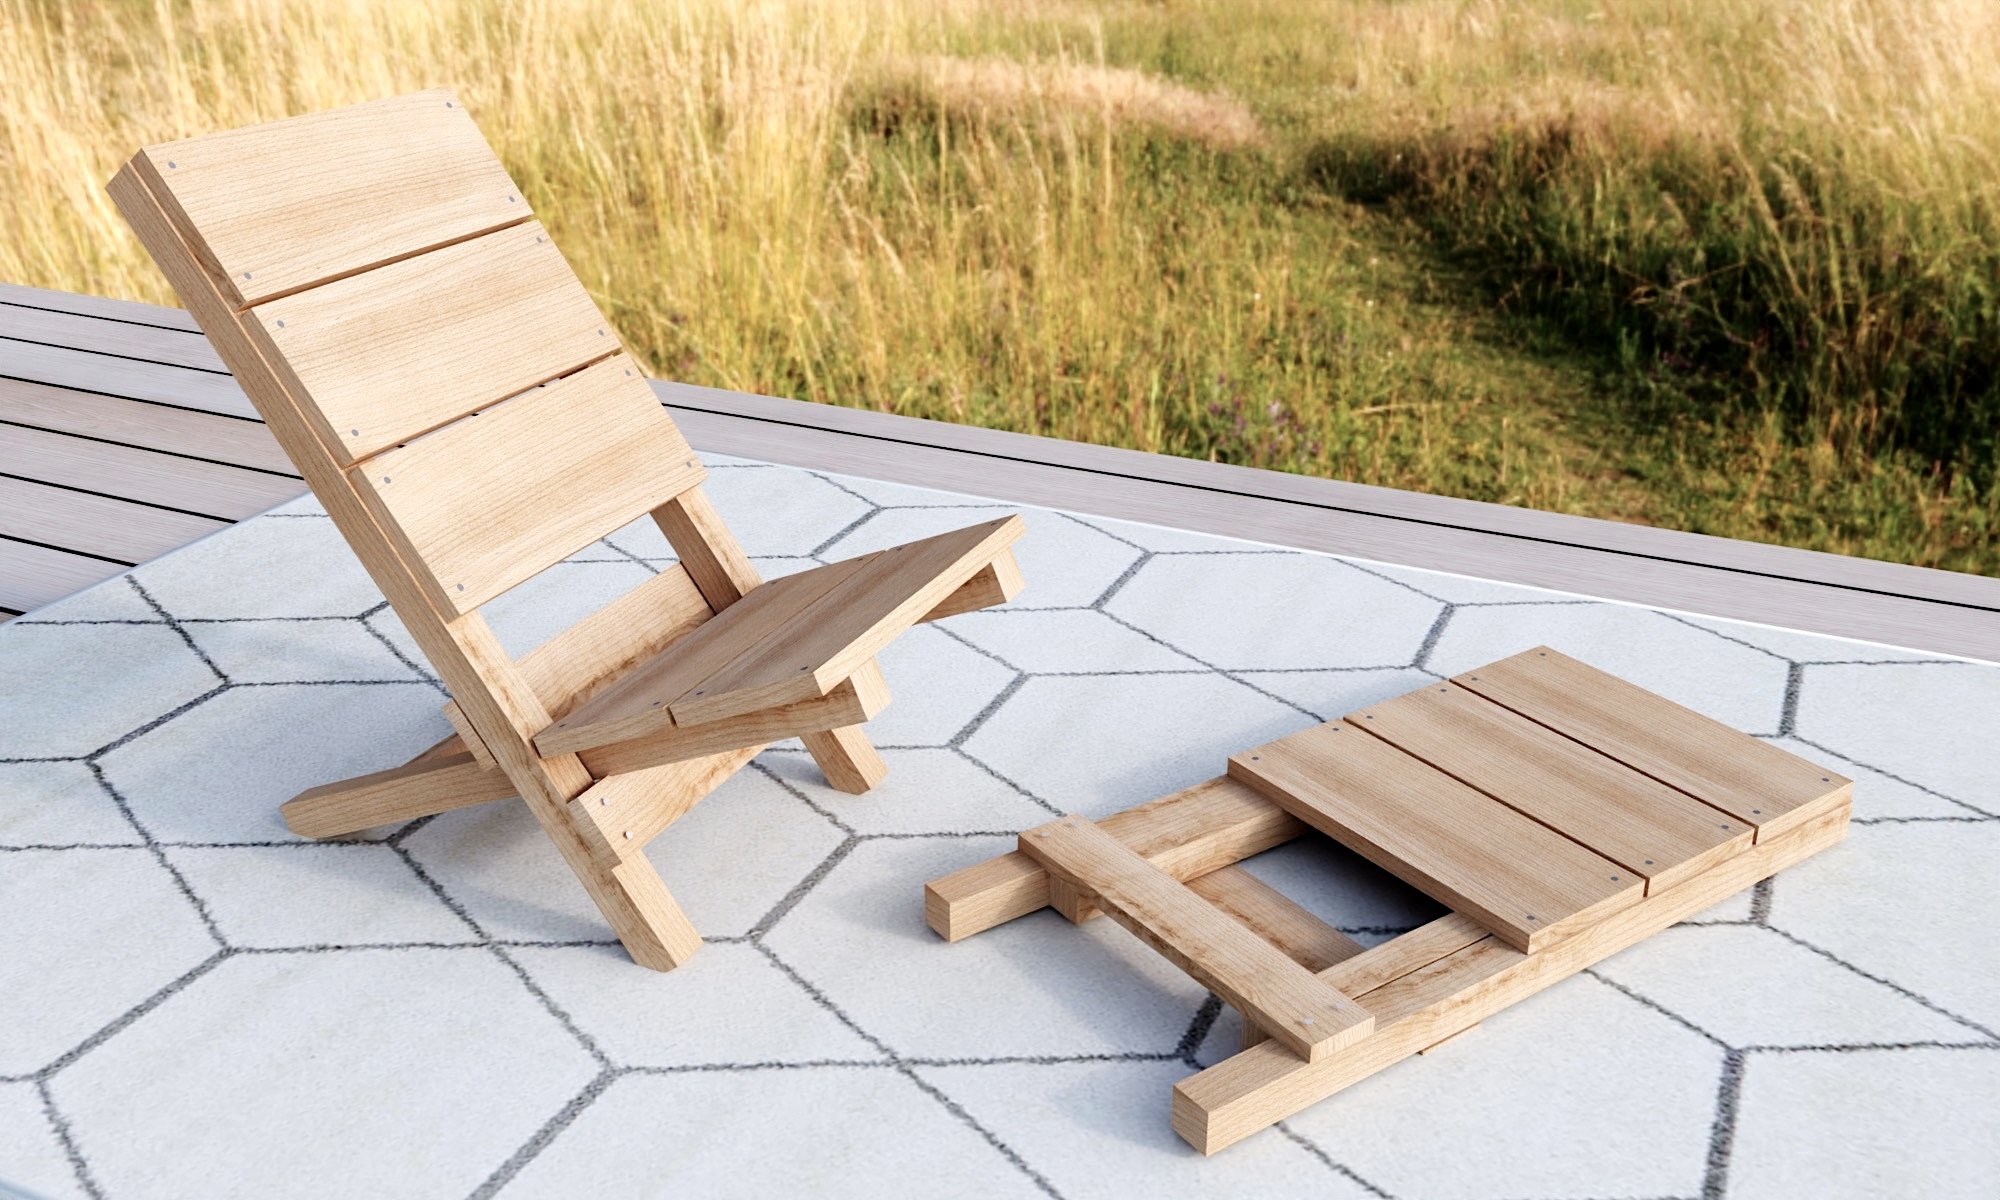


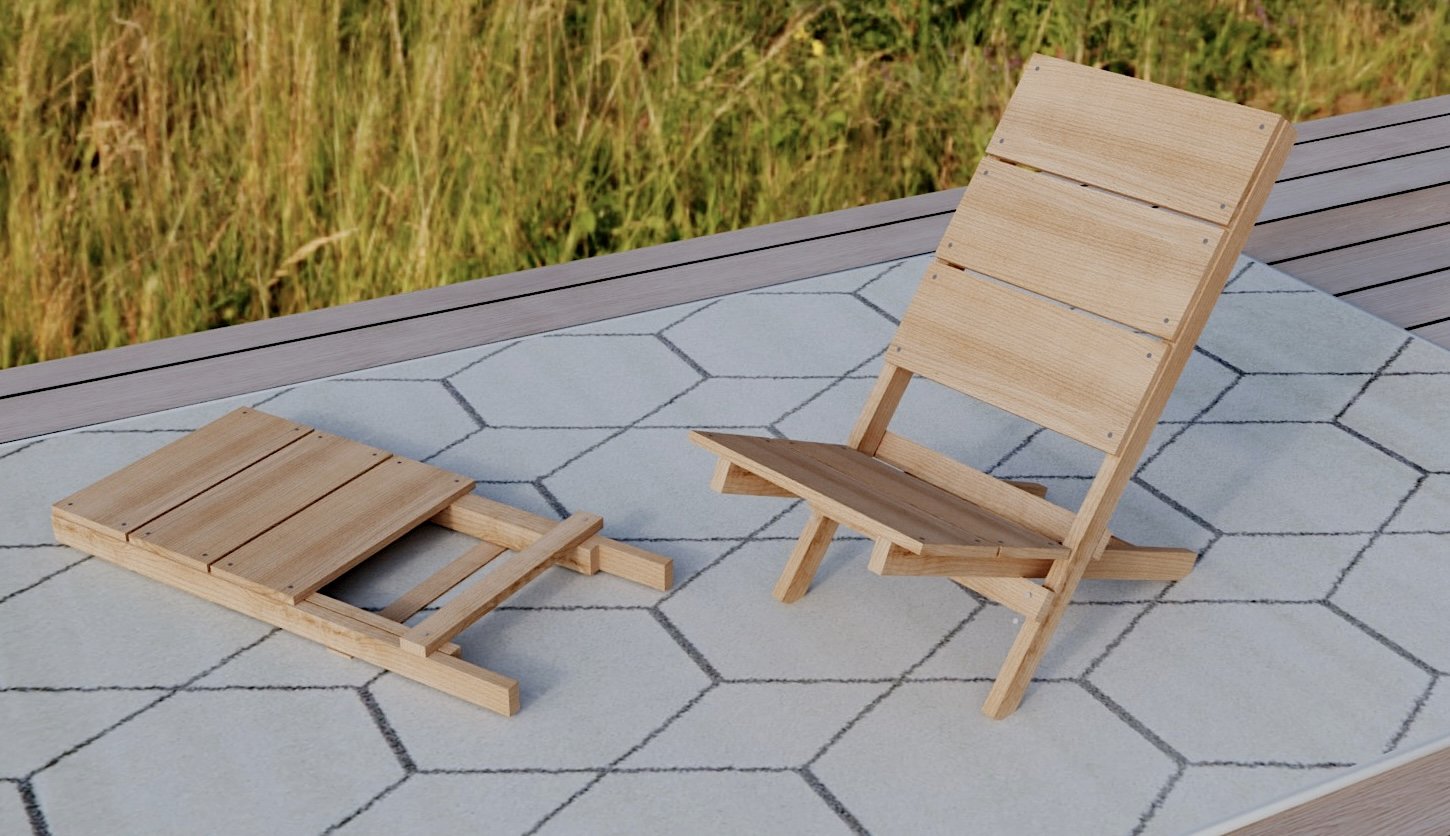
For about $10 in lumber, using this free plan, you can build your own wooden beach chairs! This chair breaks down into two pieces that nest together so it's easy to transport and store.
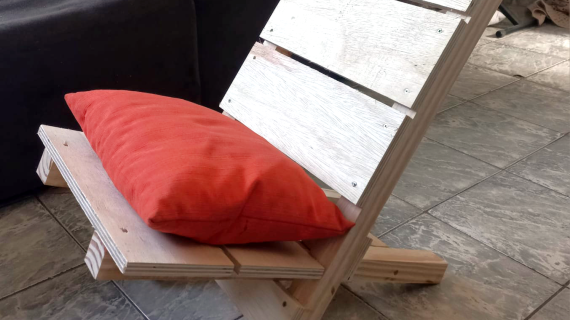
This is a very comfortable chair, suitable for small to average sized persons.
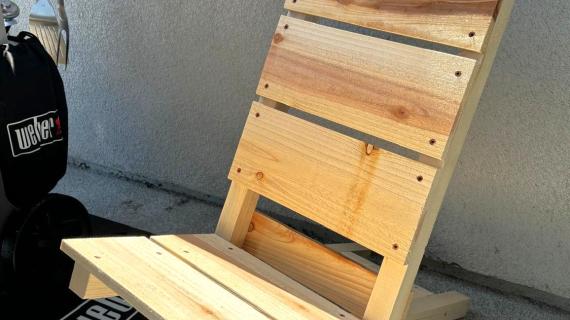
The chair is built using cedar fence pickets and furring strips, the cost to build each chair should be under $10.
It is a beginner friendly plan, perfect for a first woodworking project or a youth project.
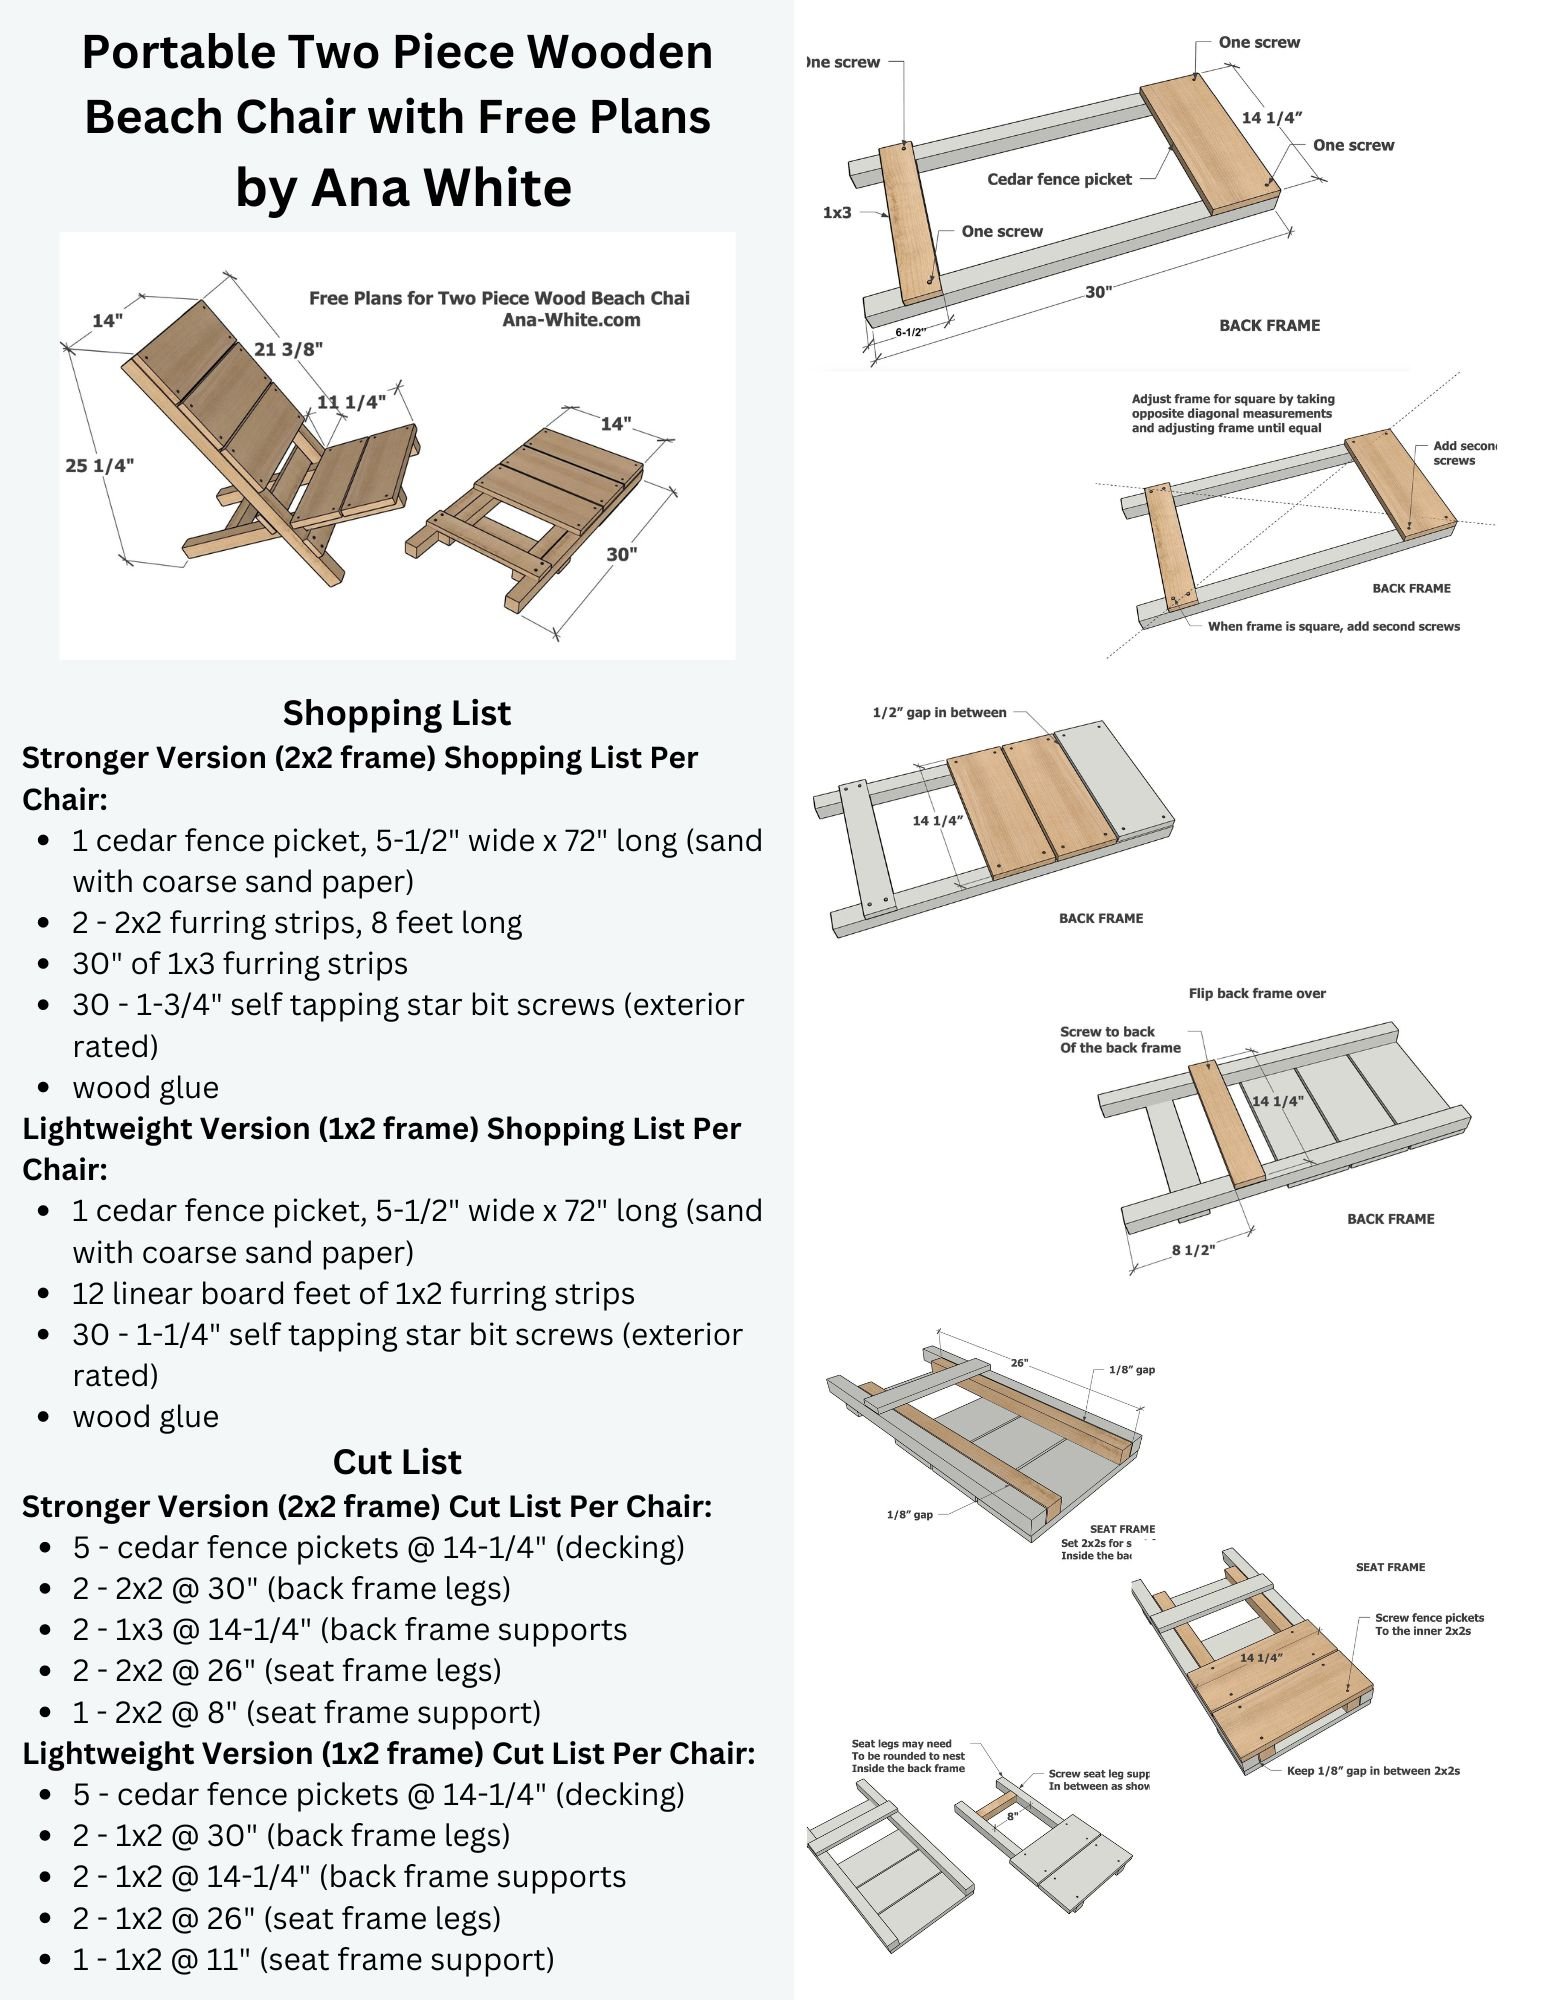
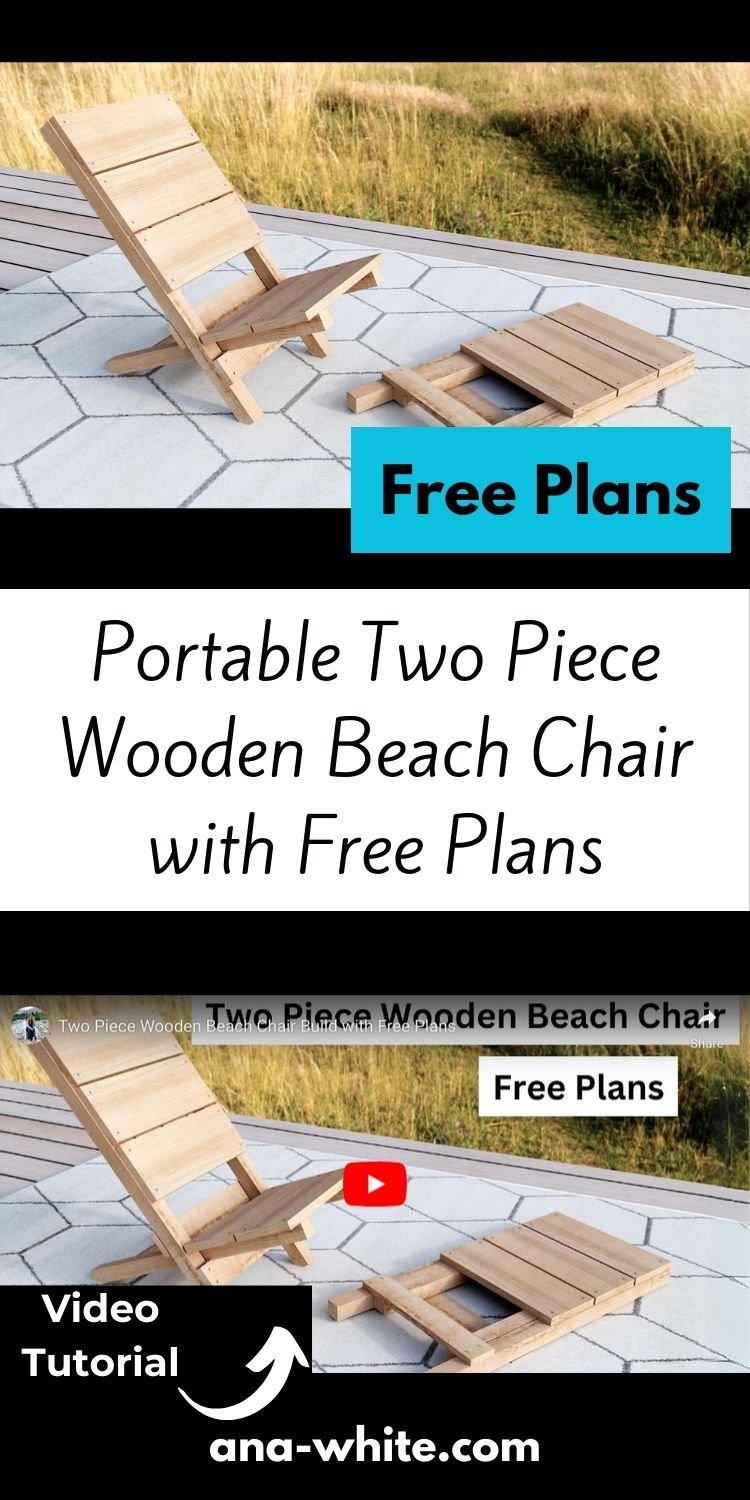
Step by step plans include video, detailed diagrams, shopping and cut lists, everything you need to build your own two piece wooden beach chairs!
Why I Made These Beach Chairs
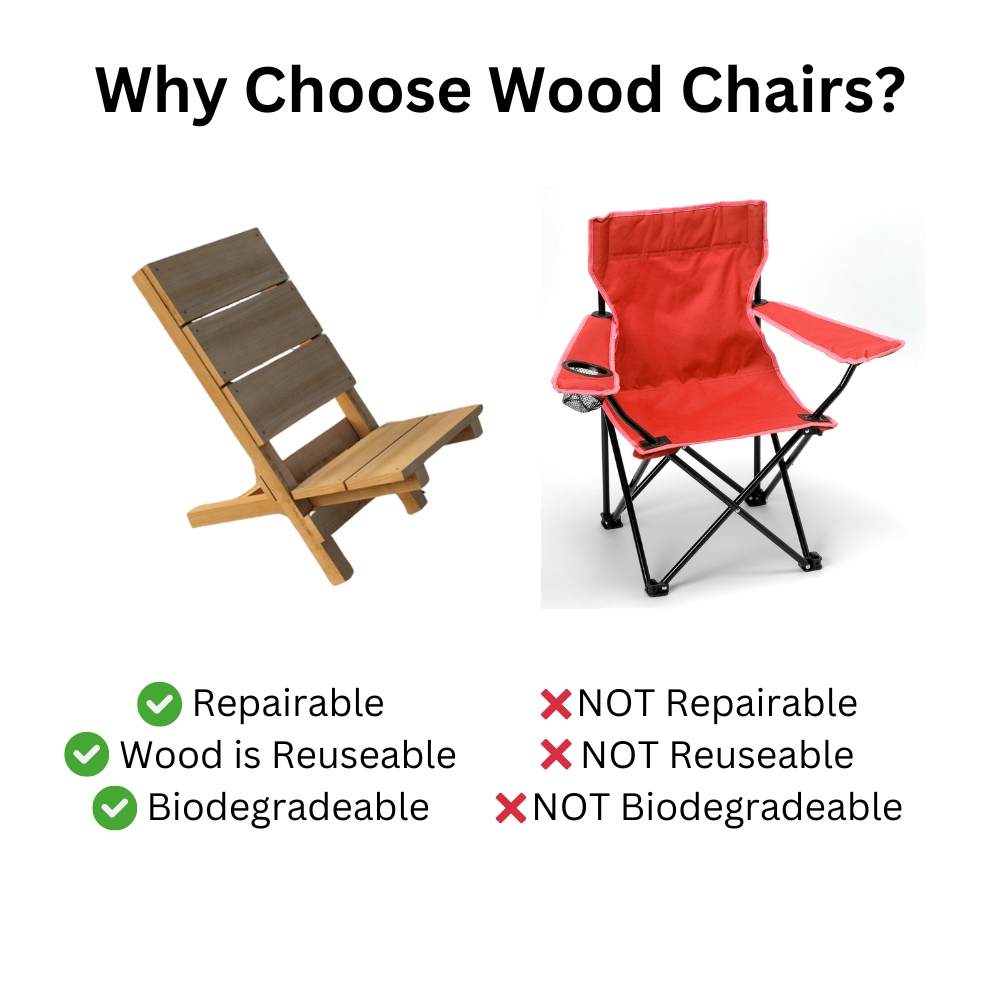
It's summer, and my kids are looking forward to swimming at our little river washed beach spot. I'm so tired of buying camp chairs that break after a year or two, and end of living forever in a landfill since they aren't repairable, reusable or biodegradable.
I've been making wood outdoor chairs in our yard, but what about a chair that is portable enough to travel?
I am certainly not the creator of this design (not sure who to credit here), but I did give it my own twist by using cedar fence pickets to make the chairs lighter, more durable, and less expensive. Also, I went through many prototypes attempting to find the perfect balance between comfort, durability, portability and ease of building.
The result is a very comfortable, lightweight chair. It is perfect for myself and the kids. My husband thought it would need to be a little stronger to support him, so we also are providing a plan option for a stronger version (that also is heavier).
1x2 version of the chair as built in the video is lighter, but not as strong and more difficult to build
The back height hits at the shoulders, so you can recline fully. The seat height is low enough that it supports your seat, but keeps you close enough to the ground that a footrest is not needed.
Of note, when leaning forward, the chair can tip forward. I did prototypes with front legs and tested different angles, in the end, I determined that the forward tipping potential was not worth the extra moving parts, weight and complexity (more to break) needed to solve the issue. The chair is so low to the ground, your feet would always be on the ground (unless you are under four feet tall). So yes, the chair can tip, but your feet will always be there to support you.
How I Built These Chairs
These chairs were QUICK to build, and so easy, I hope this becomes a youth project favorite. But there are some techniques to use to help you build the chairs square, and make sure they nest together. Please take a second to watch the quick build video here:
Free Plans to Build Your Own Wood Beach Chairs
We are glad to be able to provide free plans to use to build your own beach chairs. Can't wait to see your photos!
Pin For Later!
Preparation
Stronger Version (2x2 frame) Shopping List Per Chair:
- 1 cedar fence picket, 5-1/2" wide x 72" long (sand with coarse sand paper)
- 2 - 2x2 furring strips, 8 feet long
- 30" of 1x3 furring strips
- 30 - 1-3/4" self tapping star bit screws (exterior rated)
- wood glue
Lightweight Version (1x2 frame) Shopping List Per Chair:
- 1 cedar fence picket, 5-1/2" wide x 72" long (sand with coarse sand paper)
- 12 linear board feet of 1x2 furring strips
- 30 - 1-1/4" self tapping star bit screws (exterior rated)
- wood glue
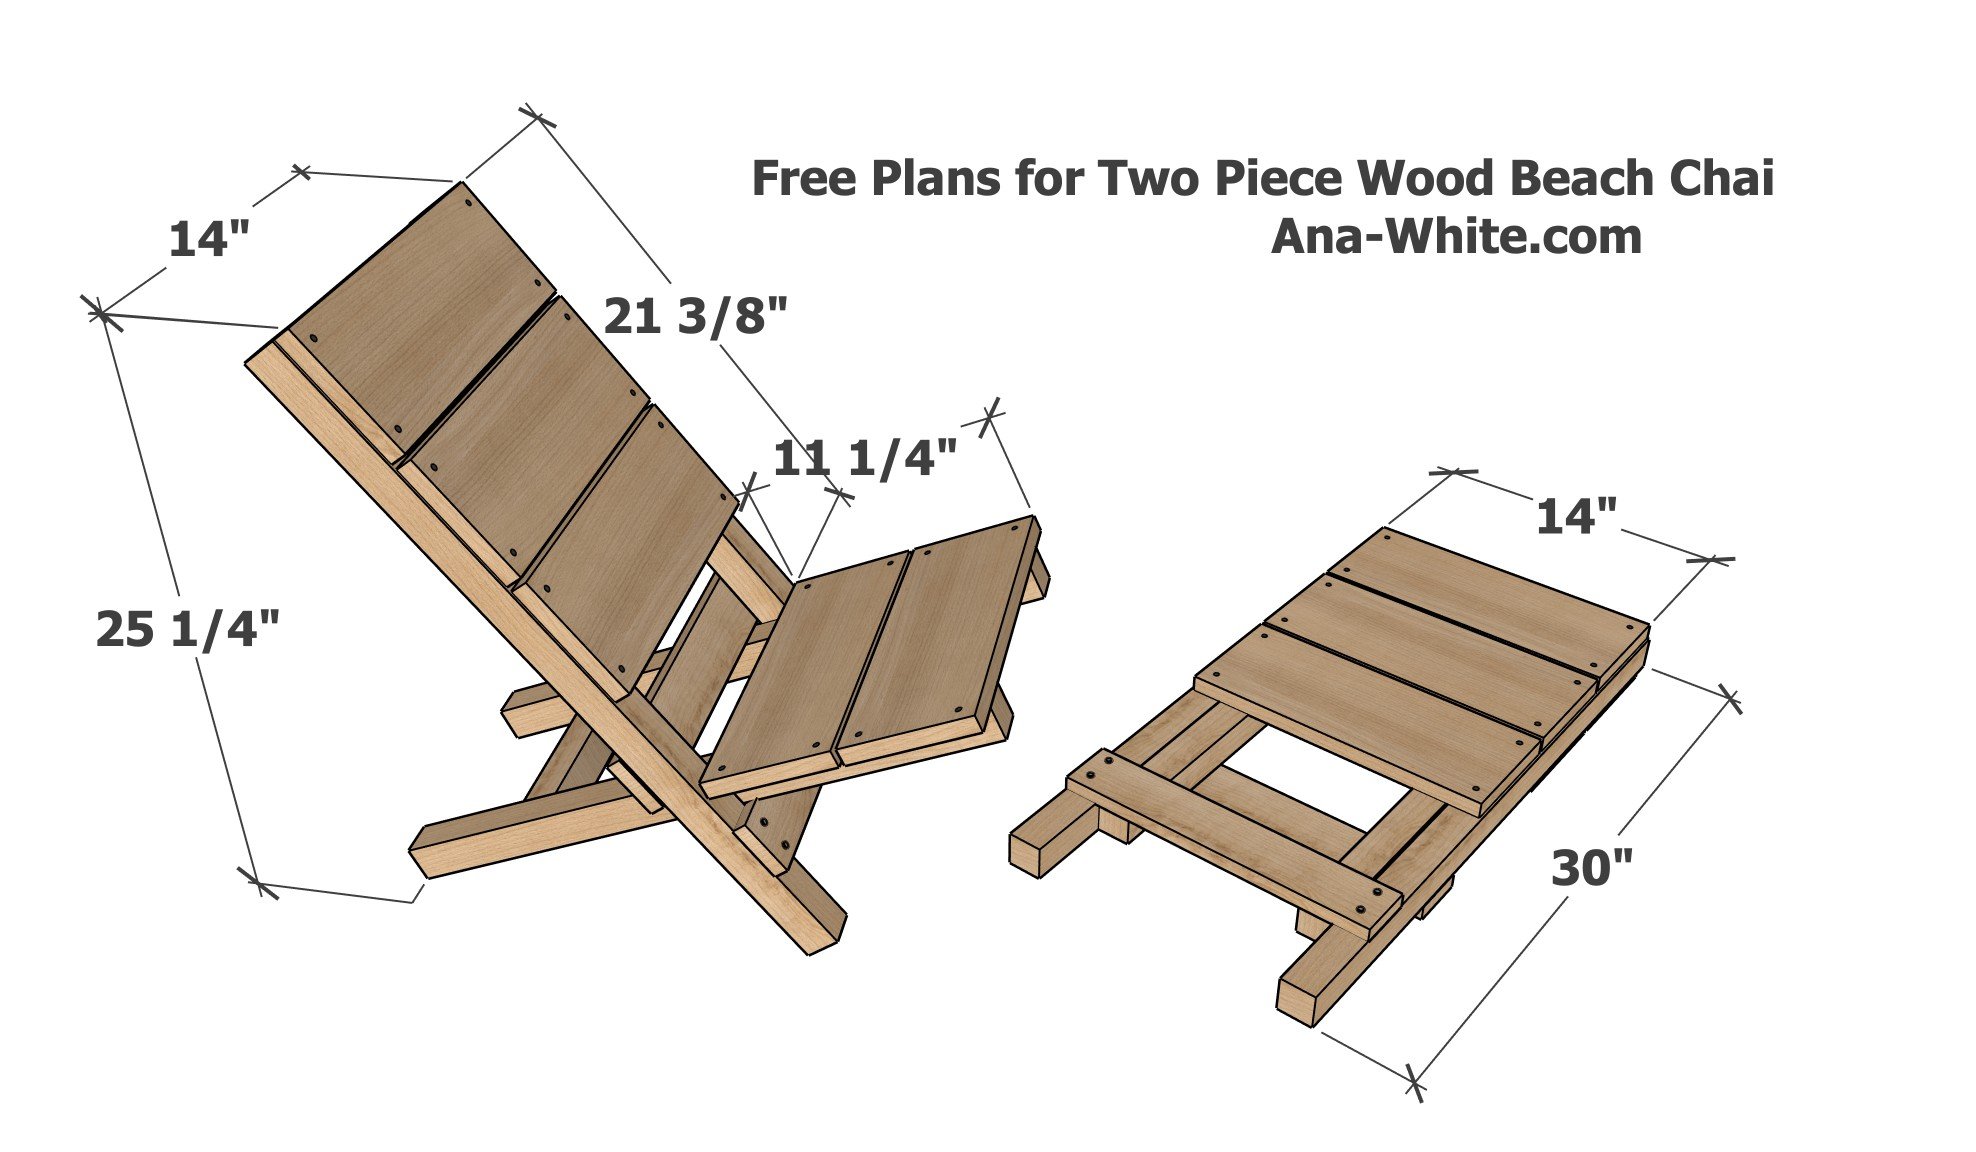
Stronger Version (2x2 frame) Cut List Per Chair:
- 5 - cedar fence pickets @ 14-1/4" (decking)
- 2 - 2x2 @ 30" (back frame legs)
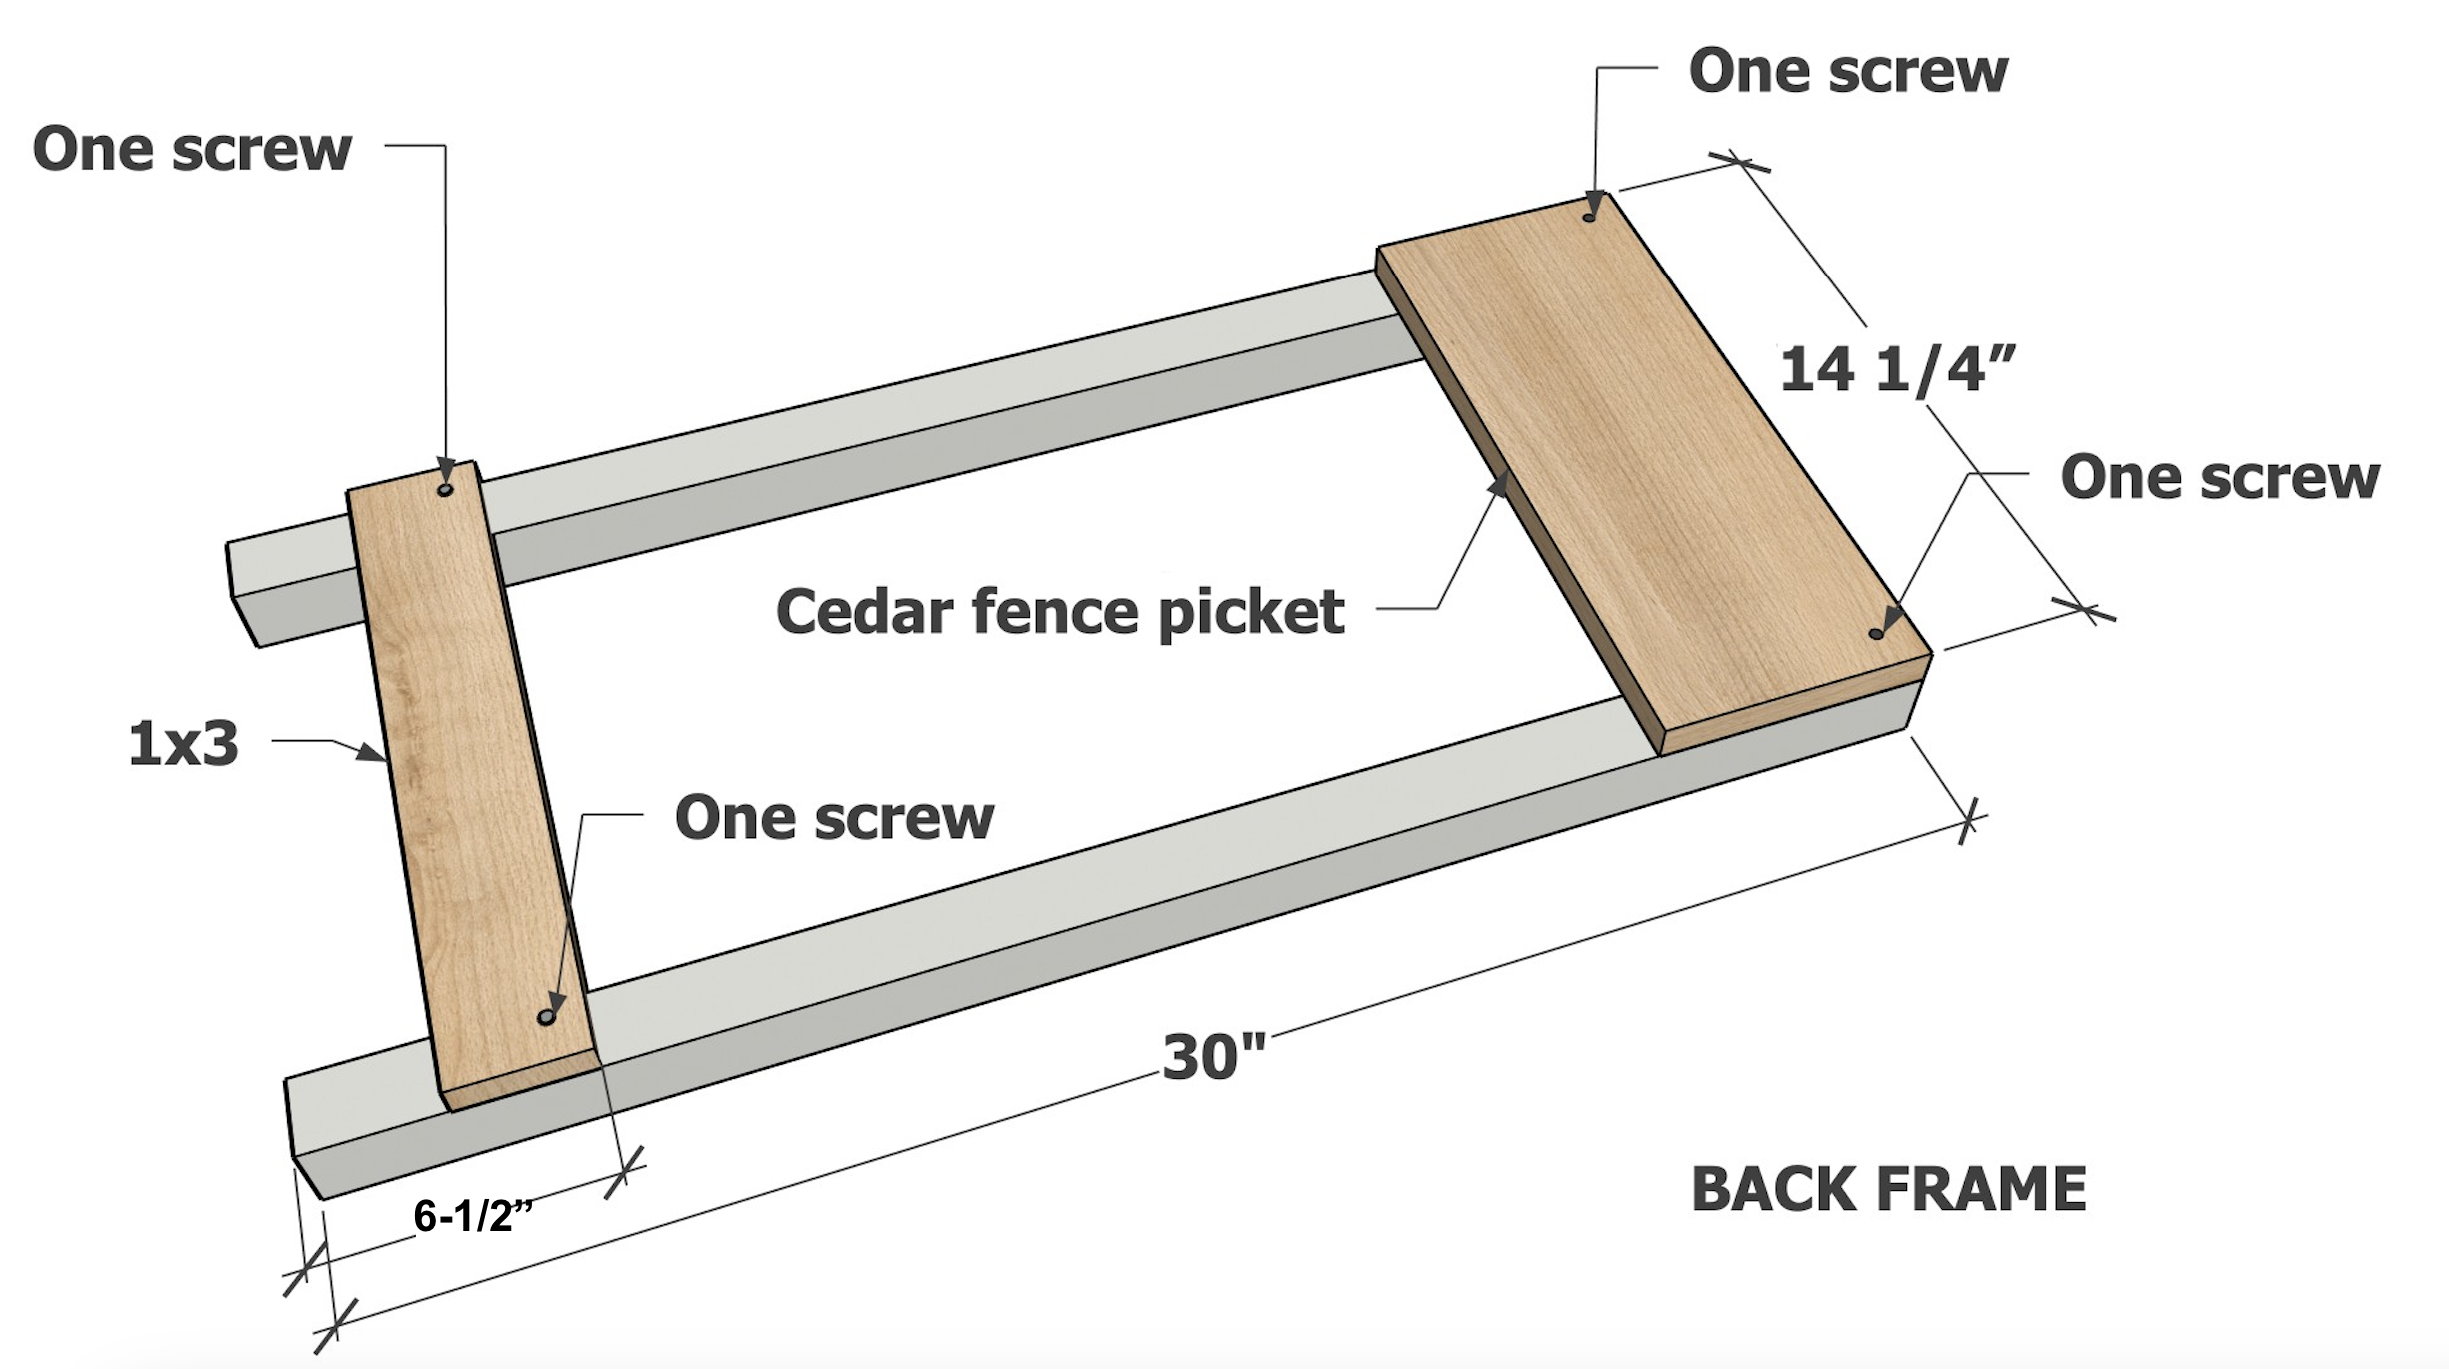
- 2 - 1x3 @ 14-1/4" (back frame supports
- 2 - 2x2 @ 26" (seat frame legs)
- 1 - 2x2 @ 8" (seat frame support)
Lightweight Version (1x2 frame) Cut List Per Chair:
- 5 - cedar fence pickets @ 14-1/4" (decking)
- 2 - 1x2 @ 30" (back frame legs)
- 2 - 1x2 @ 14-1/4" (back frame supports
- 2 - 1x2 @ 26" (seat frame legs)
- 1 - 1x2 @ 11" (seat frame support)
The easiest way to cut will be with a miter saw or chop saw.
You can also use a circular saw or a jigsaw to cut, but this will be more challenging.


Test the wood pieces to see if they will split when drilling into with the self tapping screws. If needed, predrill holes before assembling.
The cedar fence pickets may be rough. Sand off any splinters or rough areas with coarse sandpaper. Use a mask when sanding to protect your respiratory system.
Instructions
Step 1
You'll need to work quickly through this step to prevent the glue from drying on you.
Layout the back frame as shown and measure and mark location of the bottom support.
Apply glue and just one screw per corner as shown.
Proceed to step 2 quickly (before glue dries)
Step 2

Take a square of the back frame by taking opposite diagonal measurements.
If one diagonal is longer than the other, push the longer diagonal corners together. Adjust until the two diagonal match.
Your project is now "square".
Add remaining screws as shown.
NOTE: If using 1x2s, predrill screws to prevent from splitting wood.
Step 3

Add the remaining fence pickets to the frame as shown.
Step 4

Flip the project over and add the back support as shown.
This complete construction of the back frame.
Step 5

Place seat frame legs inside the back frame.
If the fit is too snug, try rotating if using 2x2s. You may need to round the corners or sand lightly to get the seat frame legs to fit inside the back frame.
Set the seat legs so there is an approximate 1/8" gap between the back frame legs.
Step 6

Set the remaining fence pickets on the seat frame legs and adjust as needed.
Screw the fence pickets to the seat frame legs.
Step 7

Remove the seat frame from the back frame and screw the bottom support to the inside.
For the 1x2 construction, the 1x2 will be 11" long
Do not paint or use a film forming polyurethane.