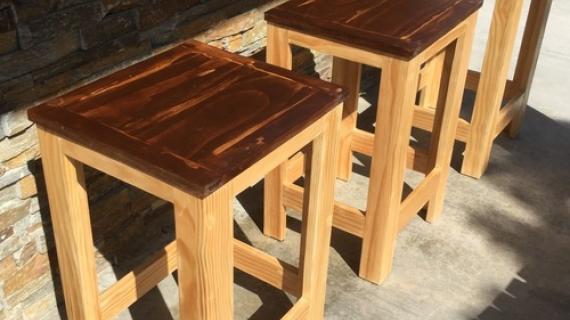


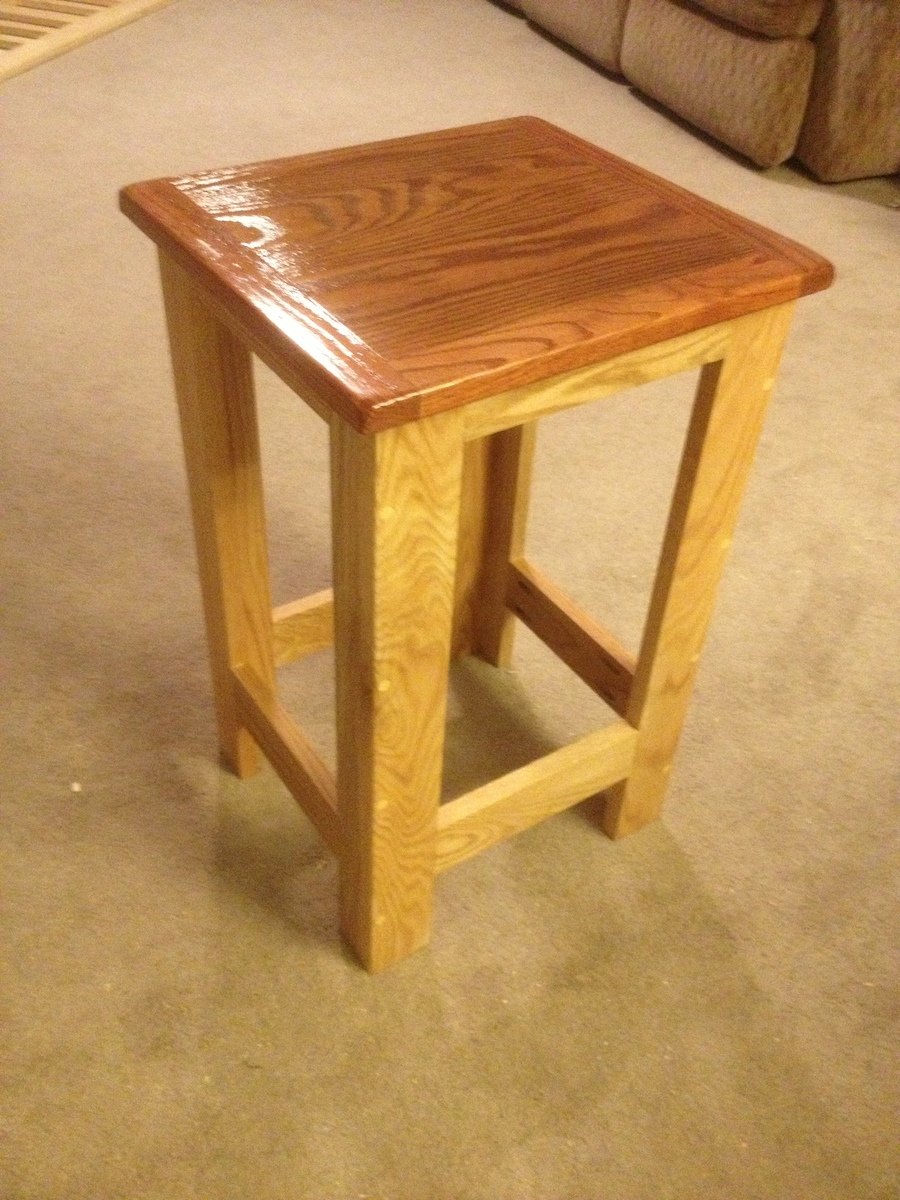
Pub Table Height Stools with a modern design created by Anthony DeCesare
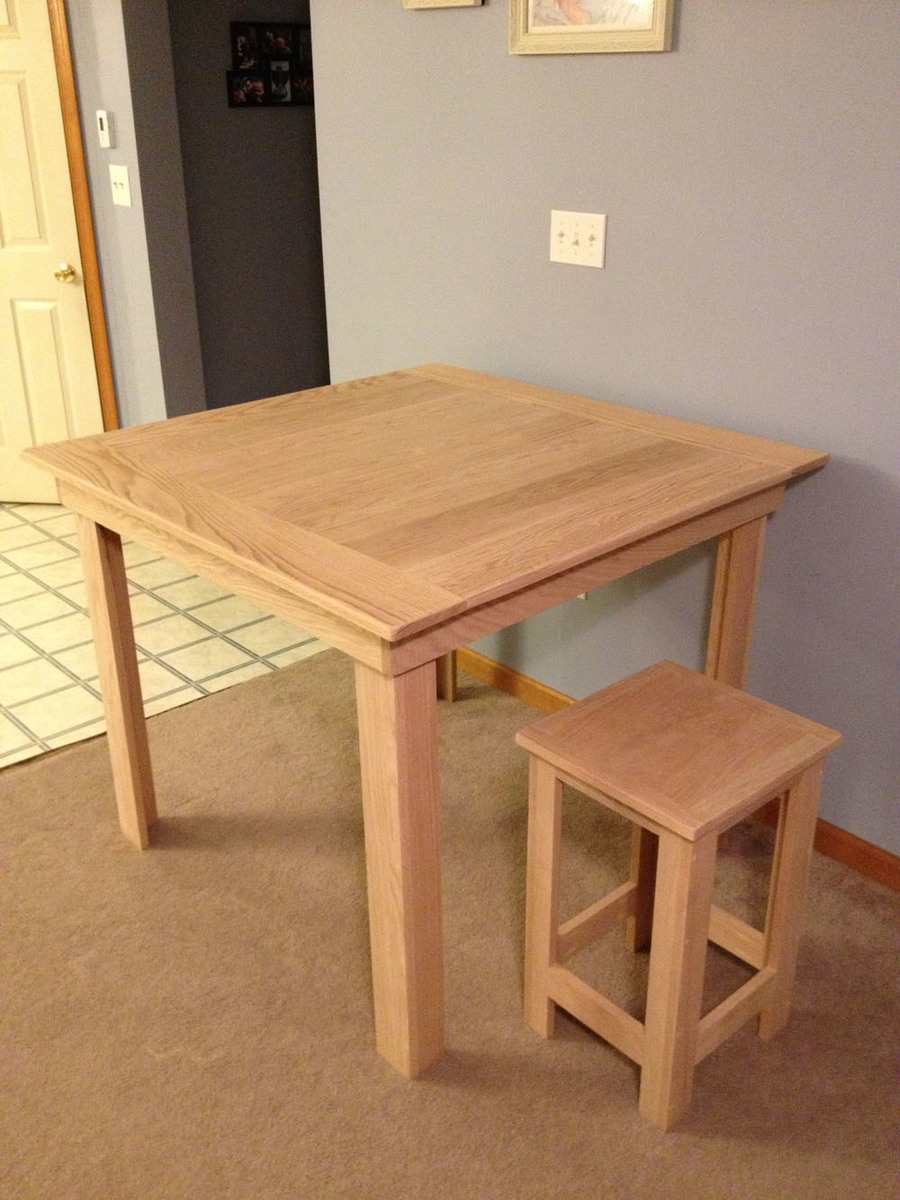
I hope you enjoy this and are able to understand the construction. I will answer any questions in the comments sections as needed..Enjoy :)
Preparation
(2) 1 x 3 x 6' oak
(2) 1 x 2 x 8' oak
(1) 1 x 6 x 2' oak
1 pack fine thread Kreg screws 1 1/4"
Wood glue (if wanted for extra durability)
(2) 1 x 6 x 12 1/4" (top middle)
(2) 1 x 2 x 12 1/4" (top sides)
(2) 1 x 2 x 14" (top sides)
(4) 1 x 2 x 23 1/2" (legs)
(4) 1 x 3 x 23 1/2" (legs)
(2) 1 x 2 x 9" (base top sides)
(2) 1 x 2 x 9 3/4" (base top sides)
(2) 1 x 3 x 9" (base bottom sides)
(2) 1 x 3 x 9 3/4" (base bottom sides)


Please read through the entire plan and all comments before beginning this project. It is also advisable to review the Getting Started Section. Take all necessary precautions to build safely and smartly. Work on a clean level surface, free of imperfections or debris. Always use straight boards. Check for square after each step. Always predrill holes before attaching with screws. Use glue with finish nails for a stronger hold. Wipe excess glue off bare wood for stained projects, as dried glue will not take stain. Be safe, have fun, and ask for help if you need it. Good luck!
Instructions
Step 1
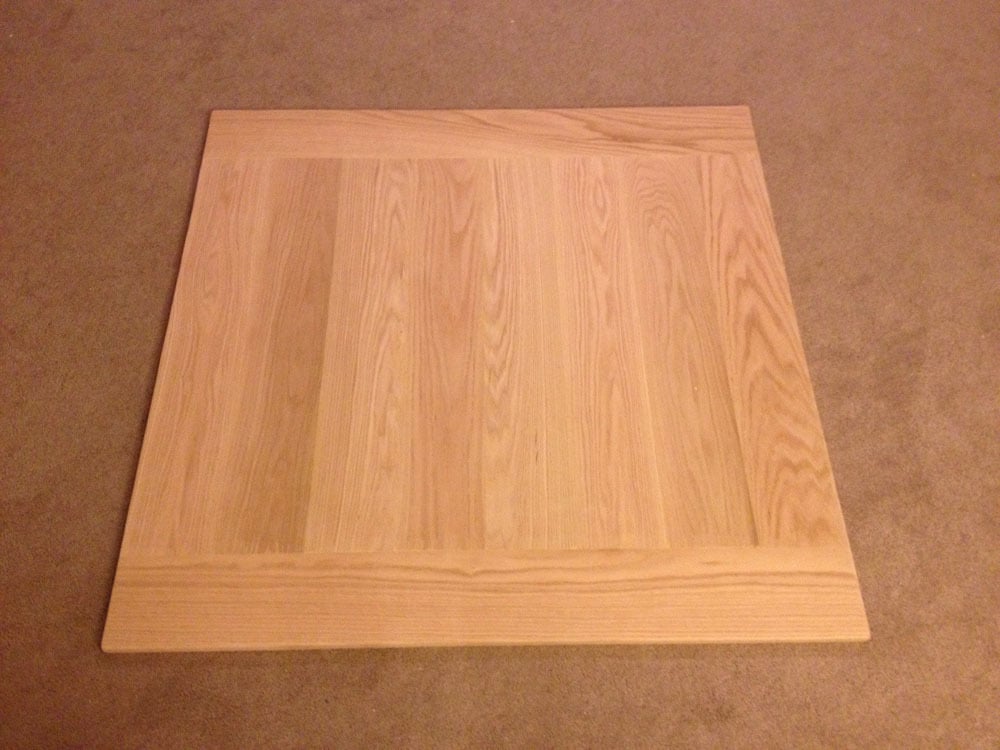
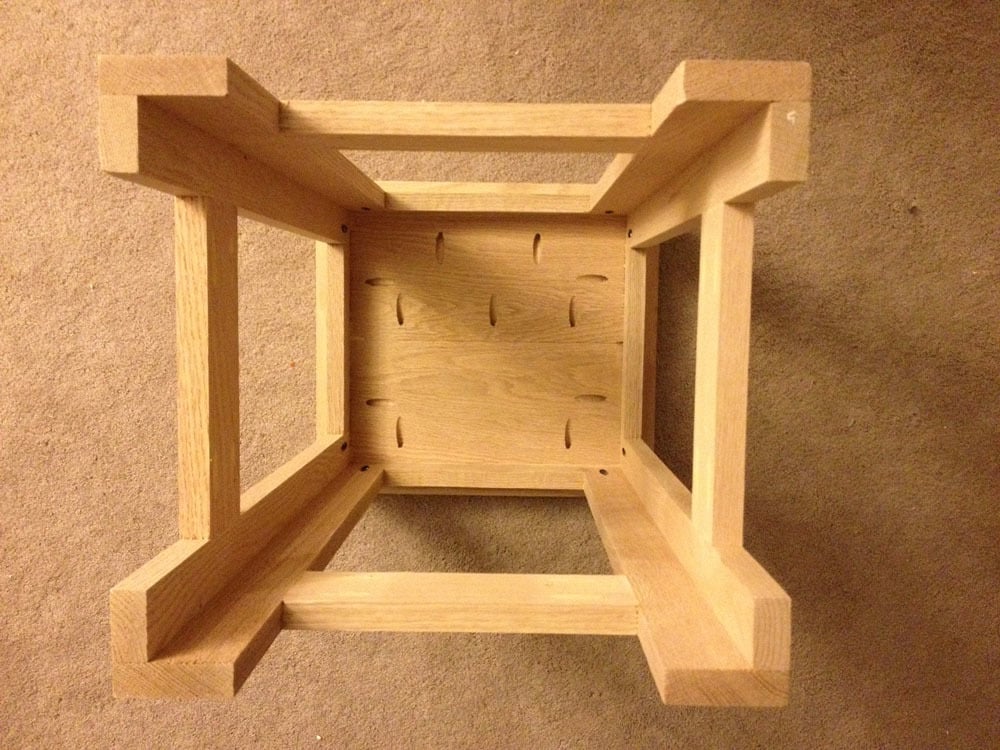
Making the top - refer to the picture of the top
-Attach the two 1 x 6 x 12 1/4" pieces together.
-Then attach the two pieces 1 x 2 12 1/4 on each side of those pieces.
- finish top by attaching the 1 x 2 x 14" pieces to the long sides of the top
Step 2
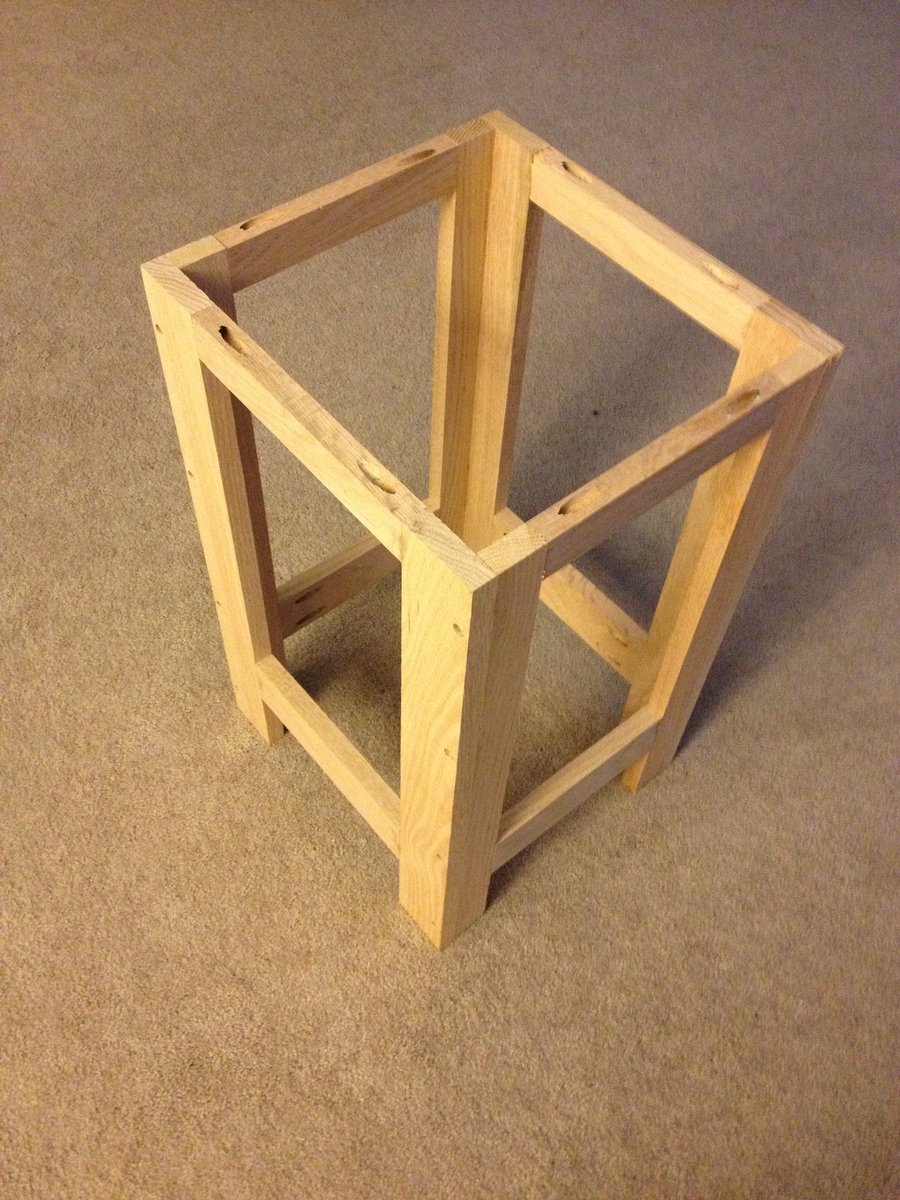
Base
Attach (1) 1 x 2 x 23 1/2" piece lengthwise with a 1 x 3 x 23 1/2" piece (due this for all for legs. You can use wood glue here or by countersinking a screw as I have done
Then be careful for the next couple steps with the dimensional pieces we cut....
-attach a 1 x 2 x 9" piece to the top side of the 1 x 2 x 23 1/2"
- attach a 1 x 3 x 9" piece to the bottom side (4 inches up) of the 1 x 2 x 23 1/2"
-attach a 1x 2 x 9 3/4" pice to the top side of the 1 x 3 x 23 1/2 side of the leg
- attache a 1 x 3 x 9 3/4 piece to the bottom side (4 inches up) of the 1 x 3 x 23 1/2" side of the leg
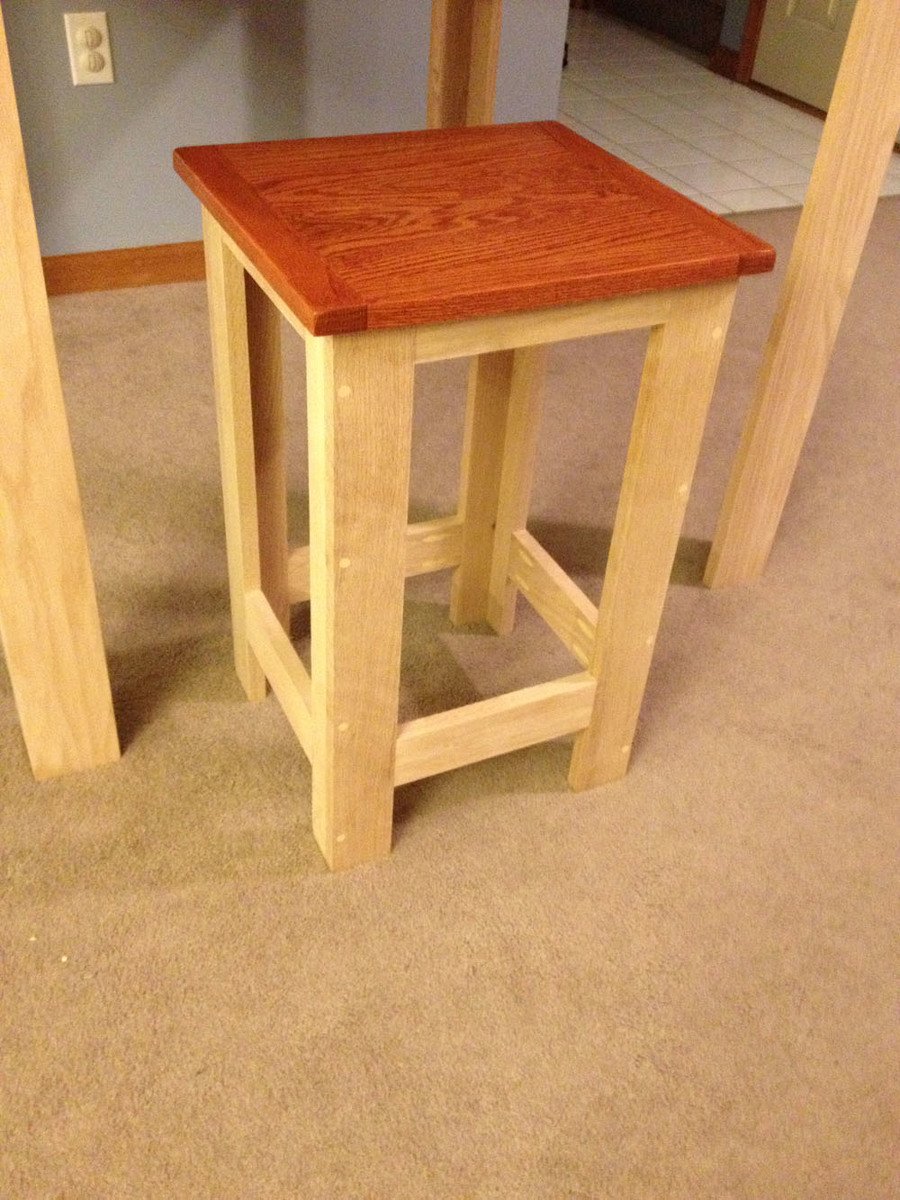
repeat those steps to make the base as seen in the last picture
Step 3
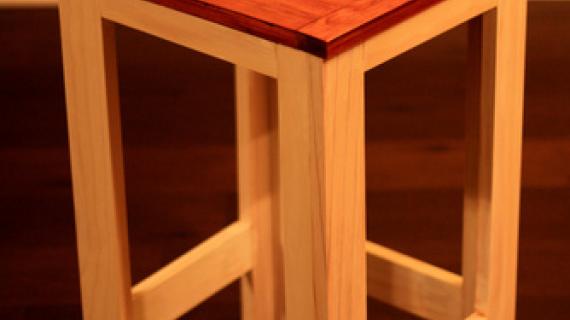
attach the top piece to the base ( i used the kreg jig to make a pocket hole in each corner leg)
Step 4
stain, or paint and then protect
It is always recommended to apply a test coat on a hidden area or scrap piece to ensure color evenness and adhesion. Use primer or wood conditioner as needed.