

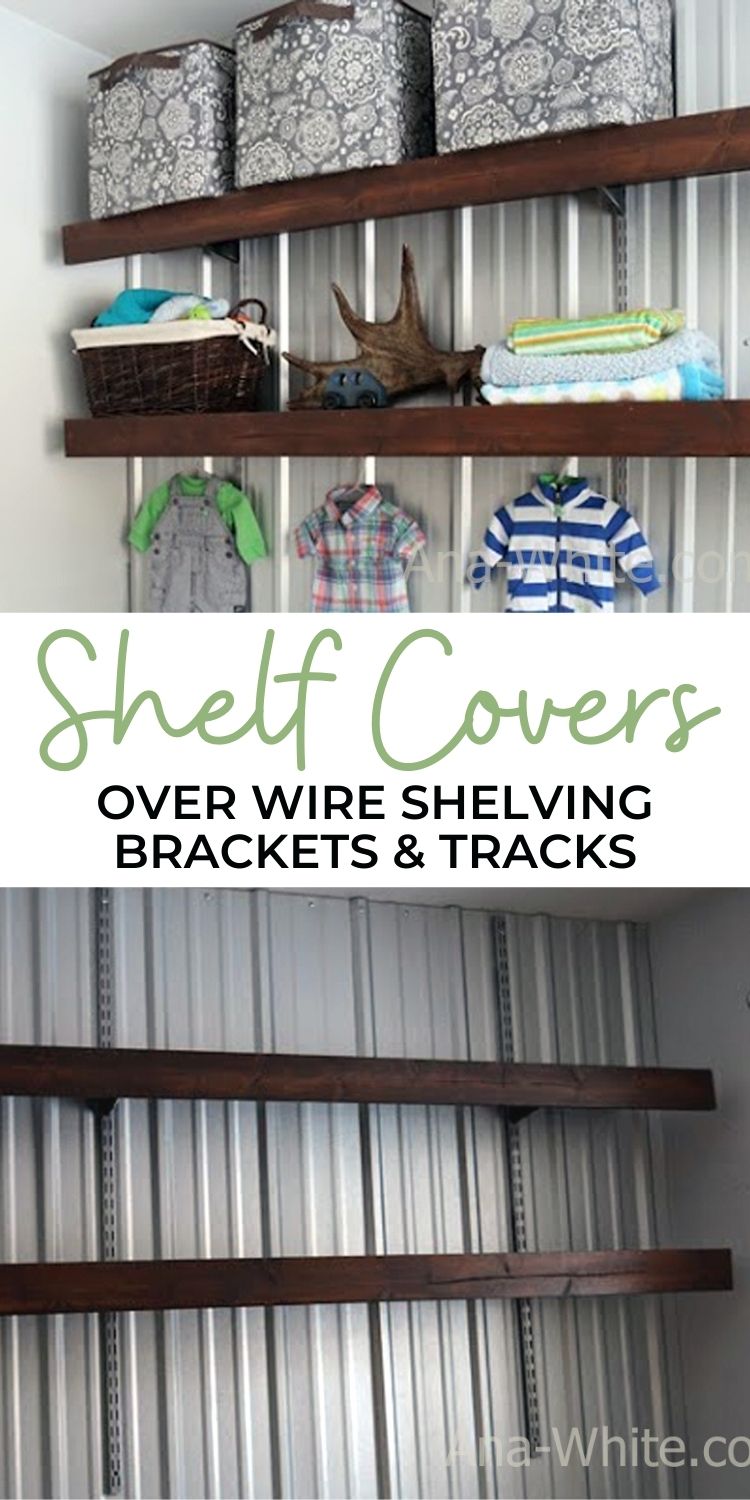
Using inexpensive wire shelving tracks and brackets and pinewood boards, create beautiful and strong wood shelving the easy way!
The original shelf cover tutorial by Ana-White.com.
When I was pregnant with my son (now 8) I wanted to create a beautiful shelving system for his things (and some decor too) - but without a ton of work or time commitment.
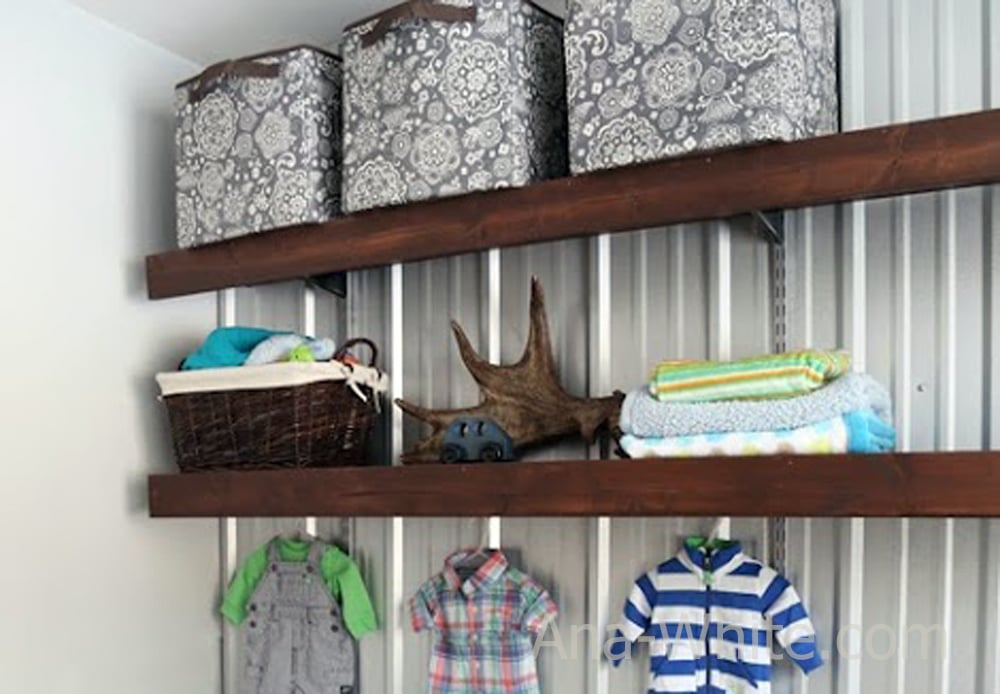
I used cheap and easy to install wire shelving components topped with beautiful wood boards to create this:
This was the perfect solution - fast, easy, cheap, but great results!

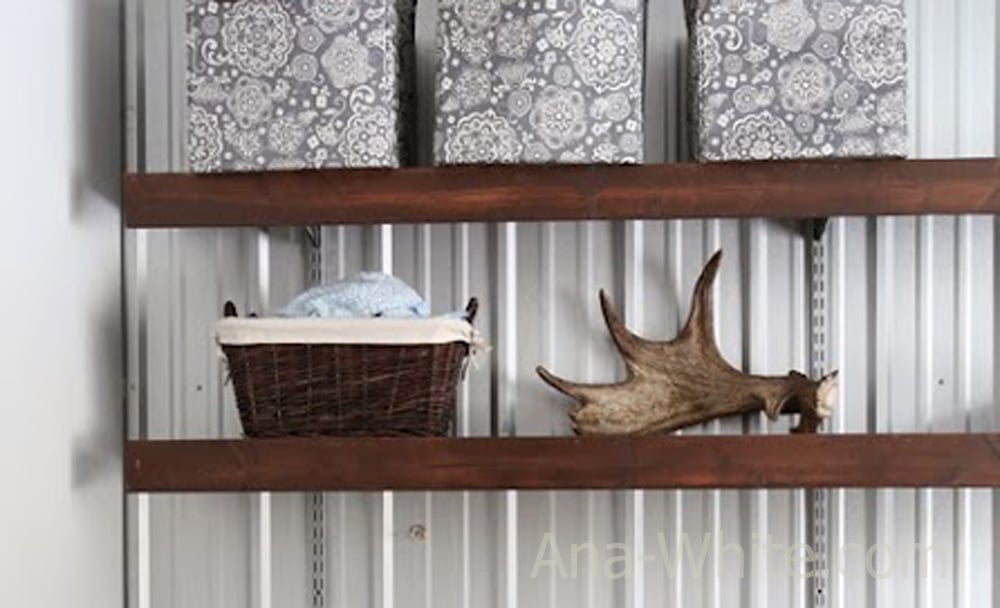
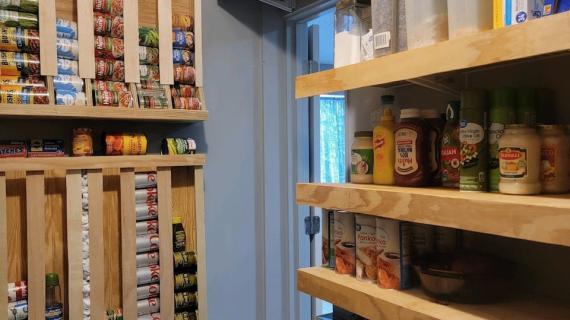
Once the shelves were loaded up, you can barely see the hardware on the wall.
While I used mine for a nursery closet, you could use this shelf cover idea just about anywhere to make cheap wire shelving beautiful - pantries, linen closets, toy storage units in playrooms, garage shelving - your options are endless.
And with the full wood shelving on the top, you don't have to worry about stuff falling between the wires, or getting stuck on the wire shelving. It's the best of both wire shelving and beautiful wood shelving: easy to install but more functional and beautiful.
Shelf Cover Tutorial
Here's the step by step for creating your own wire shelf covers.
Pin for Later!
Preparation
- Vertical Shelf Tracks (sometimes called standards, I used one track per every other stud)
- Shelf brackets (11"-12" long, for under the shelves, one per intersection of shelf and vertical track)
- Optional horizontal hanging track to assist with hanging the vertical shelf tracks
- Per Each Shelf, one 1x12 and one 1x4 in the desired length
- 1-1/4" brad nails or pocket hole screws
- Short wood screws for securing the shelf brackets to the shelves


Instructions
Step 1

Optional: If you'd like to paint the wall tracks to match your walls, simply spray paint and let dry first. For white walls, you can purchase white tracks.
Step 2

Hanging Tracks on the Wall
The vertical tracks, sometimes called "standards", need to be secured to the wall. For the wood shelving, standards can be hung every other stud. For heavier loads, install tracks every stud appart. Tracks can be hung on the wall in two different ways.
Method 1: Direct to Studs (less visible and less parts, but must be hung on studs in wall)
- Locate the studs in the wall and hang the tracks directly to the studs in the wall. I spaced mine every other stud, with two screws per 48" vertical track (one screw near top and one near bottom)
- The tops of the standard tracks (hung vertically) should all be level, at the same height, I recommend the height be the same as your top shelf desired height
Method 2: Hang Track (more beginner friendly and more flexible)
- Use a Hang track that is installed across the top
- Standards are then hung from the hang track
- This is an easier method, but requires purchasing of the hang track and the hang track is visible
Here's a video of installing with the hang track:
Step 3
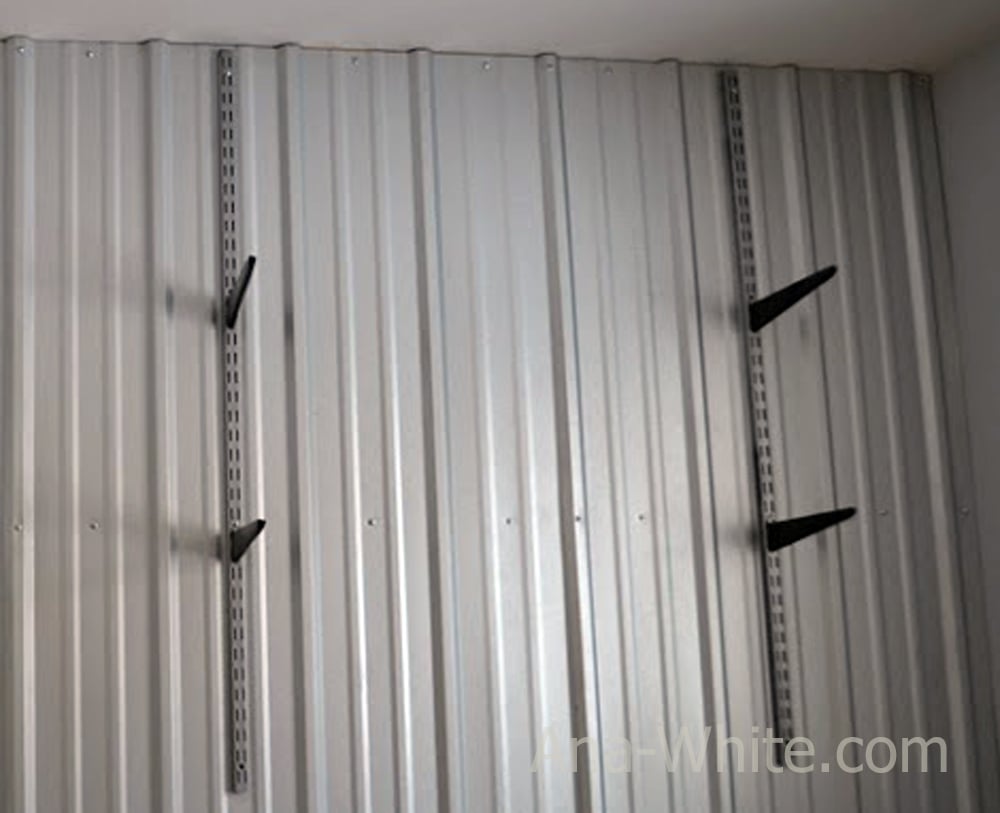
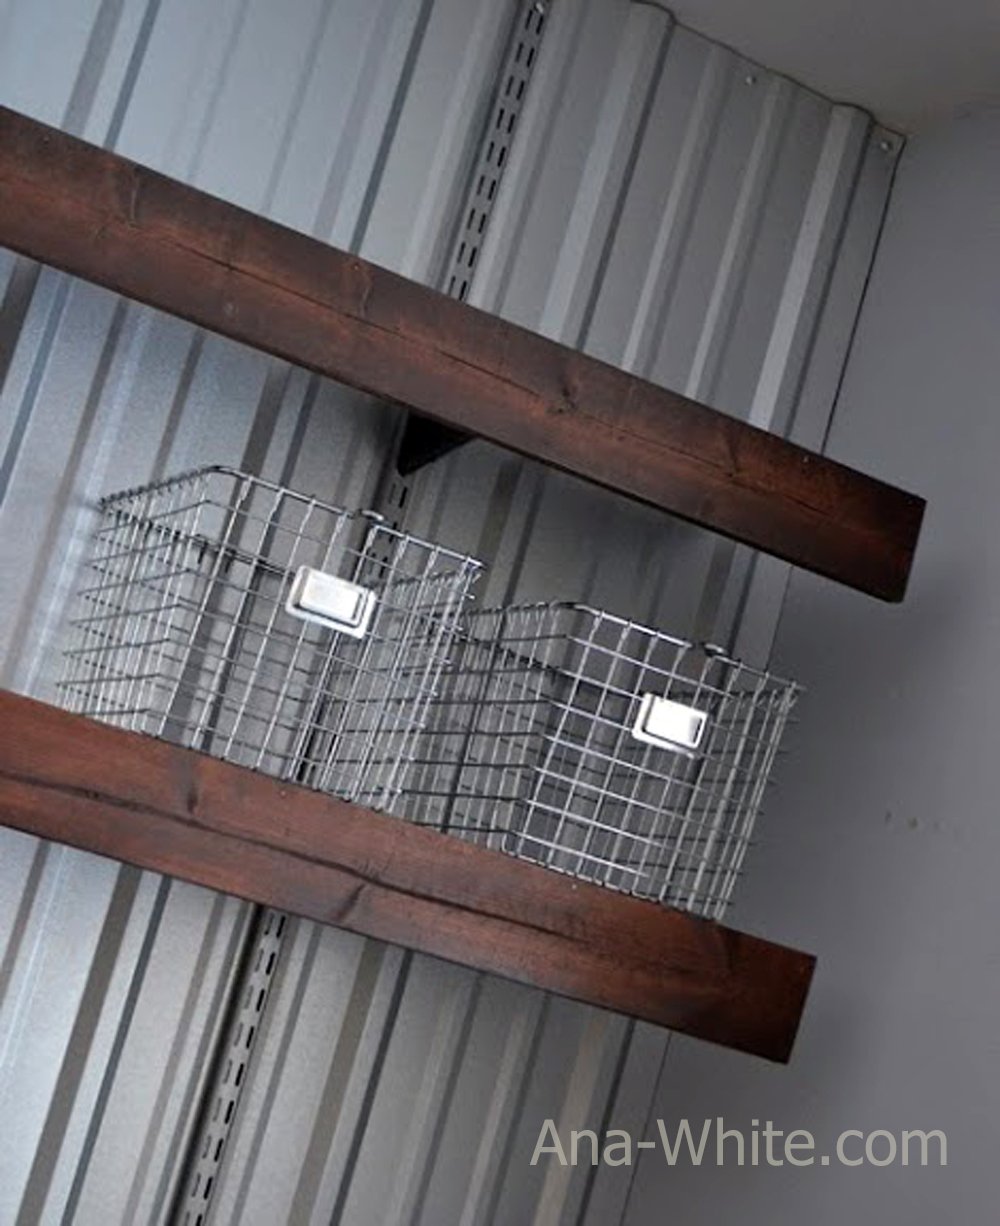
Install Shelf Brackets
Clip the shelf brackets into the vertical tracks wherever you'd like a shelf.
Step 4

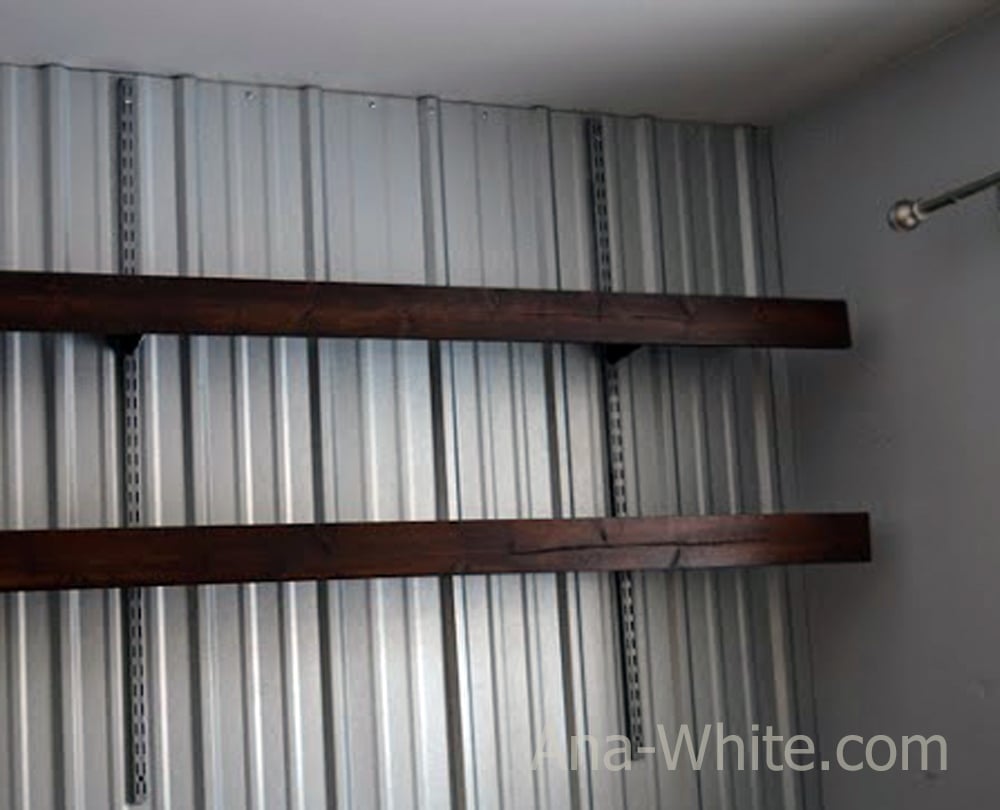
Wood Shelf Covers Construction
The wood shelf covers are made of 1x12 pine boards, cut to the length desired, and a 1x4 board on the front.
Simply nail and glue the 1x4 to the front of the 1x12 board with 1-1/4" brad nails.
You can also use hidden 3/4" pocket holes with 1-1/4" pocket hole screws for a more polished look.
Paint or stain the shelves as desired.
Step 5
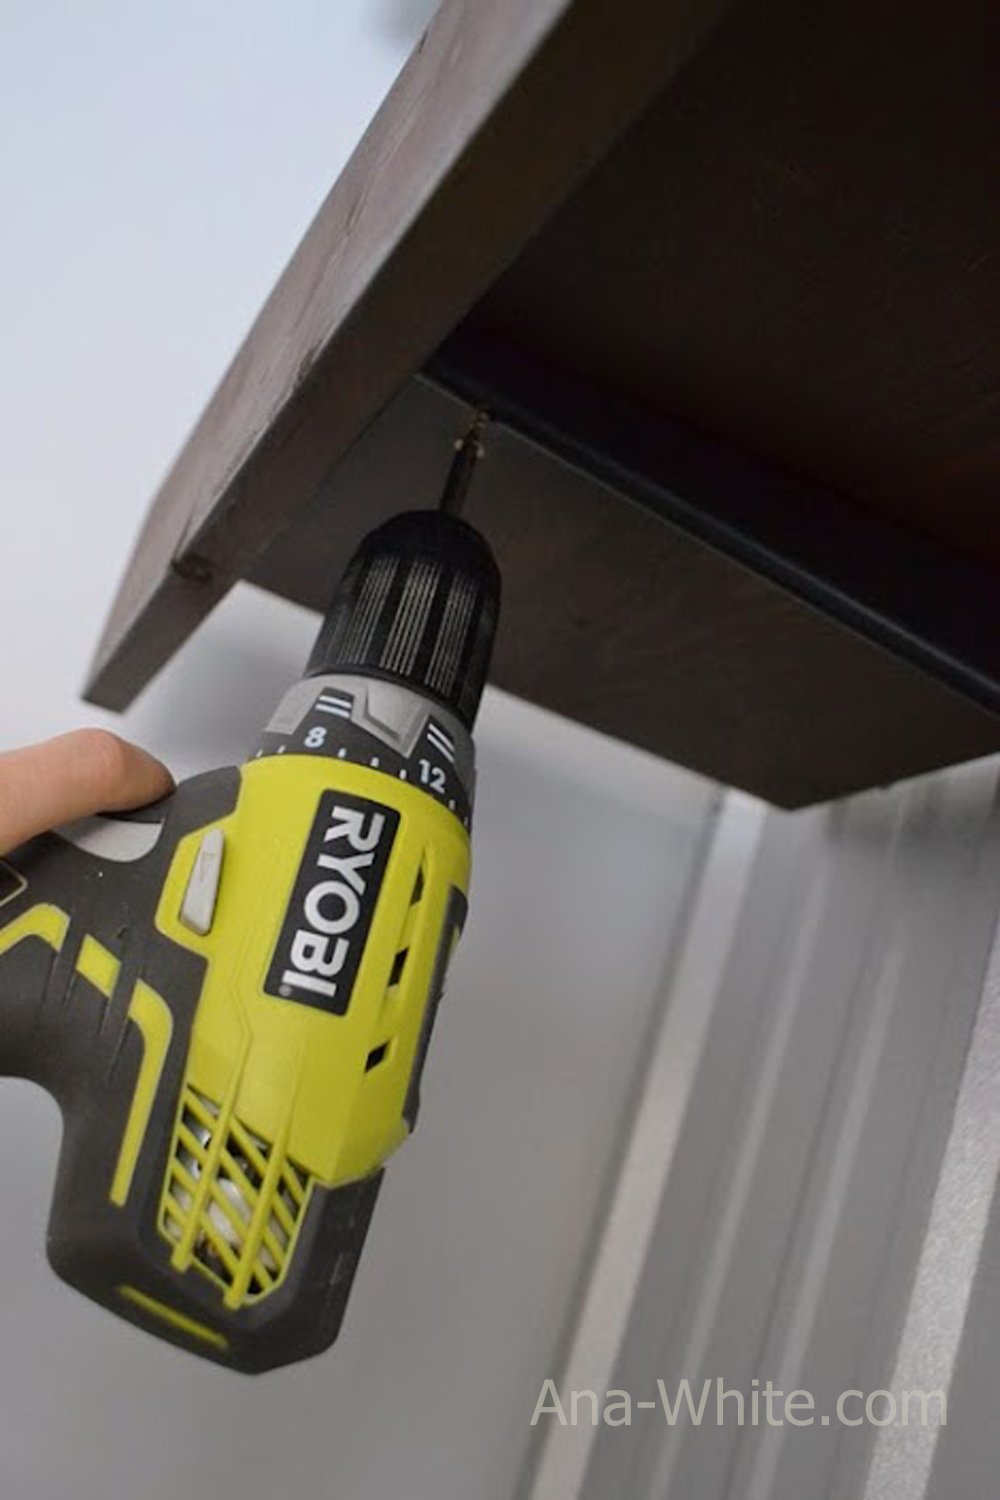
Secure Shelf Cover to Brackets
Use short screws to secure the wood shelf cover to the brackets. The length of the screw will depend on your bracket type. Most brackets have a hole in the end already drilled. The screw should secure into the wood shelf cover by about 1/2".
Step 6
Once complete, the shelves should be level and secure - no wobbles or movement when using.
It is always recommended to apply a test coat on a hidden area or scrap piece to ensure color evenness and adhesion. Use primer or wood conditioner as needed.
Comments
dmcarwin
Mon, 02/24/2014 - 22:18
I "Luv" it!
They look beautiful Ana!! Especially with your changing table! And I loved seeing your sweet baby boy clothes hanging up!
birdsandsoap
Tue, 02/25/2014 - 21:46
Love those little suits
Love those little suits hanging up there!
Val Manchuk
Tue, 02/25/2014 - 22:05
Beautiful!
Ana, these look so good! I love the dark stain against the metal background. Cute little baby clothes, too!
Val @ artsybuildinglady.blogspot.ca