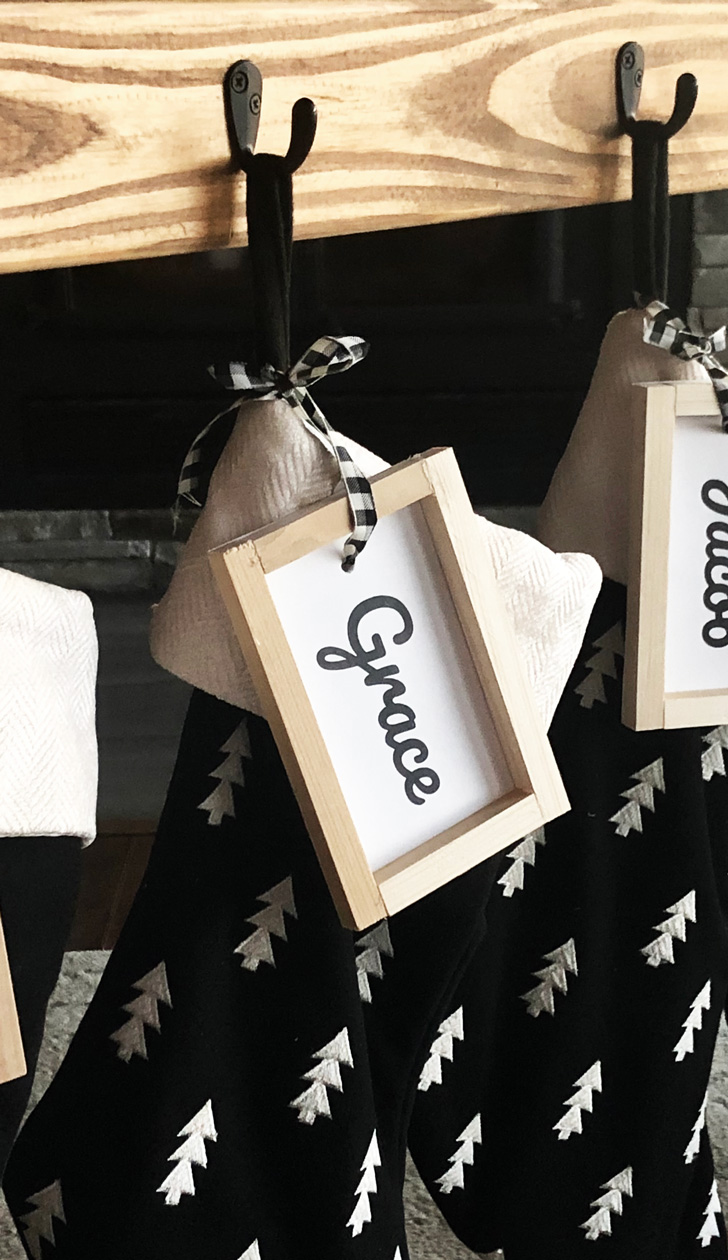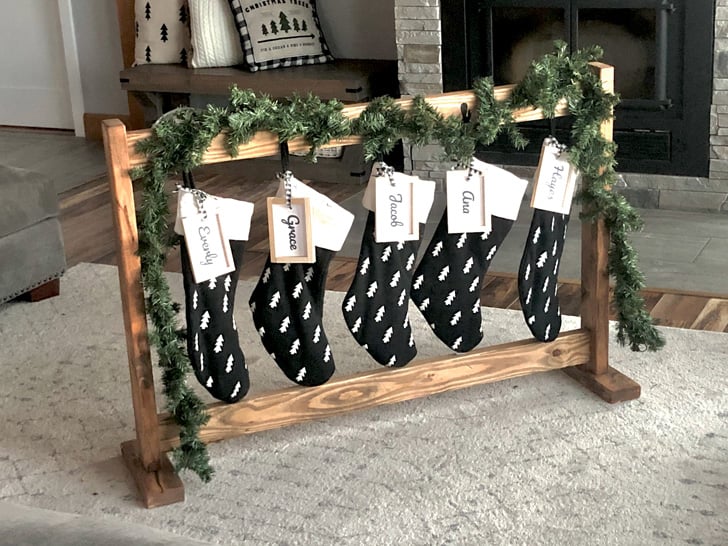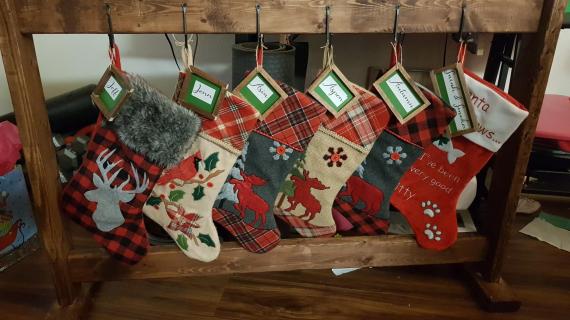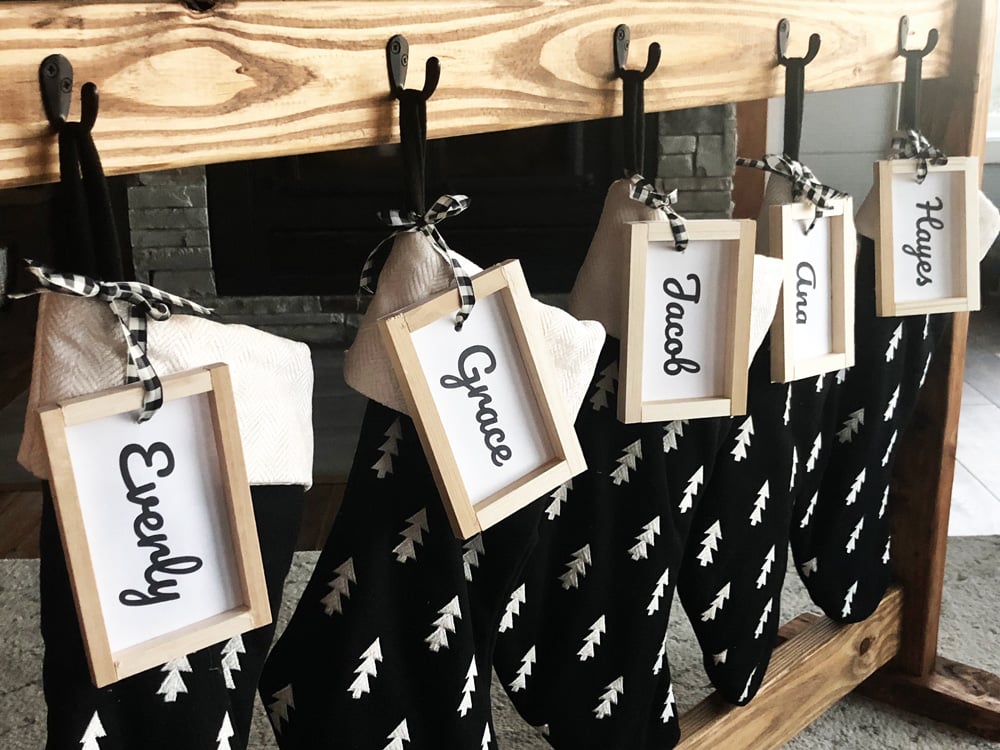
Quick and easy DIY stocking name tags - so you can have personalized Christmas stockings! Easy to add a name, change names, or change stockings since it's just a stocking name tag (instead of embroidered stockings). We also love these name tags for place settings, on the backs of chairs, or gift tags. Free tutorial from Ana-White.com
Dimensions
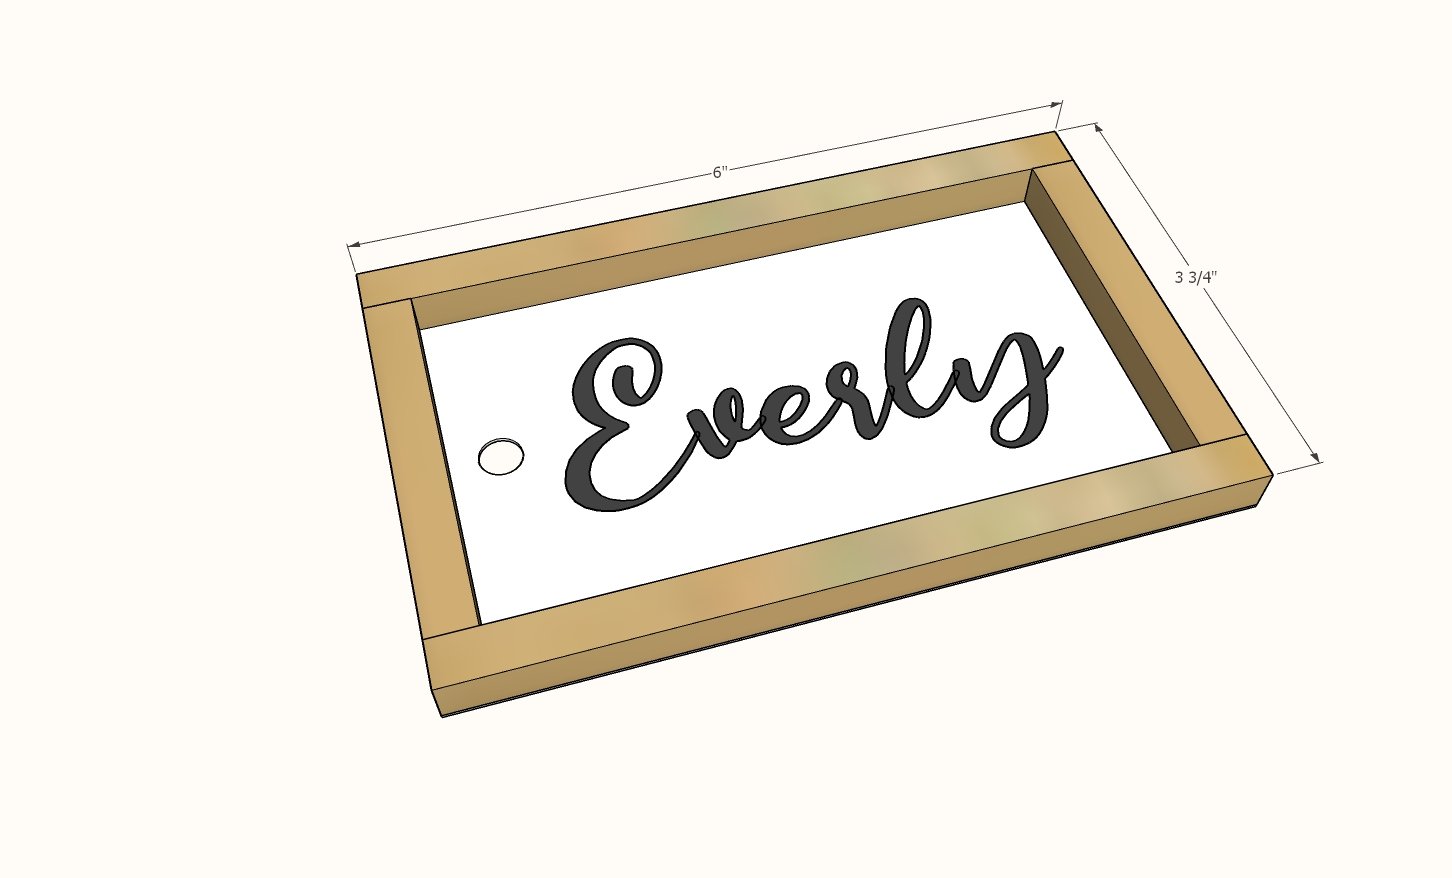
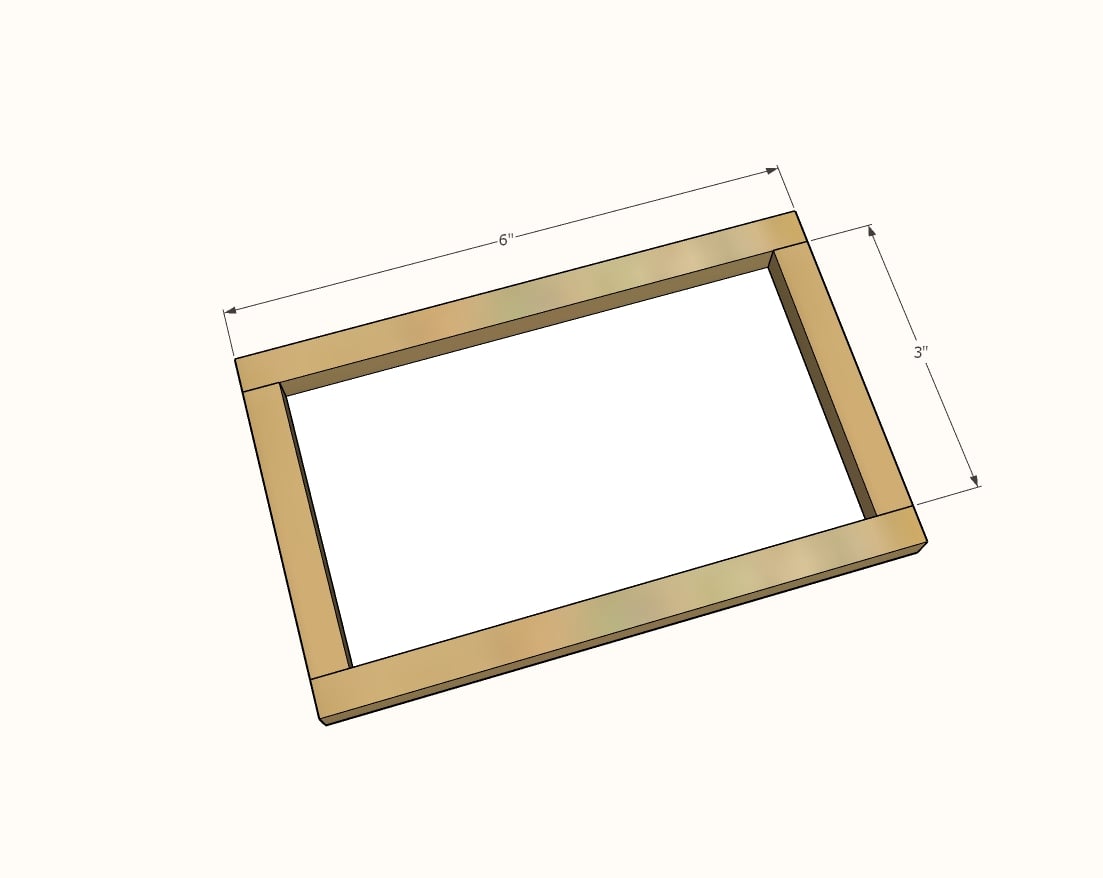
About 4" x 6" overall
Preparation
Shopping List
- 18" of 3/8" x 3/8" square dowel ($1.48 for 3 feet at Lowes - will make two name tags)
- Card Stock
- Printer
- Hot glue gun and hot glue
- Ribbon
- Saw for cutting the wood (can use a hand saw)
- Ruler or Tape Measure
- Stain or paint (optional)
Cut List
- 2 - 3/8" x 3/8" square dowels @ 5-7/8" long
- 2 - 3/8" x 3/8" square dowels @ 2-7/8" long
NOTE: The pieces are an 1/8" smaller in the cut list to allow all the cuts to fit on 36" long square dowels.
Cutting Instructions
- Cut the square dowels into pieces as shown in the cut list.
- You can use a handsaw, circular saw, jigsaw or miter saw.
- These pieces will be very easy to cut.
- Cut the smaller pieces from a larger piece - it's very difficult to cut a tiny piece. I recommend first cutting all of your smaller pieces and then cutting the larger pieces.
Instructions
Step 1
Step 2
Print out names on cardstock.
I used 96pt font, font name Pacifico
You can use my google doc here to create your name tags.
Place a frame over the cardstock, with the name centered in the inside of the frame.
Trace the outside of the frame on to the cardstock.
Room
Seasonal And Holiday


