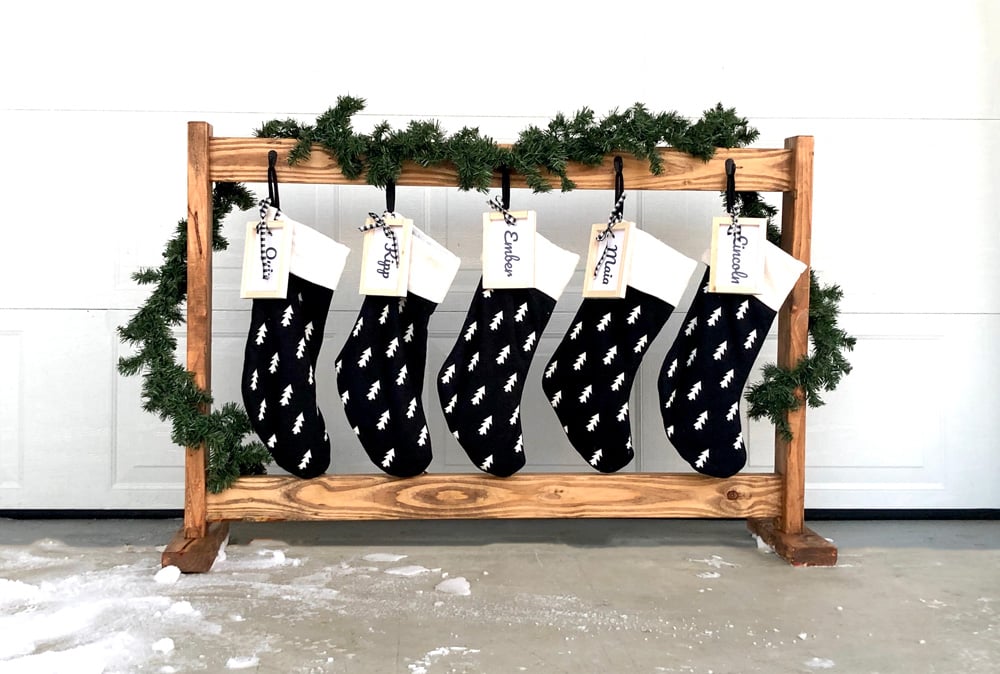
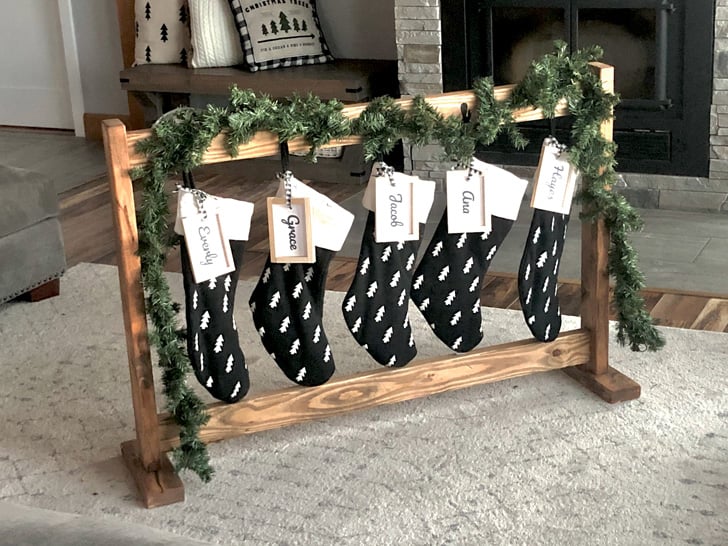
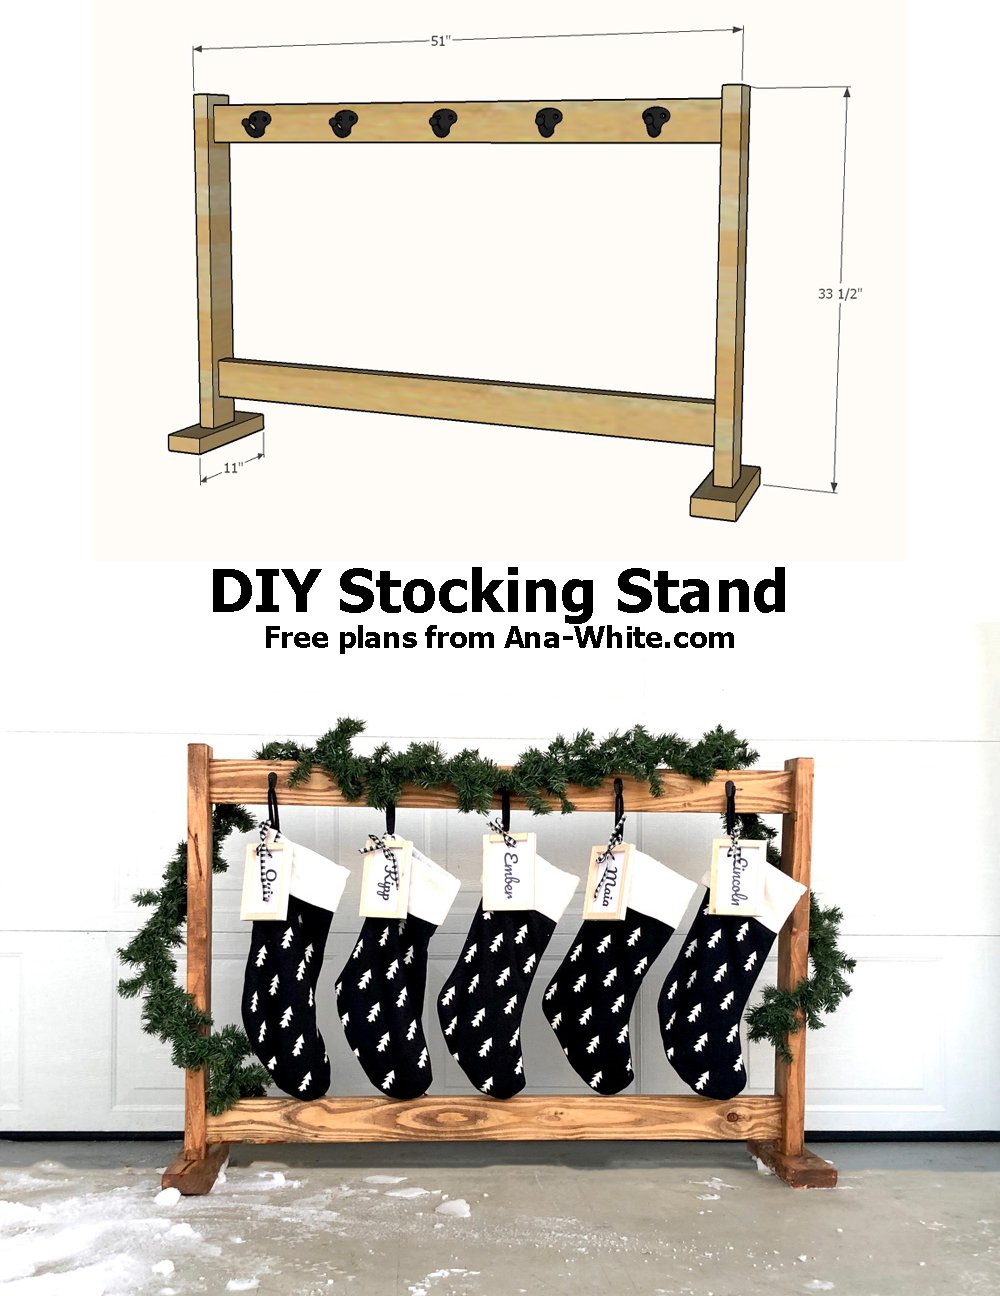
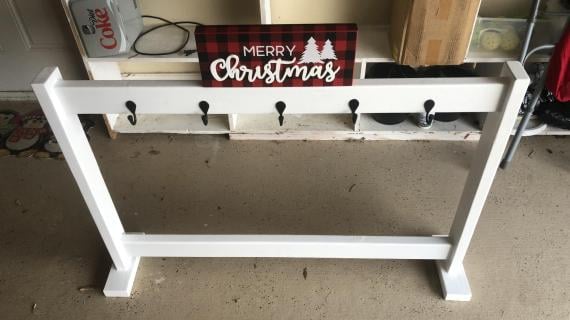
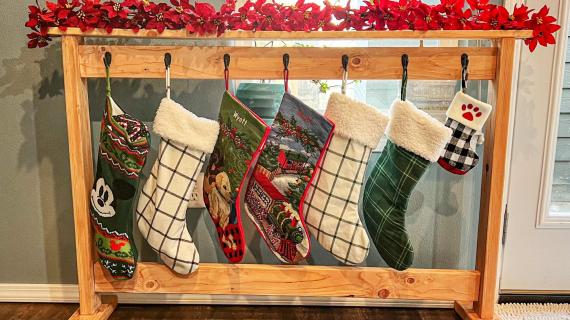
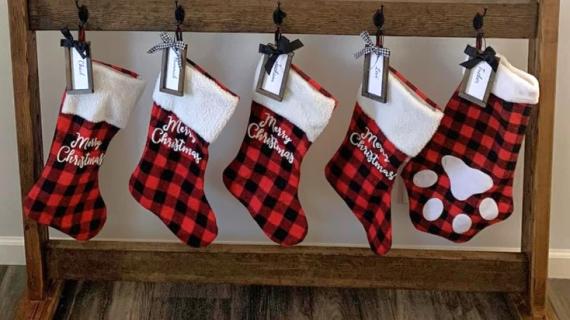
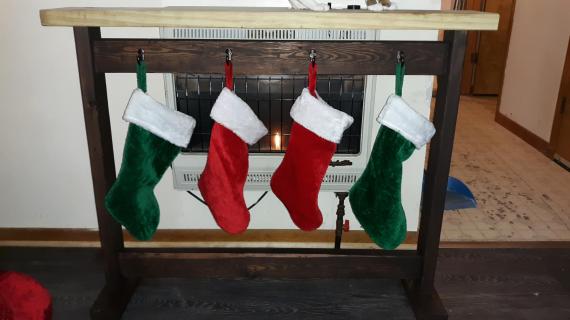
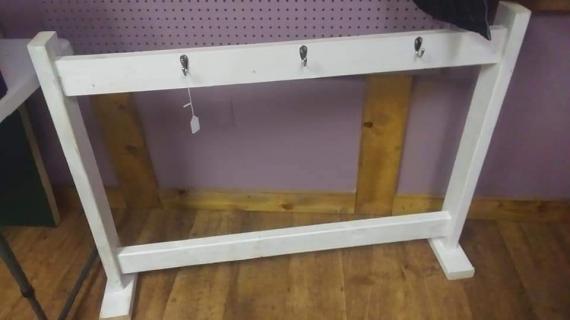
Hang the stockings without a fireplace or drilling holes in the wall! This quick and easy to build stocking stand cost under $20. Free step by step plans from Ana-White.com
Dimensions
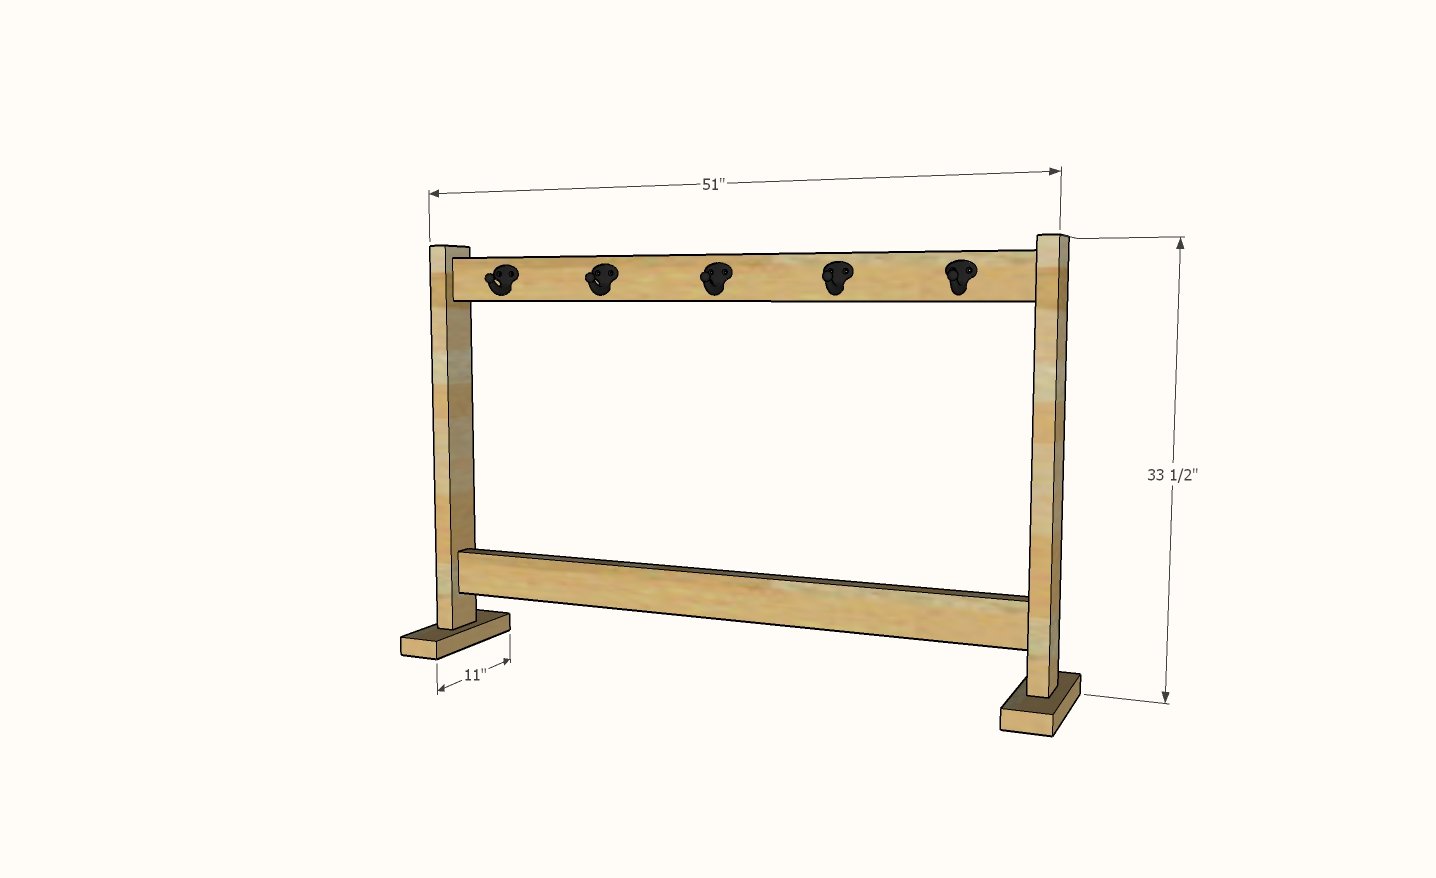
Stocking stand dimensions as shown
Preparation
Shopping List
- 2 - 2x4 @ 8' or stud length
- 12 - 2-1/2" long self tapping wood screws like these
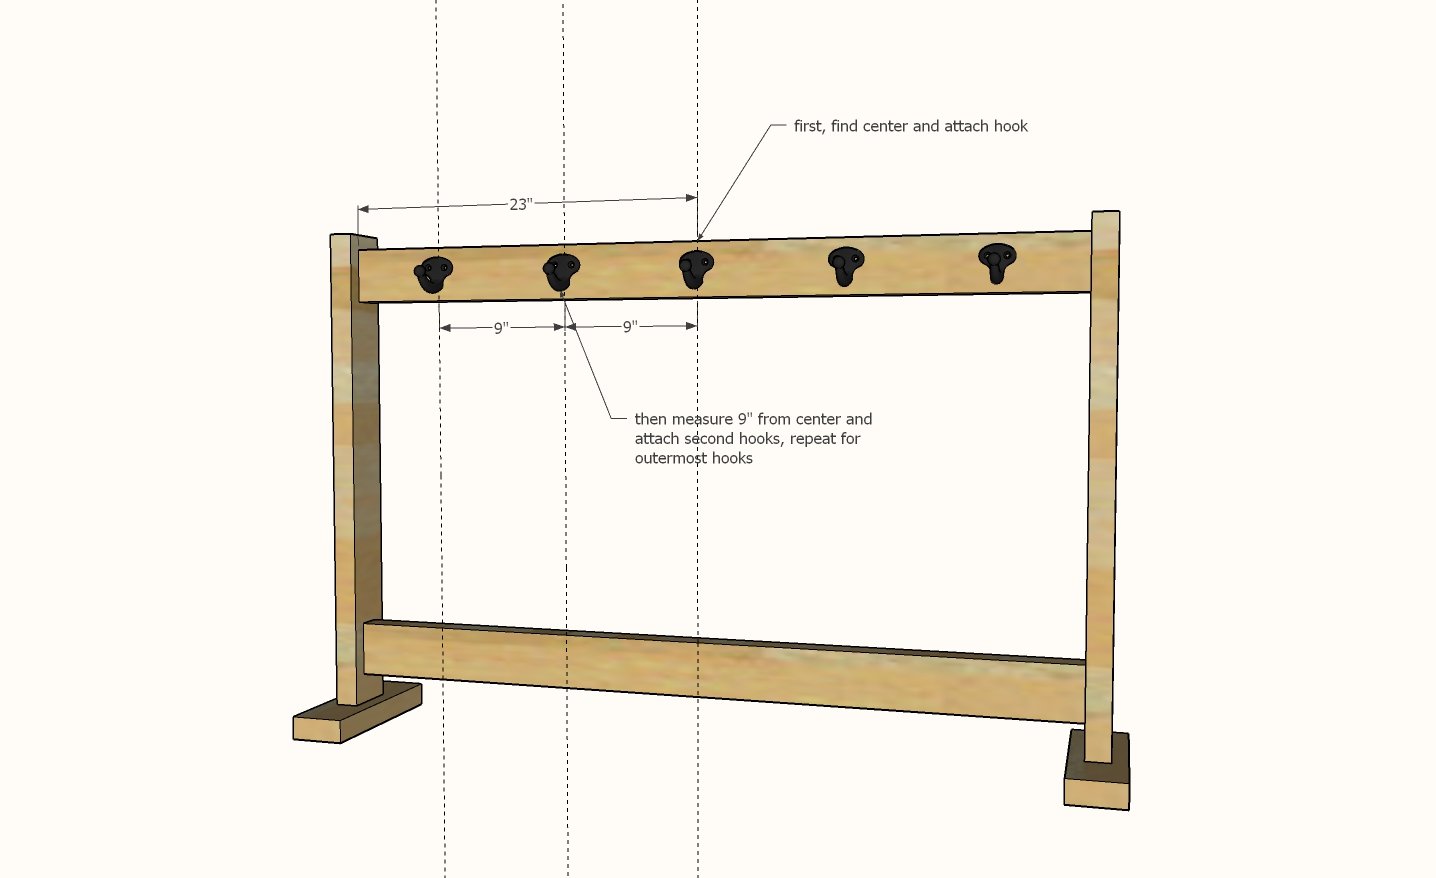
- 5 coat hooks or cup hooks or knobs
Coat hooks are about $2 a piece. Cut hooks are about 10 cents each. If you have leftover knobs, or Christmas themed knobs, use them for a fun touch.
Cut List
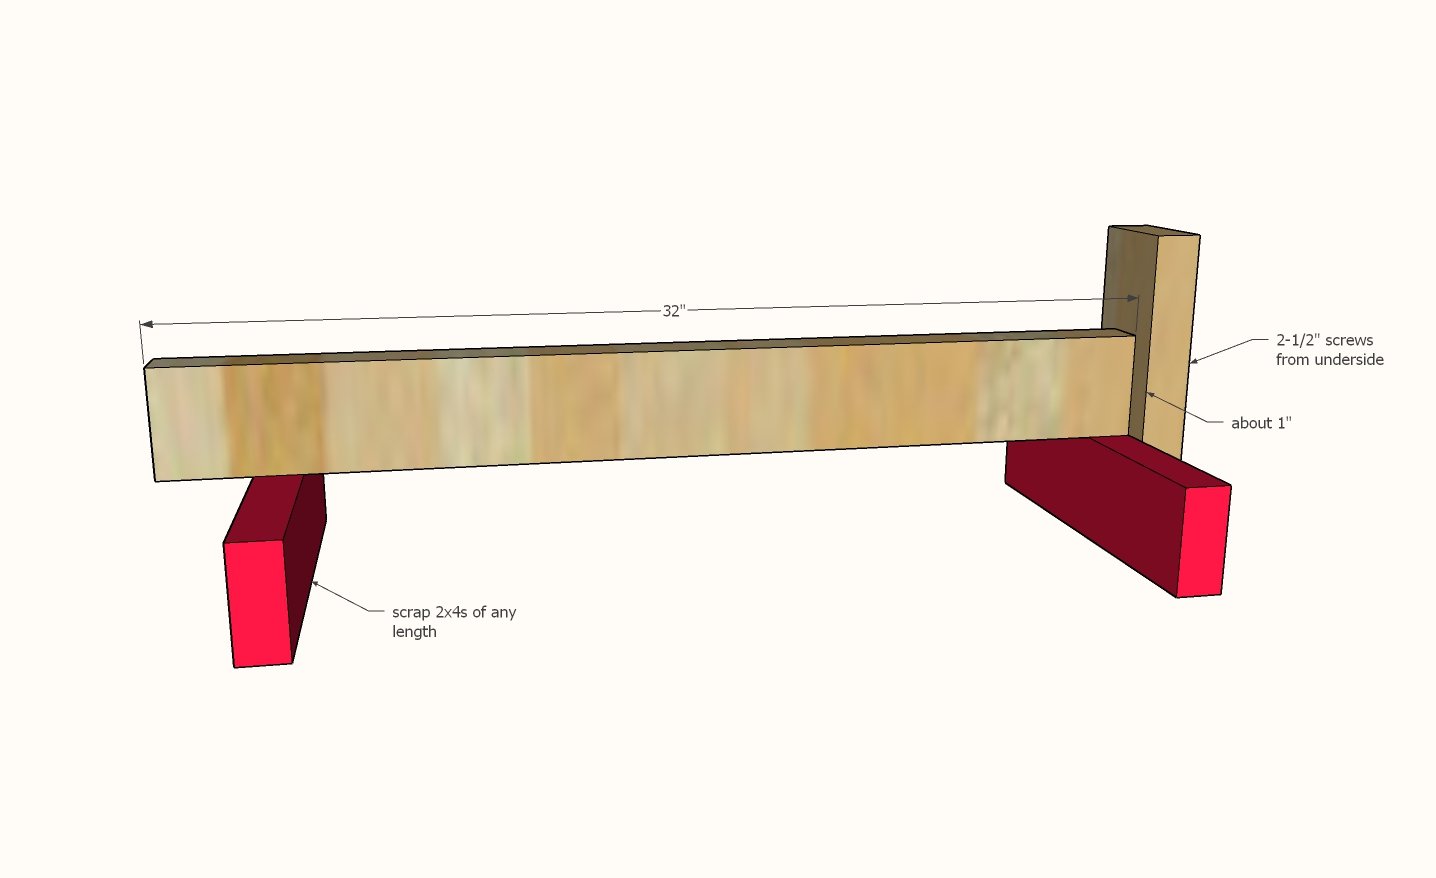
- 2 - 2x4 @ 32"
- 2 - 2x4 @ 10-1/2"
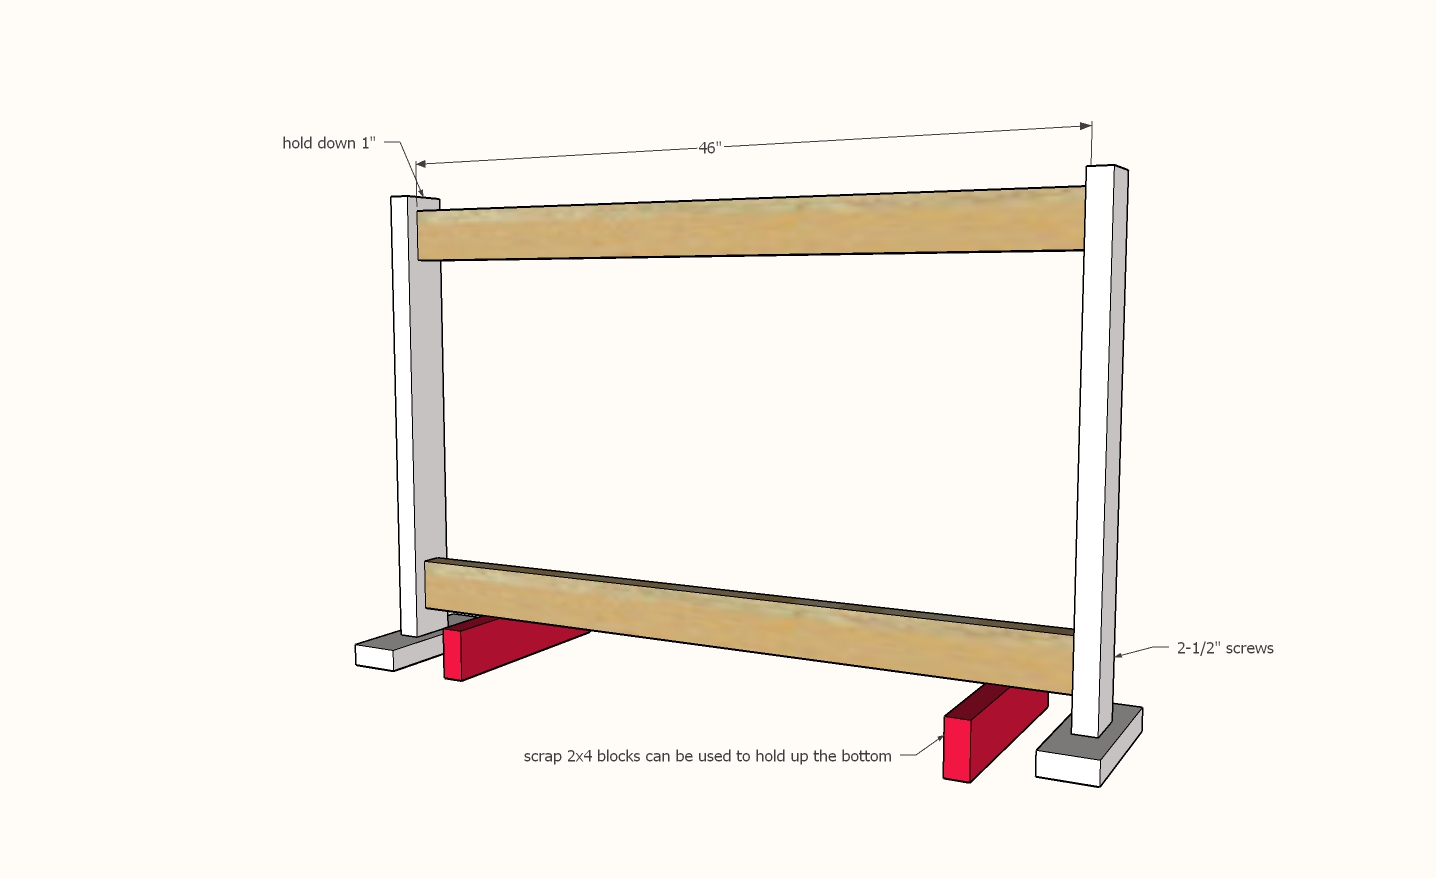
- 2 - 2x4 @ 46"
Cutting Instructions
Cut the 2x4s, longest cuts first, with a compound miter saw (preferred) or a circular saw using a carpenter's square for straight edge as a guide.
Instructions
Step 1
Step 2
Finishing Instructions
Finish Used
I applied one coat of Varathane Golden Oak with a foam brush.
Seasonal And Holiday









Comments
Laura.sooner
Fri, 11/06/2020 - 06:36
Year-round ideas?
I love this idea. We downsized this year and no longer have a fireplace. My concern would be where to store it when not in use. Because it is sturdy, I wouldn't be able to fold it up and put away with the stockings. Suggestions for how to use it year-round?
saariko
Fri, 11/06/2020 - 08:07
I would unscrew the 4 screws…
I would unscrew the 4 screws from the feet. This way its totally flat, and it can be stored nearly anywhere.
In reply to Year-round ideas? by Laura.sooner
Ettel4
Sat, 11/07/2020 - 03:53
I made two of these easy and…
I made two of these easy and beautiful stocking stands for a Christmas work party, and my two friends used these to hang blankets on them after that.
jennlemley12@y…
Fri, 11/06/2020 - 08:13
Adjustments to accommodate 10 stockings
I would like to make a version of this for friends that have 10 family members. To fit 10 stockings at 9" apart, the stand would be almost 8 feet long. So, I am considering making the stand taller and having 2 handing rails- one over the other. But I don't want it to be too tall. The hooks on your stand appear to be at 32" from ground. At this height, it appears that the bottom of the stockings sit about 5-6" from the ground. If I make the top row of hooks at 54" from ground, do you think that would give enough clearance to hang two rows of stockings? If I extend the height like this, should I also make the base longer to prevent tipping?
pkgeihs
Thu, 12/17/2020 - 18:17
I made one for 10 with…
I made one for 10 with double rails. I made the feet a little longer for stability. I have to alter the loops on the top row of stockings, the names can't be seen but that is the only adjustment that I need to make. I kept all of the original length and just added a little for the second tier and the feet. good luck!
hstempka
Sat, 11/14/2020 - 17:39
Little help please and thank you
Hey y’all I’m new to DIY and tried this this weekend... I’m so excited! Only problem I had was that there is a very small gap between the sides and the wood where the screws meet. We tried tightening as hard as we could. I used all the materials and same cuts. Any suggestions? Thanks
allypaul
Tue, 11/24/2020 - 08:00
Did you drill pilot holes?…
Did you drill pilot holes? If not try taking the screws out, drilling pilot holes and then putting the screws back in. Also using a clamp will help keep the screws from pushing the wood apart. Are you using fully threaded screws or is there a not threaded section at the top? I’ve found that screws that aren’t fully threaded work best.
vprice
Thu, 12/24/2020 - 18:56
Stocking Stand & Stocking Box
Built this today and added a box to the top to use as a backpack purse/mail/key holder after the holidays! Just built a 50” box and screwed it to the top! Got the box idea from Shanty 2 Chic and combined the stand. Although I modified the box, it worked great for the project!
ictjag
Fri, 12/25/2020 - 20:11
Stocking stand turned out great!!
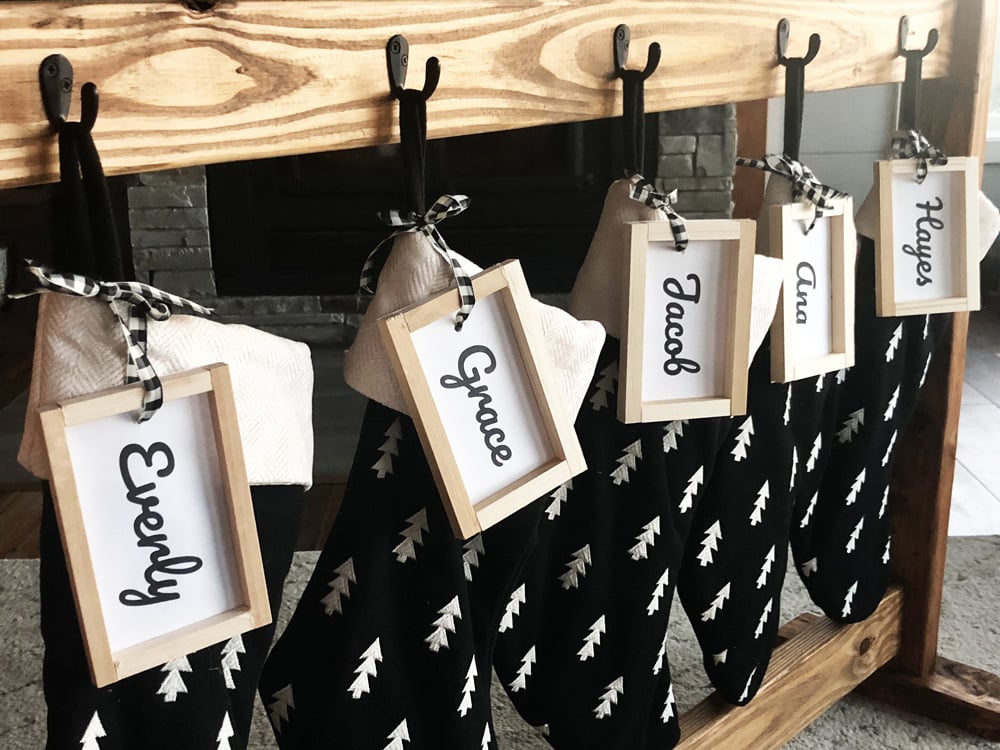
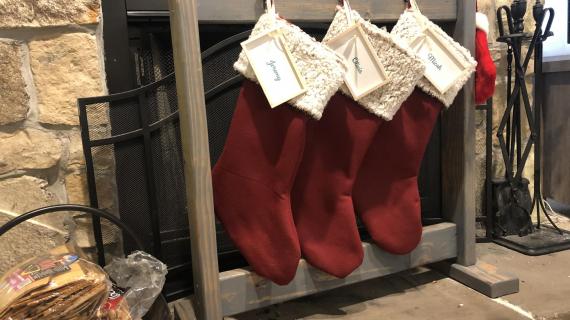
Thank you for this idea & plans. Super easy build and my daughter loved it!! I also did the framed name tags.
https://www.facebook.com/155188179306216/photos/a.165104071647960/16635…
flores0310
Mon, 12/28/2020 - 12:03
Merry Christmas!!
Love this!! Made it for my little ones. We do not have a fireplace so this works well.