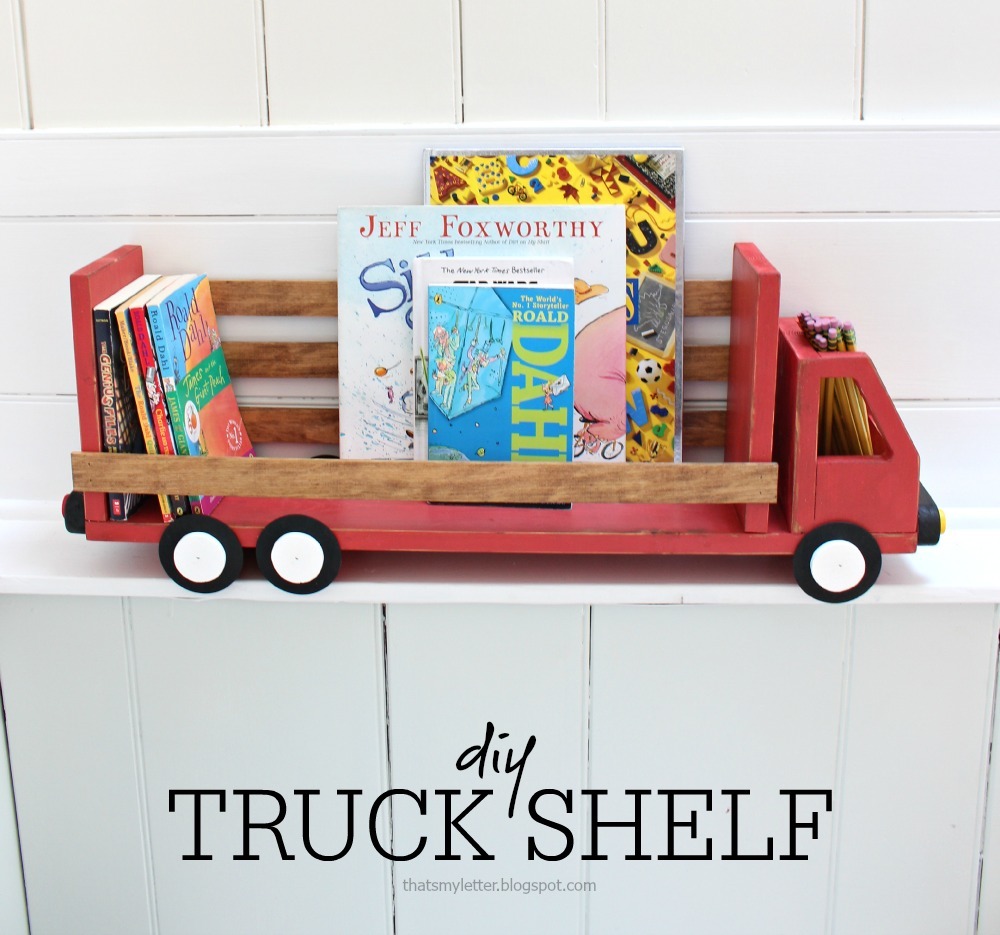
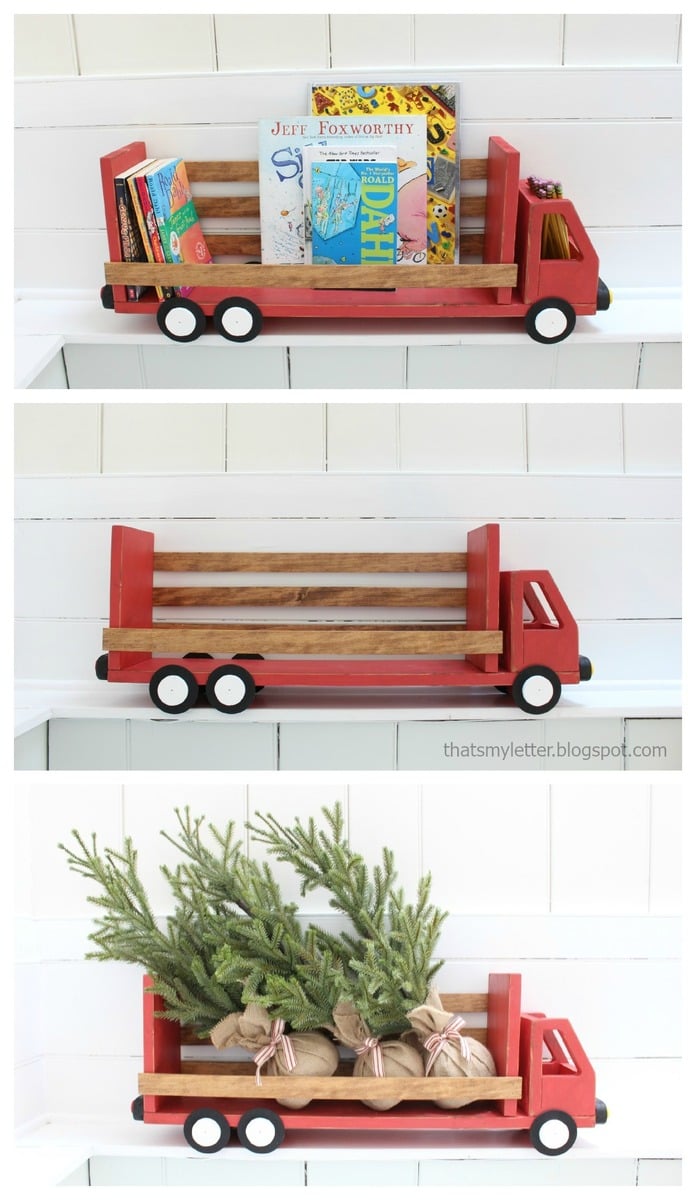
Storage might as well be cute! This darling truck shelf is made of scrap wood. The plans are easy and step by step. Perfect for a children's room.


This year, we wanted to help you create unique gifts, and challenged ourselves to come up with designs that are both fun and fresh, but still easy to build and inexpensive.
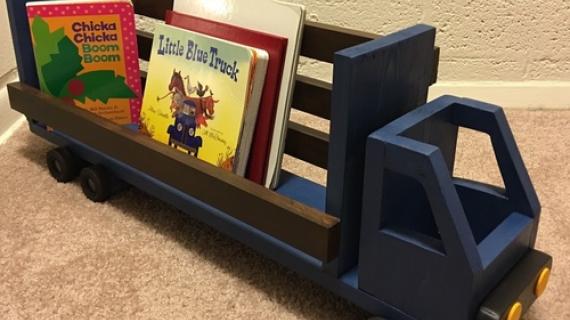
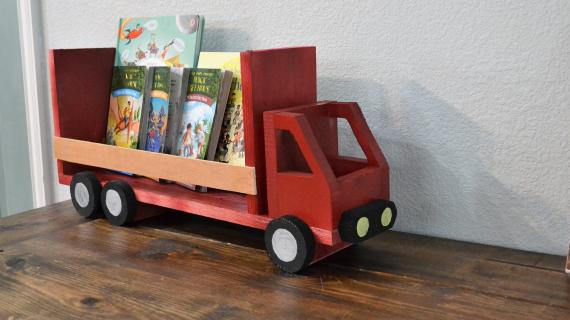
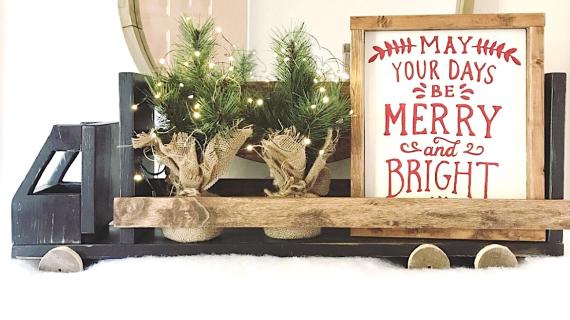
We hope you love today's project as much as we do - a truck themed shelf or desktop organizer -
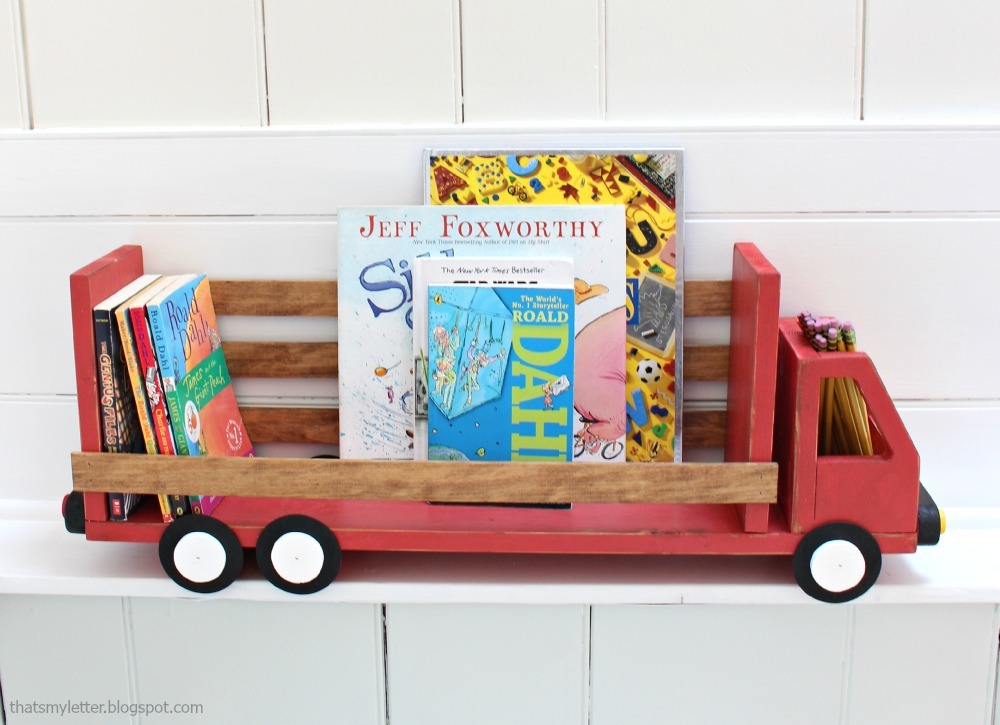
This truck shelf or organizer can be hung on the wall or set on a desktop, on top of a bookshelf, or even on the floor. It's a good size, 1x6 depth for the books.

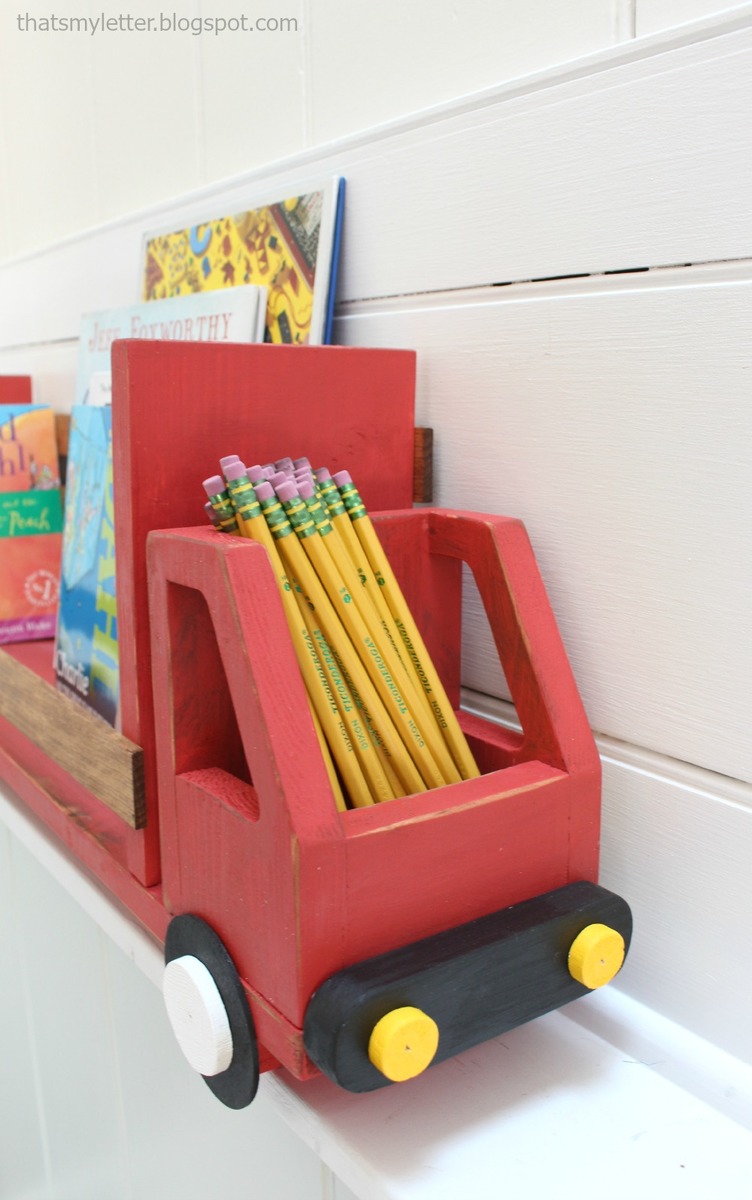
The front cab area can also store smaller things if you so choose.
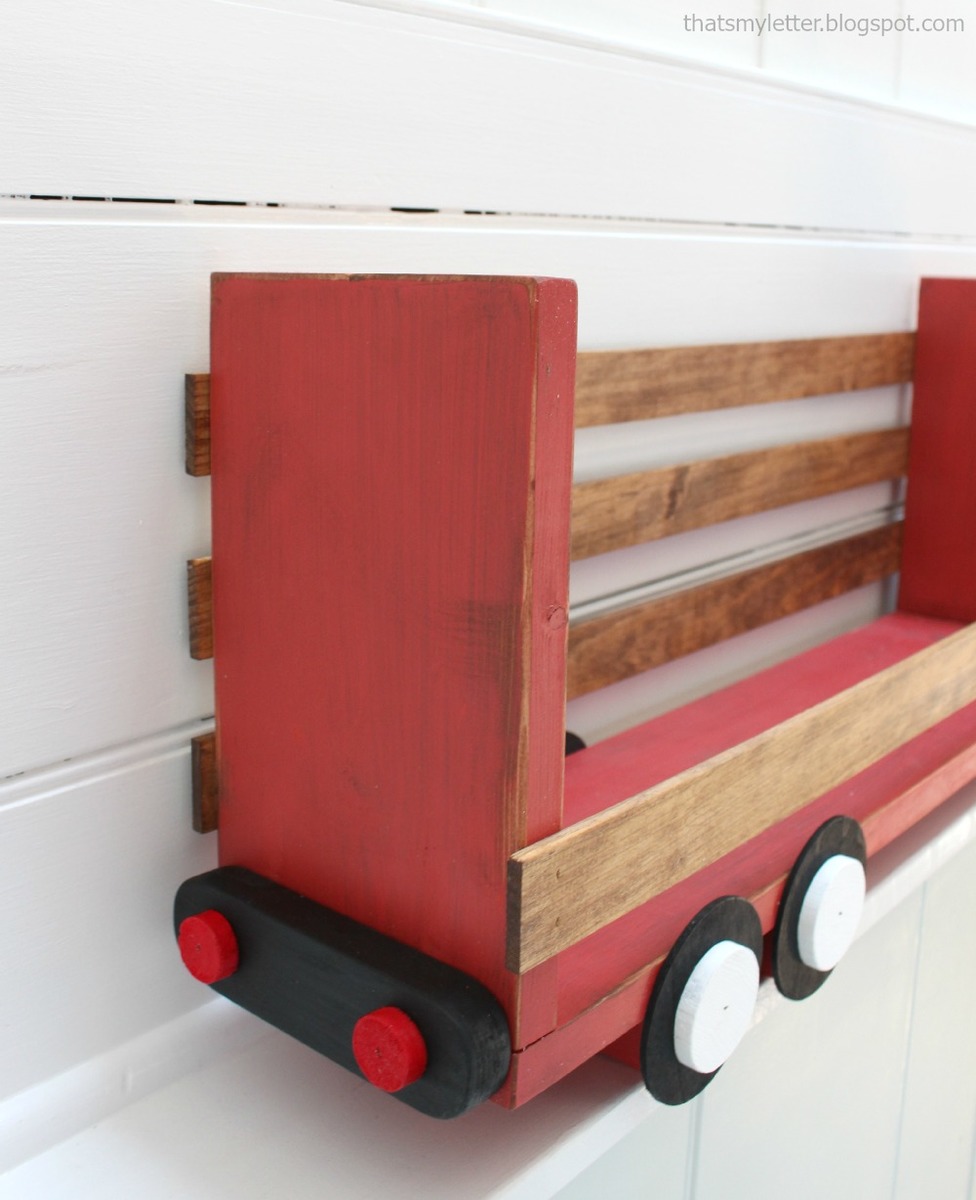
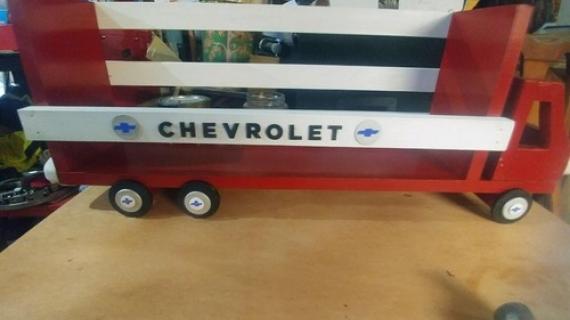
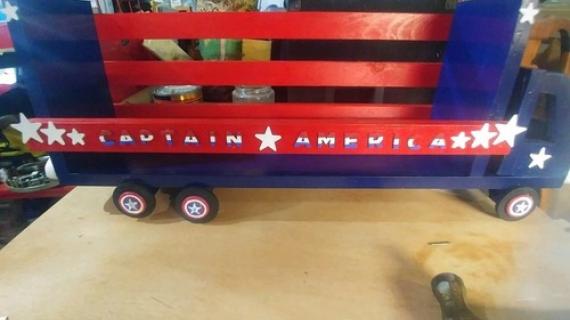
The little details make this truck shelf so beautiful. You can cut the wheels and lights out with a hole saw kit and a drill pretty quickly and easily from scrap plywood pieces.

Isn't this just gorgeous?
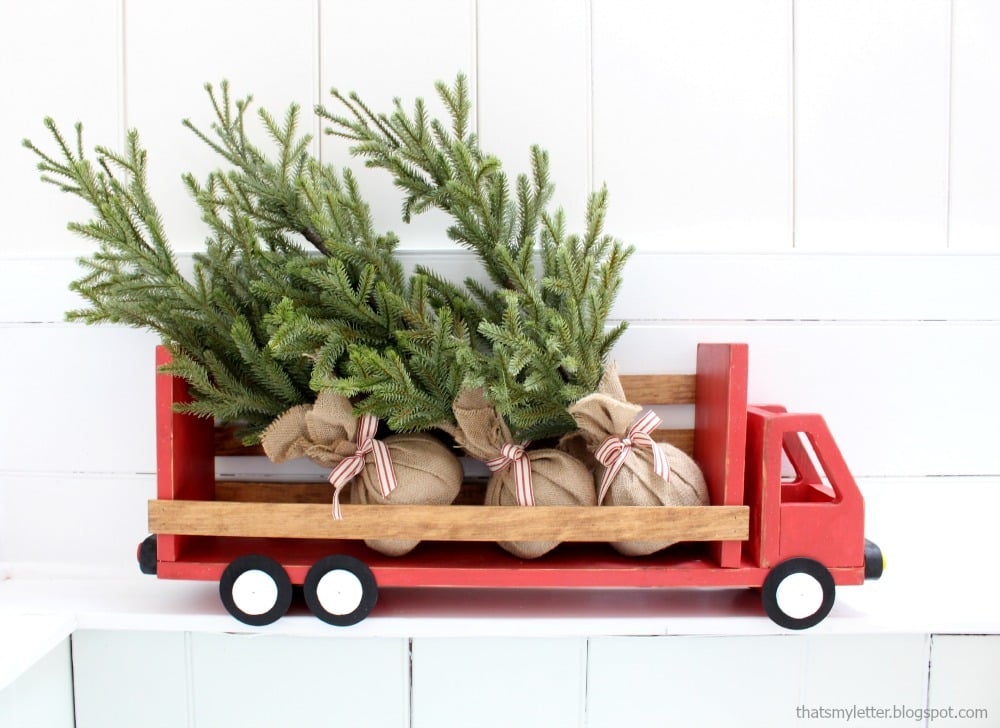
So beautiful you might just want to steal it for the Holidays!
So you ready to build?
First, go check out Jaime's building post for lots more photos and building photos.
Then get the free plans below (if this is the homepage you'll need to click READ MORE below).
Happiest Holidays!
Ana
CLICK HERE FOR JAIME'S BUILDING POST
PS - If you can't build this year, make sure you pin for next year!
Preparation
1 - 1x6 @ 6 feet long
2 - 1x2 @ 8 feet long (unless you use something else for truck sides)
1x3 and 1x4 scraps for cab
1/2" and 1/4" plywood scraps
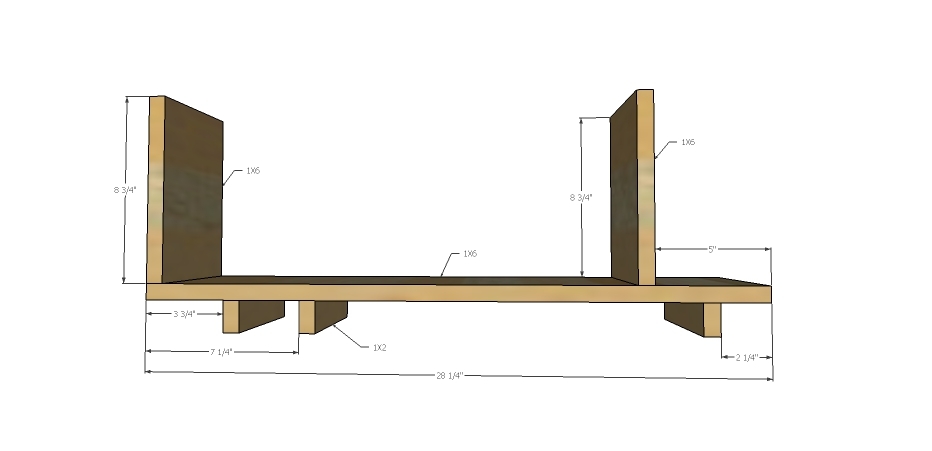
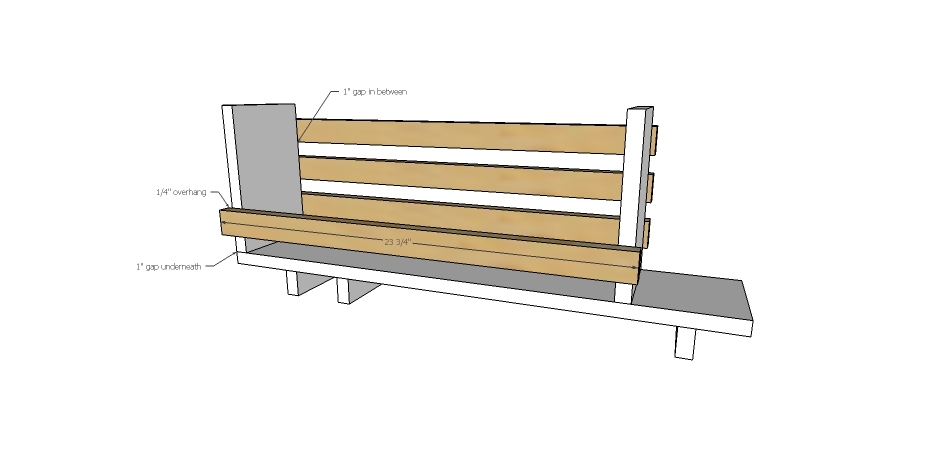
1 - 1x6 @ 28-1/4" (main base)
2 - 1x6 @ 8-3/4" (truck bed front and back)
3 - 1x2 @ 5-1/2" (supports where wheels will be attached)
4 - 1x2 @ 23-3/4" or other material 1-1/2" wide -Jaime used scrap 1/4" plywood - truck bed sides
1 - 1x6 @ 5-1/2" (cab back)
2 - 1x4 @ 6" (cab sides)
1 - 1x3 @ 4" - (cab front)
2 - 1x2 @ 5-1/2" - cut into rounded shapes (bumpers)
3 - 3" diamenter plywood pieces (1/2" preferred) (wheels)


Please read through the entire plan and all comments before beginning this project. It is also advisable to review the Getting Started Section. Take all necessary precautions to build safely and smartly. Work on a clean level surface, free of imperfections or debris. Always use straight boards. Check for square after each step. Always predrill holes before attaching with screws. Use glue with finish nails for a stronger hold. Wipe excess glue off bare wood for stained projects, as dried glue will not take stain. Be safe, have fun, and ask for help if you need it. Good luck!
Instructions
Step 1
NOTE: It may be easier to stain or paint pieces before assembly, especially if different colors.
Attach to the main base the 1x2 wheels supports with glue and 1-1/4" staples or nails, nailing through the 1x6 into top edge of the 1x6. Now add the two 1x6 pieces, either in the same manner, or with 3/4" pocket holes and 1-1/4" pocket hole screws and glue.
Step 2
Nail the truck bed sides on with 1-1/4" brad nails (can use smaller nails or staples if using thinner stock, for example 1/4" plywood) with glue.
Step 3
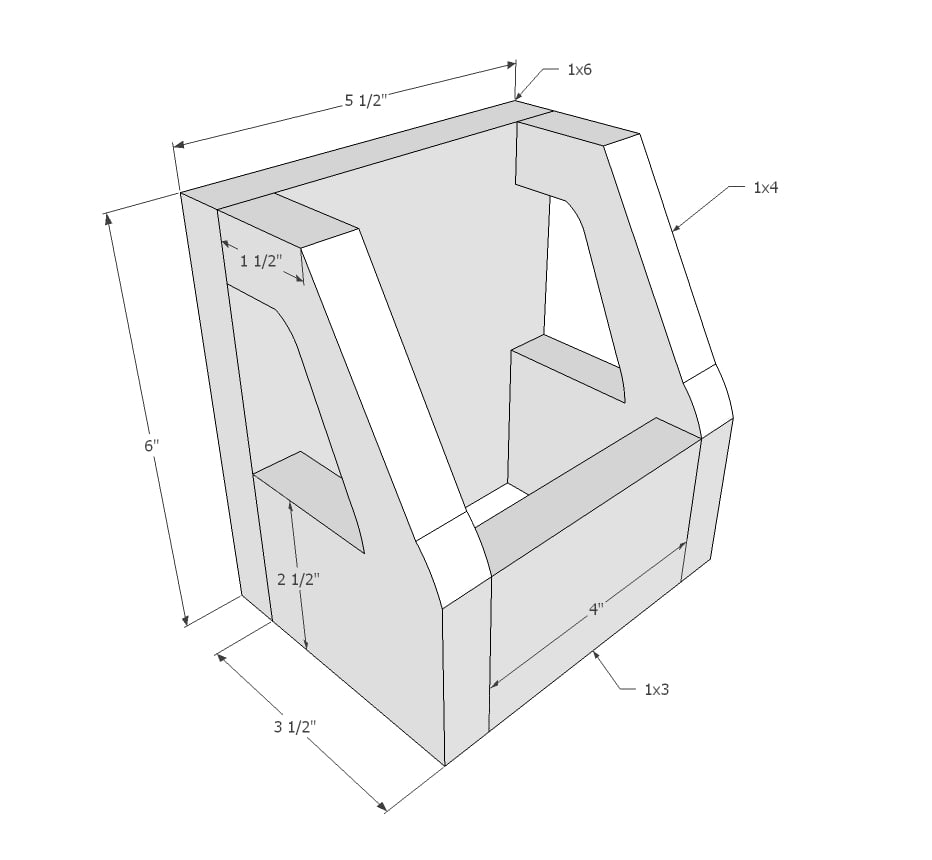
Cut the window and front of the cab out of the 1x4 pieces with a jigsaw. clamping piece to workbench. You could also do the jigsawing before cutting the 1x4 down in size (for example, take a 12" long 1x4, cut the window and windshield area out, then cut it down to 5" long).
Attach all the pieces together with glue and 1-1/4" brad nails.
Step 4
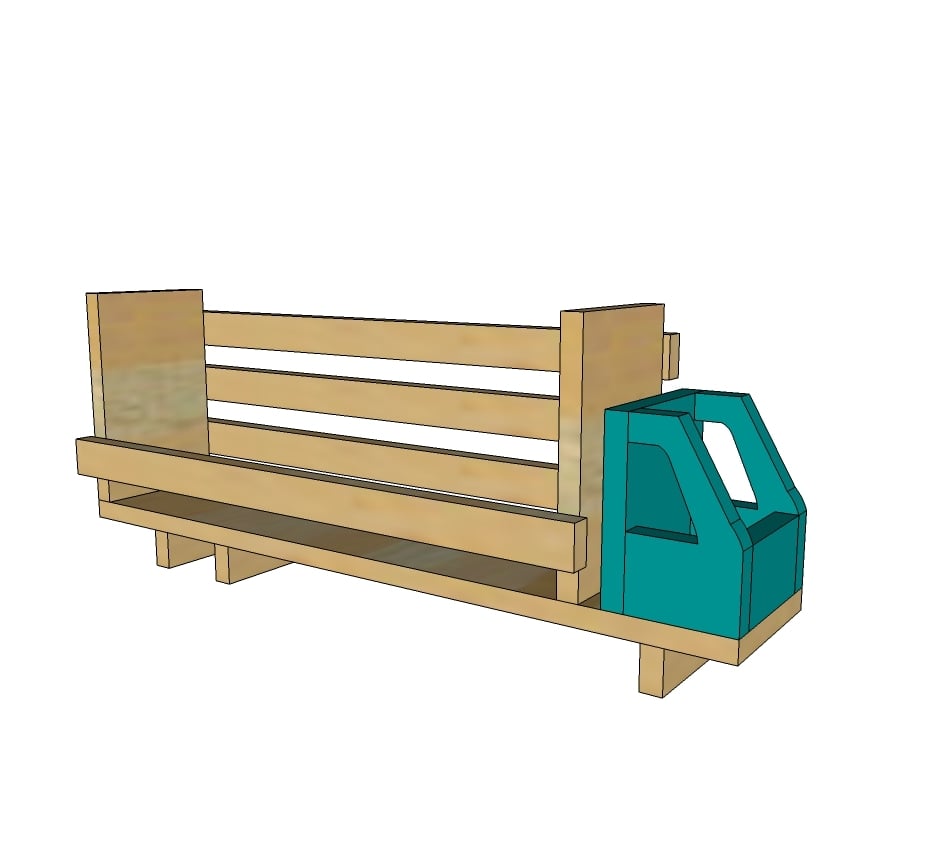
Now attach the cab to the base with 1-1/4" nails and glue from underside.
Step 5

It is always recommended to apply a test coat on a hidden area or scrap piece to ensure color evenness and adhesion. Use primer or wood conditioner as needed.