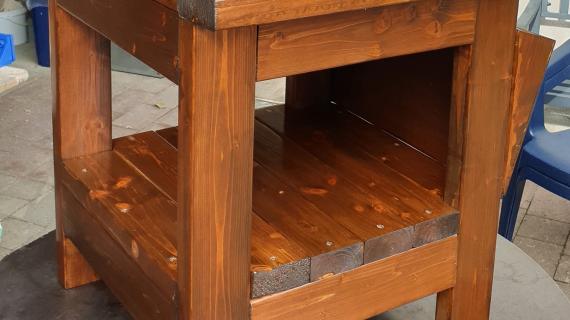
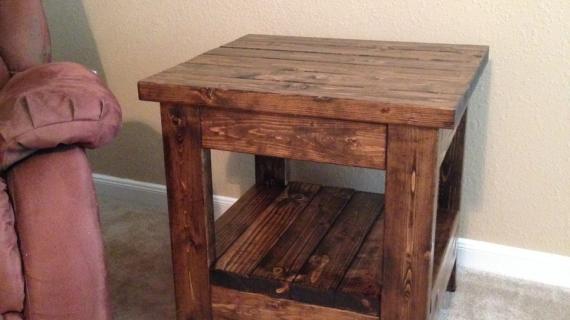
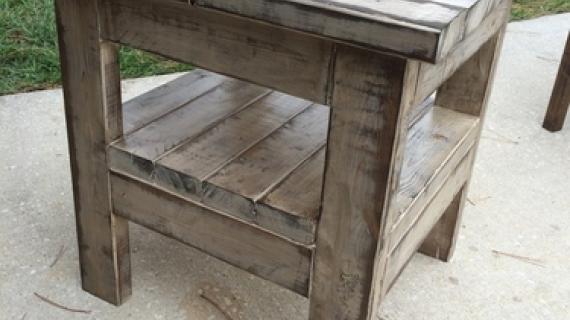
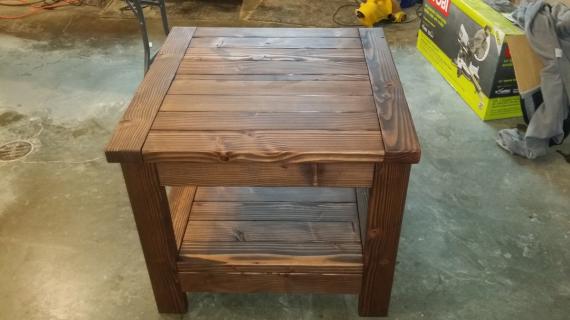
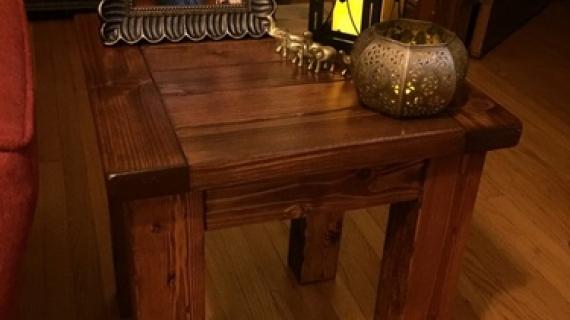
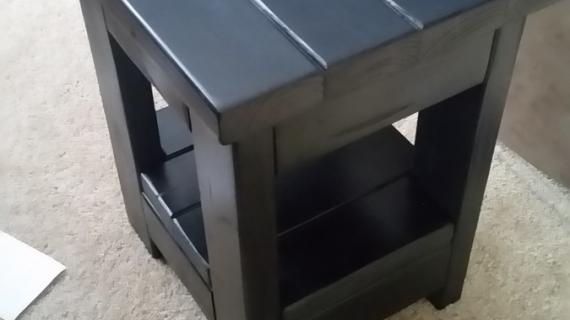
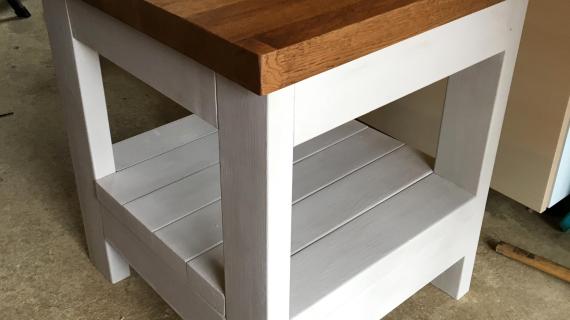
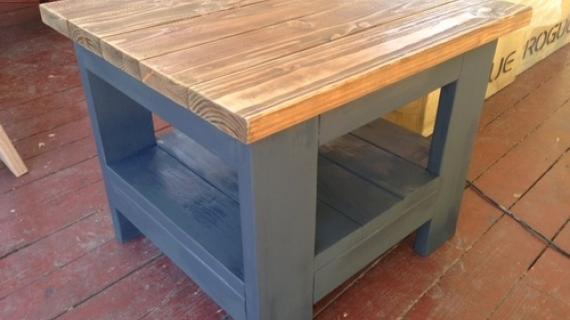
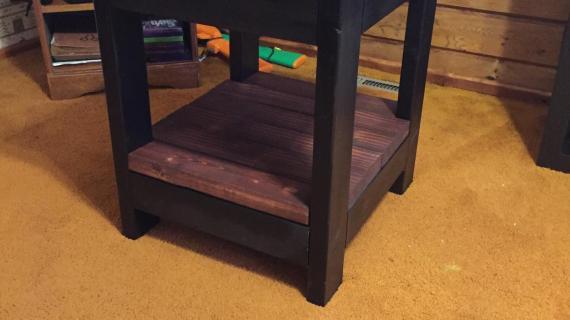
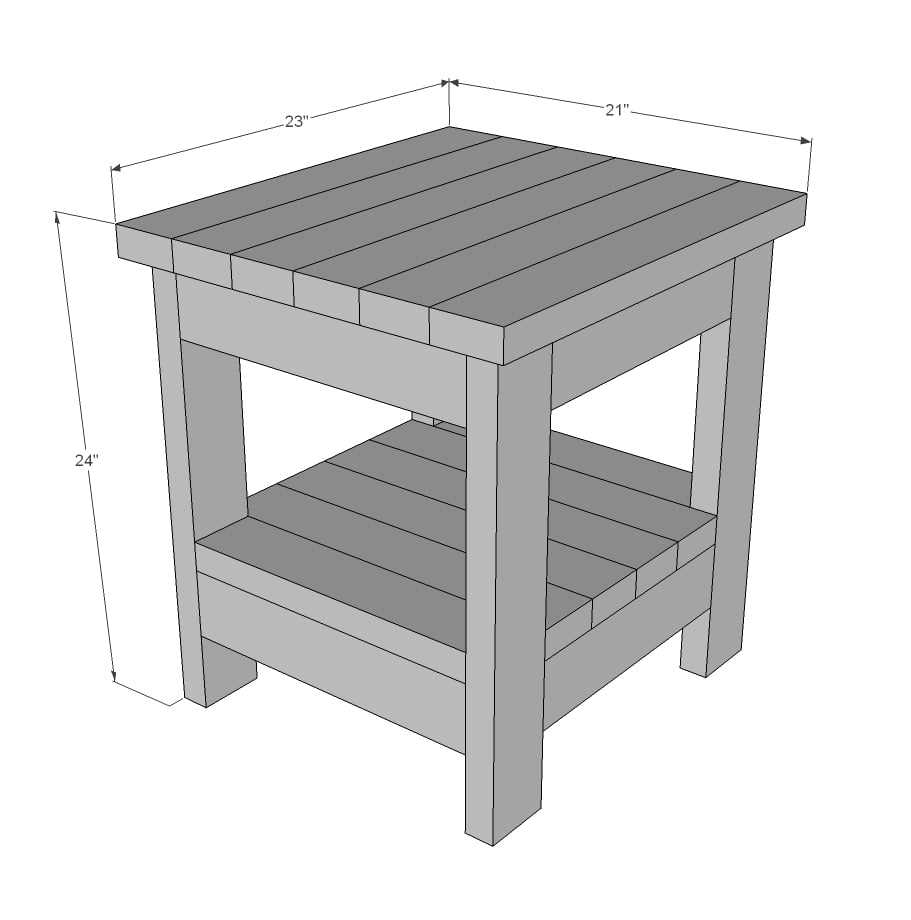
Free plans to build an end table with shelf out of 5- 2x4s! From ana-white.com

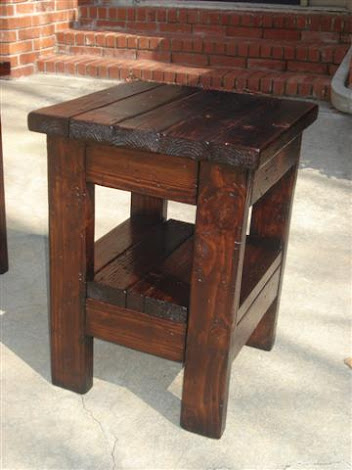
And I also love how Jeff from A Touch of Arkansas modified this plan to add a shelf - great for small spaces where any extra storage is appreciated.
Related Plans
- You can also check out the original Tryde End Table plans here.
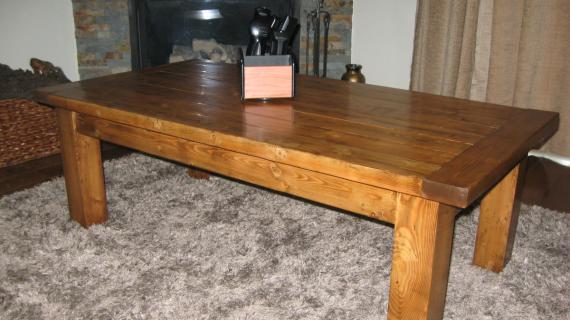
- And the matching coffee table plans are here.
Preparation
- 5 - 2x4 @ 8 feet long
- 2-1/2" pocket hole screws
- 4 - 2x4 @ 22 1/2" (legs)
- 4 - 2x4 @ 14" CUT TO FIT WIDTH OF 4 - 2x4s (shorter aprons)
- 4 - 2x4 @ 16" (longer aprons)
- 2 - 2x4 @ 16" (bottom shelf shorter pieces)
- 4 - 2x4 @ 19" (bottom shelf longer pieces)
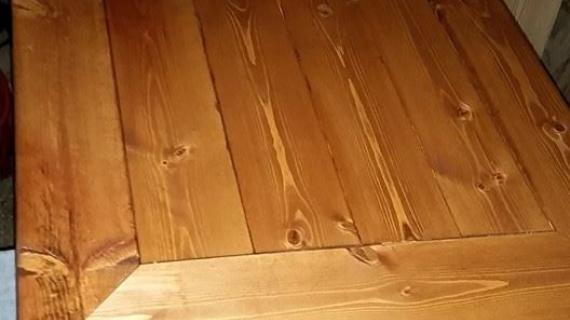
- 6 - 2x4 @ 23" (tabletop boards)


Please read through the entire plan and all comments before beginning this project. It is also advisable to review the Getting Started Section. Take all necessary precautions to build safely and smartly. Work on a clean level surface, free of imperfections or debris. Always use straight boards. Check for square after each step. Always predrill holes before attaching with screws. Use glue with finish nails for a stronger hold. Wipe excess glue off bare wood for stained projects, as dried glue will not take stain. Be safe, have fun, and ask for help if you need it. Good luck!
Instructions
Step 1
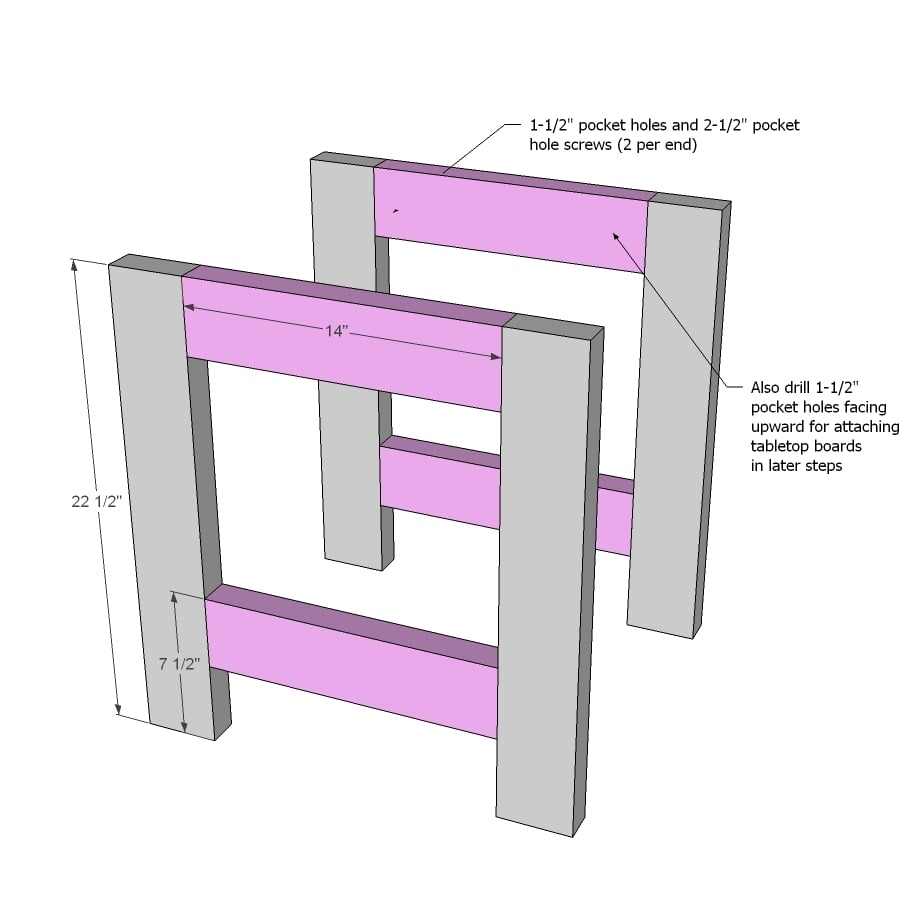
Place your four longer bottom shelf boards together and measure the overall width of the shelf. This measurement should be close to 14". Cut your shorter aprons to this length. Then drill (2) 1-1/2" pocket holes on each end of each of the apron boards and attach to legs to build the two end leg sets.
NOTE: You'll want to also drill 1-1/2" pocket holes (about 2 per apron facing upward, bottom aprons too) for attaching the shelf/tabletop in later steps.
Step 2
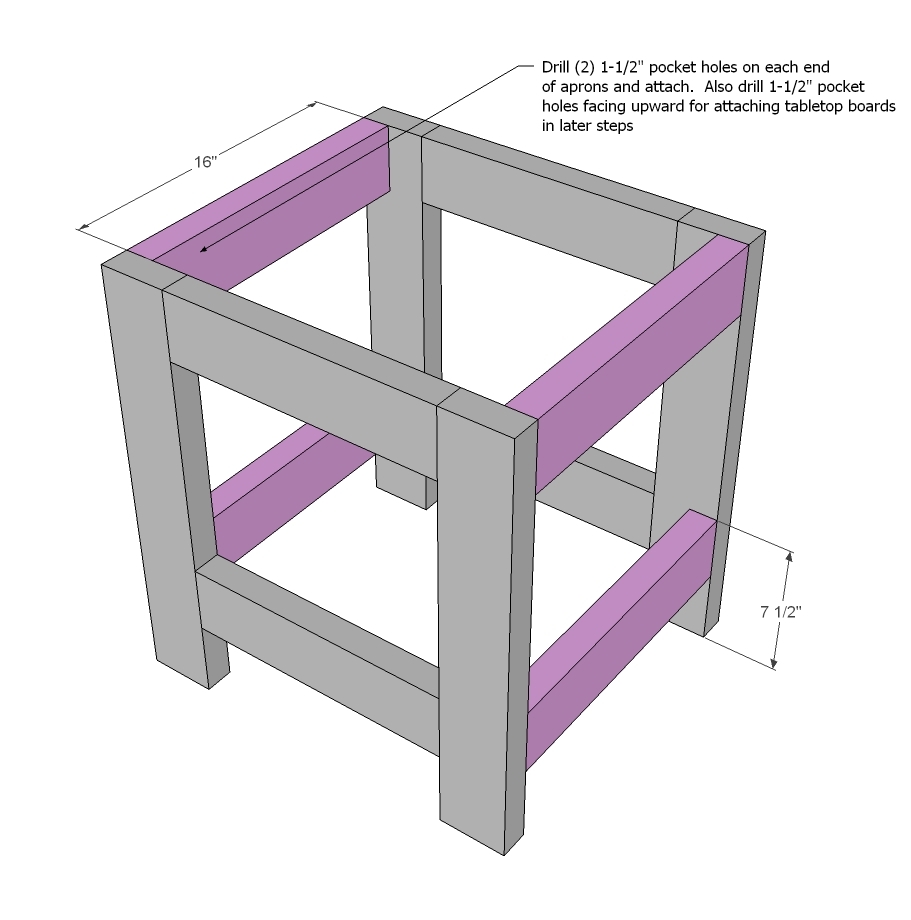
Drill 2 1-1/2" pocket holes per end of each of the longer apron boards and attach to the legs with 2-1/2" pocket hole screws.
NOTE: You'll want to also drill 1-1/2" pocket holes (about 2 per apron facing upward, bottom aprons too) for attaching the shelf/tabletop in later steps.
Step 3
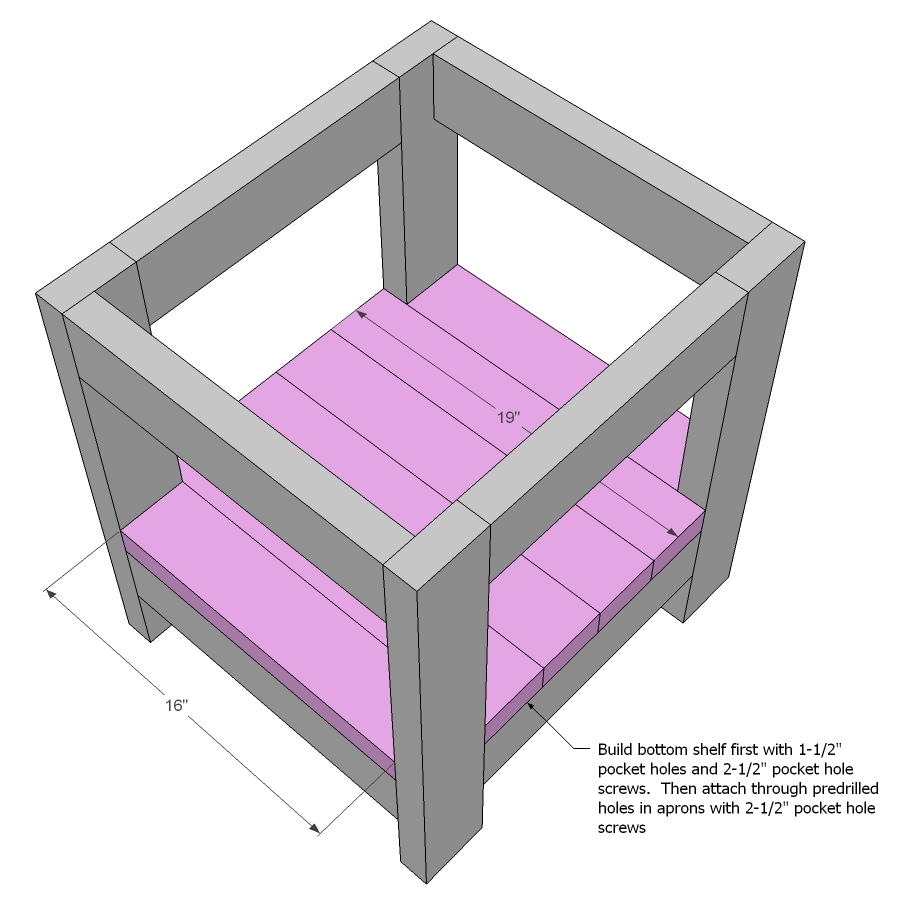
You may wish to attach the tabletop first for easier access to the underside (see next step).
Build your bottom shelf first with 1-1/2" pocket holes and 2-1/2" pocket hole screws. Then fit inside and attach through the predrilled pocket holes in aprons with 2-1/2" pocket hole screws.
Step 4

Build tabletop first, then attach completed tabletop to the base through pocket holes on underside, as you did the bottom shelf.
It is always recommended to apply a test coat on a hidden area or scrap piece to ensure color evenness and adhesion. Use primer or wood conditioner as needed.