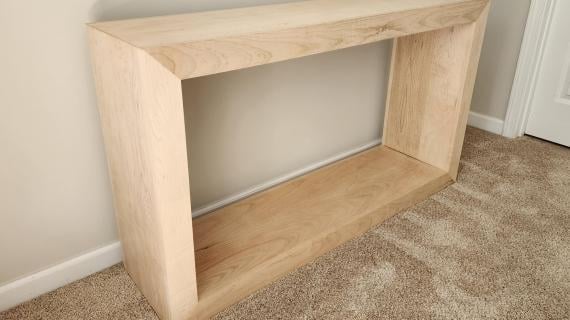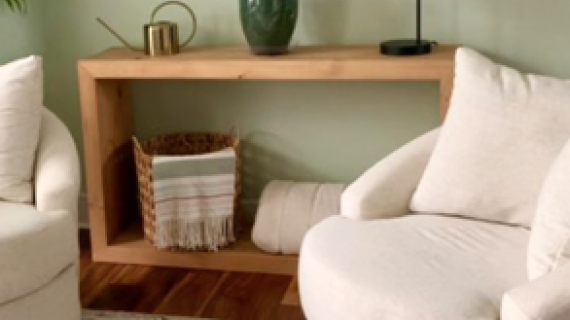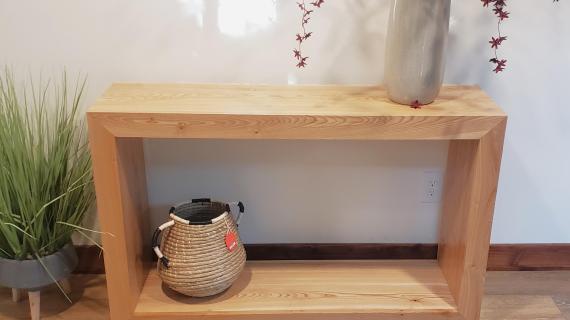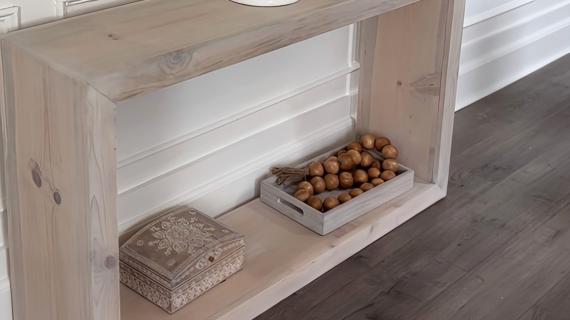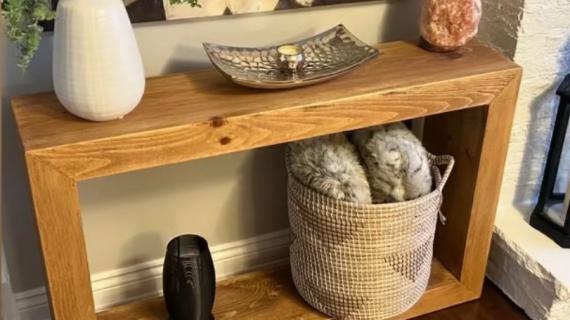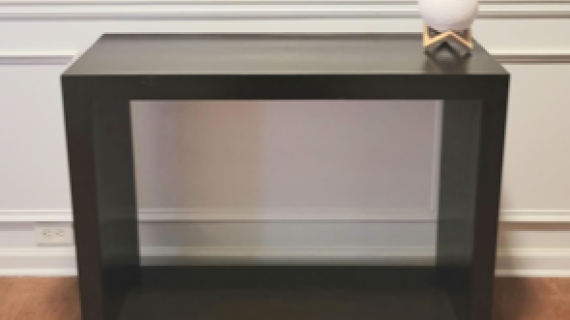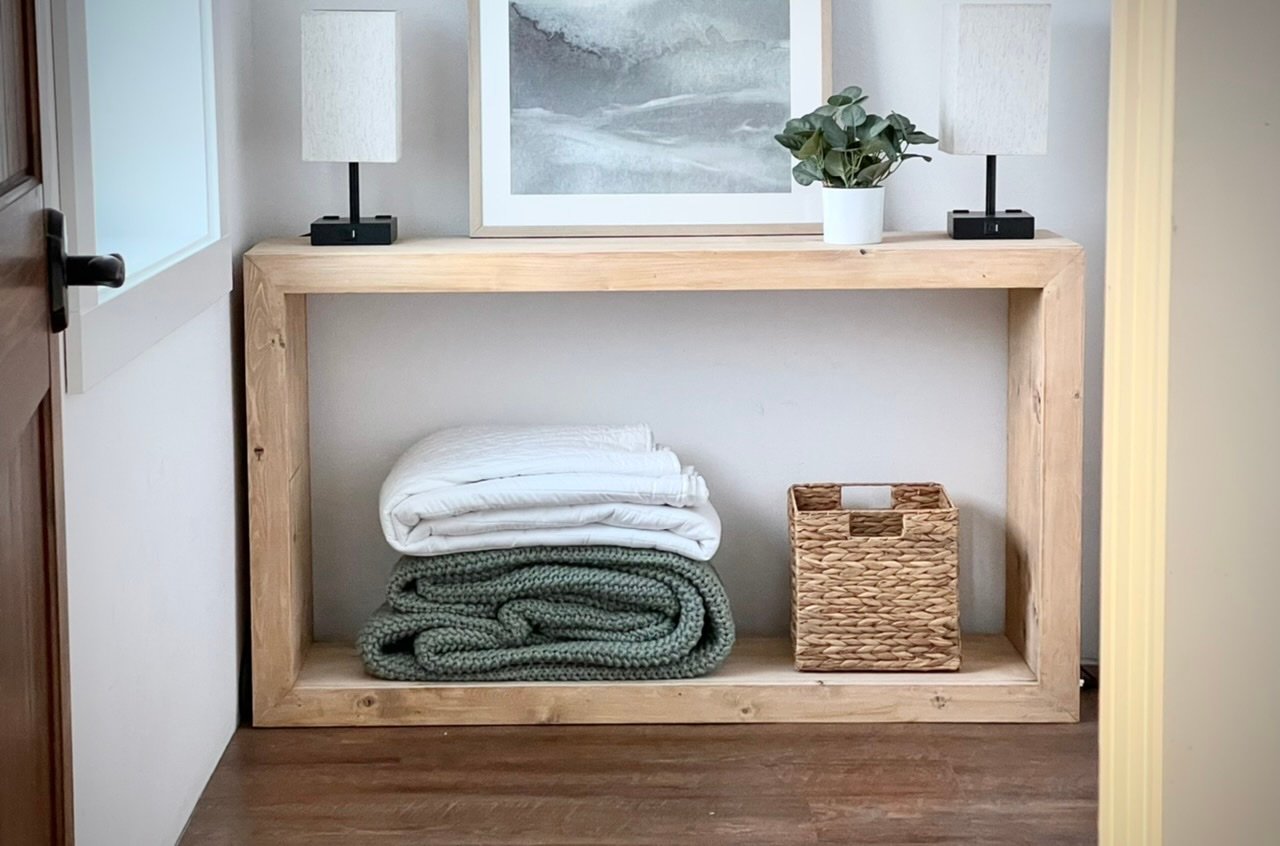


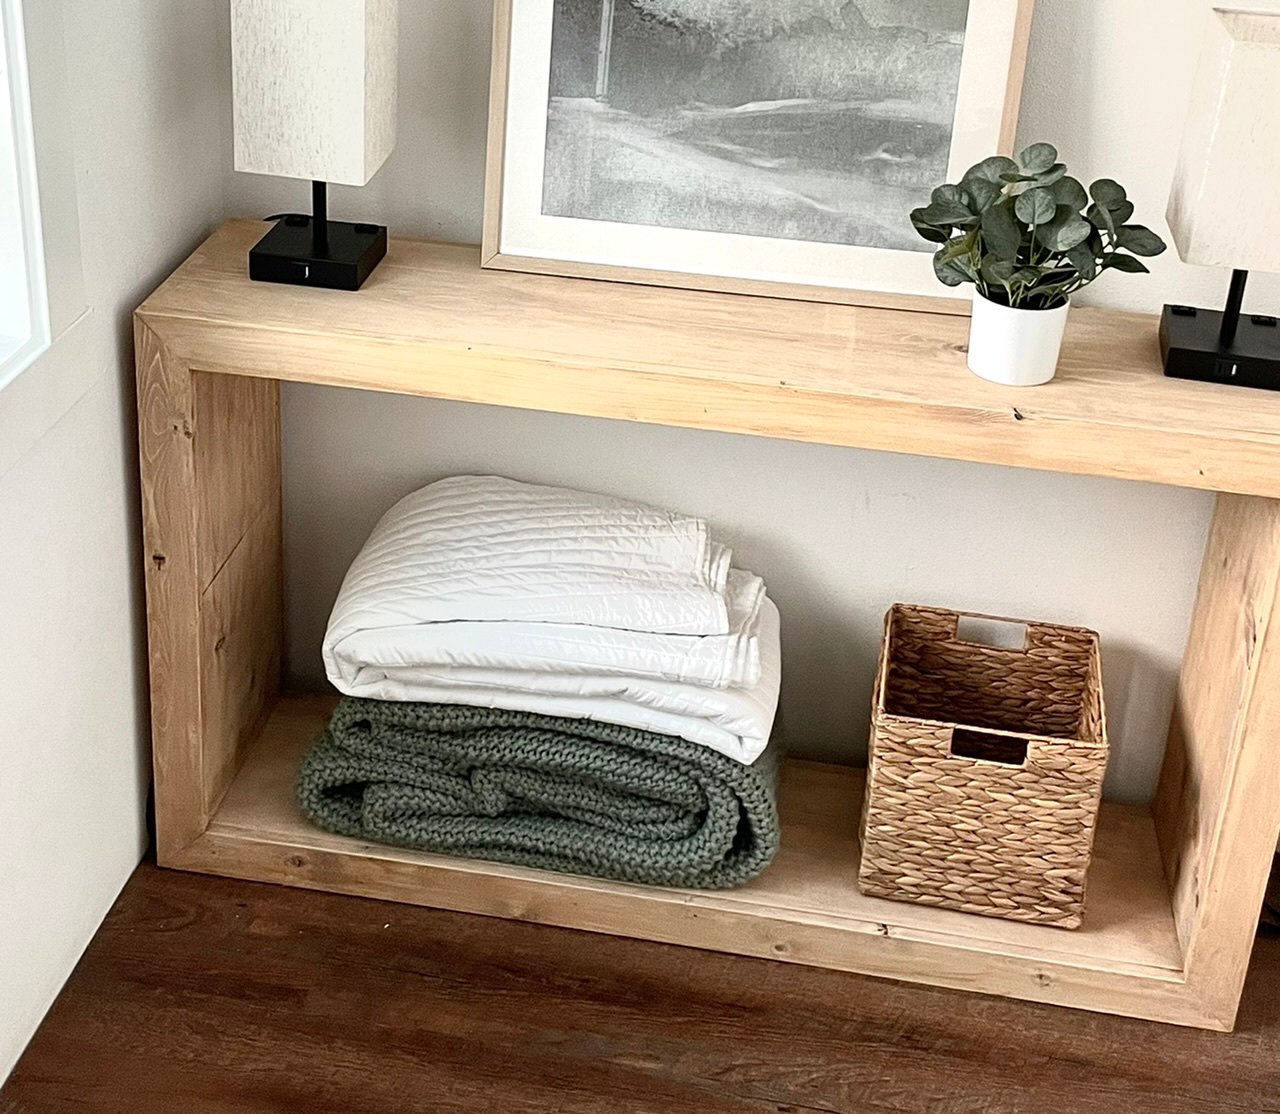
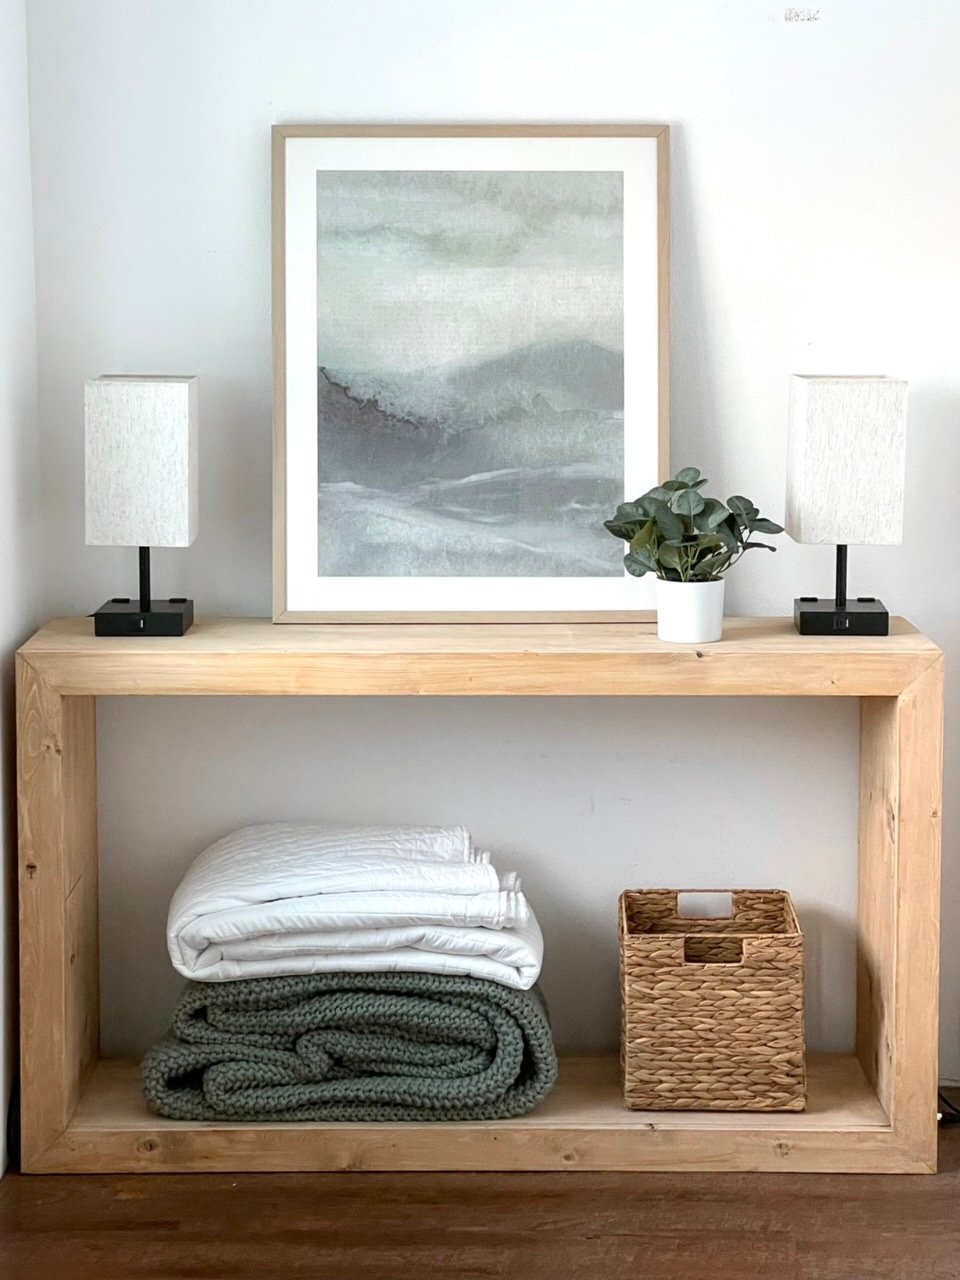
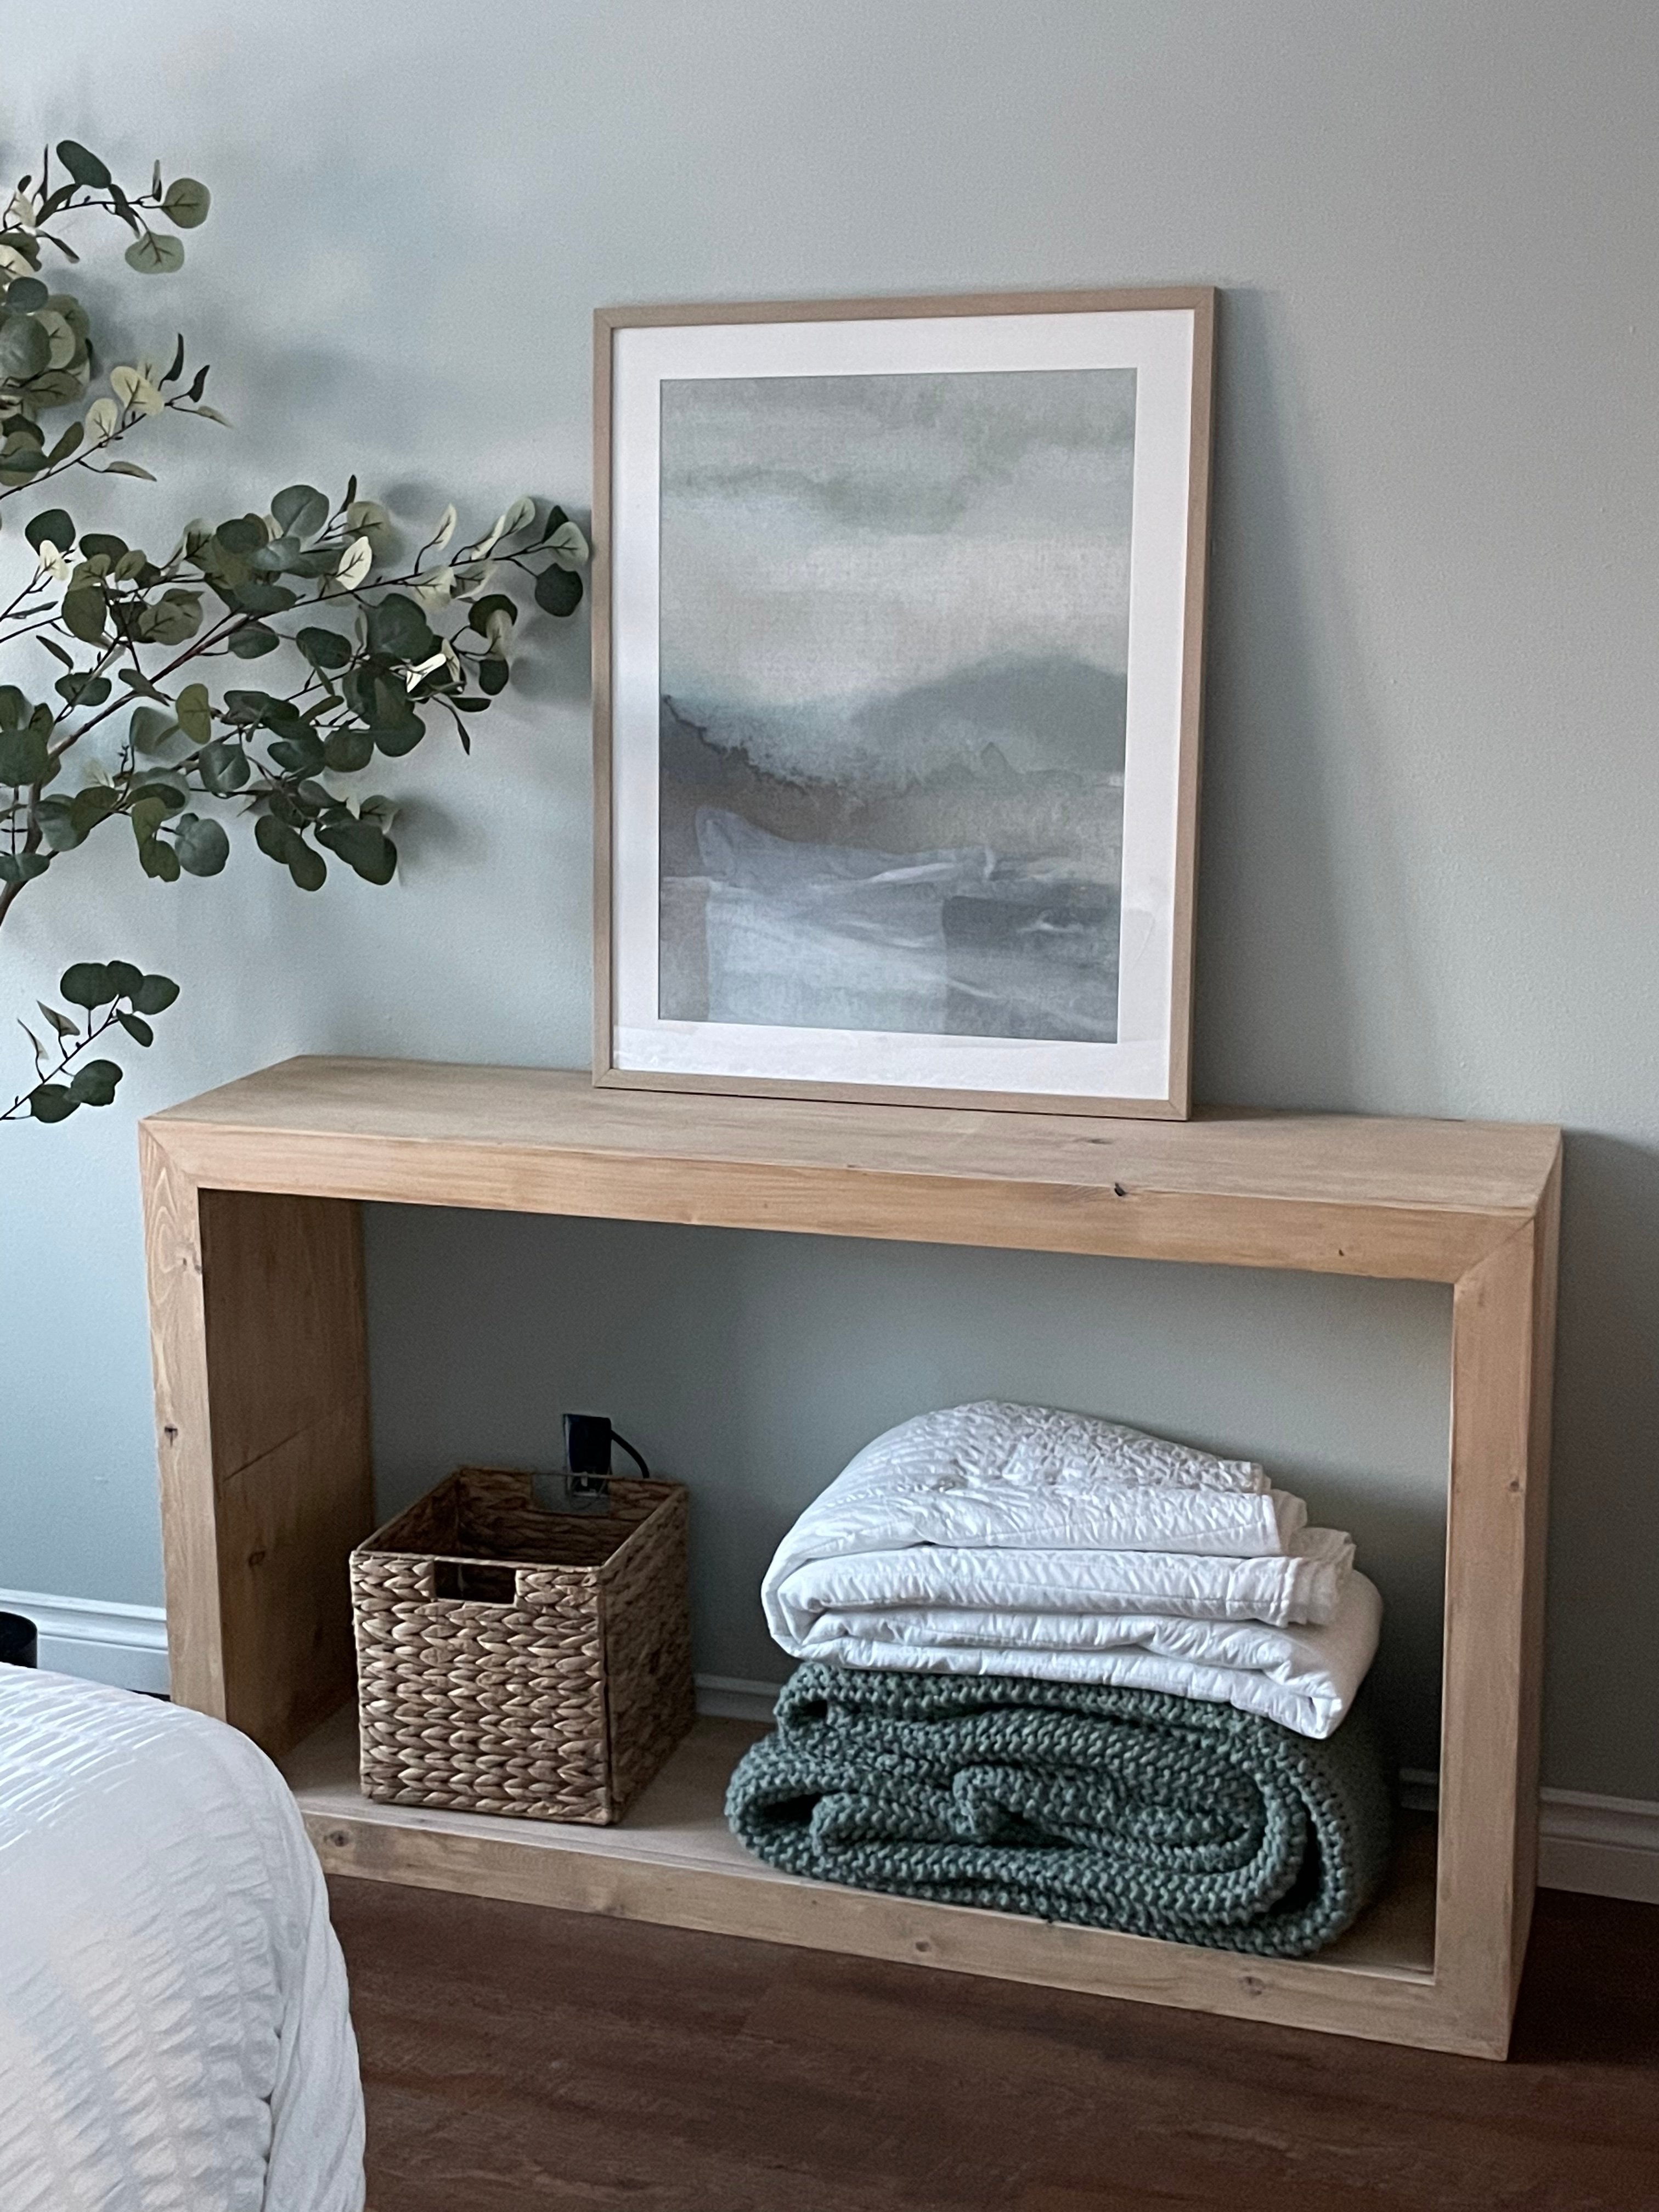
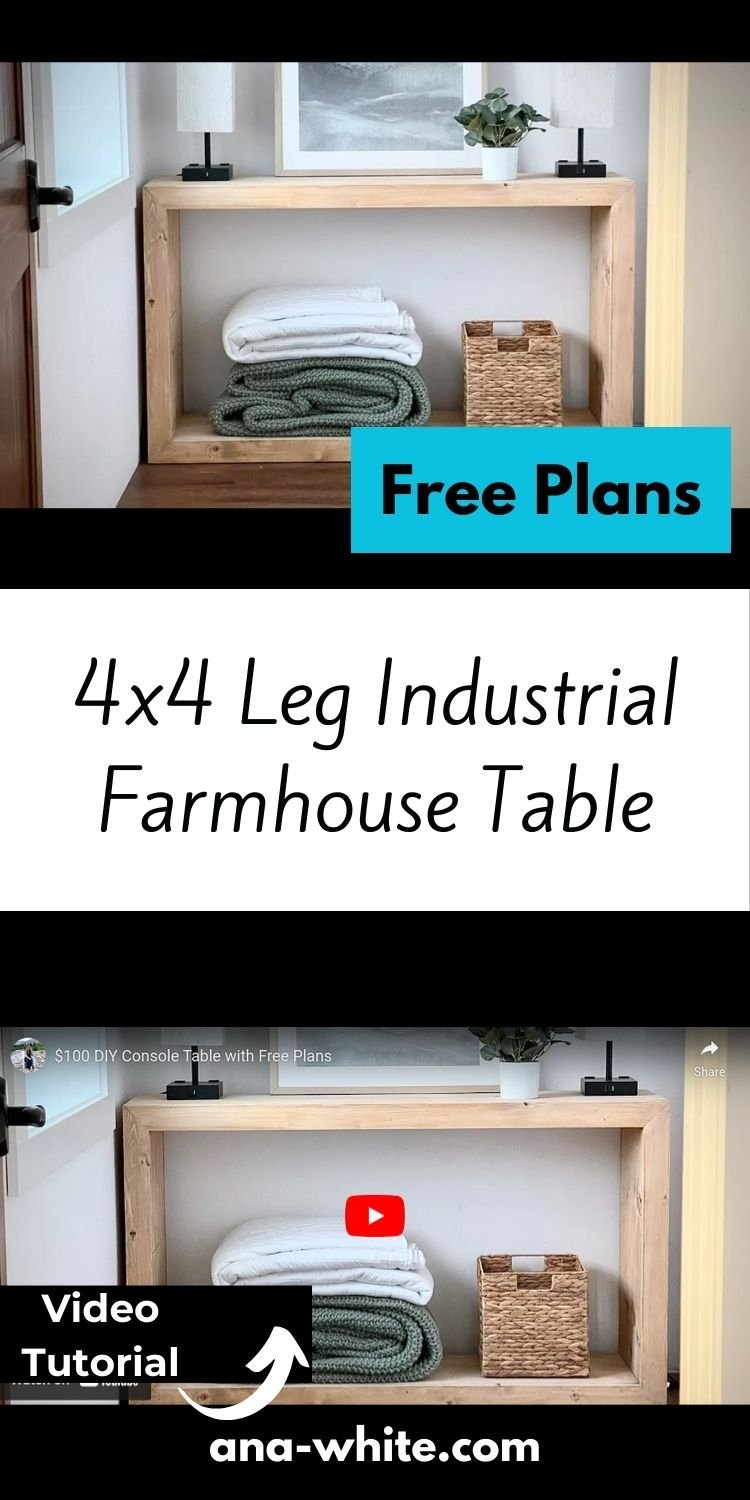
Save hundreds and build your own waterfall framed console table. This beauty costs about $100 to DIY and is solid pine wood. It’s gorgeous!
Free plans from Ana-White include everything g to get started- photos, video, diagrams, shopping and cut list and real, reader submitted photos.
Related: Waterfall Grand Console Plans
Why I Built This Console
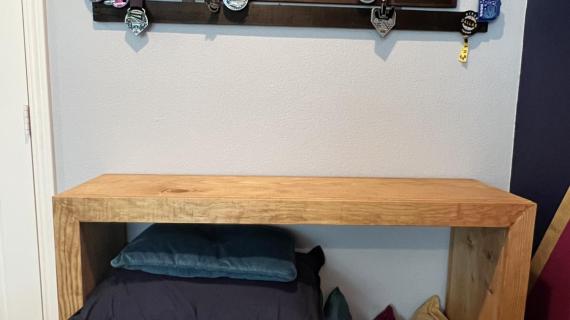
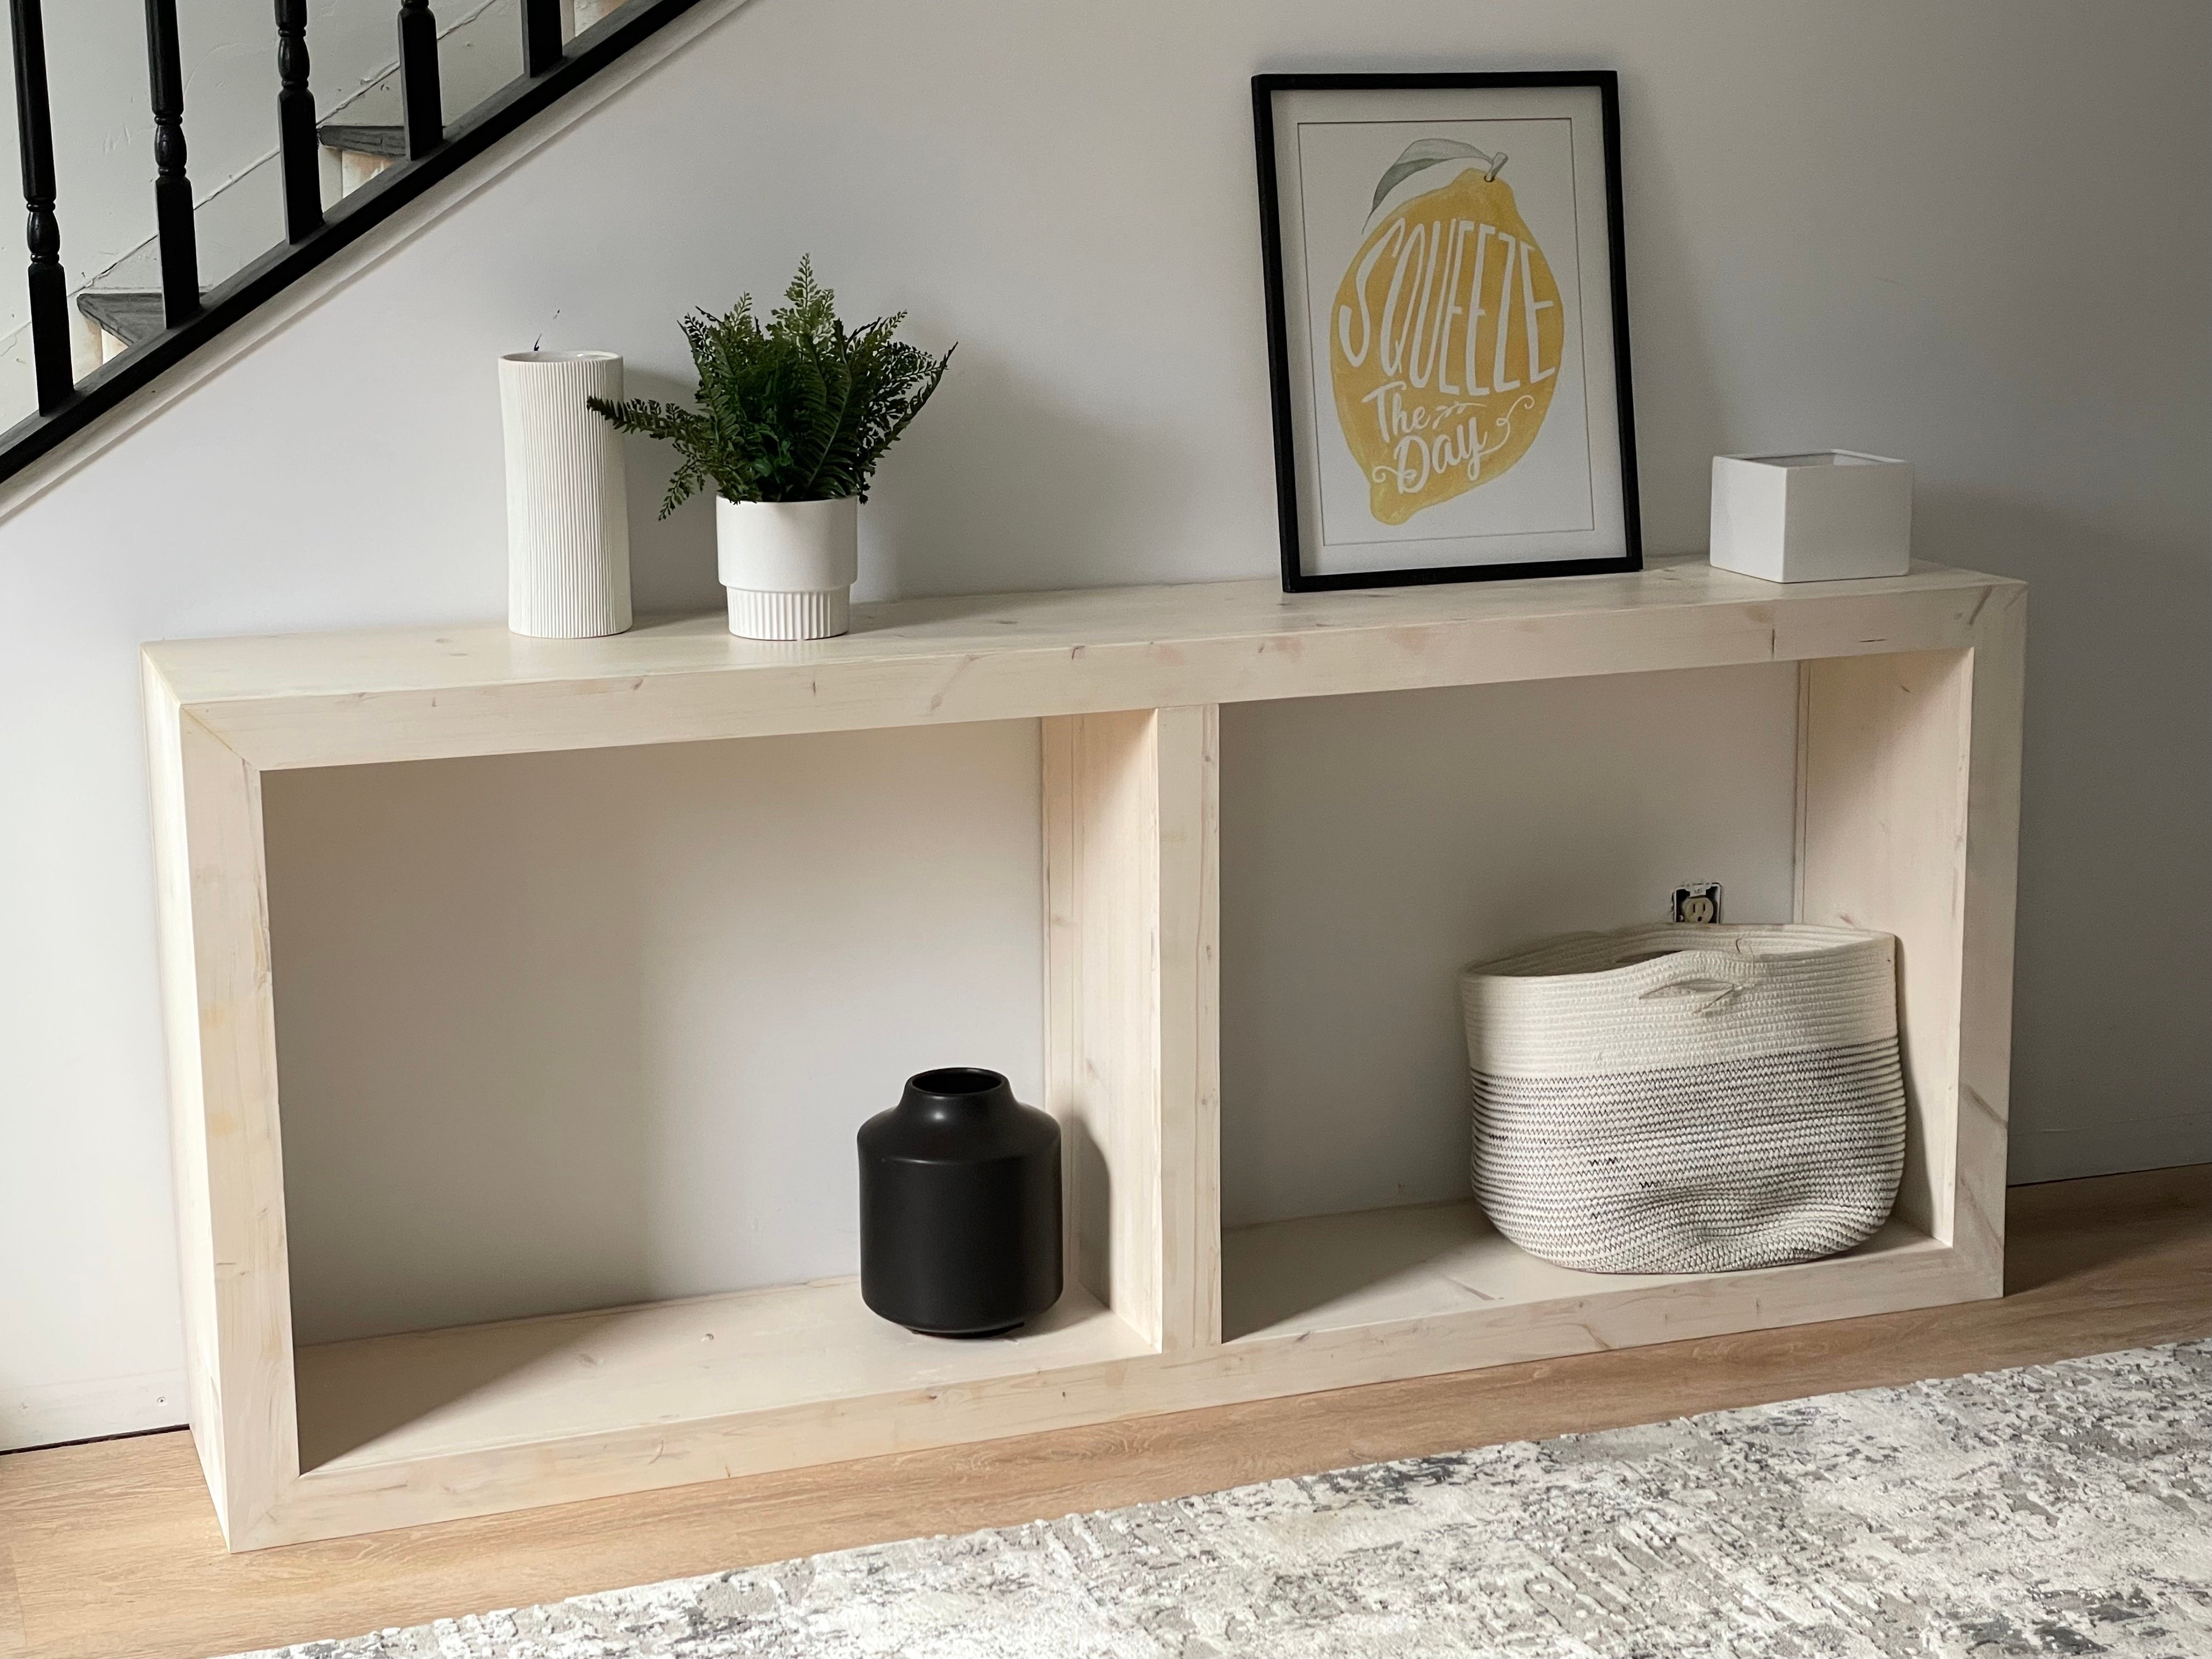
A few months ago, I built this console for my sister. It turned out so well, I had to build another shorter version.
How I Built This Console
In this very quick build video, watch how I build this console.
See Also: No Pocket Holes Method
This console is built using a pocket holes method.
You can also build using a brad nailer version - check this post and video out for how to build this project without pocket holes.
Pin For Later!
Preparation
- 2 - 1x12 @ 10 feet long
- 4 - 1x3 @ 8 feet long
- (75) 1-1/4" coarse thread pocket hole screws
- 1-1/4" brad nails
- wood glue
- 120 grit sandpaper
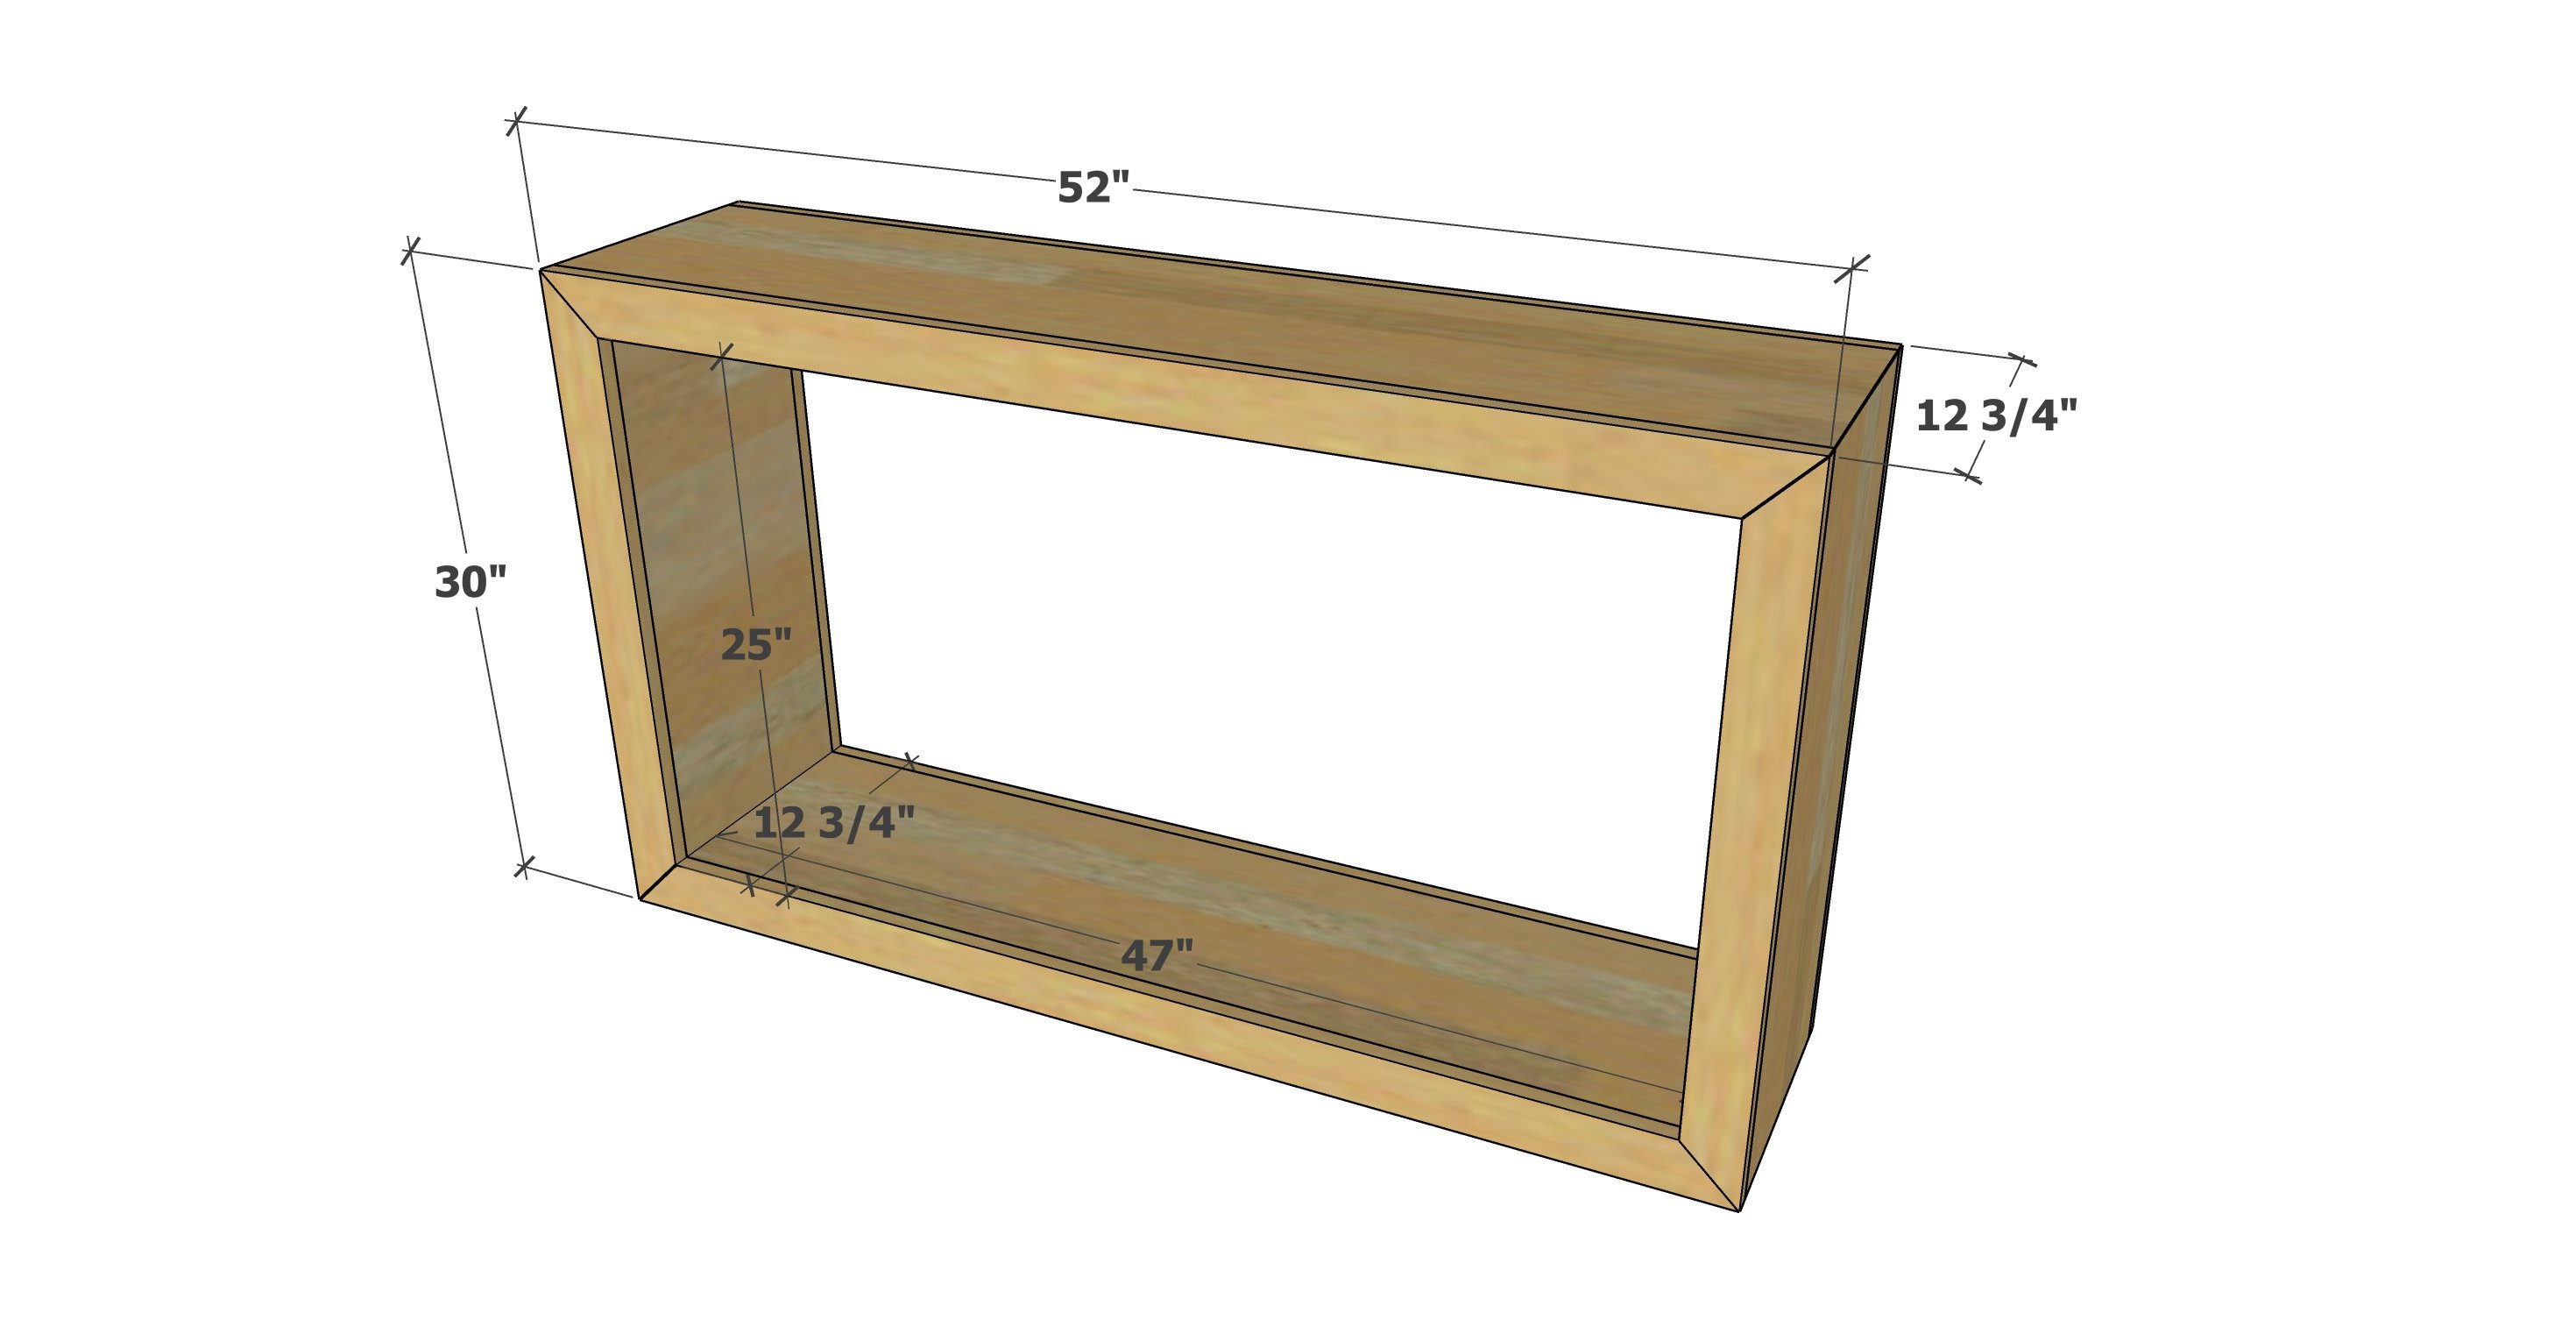
- 2 - 1x3 @ 52" - long point to long point measurement, both ends cut at 45 degree angle, ends NOT parallel (face frame)
- 2 - 1x3 @ 30" - long point to long point measurement, both ends cut at 45 degree angle, ends NOT parallel (face frame)
- 1 - 1x12 @ 52" - long point to long point measurement, both ends cut at 45 degree bevel, ends NOT parallel (top)
- 2 - 1x12 @ 30" - long point measurement, ONE end cut at 45 degree bevel (sides)
- 1 - 1x12 @ 50-1/2" (bottom shelf)
- 2 - 1x12 @ 26-3/4" (inside sides)


Instructions
Step 1
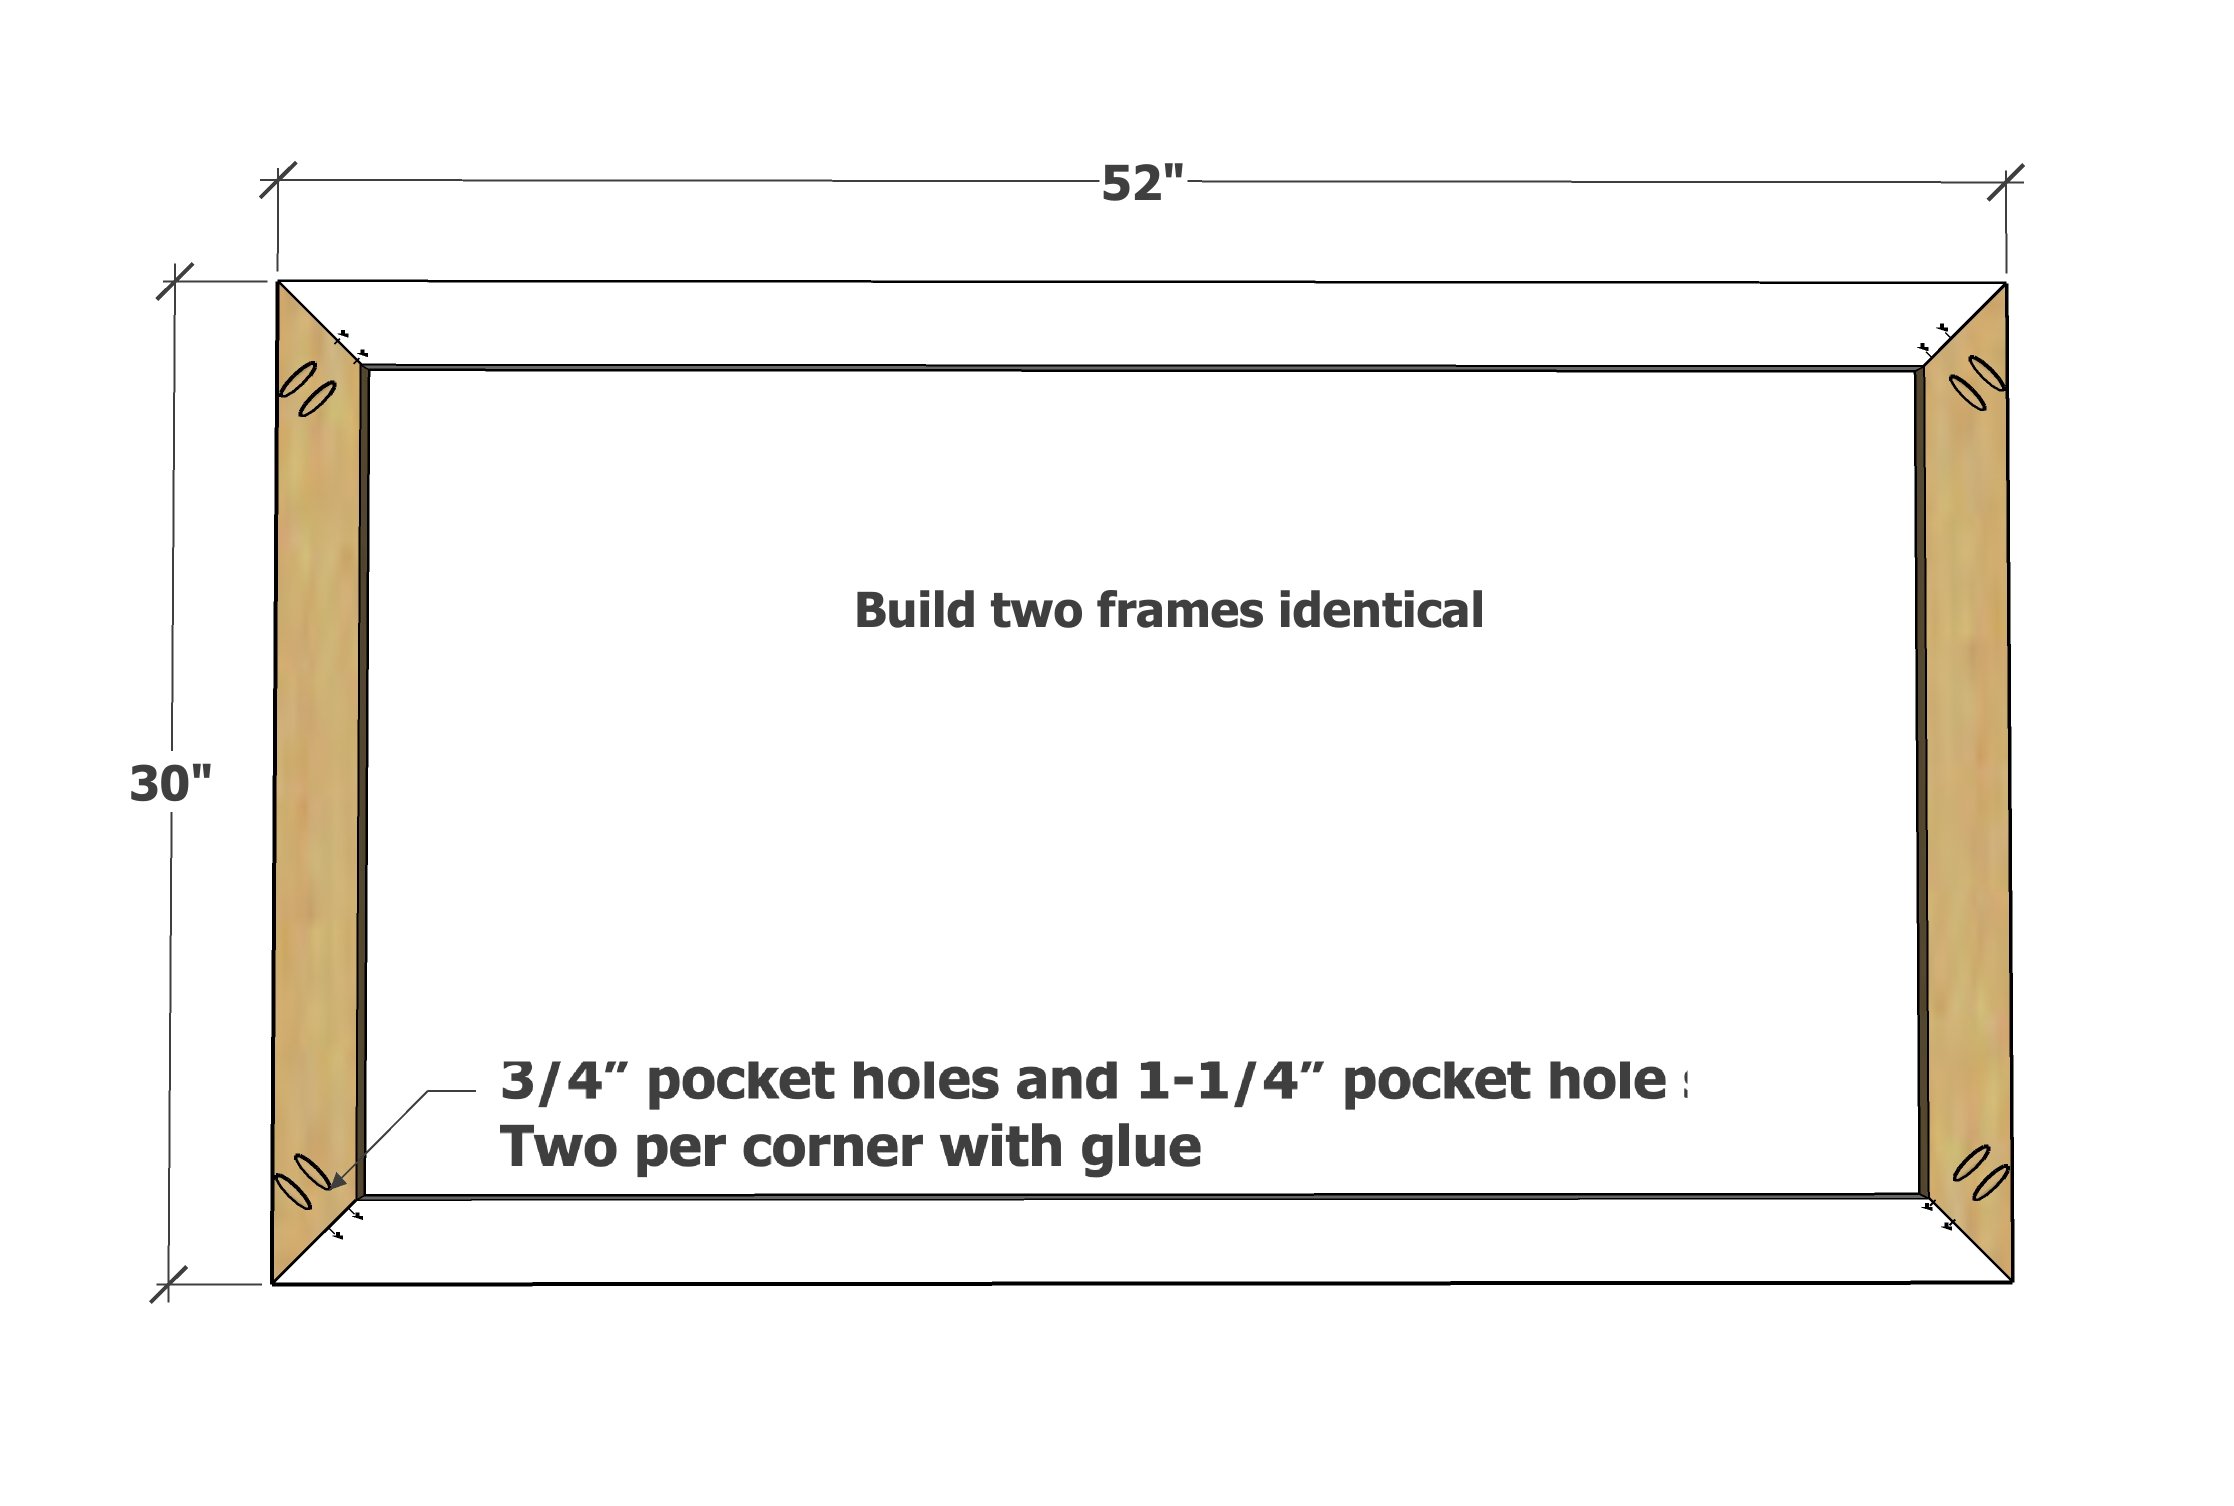
Build two face frames, carefully matching corners. It is very important to do a great job here as the face frames are what you will see and set the square of the project.
Make sure the two face frames are identical matches (place on top of each other and check).
Step 2
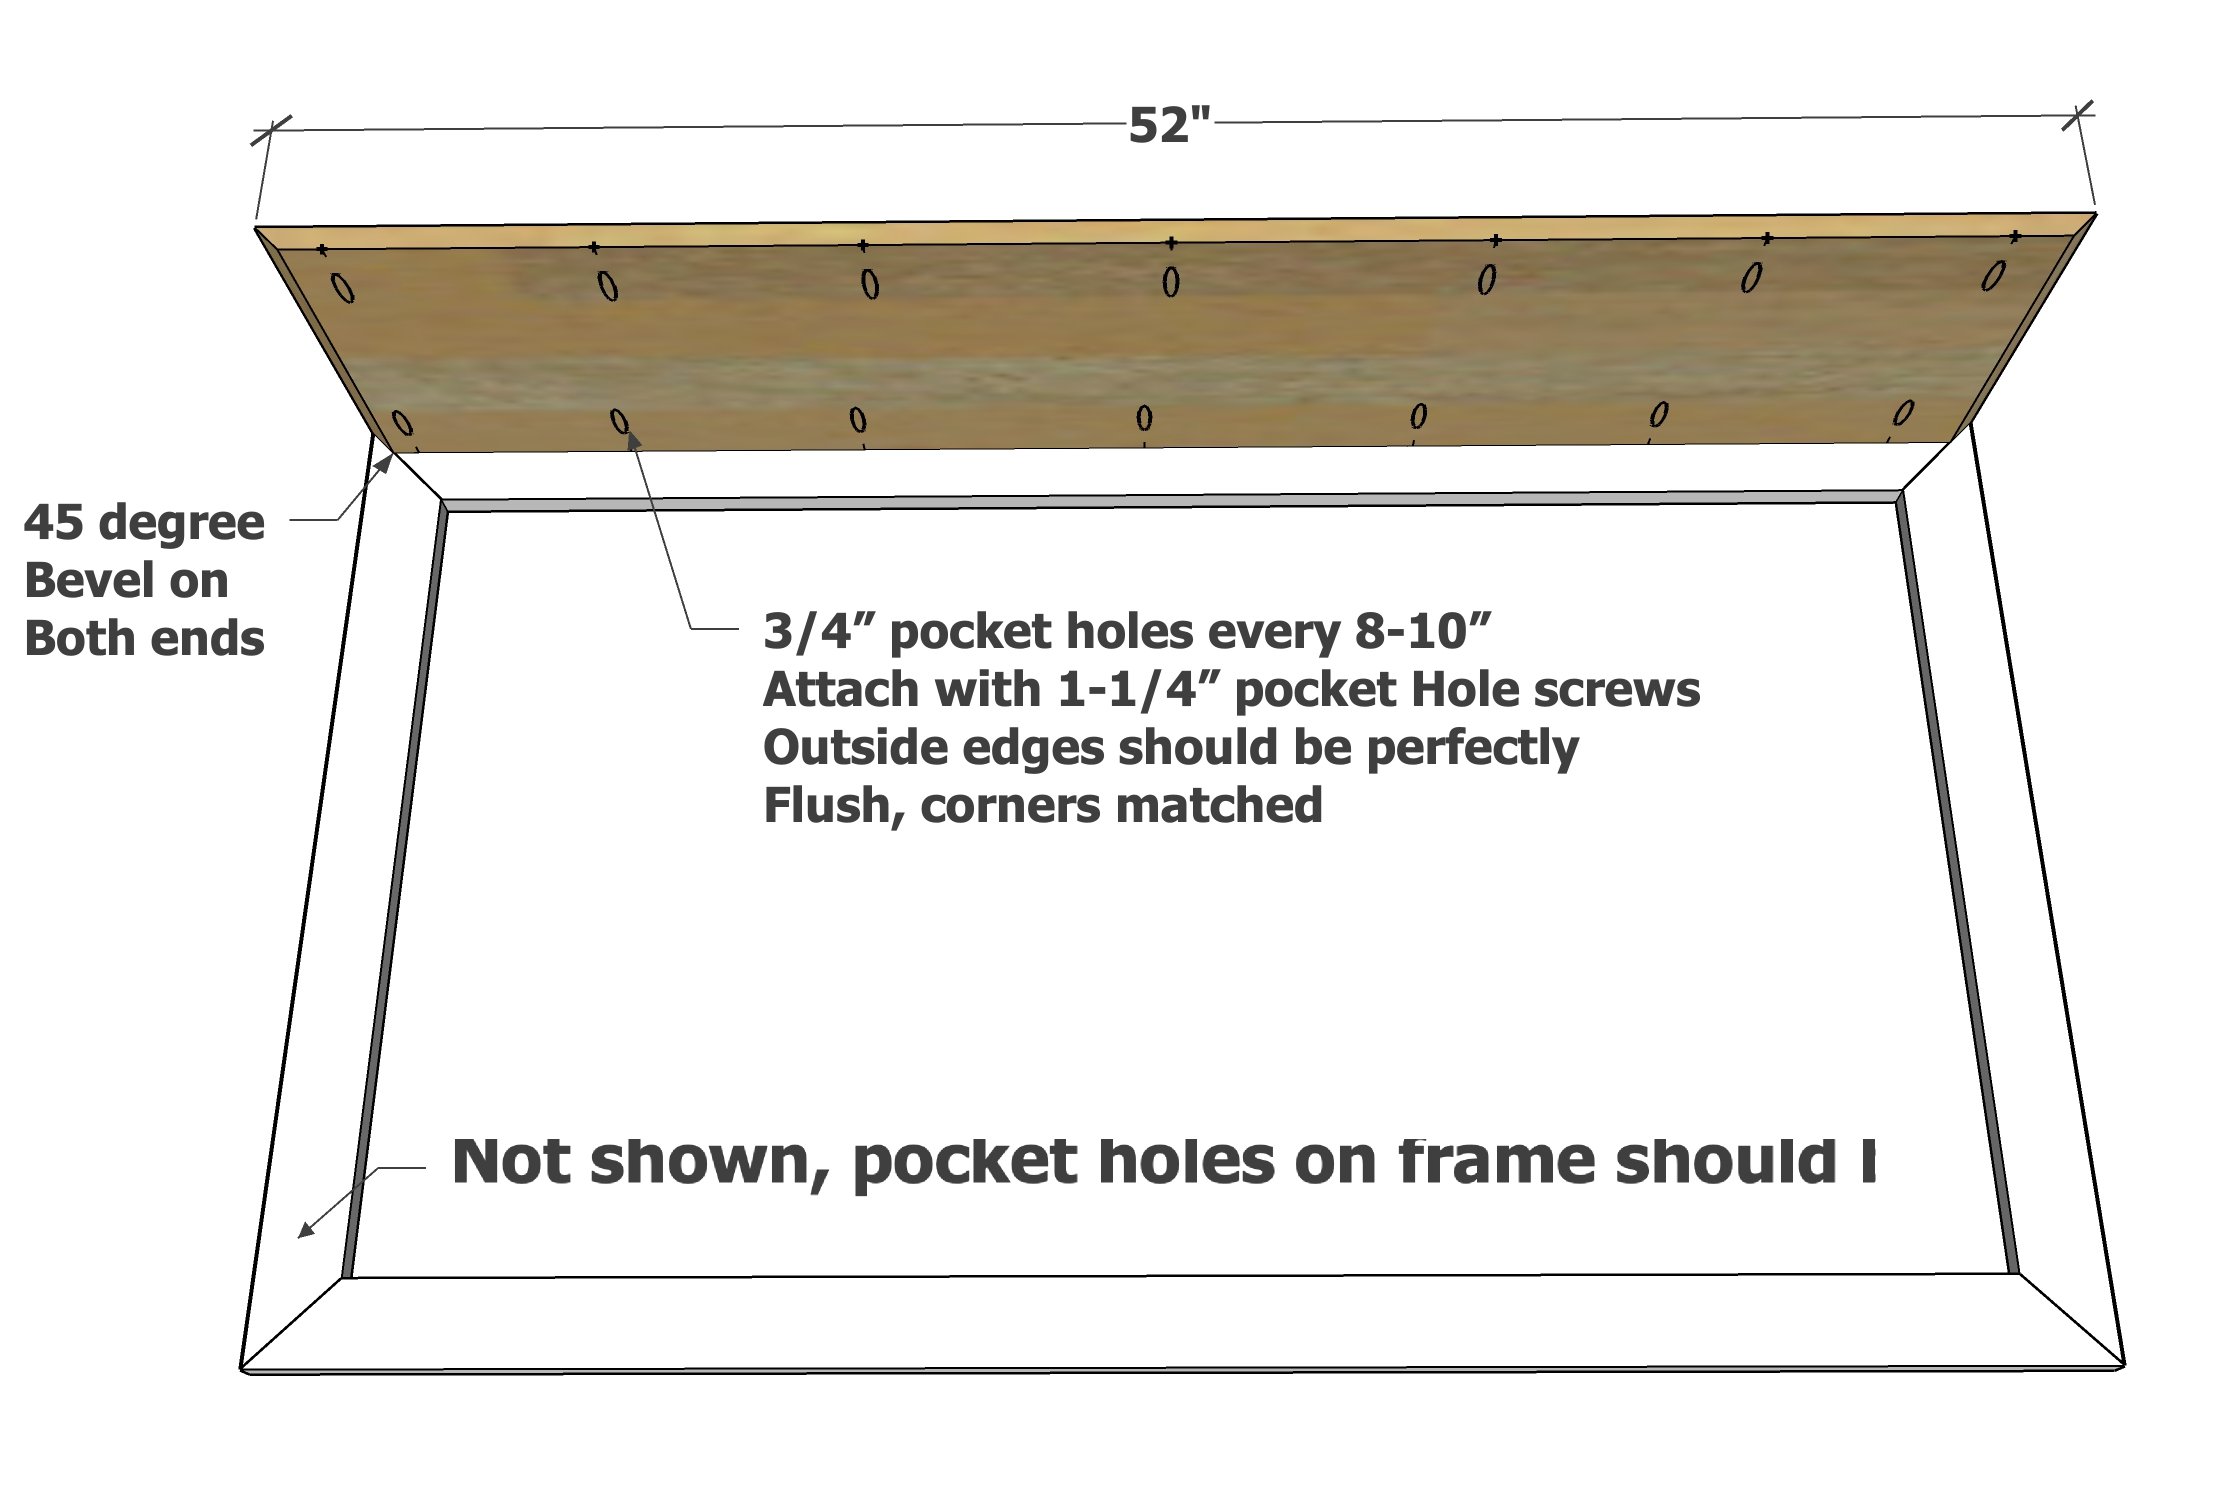
Lay one of the face frames down, pocket holes facing upward.
Attach the top to the top of the face frame.
The top outside should be perfectly flush.
The corners should match perfectly.
Do not overdrive pocket hole screws.
Step 3
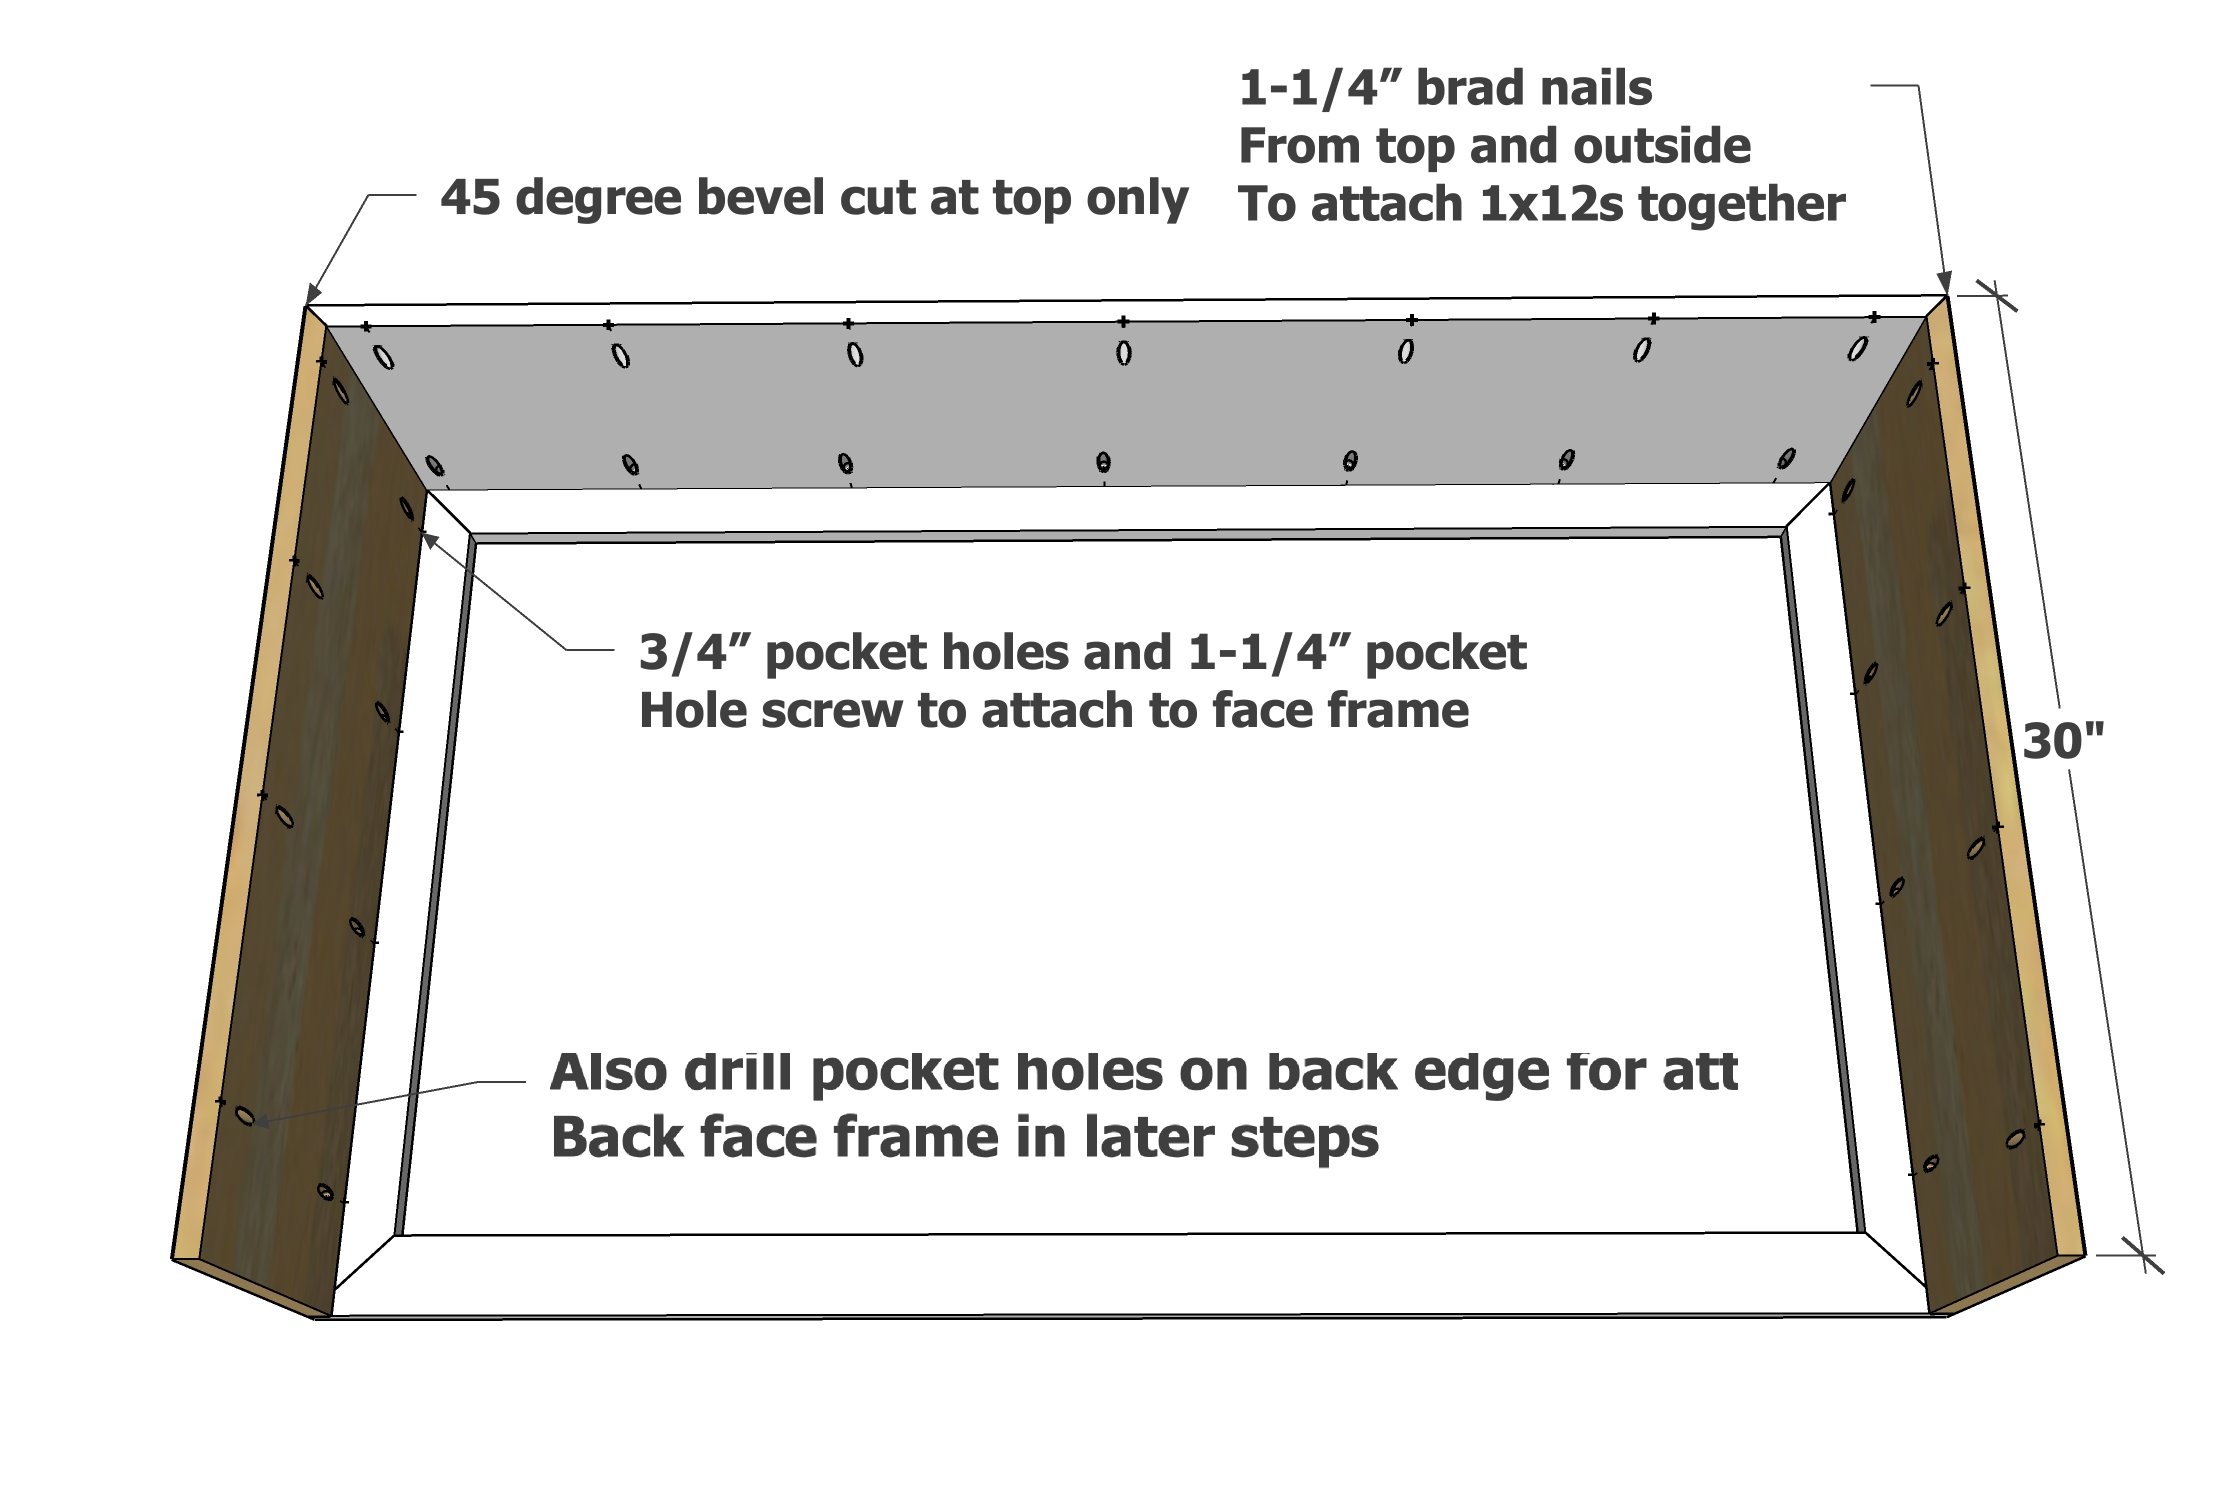
Drill pocket holes along both sides of the two side pieces. Avoid pocket holes where the bottom shelf is attached in the next step.
Attach the sides to the face frame, carefully matching the outside edges with the face frame.
Also attach the 1x12 corners together with 1-1/4" brad nails and glue.
Step 4
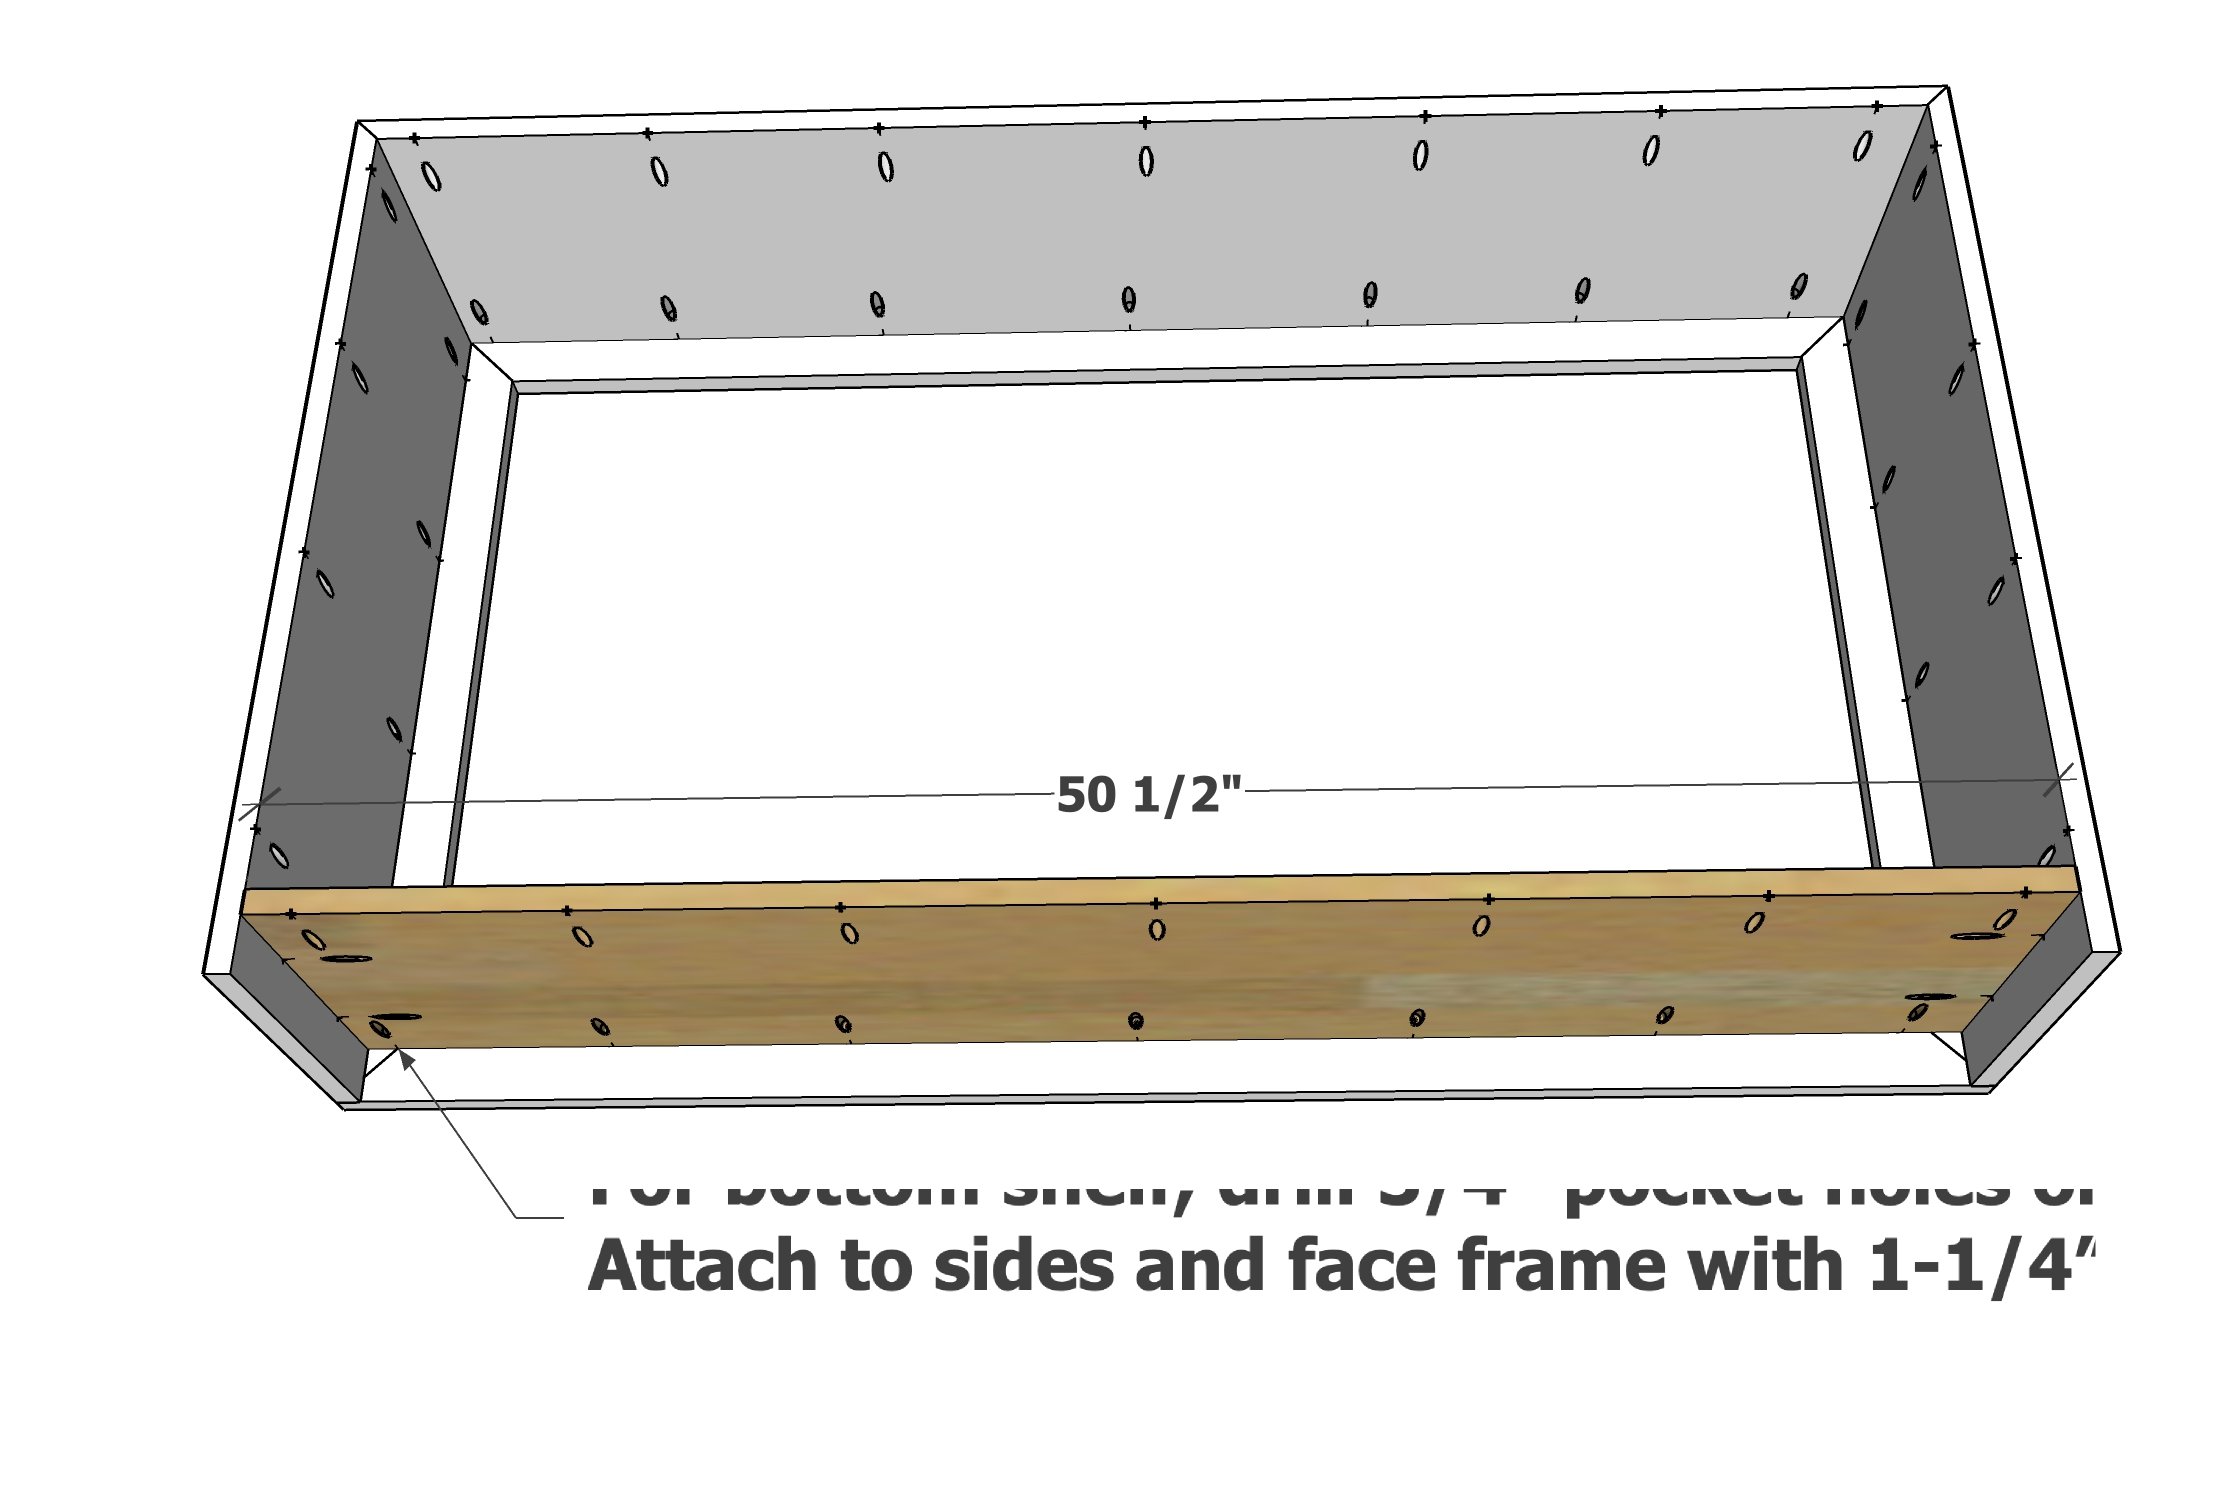
Drill 3/4" pocket holes along all four sides of the bottom shelf.
Attach to the face frame and the sides with 1-1/4" pocket hole screws.
Step 5
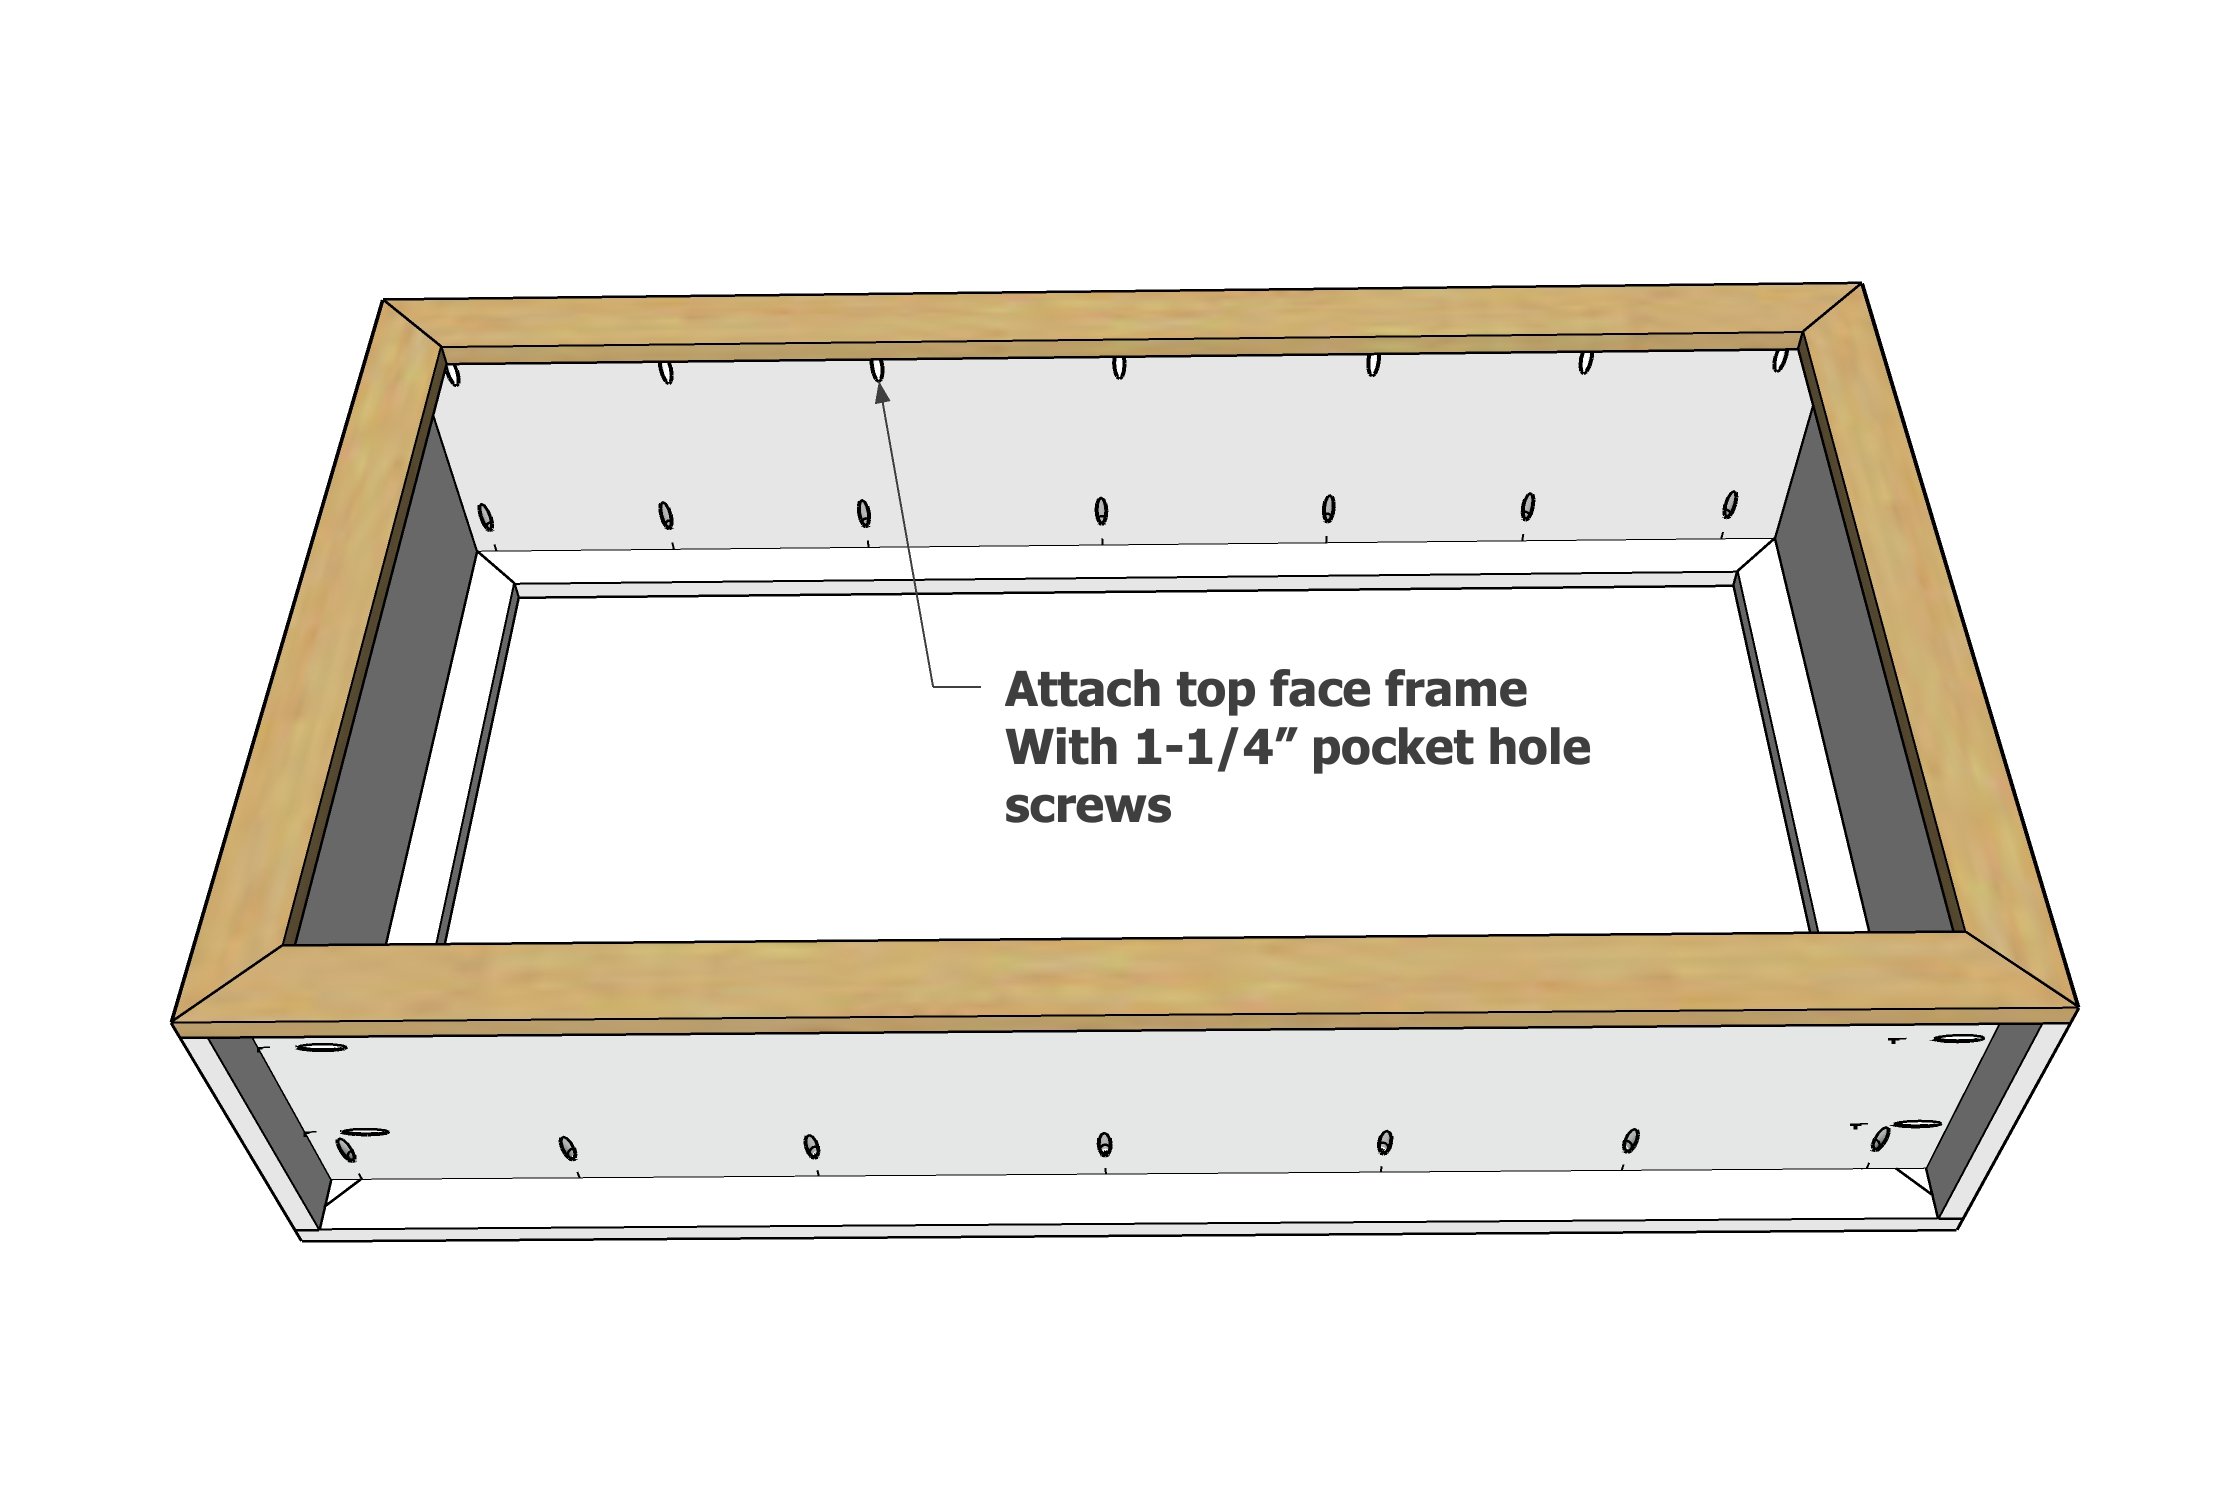
Flip over and attach the second face frame with 1-1/4" pocket hole screws.
Step 6
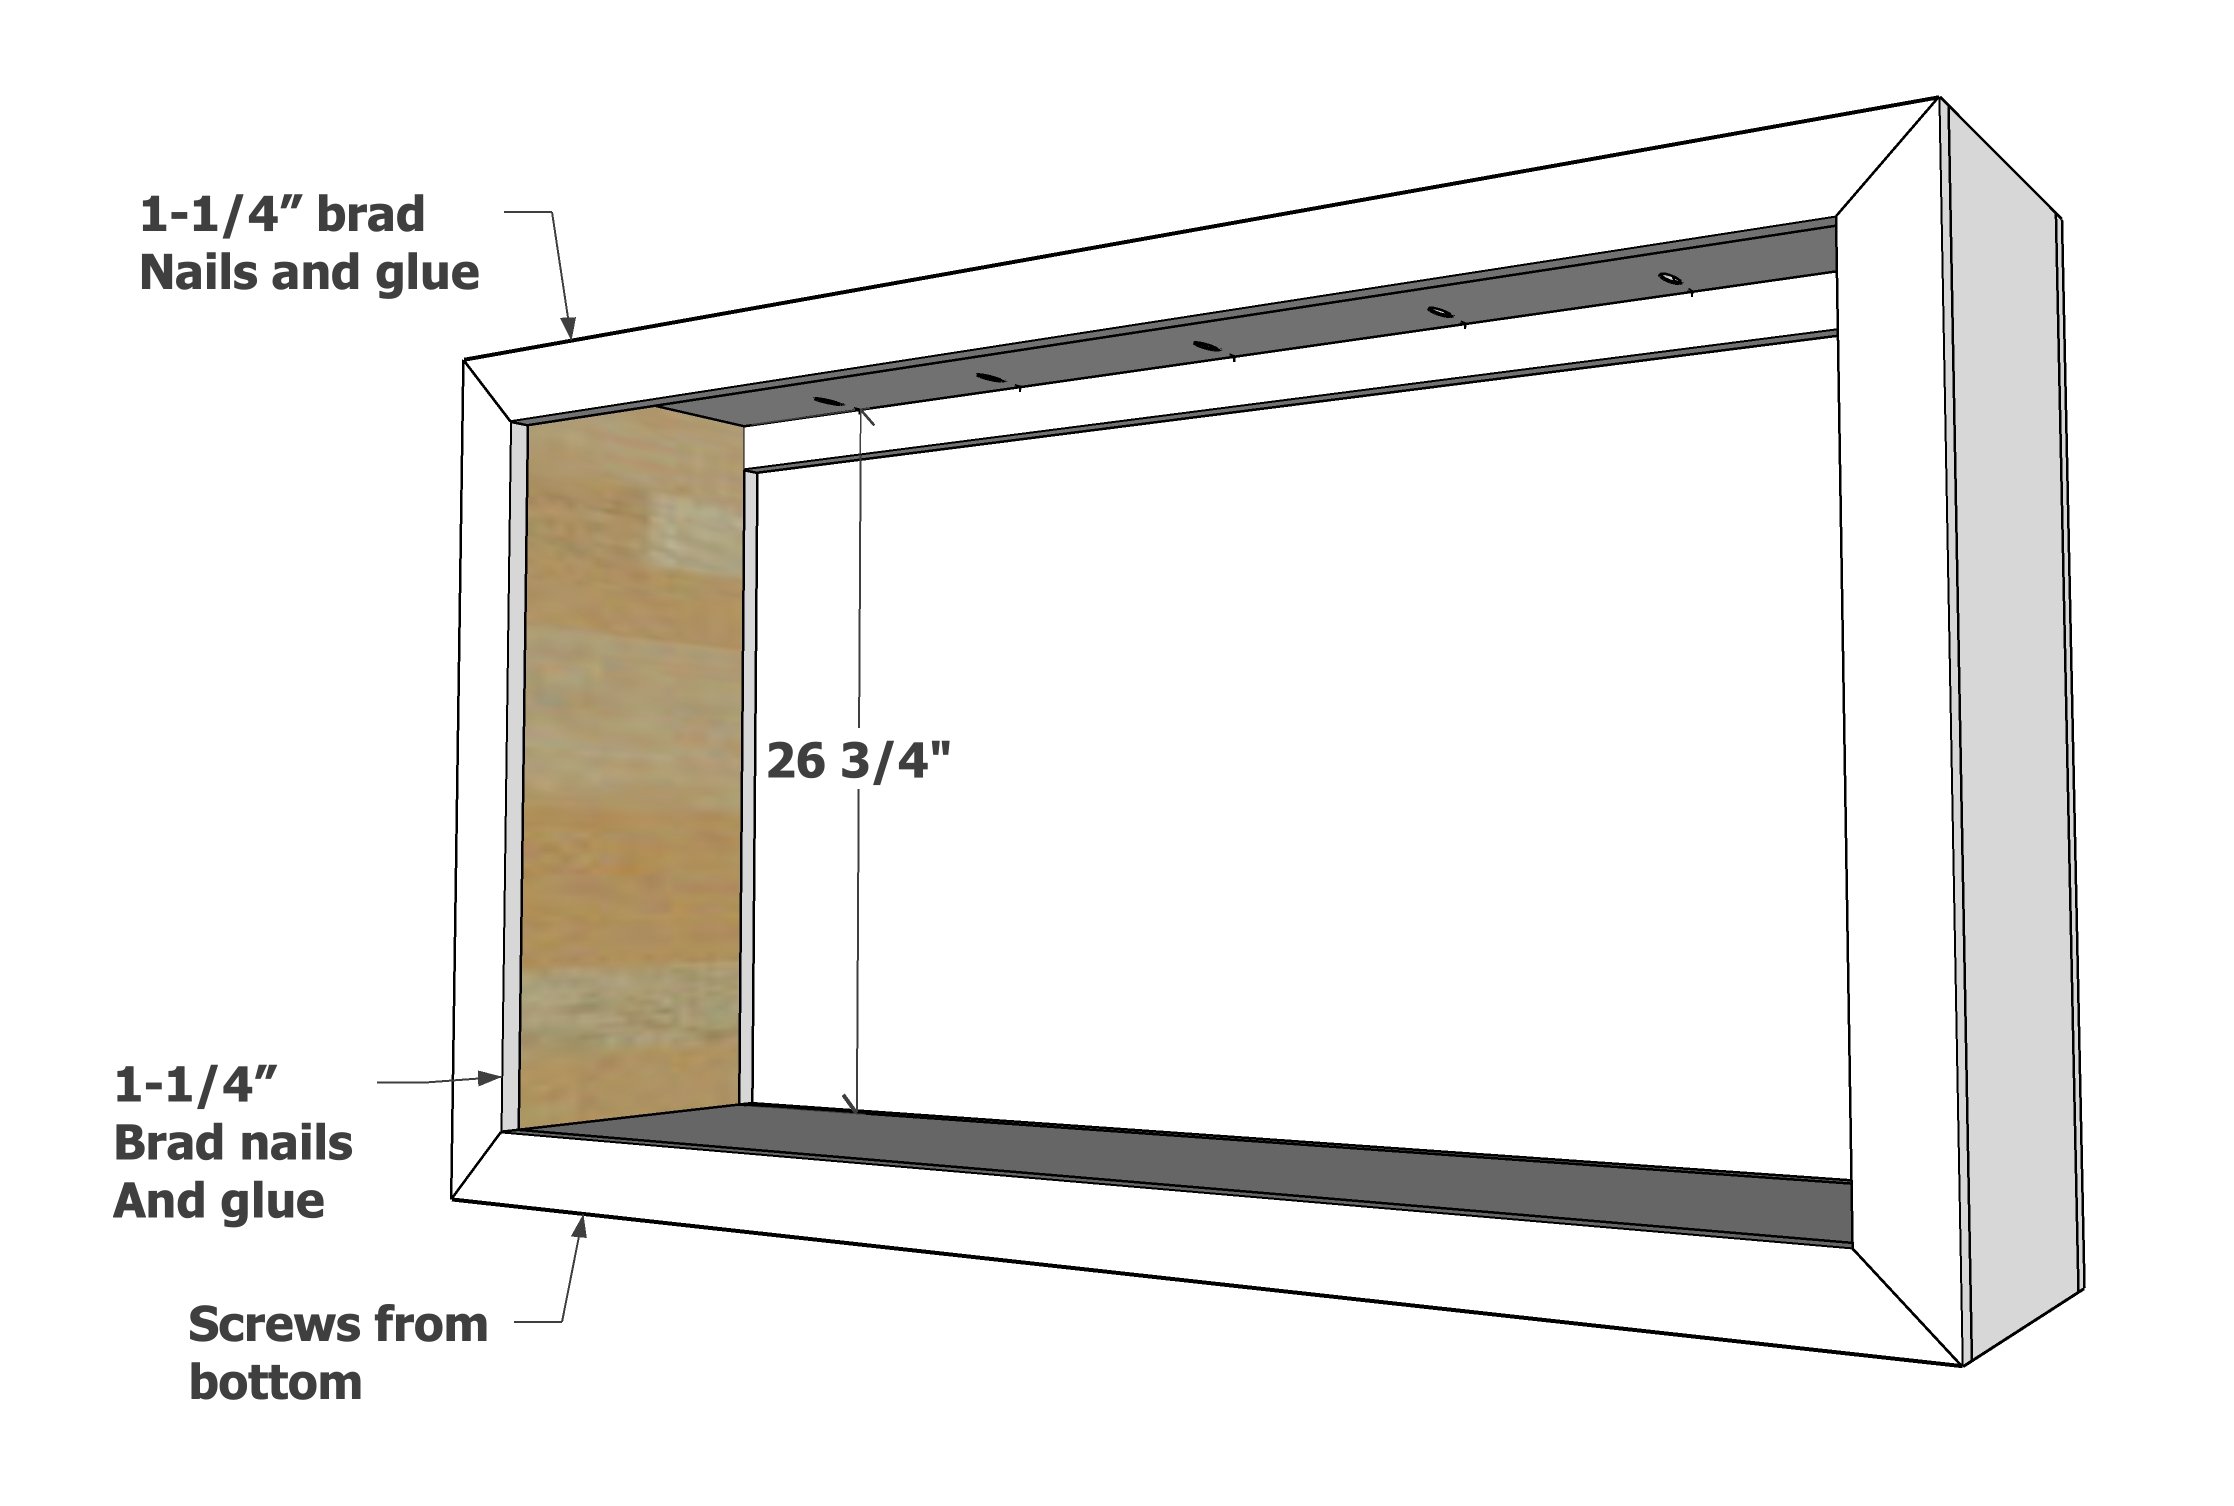
Carefully place the side panels inside the legs, and use 1-1/4" brad nails to attach.
I also used three pocket hole screws to screw through the bottom into the bottom edge of the inside side panels.
Fill any gaps in the outside corners if needed.
Sand the entire project with 120 grit sandpaper, working in the direction of the wood grain.
Remove sanding residue with a vacuum and damp lint free cloth.
I toned the golden oak stain with a little white paint and water.
A final coat of poly was added to the top and shelf for added protection.