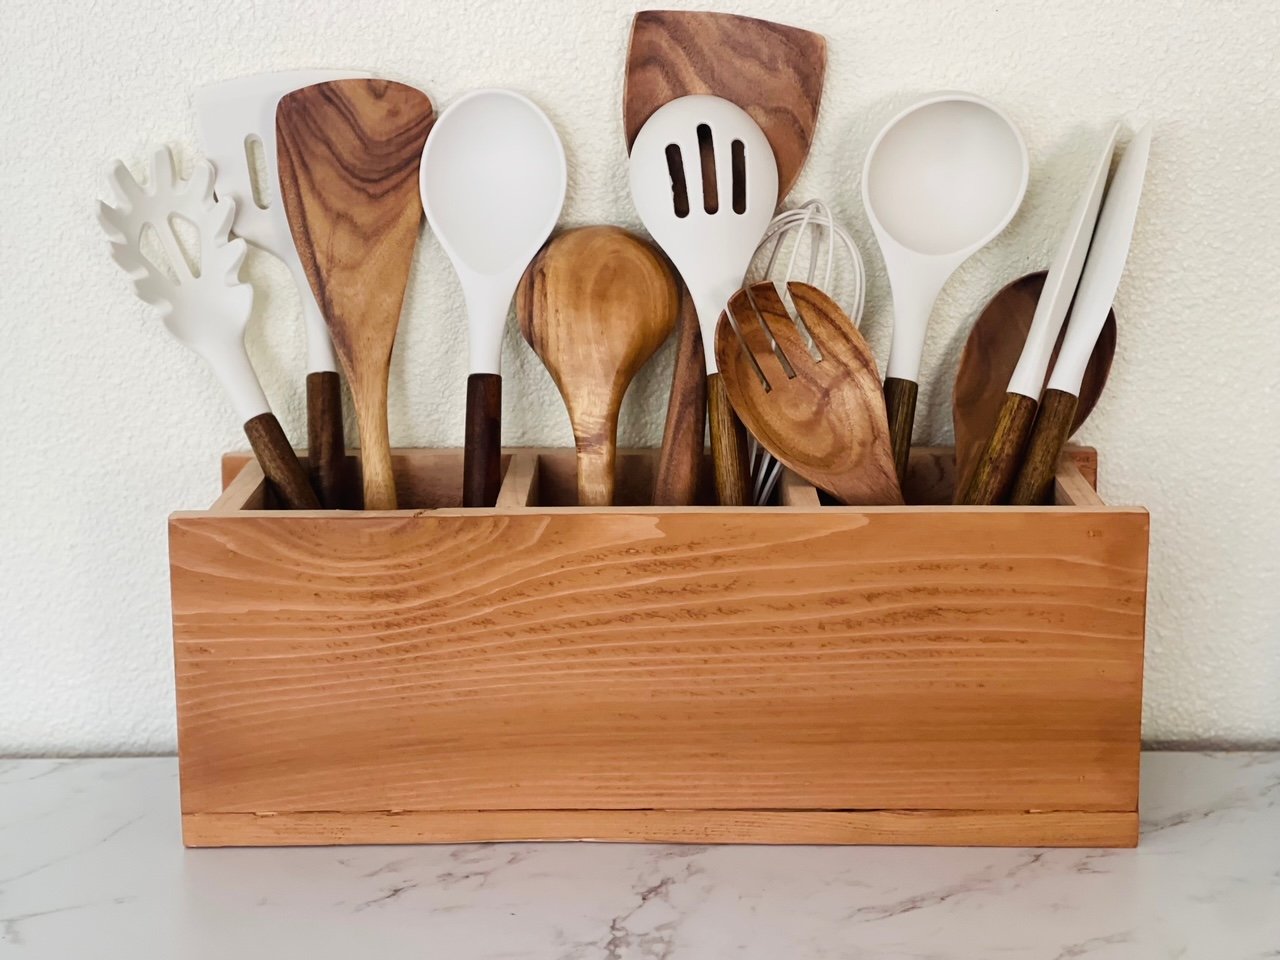


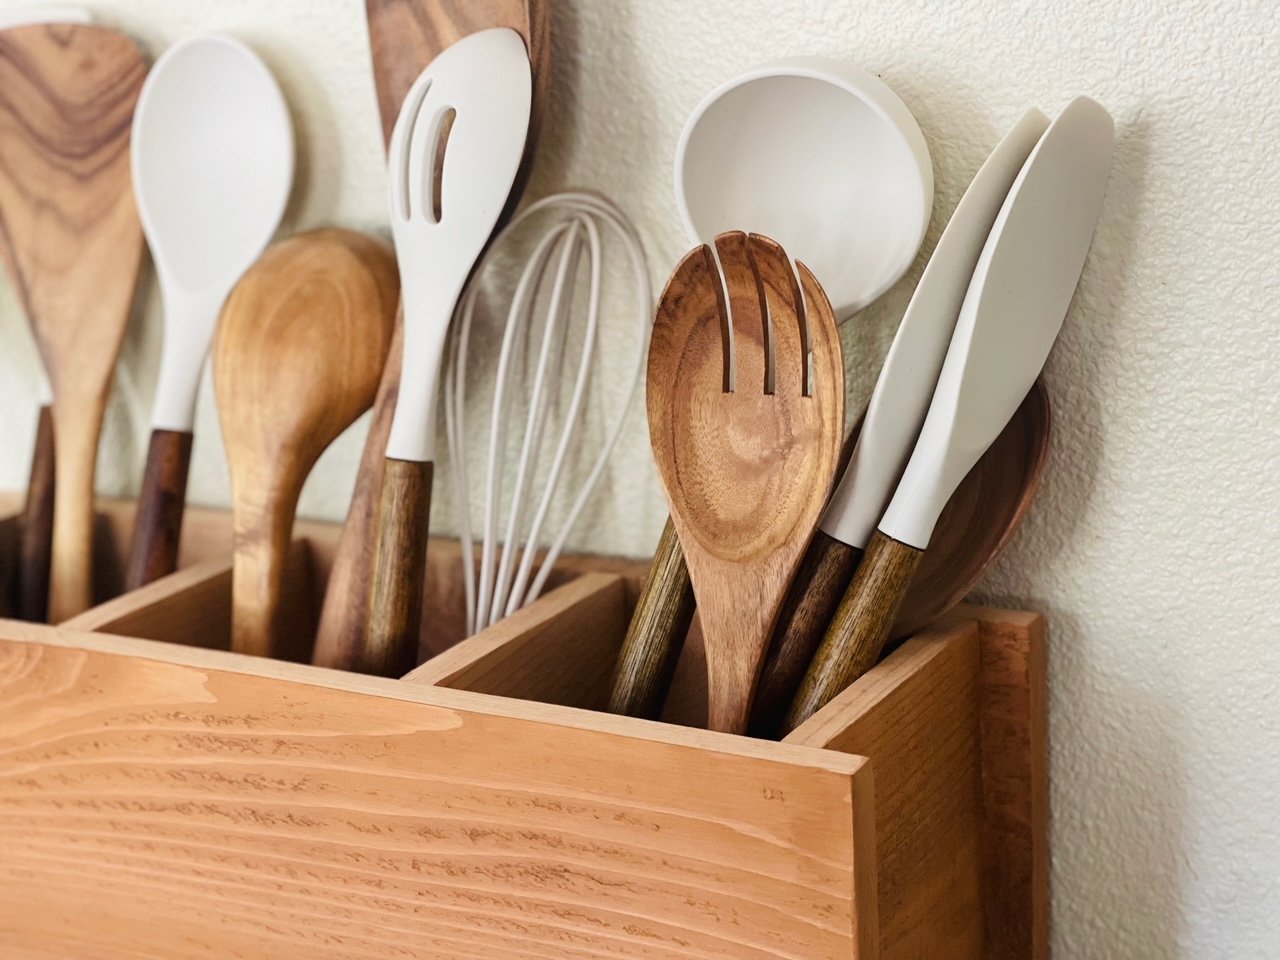
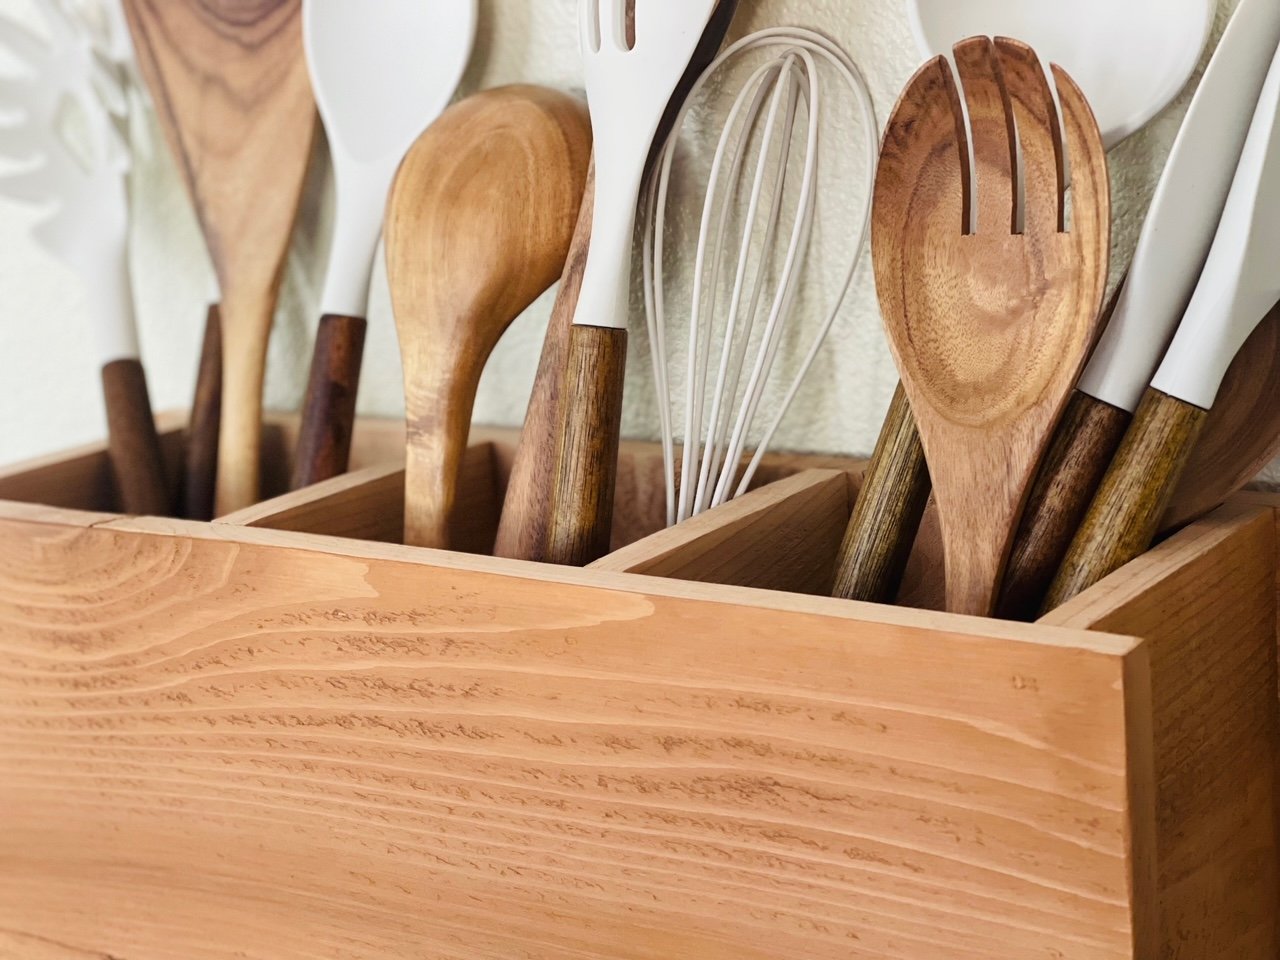
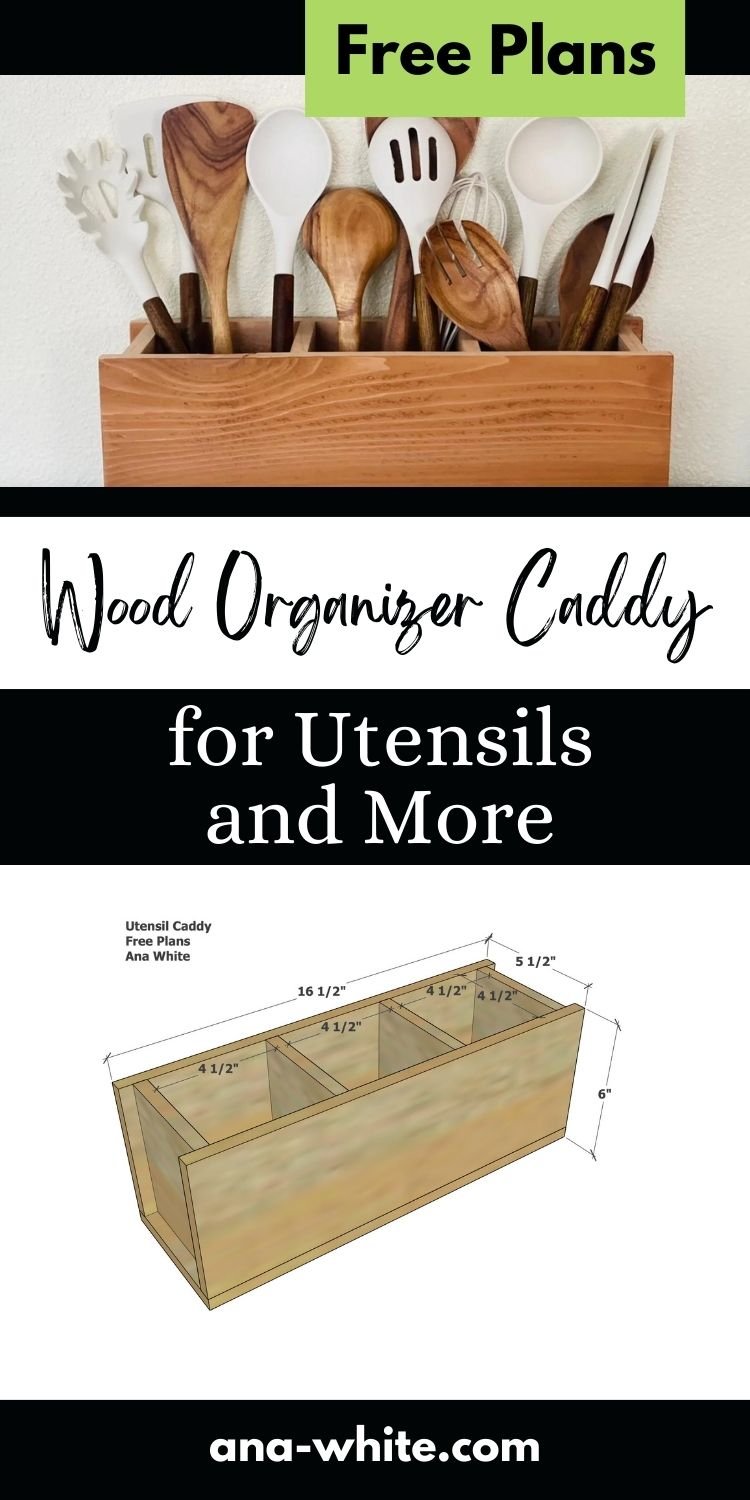
Use one fence picket to make an organizer caddy beautiful enough for a countertop. This wood organizer features three compartments, and is perfect for utensils, office supplies, as a beauty organizer, and more.
Free plans include step by step diagrams, shopping and cut list and more photos, from Ana-White.com

Does you kitchen need organization and wood texture?
Solve this by creating your own utensil organizer, that frees up drawer space, while adding a beautiful wood texture to your countertop.
Here's how easy it is to build this wood utensil caddy:
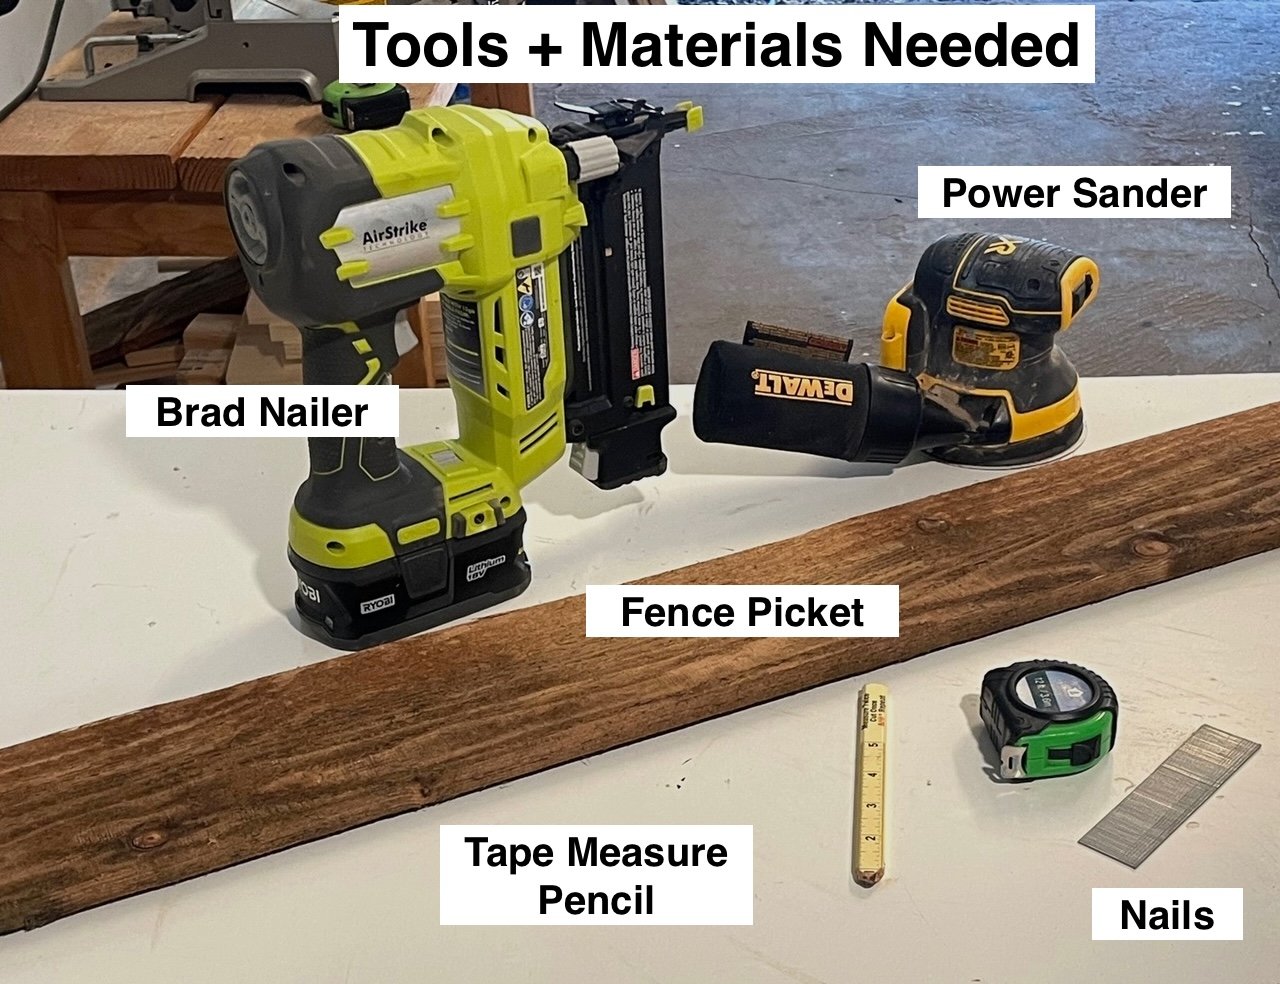
Gather up your materials - you'll also need glue and a saw to cut the wood: you can use a handsaw, jigsaw, circular saw, or most preferred, a miter saw.
Sand the fence picket with medium grit sandpaper. Then stain or paint if desired with your choice of finish.
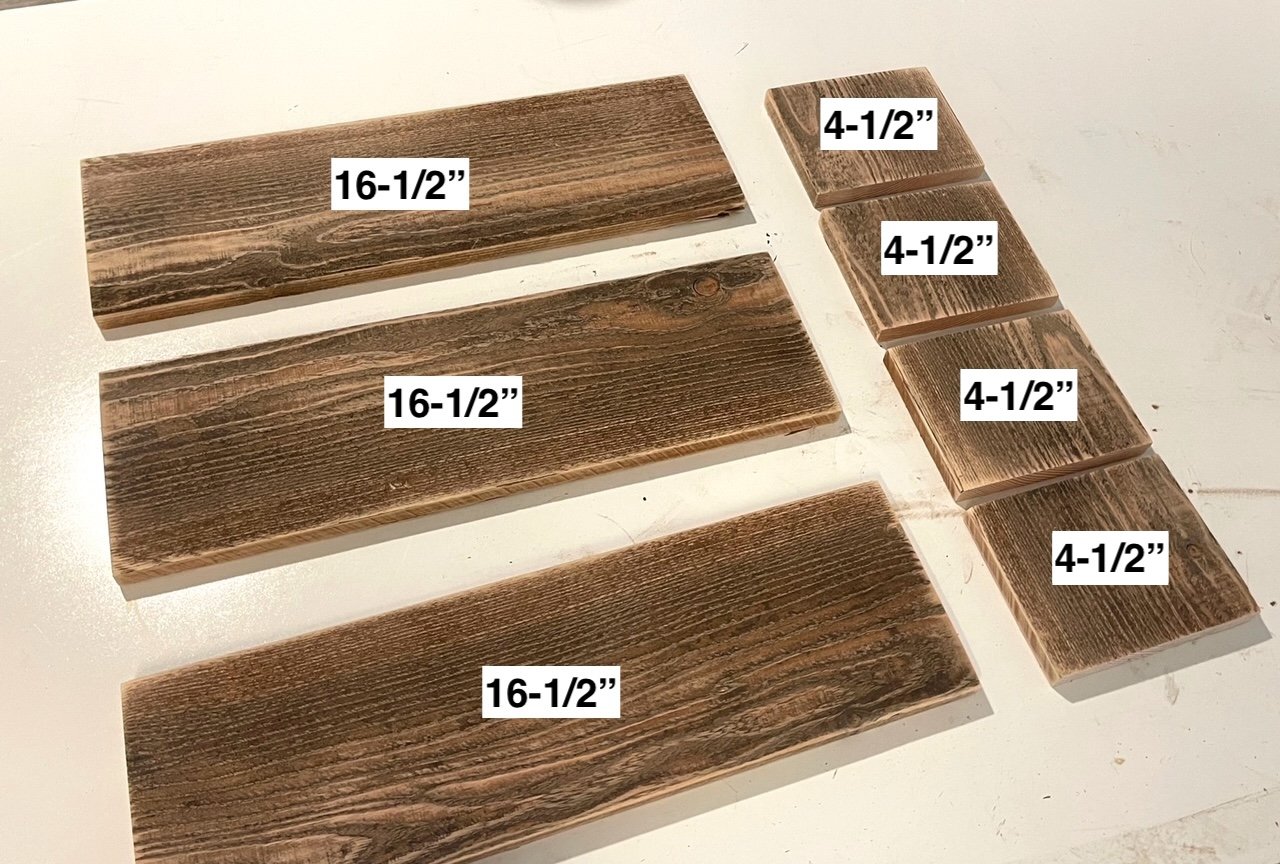
Cut the pieces as directed in the cut list. You can touch up the cut ends with stain or paint using a foam applicator brush or paper towel now.
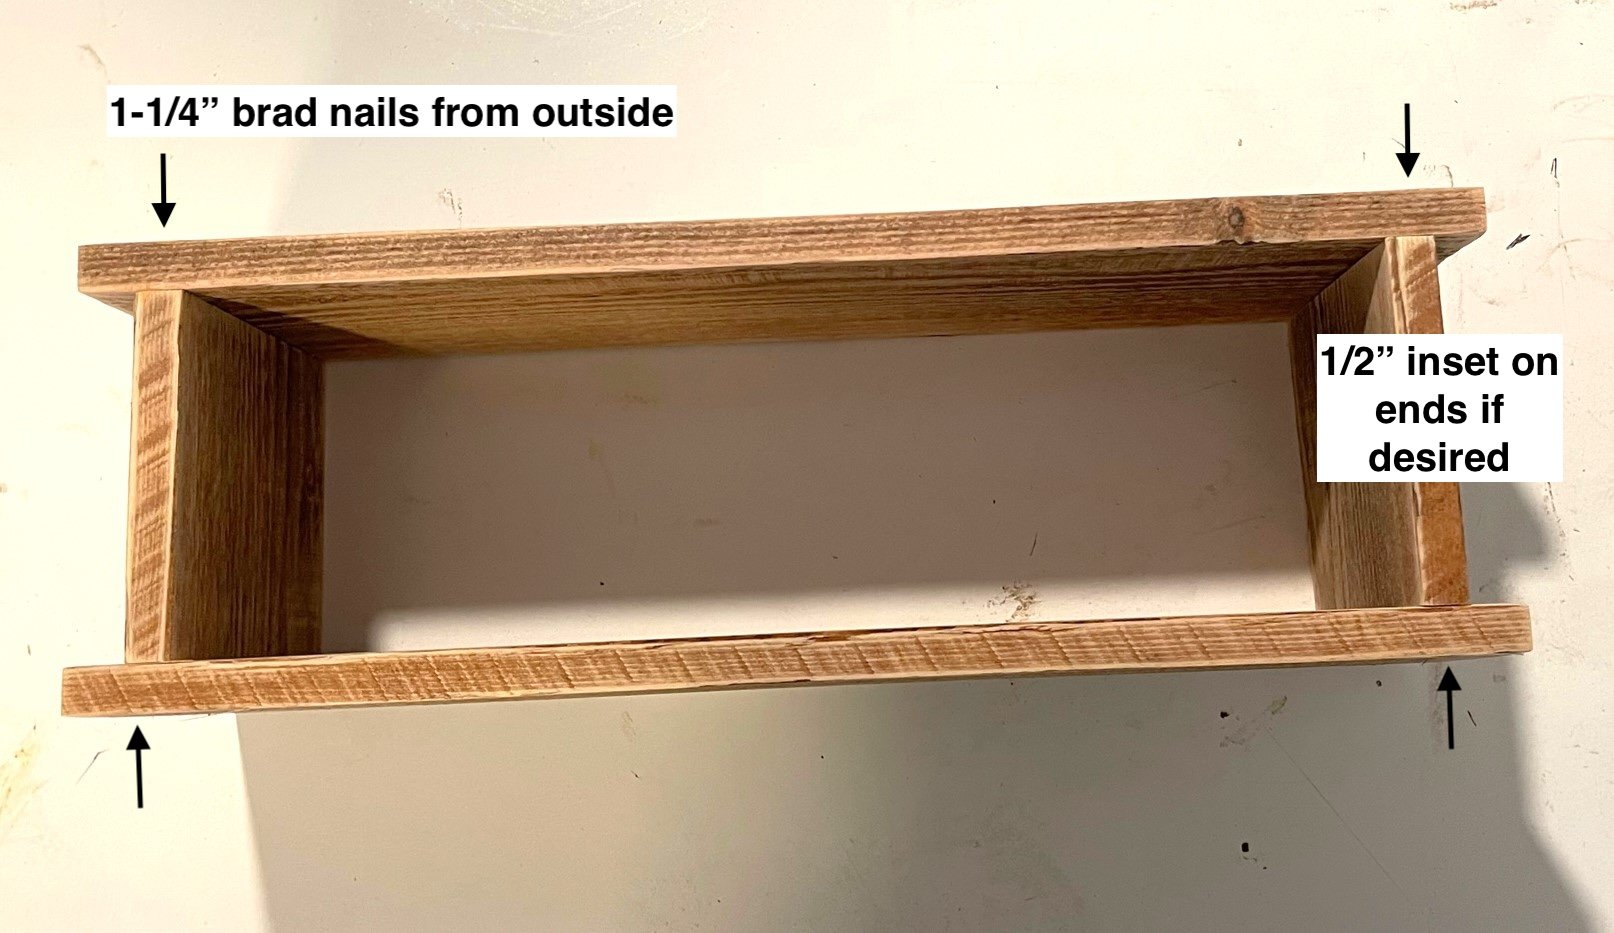
Then nail the sides to the ends, inset of 1/2" is optional.
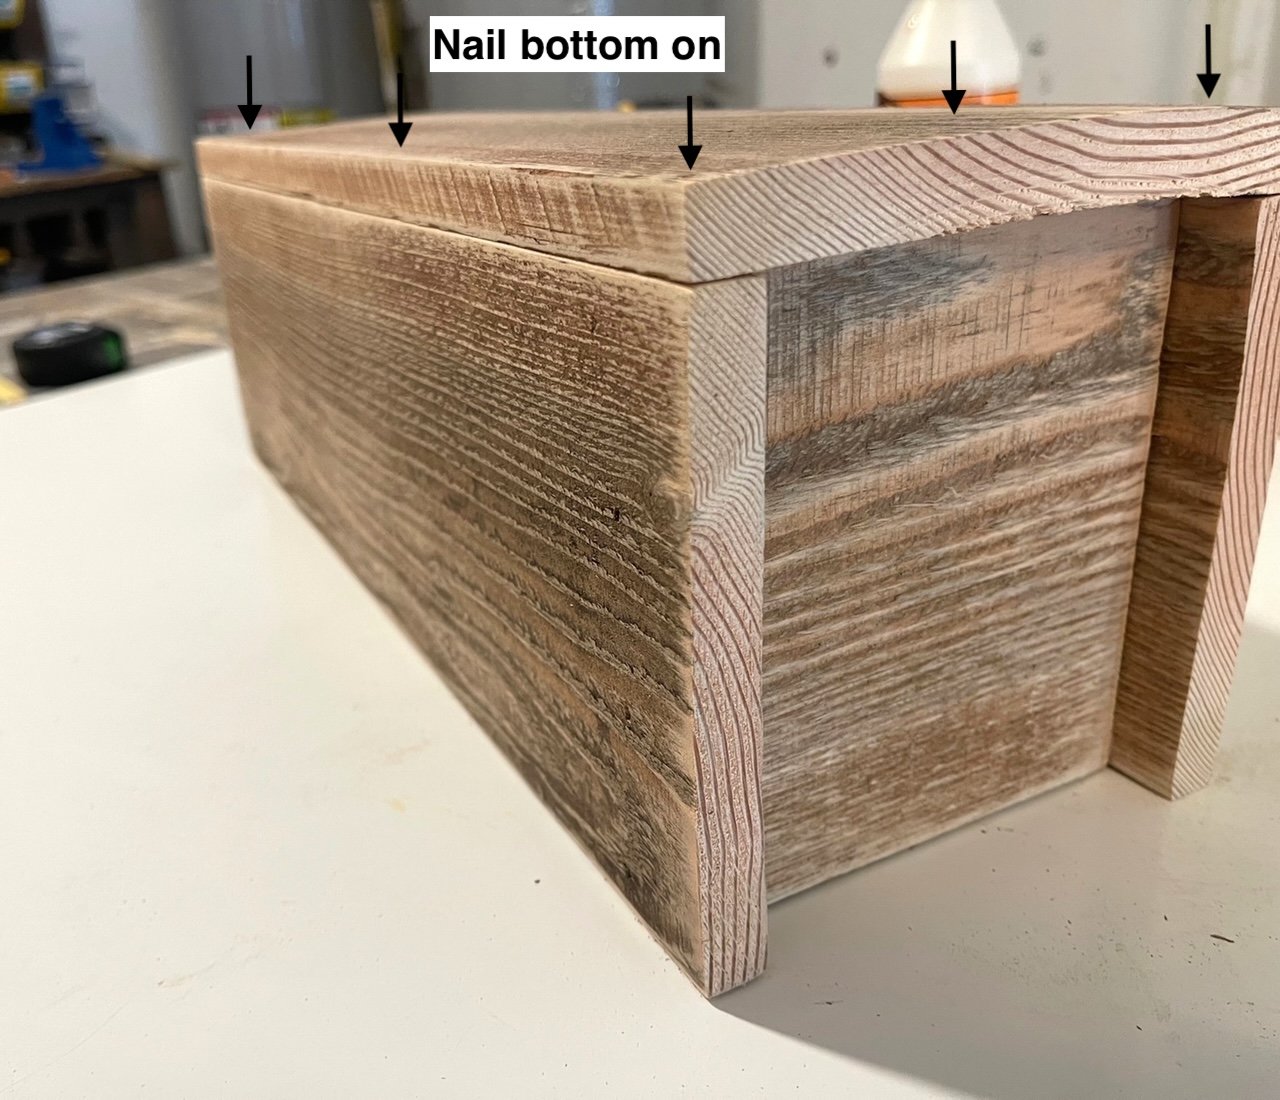
Flip over and nail the bottom on.
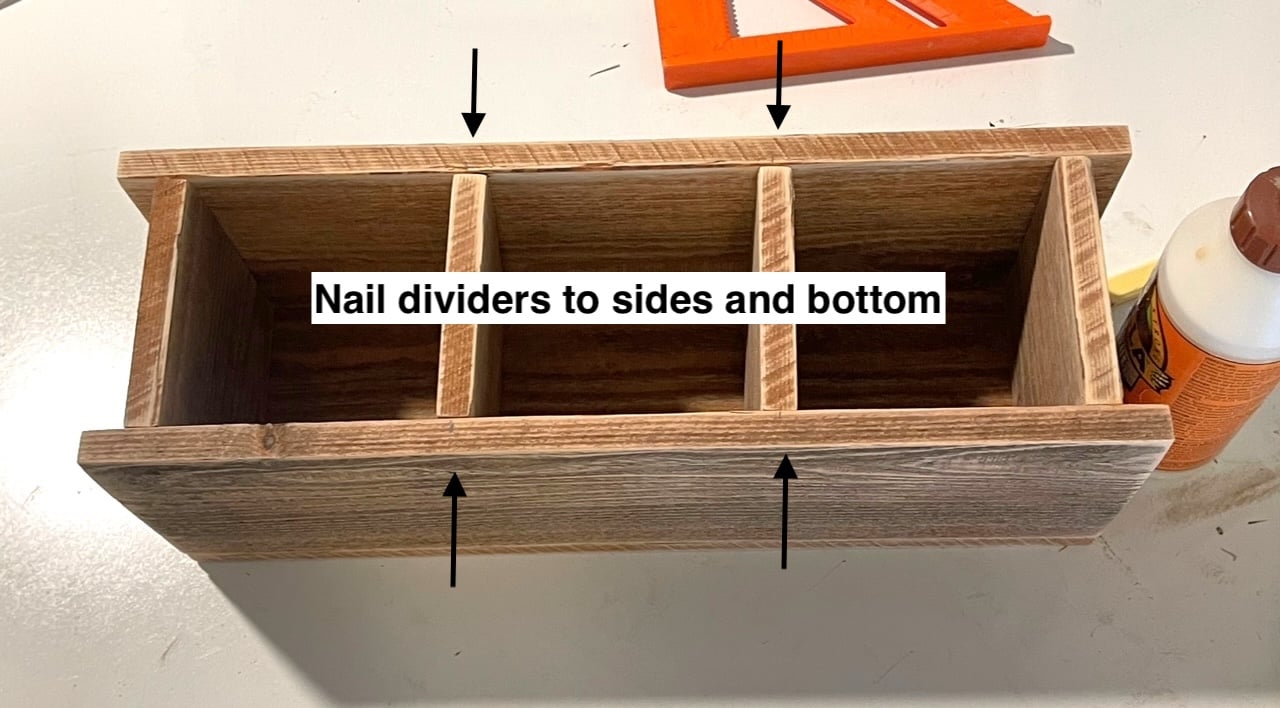
Then add the dividers to the middle to create the partitions.
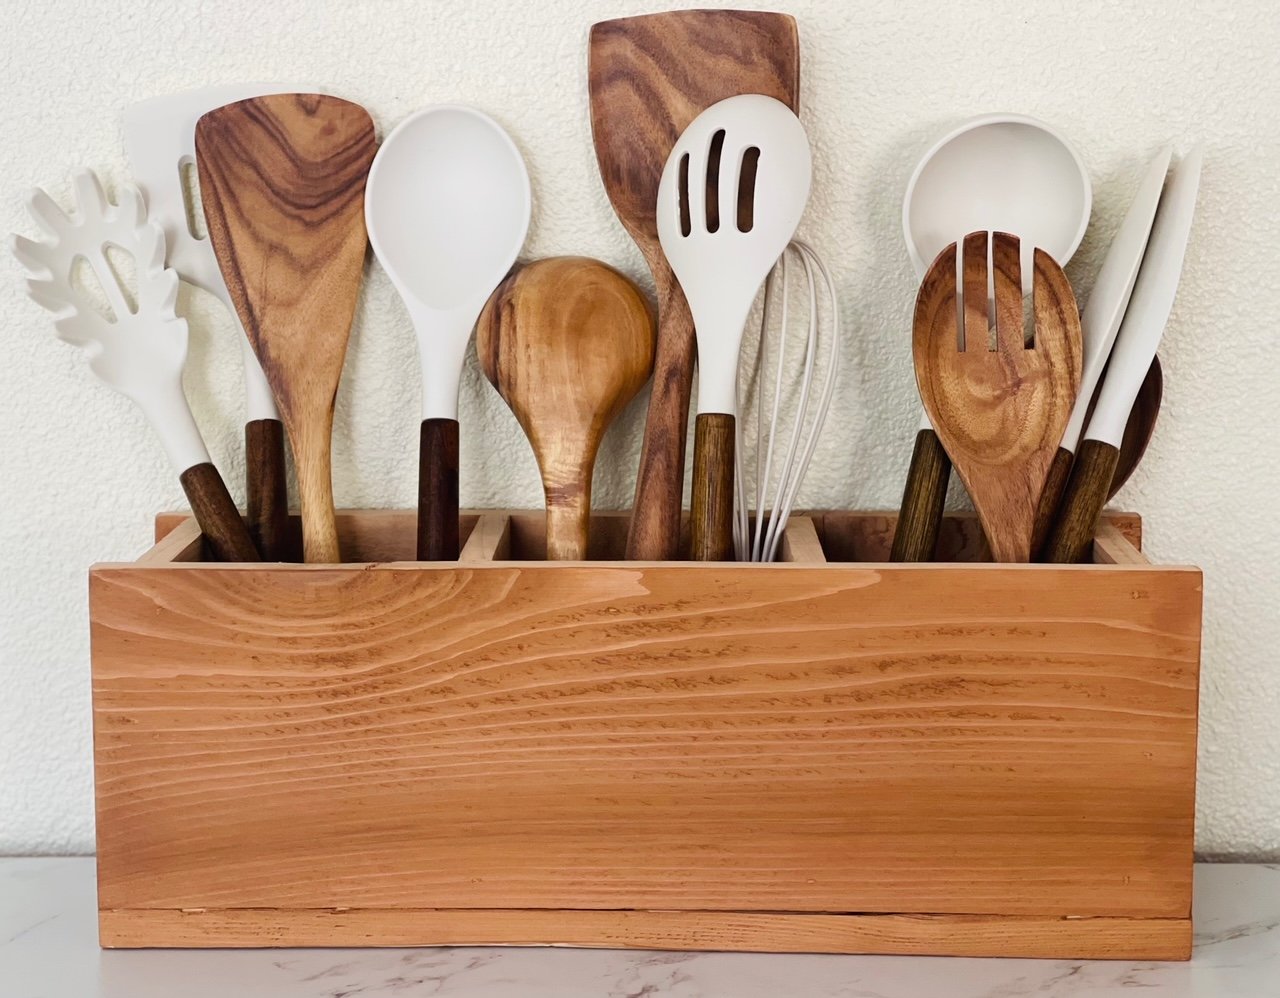
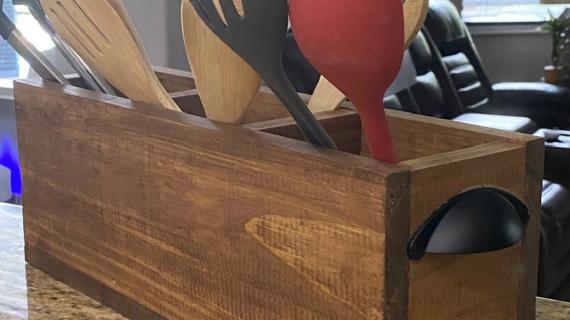
This project turned out so beautiful it is worthy of being on the kitchen countertops!

Now fill with your favorite utensils.
Build this Project for Resale
This project is recommended as a resale item for markets, bazaars and gift shops. We've put together a big list of similar projects, if you are interested in selling items.
LIST COMING SOON
Pin for Later!
Preparation
- 1 - 6' cedar fence picket, by 5 1/2" Wide
- 1-1/4" brad nails
- wood glue
- paint or stain as desired
- foam applicator brush
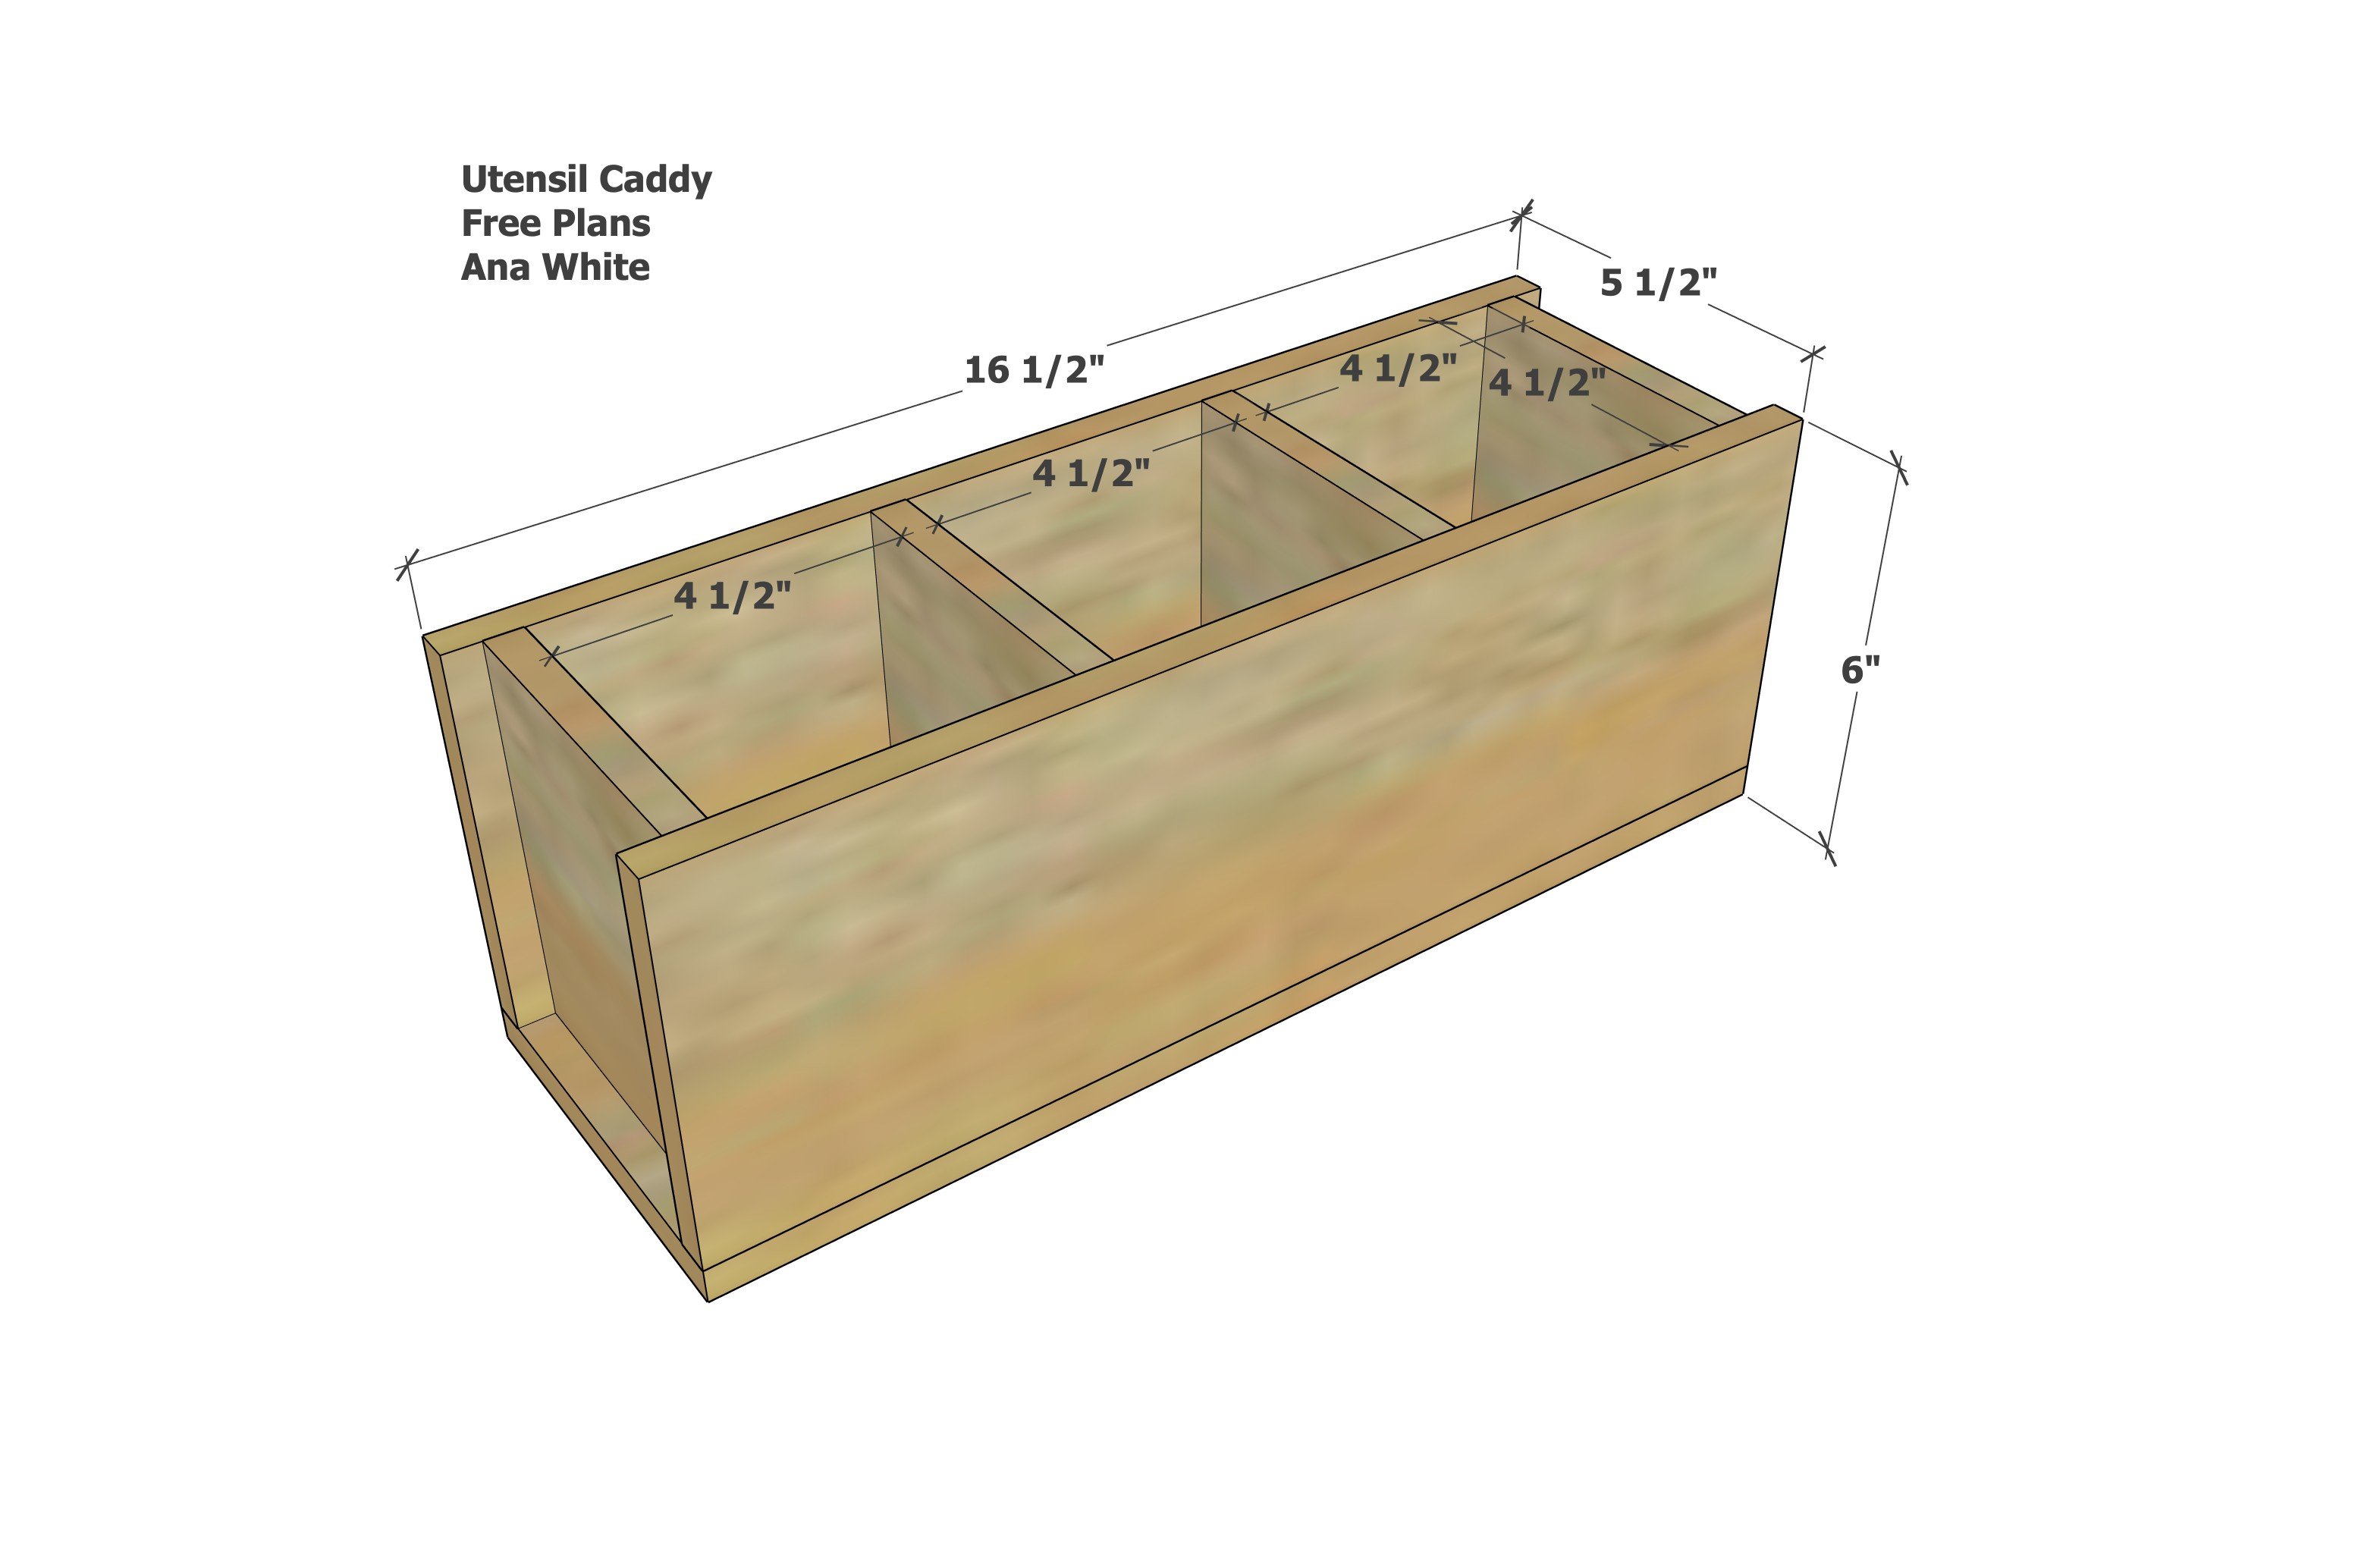
- 3 @ 16-1/2" sides and bottom
- 4 @ 4-1/2" dividers - measure and cut to fit


Instructions
Step 1
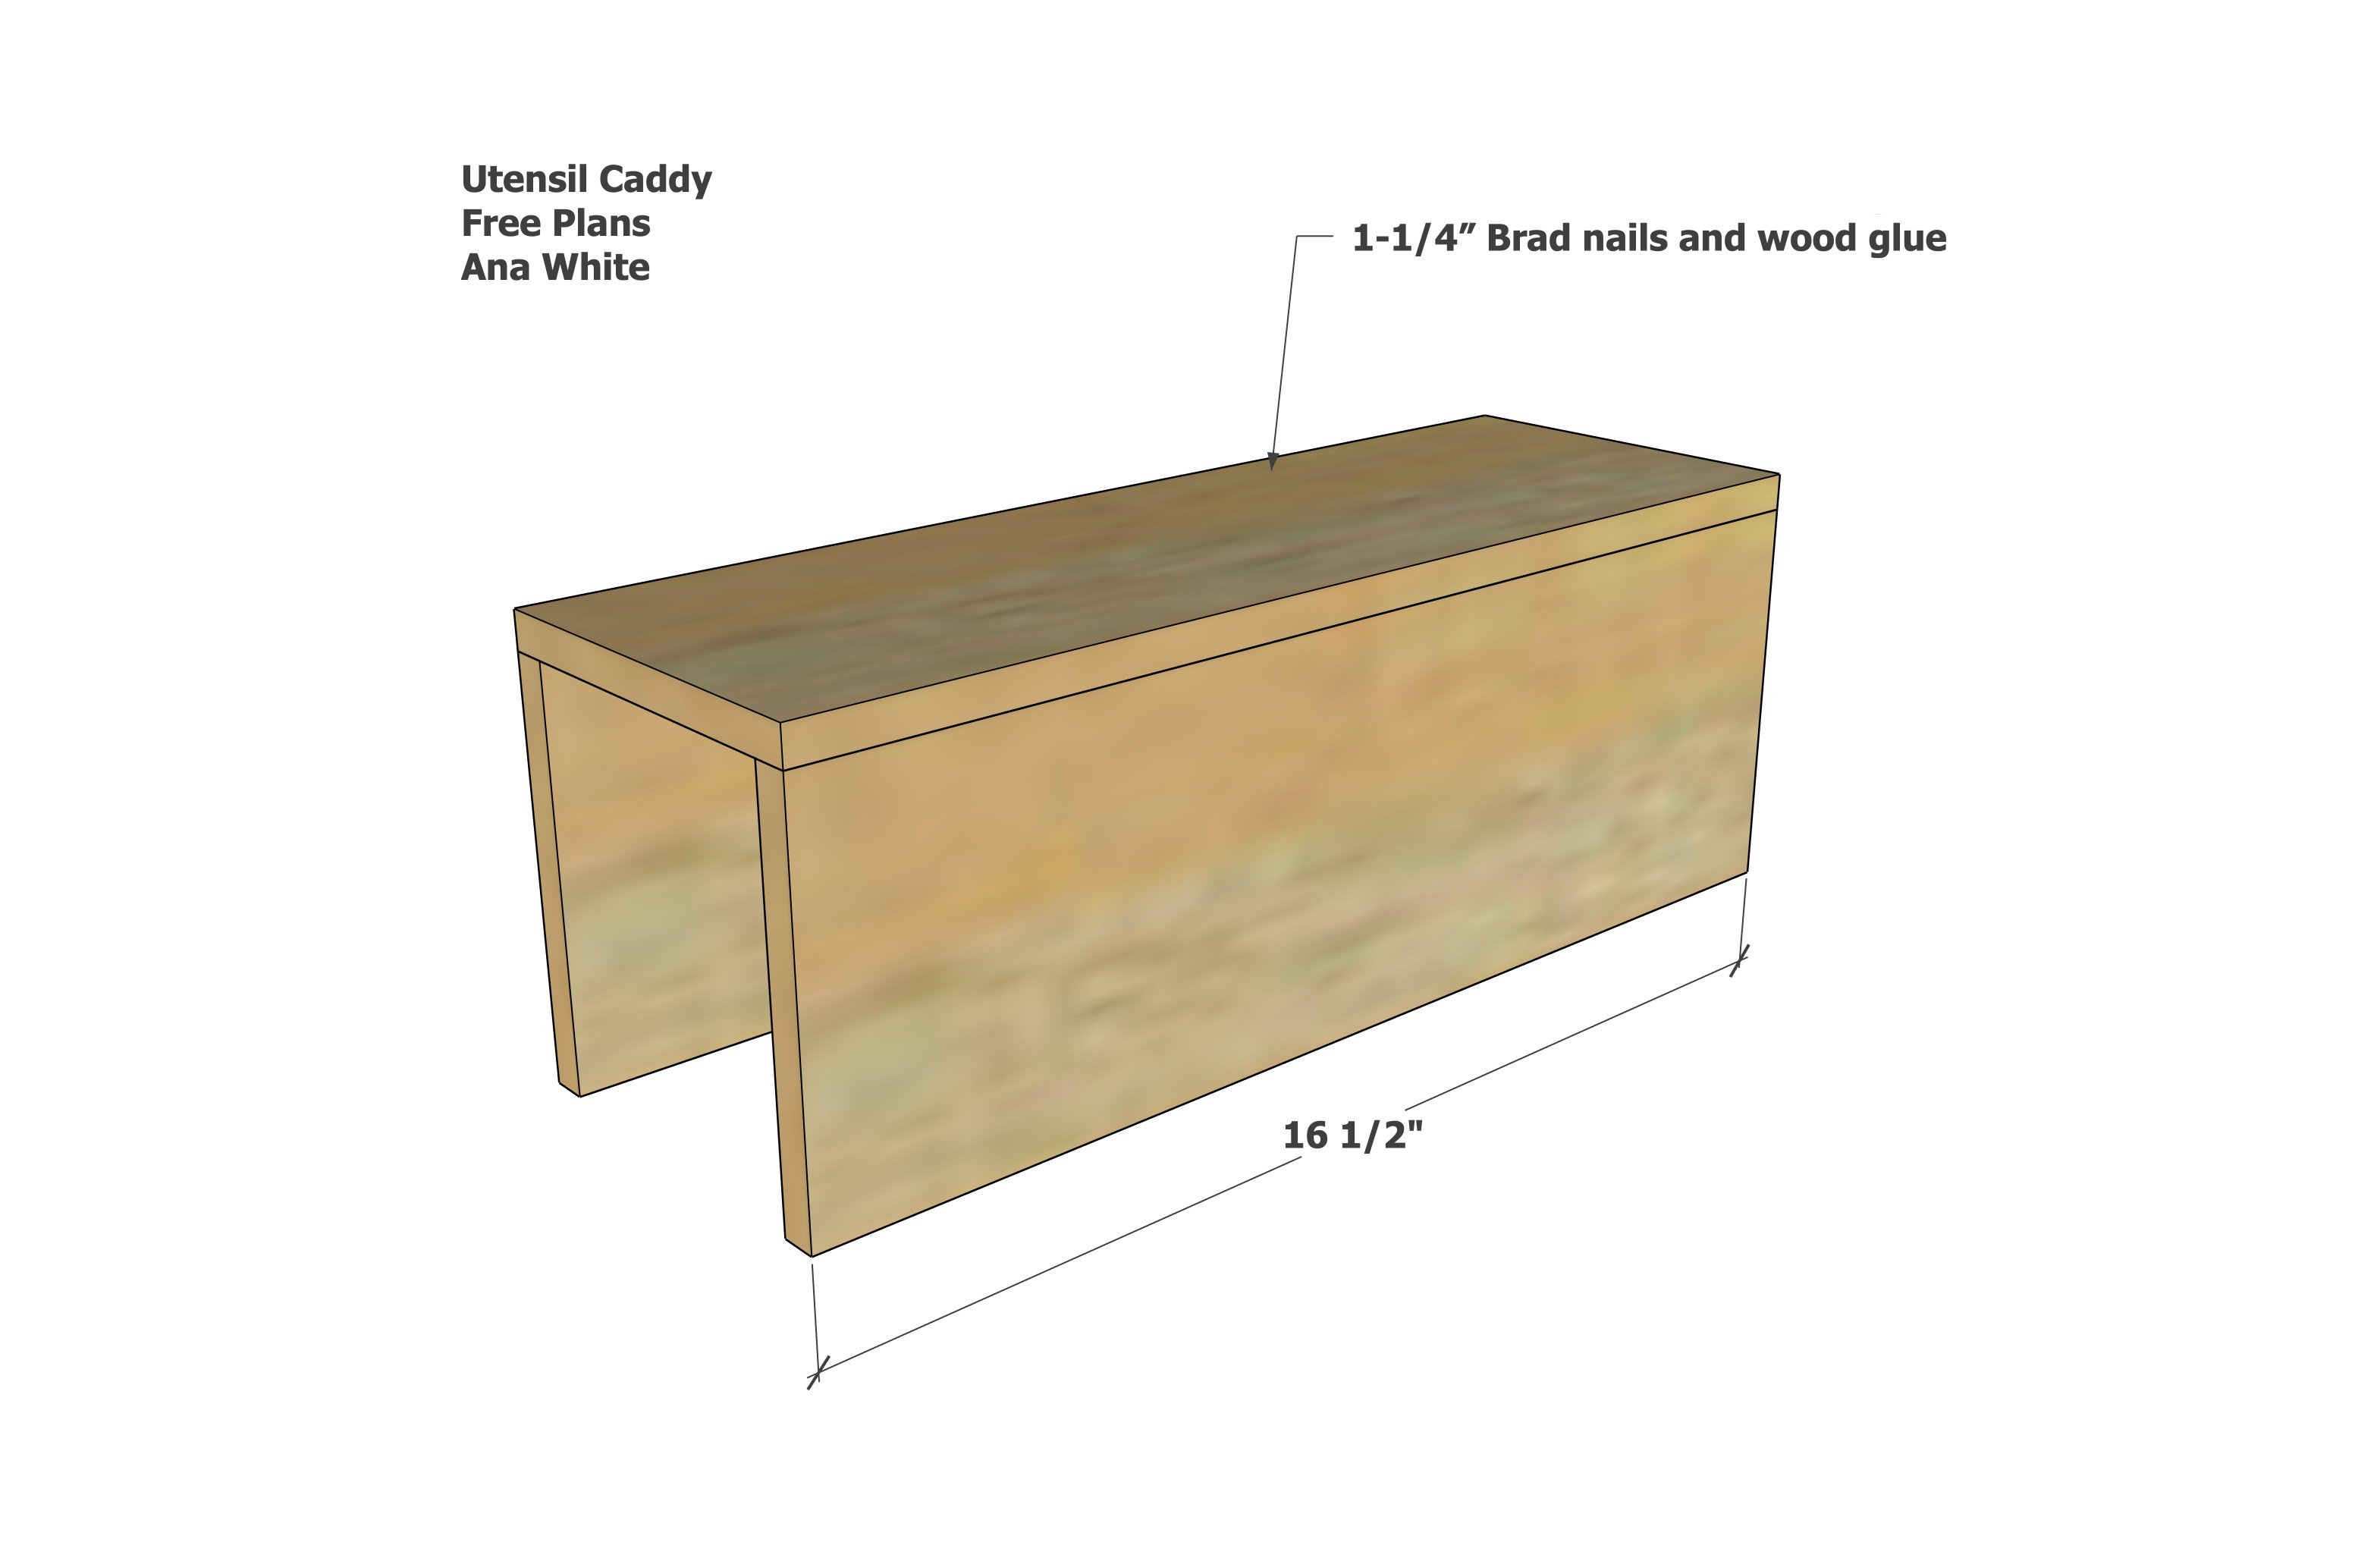
Use glue and nails to attach the bottom to the sides.
Finish cut ends as needed.
Step 2

Measure and cut the dividers to fit inside.
Nail and glue in place.