Wood Party Bucket Stand

The free plans on this website are made possible with advertising and affiliate links.  Thank you for helping us keep plans free.


Difficulty
Intermediate
| Print this plan

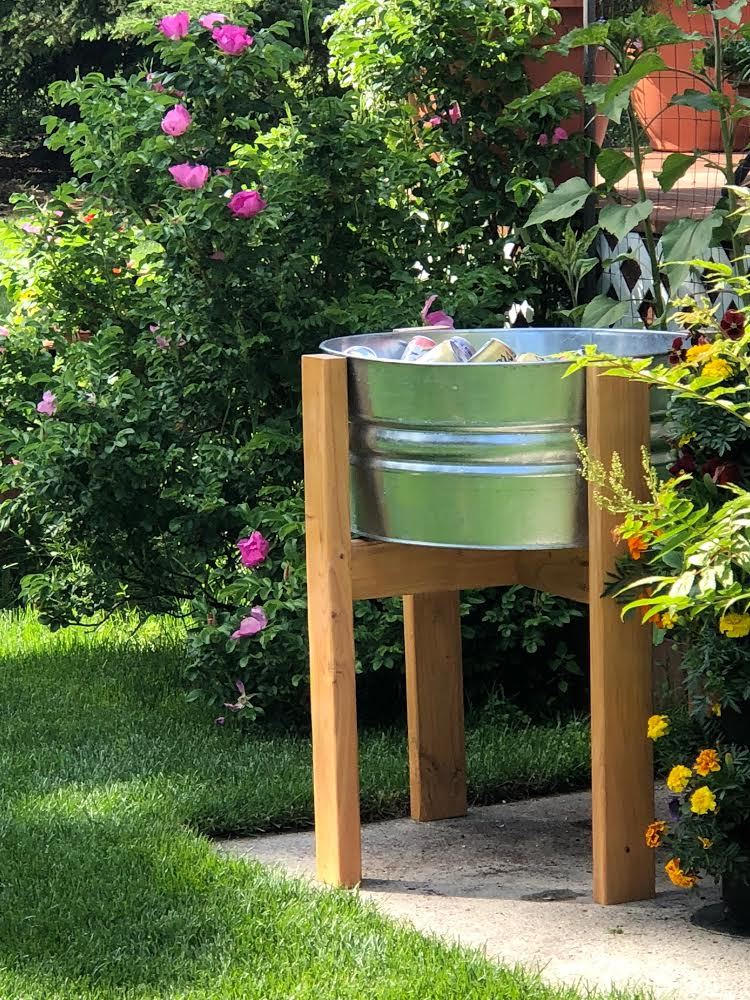
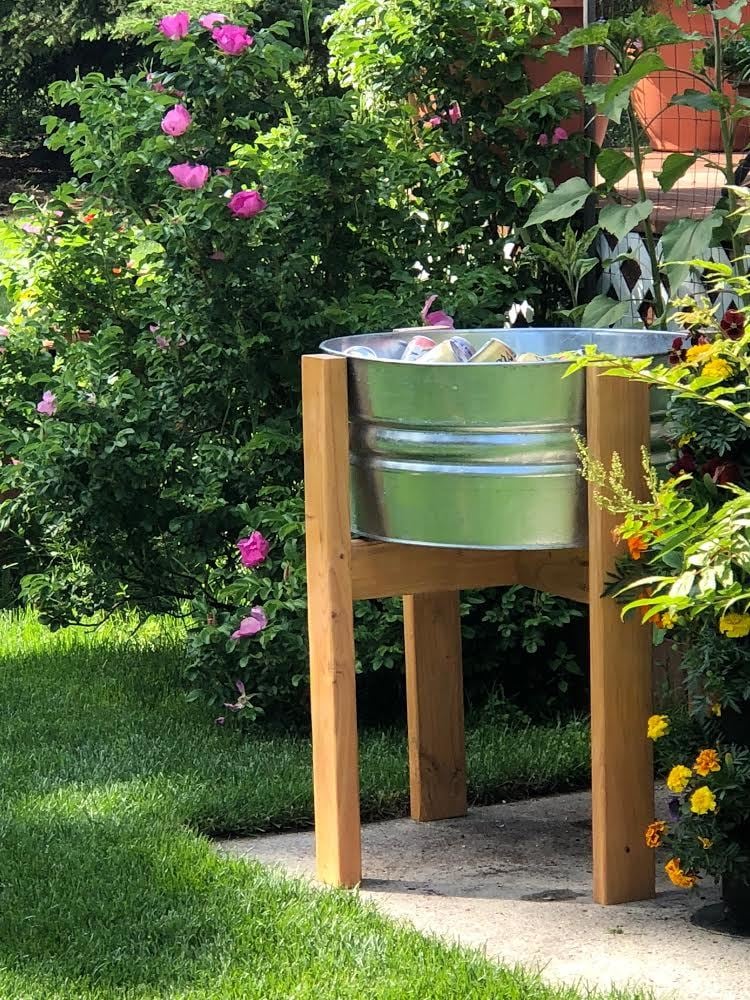
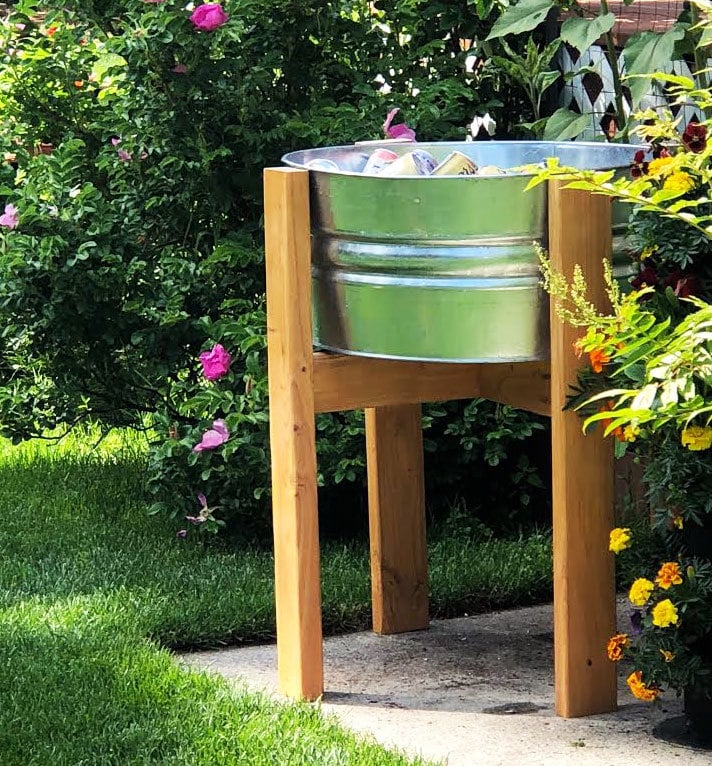
Turn a galvanized bucket into a beverage display with this easy DIY wood stand.  Can also be used for plants, laundry, toys and more.  Free plans by ANA-WHITE.com

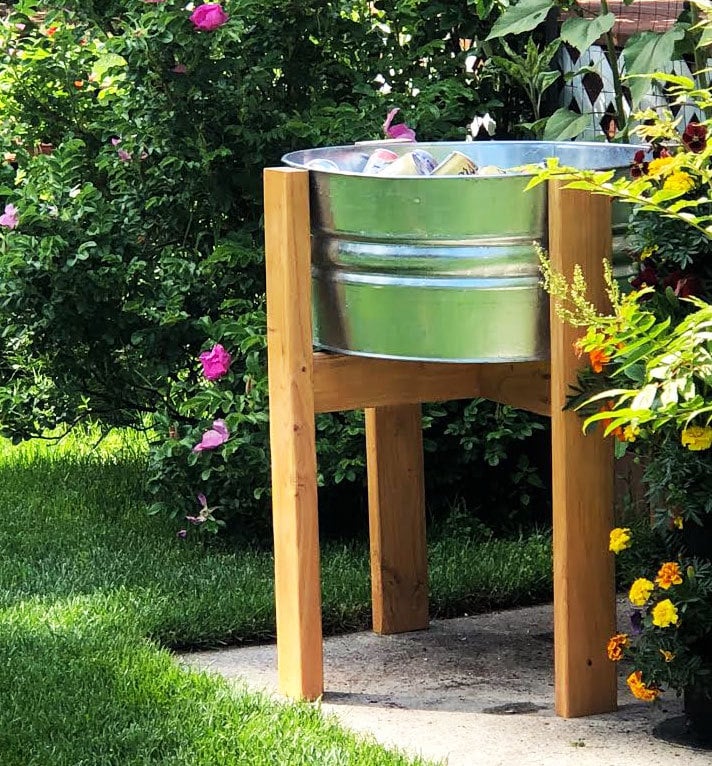
Take your party to new heights with this DIY wood stand for a party bucket!

For BEHR® Think Outside the House Challenge

I decided to make me a new party bucket (and share the tutorial and plans with you!). 

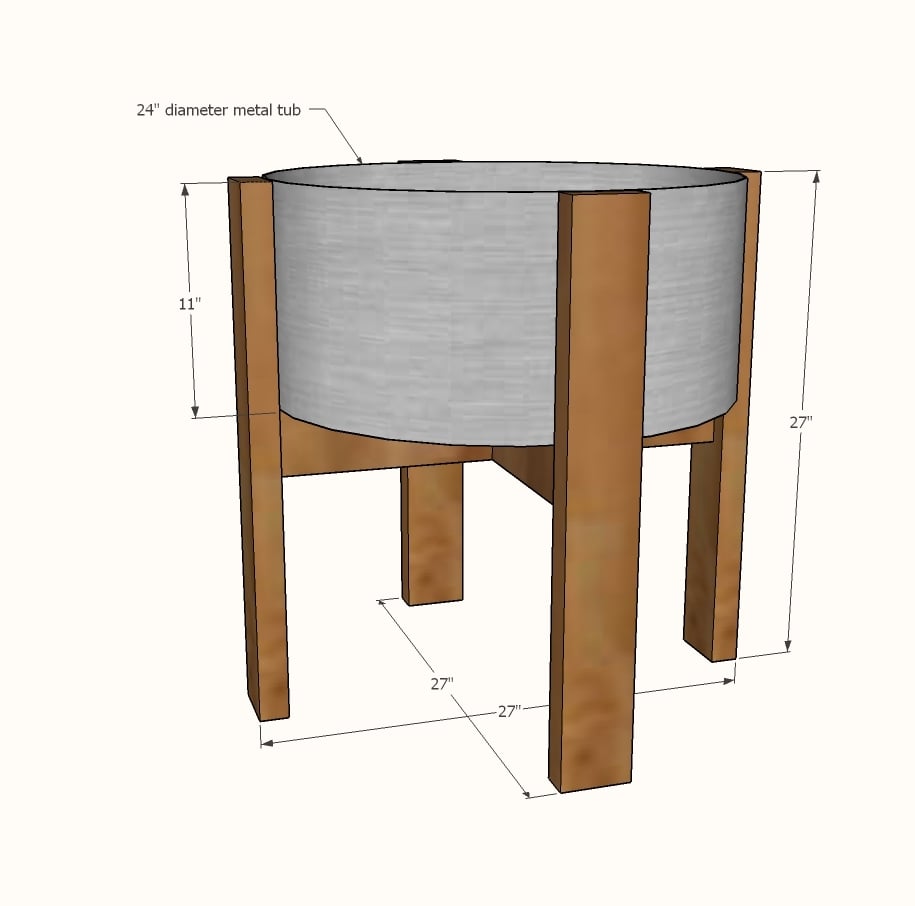
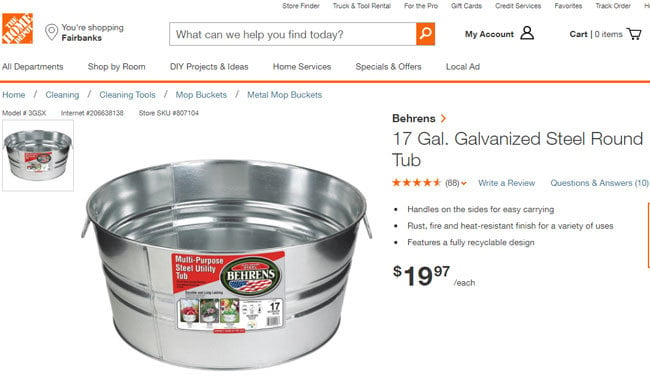
All you'll need is a galvanized bucket (mine is the 17 gallon one - 24" diameter, 11" tall) 

About $20 at Home Depot

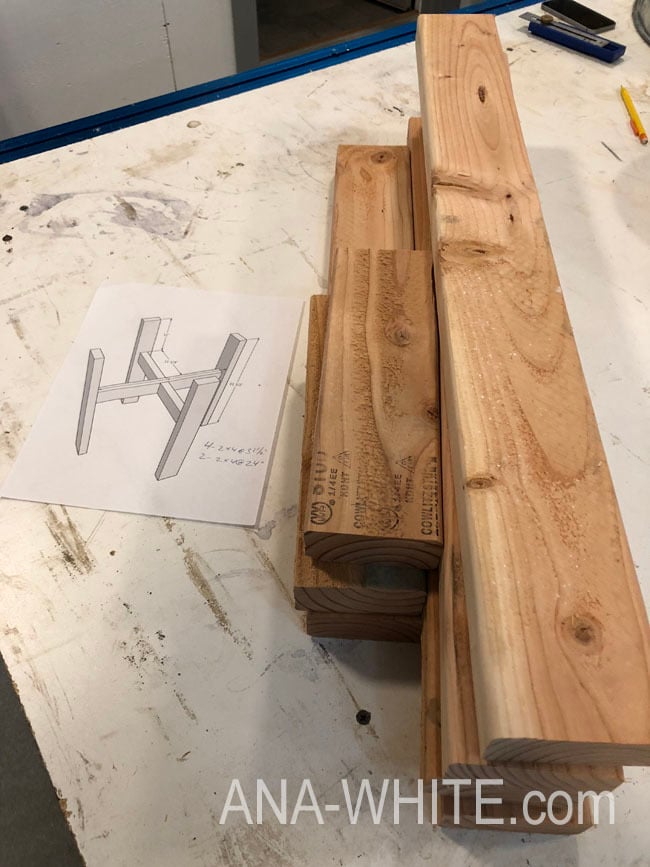
And a couple of 2x4s. 

I cut my 2x4s down to the right size on my compound miter saw (linked in plans below).

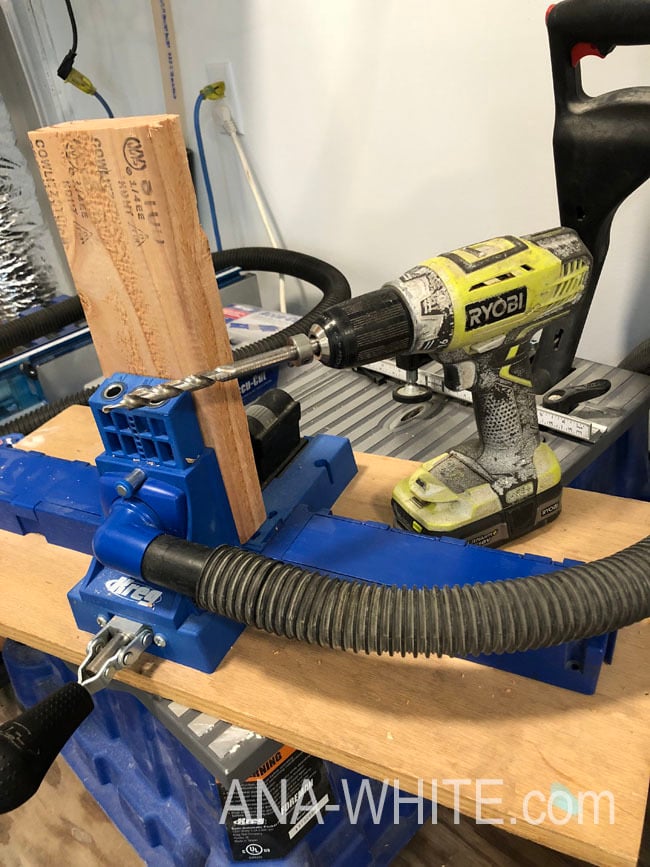
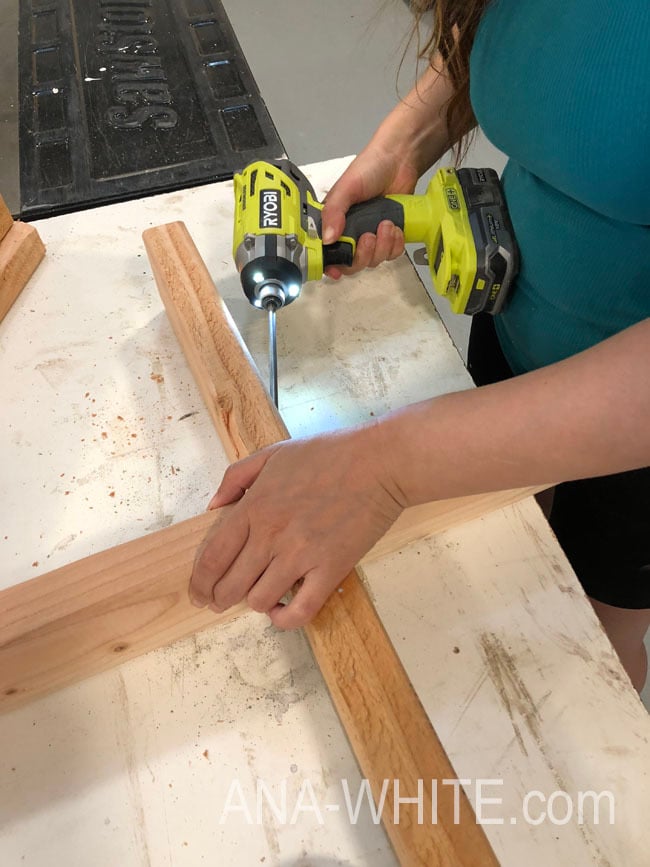
I used a Kreg Jig for joining.  I can't stress enough how big a deal the Kreg Jig is - but if you aren't ready to invest in one quite yet, you can also use 3" self tapping deck screws for attaching.

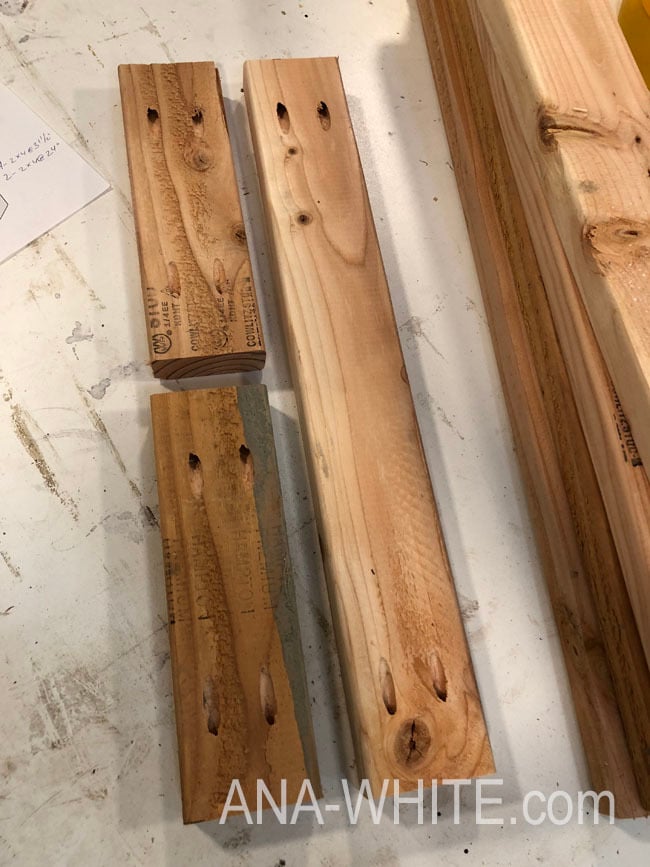
The Kreg Jig simply predrills these holes,

Making it easy to attach everything.

Two 2x4s, twelve screws, twenty mintues.

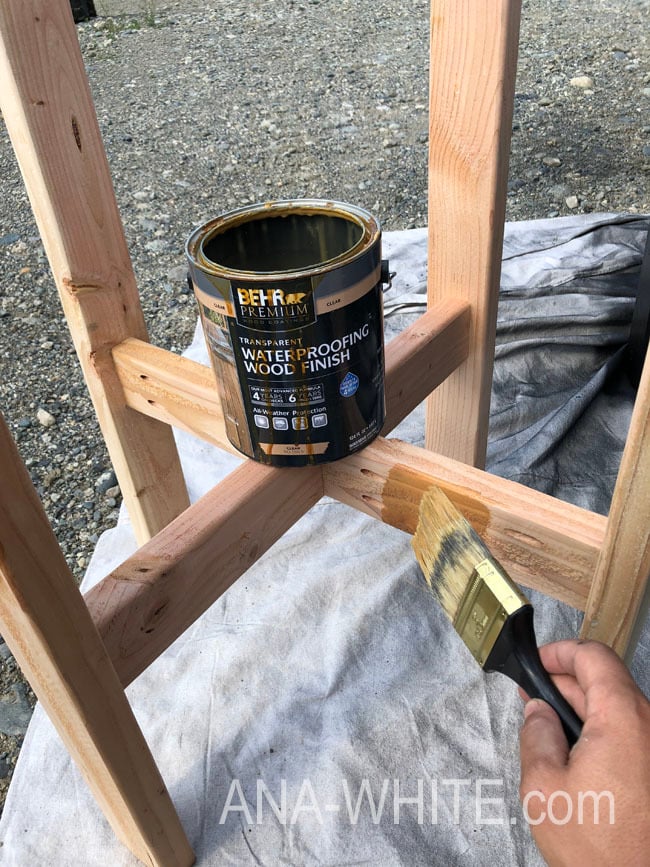
To protect the wood from the outdoor elements, I applied a coat of BEHR PREMIUM® Transparent Waterproofing Wood Finish in Clear.

I love simple projects like this that make a big impact!  Not only does the wood stand bring the party bucket up in height, but it also looks so much better.  

For about $30 total (including the bucket!) you can make this party bucket with wood stand.  What a steal!

I'm posting the free plans below.  Please do share if you build, we love seeing your projects!

XO Ana


Dimensions
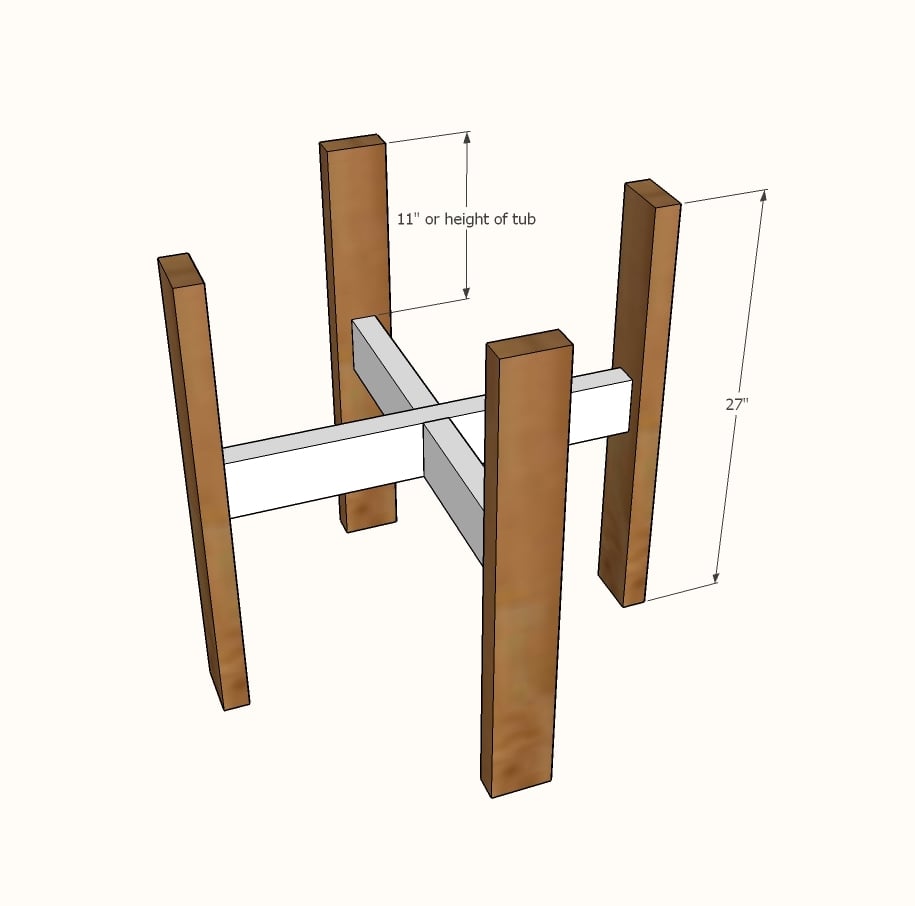
Dimensions shown above

Preparation

Shopping List

2 - 2x4 @ 8 feet long or stud length (92-5/8")

12 - 2-1/2" pocket hole screws or 3" self tapping deck screws

1 - 24" round galvanized bucket (plans can be altered for a different sized bucket but would NOT recommend going larger in size)

Cut List

4 - 2x4 @ 27" - legs

1 - 2x4 @ 24" - long cross piece

2 - 2x4 @ 11-1/4" - short cross pieces

Tools
Tape Measure
Speed Square
Pencil
Safety Glasses
Hearing Protection
Kreg Jig
Drill
Miter Saw

Instructions

Step 1

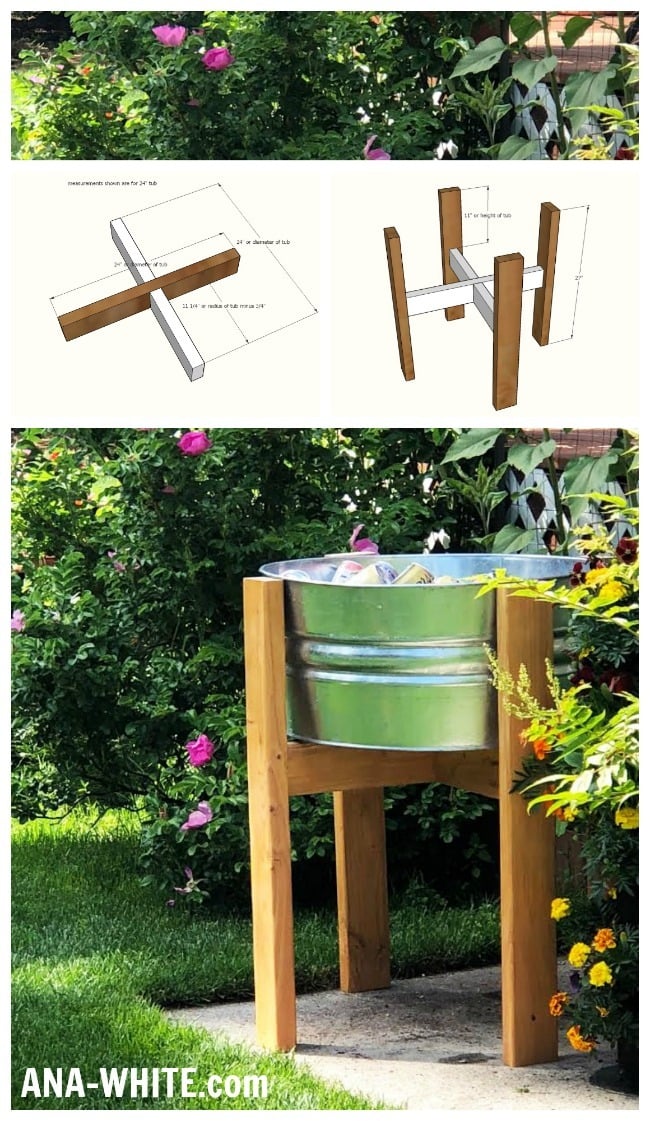
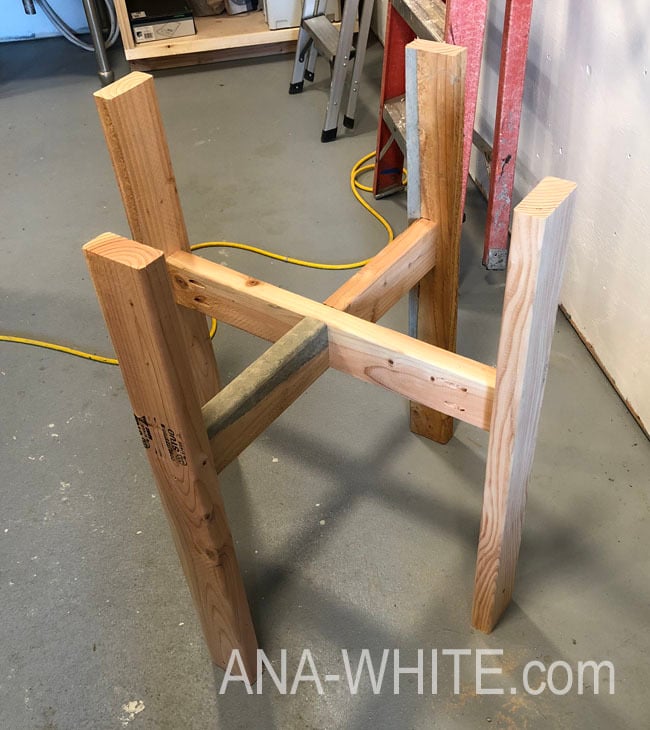
Drill two 1-1/2" pocket holes on each end of all three cross pieces.  Attach the smaller cross pieces to the larger one at the center with 2-1/2" pocket hole screws and exterior wood glue.

If using deck screws, you will need to drive screws in at an angle. Predrilling may help prevent splitting.

Step 2

Attach cross piece to the legs, centering ends on leg insides.  If using deck screws, attach screws from outside.

Project Type
Room