Wood Standing Table Numbers

The free plans on this website are made possible with advertising and affiliate links.  Thank you for helping us keep plans free.


wood table numbers for wedding diy
Difficulty
Starter Projects
| Print this plan

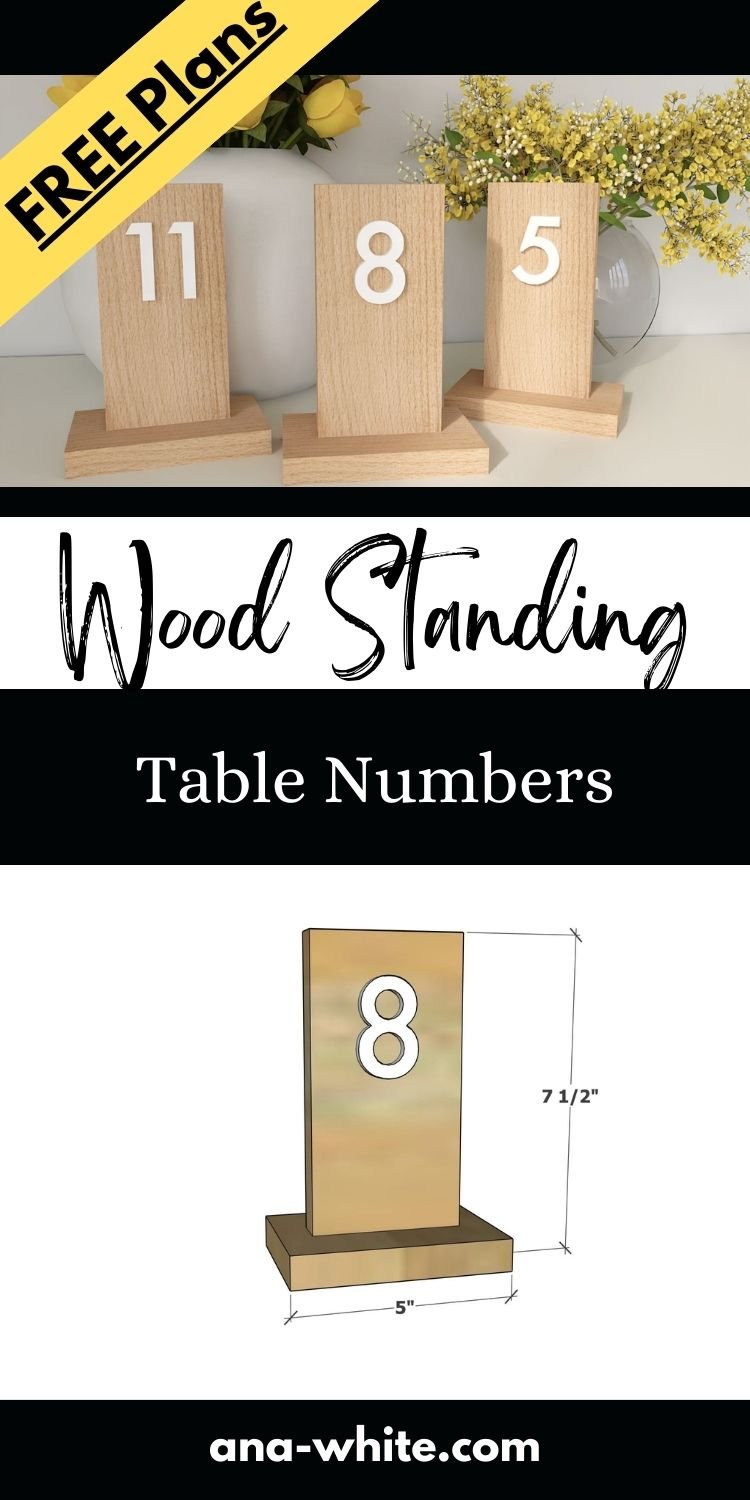
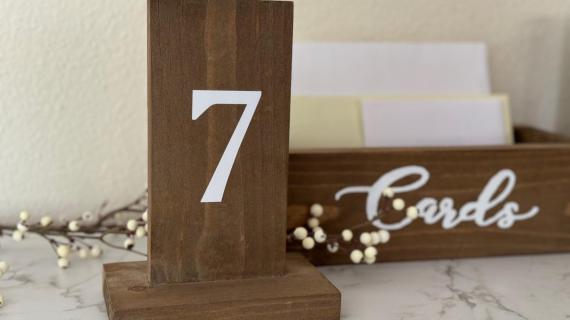
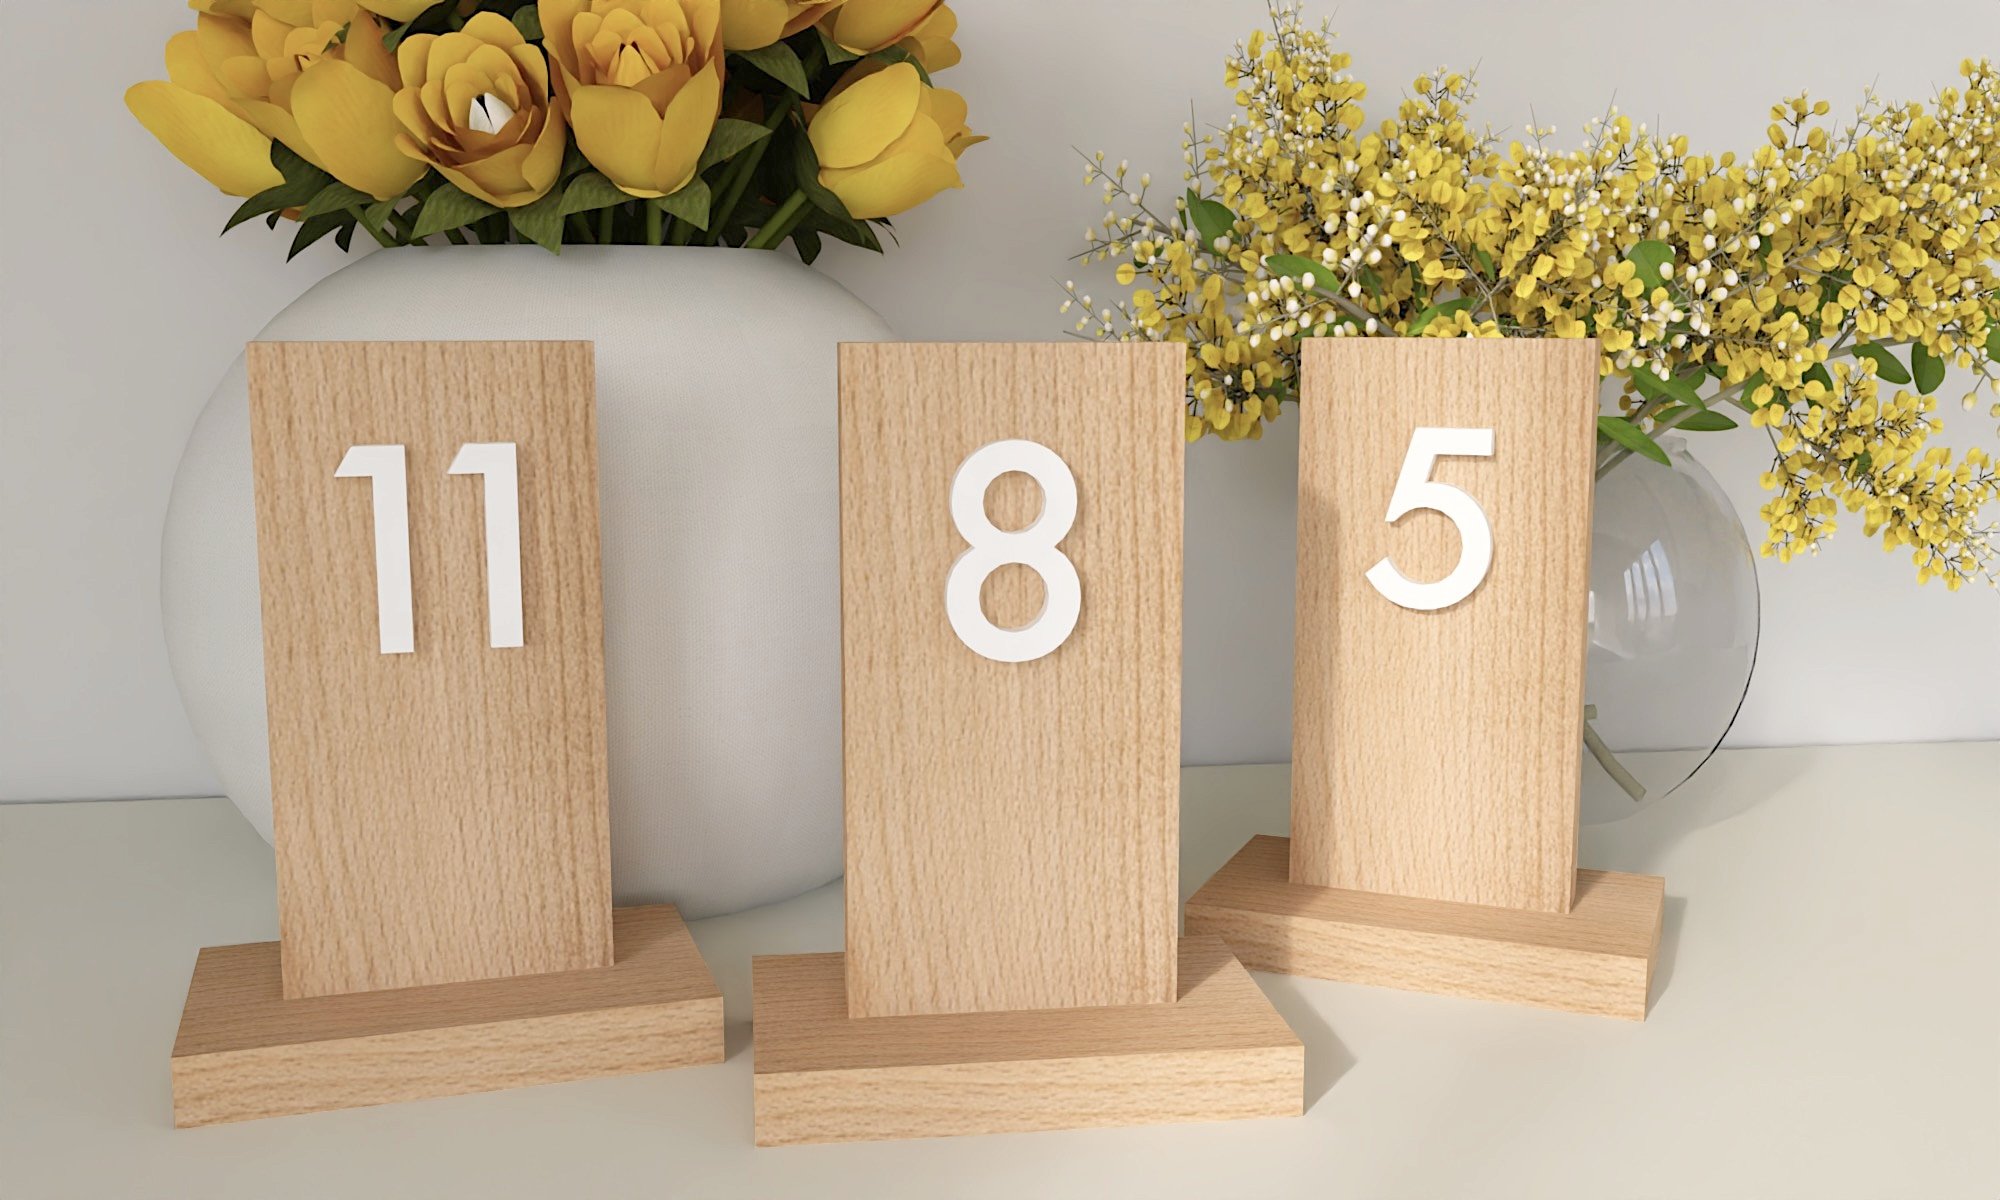
Free plans to build your own wood table numbers!  This is a quick, easy and inexpensive project for your wedding or event.  Paint or stain any color, coordinate with other wood elements to create an event that feels complete.


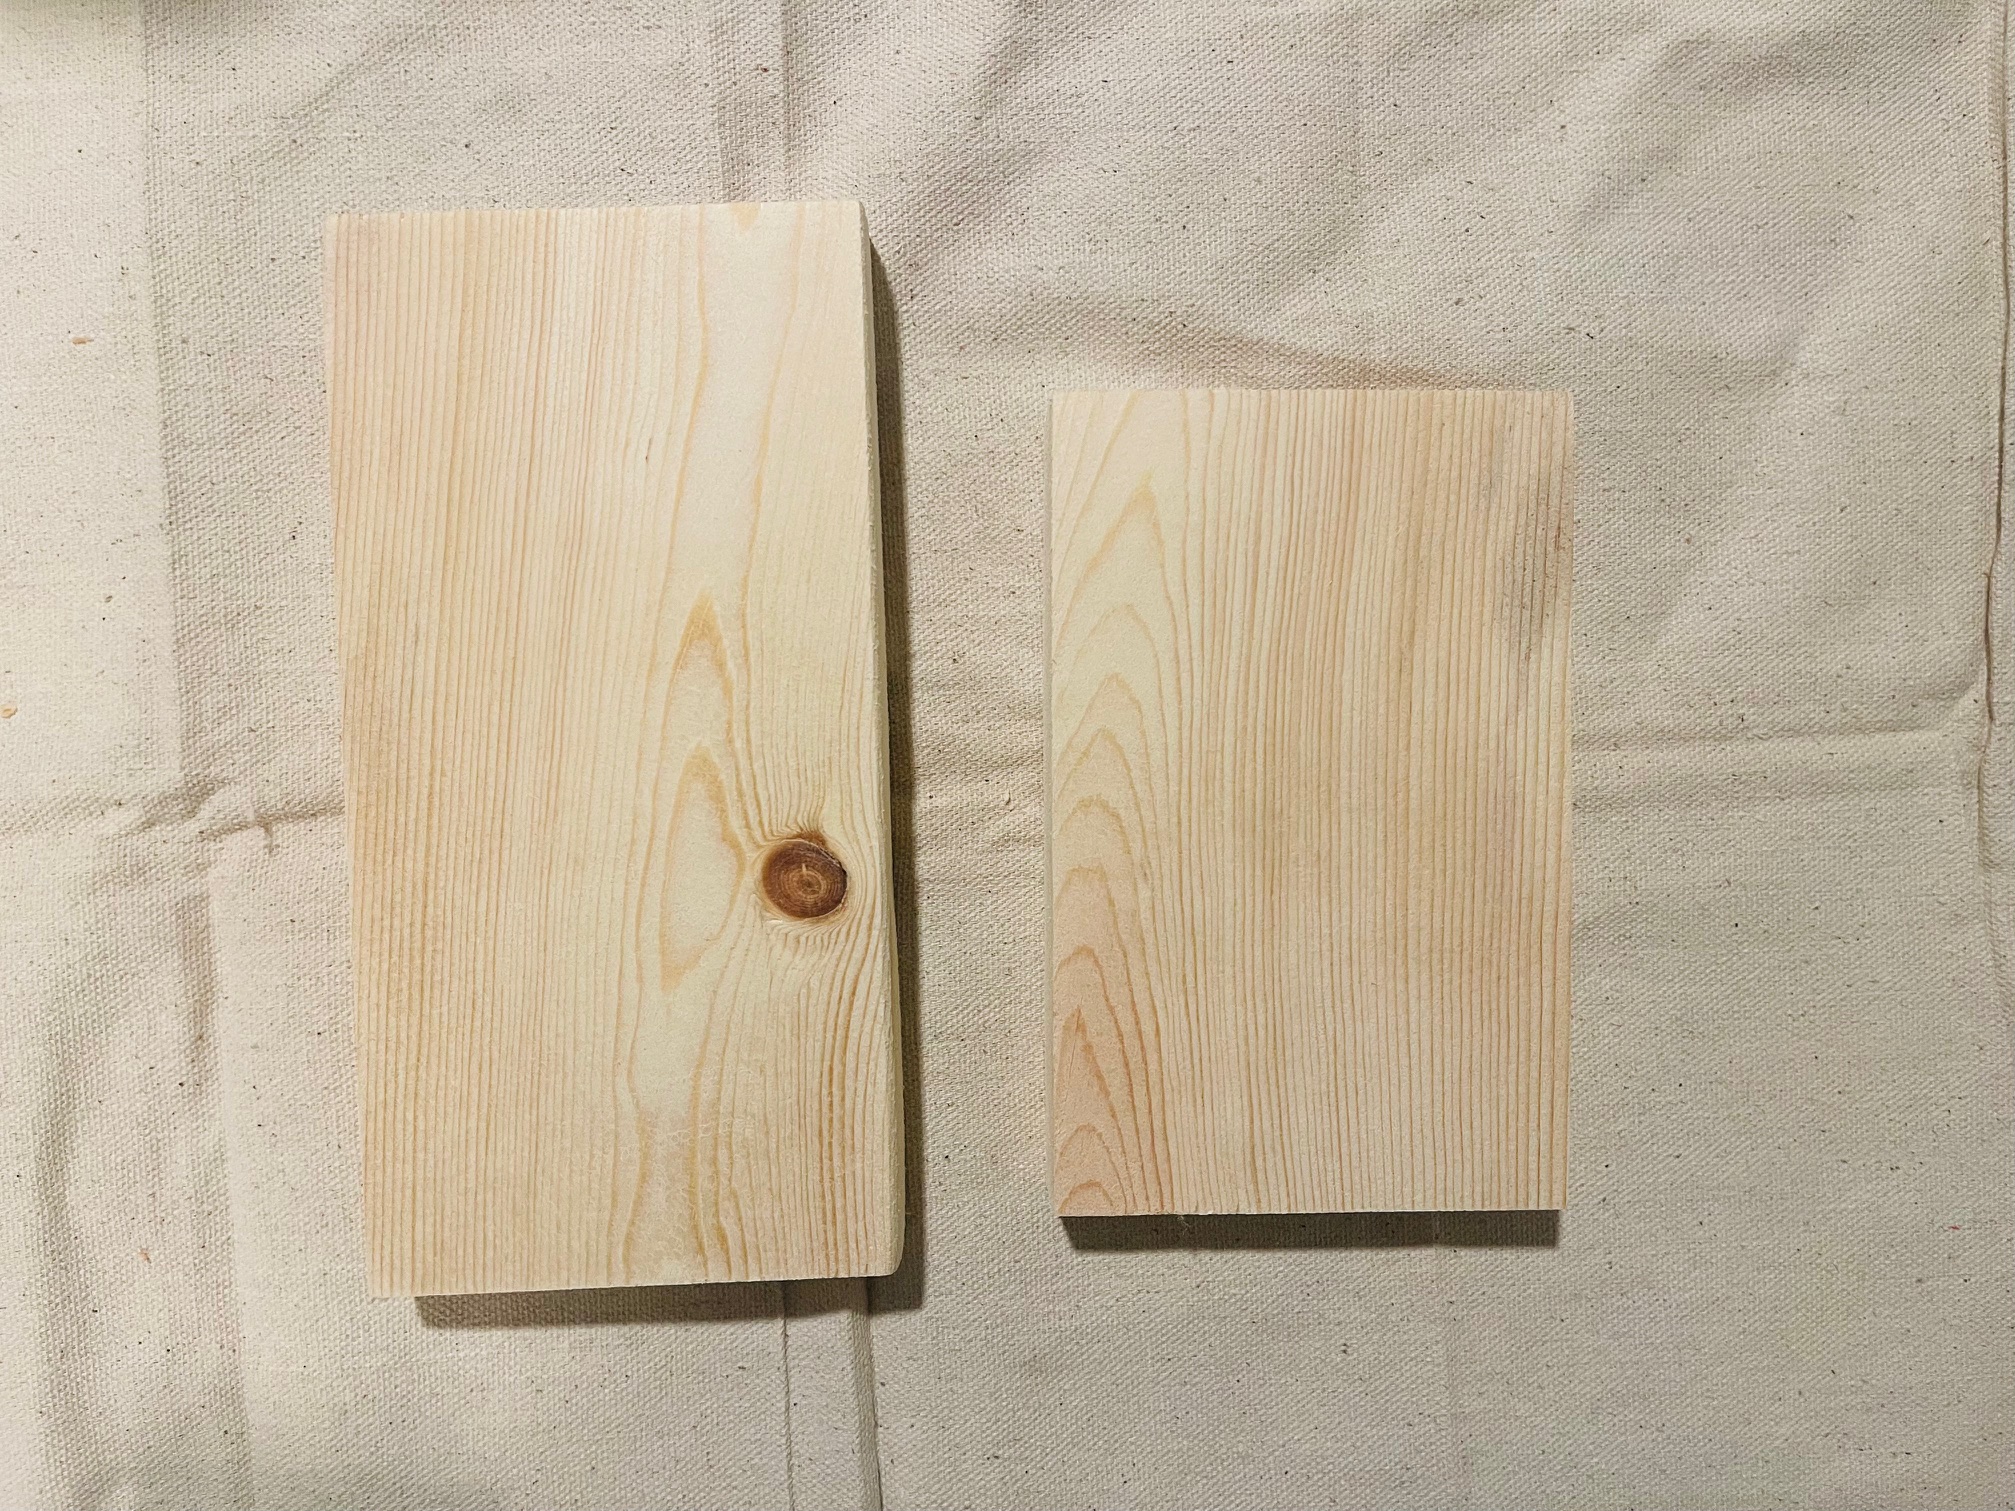
Cut boards according to plan and give a light sanding. You can get 7 number stands from one 1x4x8 board.

cut

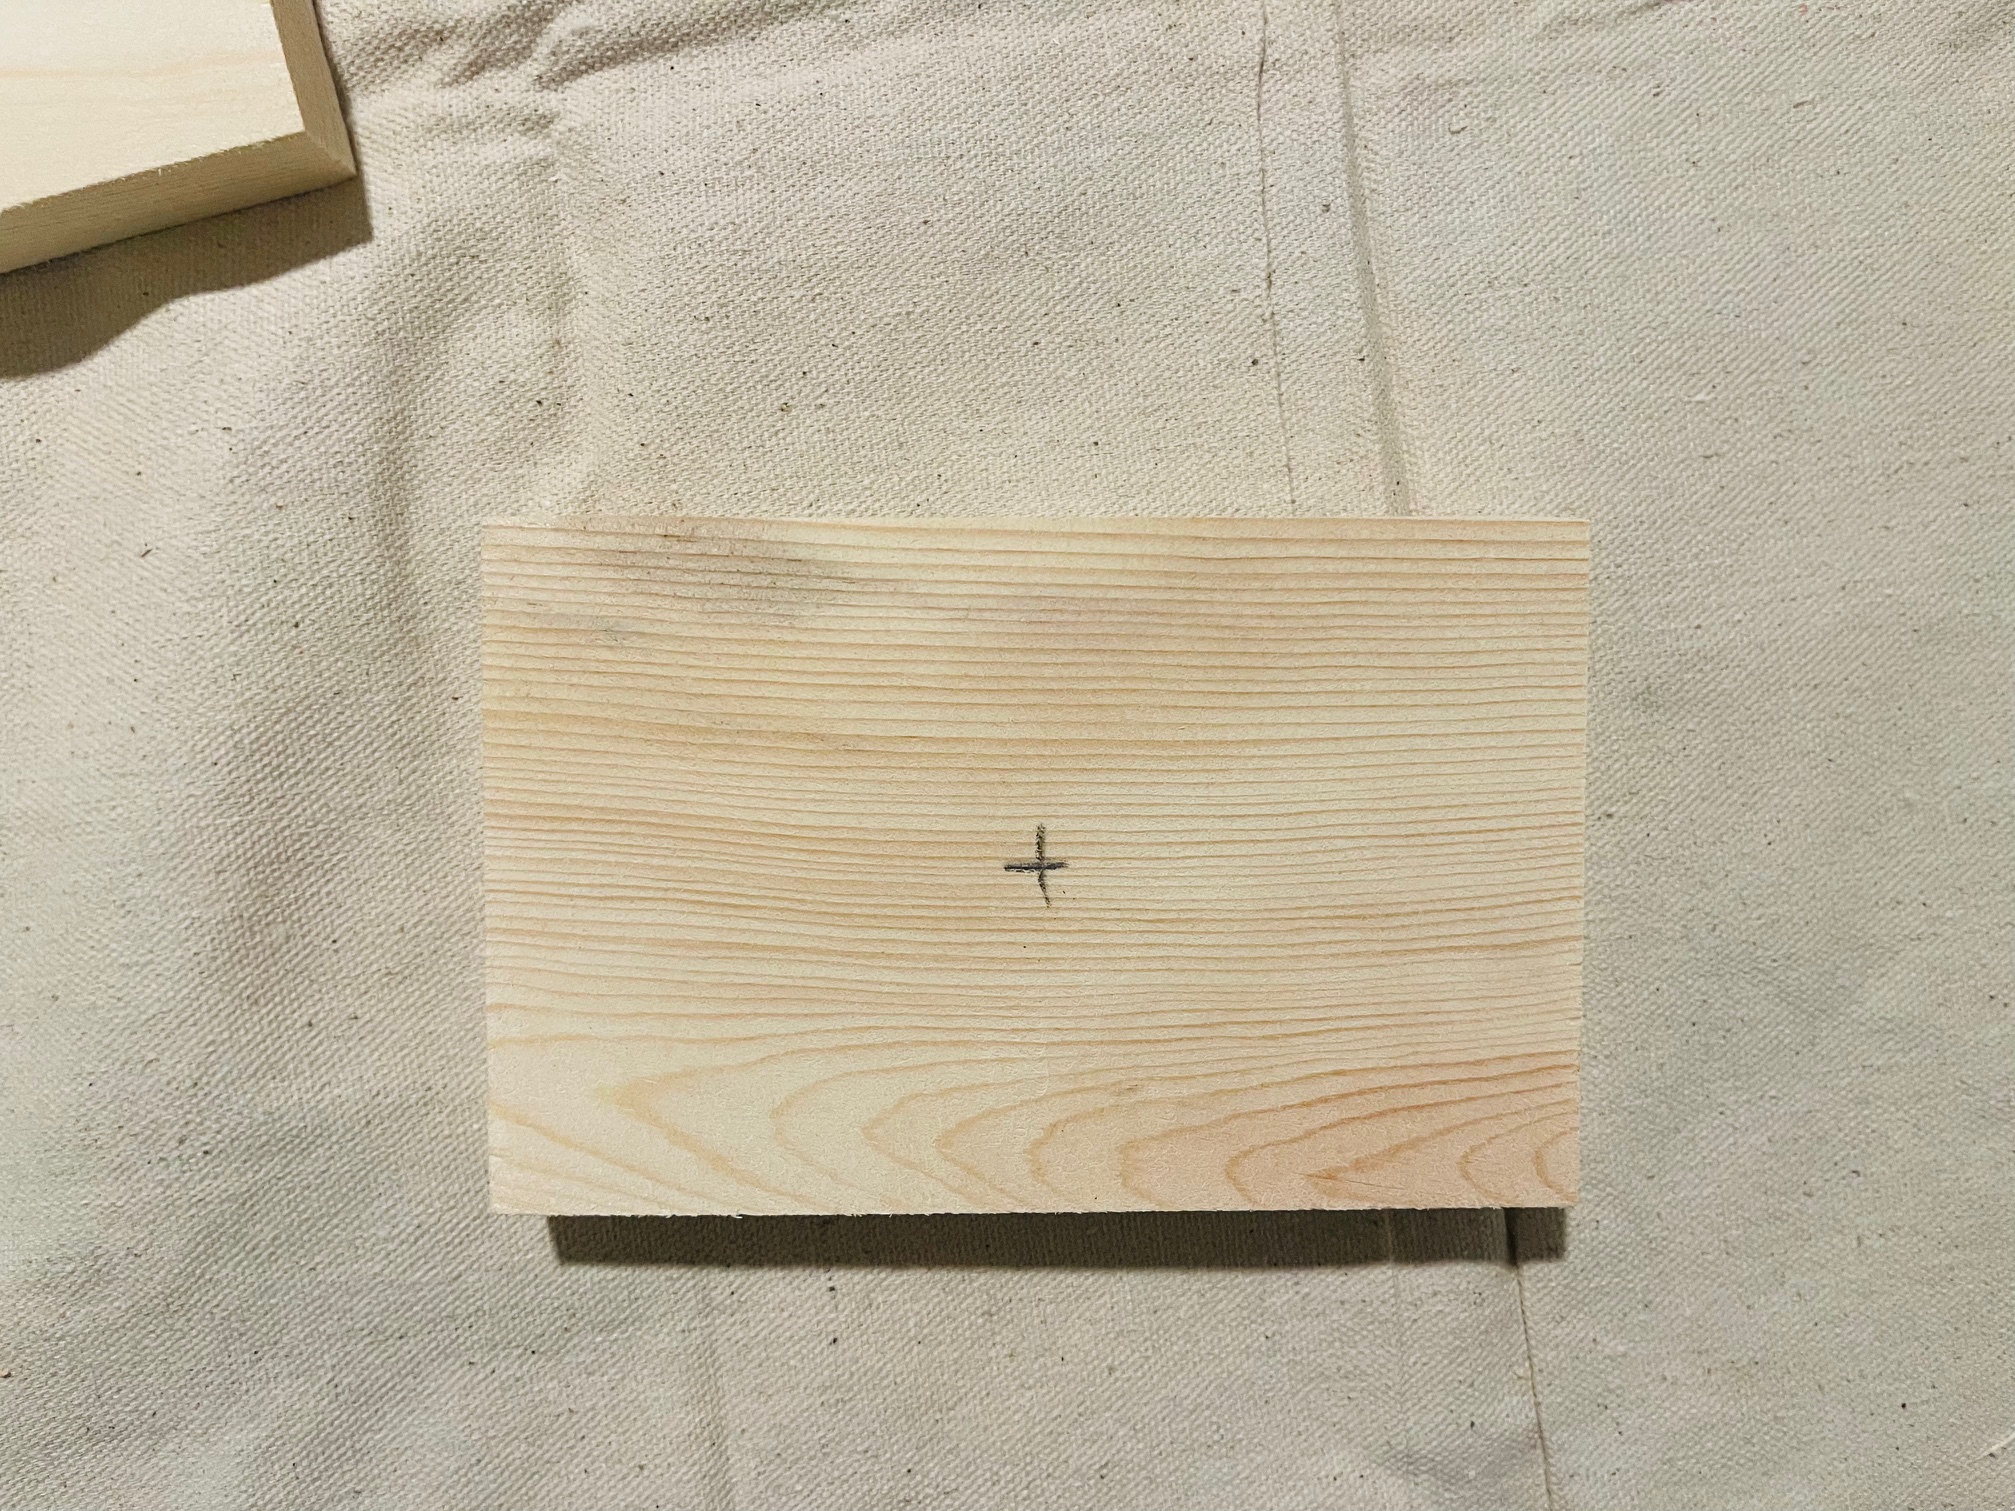
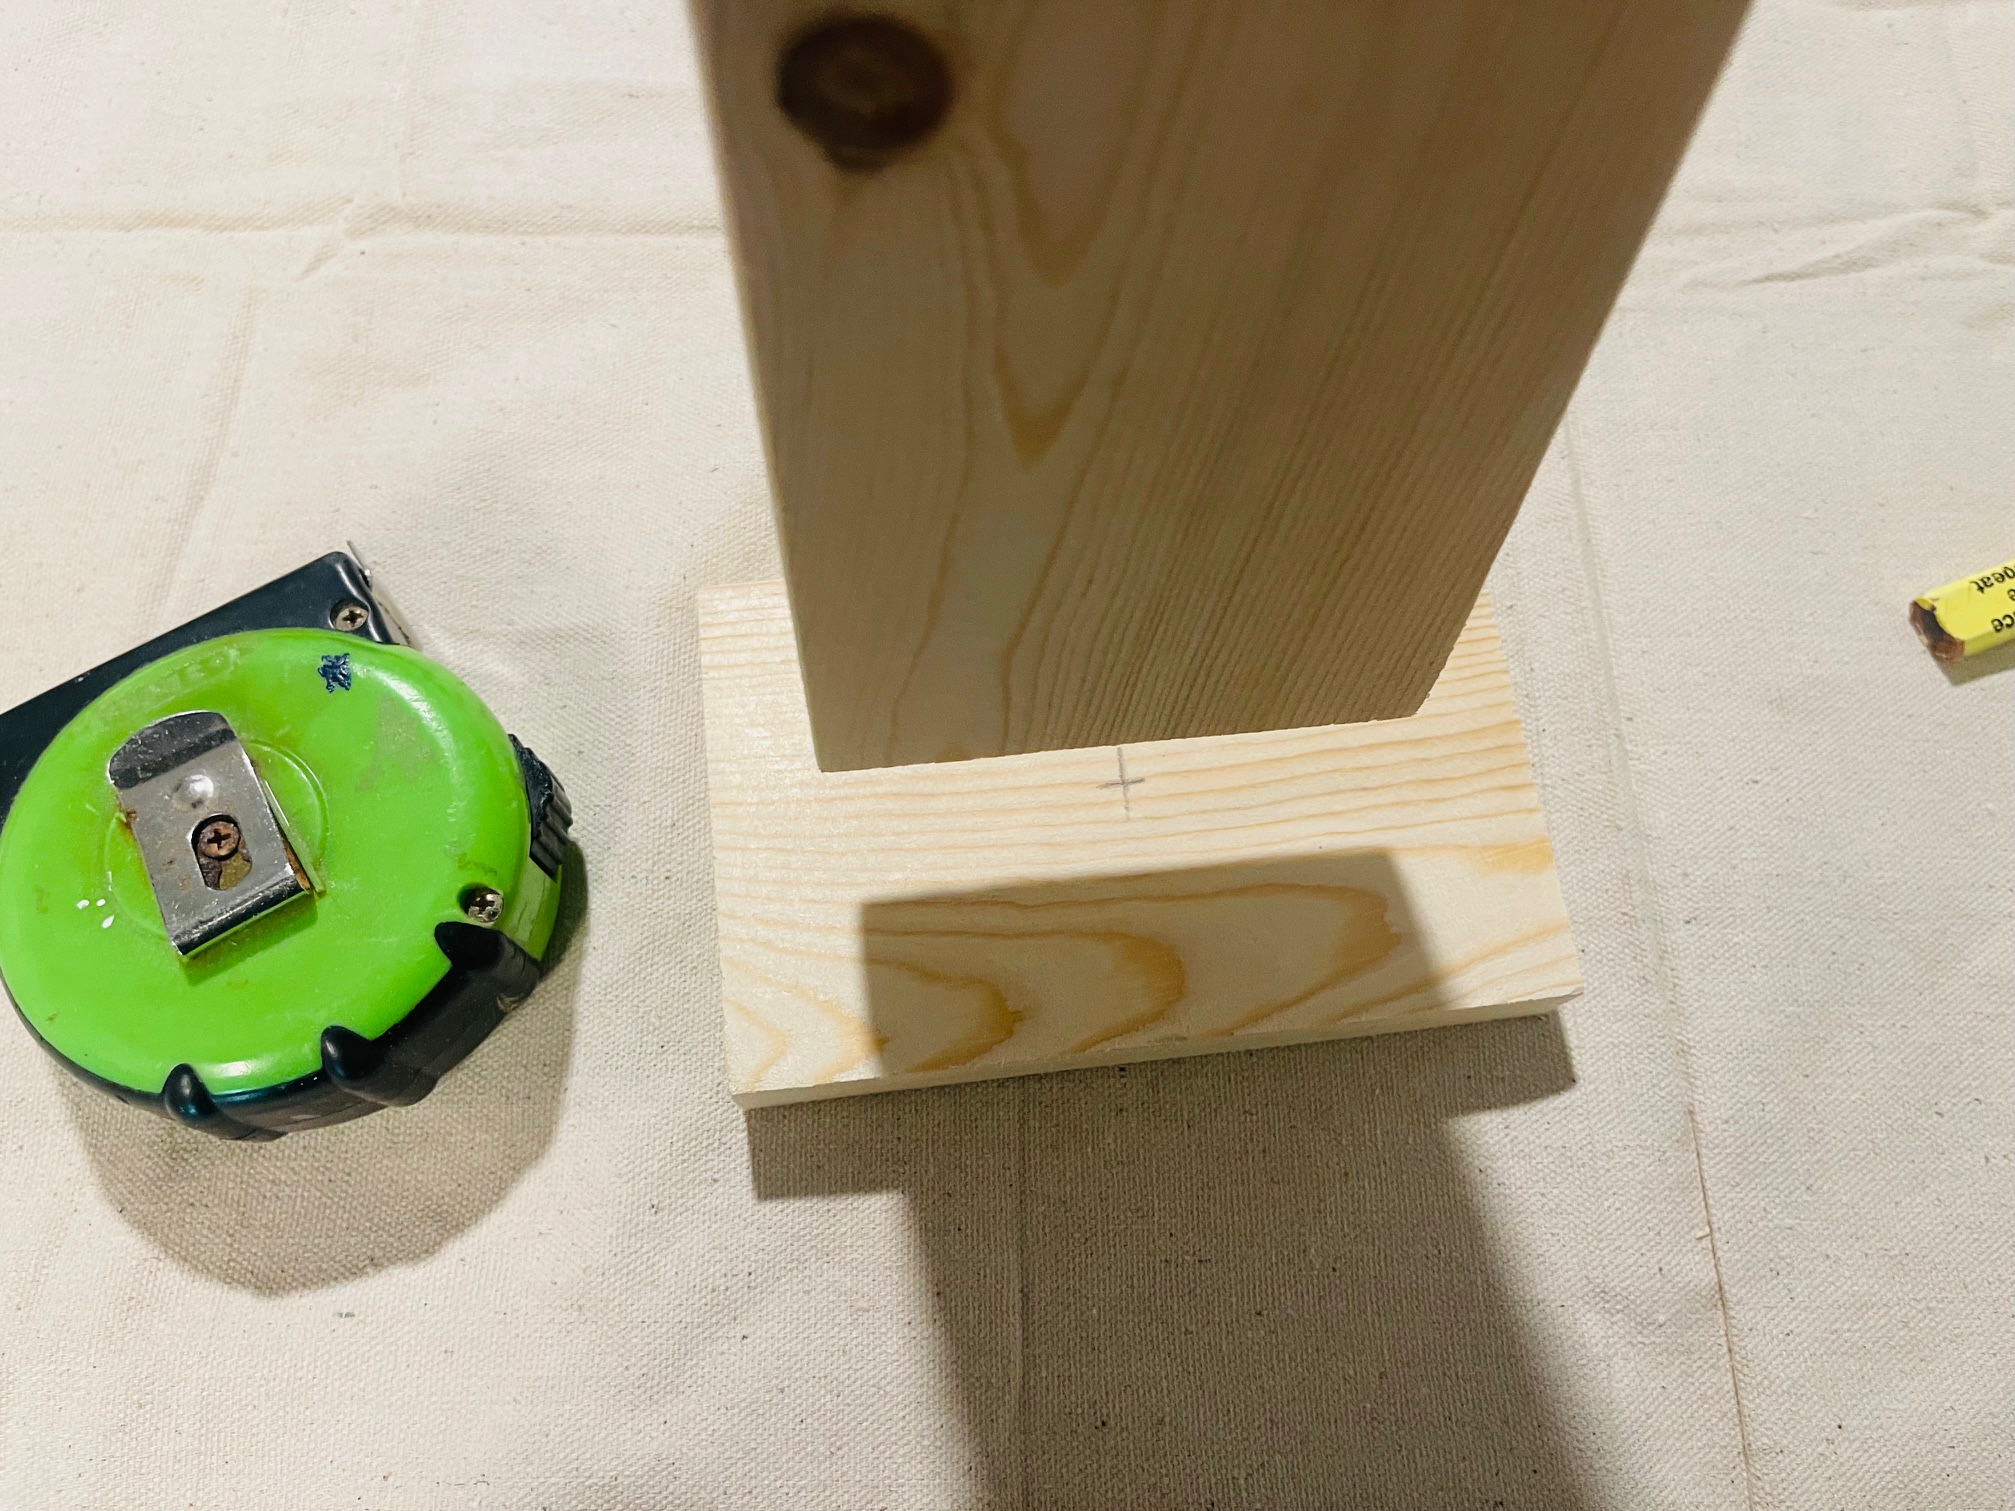
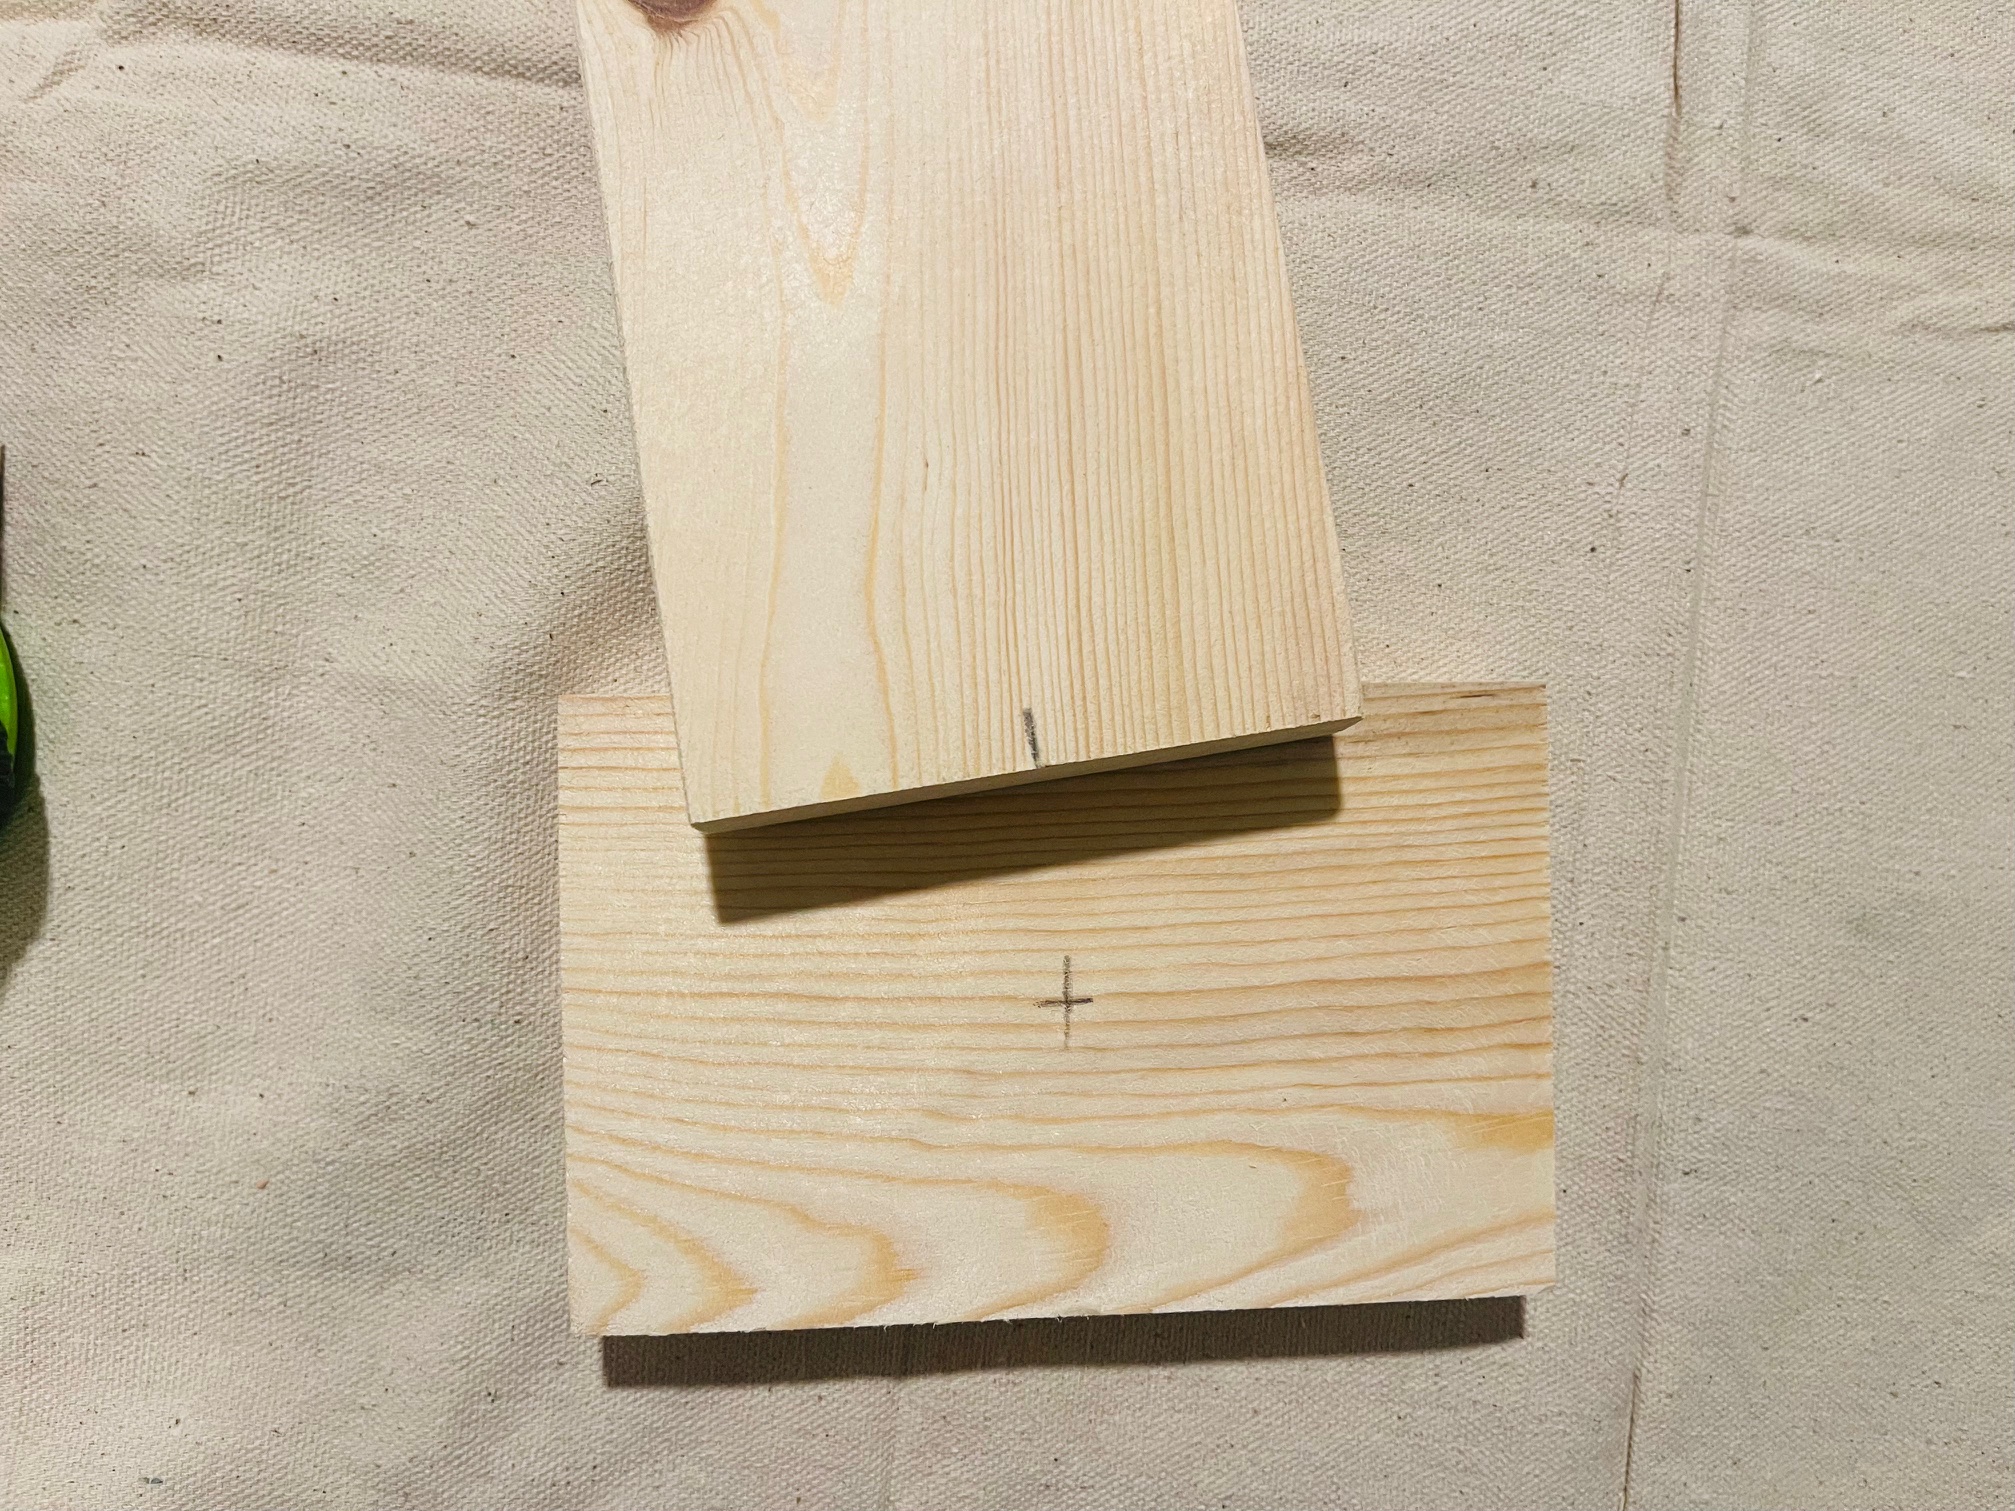
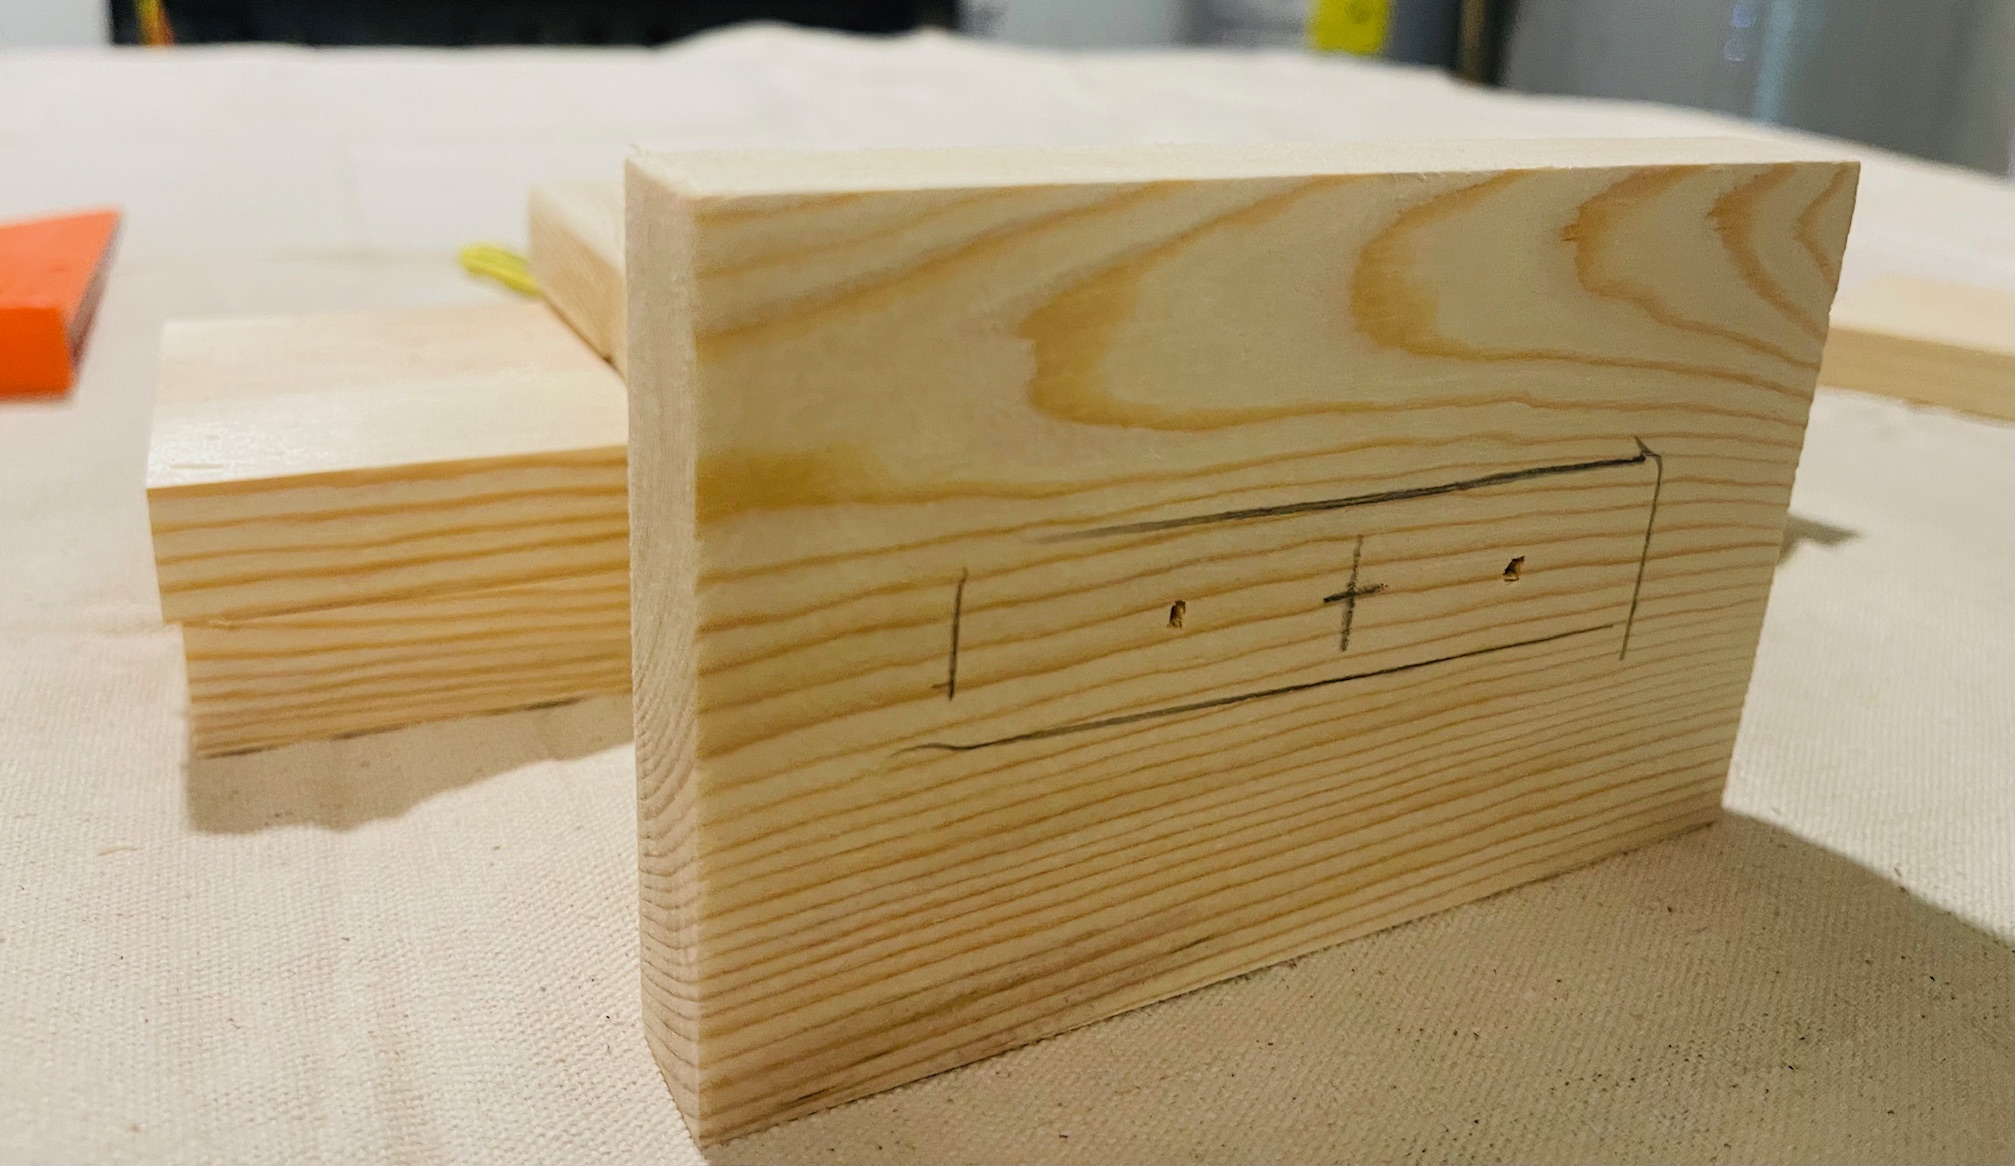
Mark center on front and backside of 5 1/2" board, mark center of 7" upright.

mark board

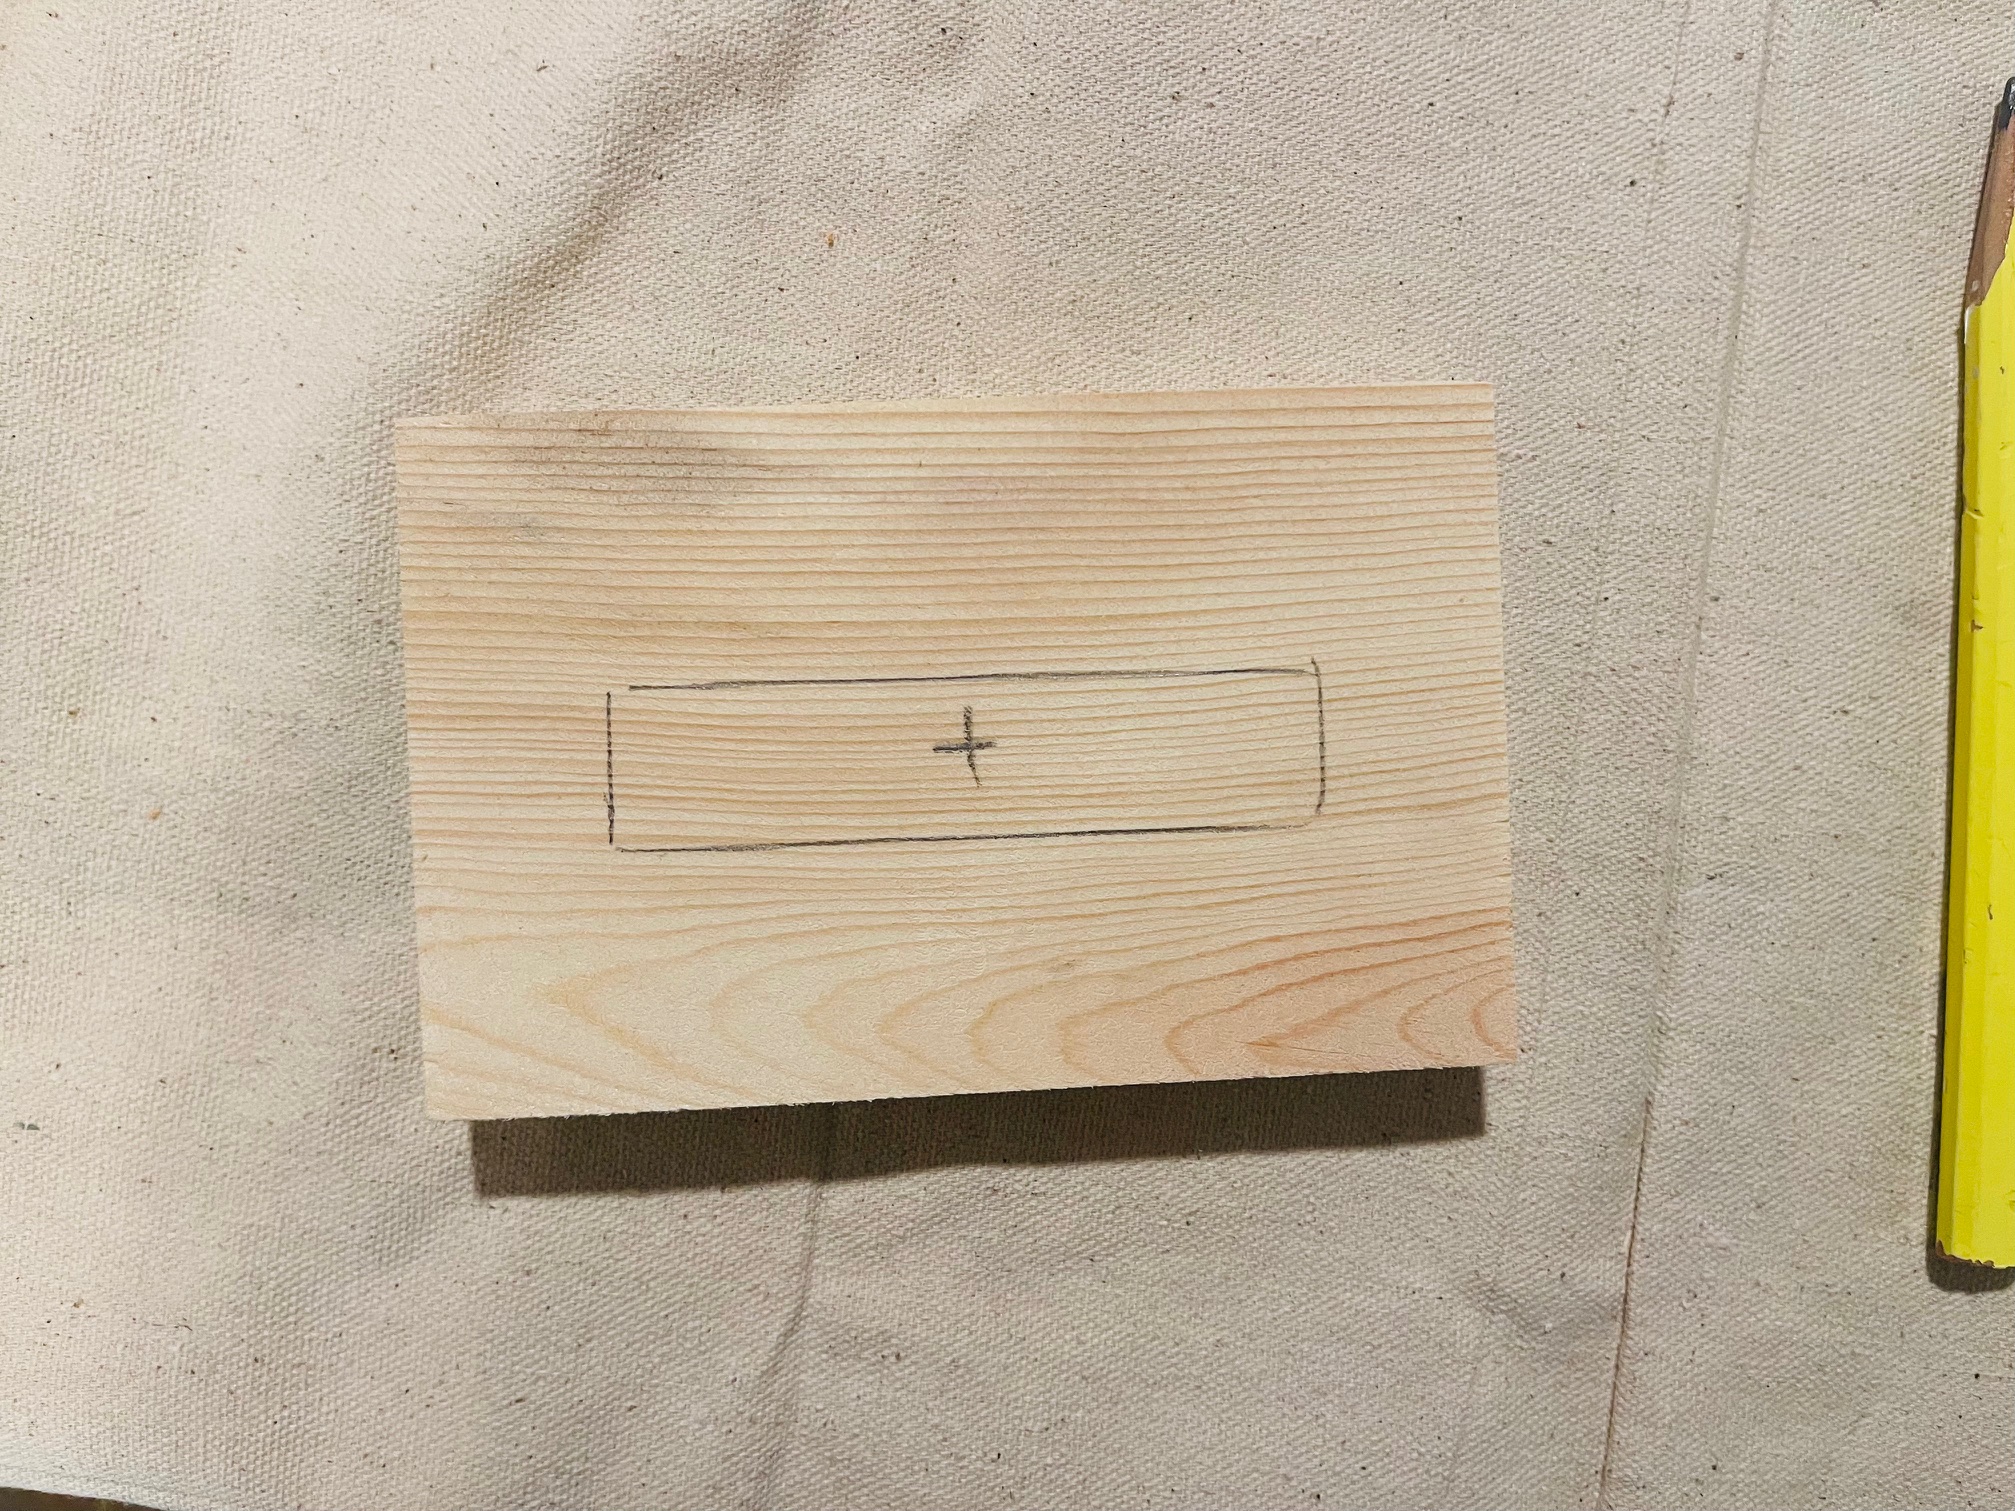
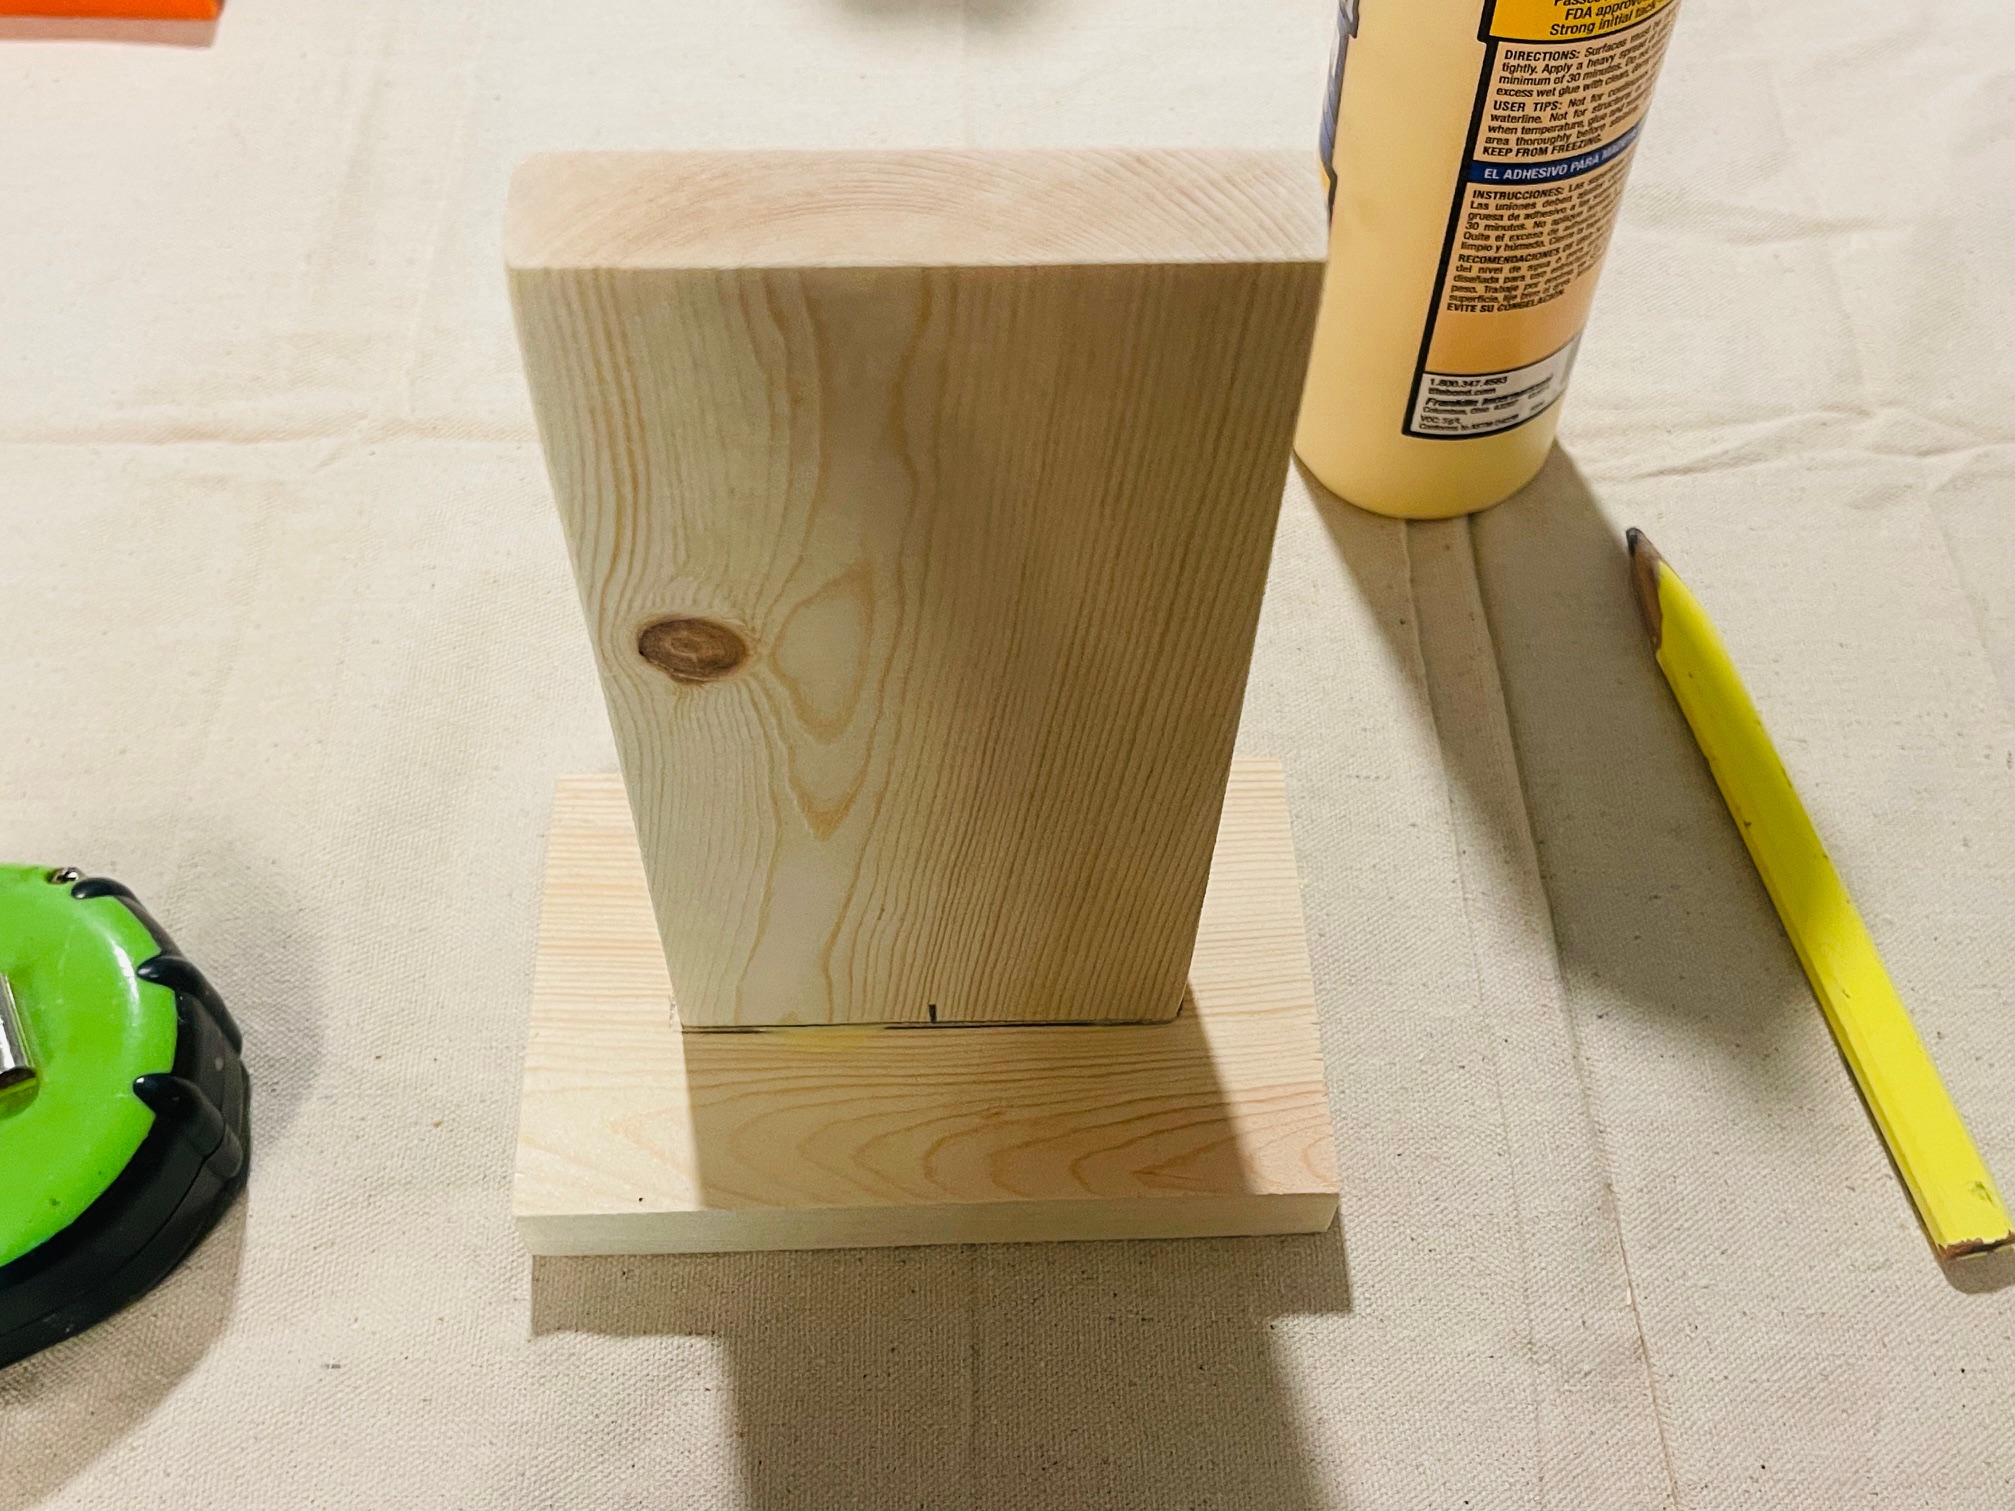
Place 7" board on top of 5 1/2" board centered and trace it on each side. 

mark

mark center

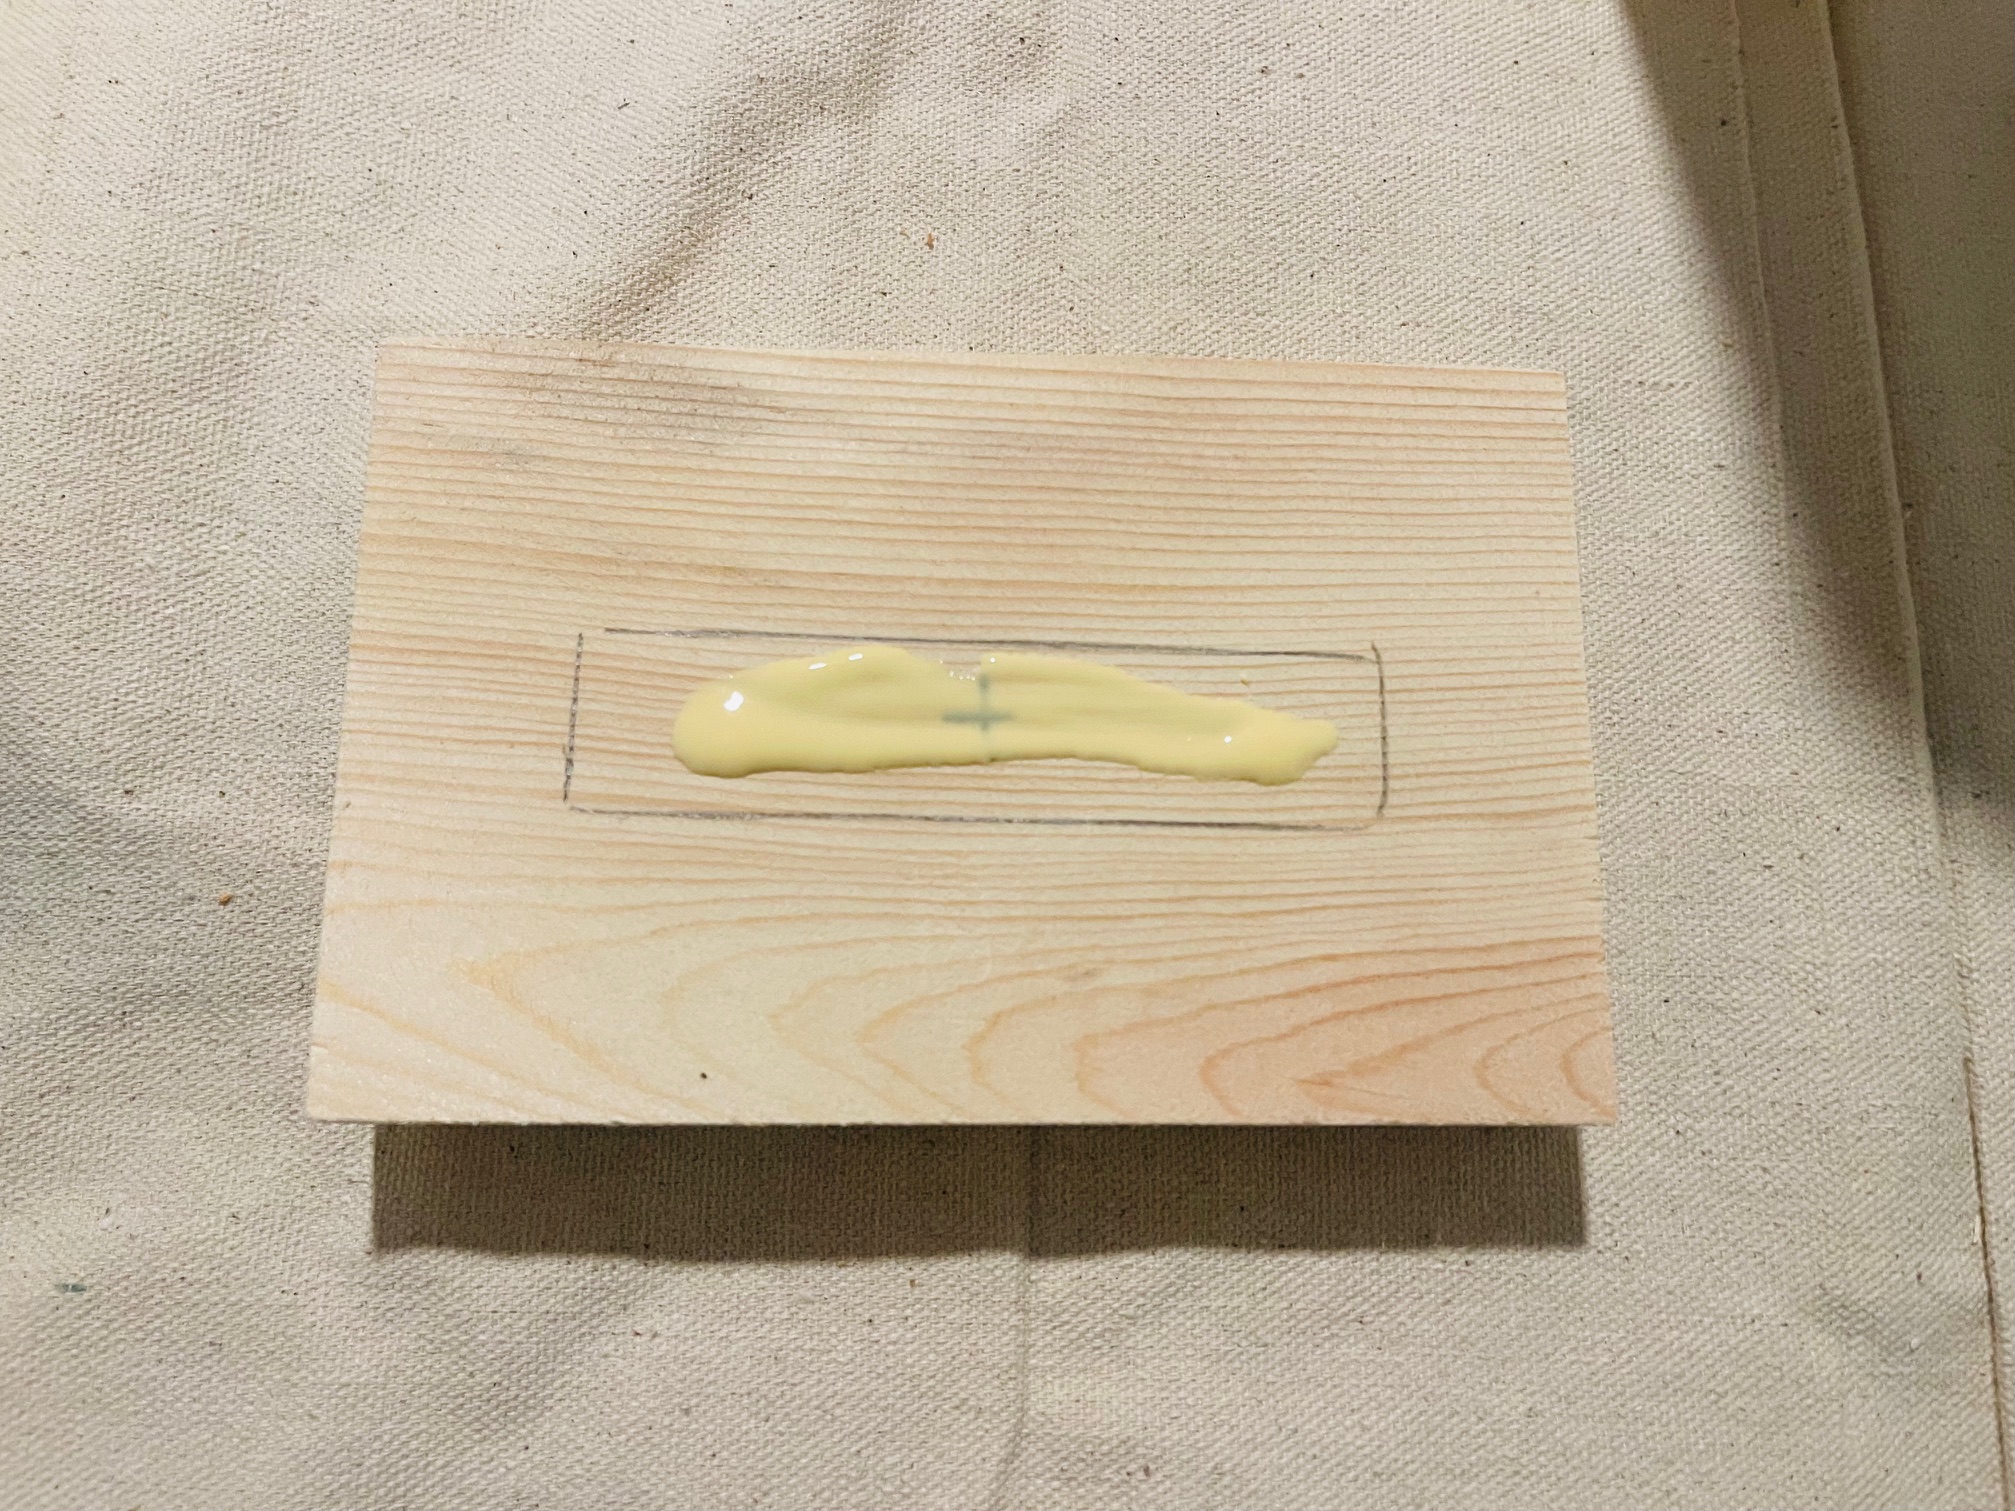
Trace board and add a little glue to set before nailing.

trace

glue

Set board on traced mark.

set

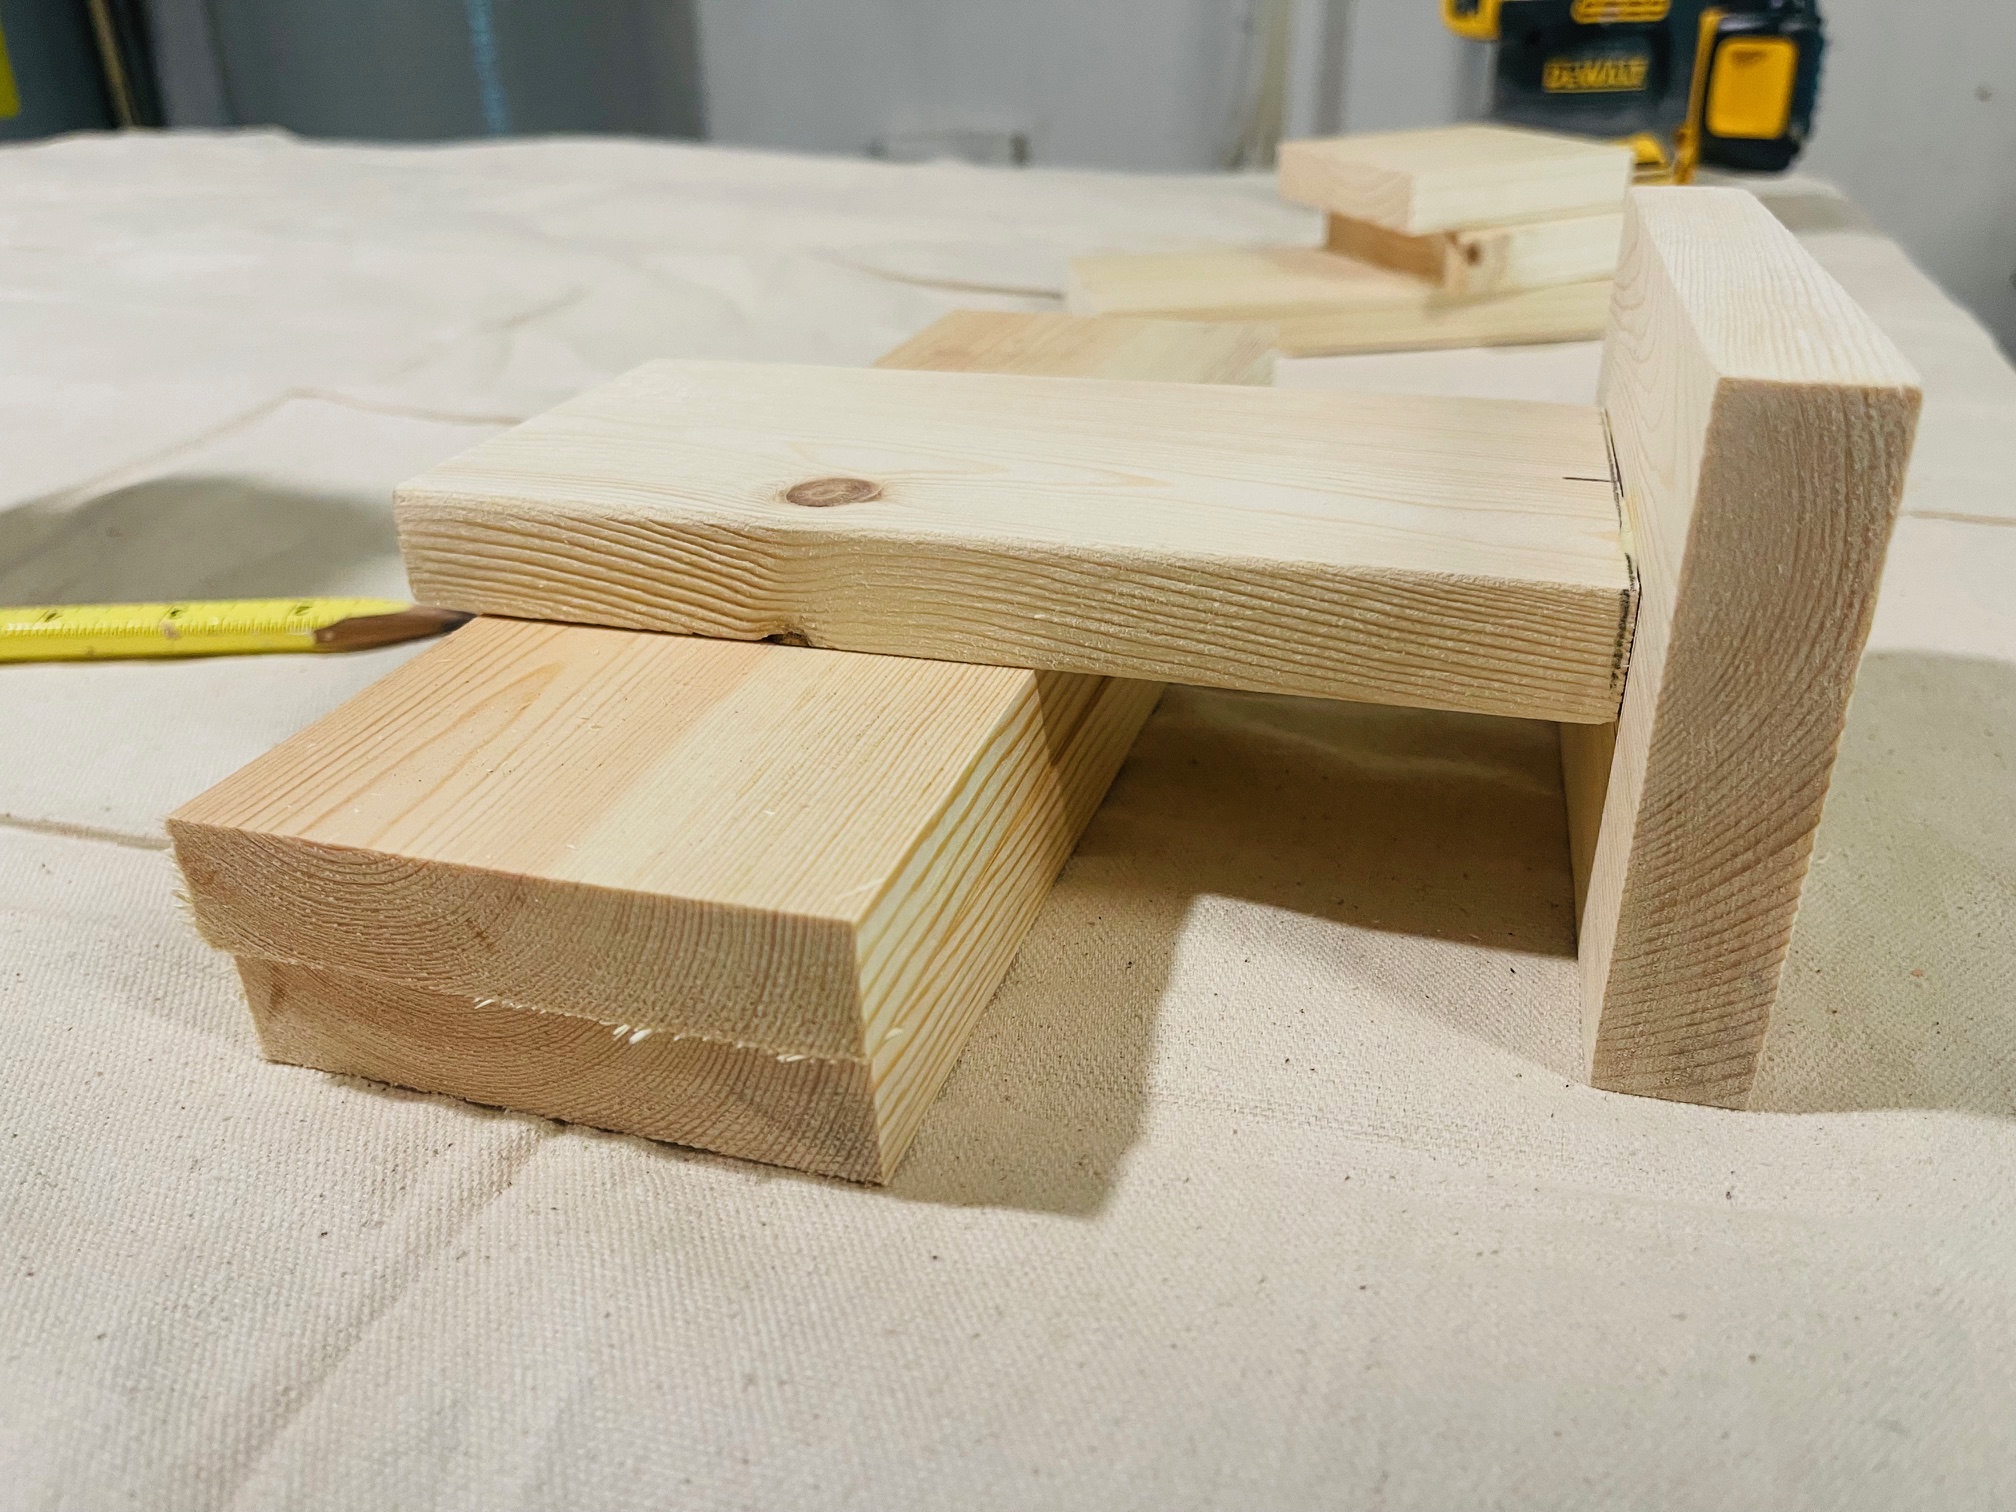
Let dry, block up and nail from the bottom.

block up

nailfinish

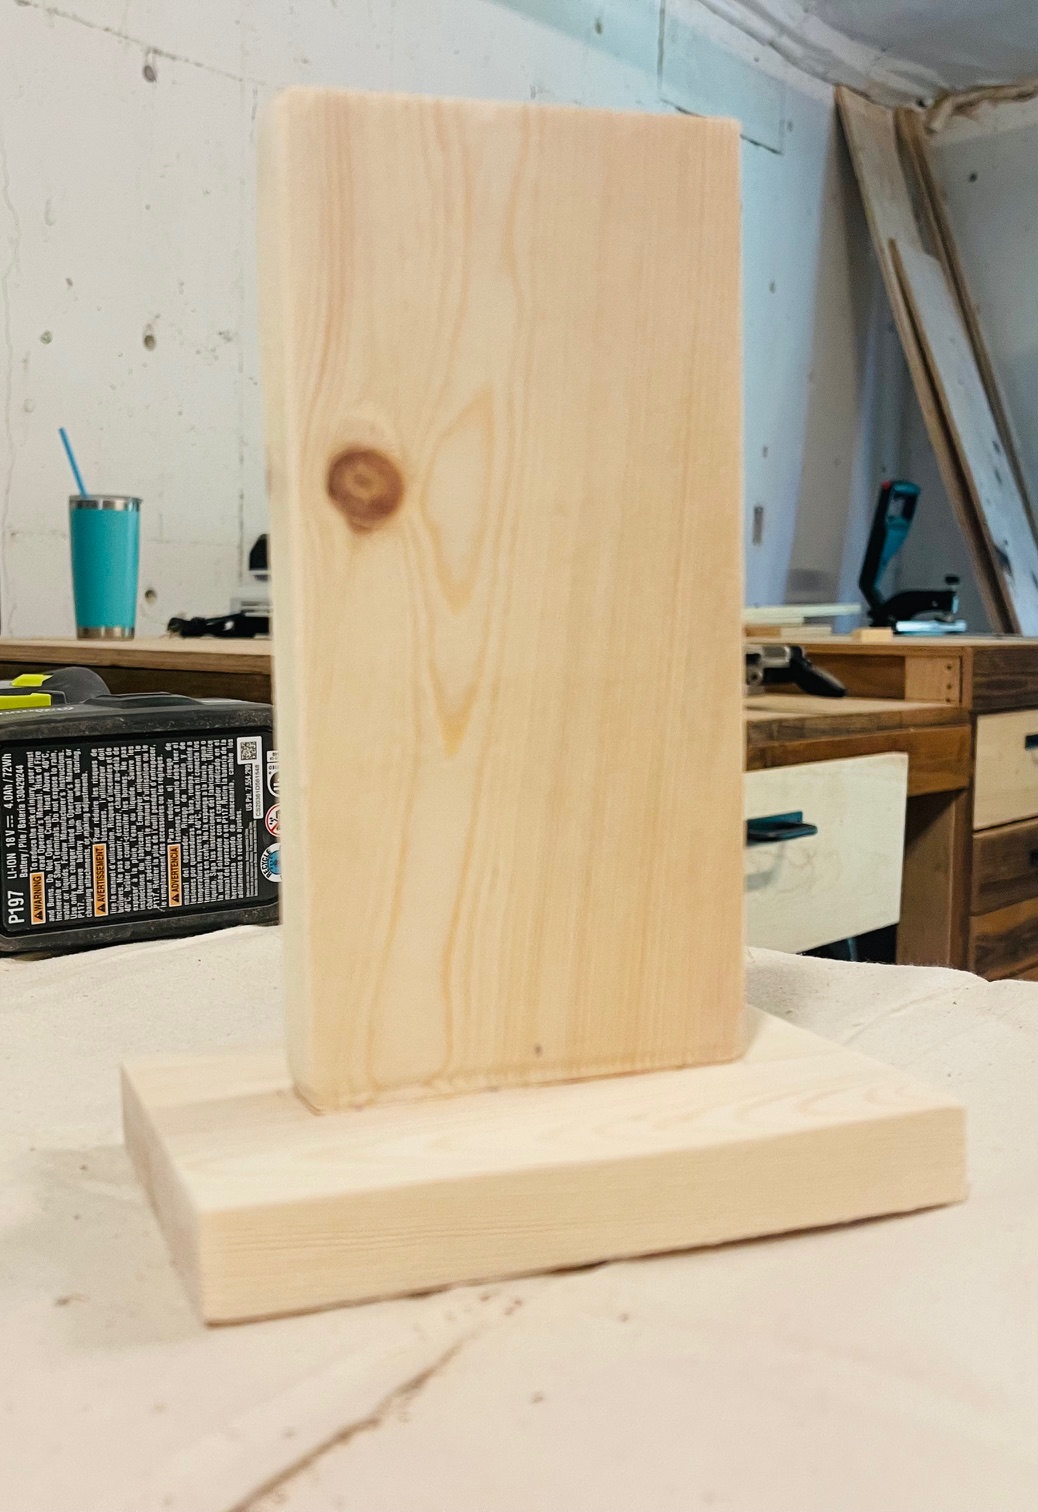
Sand pencil marks, apply the desired finish and add number.


Pin For Later! 

Wood Standing Table Numbers

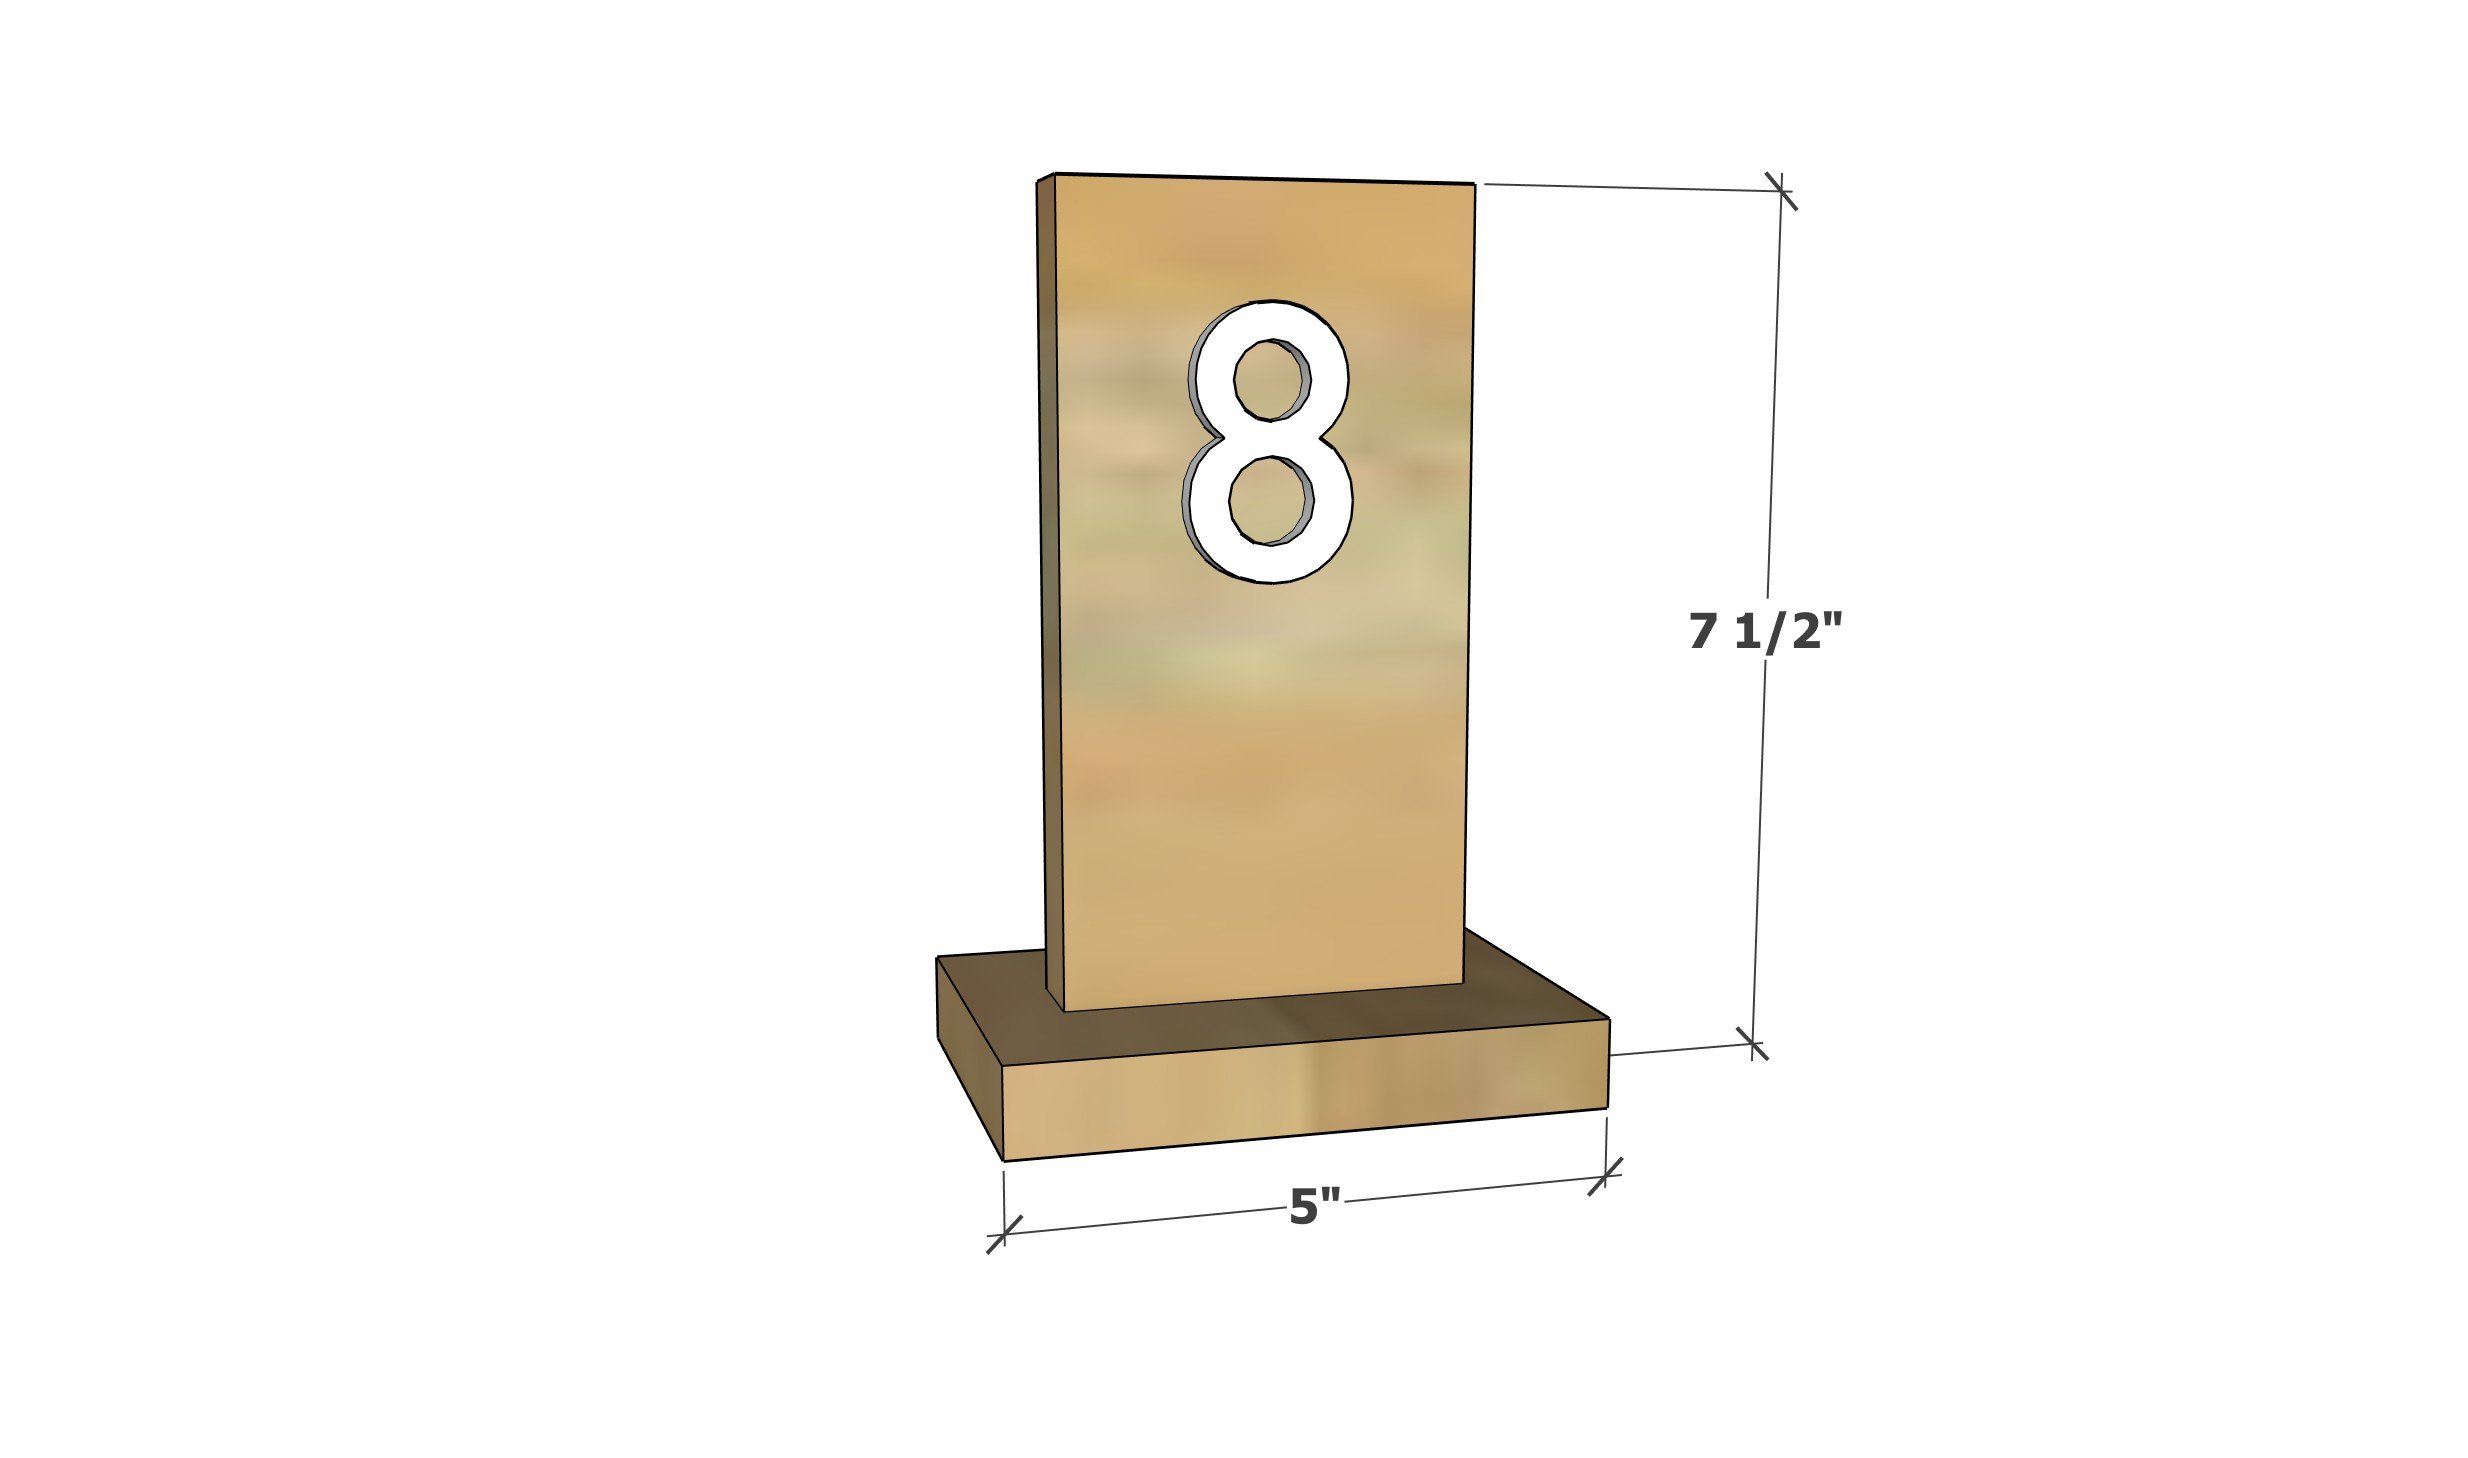
Dimensions
table number dimensions

Preparation

Shopping List

Per table number:

  • About one foot of 1x4 board (for 10 table numbers, you'll need 10 feet total of 1x4 boards)
  • 1-1/4" brad nails
  • wood glue
  • 3" numbers (can be house numbers, stencils, or cut with a cricut
  • wood stain or paint for finishing
Cut List

Per table number:

  • 1 - 1x4 @ 5" - base
  • 1 - 1x4 @ 6-3/4" - top
Tools
Tape Measure
Speed Square
Pencil
Safety Glasses
Miter Saw
Brad Nailer

Instructions

Step 1

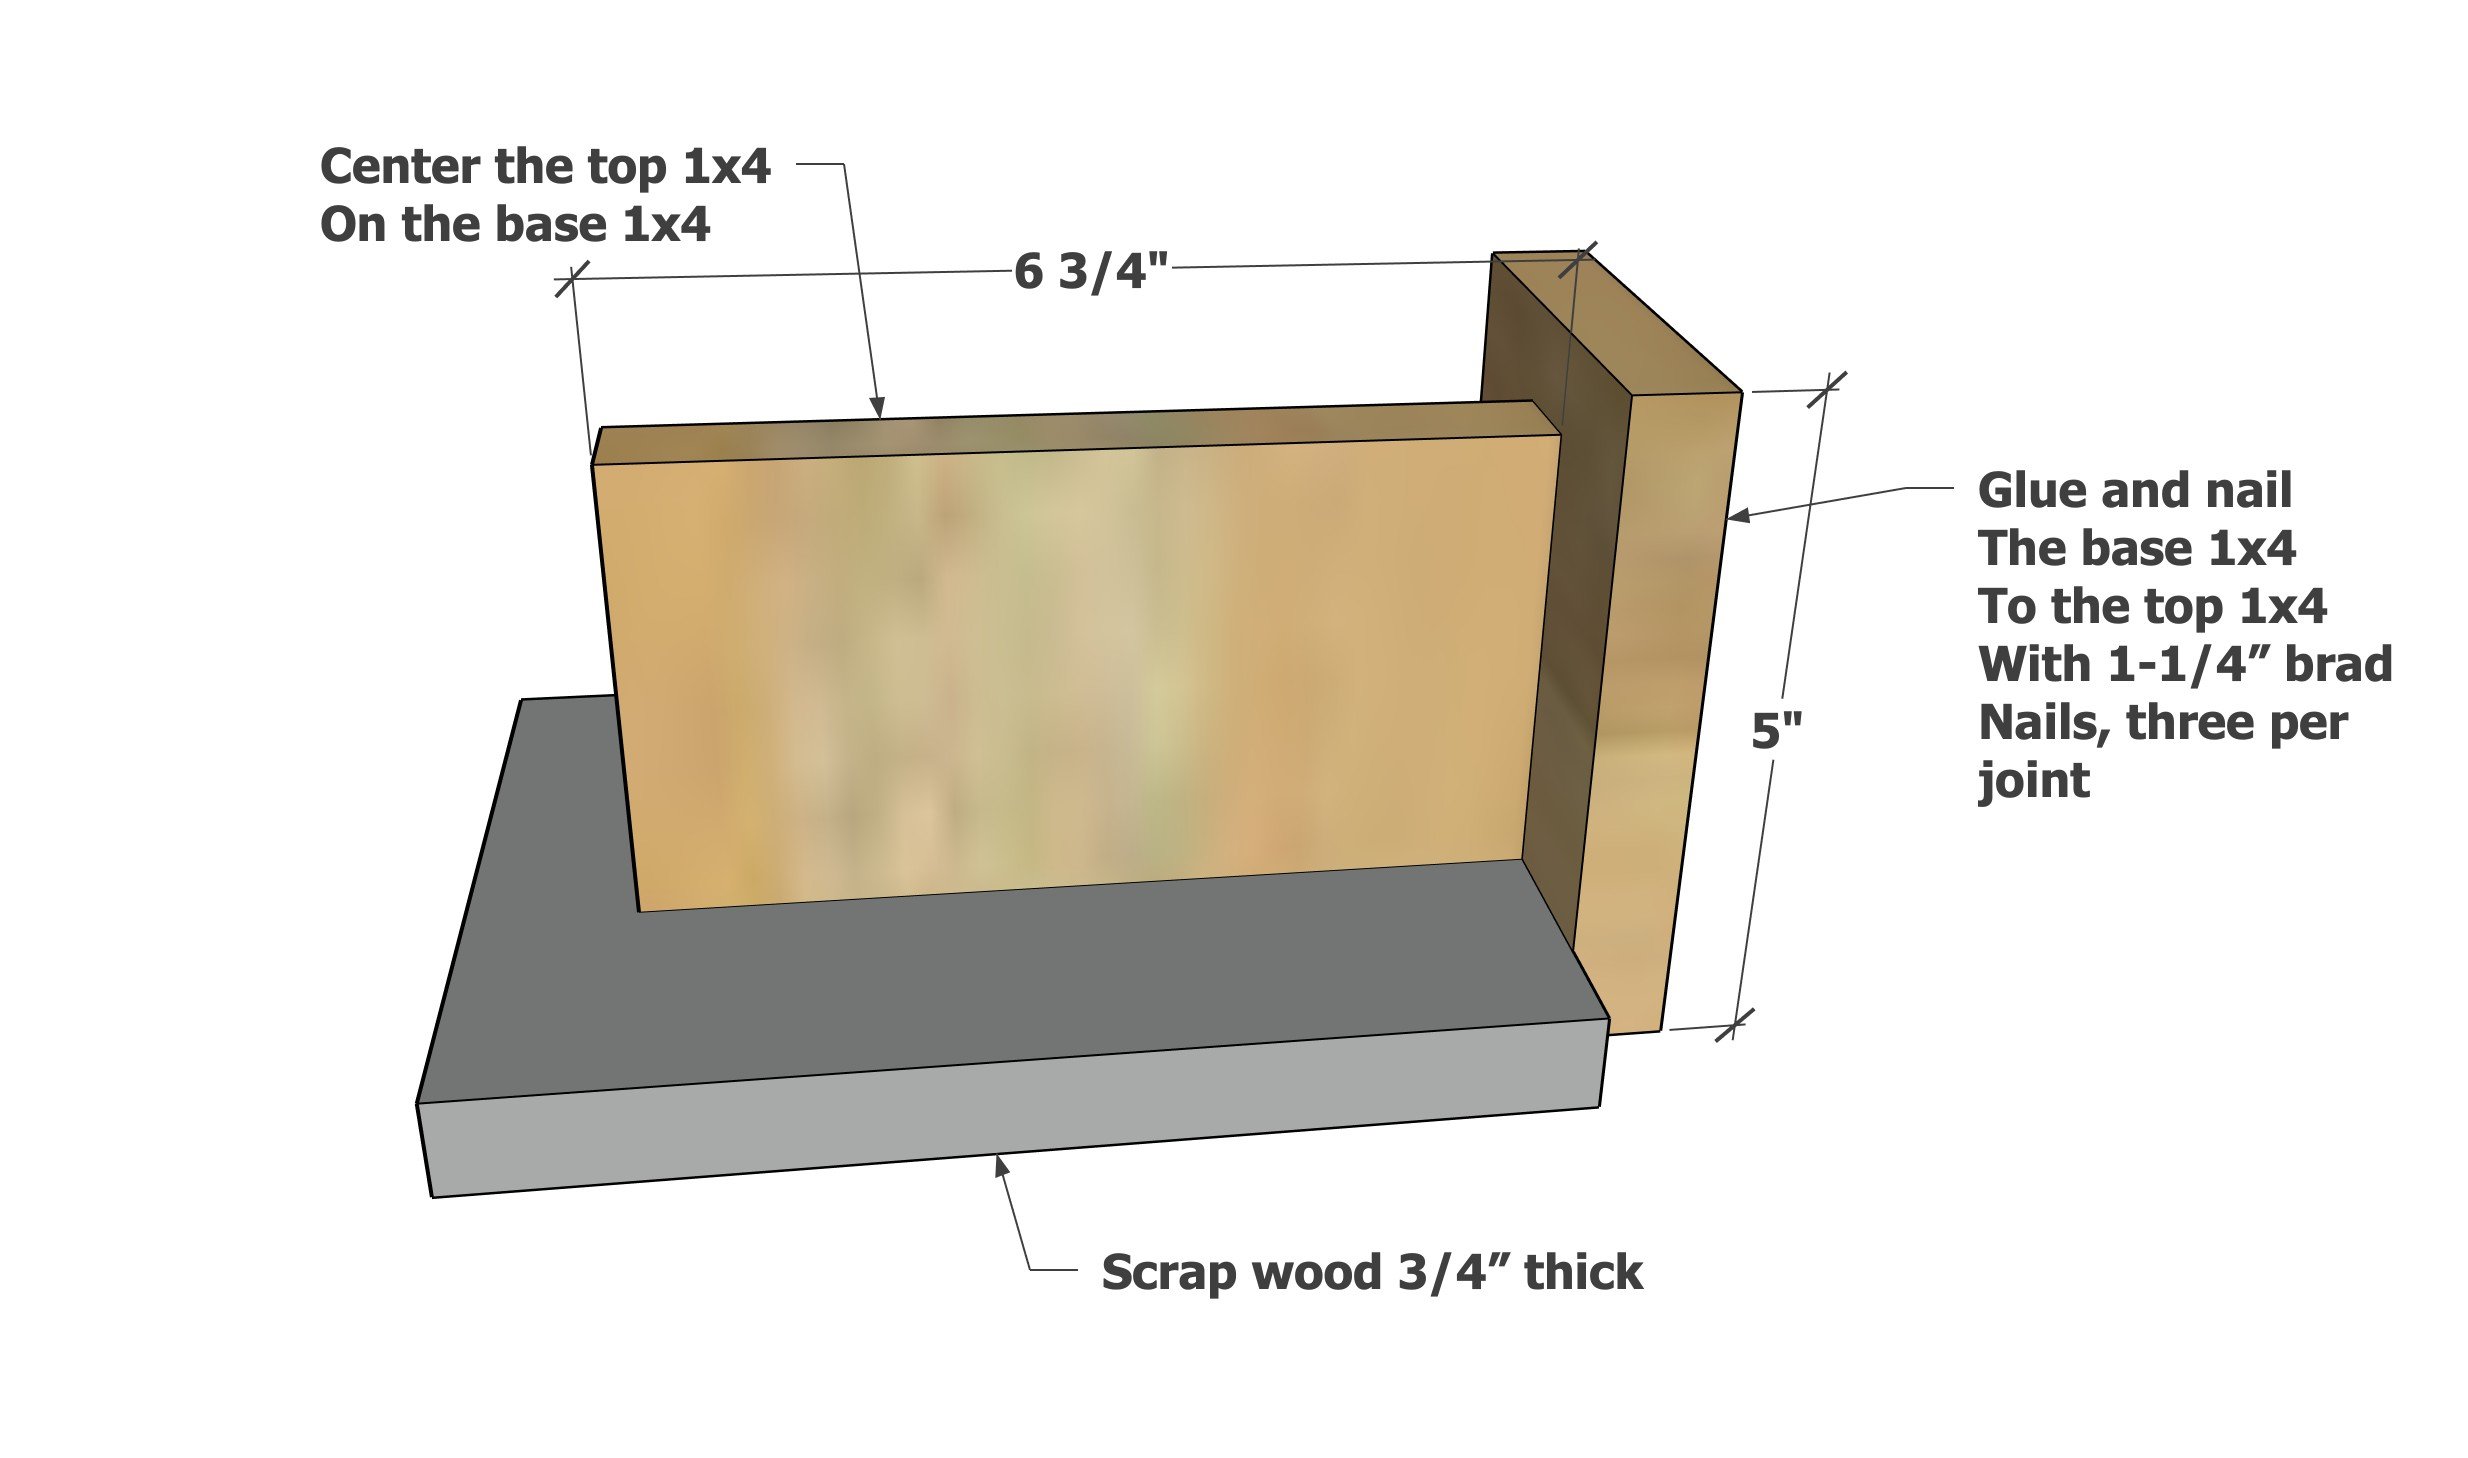
Elevate the top piece on a scrap piece of wood as shown in the diagram.

Center the top piece on the base and add glue.  Attach with three 1-1/4" brad nails.  Let dry.

Stain or paint as desired.

Add numbers with glue.

Project Type