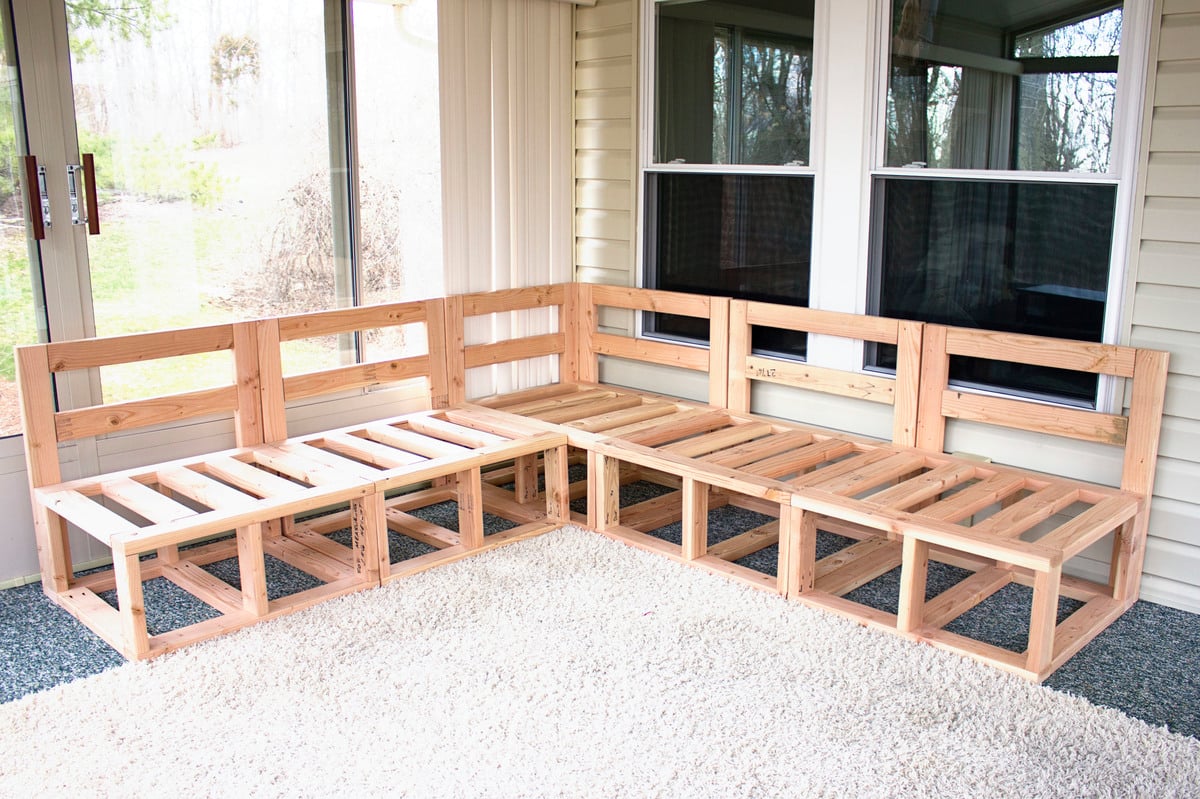
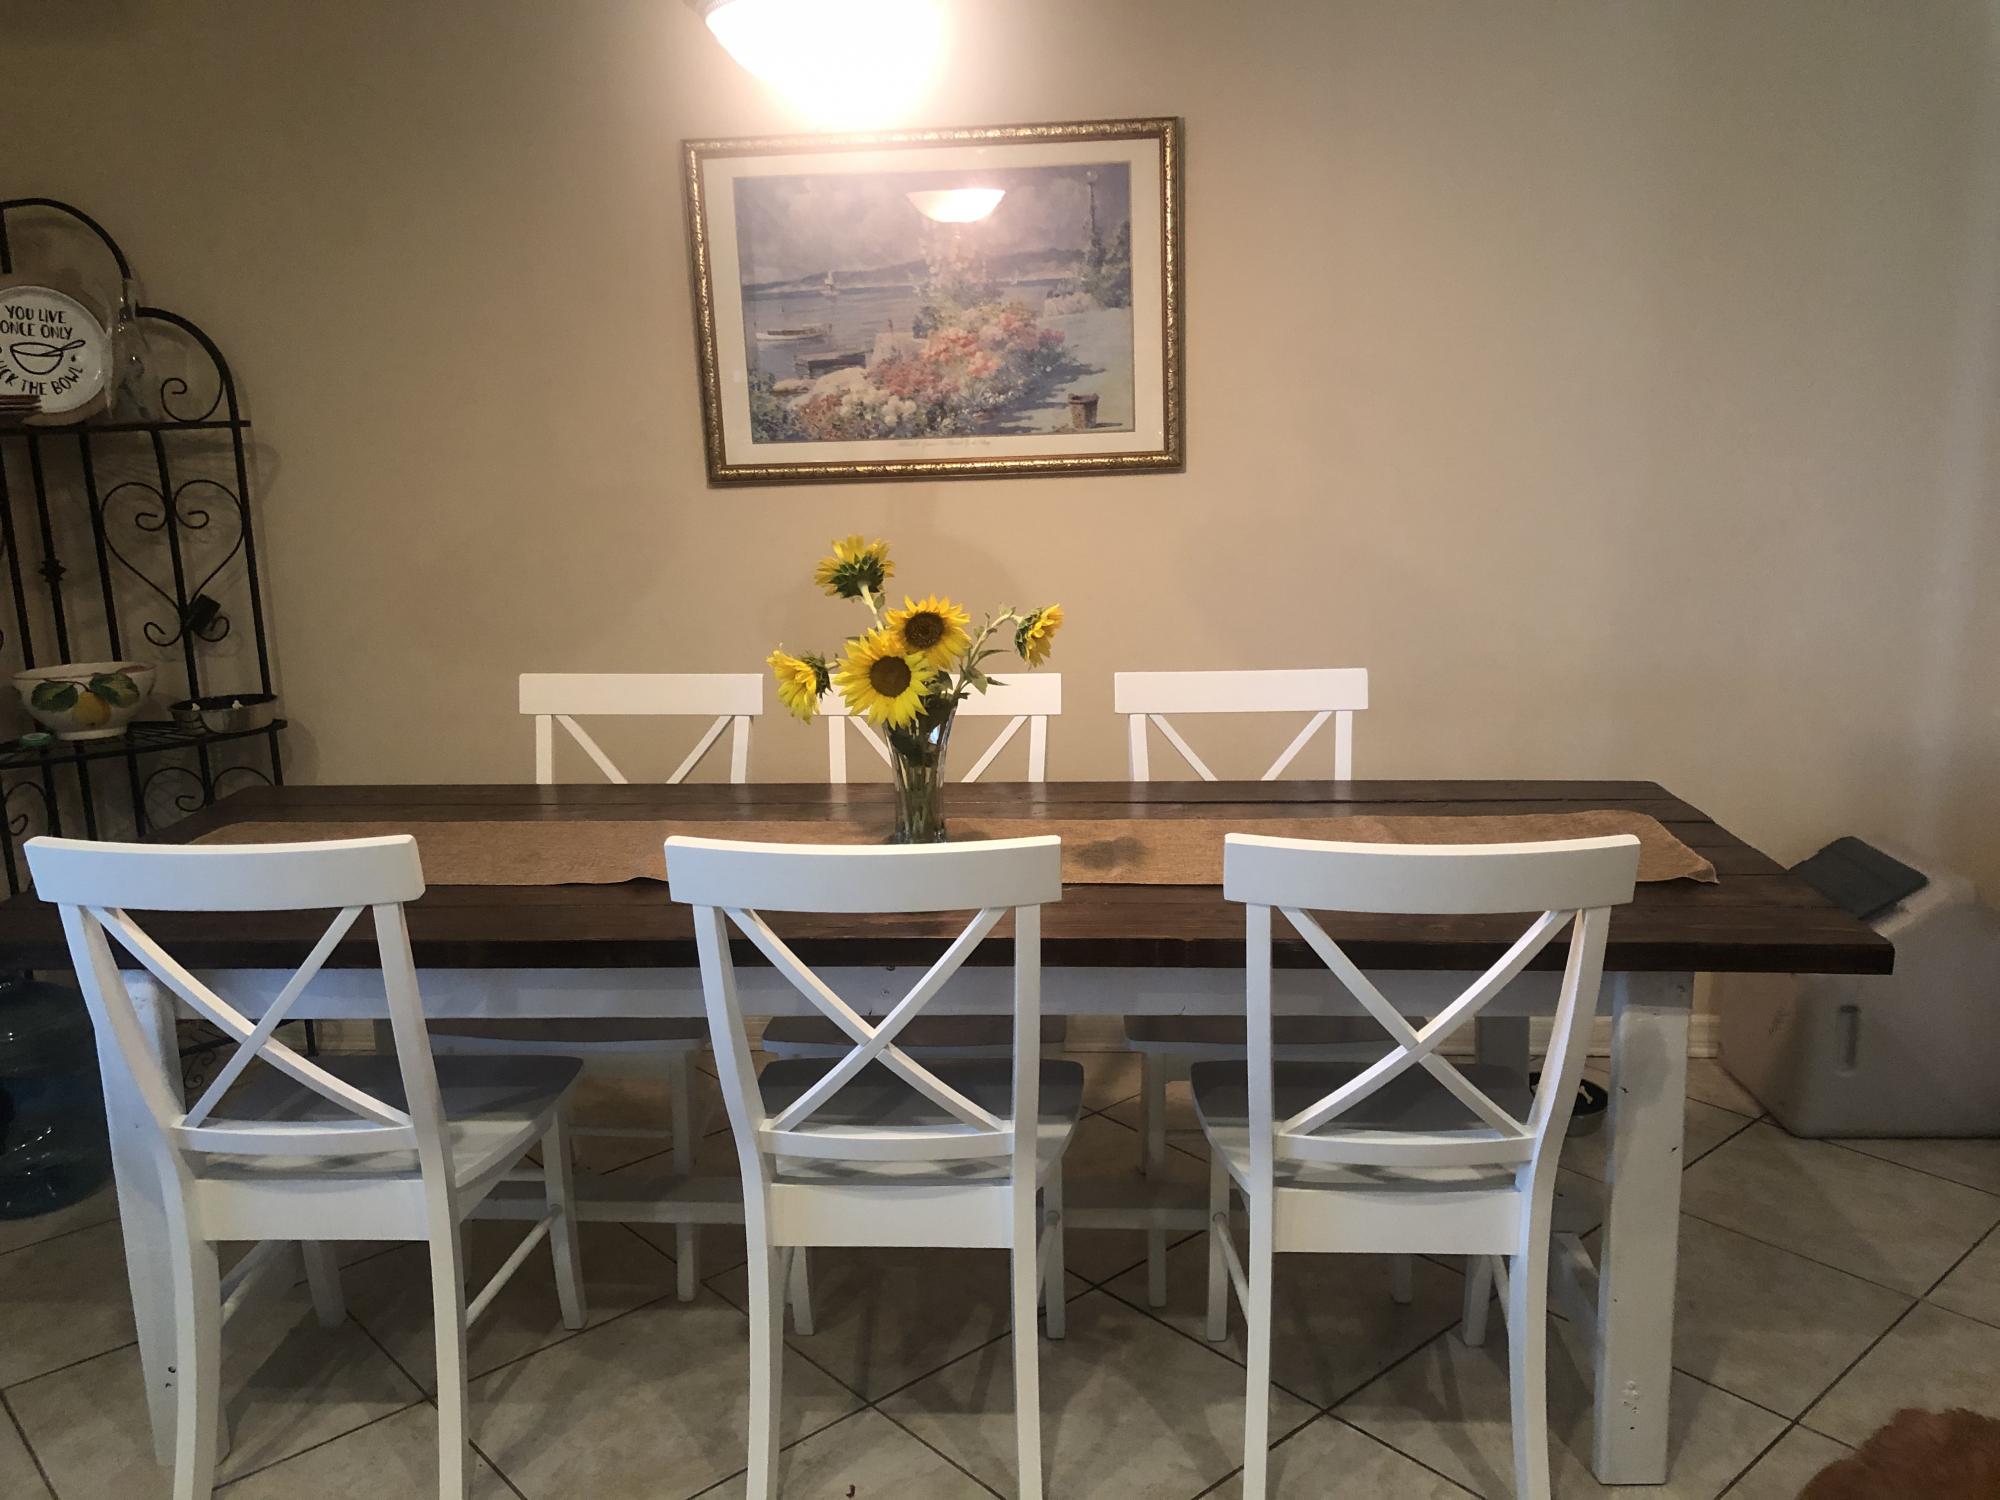
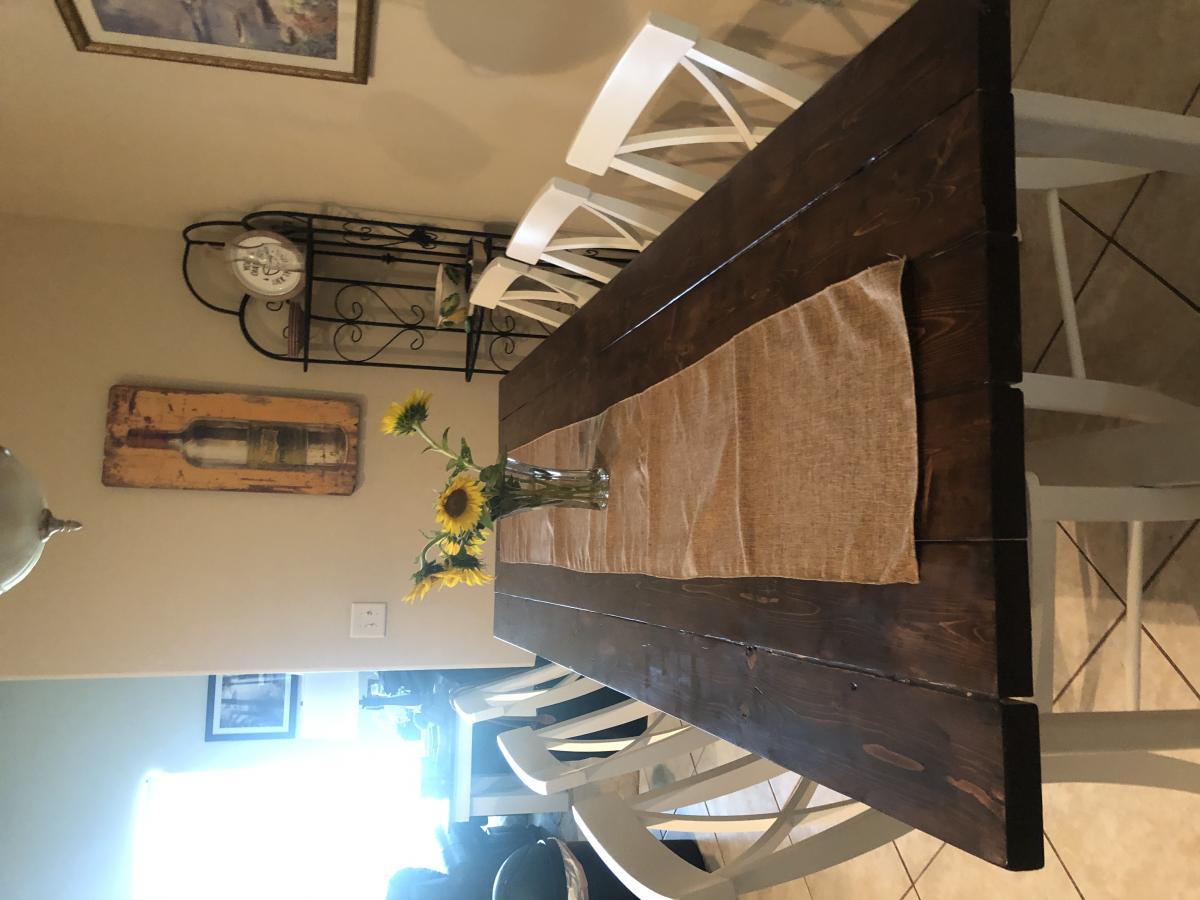
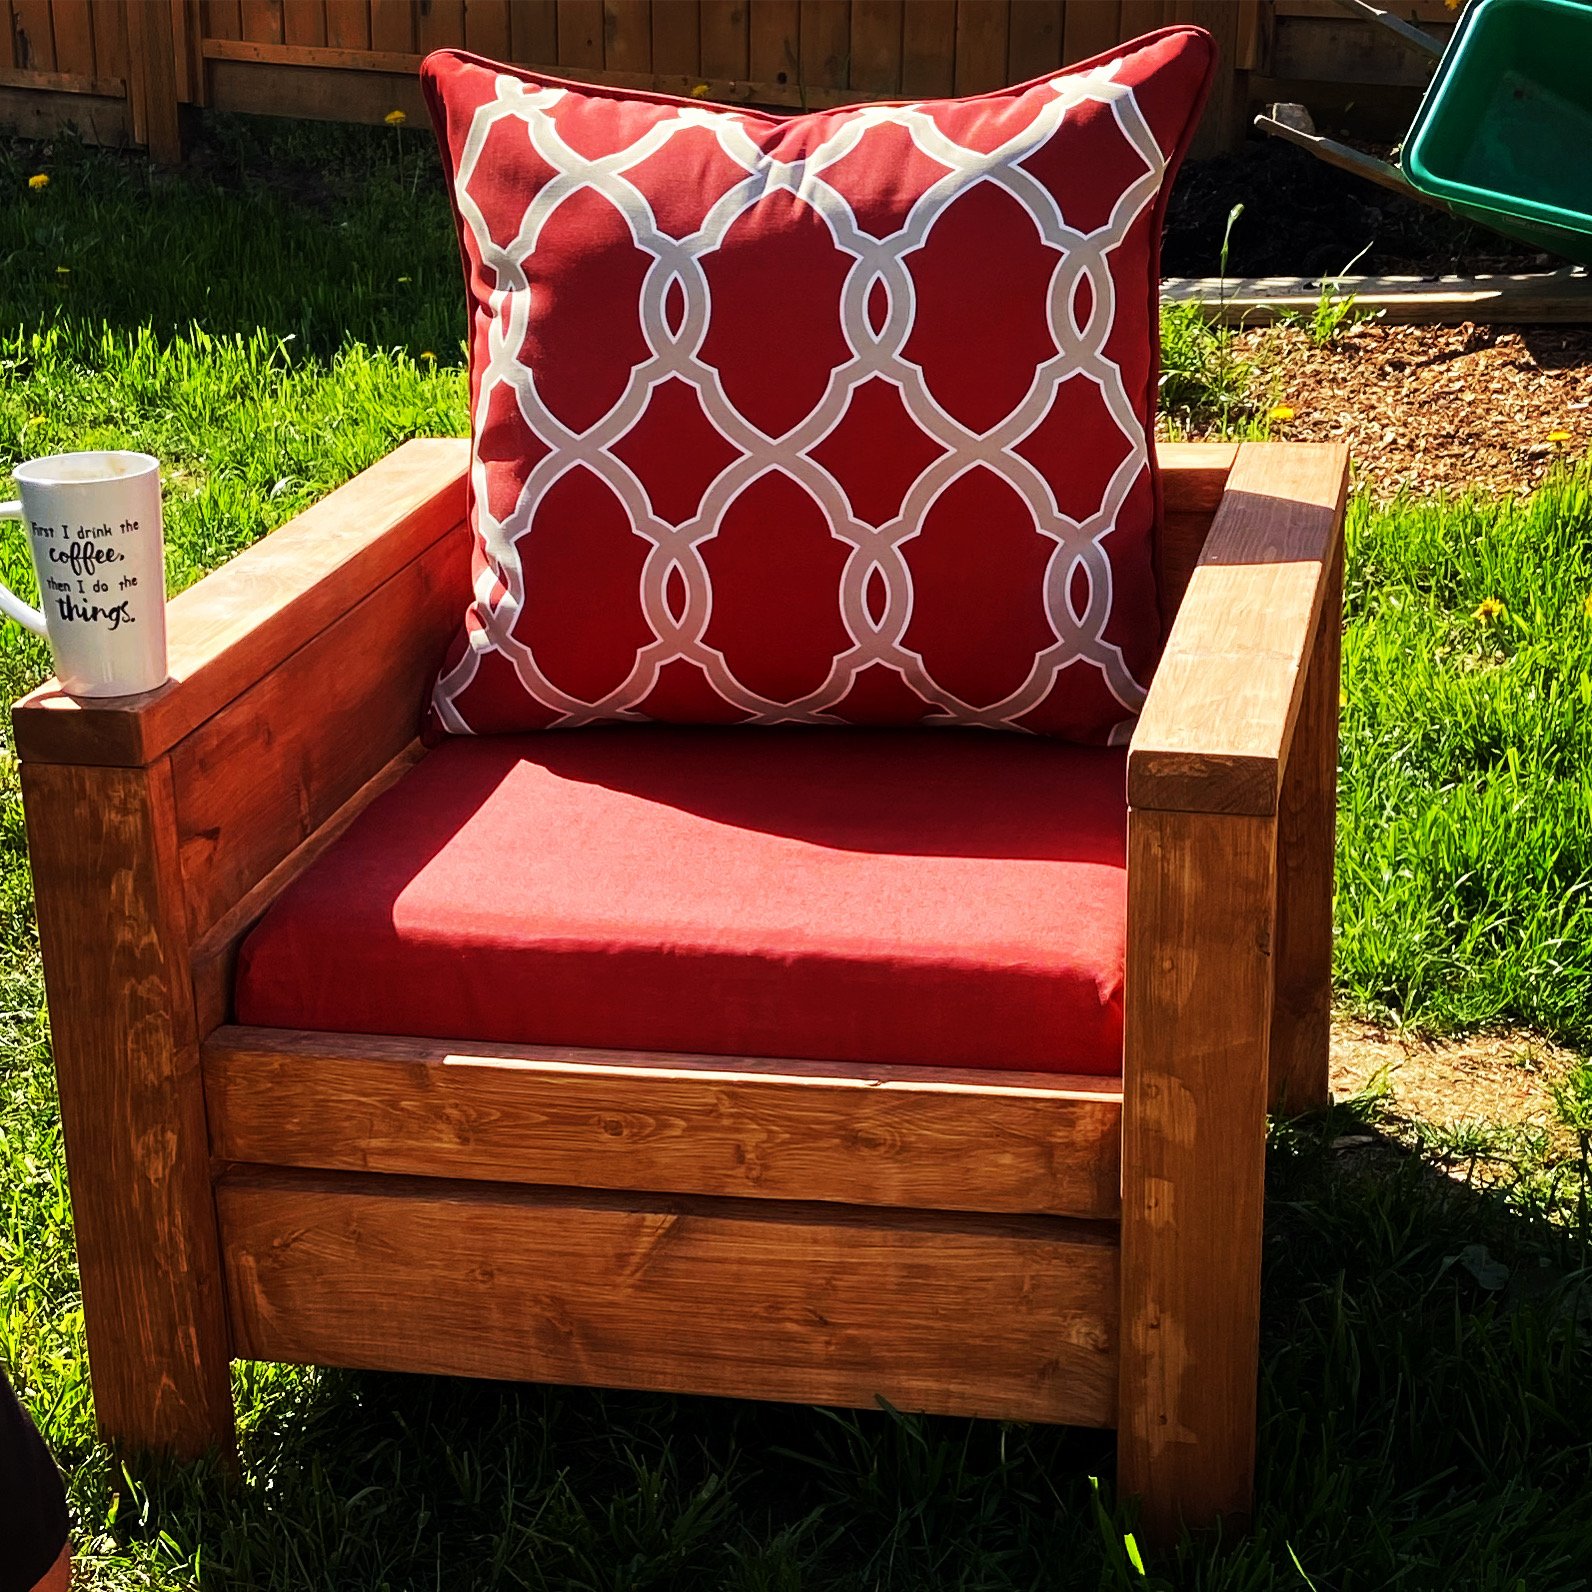
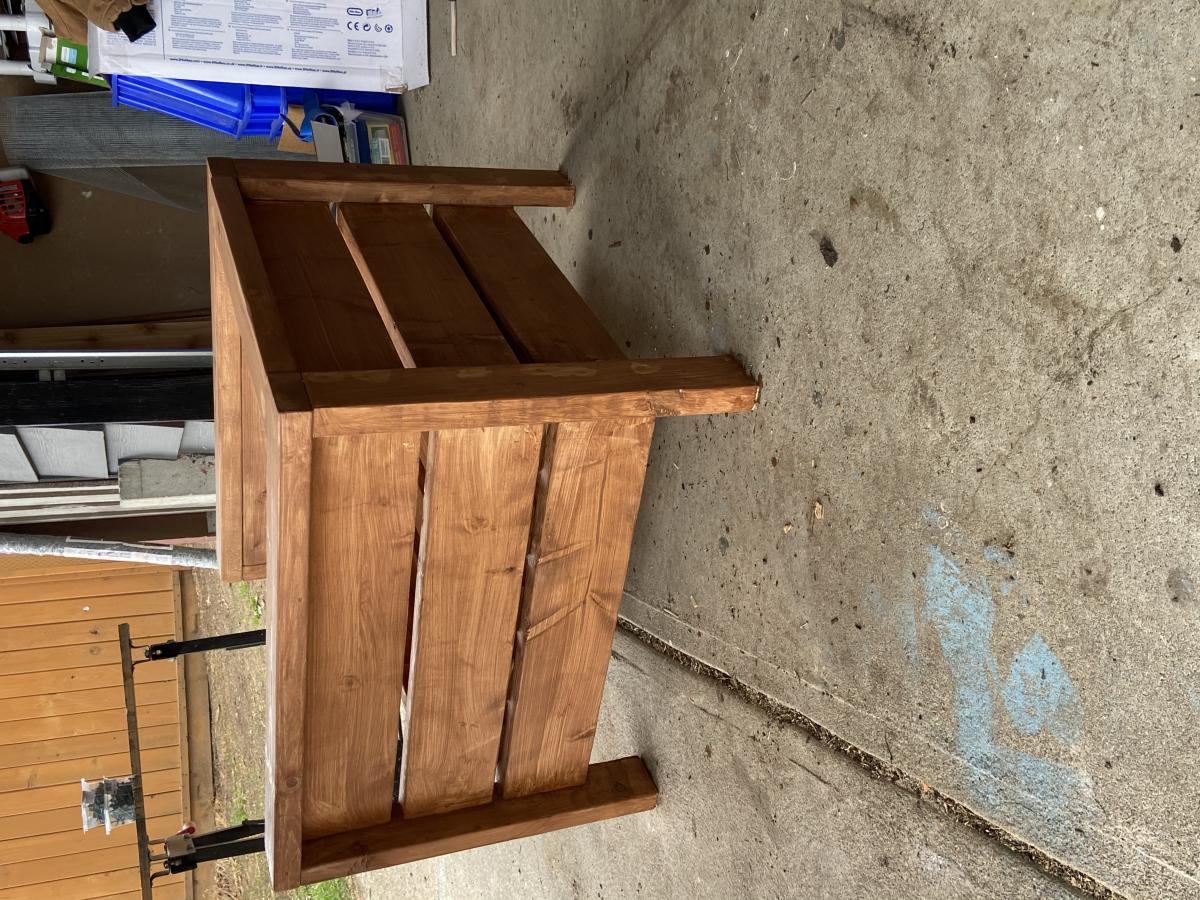
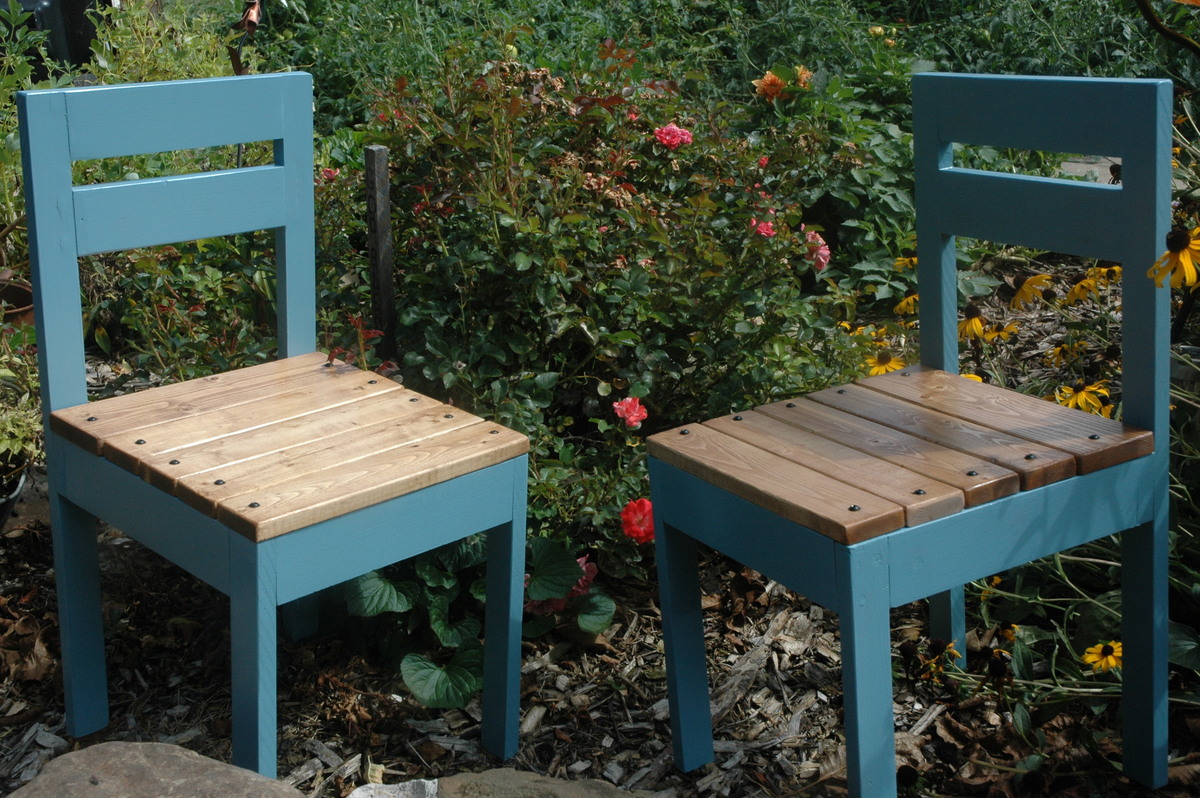
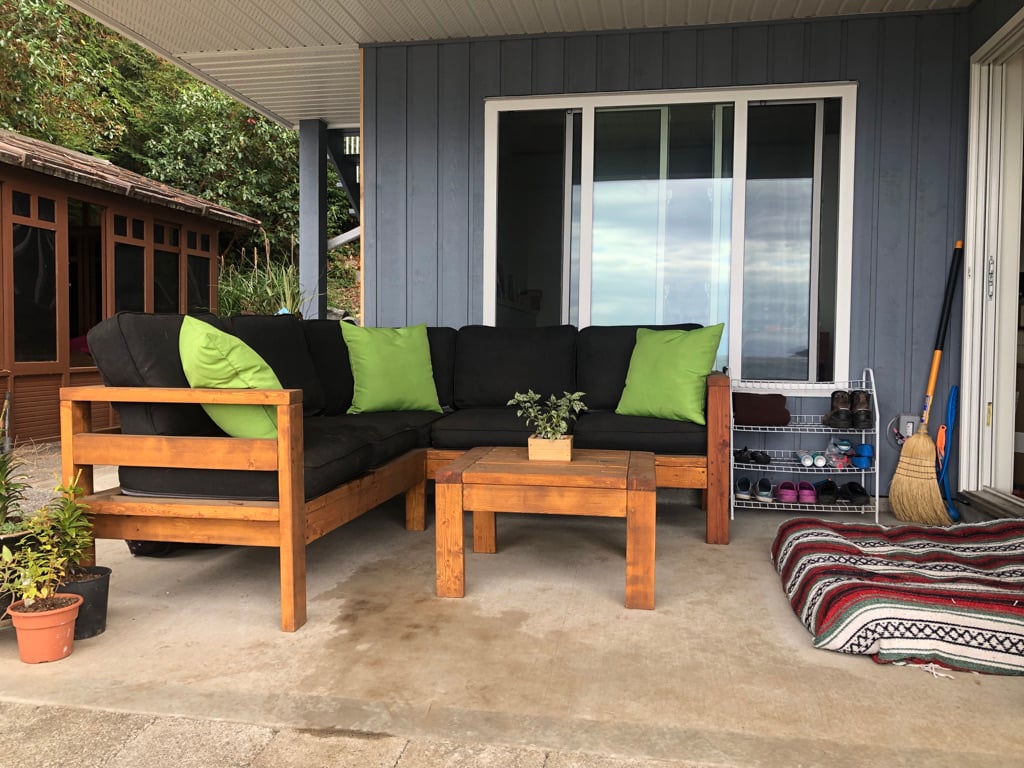
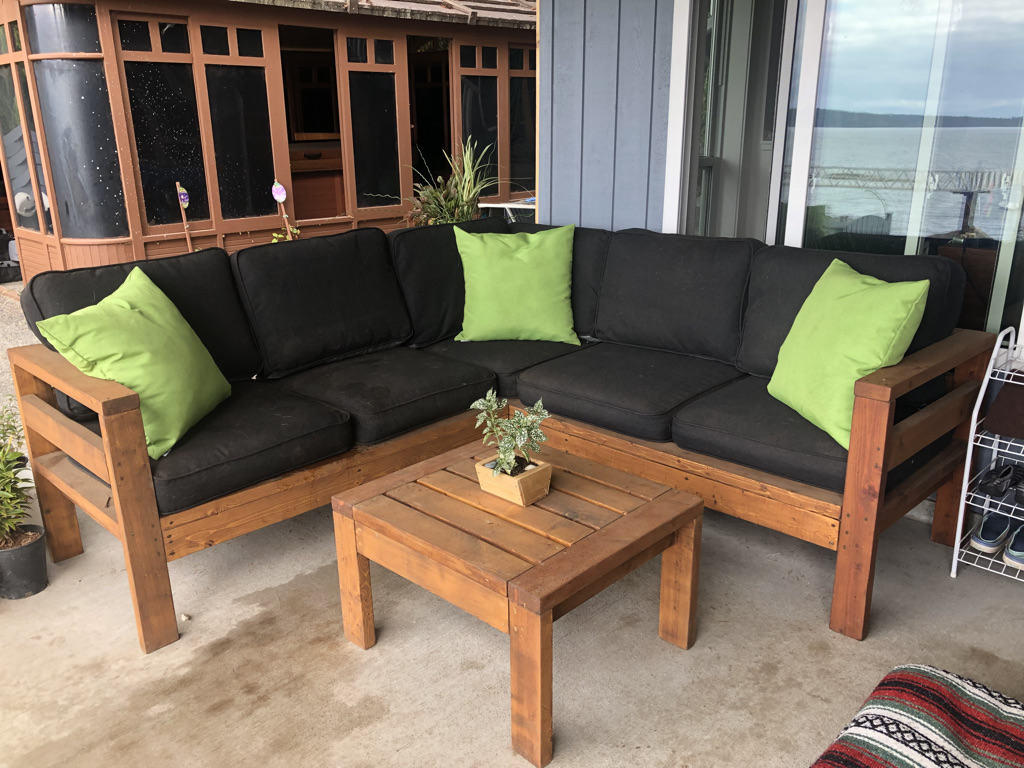
Community Brag Posts

Outdoor Sectional

Submitted by jwhipp on Thu, 04/11/2013 - 11:38

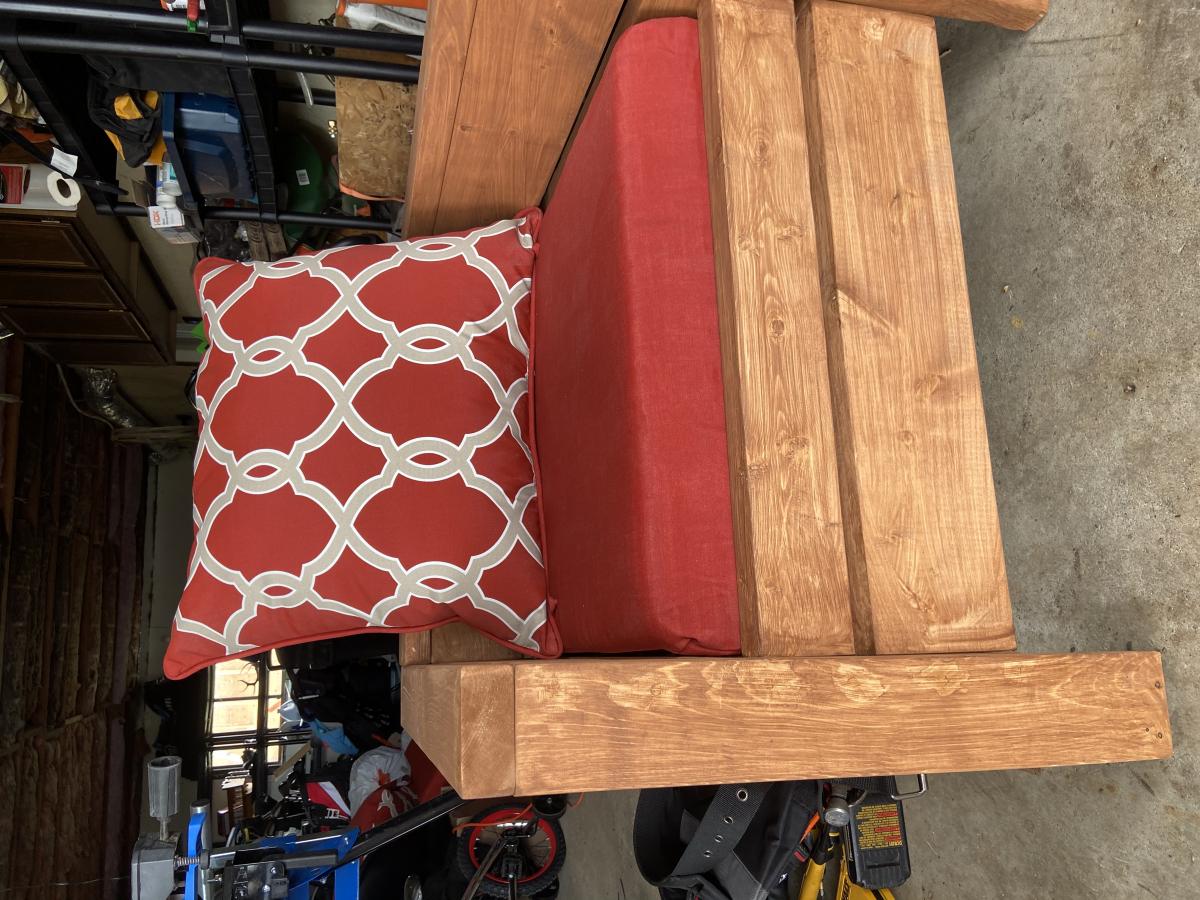
We followed the outdoor sectional plan from Ana Whites blog to create this outdoor sectional. First we bought the cushions and custom built this sectional to fit the cushions. We used 2x4's and the kreg jig for pocket screws, then covered the base in beadboard and some pine trim, gave it a good sanding and a nice paint job.

Estimated Cost
900
Estimated Time Investment
Week Long Project (20 Hours or More)
Finish Used
bead board and pine trim
Recommended Skill Level
Intermediate

Comments

Juanita_r

Thu, 04/11/2013 - 15:12

I just want to curl up there with a book and spend the day on that lounge, so pretty & inviting. where did you get the base and back cushions, they are a great colour?

jwhipp

Fri, 04/12/2013 - 05:46

Thanks! We built the frame according to Ana's design (customized dimensions for our cushions) and then covered the base in bead board and used pine trim around the edges. The cushions are from the Frontgate Outlet in Cincinnati.

Outdoor Patio Deck Chairs

Submitted by nlindauer on Tue, 05/24/2011 - 06:42

Made these chairs from plans found on the Kerig Jig website. I added the cup holders for convenience and lowered the seats by 2 inches to account for our short legs. Chairs were stained with an outdoor fence treatment that was tinted with a light grey color.

Estimated Time Investment
Day Project (6-9 Hours)
Finish Used
Olympic Maximum Solid - Grey Base
Recommended Skill Level
Beginner

Building Built In Bookshelves

I decided to build bookshelves on either side of the fireplace, where it was just drywall. I wanted them to be flush with the wall, and the garage is behind the wall. So, I built them into the garage.
I put headers above where the bookshelves would be, and framed the back side in the garage with just 2x4's. I used full sheets of bead board to cover the backs and sides, and tops. Then I bought pre made shelves and put them up using quarter round to support the shelves on all three sides.
I then bought a door frame kit that I liked, that came with fluted pieces for the sides and top with decorative squares to put at the corners. I caulked and painted it all once it was built. I used a circular saw, framing nail gun, compressor, trim nail gun, chop saw and a hammer total. It was a pretty simple project but has made the space much more useable and pretty. My next project is to build a mantle and surround that matches the bookshelves.

Estimated Cost
$200
Estimated Time Investment
Weekend Project (10-20 Hours)
Finish Used
glossy white paint, Behr Polar Bear white.
Recommended Skill Level
Intermediate

Outdoor end tables

I made these two Ana White outdoor end tables for my patio. Next up will be the matching coffee table

Built from Plan(s)

Comments

Corner Cupboard, Corner Cabinet

Submitted by Anonymous (not verified) on Fri, 04/15/2016 - 21:33

I saw the plans on Ana White website and and used them to put this together. I changed it slightly to fit my needs. I made this for my in-laws and it was a lot of fun to do. Hardest part was using blue tape on stain and paint.

Built from Plan(s)
Estimated Cost
125$ includes four cans of Rustoleum White Satin primer and paint from Home Depot, hardware, and lumber. Measure twice Cut once and all will be well.
Estimated Time Investment
Week Long Project (20 Hours or More)
Finish Used
Min wax Red Oak
Min wax satin poly
Rust oleum White Satin Paint and Primer
Recommended Skill Level
Intermediate

Farmhouse table

Submitted by AngelaJB on Fri, 05/08/2020 - 14:41

Prior to making this table I had never used a power drill in my life, and I was scared to death. I was intimidated by the power and scared to death to mess up, and in making this table I messed up A LOT! It was a big undertaking but I was determined. It’s rustic and authentic and full of mistakes and I LOVE IT!! Thank you Ana for modeling how to make such wonderful things. Up next is the raised flower bed.

Estimated Cost
$60.00
Estimated Time Investment
Day Project (6-9 Hours)
Finish Used
Dark walnut
Recommended Skill Level
Beginner

Modern Outdoor Chair

Submitted by msnook on Mon, 05/11/2020 - 09:10

This is my first project. I loved how easy it was and I loved my husband’s reaction to the completed project.

Estimated Cost
80
Estimated Time Investment
Afternoon Project (3-6 Hours)
Finish Used
Behr Semi Transparent Stain in Sable
Recommended Skill Level
Beginner

cypress providence table for screened porch

Provence table knockoff from restoration hardware (aka: providence) with 4x4s and providence benches

table modified to 90 inch length, benches to 42 inches

used lag bolts with a washer on 4x4's that show, kreg pocket screws everywhere else

note: the free-diy plans listed last have an issue with the table height. It came out 1 1/2" too high, so we made a change that I like better: we modified the table top to have a 2x4 skirt held together with kreg pocket screws that drops over the 2x4 frame above legs. we left about 3/8" gap between the skirt and framing so the framing would fit in easily. The top actually just sits on the frame so it is possible to move it in two pieces. It is so heavy and stable that we didn't worry about screwing it together.

we love it! perfect for 2 families to eat dinner together. my husband calls it Thor's table because it looks so tough.

Estimated Cost
330
Estimated Time Investment
Weekend Project (10-20 Hours)
Finish Used
I really wanted it to look old but hold up to my kids and the weather, so I used a chemical aging process followed by antiquing oil (from minwax)


Chemical aging solution is white vinegar (large plastic jug from the grocery store which cost $1.87) with a ball of steel wool shoved in it. Let it react for a couple days. Then drench the wood surface while you wear gloves (use paintbrush, roller, toothbrush or best: a sponge). It makes rust spots, so use a drop cloth and wear old clothes. The color shows up in a few minutes. Kind of like magic paint :) next day oiled it, one coat everywhere except table top which got 2 coats. rubbed surface with a cloth a few minutes after applying oil. Think linseed oil would work just a well.

It came out dark and old looking, kind of a grey/brown color with nice wood color showing through. The table top has beautiful knots. Our porch will get a little wet in blowing storms plus direct sun for a few hours each day, so I didn't want to put wax on it (would melt) or a stain (would make rings from water if sealer failed). Think we might have to reapply oil every couple years which is no big deal. The cypress should hold up nicely outside. So far it has not made any spots or rings since the surface is already pre-damaged with the aging solution. I don't think you can hurt this beast of a table.
Recommended Skill Level
Intermediate

Comments

spiceylg

Thu, 07/05/2012 - 11:35

This is gorgeous! I definitely prefer the chunkier leg you used and love the hardware showing as well. That was smart the way you made the top for easier moving, too. Great job! I think you should have added the link for the plans, this way your picture will always show up above the plans in order for everybody to see it each time. :)

Swing Slide Playset for Grandson

Submitted by shellyward on Wed, 05/20/2020 - 09:22

We are used to seeing our grandson every weekend but during the 2020 COVID quarantine we were unable to do so. Instead, we filled our time building him a swing set for our backyard. He loved it!! We are going to add more to the swing side but the hardware I want isn't available right now (apparently there is a lot of swing set building going on during this time). I look forward to many years of playing on this with our grandson and hopefully additional grandkids in the future... Our cost was pretty high mainly because our first round of lumber came from a local lumberyard that was willing to deliver within a few days (big box was going to take several weeks) and they had what is supposed to be higher end lumber (not sure I am convinced of that)....also, i chose some pretty expensive hardware (brackets) just for the added security.....

Estimated Cost
1800-2000
Estimated Time Investment
Week Long Project (20 Hours or More)
Finish Used
not done yet but will be staining/sealing when the wood is ready
Recommended Skill Level
Intermediate

Comments

Seasonal And Holiday

Kids' Trestle Play Table and Four Dollar Chairs

I wanted an inexpensive but wonderful gift for a special co-worker who is having her first baby after many years of trying and painful medical treatments. I loved this PB inspired trestle table and thought the plans looked like something I could handle. Paired with the four-dollar chairs, I felt this would be a winner. I had a few burps along the way with the table project....there's a paint stick glued to the bottom of one of the legs as a shim....have no idea how that leg ended up shorter. There's also a countersink drill bit inside the table somewhere, broke right off in there! My biggest challenge with the table was the stain. I have never used the all-in-one stain before and have to say, it is a tough product to work with. It is hard to do with a brush. I brushed on my first coat and wasn't happy at all. Sanding away mistakes is an ordeal because the poly in the product hardens everything up so quickly. I really had trouble here and am still not happy with how the stain turned out....I wish I had applied the first coat with a cloth, as I did all the other coats because there is so much more control than with a brush. If I use this product again (which I probably will), I would only apply with a cloth. The chairs were a breeze, however, you may notice that my back legs are on the wrong spot....that was a mistake I made with the first chair. Since I used glue before screwing, I couldn't undo it. So I just made the second chair the same way....no big deal, but they are NOT stackable this way. I tried to use firring strips, but they were splitting like crazy, so I just used them for the seat slats and used regualar boards for the rest. The other thing I did differently was that I didn't countersink my screws on the seat boards. I painted my pocket hole screws black and let them show. This way, if my friend ever wants to change the color of the chairs, she can easily unscrew them, paint the chair and screw them back on. This was a fun and "just challenging enough" project. The table was my second build and the chairs are my third. Each project has taught me a ton!

Estimated Cost
$50.00
Estimated Time Investment
Weekend Project (10-20 Hours)
Finish Used
Min-Wax All in One Stain with Poly in Antique Walnut for table and chair seats - 3 coats for table top and two coats on everything else.
Benjamin Moore's Niagara Falls in eggshell finish for chair body.
Recommended Skill Level
Beginner

Round Farmhouse Coffee Table

Submitted by Anonymous (not verified) on Mon, 12/07/2020 - 17:22

Here is Ana White’s round farmhouse table miniaturized into a coffee table measuring 18” in height and 36” in diameter using hardwood Ash.

The table top construction was slightly simplified by screwing six (1.5” x 6” x 36”) panels together. The circular saw jig setup worked out well.

A Kreg jig and a variety of clamps were instrumental in securing clean, tight joints for the base.

Thanks for the inspiration and useful tips on your site!

Built from Plan(s)
Estimated Cost
$250
Estimated Time Investment
Weekend Project (10-20 Hours)
Finish Used
Top: Varathane Premium Wood Stain - Kona / Rust-oleum Polyurethane Satin Interior

Base/Legs: Behr Ultra Pure White (7750) Interior Satin Enamel
Recommended Skill Level
Intermediate

Comments

Router Table

Submitted by benbutler on Sun, 04/21/2013 - 10:51

My wife has been asking for new dressers for the boy's room for a while now but every time we go out shopping for them I am very disappointed in the quality of what is available. So I decided to make them myself. I have not made any furniture before and needed a few tools to help me out and thought what better way to get both the practice and the tools then build my own router table.

I searched the web for plans and found these great ones. I loved these plans but wanted to make a couple of changes anyway. I decide to build the table top as well as the cabinet and decided to make it a little taller to fit me better. Due to the changes and making the table top it took me 2 days to finish, 1 day for the cabinet and 1 for the top and to put it all together. (Not having used a router before it took me a while to get the template just right to cut in the insert.)

It works great and looks great in my shop. Now on to the dressers.

Built from Plan(s)
Estimated Cost
350 with the router
Estimated Time Investment
Weekend Project (10-20 Hours)
Finish Used
none
Recommended Skill Level
Beginner

Comments

Modified 2x4 Outdoor Sofa, Sectional, and Coffee Table

Submitted by SofiaTaz on Mon, 08/30/2021 - 12:40

My daughter and I built this out of the old framing that was pulled out of the house (fir) and some leftover wood from a friend's house build a few years back. If the cushions are lifted up you will see the old electrical wire holes! I shortened the set by one seat so it would fit the patio space. The cushions are from Ikea and fit perfectly. I also modified the coffee table so it was the similar proportion to the full sized set. Thanks for the very approachable plans Ana! Excuse the water all over the area in the pics. We have water dogs and they seem to like the sectional too!

Comments

Our Greenhouse:)

Submitted by lmckinney on Thu, 06/06/2013 - 19:43

Your plans made this project so much easier. We love it and have gotten a lot of compliments for it.

Estimated Cost
1000.00
Recommended Skill Level
Intermediate

Comments

Joni

Fri, 06/07/2013 - 12:42

This is amazing! All of your finishing touches make this really special. I love every detail.

Kirsten.dehart

Sun, 05/01/2016 - 17:43

Do the gable style roofs and greenhouse panels hold up in a climate for heavy snow loads??


Thanks!

Sandbox (plus stage and puppet theatre)

I started with the original plans for the sandbox with the benches, and then just sort of took off with the modifications.

When it's open, it's a 4'x6' sandbox with a bench on one side and a canopy overhead. When it's closed, it's a stage complete with curtains, or can also convert into a puppet theatre.

I had to make several adjustments to the original plan to allow for enough support for the stage to be walked (and danced) on, including an extra armrest in the bench, and a few blocks built up from the base of the sand area. I also used 1x6 boards for the top instead of 1x4, to cover the entire 4' with only the one bench.

Thanks so much for the plans, my girls love it! (and thanks to KnittingEmily for posting the plans for the 6' sandbox, which gave me a jumping off point for the sizing I used.)

The story of how I built it can be found here:
http://www.thislemonyogurt.com/a-box-of-sand/

Built from Plan(s)
Estimated Time Investment
Weekend Project (10-20 Hours)
Recommended Skill Level
Beginner

Comments

Lasso the Moon

Fri, 06/28/2013 - 07:51

Oh, this must seem magical to those little ones. It looks like so much fun. Great job!
Anna

Cedar Planter Boxes

Submitted by KaityJene on Wed, 07/17/2013 - 19:59

They were simple to make and the plan was easy to follow. The only modification I made was adding the 1x3 topper in place of the longer legs sticking out of the top.

Built from Plan(s)
Estimated Cost
$23
Estimated Time Investment
Day Project (6-9 Hours)
Finish Used
Thompson's Water Seal which I just brushed on using a cheap paint brush.
Recommended Skill Level
Beginner

Comments

Debi G

Fri, 07/19/2013 - 06:36

Adding these to my to-do list for spring (yes, I plan ahead). I'm thinking of elevating and elongating them to fit around a bay window.

Laundry bins

Submitted by wy2ak on Mon, 05/07/2018 - 19:57

This was a build from a picture and made to fit into a space we have in the laundry room. Used the Kreg jig for much of it. 

Estimated Time Investment
Week Long Project (20 Hours or More)
Finish Used
Will be painted and distressed
Recommended Skill Level
Intermediate

Comments

Back to school desk

Submitted by bhoppy on Sun, 08/25/2013 - 09:09

I made this for my 6 year old who just started the first grade. The only modification I made to the plans was to make a couple cutouts in the hutch for cords. I also added cork which comes in a 24 by 48 inch roll.. I ordered all the hardware from the same place that Jaime from That's my Letter suggested in her build post. This was my first drawer and it was intimidating but it was fairly easy and cute as it can be:-) The plans were very easy to follow! I got the idea for the peg board organizer from the Shanty 2 Chic website. It's just 1x4 frame around the pegboard. The chair was a craigslist find I painted and made a cushion for with some foam and cute fabric. I'm really happy with how it turned out and look forward to the day when my daughter will actually use it. LOL

Estimated Cost
100$
Estimated Time Investment
Weekend Project (10-20 Hours)
Finish Used
The paint is Olympic satin white with the primer already in it but I also used Kilz oil based primer since the wood was bare. I really thought it made a huge difference. The tealish color is actually just oops paint from Lowes I already had. I used 3 coats of satin Polycrylic on the top.
Recommended Skill Level
Intermediate

Comments

Black and White Beam Table

Submitted by Landers15 on Tue, 01/15/2019 - 12:38

I have to shorten the design up a bit to fit my dinning room. I also did Epoxy Resin on top to give it the glass like appearance.


So ebony stain on white pedistole with an Epoxy Resin finish.


Built from Plan(s)
Estimated Cost
Lumber $80
Stain/paint/aprasives $30
1 gal Epoxy Resin $80
Estimated Time Investment
Week Long Project (20 Hours or More)
Finish Used
White paint, ebony stain,and an Epoxy Resin Finish, which took 5 days alone.
Recommended Skill Level
Intermediate