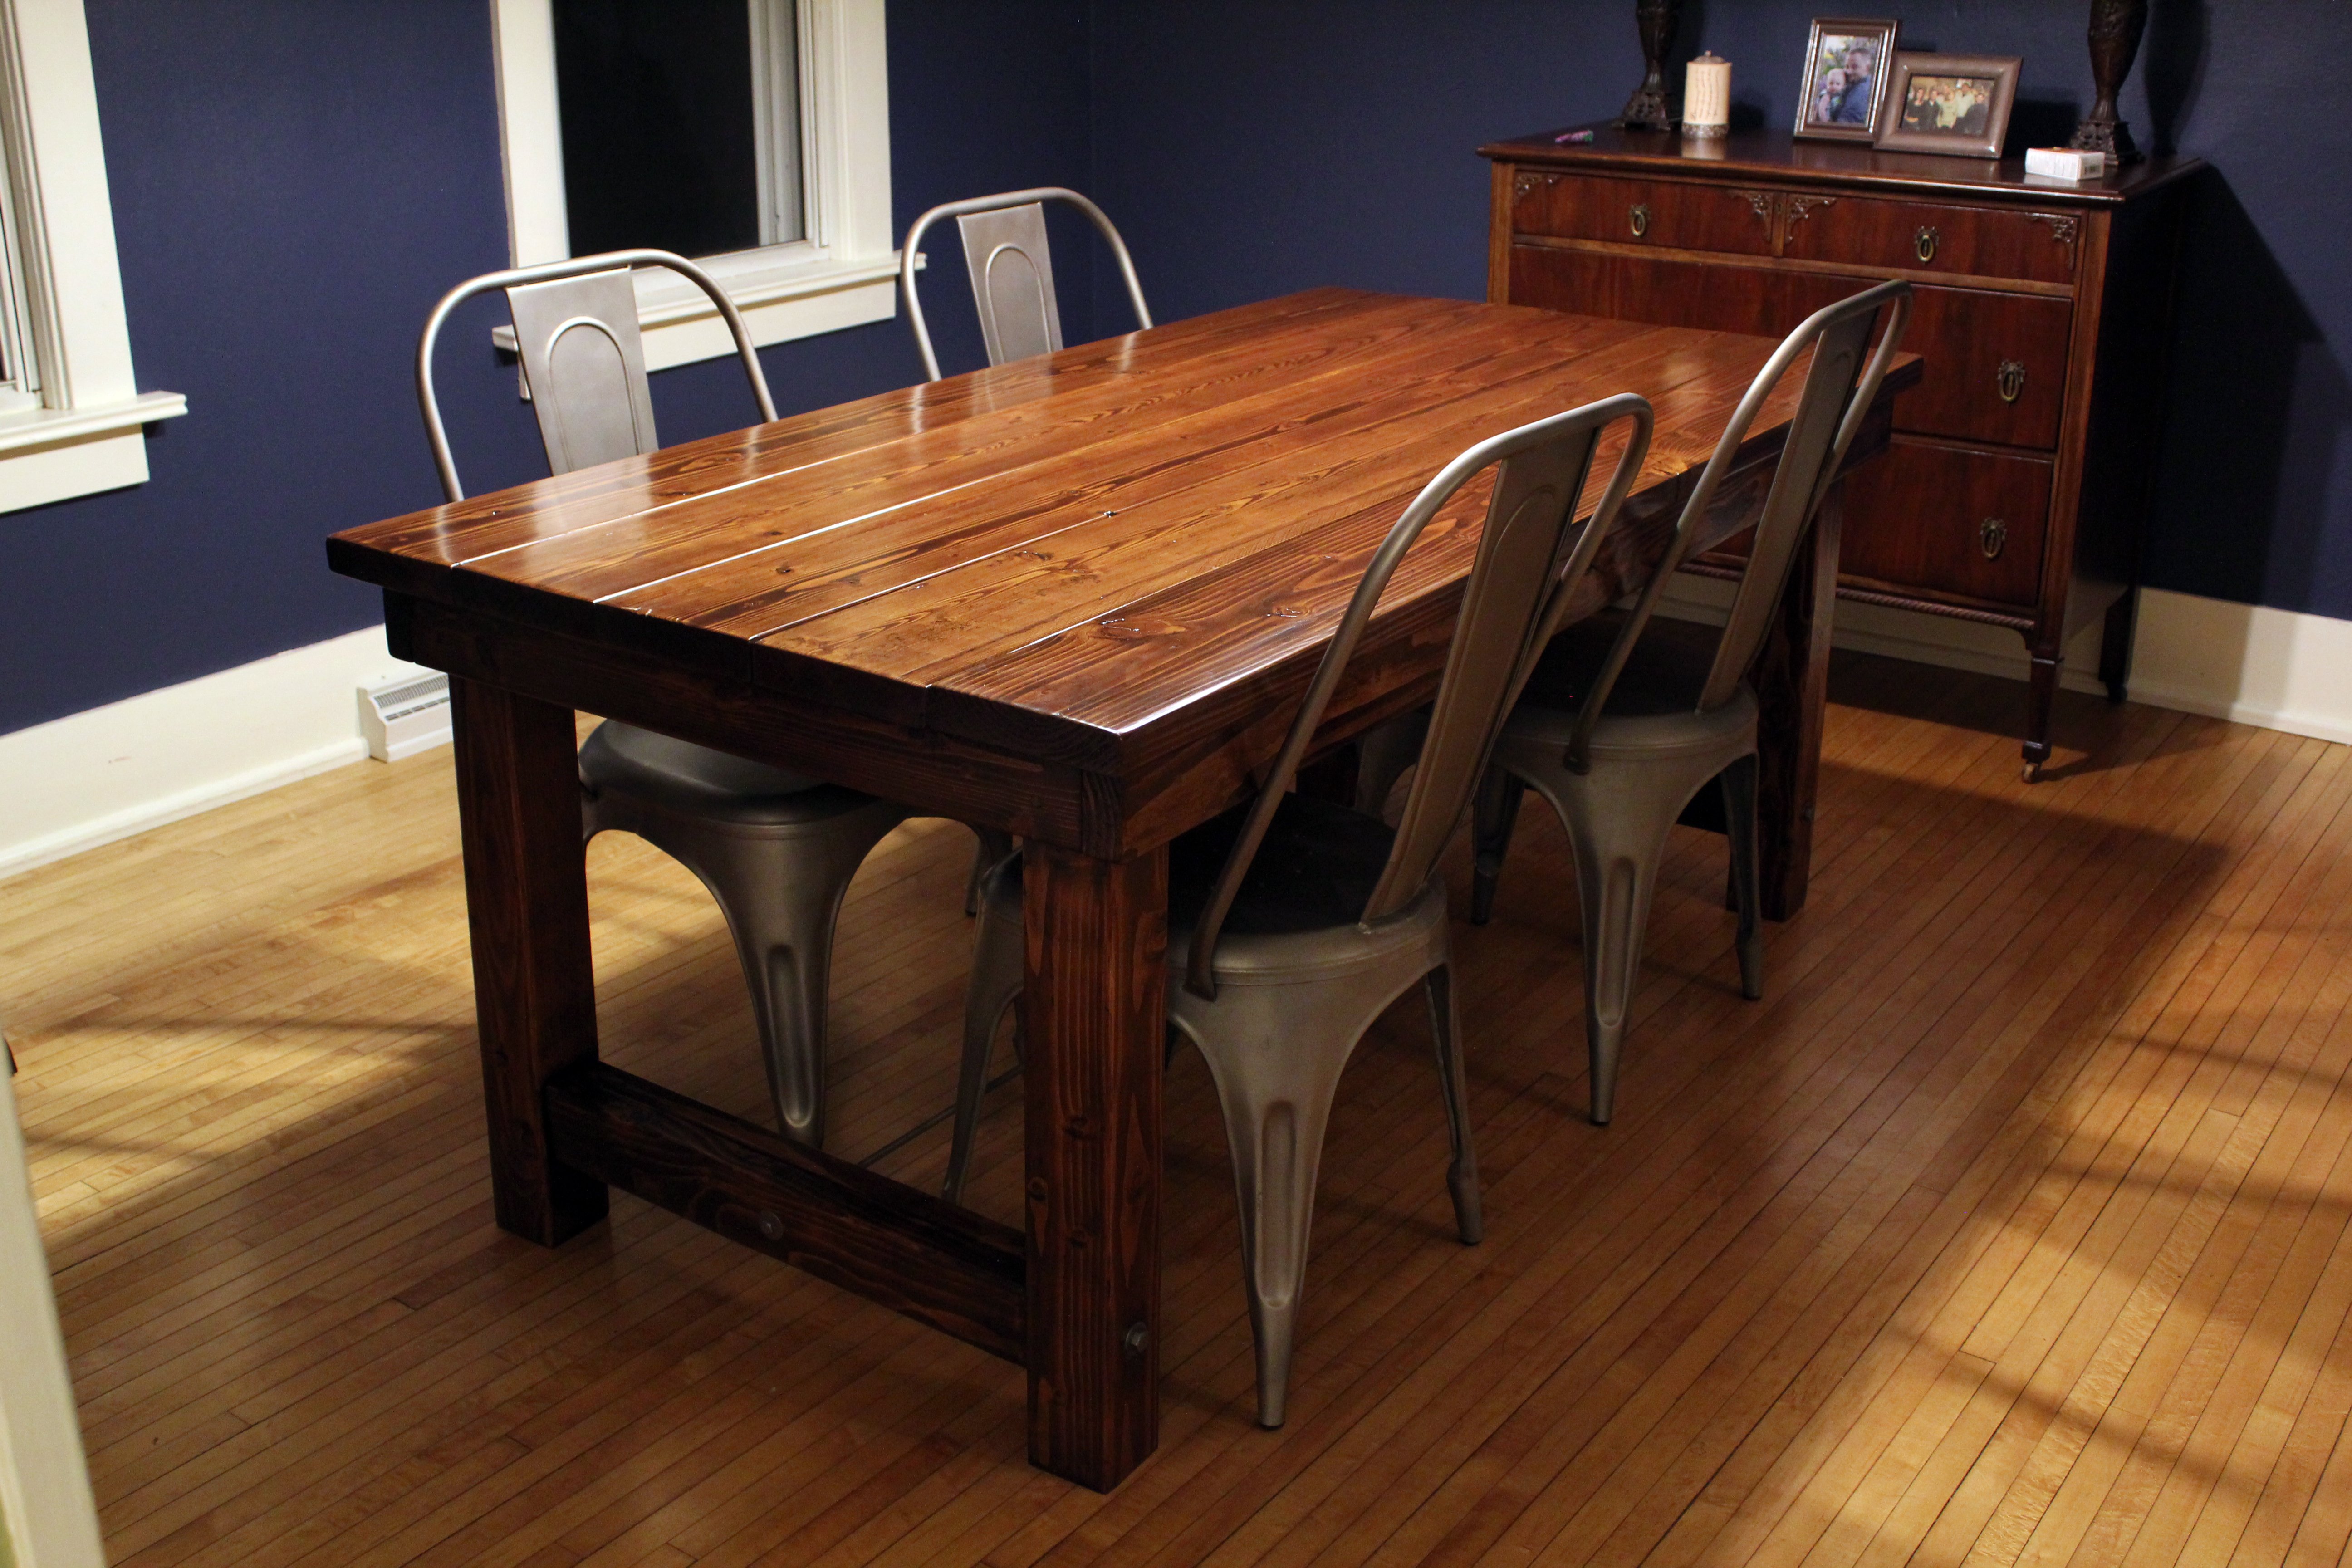
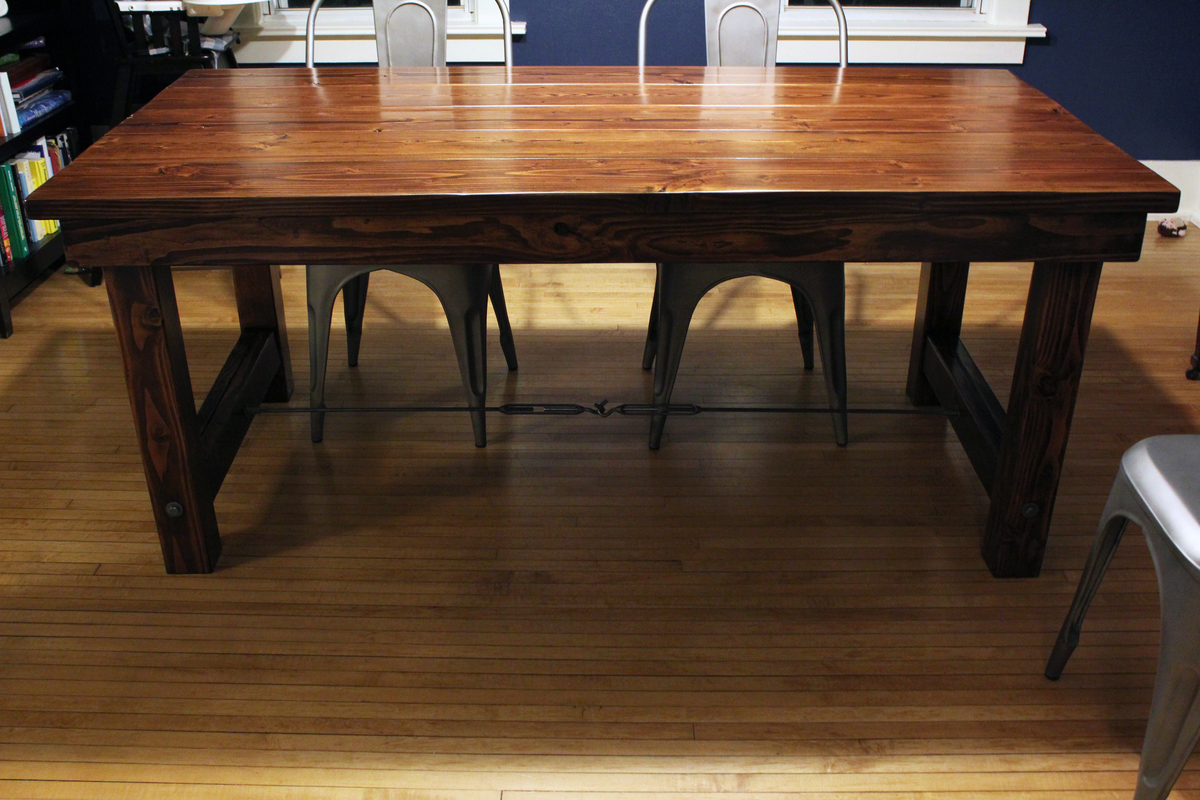
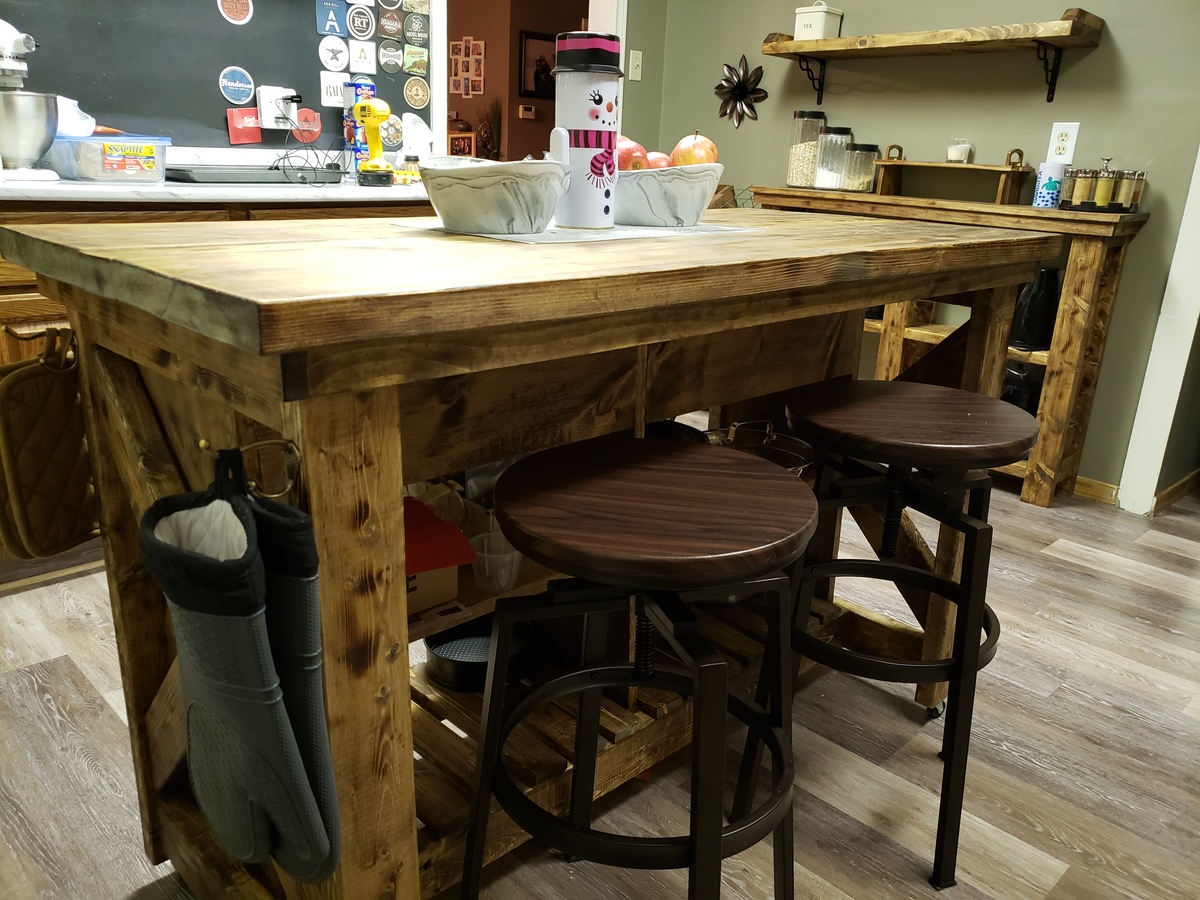
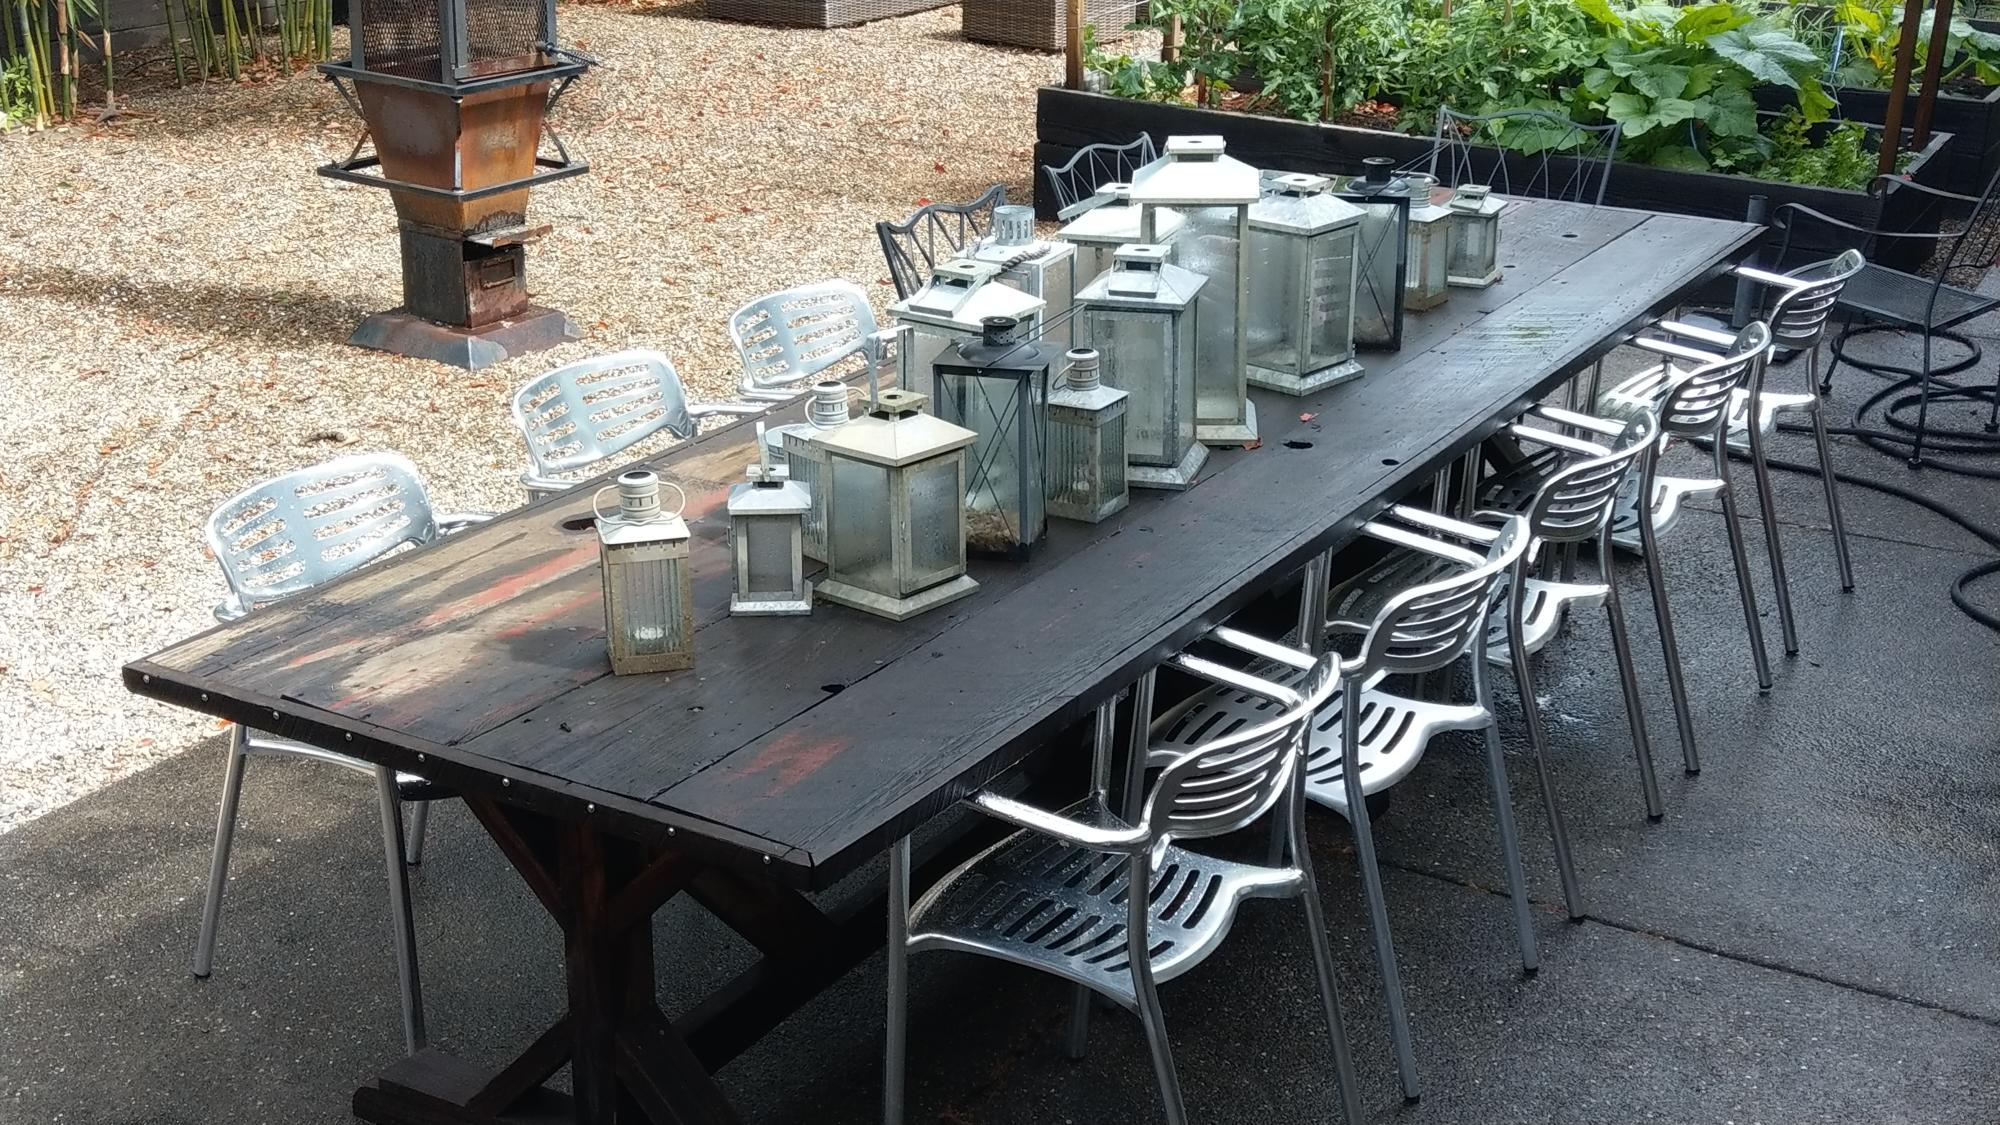
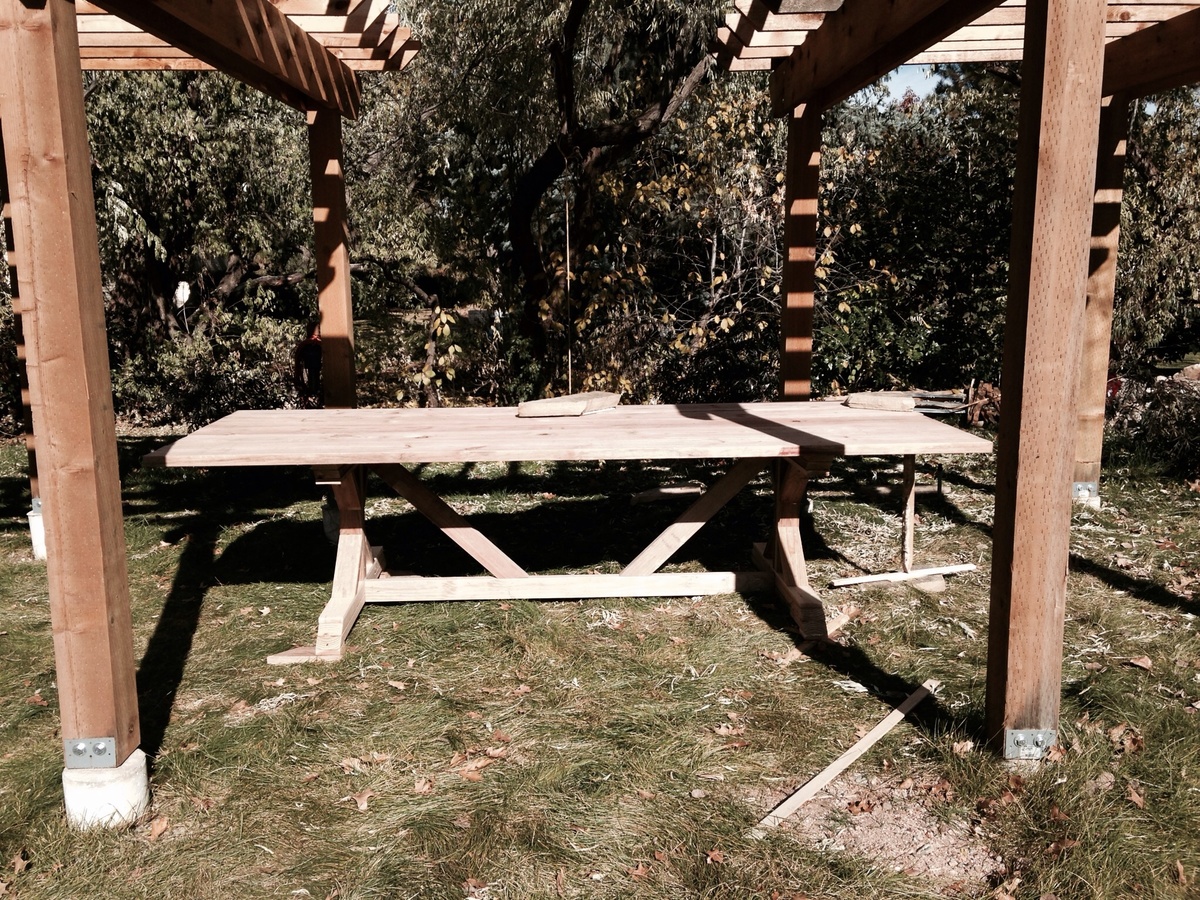
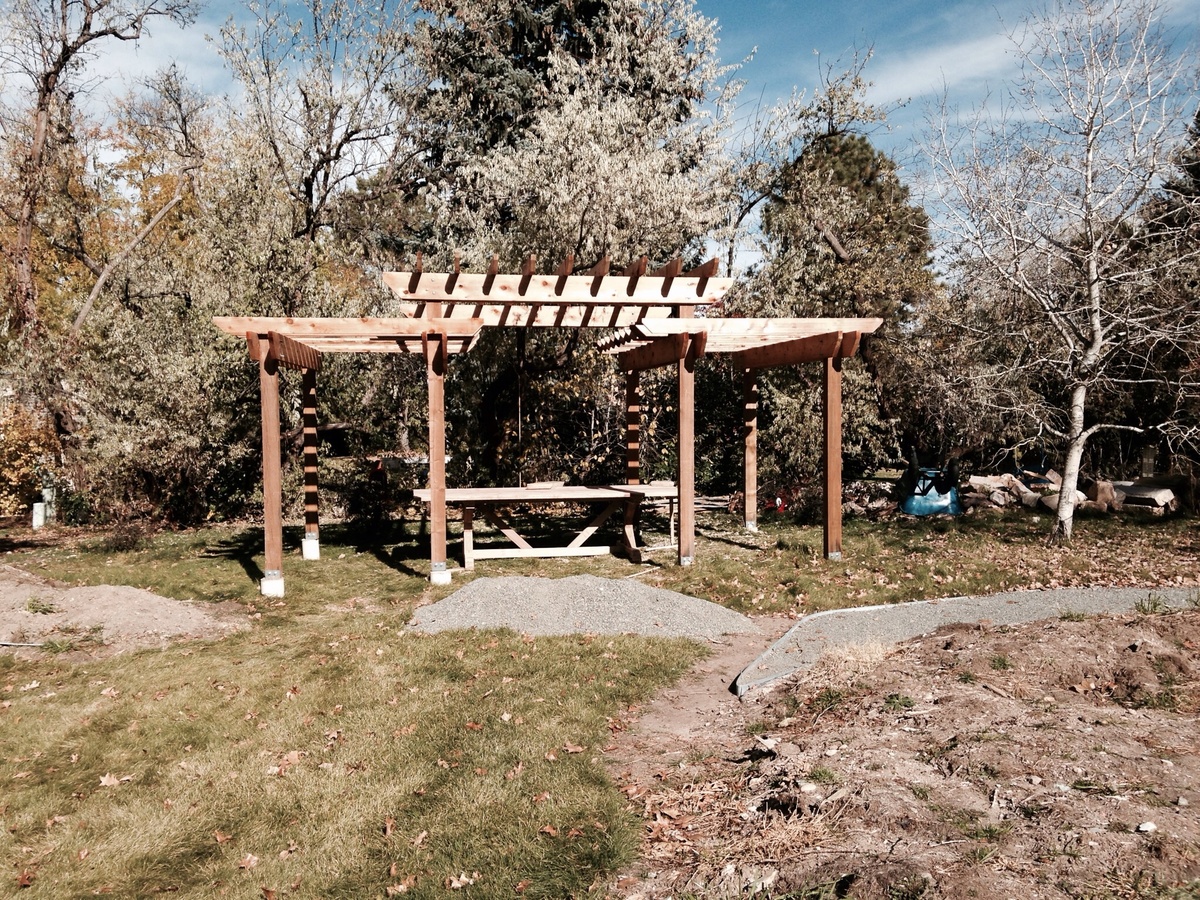
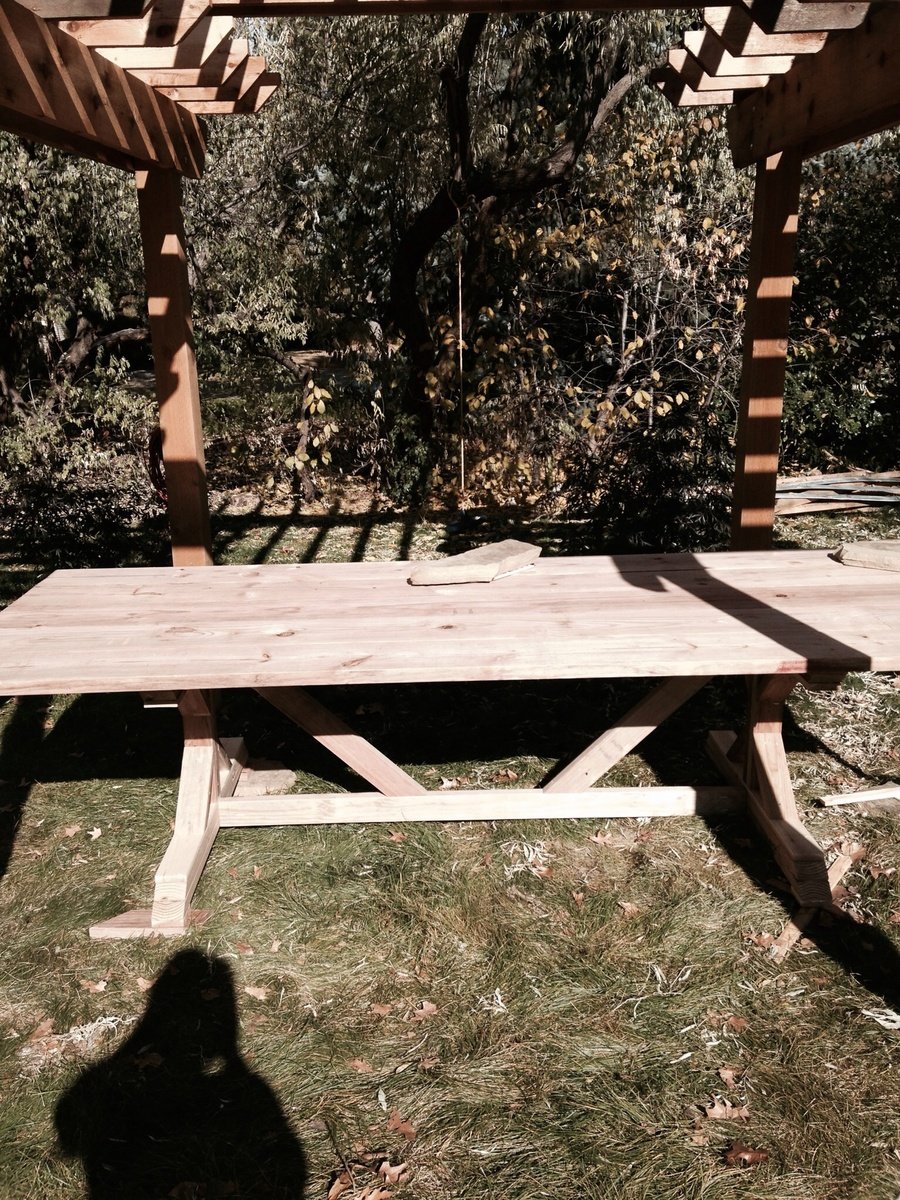
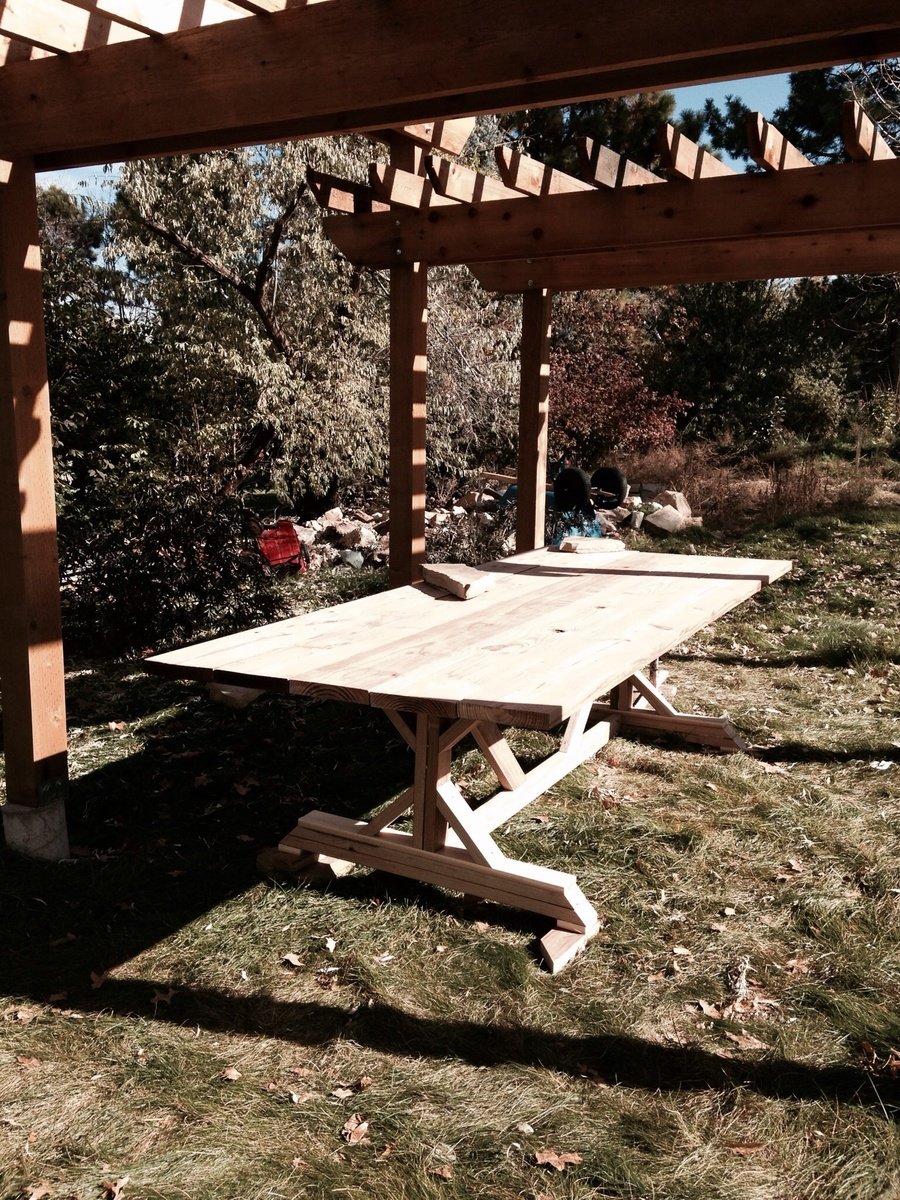
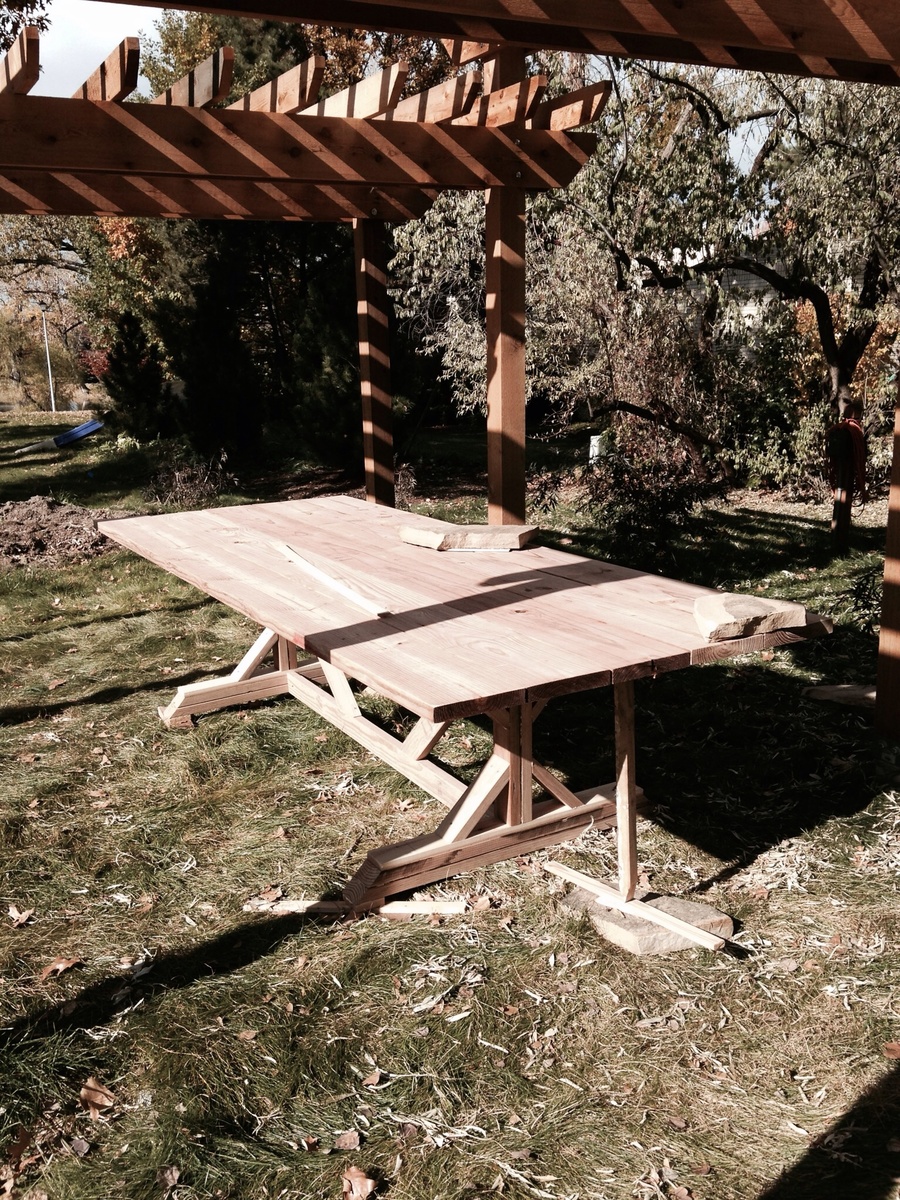
Concrete Dining Table
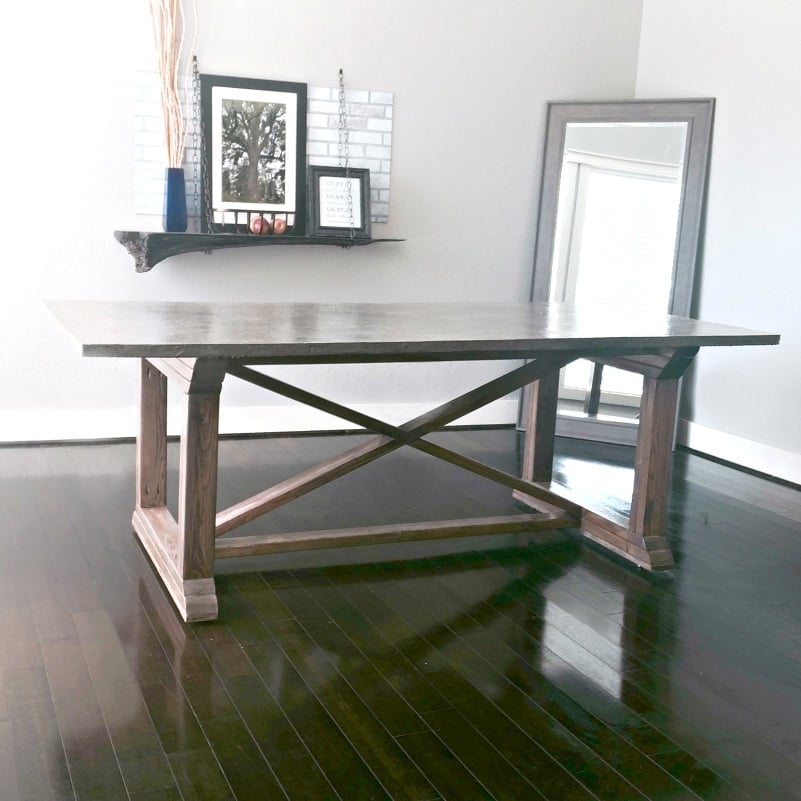
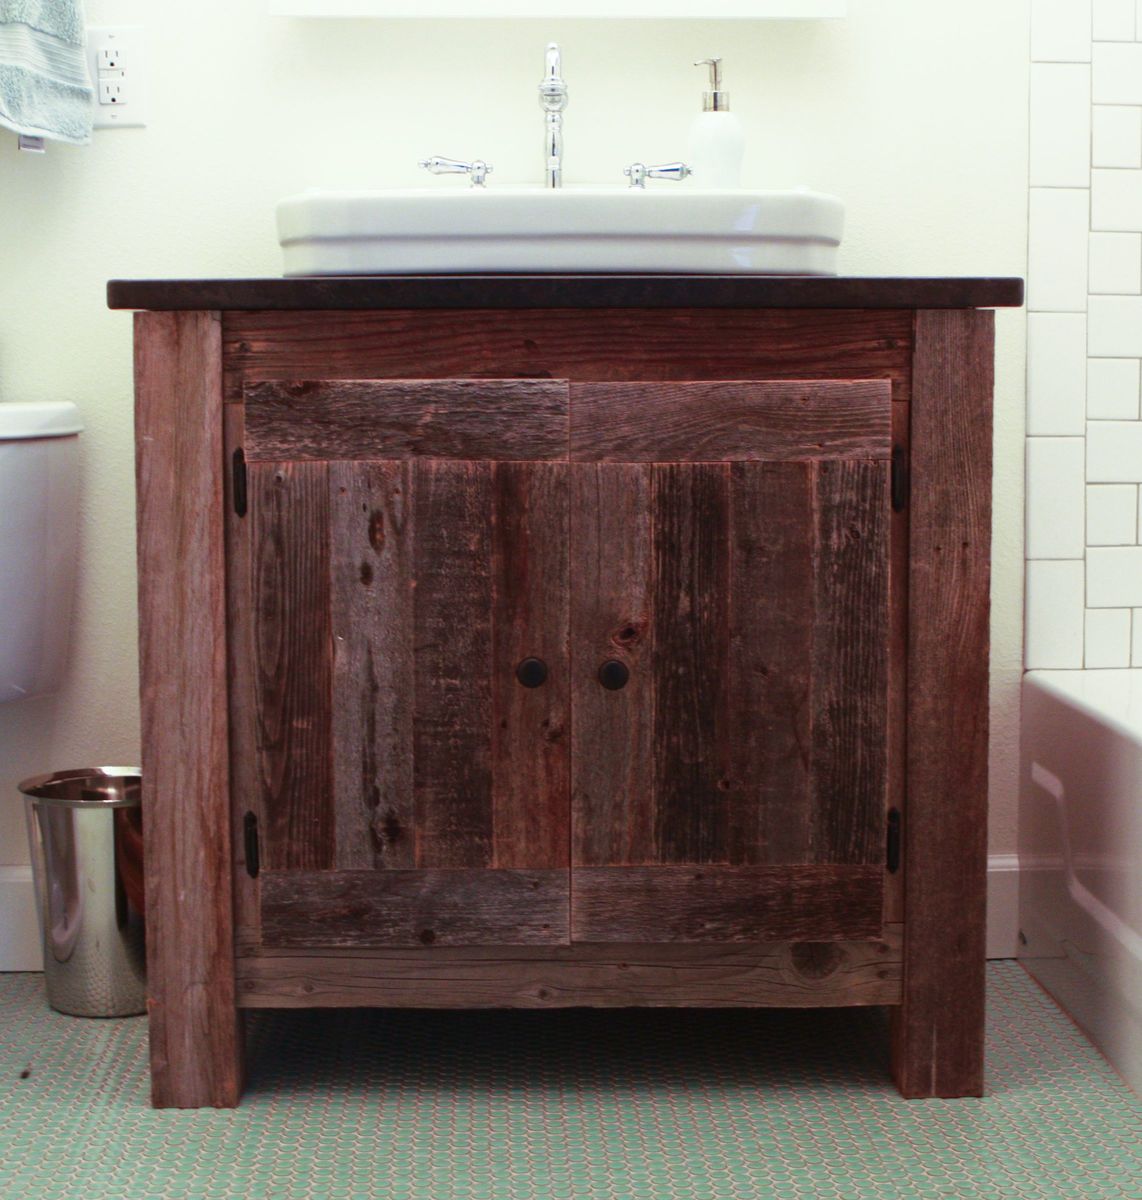
I built this dining table with a concrete top and a base using the Rekourt Dining Table plans.
I built my girls' beds using two of Ana's plans. I used all whitewood boards for the construction. It took a few hours to build both beds and I love the result! I used my brad nailer and gorilla glue for both the headboard and bed base. I also used drywall screws (my fav) to attach the bottom bed pieces. You can see more details at http://www.shanty-2-chic.com/2011/01/beds-finished-well-almost.html !
I chose to modify one of your headboards by only doing step 1-4.
We made a queen headboard and I wanted it slightly taller than the plans suggested so I added 12". I used 3/4" MDF as the back cut 60" w x 48" H, 1x4s for the sides and top and a 1x3 for the bottom. I glued and nail gunned each piece to the edge letting the sides extend down for the legs of the headboard.
I filled the nail gun holes with wood filler. The piece was primed, then painted with 2 coats of color, and then the photos were Modge Podged onto the interior of the headboard touching and overlapping. As my daughter gets older we can add more photos or I can make a fabric insert to go over the photos. She loves it and I'm happy we could do something different.
Sat, 08/17/2013 - 16:23
I love how you made your daughter's headboard personalized. No one else in the entire world will have a headboard like hers! :) That's amazing! And the color coordination is great. =D
Plan to use as a cooler :) adjusted dimensions to fit a bigger planter box and added some decorative details. It came out great!
Brightly Painted chairs are popular here. I made two unpainted chairs in an afternoon. I would paint the pieces before putting them together if I made them again. Very comfortable!
This was my first large project. Built it in one very long day and then finished over a few weeks. Instead of 2x4's for legs I opted for a 4x4 post with a bolt running through. I didn't really want to figure out the square washer so I just went with standard round. I spray painted all of the hardware silver with Rust-Oleum Universal Hammered Spray paint to coordinate with the Tolix like chairs I purchased from Restoration Hardware.
Mon, 09/02/2013 - 07:12
I was wondering the same thing as Medickep, were all of the coats necessary or was it just the way you wanted it finished? I do like the end results though.
Tue, 09/03/2013 - 09:03
The multiple coats wasn't intentional. I just couldn't get the right look so kept on going with the colors. I'd say the finish portion of the project was the most difficult for me. I am happy with out it turned out and cannot wait to build something again!
Plans were super easy to follow. I finished the chairs by using the Shou Sugi Ban technique. I burned the chairs and stools completely, than wire brushed them. I repeated the process a second time. I finished by adding a coat of poly which I believe gave the chairs a little more depth. They are so comfortable and plans were perfect. Thank you Ana!
I followed the plans except for the top, I used a 2x12, 2x4 and 2x12 pocket holes together.
Burnt the wood with a torch and stained over.
Thanks for the plans!
Questions? [email protected]
Using this plan I built my lounger with some changes, mainly adding lawn mower wheels to one end. The cushions I made have a mesh bottom to let the cushions dry faster, and zippers so they can be removed and machine washed. More details on what I used and many more photos on my blog.
Tue, 09/20/2011 - 12:49
I love the idea of the mesh! It would work as a great bench when you need more seating too. I think it'd be nice with huge wooden wheels also.
I modified the plans for the farmhouse hall tree to build this for our entryway. The farmhouse hall tree was a perfect base plan for this project! We went from a mess of jammed in jackets and piles of shoes to a clean and organized entrance! Thank you so much for providing the original plans! We love this!
This was such an awesome plan for us. We have two phones, two kindles, a tablet, a laptop, lamp dimmers and heated mattress pad controls. Needless to say the wires got a little out of control. The plans were super quick and easy, and it was no hassle to make two of them. I used the same stain combo Ana used on her's but I finished with Miniwax Polycrylic for extra protection against wet water glasses, early morning coffee spills and dog slobber. I love the rustic earthy tone the stains make. Dresser set soon to come! P.S. the center pieces on the doors are left over oak scraps I had in 1/2" thick. Thus, they stained a bit more red than the pine boards. I was worried about the contrast but I really like the way it turned out.
Thu, 10/03/2013 - 19:38
I know right, that was really disappointing when i tried to find more of the latches for the dressers. Boo.
Tue, 10/22/2013 - 09:33
I'm in the process of making two of them right now. I can't wait to get them done. Your's looks great.
I just loved this shelf that I made 10 of them for family for Christmas! We made the original size but decided to size it down by a third. :)
Wed, 11/16/2016 - 12:57
Those are wonderful!!! What a great gift idea!
Built this from the exact plans given. Very easy to build and learned a lot. Built whenever I had time after work
Your outhouse design was modified for a snowmobile club project as the building needs to be towed across a lake to a site next to a warming shelter. An LED light with a timer switch and solar battery charger were installed to provide light in a remote area of Lake of the Woods.
A steel hitch and skids with hyfax were added to the design.
Thank you for providing a design that allowed us to make modifications for winter outdoor recreation accommodations.
When I saw someone post this sand box request on Ana's facebook page, it was like the sand box of my dreams! Our backyard is a work-in-progress, and we're constantly in different areas, so I knew that I would need a much smaller, transportable size. When the back yard is finished, I'll definitely build the full-sized sand box... But until then, I've got this 2' x 2' box, some sand in an IKEA bag, and a happy little toddler, who cries every time I try to close this to get photos. :-)
Wed, 10/19/2011 - 08:45
Awesome sandbox, may have to try this in the spring. I am home on maternity leave (in Canada where we get a year) and luckily managed to score one of those happy, content babies who don't need a lot of my time... so I am bored to tears and looking for projects. I found Ana's site which lead me to your sandbox and the picture of your gorgeous little girl crying when the sand box was closed; that made me laugh so much I had to comment; too cute!!
You and Ana look like the Charlie's Angels of DIY! Thanks for the pictures, inspiring.
In reply to Awesome sandbox, may have to by Andy O (not verified)
Thu, 10/20/2011 - 14:08
Your comment about the Charlie's Angels of DIY TOTALLY cracked me up! I LOVE THAT! Wouldn't really say that I'd make the cut, though... But thanks!!! :-)
I'm SO jealous of a year maternity leave. My baby was also VERY undemanding, and I built my first project when she was 5 weeks old. Yay, go us!!! :-) I'd love to see this if you do build it! What other projects are you planning?
Thanks to Ana White we learned how to make these cubbies. The wood for the stained bench is from trees milled from my husband’s family farm.
Using the Farmhouse Vanity plans as a guide, I built this enclosed farmhouse vanity out of a neighbor's old cedar fence and topped it with leathered granite and a ReStore sink. The finished vanity is amazing! For more, check out my blog.
While mine is not as good as some of these projects I am pretty proud of it.
I came some 12"x1"x18' (Actual size) redwood planks that were removed from the roof of a building here in town, built in 1876. Essentially these were milled over 125 years ago. You can still see the the blade marks. I did not want to shorten the planks too much so I built this table, just made two frames. I used rough redwood 2x4 and 2x6 for the frame. I made it a little taller.
Its the highlight of the back yard, we have dinners out there regularly now
Sun, 05/19/2019 - 16:42
Sounds like a wonderful table! I'd love to see a photo - if you have a chance to upload!
Tue, 05/21/2019 - 12:41
Is there a way to add a photo here or do I add a "Brag Post"?
Tue, 05/21/2019 - 12:54
Using the Barn Door Pantry plan, I partially built this in my shop then took it apart and transported it to my son's house where we reconstructed it. This is a massive project and I recommend that you have enough room (and help) to build it and move it. The door is built with 1/2 inch plywood, framed with 1 by 4's with bead board inserts.
Sat, 03/18/2023 - 19:18
Very pretty and functional, what more can you ask for! Thanks for sharing:)
Our dear friends built us a pergola over the summer and I wanted a big outdoor farm table to go underneath but had no interest in spending thousands on one already made. So, thanks to Ana White, I found the directions to making this 'anthropologie knock-off' for under $200! We made ours 10' long by @46" wide. And I included support boards on the underside of the table top for additional support and to try to address the fact that one of the boards us a little warped. It's not nearly as beautiful as our pergola and still needs to be stained/treated, but I can't wait for next spring and summer when we can hang and laze around out here! I'm so proud of us. Thanks Ana!!!
Comments
Ana White Admin
Mon, 09/07/2015 - 13:38
Gorgeous!
Thanks for sharing your amazing build!
In reply to Gorgeous! by Ana White Admin
April R - Unco…
Tue, 09/08/2015 - 19:41
Thanks :)
Thank you so much and thanks for the feature today!