
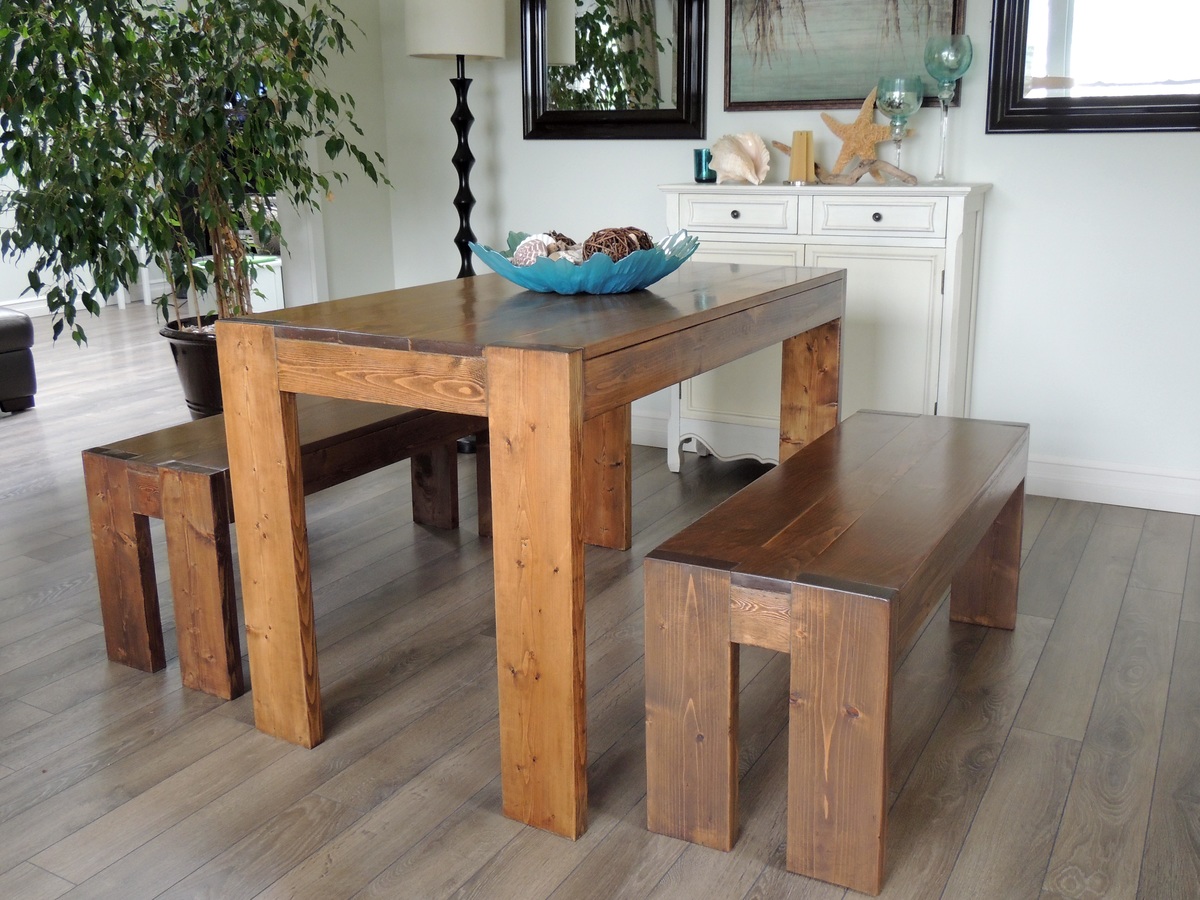

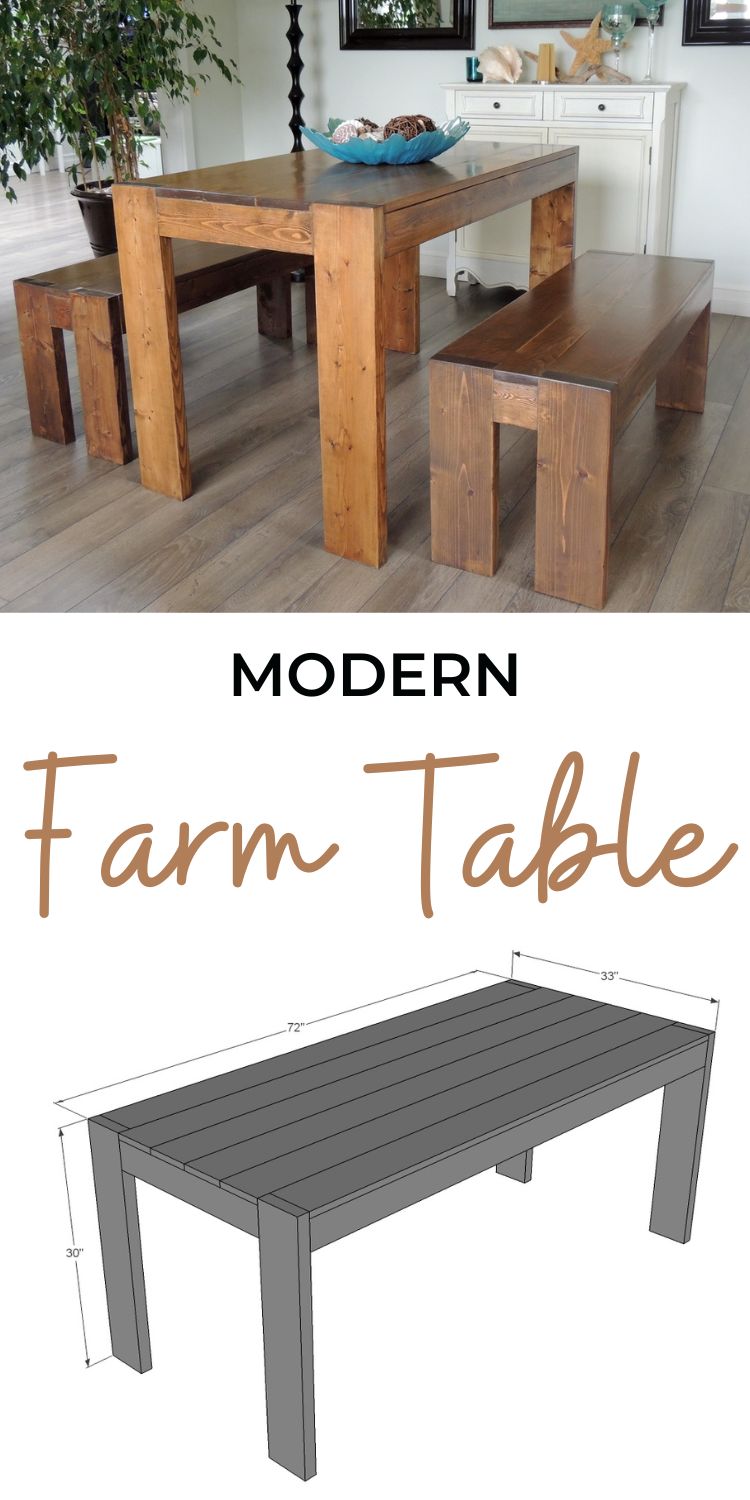
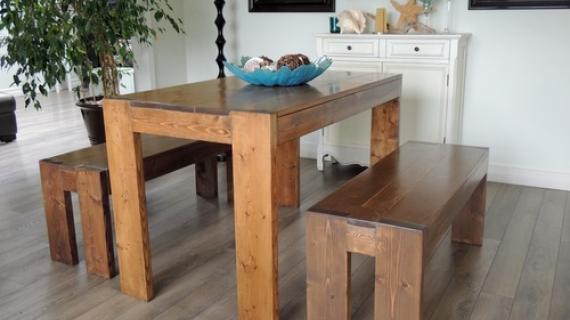
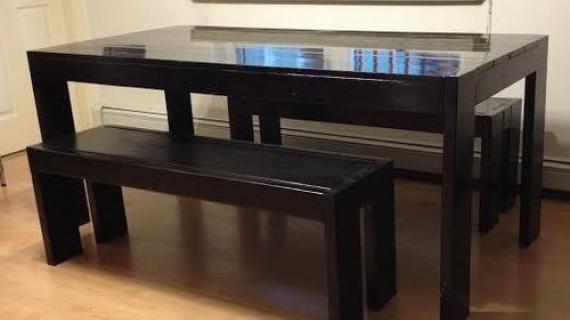
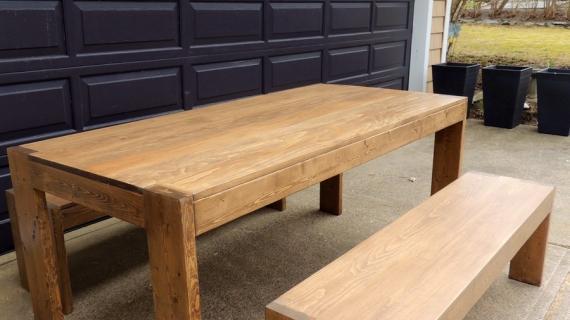
Chunky legs on this dining table give it a modern edge. Free plans for table and matching bench from Ana-White.com
Pin For Later!
Preparation
- 6 - 1x6 @ 6 feet long
- 3 - 2x4 @ 8 feet long
- 1 - 2x6 @ 12 feet long (or you can buy 2 8 footers)
- 1-1/4" and 2-1/2" pocket hole screws
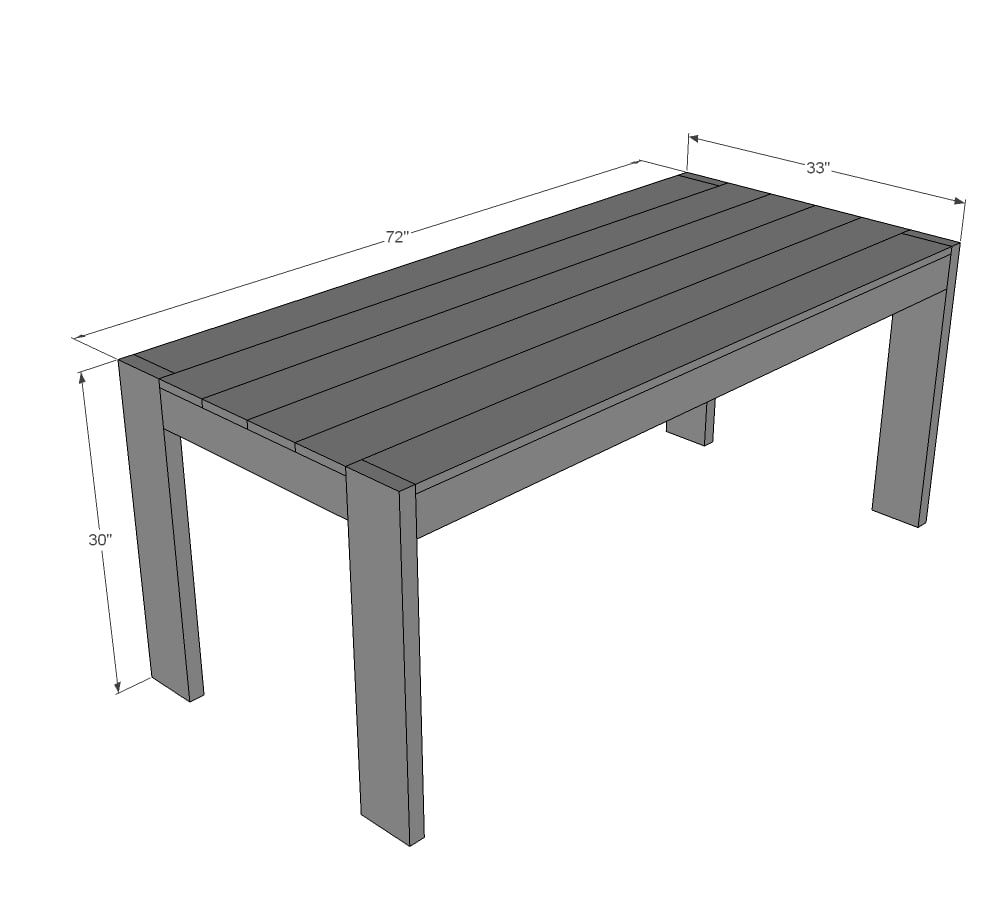
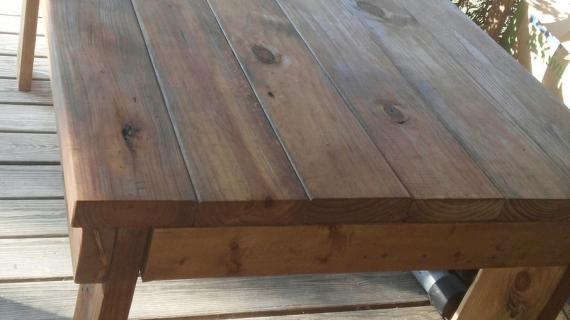
TABLETOP
- 4 - 1x6 @ 72" long
- 2 - 1x6 @ 69" long
FRAME
- 2 - 2x4 @ 69" long
- 3 - 2x4 @ 30" long (cut to fit!!!)
LEGS
- 4 - 2x6 @ 30" long
- 2 - 2x4 @ 22" long (cut to fit!!!!)


Please read through the entire plan and all comments before beginning this project. It is also advisable to review the Getting Started Section. Take all necessary precautions to build safely and smartly. Work on a clean level surface, free of imperfections or debris. Always use straight boards. Check for square after each step. Always predrill holes before attaching with screws. Use glue with finish nails for a stronger hold. Wipe excess glue off bare wood for stained projects, as dried glue will not take stain. Be safe, have fun, and ask for help if you need it. Good luck!
Instructions
Step 1

Drill 3/4" pocket holes along one edge of all but one short 1x6, about every 6-8". Clamp and join 1x6s carefully, working to create the smoothest possible tabletop. You'll need to make sure the 2x6 legs will fit in the notched out areas.
NOTE: If your 1x6s are exactly 72" long, but have rough ends, you can make the entire table 1/2" less to be able to cut the ends of the 1x6s.
Step 2

Test the fit of the boards first, making sure the base will be the width of the tabletop. You may need to adjust the length of your inside aprons.
For the side aprons and inside supports, drill 3/4" pocket holes along one long edge, about every 6-8 inches, for attaching to the tabletop in later steps.
Then drill (2) 1-1/2" pocket holes on each end of the inside supports (the shorter 2x4s) and attach to the side aprons with 2-1/2" pocket hole screws, making sure your 3/4" pocket holes are all facing upward and hidden on inside.
Then attach the entire base to the tabletop through the 3/4" pocket holes with 1-1/4" pocket hole screws.
Step 3

Build your leg sets first, then glue and screw from inside to the frame.
It is always recommended to apply a test coat on a hidden area or scrap piece to ensure color evenness and adhesion. Use primer or wood conditioner as needed.

Comments
nataliafoote
Thu, 03/13/2014 - 18:02
reclaimed 2 x 6s
I have four 2x6s (72") that I would like to use for this table top, but wondered how the project would change. I am a true beginner when it comes to woodworking, but am eager to learn. Thank you for your website. You have truly inspired me.
Burt VC
Mon, 09/22/2014 - 20:36
Reinforcement?
Hi Ana! I love your website. Thank you for sharing so much with the world!
I just built this table but when I showed it to my neighbor and father-in-law, they were concerned that the legs would eventually buckle when moved, dragged toward the ends. Do you have any suggestions for reinforcing the legs? Are you confident that the structure is strong enough to last?
BrianV
Mon, 10/27/2014 - 09:34
Wood type
I was wondering what the best wood to use for this project is. Oak, Cherry, Walnut?
Also, if we add another board to make this 38.5"W, would we need to add any further reinforcement to the legs?
Thanks!
brgale
Tue, 12/23/2014 - 12:02
pictures don't match the plans
Is it just me or do the pictures of the finished table not match the plans provided? There is no overlap at the end of the table from the top 2x6s in the pictures. They butt right up against the 2x4 on the side.
booksnotbombs
Tue, 12/23/2014 - 12:25
No, it's not just you. Not
No, it's not just you. Not sure why, but the tabletop plans do differ from the picture at the top.
booksnotbombs
Tue, 12/23/2014 - 12:26
If you prefer the look in the
If you prefer the look in the picture, try these plans:
http://ana-white.com/2009/11/plan-modern-farmhouse-table-knock-off.html
brgale
Mon, 12/29/2014 - 08:49
I think I'll just modify
I think I'll just modify these plans to match the pictures. I would like to use pocket holes instead of all of that bracing underneath the table.