Queen farmhouse bed
The farmhouse bed was the first project I tackled. Although it's far from perfect, learned so much and I love, love, love it!
After building my farmhouse bed and 2 new bedside table I still had my very ugly and old dresser.
It functioned really well so instead of building a new one I decided to up-cycle the old one.
I simply framed it up with some pine, painted it white, added pallet wood to the top, stained the pallet wood walnut, then added some fancy handles and now it's like a whole new dresser.
Thanks to Ana-White's website and book I have a whole new set of skills and I am not scared to give just about anything a go.
Sun, 08/31/2014 - 00:58
You're right, I had a ball doing this mainly because I was winging it the whole time.
This dresser was actually a hand me down when I got it about 15 years ago. I don't see the point in throwing out something that is still useful.
Sun, 08/31/2014 - 12:46
Lovely! I recognized right away that it matched your other bedroom projects but had no idea it was a makeover. Great job! :)
In reply to Lovely! I recognized right by booksnotbombs
Mon, 09/01/2014 - 00:29
Thank you. :)
I've got a few years experience doing carpentry work . I was asked if I could build a farm table for a friend of mine. So I gave it a go. I think for my first table to ever build from scratch, it turned out beautiful . I'm extremely happy with the outcome.
My first wood project. Had a blast! Learned a few things for the future. Instructions easy to follow - thank you! Stained in Jacobean.
Fastened together with Kreg screws, and glue. I chose to put the pocket holes on the inside and back so they wouldn't show on the bottom. This does make the ledge a little less deep. Easy project for a rainy day !
Wed, 11/06/2013 - 06:30
Plan clothing for your trip so that everything can be worn together. This reduces the need to pack individual "outfits" and allows you to plan for the number of days you'll be traveling. If all of your clothes match, you don't have to worry about which are clean when you're doing laundry.
http://www.getbustours.com/
This X coffee table built from ana's plans. Fairly easy project. Used douglas fir for the frame and top and pine for the shelf. Finished with dark walnut stain and 2 coats of poly. The only thing I modified from the plans was the top. I added the breadboard style ends.
These made the perfect benches for my first farmhouse table.
Love this! The farm house table and bench (1st photo) were my first 2 wood project ever. They came out great so I decided to make a coffee table using modified dimensions (2nd photo) and used poplar for the table top instead of pine. Poplar took to the stain I used really well. The farm table is Danish Oil, Light Walnut and the coffee table is in Danish Oil Dark walnut. I used wipe on Poly to finish both tables and I used matte black wood screws for an accent on the base of the coffee table. Everything else was assembled with a compact circular saw and pocket holes w/ a Kreg Jig. Thanks for the plans!
Mon, 10/19/2020 - 23:48
Ana white is a superb personality. She is doing a superb job in the agricultural field. I want to know more about the farmhouse table but now it's easier to finish the assignment at https://ifpnews.com/how-to-finish-your-dissertation-during-lockdown and get all the help about. Even I am more interested in vertical farming. Please guide me in this regard.
After spending most of our budget on patios and grass this summer, we needed some furniture. These plans worked perfectly for our space and were so easy to build.
Thank you Ana for the wonderful dollhouse plans! I have been making furniture using Ana's plans for a couple of years now. I made this as a Christmas present for my 3 year old daughter. This dollhouse is safe, strong, and my daughter loves it! It took me about a month to make the dollhouse and furniture. I do have 4 children and have limited spare time, so I'm sure it could be done faster. I followed the plan almost exactly as written. I used screws for the stair treads and added 1x2's underneath for support. I just put up 3/4" plywood for the roof as my jig saw is not the best. I also added small push LED lights for the first and second floors. This dollhouse will last for years maybe even be passed down to grandchildren!
Another weekend project this time built for my brother and his girlfriend. I lowered the console from 37” down to 31” to accommodate a more natural seated eye level for TV viewing. This one was left natural so that they could paint and distress themselves.
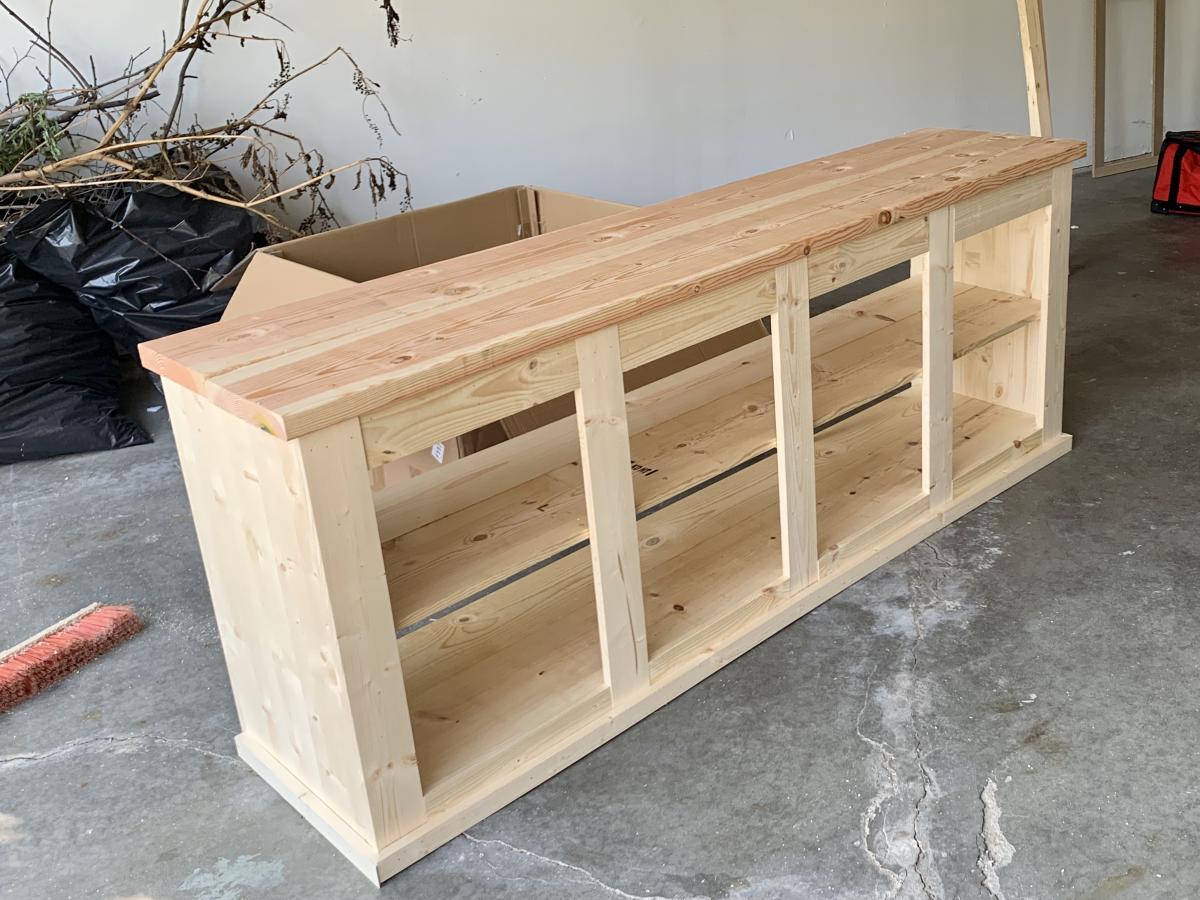
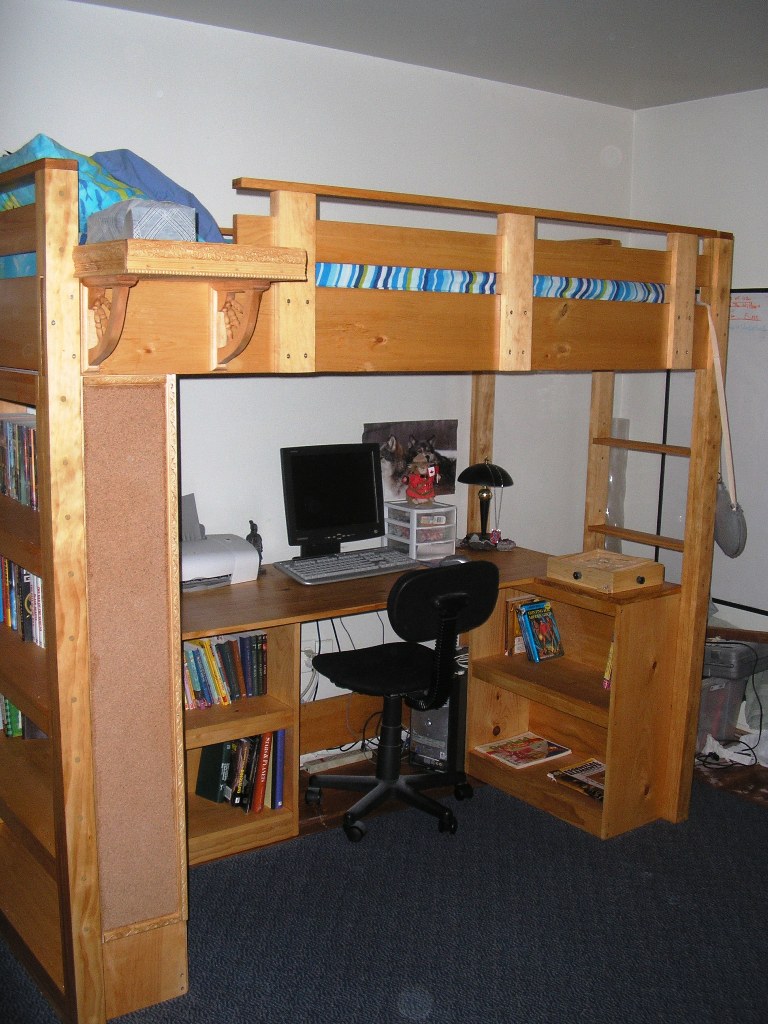
After building a small dinghy, and a slightly longer pirogue, I was ready to build something else. I was looking at another boat, but to save my marriage my lovely wife suggested something more... practical. So my summer project was a surprise loft bed for my 12 year old son. He was staying with his grandparents for most of the summer so I had a month or so to work on it. This was my first piece of furniture and I'm very proud of it.
I did modify the plans a bit. I added a shelf to use as a nightstand, because you need a place for your water bottle, book, tissues, etc.
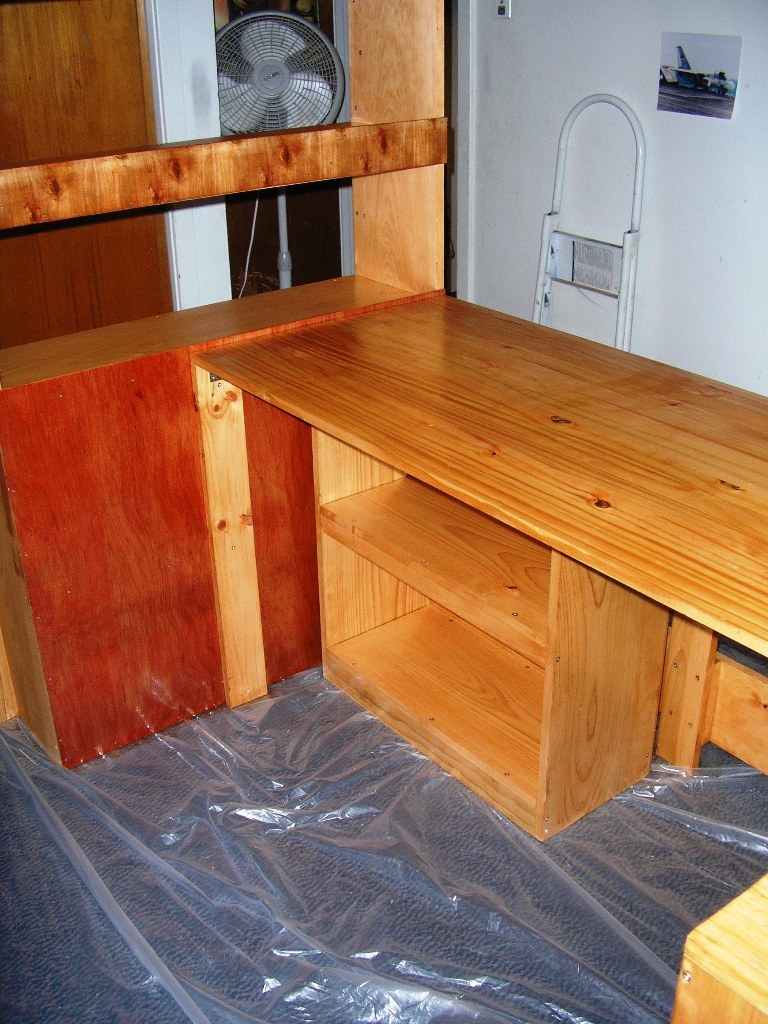
I made the desktop significantly deeper so that it was more useable.
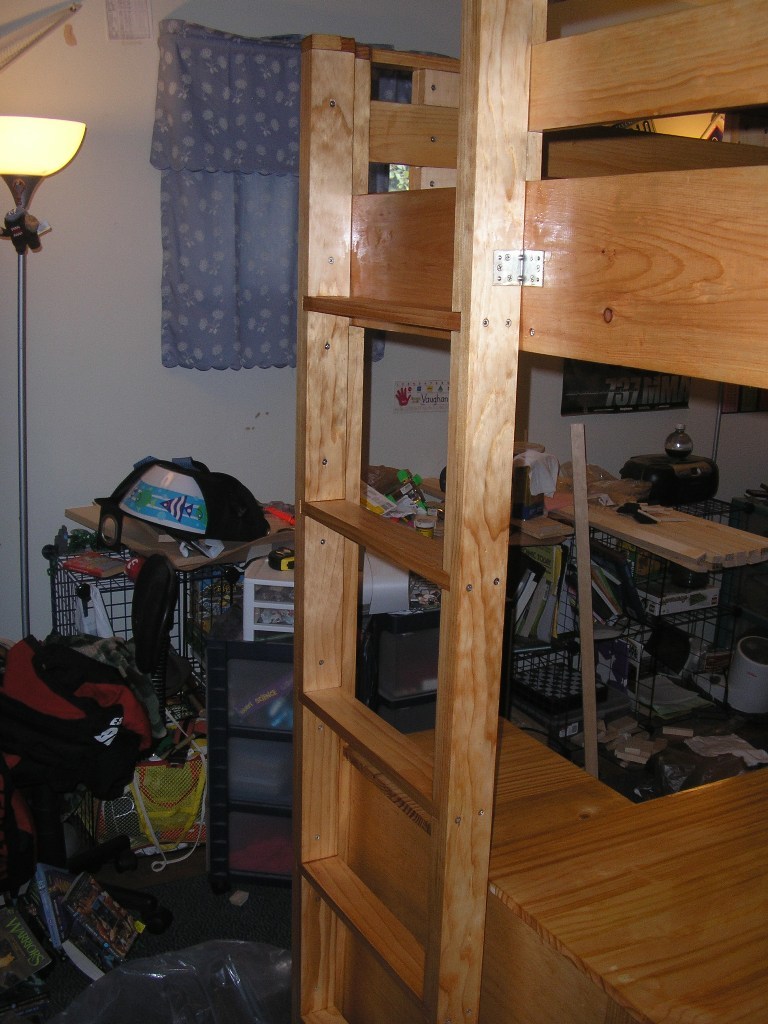
I moved the ladder to the end of the bed and made it wider.
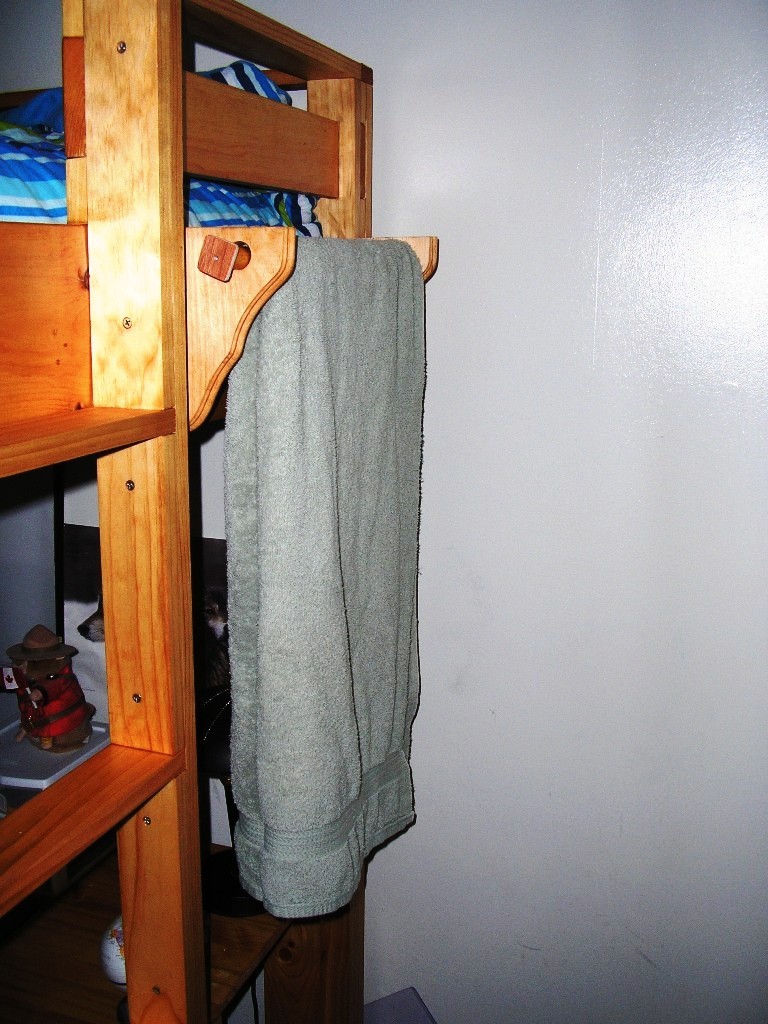
I added a towel bar to one end.
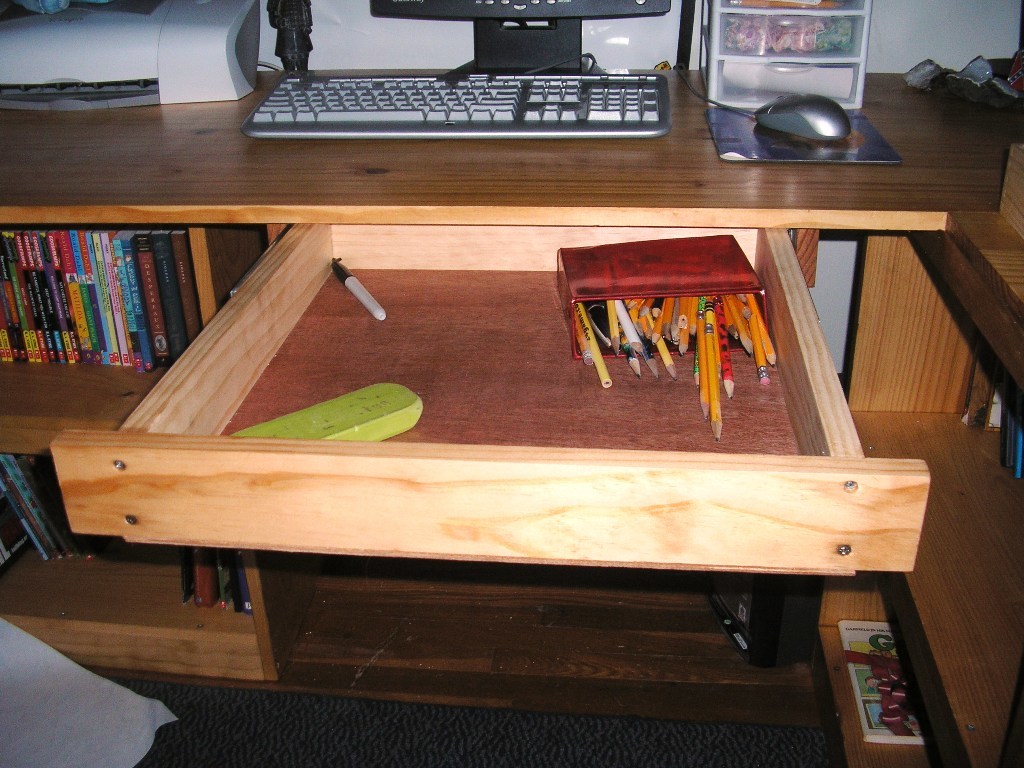
I added a drawer under the desktop.
and lastly I put corkboard on the side of the bookcase.
Sat, 11/24/2012 - 09:23
He was excited. It replaced one of those cheap metal loft beds you can buy at Wal-mart. The old bed was kind of wobbly and made creeky noises every time he moved. he loves having bookshelves and a nightstand. I'd have posted his exited face photo but I ran out of photo slots. =)
I also made him a locker to go with it. So there were no excuses for not hanging up his jacket.
I love this site!
Sun, 03/08/2015 - 10:20
I am getting ready to build my 5 yr old a loft bed. I have been searching for a design I want to use and I would like to more or less use yours, if that's okay? I don't want to use one of the kids designs because I want it to grow with her. I want to add stairs and a higher banister. I'll probably paint it white or something.
Modded the cheap, easy console table for a taller, longer and less deep table with bottom shelf. This particular table ended up being relatively expensive, though. I ended up using poplar since the pine at Big Blue was in horrid shape; pieces were cupped, bowed and splintered. If I was going to make a good looking table -- I needed to start with good looking materials.
I needed a console table to go under a painting that hides my power box. At most, I could spare about 10" of space deep, but had plenty of space side to side, With just a few mods to the basic plan, I bought really nice poplar since knot free = less sanding :-)
I used my Kreg jig to make pocket holes to put this table together; even though it's very long and not very deep, it's very, very sturdy. I added a small shelf using some leftover hardwood plywood that I had from another job, then glued a little scroll on the apron for some extra oomph. I'll probably use some milkpaint, distress it, coat it with poly and it'll be done. I think it looks beautiful!
I built this as a christmas present for my daughter. Three stories was a bit too large, so I modified the plans a bit and cut out the bottom floor.
Modified from original plans to fit the area and our 70" TV.
This is a simple project for the beginning woodworker. There are a variety of bird feeder designs available on the web but I wanted to try something a little different. Anyway, this is my try at a simple bird feeder.
Build Instructions:
This was basically half of the entry way palns (I didn't make the top piece). I am yet to have a cushion made for the top but it looks great at the foot of our bed.