Farmhouse Dinner Table
Farmhouse Table Plans. 8ft long, Antique Walnut Stain. Absolutely adore!
My wonderful husband helped me with this project. This was our first project from Ana White plans. This took us longer than we anticipated but I think it was due to the finish and dry time of each layer. We plan on making a second one to give us a set. I added a decorative knob on the back piece to hang a towel from or bag. This was so much fun, a huge money saver and now a one of a kind piece. Thank Ana your site is amazing.
Sat, 08/03/2013 - 18:27
Very cute!! Love the finish and the knob idea too.
Saw this table and wanted to put it in my kitchen, looks great.
I built the table and bench with the plans on this site and it turned out great. My finace stained the top with a miniwax stain and spray painted the bases white and distressed them. Also applied polyurethane to the stained tops. Probably have $100 invested in this project.
We had too many disorganized coffee mugs and needed a better storage solution. I took a couple of old cassette (remember those?) storage crates, did a chevron style back from old pallet wood, added shelves from the former dividers, and added a lot of clear coat. It functions well for us and was completely upcycled materials.
by Kevin
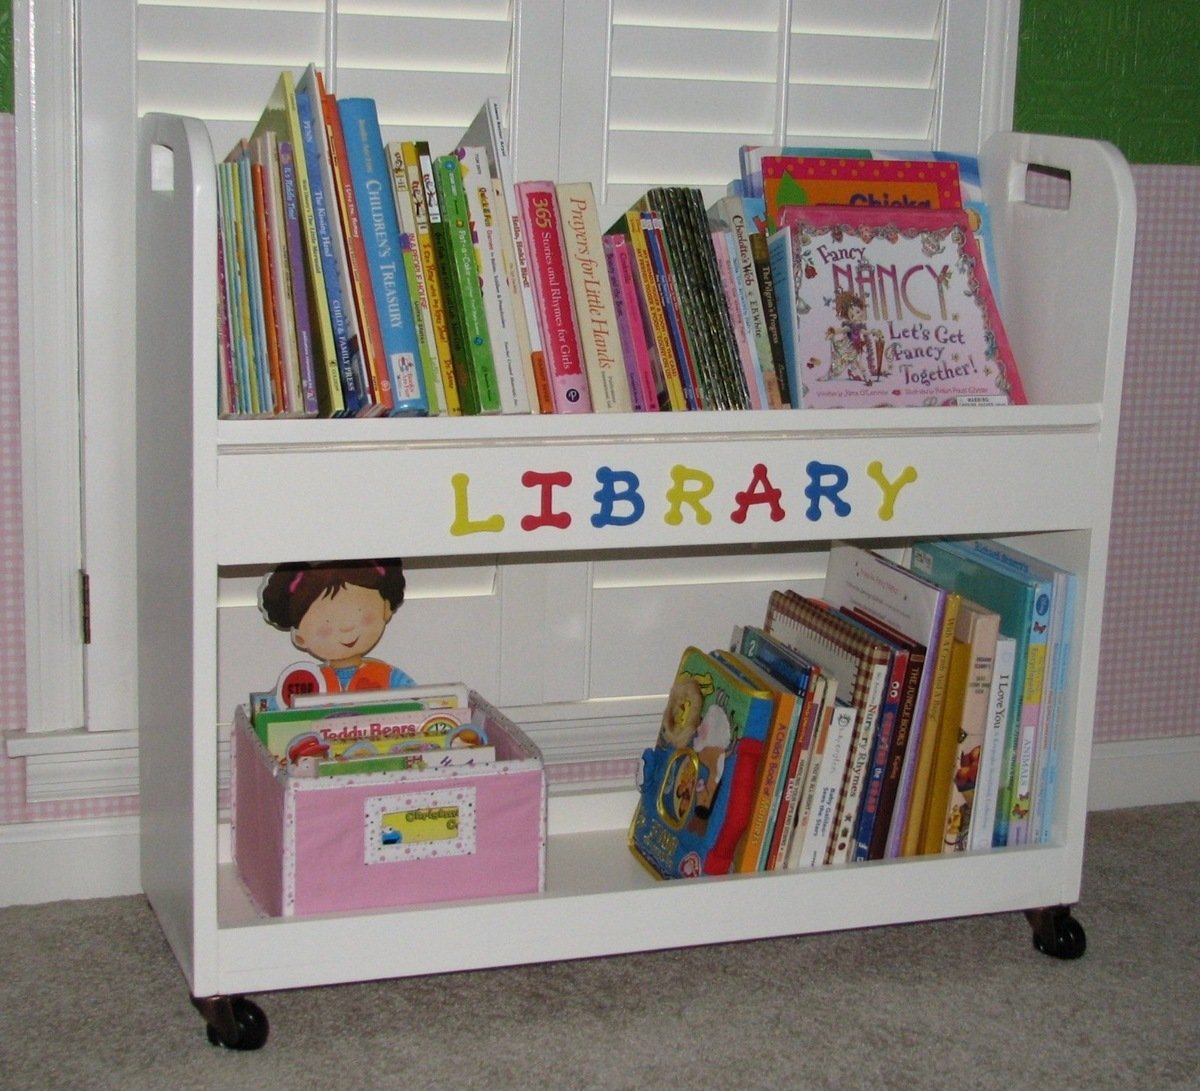
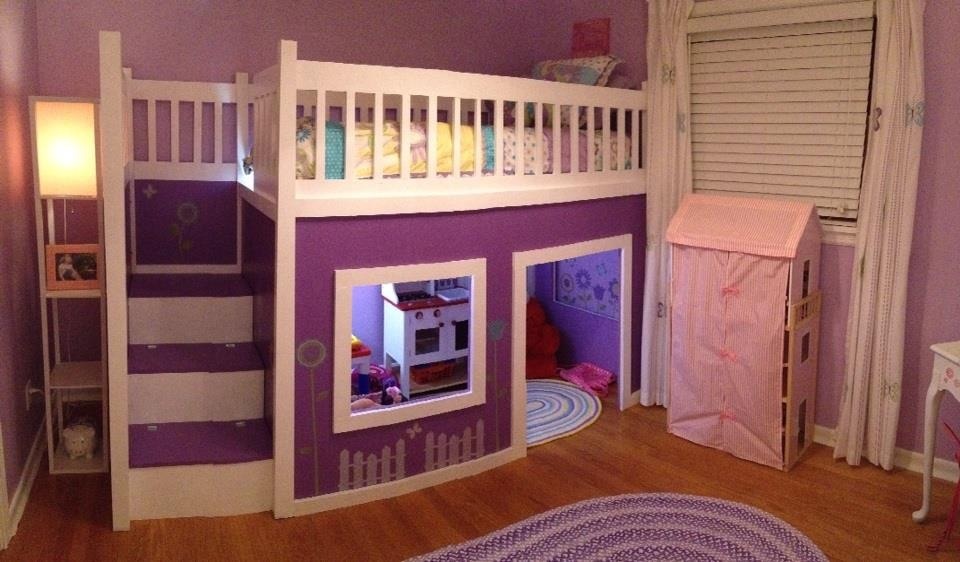
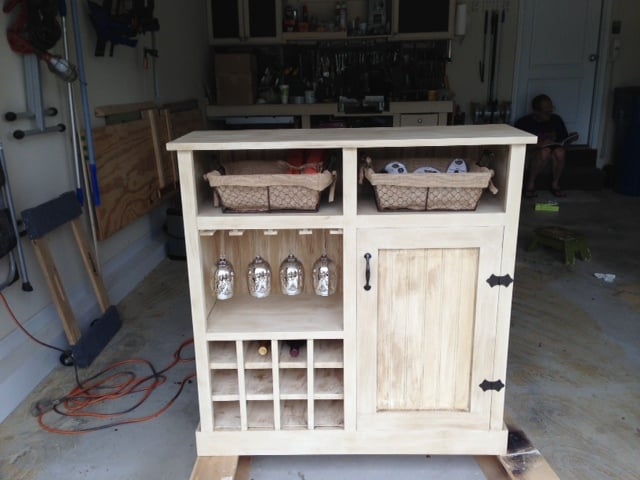
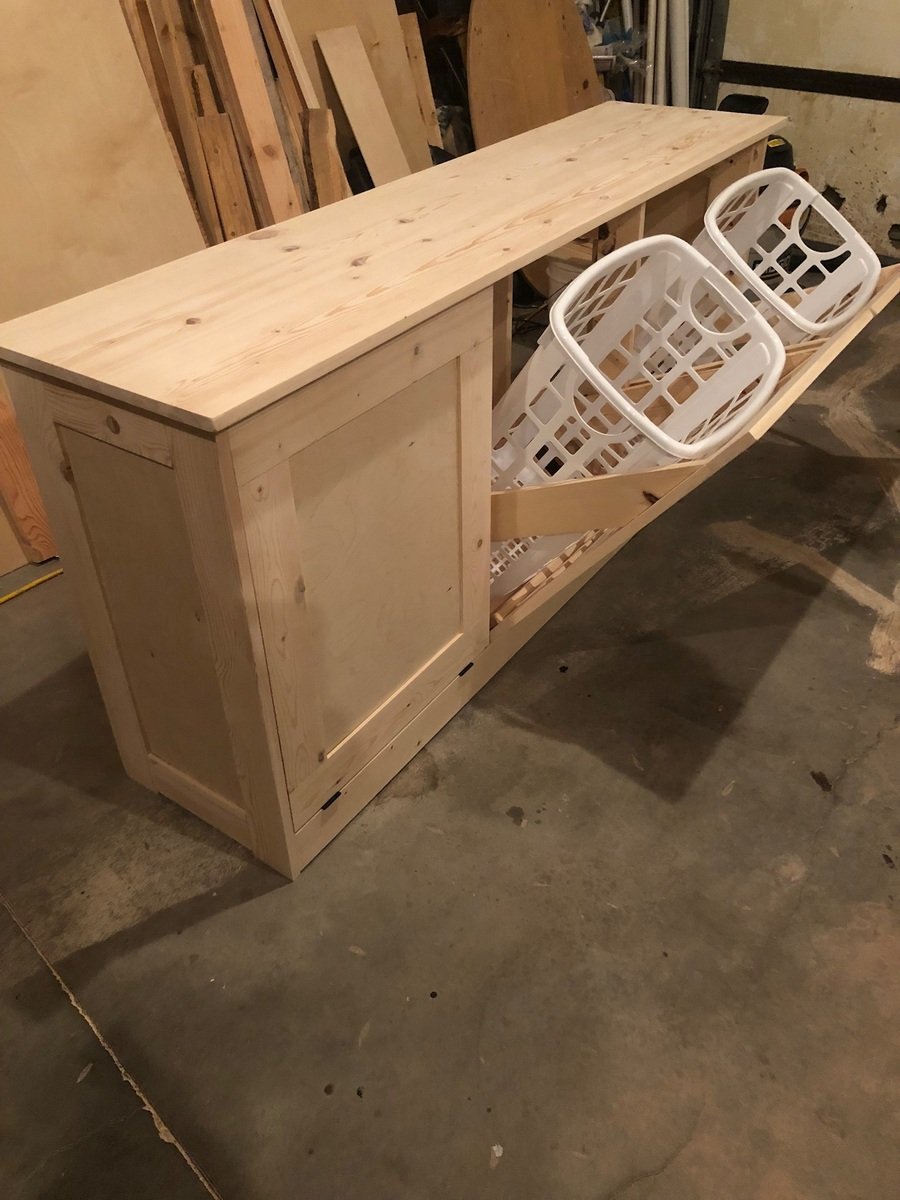
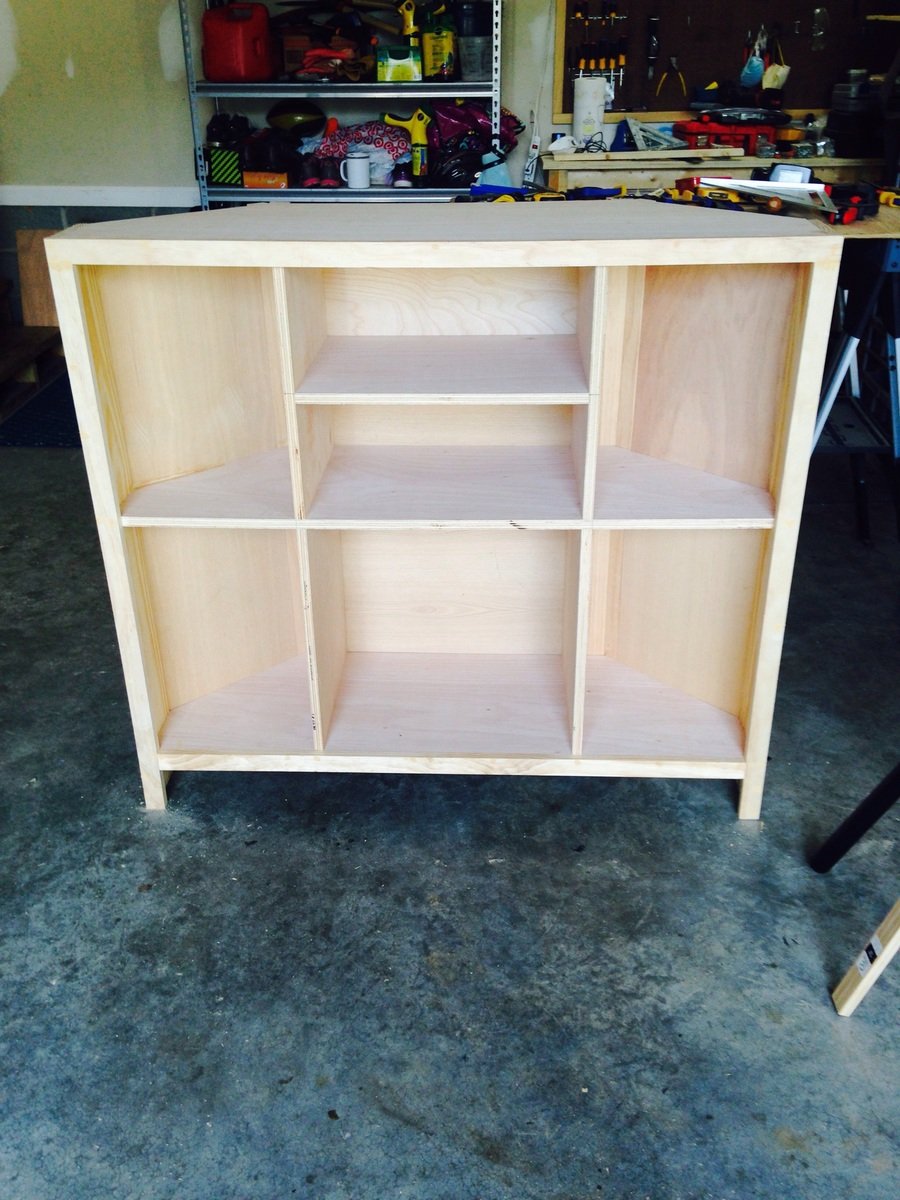
I built the library book cart to organize all my toddler and preschooler's books. What we were using just wasn't cutting it; the books end up being scattered everywhere. I love the idea of a pretend library cart (I used to work in one...), and the kids can feel like they have the library in their room! They're playing "library" as I type!
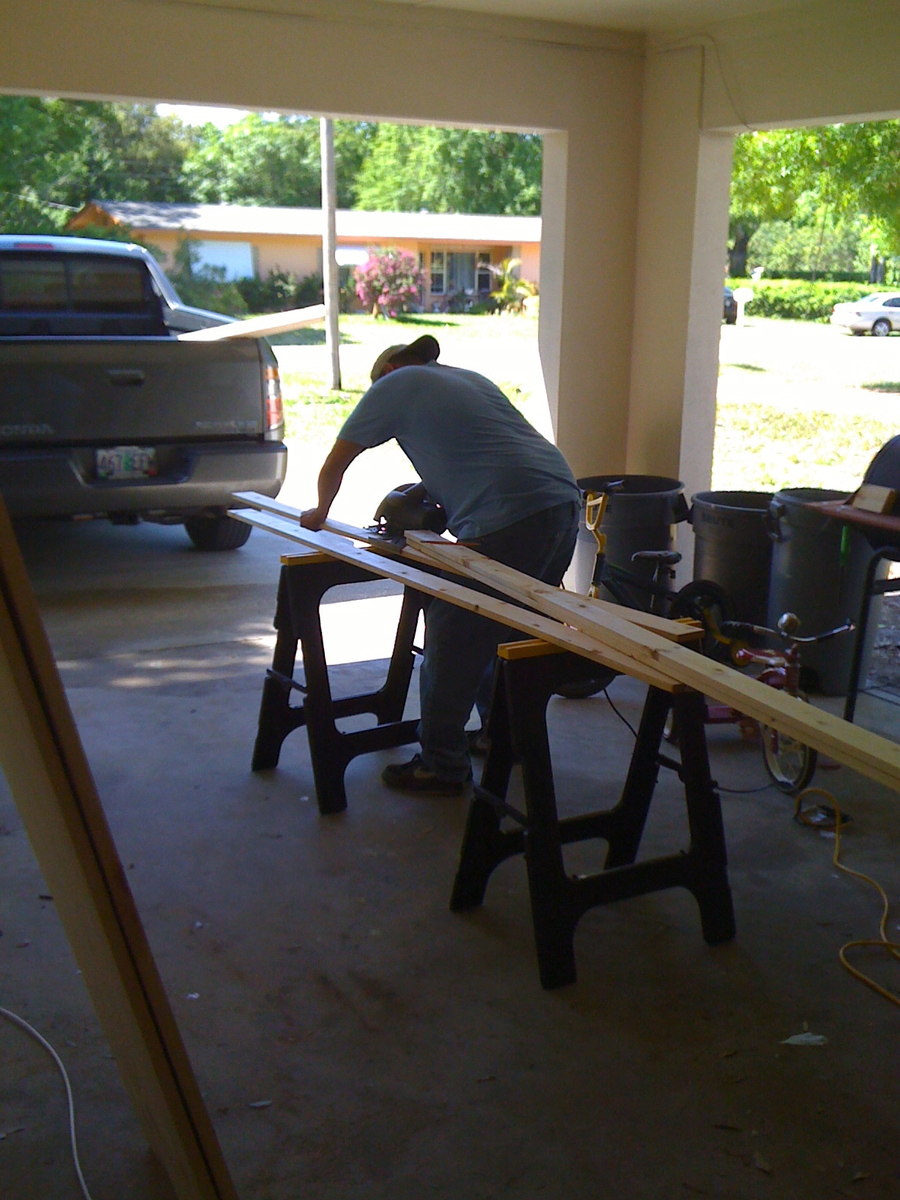
This was an easy build. I used 1 1/4" screws for the 2-in castor wheels for 3 out of 4 screws per castor where I had enough depth. I also used wood glue. For the 4th screw per castor, I used 1/2" screws. This was mainly due to being all I had on hand...not sure if it was correct. We'll see if the wheels hold up with the weight of all the books! Other than those changes, I followed Ana's plans.
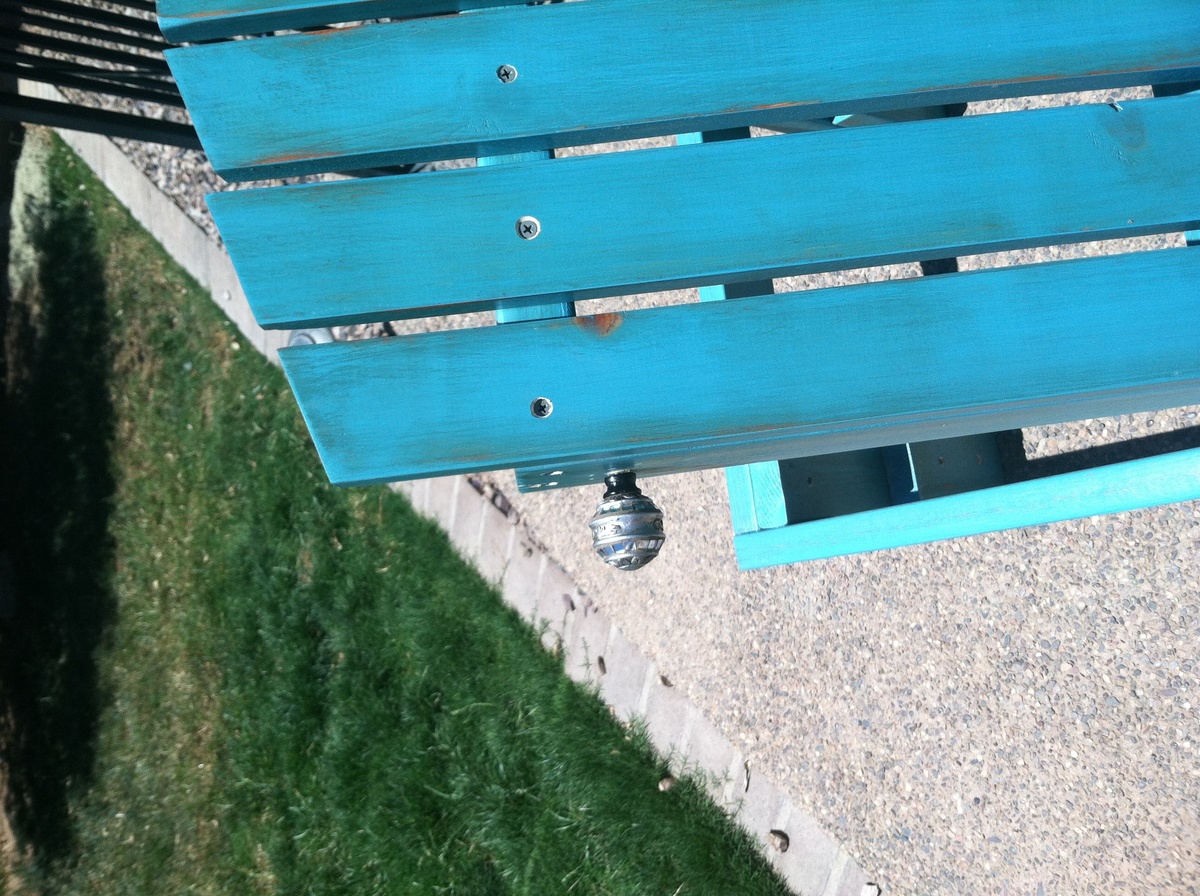
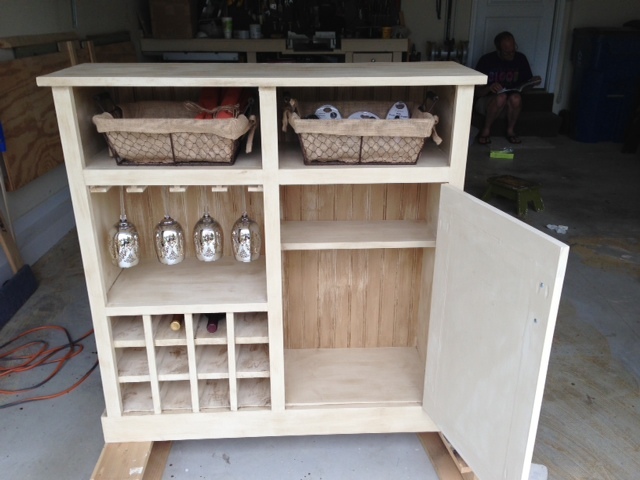
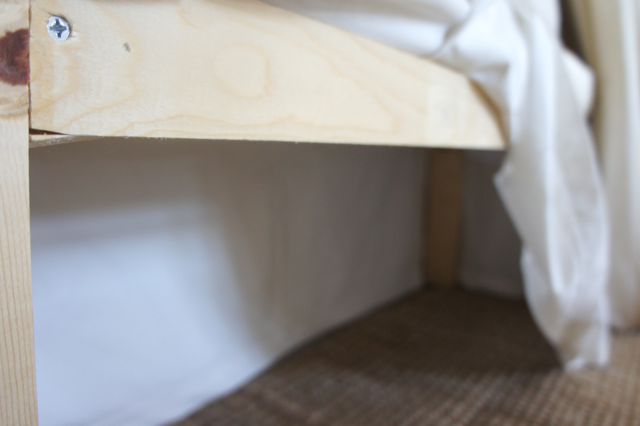
Oh, and I managed to create handles without really knowing what I was doing! They turned out OK. I tried two different methods for each handle, but basically used a drill, chisel, and jigsaw and then sanded, sanded, sanded after I made the cut. I think I can do better next time!
Mon, 06/27/2011 - 09:13
Your library cart looks great! Good Job. My daughter loves playing with hers too, and the best part is how easy they are to put away :)
When I saw this bed plan, I knew it was a must have for my 4-yr old daughter. It was a fairly easy build as long as you have the right tools (ie Kreg Jig). Due to the size of the finished product, I built the 5 sides out in the garage, put one coat of paint on everything, and then carried them into the bedroom for assembly. I then put on a second coat of paint. Needless to say painting this bed was tedious, and if I had to do things over, I would consider a power sprayer and at least priming the entire thing before final assembly. I went with the toy boxes in the steps per Ana's plan and it is perfect for all of my daughter's "babies". We found some wall stickers at Target that fit our theme perfectly and added them to the bed. She loves it!! Thanks Ana for the plans!
This was such a fun build! First time working with plywood - definitely won't be the last. Really love how it came out.
Wed, 08/26/2015 - 20:56
this looks gorgeous! Where did you purchase your drawer pulls? I started this project in November and I hope to finish it before the summer is up! (heh I'm such a procrastinator!)
I have wanted an outdoor sectional for our Atrium for a really long time, but I didn't want to spend the thousands on it that Pottery Barn/West Elm Charged. I built the entire sofa for $220, which is less than the cost of one armless piece from west Elm. (To get the pieces that I built from West Elm it would have cost $1116 which includes the extra delivery charge, but not tax or shipping.) I also sewed my own cushions to save a little extra dough (even though I'm a TERRIBLE sewer) for aprox $29 a cushion. (Their cushions are $59 a piece!) I also used leftover stain and poly that we had from some window trim we had freshened up a few weeks prior. So, total, I saved myself about $1000!
I mention that this project is probably a week long project, but that is only because there are so many pieces. In reality, I probably made one part of the sectional per day, including all of the sanding, staining, and poly.
I'm so proud to have such a beautiful piece to lounge around on and entertain this summer while still keeping a budget!
Happy Tuesday everyone! Today I am going to share a project with you that I built with the help of some plans from Ana-White.com.In a weekend we carved out a custom wine cabinet we will be donating to a local children’s charity here in St Peter’s, MO. This lovely cabinet was created from the SHANTY OPEN SHELF CONSOLE, which was designed for the Shanty sisters at Shanty-2-Chic blog site. We altered the plan to make it a wine cabinet which came out spectacular! Ana, thank's again for providing your free plans. I will be happy to upload the altered plans in a couple days so you can all enjoy them! Happy wood working!
Wed, 08/07/2013 - 14:43
Thinking this would make a great Christmas Gift idea for quite a few of my friends! Can't wait for the altered plans!
Thu, 08/08/2013 - 17:55
The plans are in process - Hope to have them posted this weekend to your Ana's site!
Sun, 08/18/2013 - 08:46
Looks great! Any idea when the altered plans will be available? Itching to get this built for my SO.
Tue, 08/27/2013 - 13:51
I'm adding this to the top of my build list as soon as the modified plans are uploaded! Thanks for taking the time to add them.
Wed, 08/28/2013 - 17:10
Wine Console Altered Plans
Sorry it took me so long, our blog over at Hello...I Live Here has kept us busy with all our new visitors. But as promised here are the altered plans to help you make the wine bottle holder and stemware holder.
MAKING THE WINE BOTTLE HOLDER:
Start your project with Ana White's plans. Finish the whole thing, but only make one door. Leave the other side open and alter as follows to get your wine holders:
1. First cut 3 additional shelves 17 5/8" wide. Make sure you Kreg 3/4" holes on the right and left side of the shelves, connect to the sides with 1 1/4" PH (pocket hole screws - Kreg).
2. We spaced each of our shelves 3 1/2" apart, allowing 12 bottles to be stored in the wine case.
3. Cut in half length wise a 1x2 board. This will give you a horizontal stringer about .75" wide.
4. We customized the top shelf board to fit the distance - we did not want the board to hang down interfering with the wine storage. We trimmed this board to 3/4" to match the shelf thickness. Then glued and nailed into place.
5. Once the top board is in place, measure the distance from the bottom shelf to the top shelf to just under the top shelf board from step 4. With a pencil mark the stringer and cut to size, and install with glue and nails. This step needs to be completed 3 times 3 1/2" apart from each other. You should now have 12 square boxes making your wine storage.
6. On each shelf behind the three stringers, we placed a divider to keep the bottles from hitting one another. Each divider is 1/2" square, and 11 1/4 long, to match the shelf depth.
MAKING THE WINE STEM HOLDERS:
Now that you are done building the box for the wine holder, we can move on to the stemware holder.
1. We purchased .25 x 1.5" x 36" poplar flat wood. This will make the bottom of the T's and L's stem ware holders.
2. Then we used 1/2" square pieces of poplar to make the L and T mounts. Mount the flat poplar to the 1/2" squares making 2 L shaped pieces for the Right and Left side of the unit, then make 3 T's for the centers. You will use glue, and clamp them down tight, then nail together.
3. Hang each L shape on the Left and Right Side of the unit with finish nails. The next part is kind of trick and depends on the size of the stem bottom you will be hanging not all base bottoms are the same. Once your L's are hung, take the stem wear you will be hanging and rest it into the L shape holding the glass (do not let go of the glass it will break if dropped). Then position the T shaped molding to accommodate your stemware. Move the glass in and out of the L and T until you get your desired width for your stemware. Mark the T you are holding with a pencil , carefully sit down the stemware and mount the T shaped holder. Continue until all 3 of the T's are hung ( we used glue and nails to complete this process).
We used a bead-board backer instead of plywood to give it that French country feel.
We hope these plans help you build a piece you love! This piece of furniture brought the charity we donated it to $500 extra dollars to help their children. We at Hello...I Live Here were very proud of the job we did and that we got to help some wonderful children!
Visit us at www.helloilivehere.com or stop by our Facebook page and give us a big like once you complete your project!
Happy building ;-)
- LC
Thu, 08/29/2013 - 13:01
Thanks so much for posting the plans! My sister has been asking me to make this for her since she saw the pics a couple of weeks ago.
Side note: I'm from St. Louis, MO, so seeing you were from St. Charles caught my eye!
In reply to Thanks so much for posting by Joeboxer1013
Thu, 08/29/2013 - 16:06
No problem - we are actually in Ballwin MO - stop past our page and see the other things we do - helloilivehere.com
LC
If you are wondering if you can do this, I just learned to use a saw a week ago! So... YES, you can! =)
Took me all weekend to do the cutting and building. Was able to do everything alone except final assembly. I just didn't have enough hands.
Feel free to ask any questions. Also, take a look at my site for custom signs!! =)
www.heathersvinylcreations.com
Sun, 08/30/2015 - 12:42
This looks great!! I want to build this bed for my little guy but I am worried my ceiling may be too short for it
This was a build from a picture and made to fit into a space we have in the laundry room. Used the Kreg jig for much of it.
Tue, 06/05/2018 - 14:52
Awesome laundry sorter! Can't wait to see the paint/stain!
Thanks so much for sharing a brag post - much appreciated!
Ana
Built this for my daughter and my grandkids. Love your site. Have built many projects from your plans.
by Donny
I used Ana's idea for the plan, but modified it slightly to stand up to my wrecking crew (aks the kiddos). I posted a step by step plan with photos on my blog if you want to use the information for yourself.
Tue, 07/05/2011 - 08:26
I tried posting on your blog but for some reason it wouldn’t allow me.
Okay, I seriously LOVE them! I'm in the process of making my own pub table for outside entertaining and was considering altering Ana's stool plans....now no need to! Thanks for posting, I'll just need to lengthen the legs a little and for that reason reinforce it a bit to make them sturdy (I've got three boys and a daughter that can be a rough as the boys). Thanks again and I'll be back to check out future posts. Check me out at: http://laundrywillwait.blogspot.com/
~Jen
In reply to I tried posting on your blog by jsle_bel
Wed, 07/06/2011 - 18:39
Thanks! Sorry the blog wouldn't let you post. I'm new to the blogworld and I may not have something set up correctly. I'll share more projects as I complete them. Don't you just love Ana and her website? She is so inspiring. I'll check your site out too. Thanks again and happy building. :)
Thanks for the plans Ana! We love our new bed.
Mon, 09/09/2013 - 11:16
Your bed looks like I am imagining mine will, minus possibly distressing it. I do have a question for you ... how did you attach the side rail to the footboard? I have gone through every brag post and only one of the posts had a photo of the connection to the footboard (they used brackets).
This project was modified from the original plan in that it is not as tall, the shelving was configured differently as well as the doors. I wanted a sophisticated yet rustic appeal to it. Thus, I made vertical long doors with a barn door design.
In reply to Super Awesome! by Ana White Admin
Wed, 09/02/2015 - 19:34
Thanks for the compliment! This website is such a great source of inspiration for creativity! Keep up the great work! Ana is awesome!
Easy beginner project. I had a spare pressure-treated picket on hand, so I used it instead of cedar. We're repainting our house this summer, so I stained the wood to match our eventual new house color.
Love my table, I’m still working on the benches.
by Melonie
I took Ana's amazing easy upholstered bench from modern to "magnifique," with a simple pleated skirt and silk upholstered seat cushion! Now our oddly shaped breakfast nook has a built-in that doesn't look so--well--built-in! Ana was right, it truly doesn't get EASIER than this :o)
In reply to Very nice by Tsu Dho Nimh
Mon, 07/11/2011 - 08:38
What a great idea! My puppies like to hide under there, too :oP
I chose to laminate 1x2's together for legs, and then simply used a 1x2 as the brace between the legs. I also ran the top across my router to give it nice rounded edges around the top. Really was super easy and super cheap. I painted it to match my dog-kennel coffee table.
Sun, 08/11/2013 - 20:46
Beautiful. The simple builds take my heart. =D Love the color combination and smooth looking finish. Great router detail, too.
Comments
Pam the Goatherd
Thu, 06/23/2011 - 10:36
Gorgeous!!! Just absolutely
Gorgeous!!! Just absolutely gorgeous!
Keri Beth (not verified)
Wed, 02/29/2012 - 07:07
Beautiful! Thanks for all
Beautiful! Thanks for all the pictures.
Rachel Horschler (not verified)
Mon, 12/10/2012 - 10:11
Just what I had in Mind
Thanks for posting the pictures!! This is really close to what I had in mind!