Community Brag Posts

RyobiNation workshop carts

Submitted by CarolinaL on Sun, 07/08/2018 - 14:23

The plans were easy enough to follow. I made the miter and table saw carts not as long because of the space I had to work with. These were perfect to provide a stand for my saws while at the same time giving me the additional storage I need. This was the last part of the garage that needed to be organized so I'm extremely pleased. 

Estimated Time Investment
Weekend Project (10-20 Hours)
Recommended Skill Level
Beginner

Comments

Rustic X beach beverage center

Submitted by one wolf on Tue, 09/08/2015 - 06:52

We used old dock wood for the surface of our X table for a nice beach house beverage center (sand bar!).  We adjusted the size to fit our space (a little longer and wider) and used additional studs for the shelves instead of 1" shelving, glued and PH/PS together.  To cut the X pieces I just held the 1x1 on the end of the table where it goes and marked the lines. Then I clamped a guide board at the correct angle on the table saw to make all the cuts, starting a bit long and shaving off until it just fit.  


With all the pocket holes and screws I wouldn't consider this a beginner project. Some additional steps and pictures in your description would help also.  End result is really nice.


Built from Plan(s)
Estimated Cost
$50
Estimated Time Investment
Weekend Project (10-20 Hours)
Finish Used
Patina wood from an old dock for the surface and the base is painted flat gray.
Recommended Skill Level
Intermediate

Comments

Double Inset Bookshelf Doors

Submitted by dholubar on Wed, 08/21/2013 - 07:08

You made this project look so simple that I just had to try it. However, to suit my needs I had to make a few alterations to the plans. I had a set of bi-fold doors that were in need of replacement and I thought inset bookshelf doors would be the perfect way to replace them. This project was easy enough for me to do it myself and I am really new to the DIY game but I did have some help. I really love the way they turned out. You can read all about my my adventure at http://heresalittletmi.blogspot.com/2013/08/bookshelf-doors.html

Built from Plan(s)
Estimated Cost
$120.00
Recommended Skill Level
Beginner

Full Size Camp Loft

Submitted by jcygan on Wed, 09/30/2015 - 16:37

We modified the plans for the Camp Loft Bed to accommodate a full size mattress.  We also extended the platform so that the bed spread wall to wall in the bedroom.  Since the platform was extended, we added a short railing to prevent falls.  The height was pushed up to make it taller than the junior size of the original design.  This way we were able to place a desk and add 2 pine shelves underneath the head of the bed.  

We added a board along the long side at the bottom to take out some wiggling.  The bed itself still seemed a little shaky until we attached the platform and now it is rock solid.  We have had 1-2 adults and multiple kids up there at the same time with no problem.

The bed itself could have been built in a weekend.  However, the time it took to sand, stain, and clear coat added many more hours.  Those hours were definitely worth it for a finished product.

Estimated Cost
$500
Estimated Time Investment
Week Long Project (20 Hours or More)
Finish Used
We used the medium warm stain used on the original bed. The directions are found here: http://ana-white.com/2012/07/medium-warm-stain
Recommended Skill Level
Intermediate

Comments

Albright777

Fri, 10/02/2015 - 10:43

Thank you so much for posting this.  My oldest wants a loft bed, but has a full right now.  I am building my 2 youngest the junior loft this fall and the oldest was jealous.  I was scared to build one.  Afraid it would not hold up.  Thank you for showing that it does.  Great job!!!


Essential Outdoor Wood Chair for standard cushion

Submitted by Anonymous (not verified) on Tue, 08/09/2022 - 19:09

I was so excited to try this plan! It was the perfect size for this corner! Now I need to make a few of the chairs for the deep seat cushions! Thank you for these great plans, Ana!

Comments

My cedar fence--thank you!

Submitted by NayNay on Tue, 09/03/2013 - 12:48

Thank you for the plans for this fence! So many sites tell you what you need to do to plan for a fence, but don't give you any dimensions, materials, etc.

I didn't do it exactly like your instructions, but close enough to give you all the credit!! I am a 45 year old woman, with only a little do-it-yourself experience. I went to the hardware store, and asked "what are these PH screws?" and felt a little stupid. But my friend Tanya and I built this fence this weekend, with a post level, stakes and string, a chop saw, two 18v drills,a sledgehammer, a string level and a sharpie! We are so proud of ourselves.

I still need to trim off the tops of the posts, and do a few little tweaks. Also, we did not dig post holes. We used oz-posts, and pounded them in with a sledgehammer, attached the wooden posts into the oz-posts with heavy-duty construction adhesive and 8 screws, and straightened them with a huge wood clamp. And next weekend, I'll be putting in raised flower beds along the bottom to cover the lower space. :-))

Built from Plan(s)
Estimated Cost
$76 per panel
Estimated Time Investment
Weekend Project (10-20 Hours)
Finish Used
cedar-toned (pre-finished)
Recommended Skill Level
Beginner

Comments

carongirls

Wed, 09/04/2013 - 06:40

I am excited to hear about these Oz posts. I put up a small fence and dig holes which took me a week and blistered my hands.
I love your fence!

NayNay

Wed, 09/04/2013 - 07:36

If you check out the oz-post website (just google "oz-post"), there are video tutorials. We pounded them in with sledgehammers which kicked our butts. The oz-posts are about $16 each from Home Depot, which adds to the cost of your fence. But renting a jackhammer was $130 per day plus $30 per running hour, PLUS gas. Renting a post hole digger and buying cement is also expensive. So, buy yourself a sledgehammer, and use chunks of pressure treated wood to put in the tops and wack away!! We first used just regular wood, which splintered terribly, and then spent a lot of time trying to pry them out. If you do get the wood stuck in the posts, drill in a couple screws through the top, and pull them out with someting attached to the screws. Use chunks of pressured treated 4x4s and try to hit it square in the middle!! Good luck!

HD

Thu, 10/30/2014 - 12:46

I know this has nothing to do with woodworking or fence buidling...but that water tower in one of the picture reminds me of one I saw during a drive through Wisconsin. 

Coffee Bar

Submitted by Anonymous (not verified) on Wed, 12/28/2022 - 18:35

My wife wanted a coffee bar and I wanted a fridge for wine and beer. So we compromised on this.

Comments

Pull-out step stool

I needed a step-stool in my kitchen to reach in my top cabinets. I'm rather short so I was constantly dragging a chair from my dining table over to find things. I did a google search for a step stool and looked at images. As soon as I saw the picture I knew I had to build it, the retailer selling the original one I saw has a starting price of $270 and goes all the way up to $680! It took me 2 weeks off and on and several times of putting together and taking apart to get Ito the size specifications on the retail website.

Estimated Cost
Around $50
Estimated Time Investment
Weekend Project (10-20 Hours)
Finish Used
Stain and satin finish poly
Recommended Skill Level
Beginner

Comments

Bunnie1978

Wed, 10/09/2013 - 04:13

That's a cool idea... mix between nesting tables and stools! Great job!

Mrswhetstone

Sun, 05/31/2015 - 18:27

I just used the picture i found online as reference and built it through trial and error. Unfortunately I don't know how to create plans either.I can tell you the legs are 2x3's cut at a 5° angle and the tops are 2x6's. I ordered the drawer slides from amazon for approximately $12 a piece.

robear529

Fri, 08/21/2015 - 06:34

Hi, I've been looking for the original image that you used as your model in an attempt to find dimensions to start with, but haven't been able to find it. Could you perhaps remember what brand it was or what site you found it on? If you still have the stool, could you maybe tell me the width of your top step and I could maybe go from there? 

Thanks for the picture. This is a brillant idea and exactly what I'd like to create for my kitchen. I'm hoping to be able to use it as a counter height seat as well when I'm working in the kitchen.

Storage Step

Submitted by sophie on Wed, 10/12/2011 - 01:38

I built the storage step using my own measurements as it's designed for adults. It is used for reaching the very highest shelves in my floor-to-ceiling wardrobe system.
It was my first project using my jigsaw and am very happy with how it turned out.
I added some rubber non-slip mats stuck down so no one goes flying when stretching for clothes!
Have a look at my blog for more pictures and information.

Built from Plan(s)
Estimated Cost
€20
Estimated Time Investment
Afternoon Project (3-6 Hours)
Finish Used
Turquoise and white paint
Varnish top coat
Recommended Skill Level
Beginner

Class bunk bed

Submitted by Anonymous (not verified) on Tue, 03/12/2019 - 17:47

We removed the legs and added an extra piece to the top to bring the mattress height down.

Built from Plan(s)
Estimated Time Investment
Weekend Project (10-20 Hours)
Recommended Skill Level
Intermediate

Quick and free wall decor

Submitted by AlexWS on Tue, 10/18/2011 - 14:02

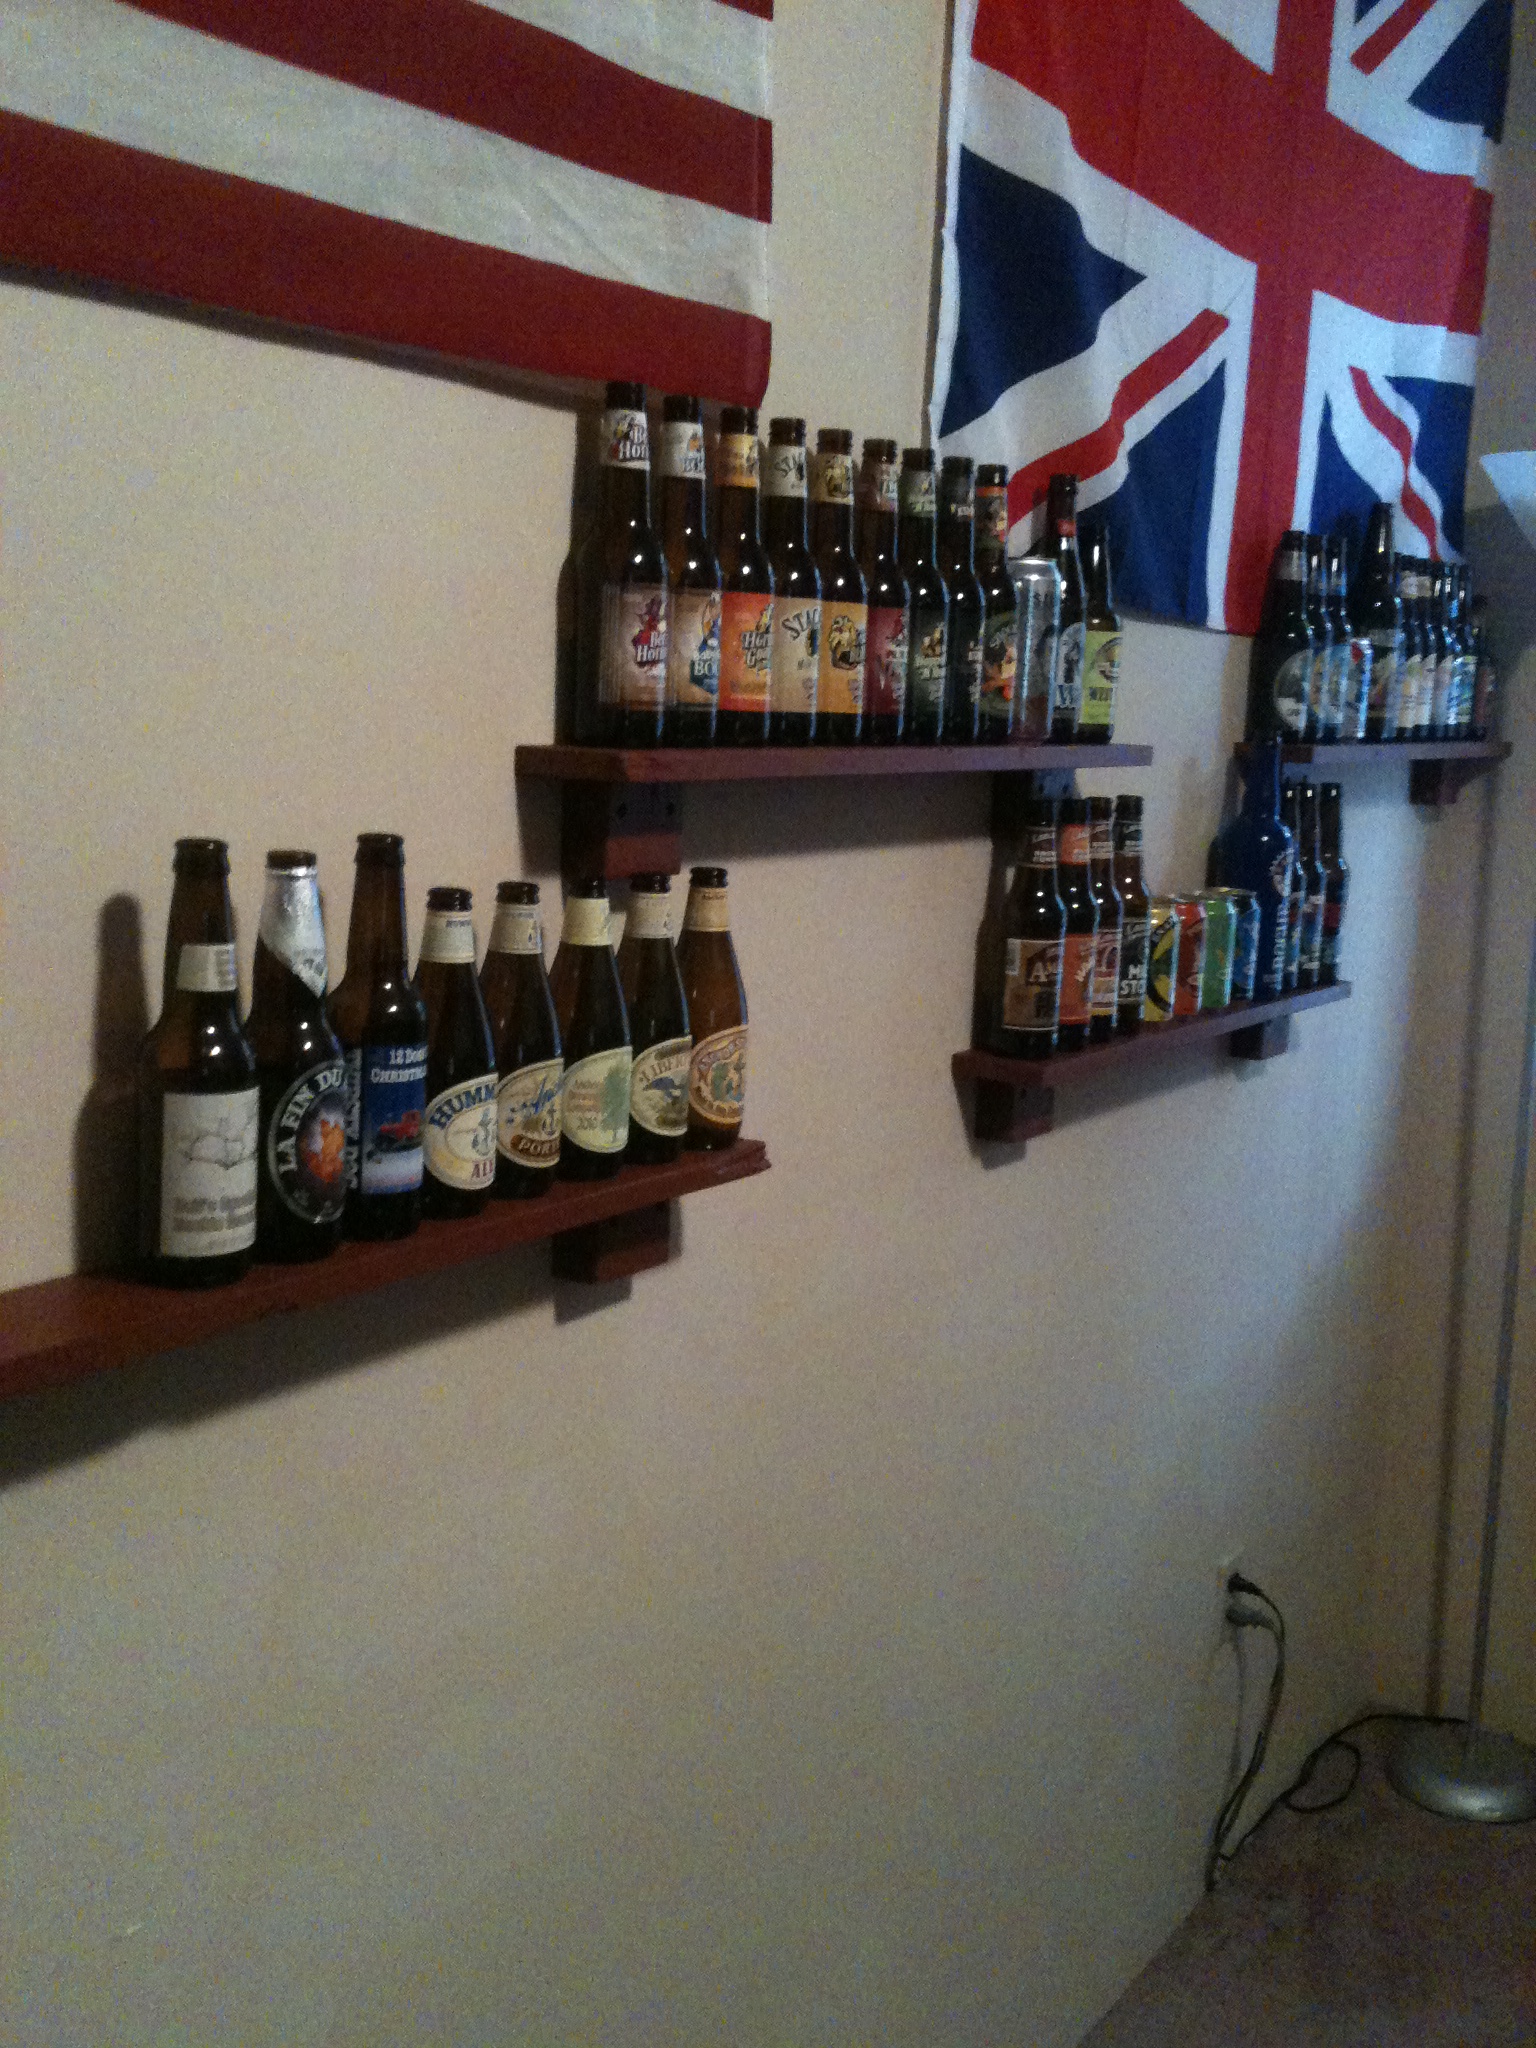
So about a month ago I had planned for people to be over for a casual evening of story telling, snacking, casual beer drinking and the exchanging of a variety of craft beers. All in all, a good time, no biggie.

Fast forward a little bit after making this commitment, the roommate tells me he and his girlfriend are getting their own place and therefore moving out. Great! Now I don't have to put on pants when I wake up to pee at night.

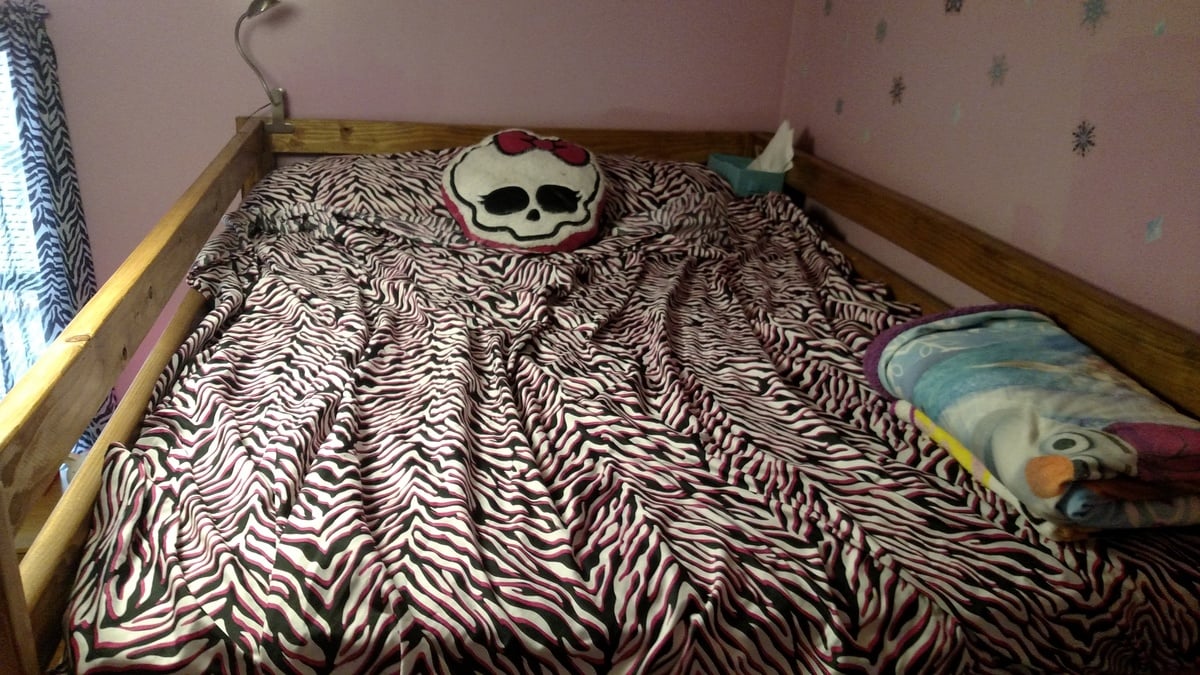
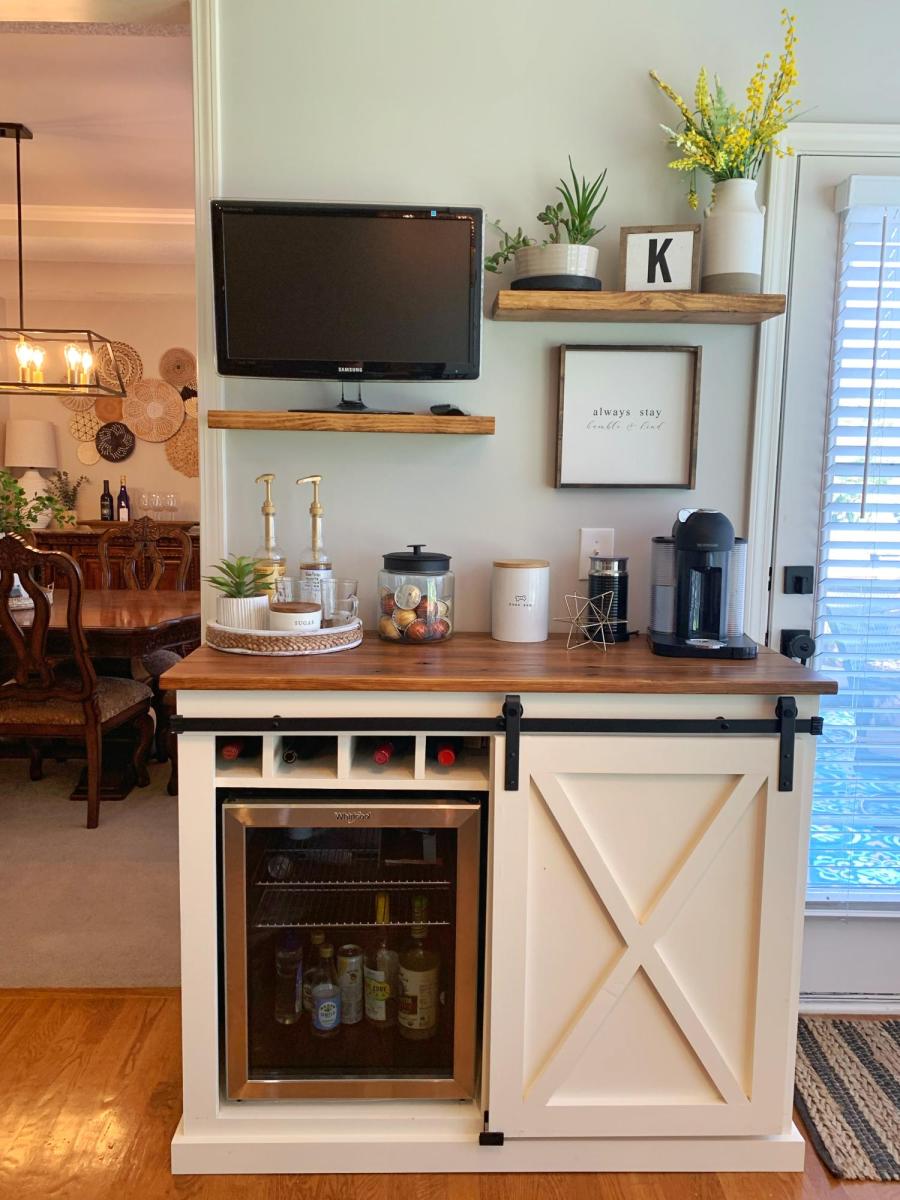
Fast forward to the first of this month, he's moved out. Gone with him is much of the furniture and things in the house. Not really a big deal except now it looks like I live with nothing but a bed, a couch and some milk crates. Not the image I want conveyed to a group of people who are going to see where I live for the first time.

Of course maybe a more normal person would go buy some things to fill the gaps, unfortunately for a 24 year old making not nearly enough over minimum wage, that isn't an option. Besides, even if I could afford it, furniture markup makes me ill.

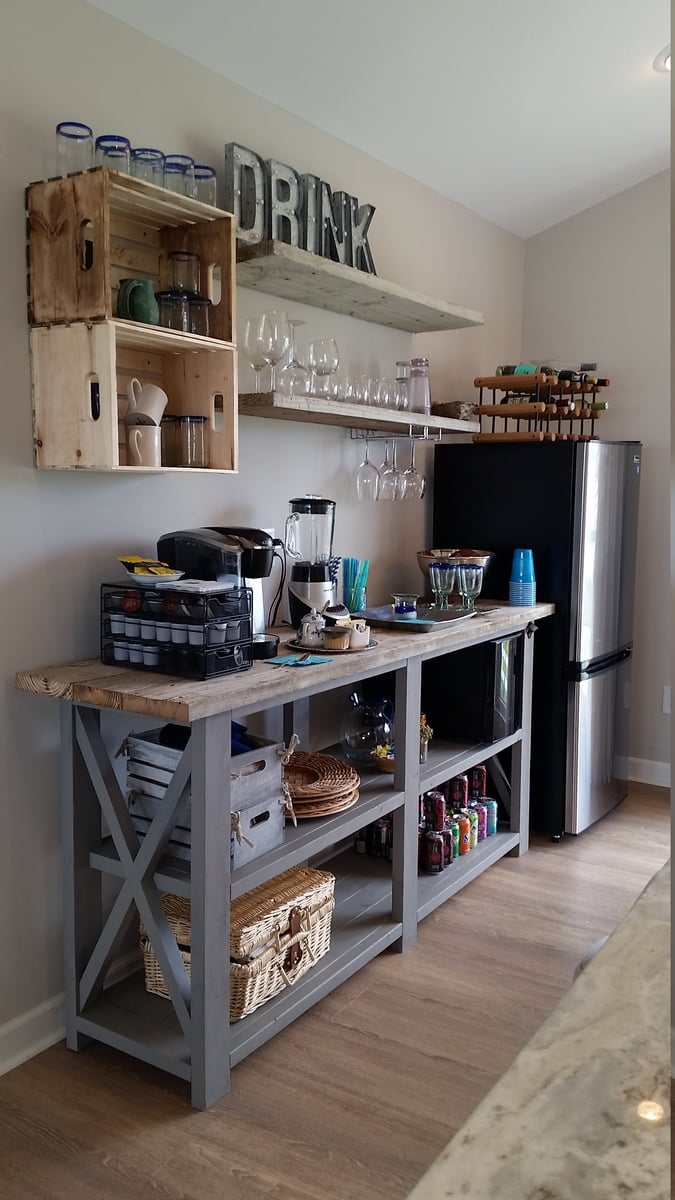
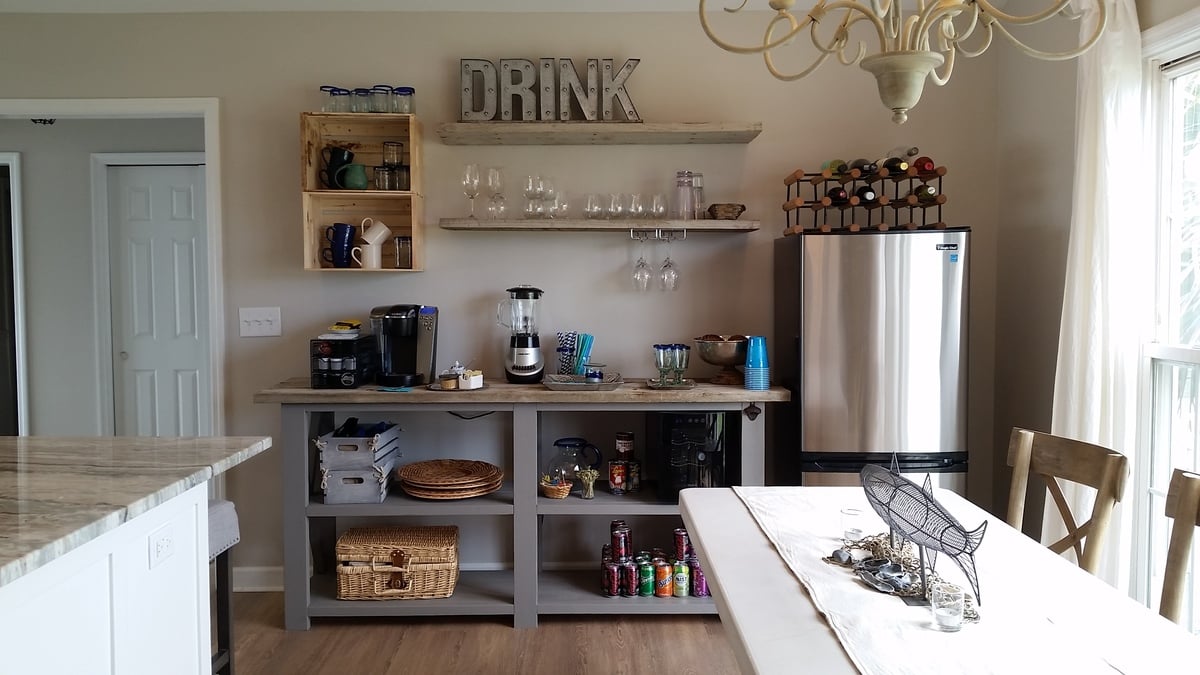
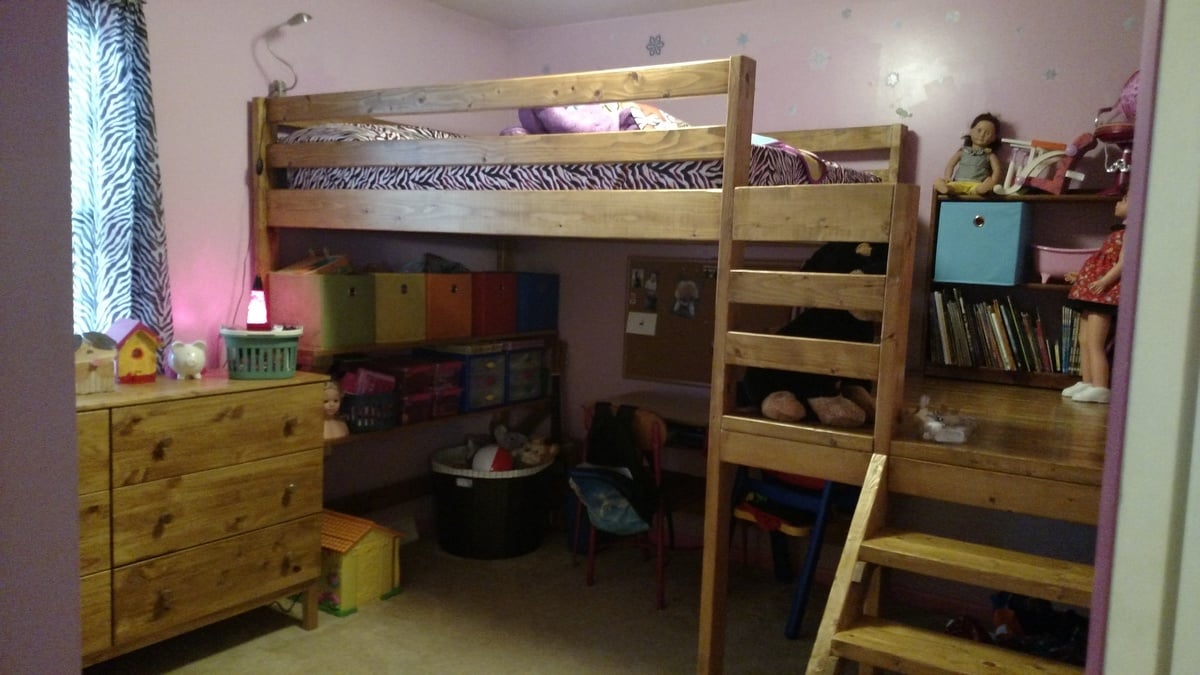
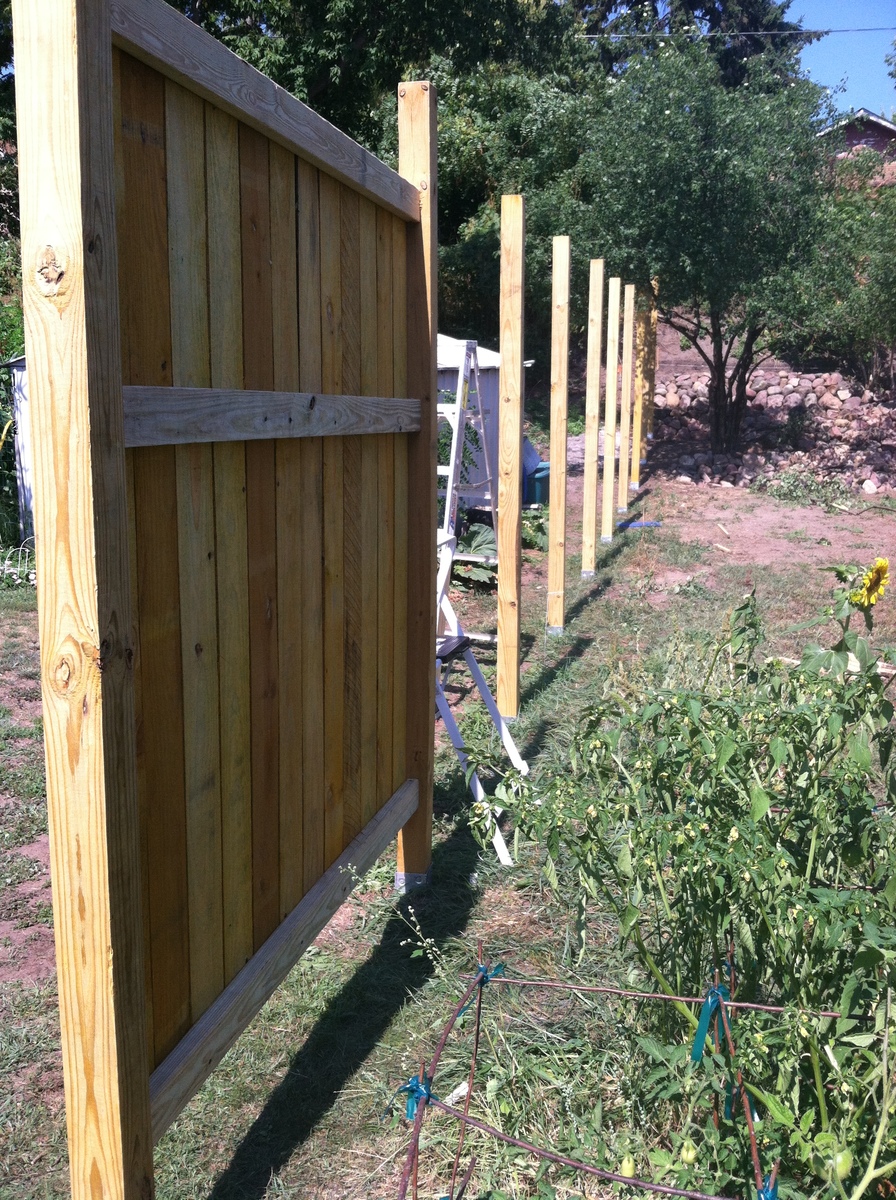
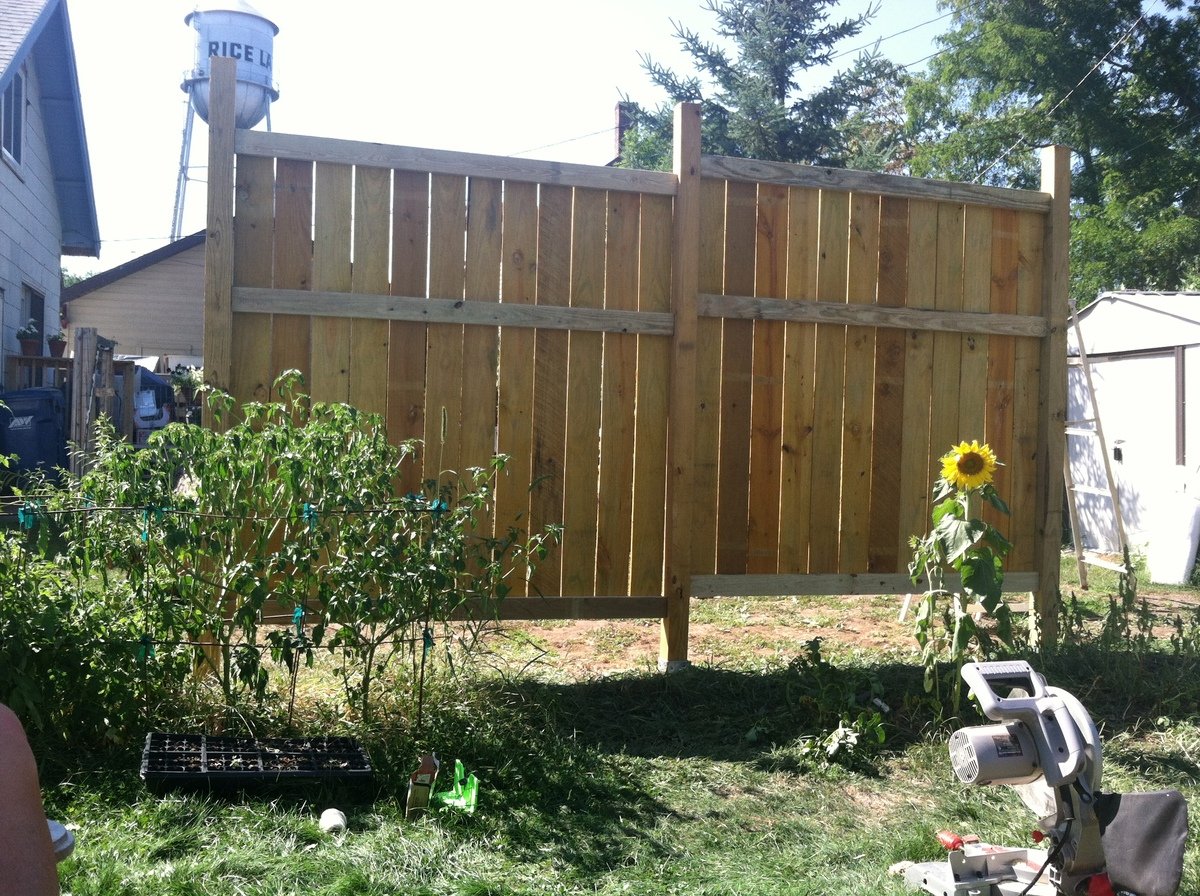
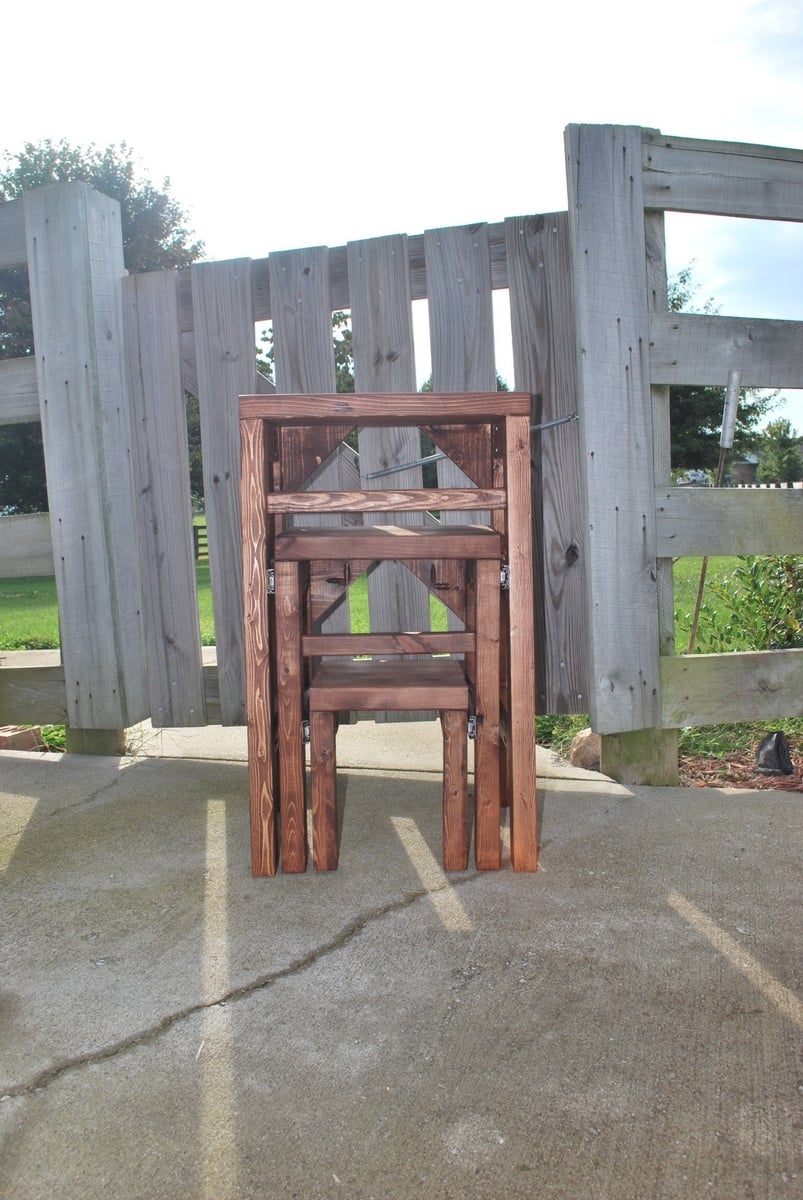
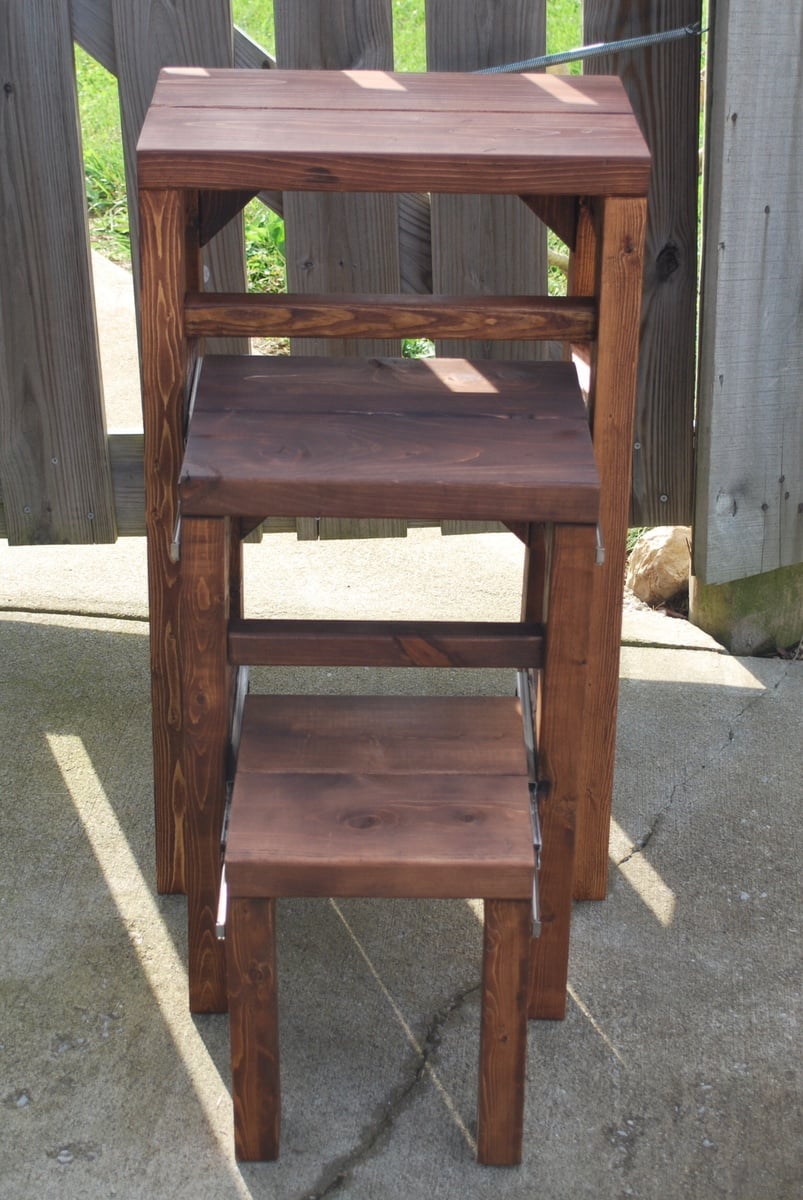
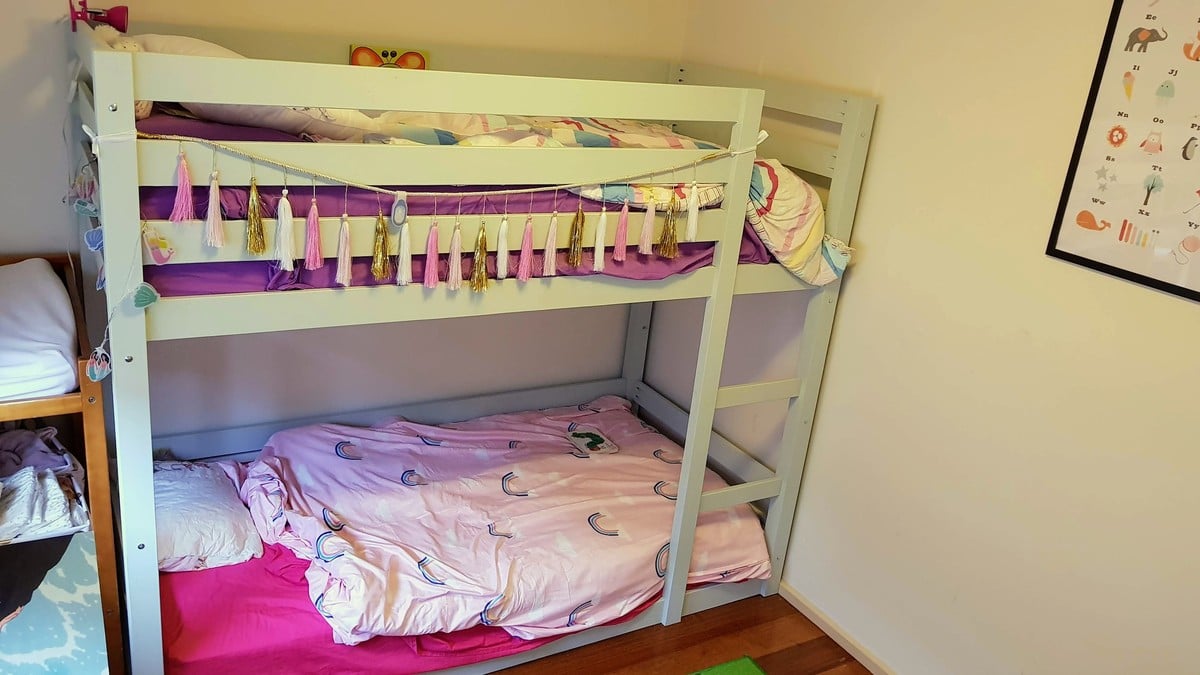
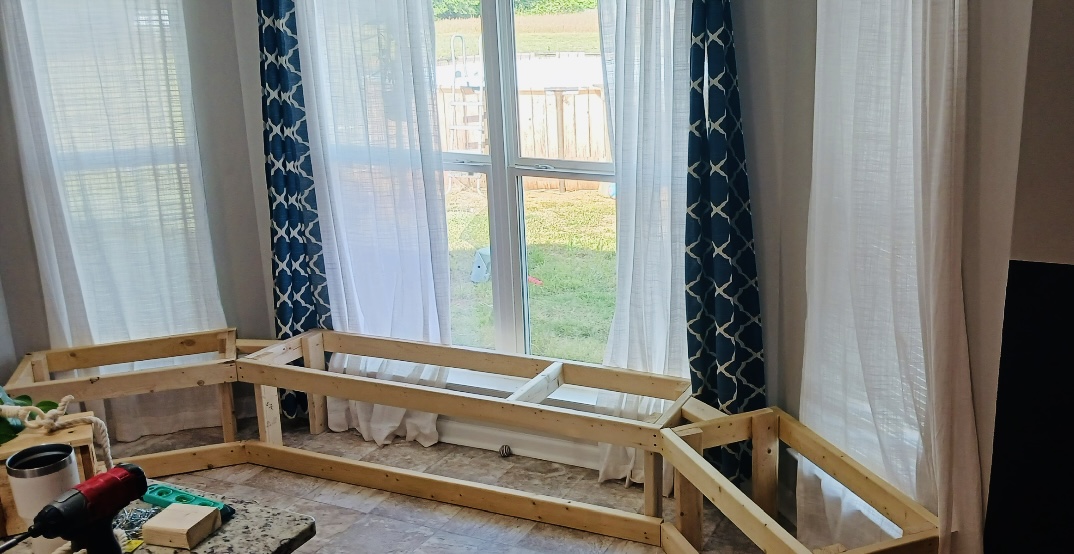
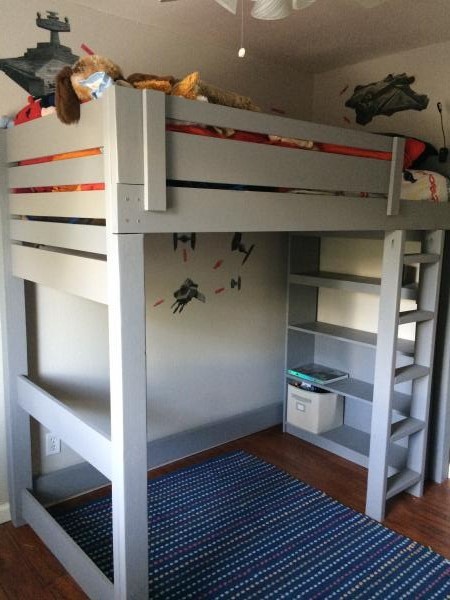
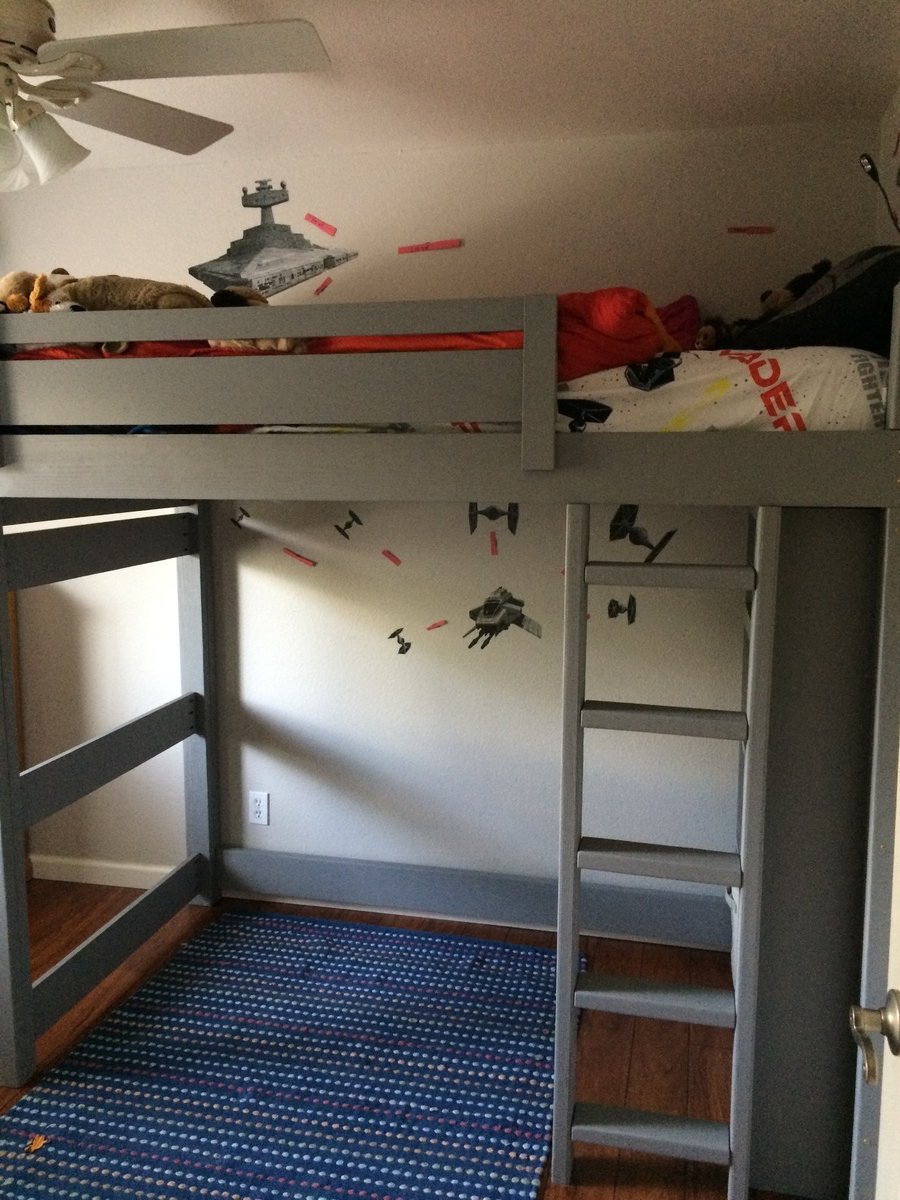
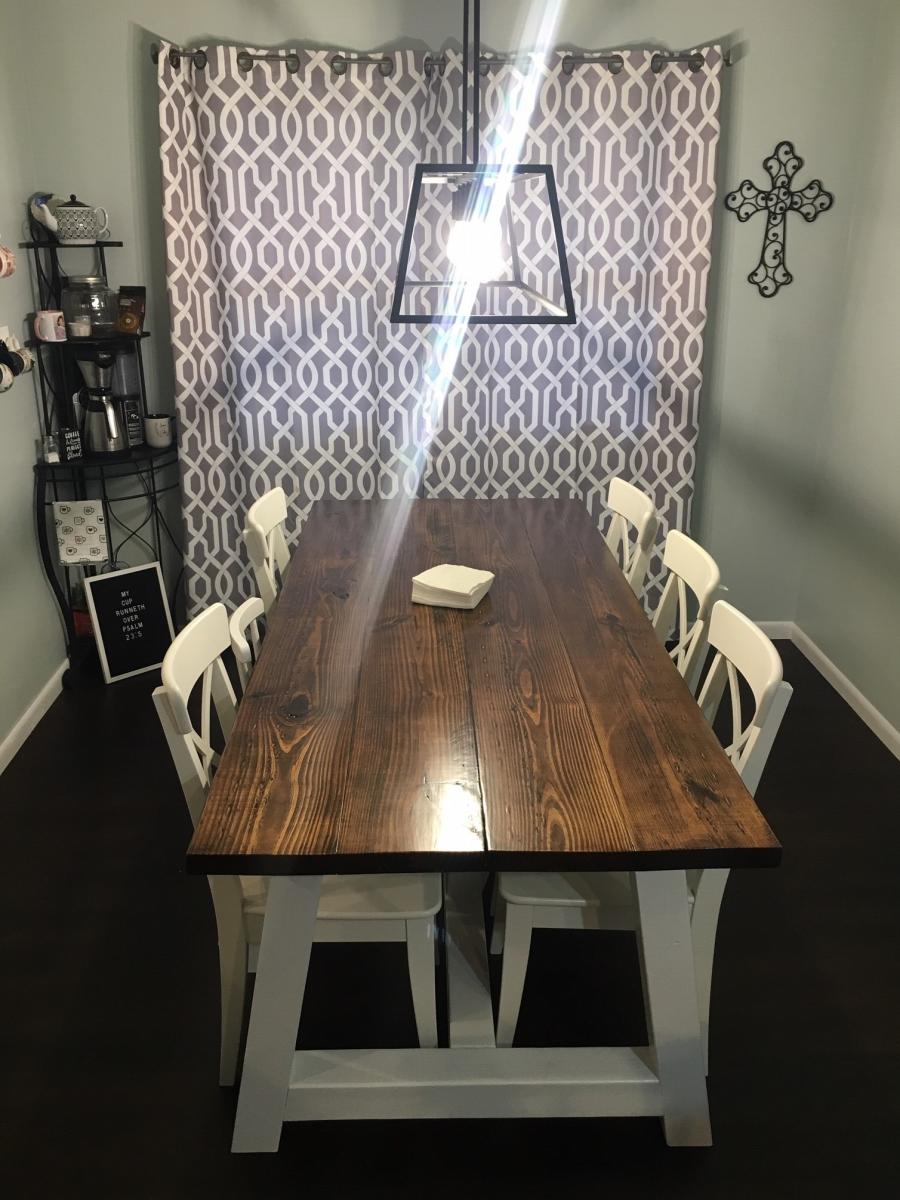
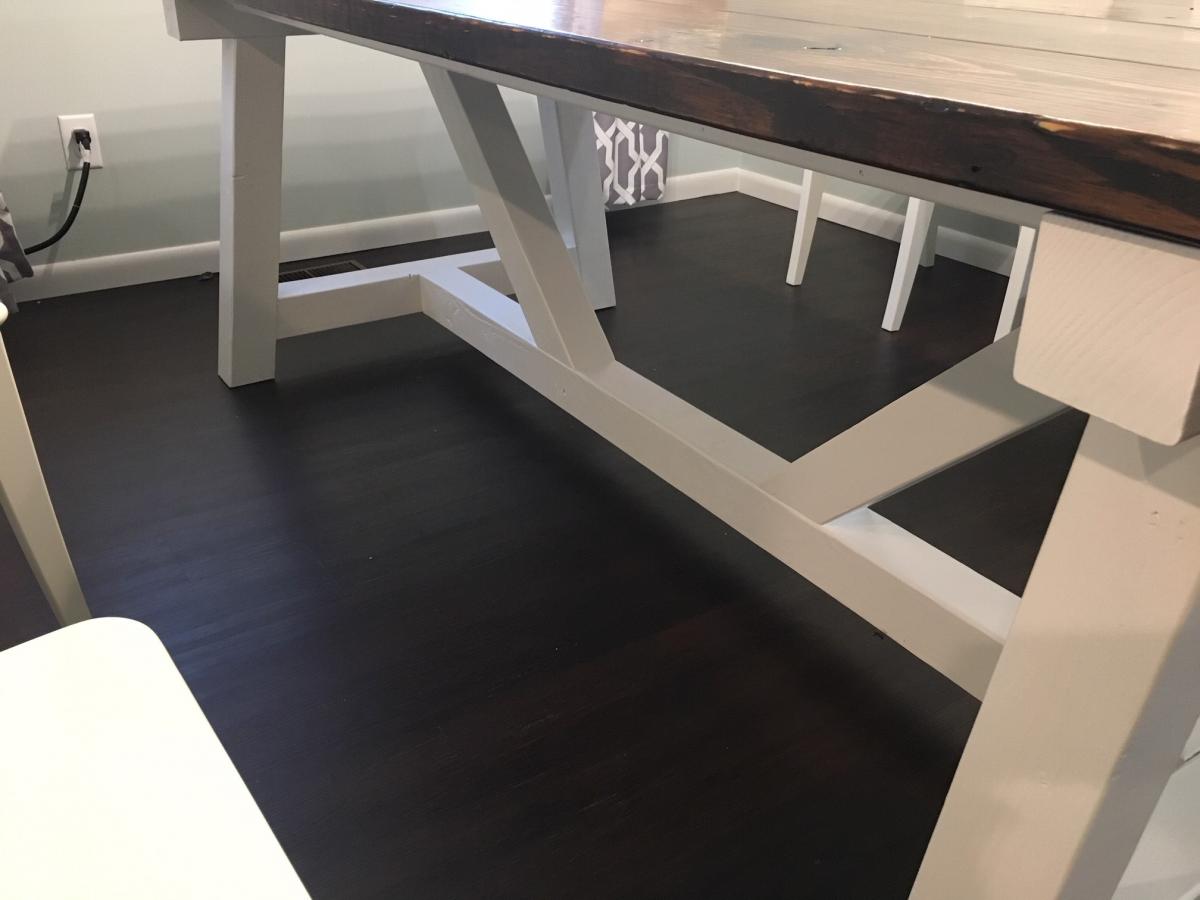
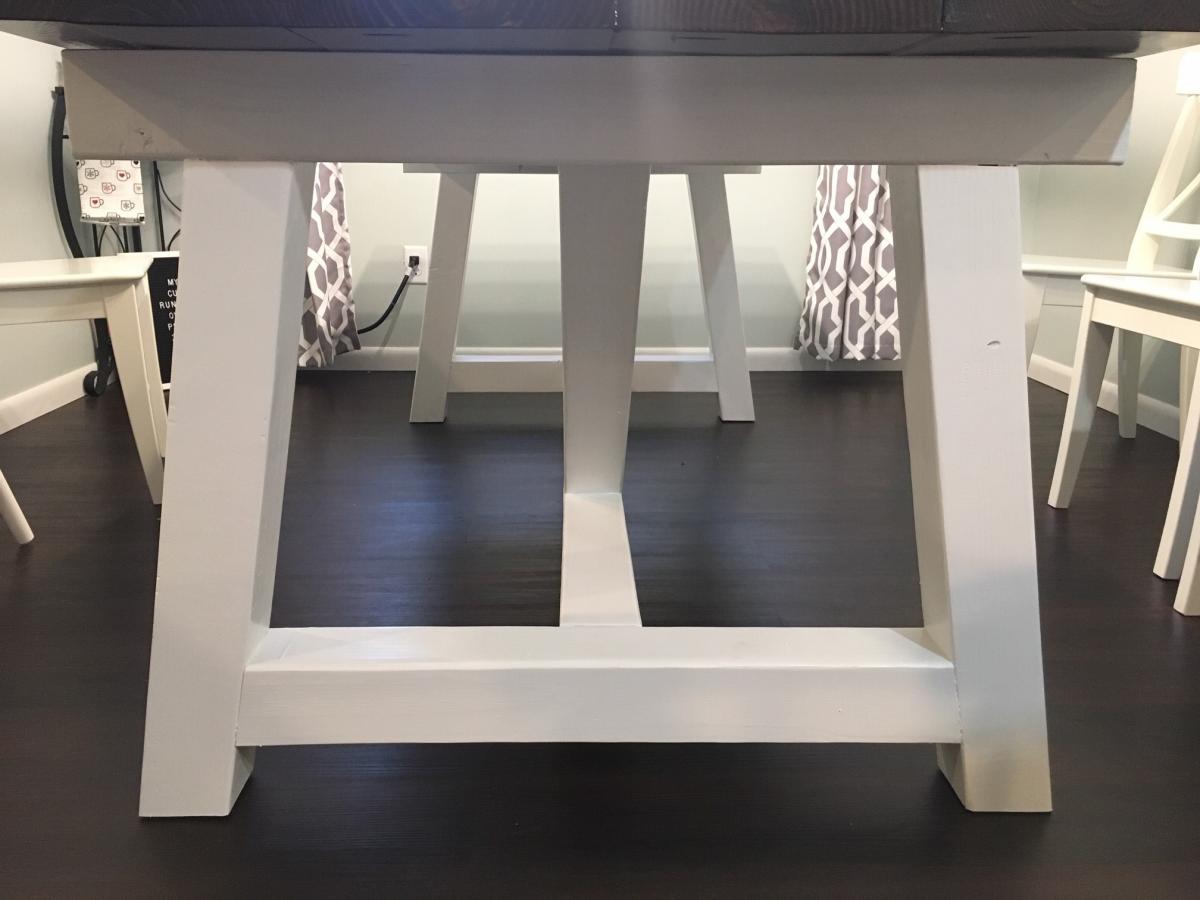
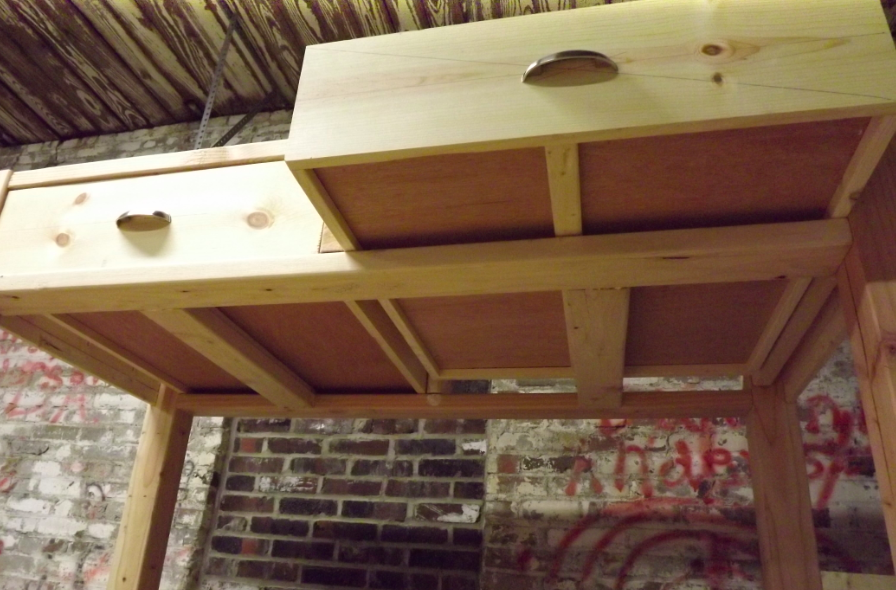
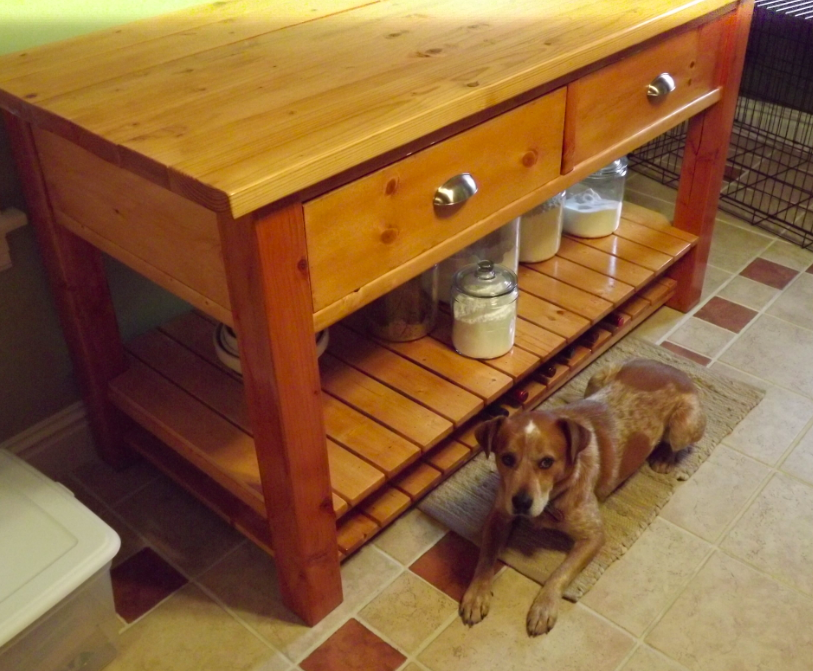
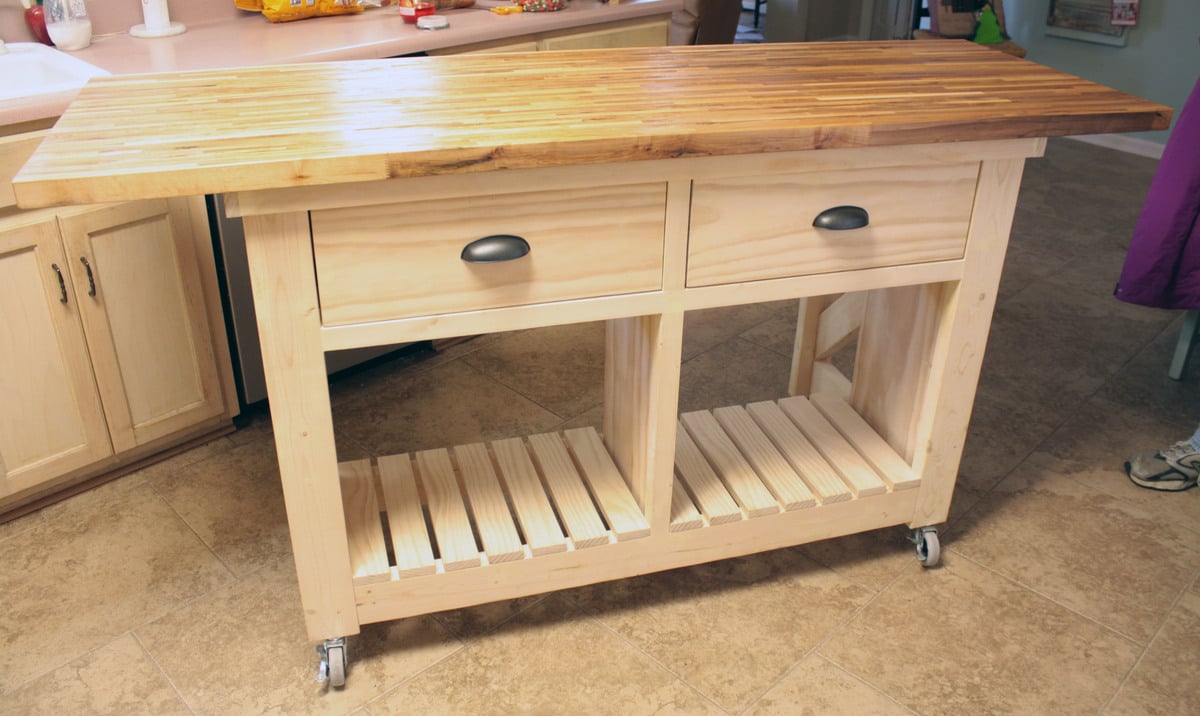
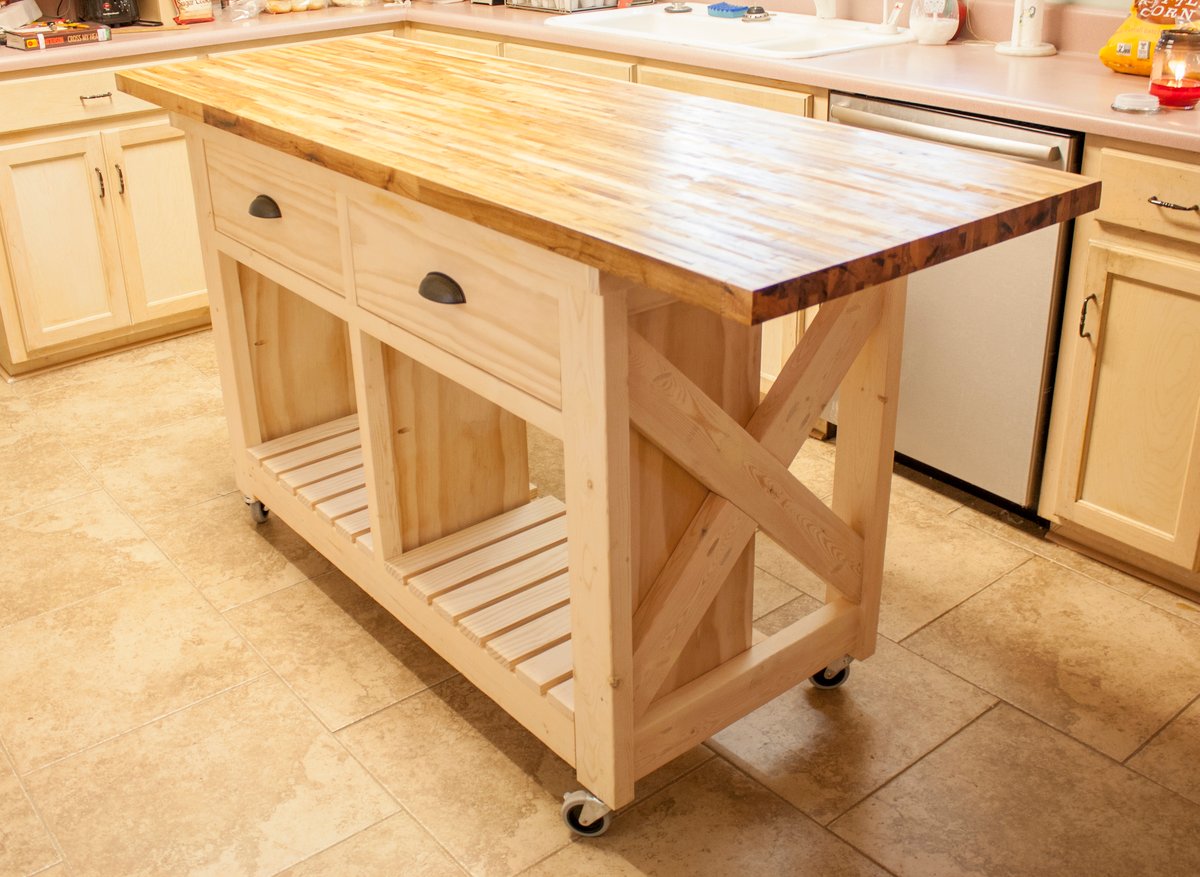
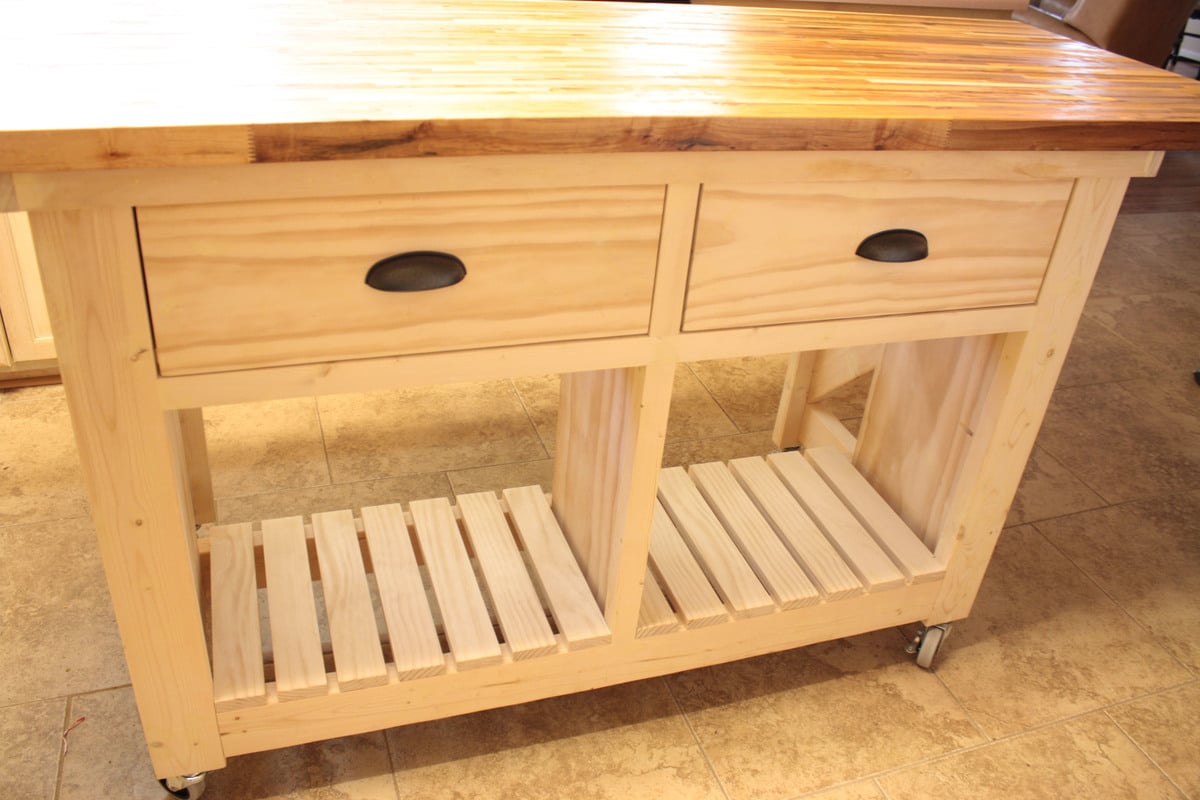
So I had two weeks to make enough furniture to make my house appear respectable with a limited budget. To my favorite medium it was, pallet wood.

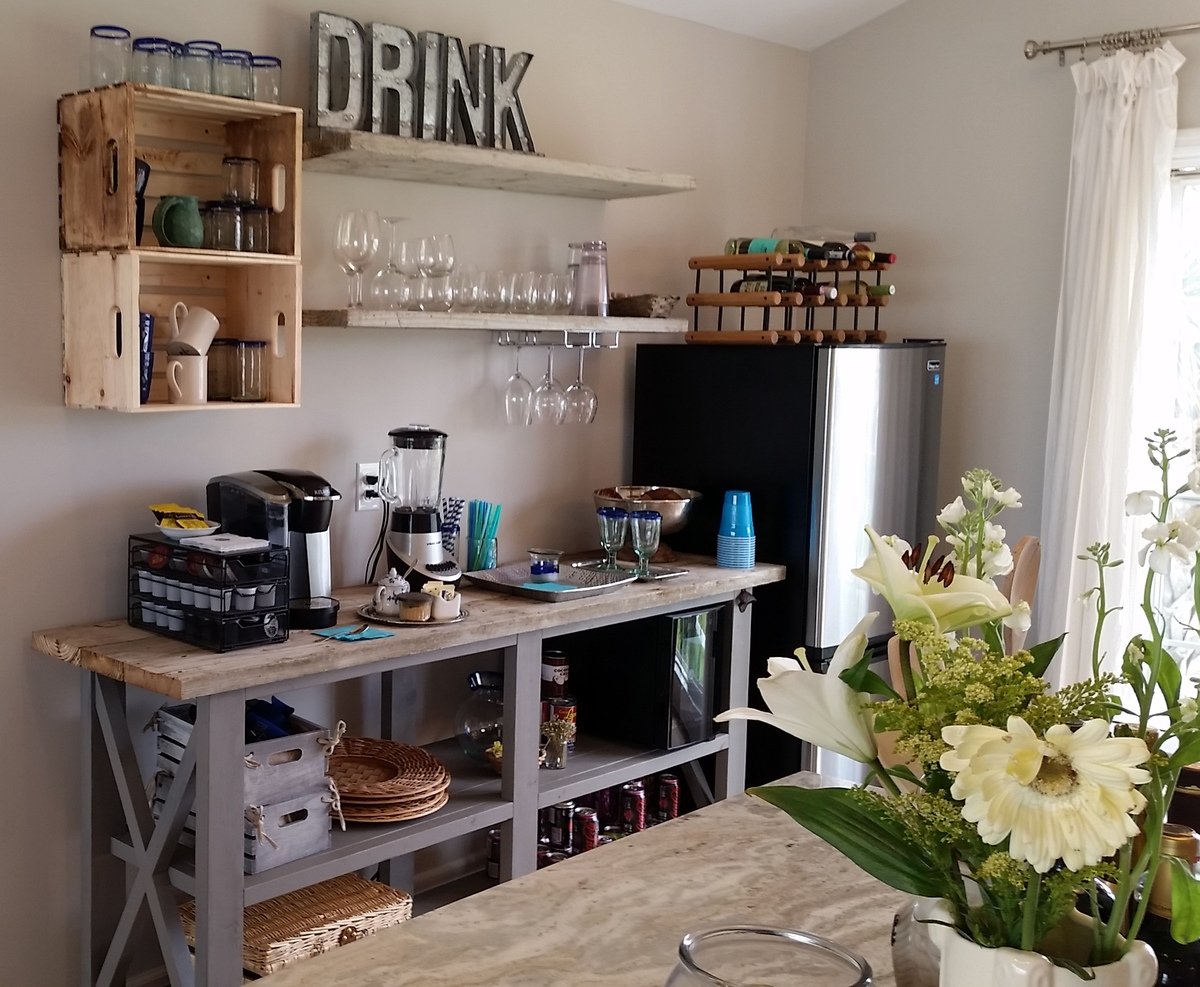
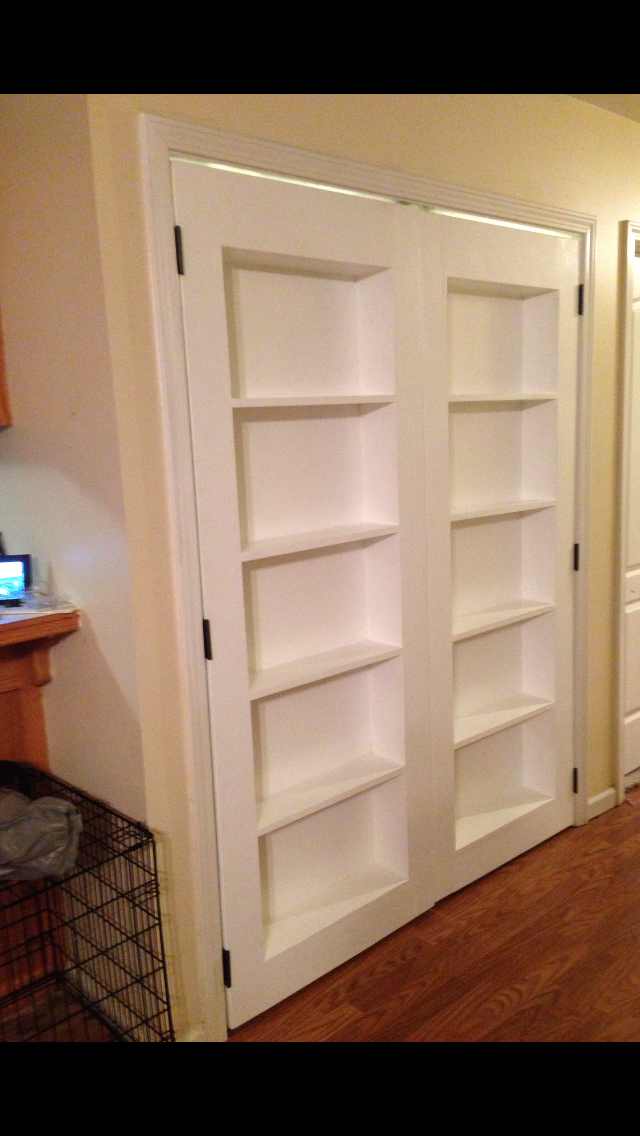
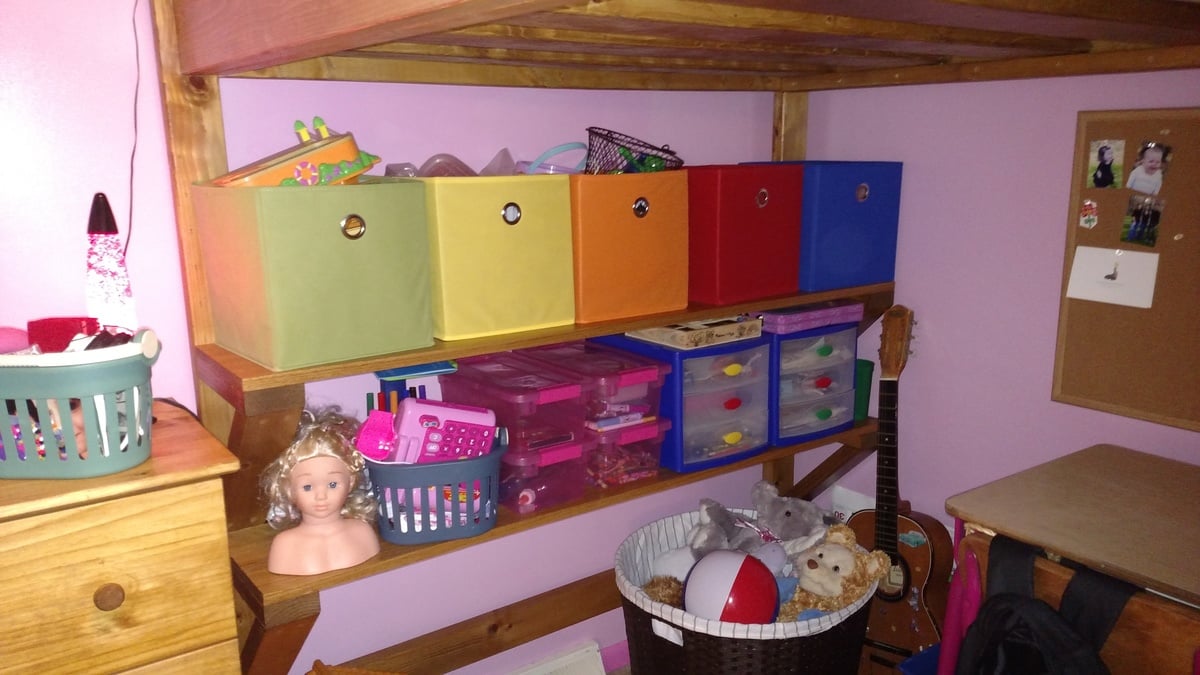
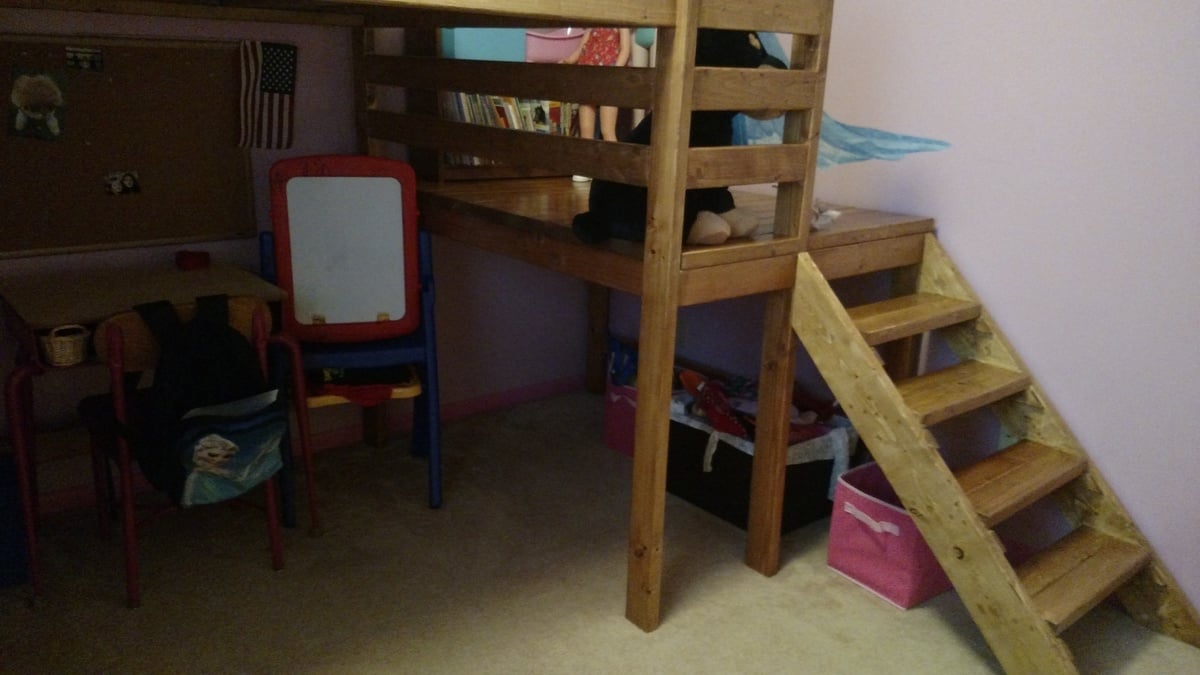
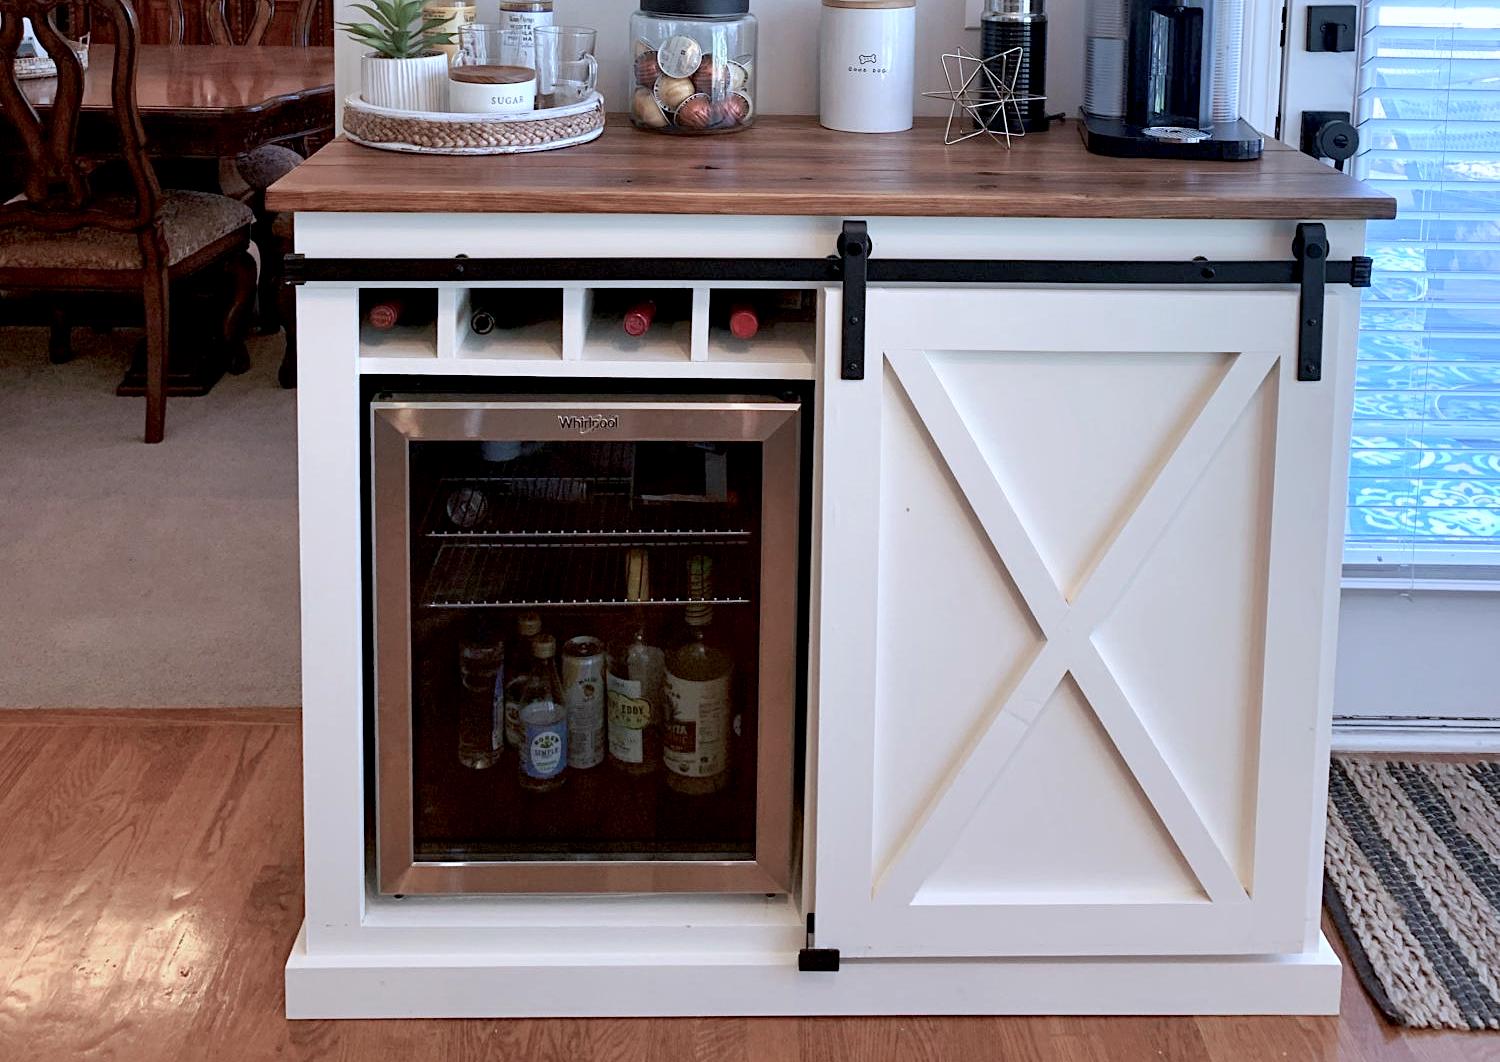
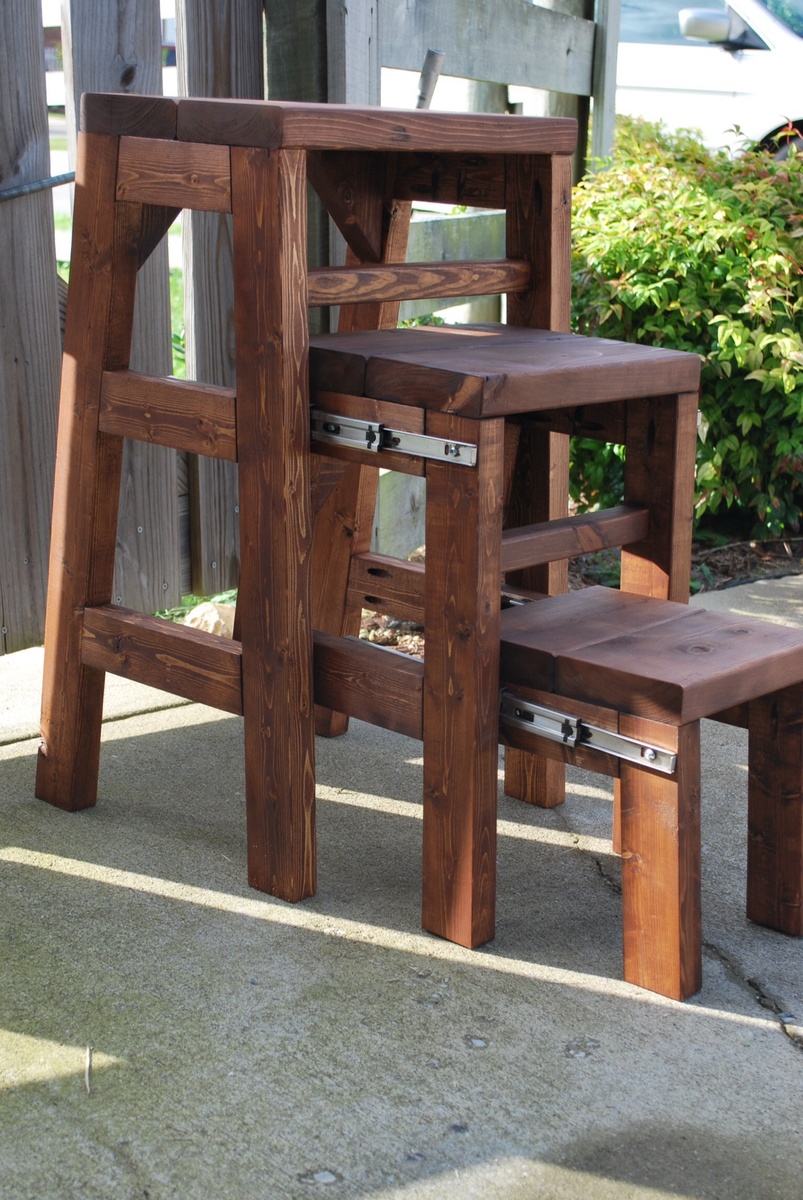
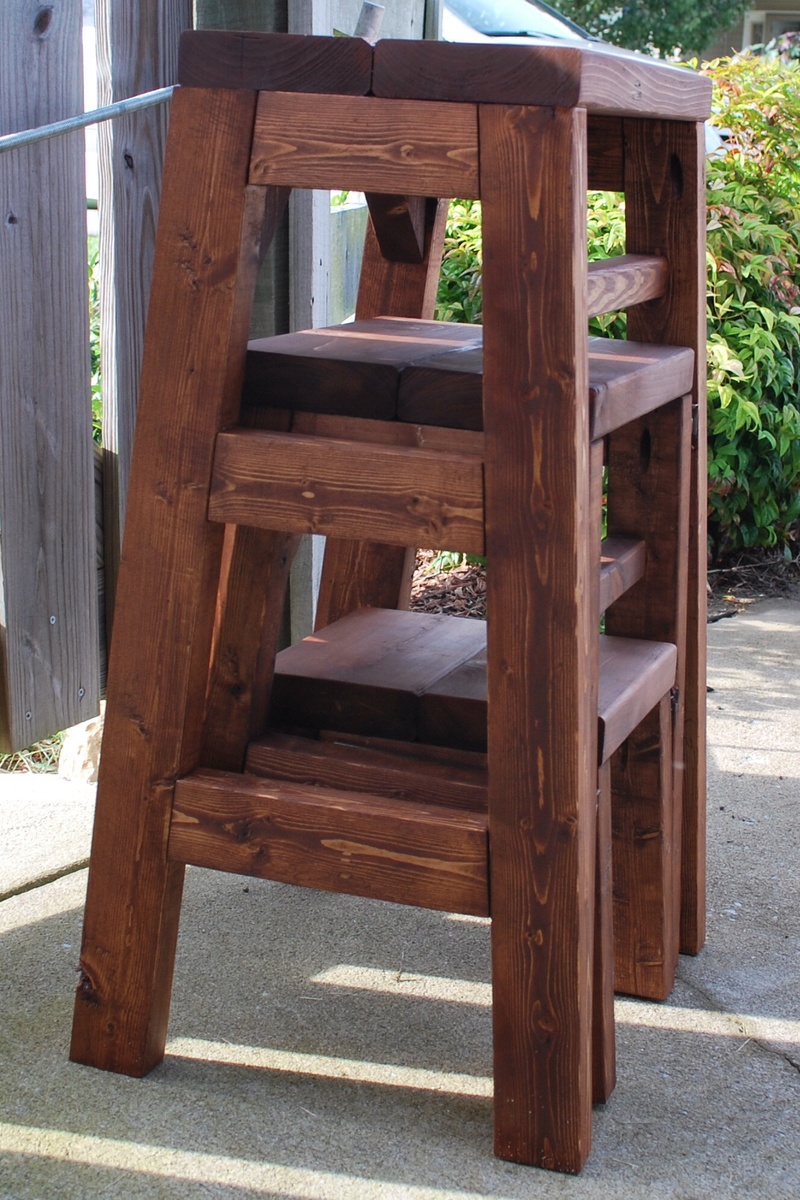
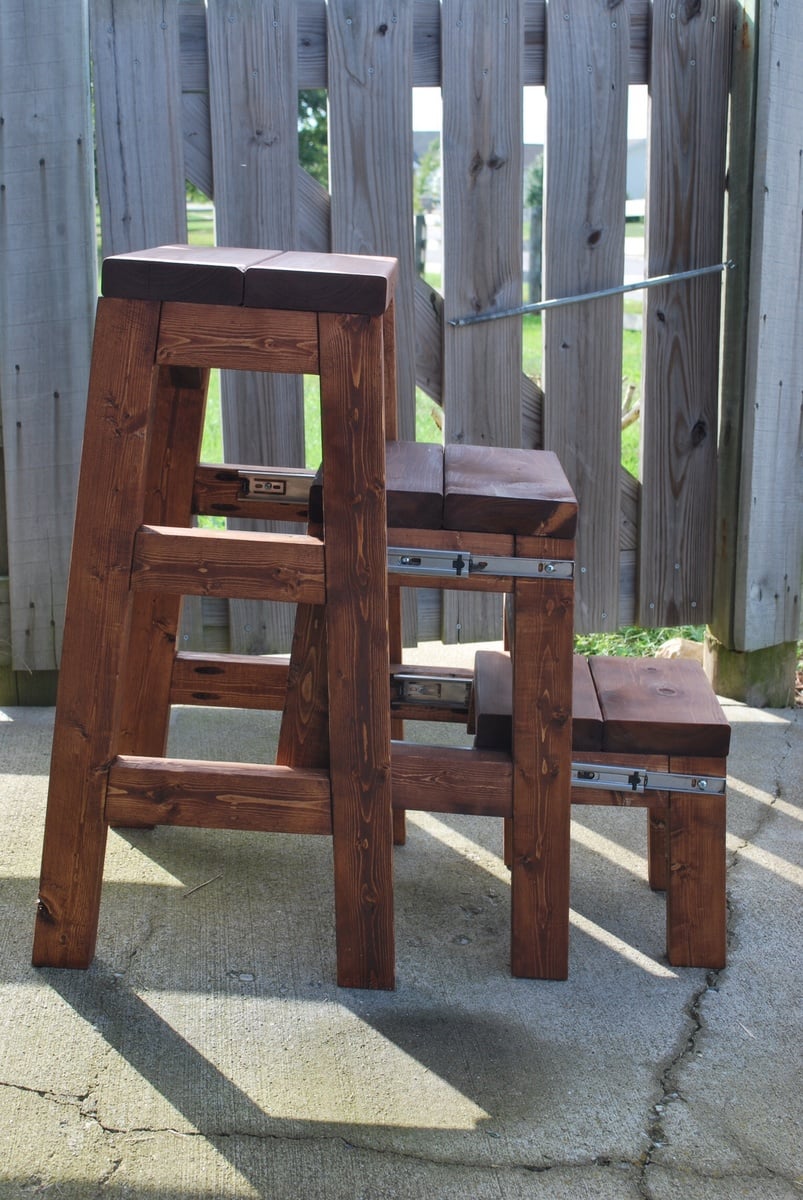
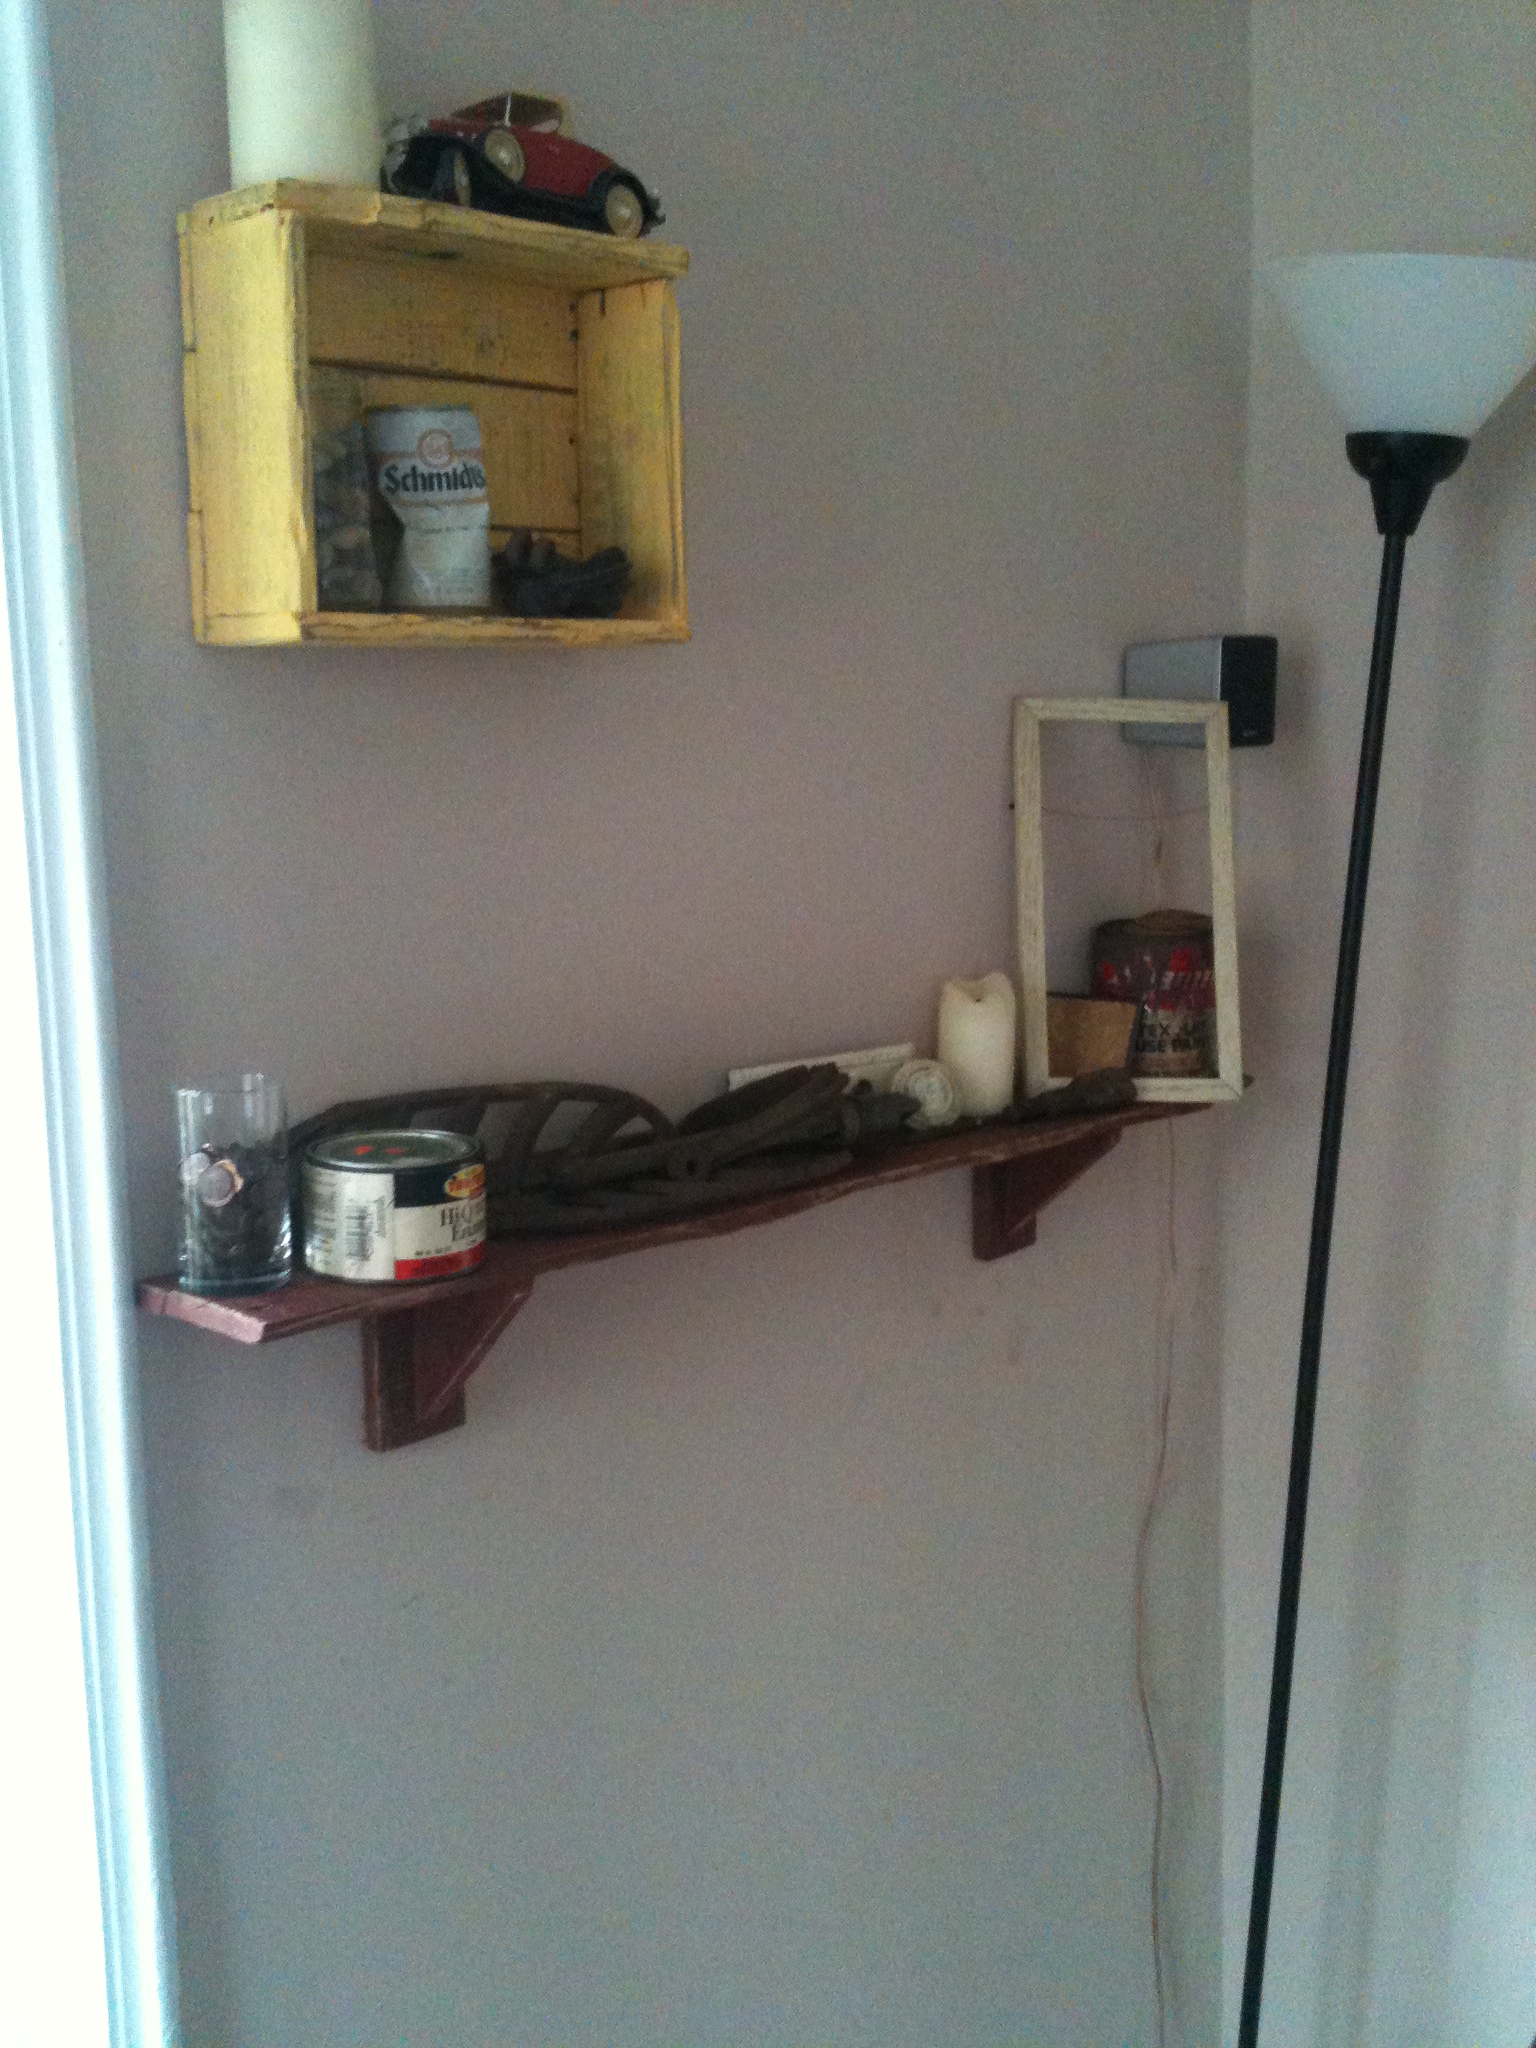
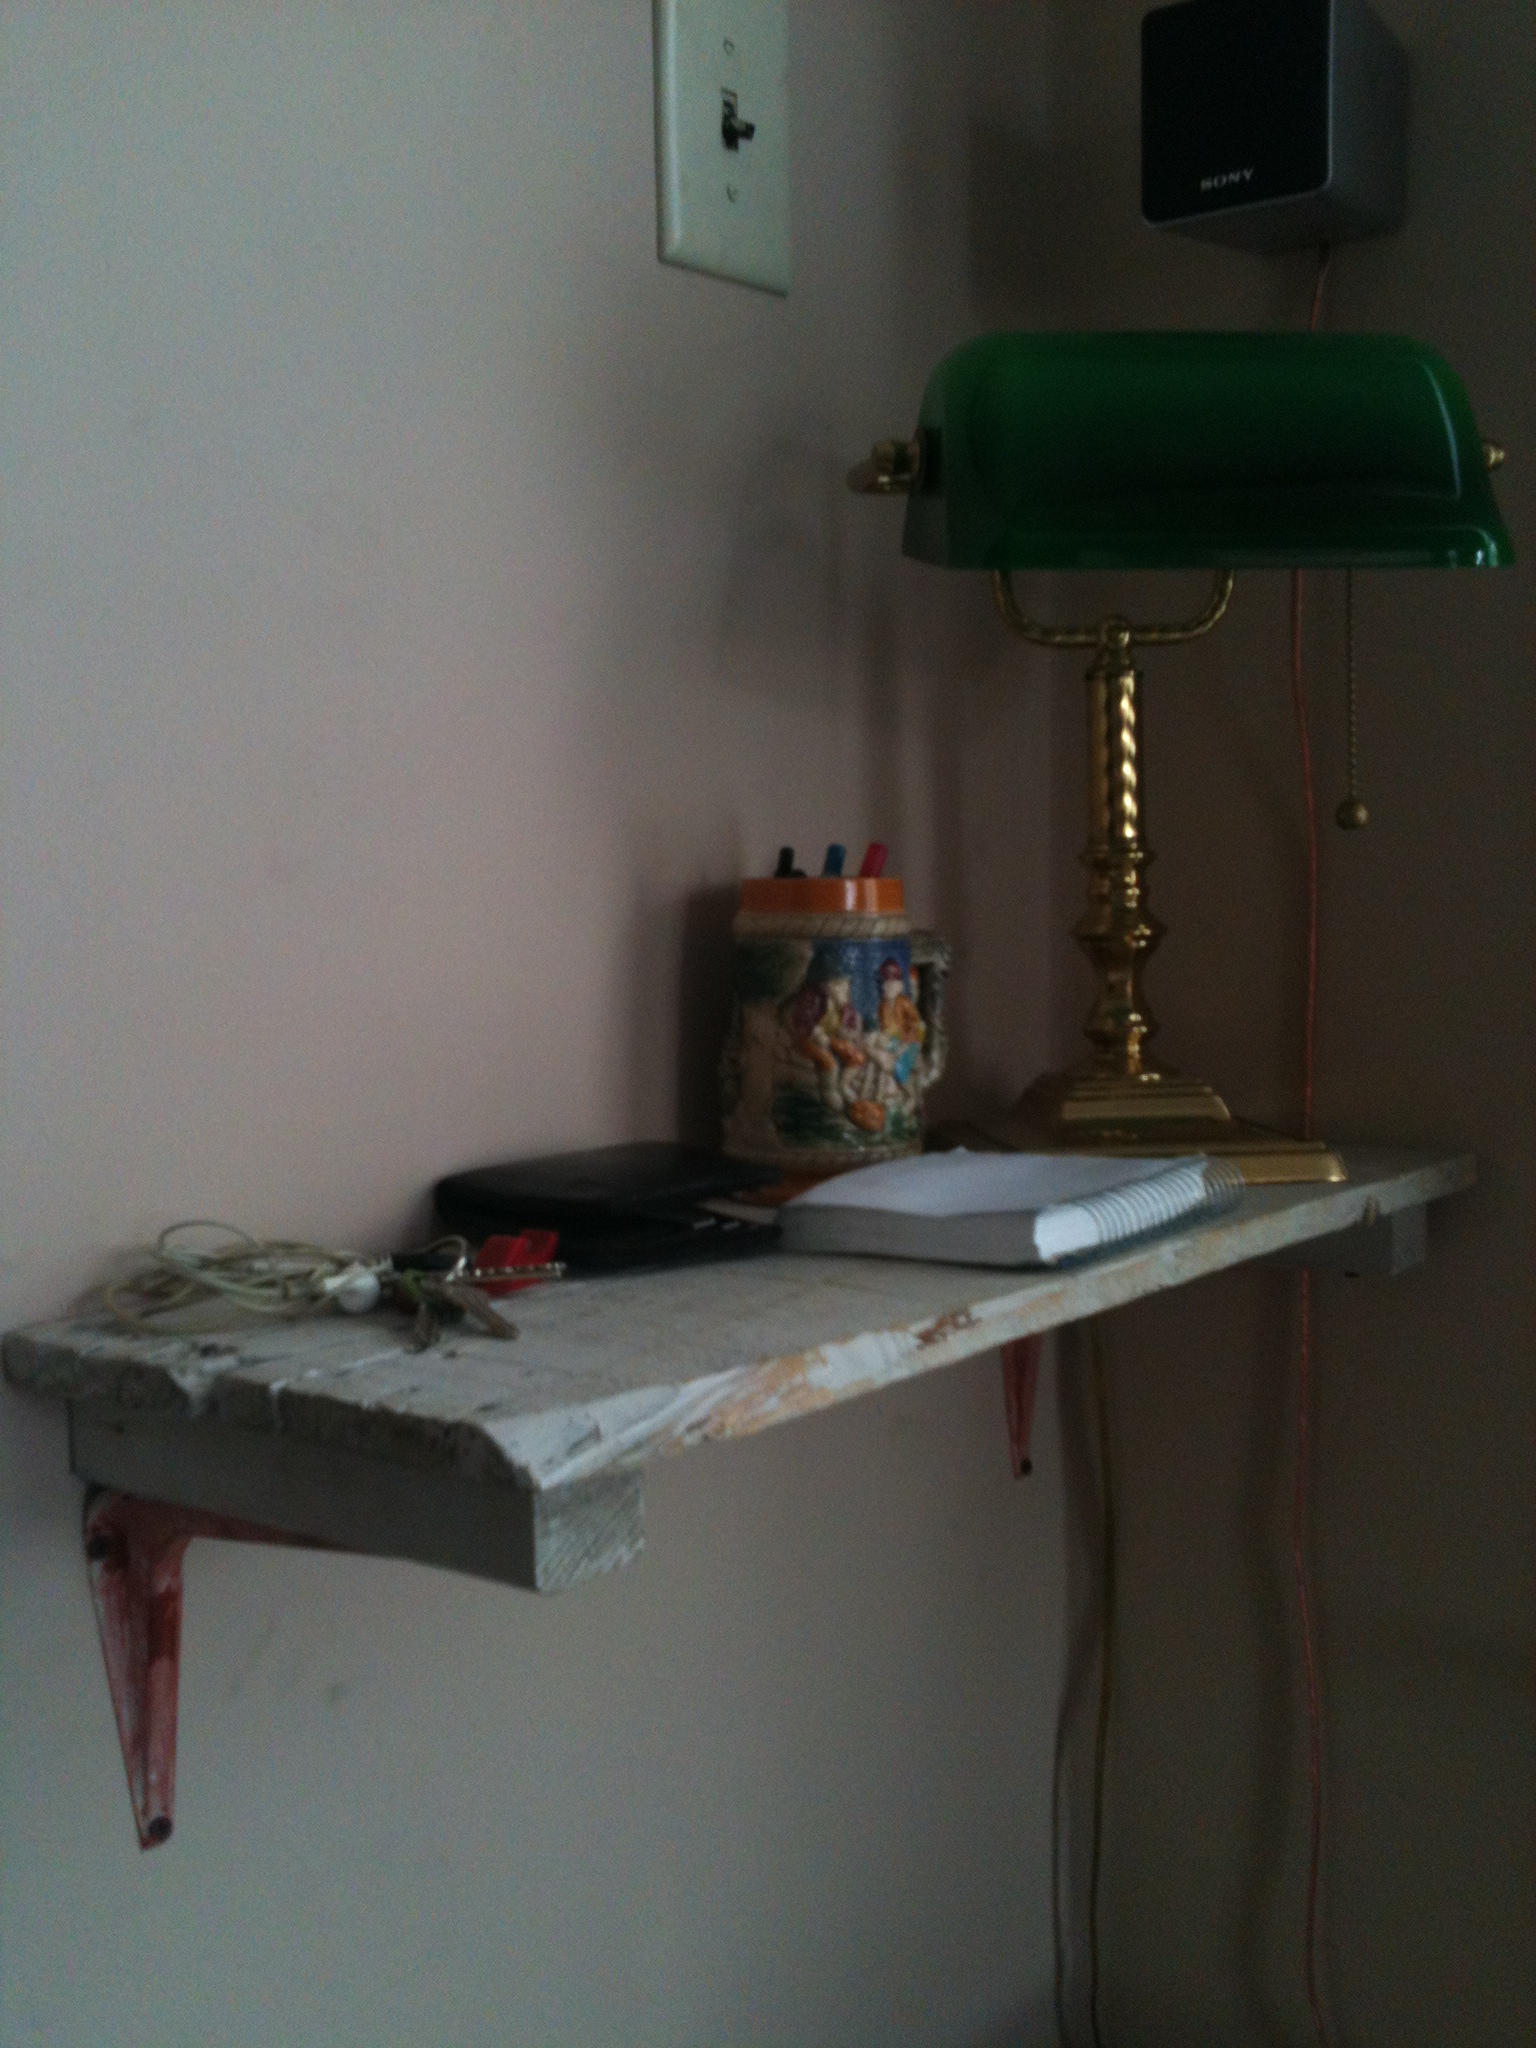
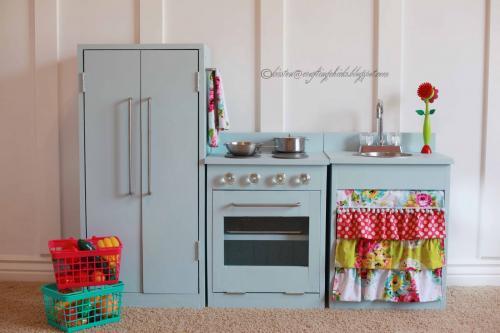
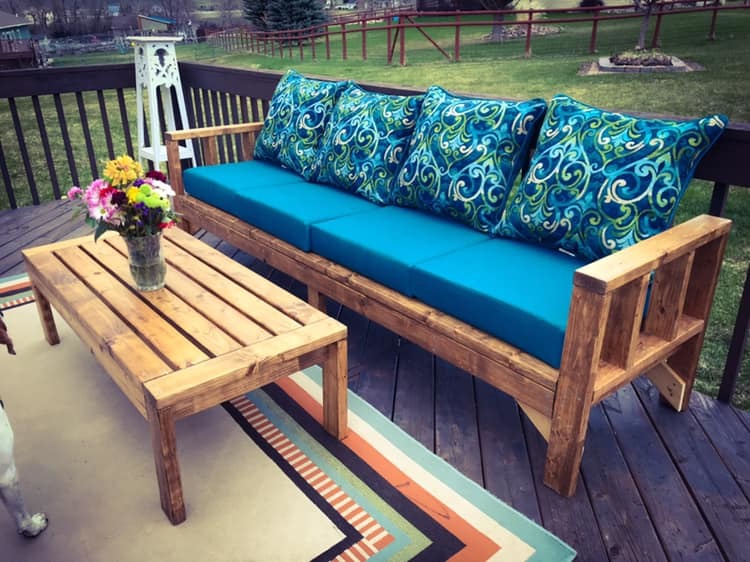
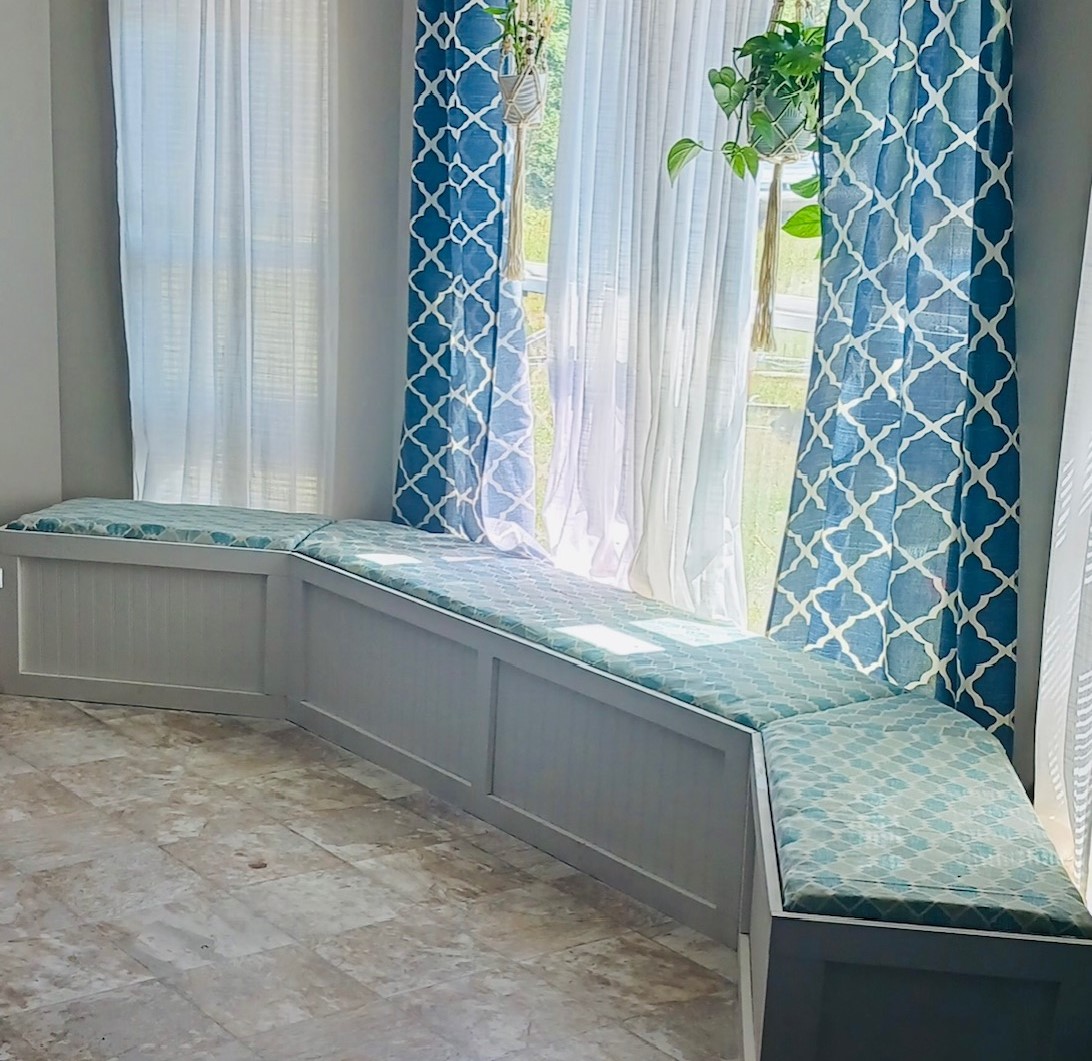
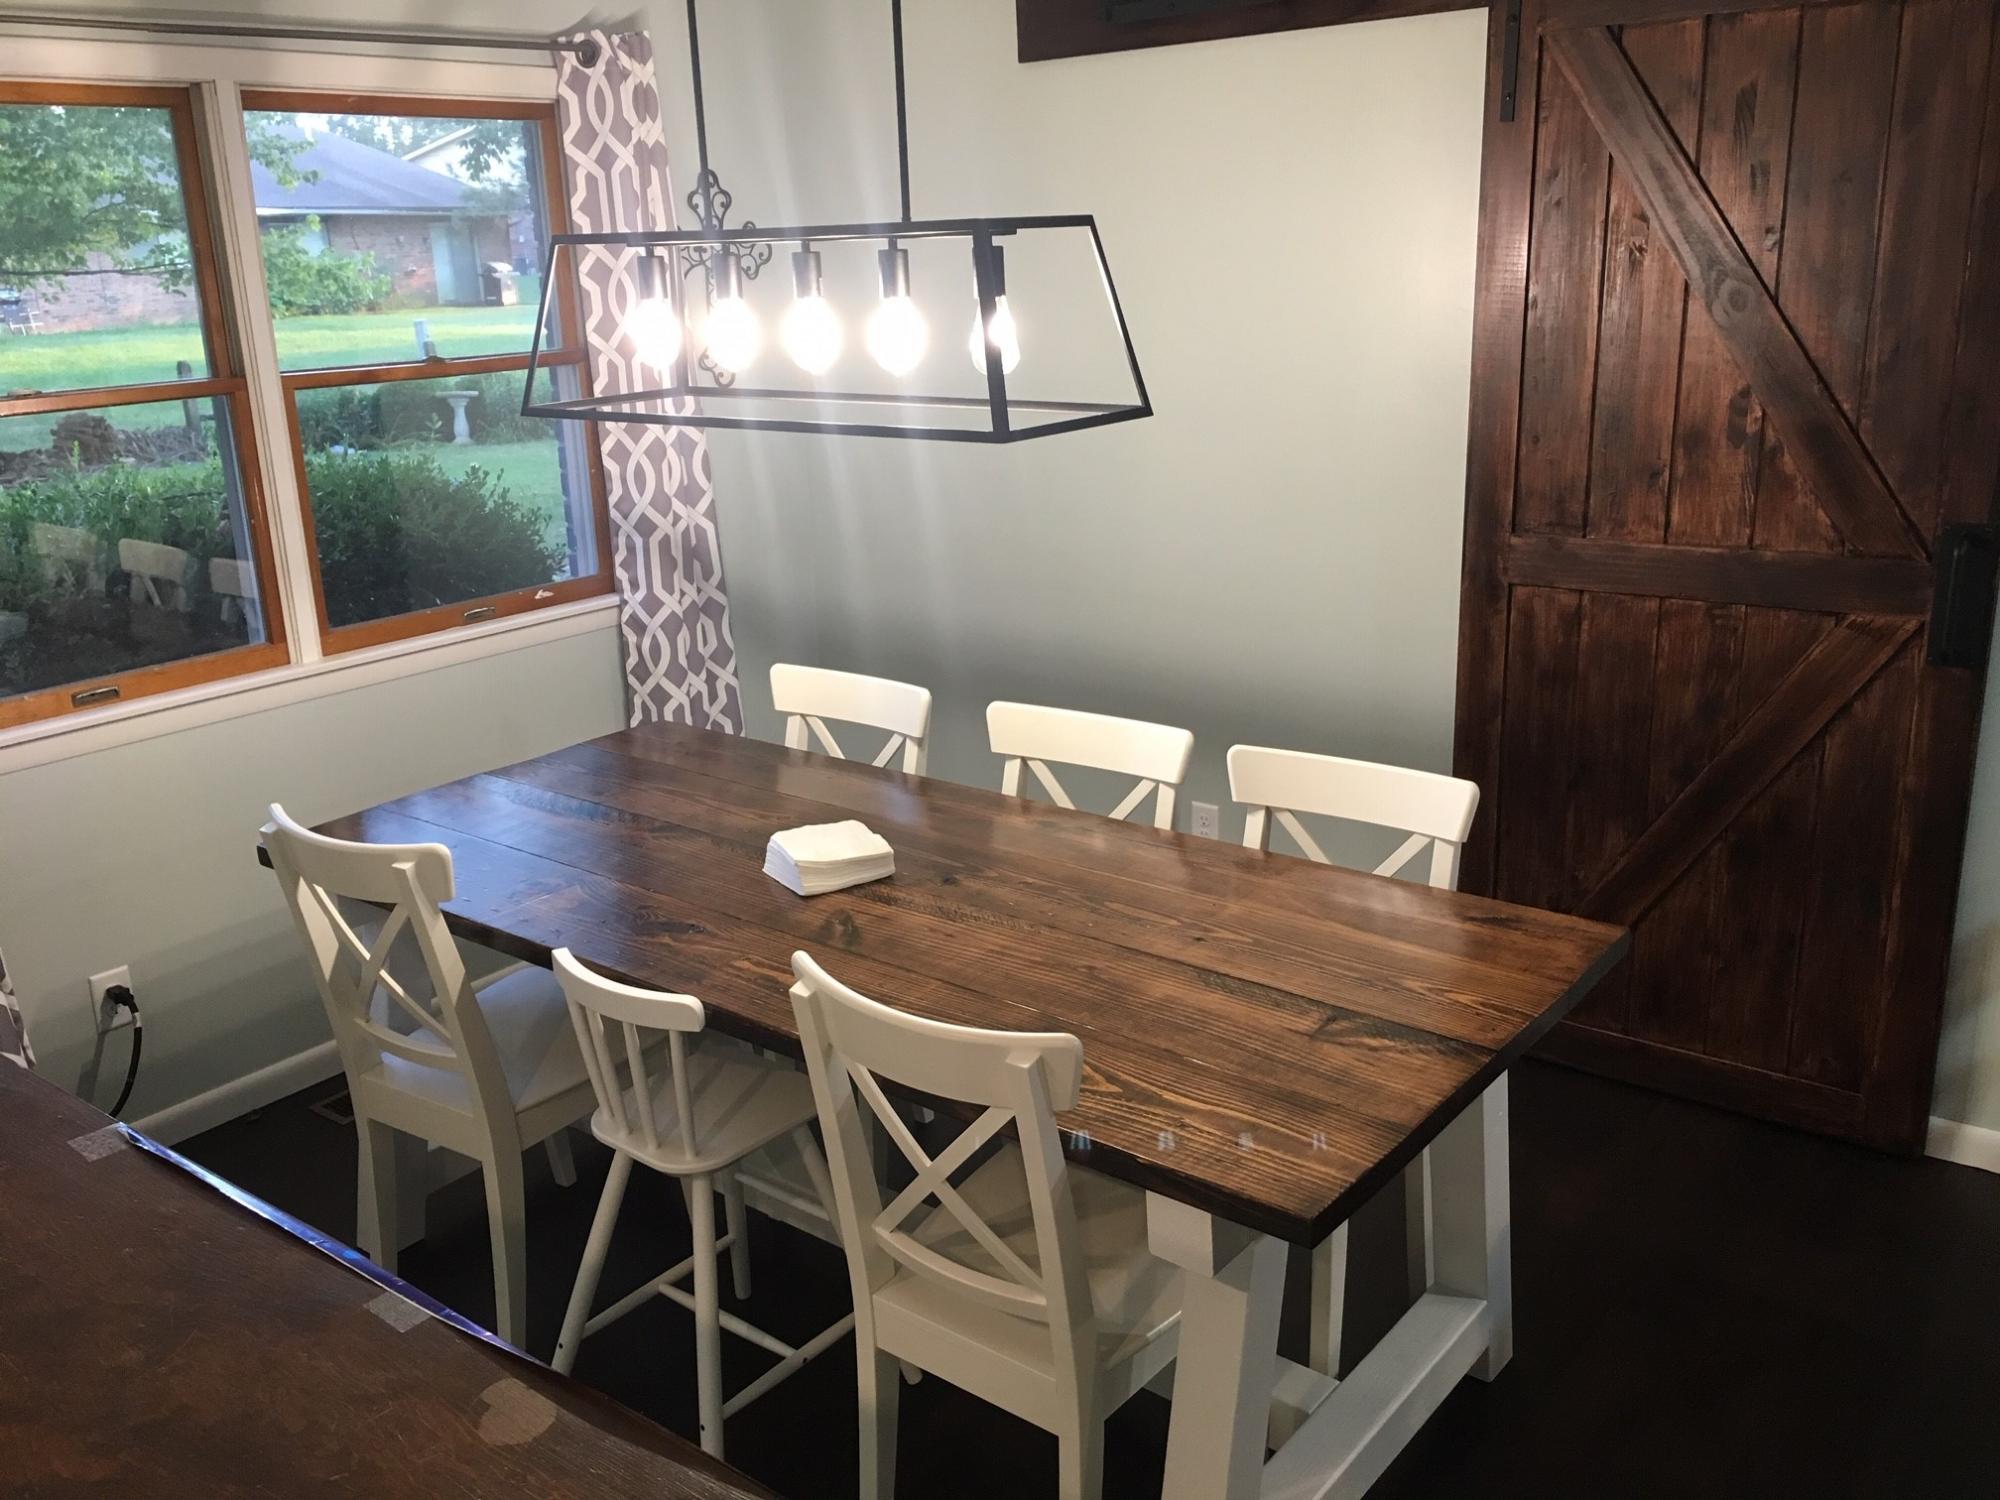
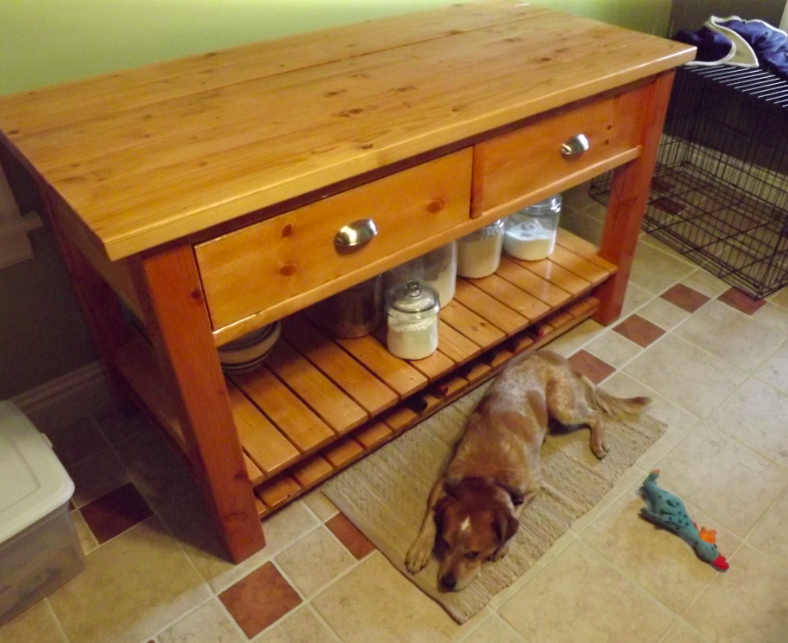
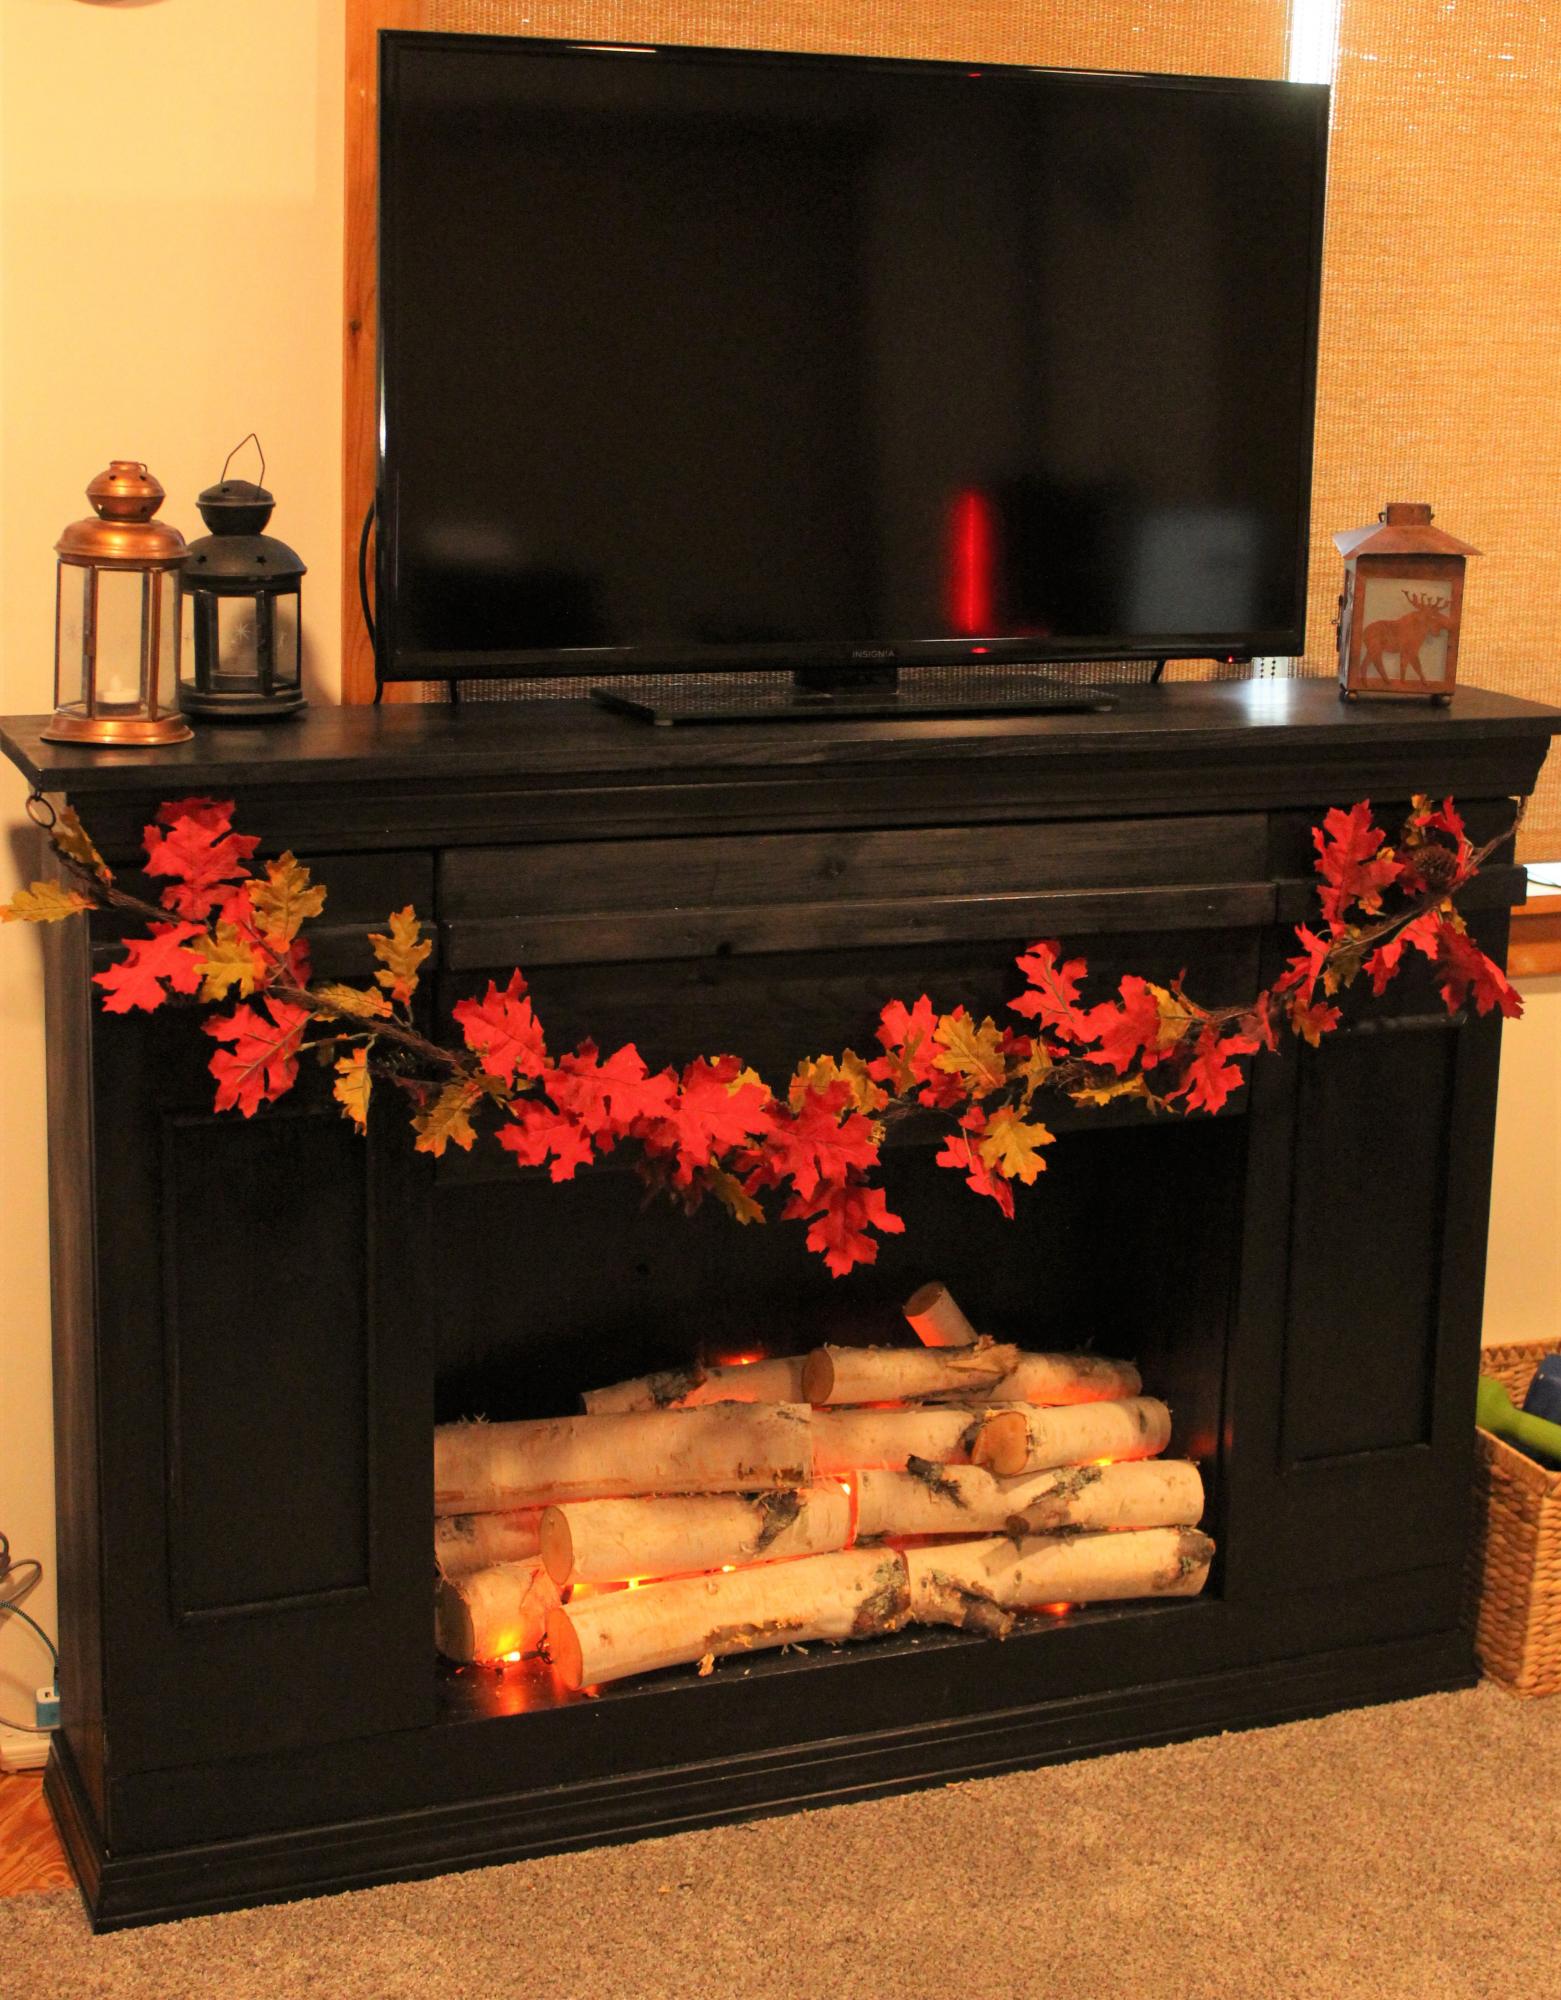
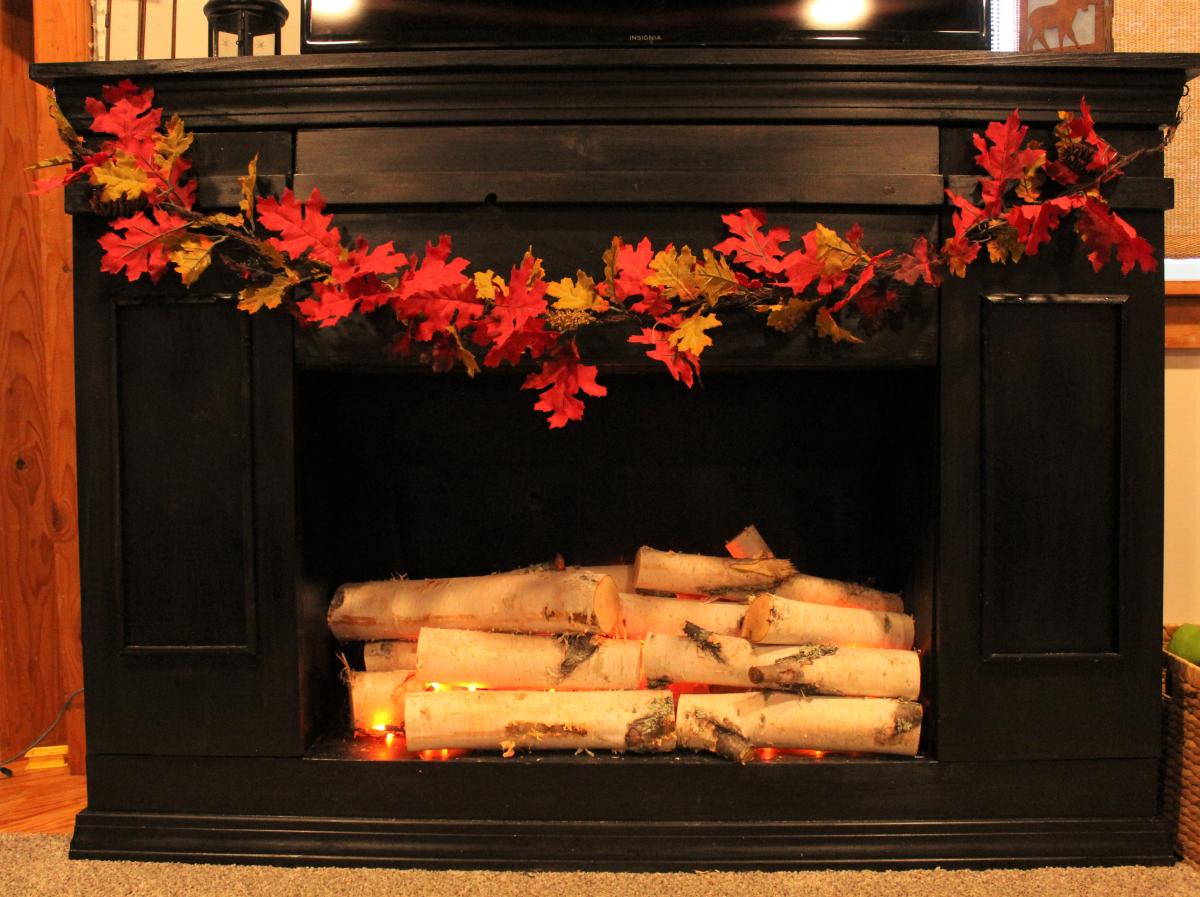
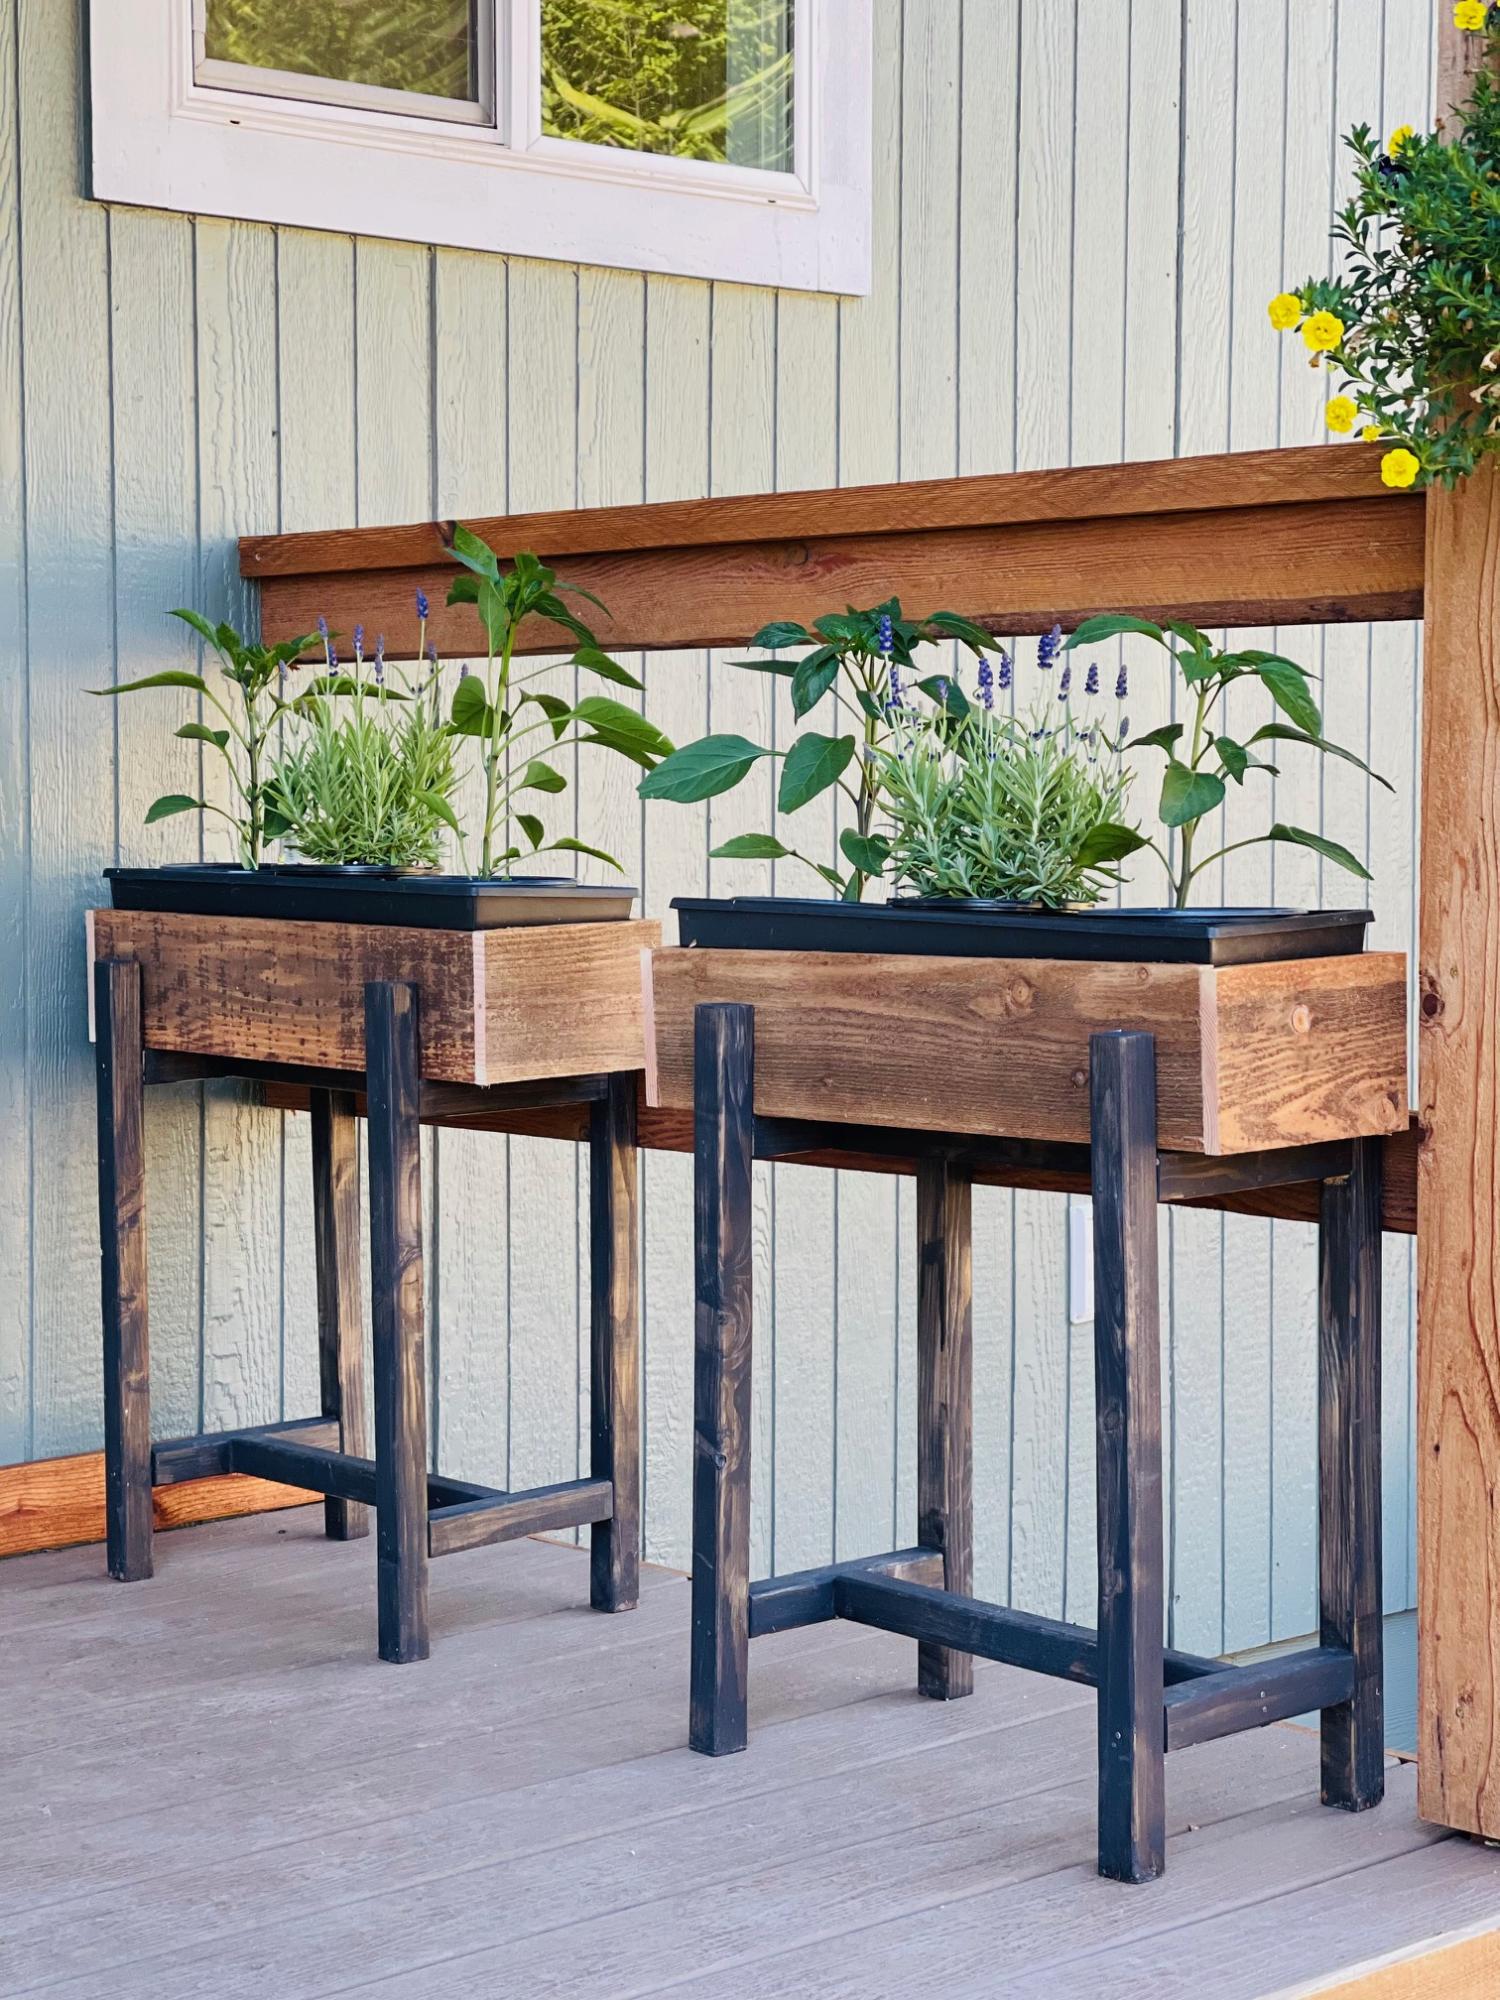
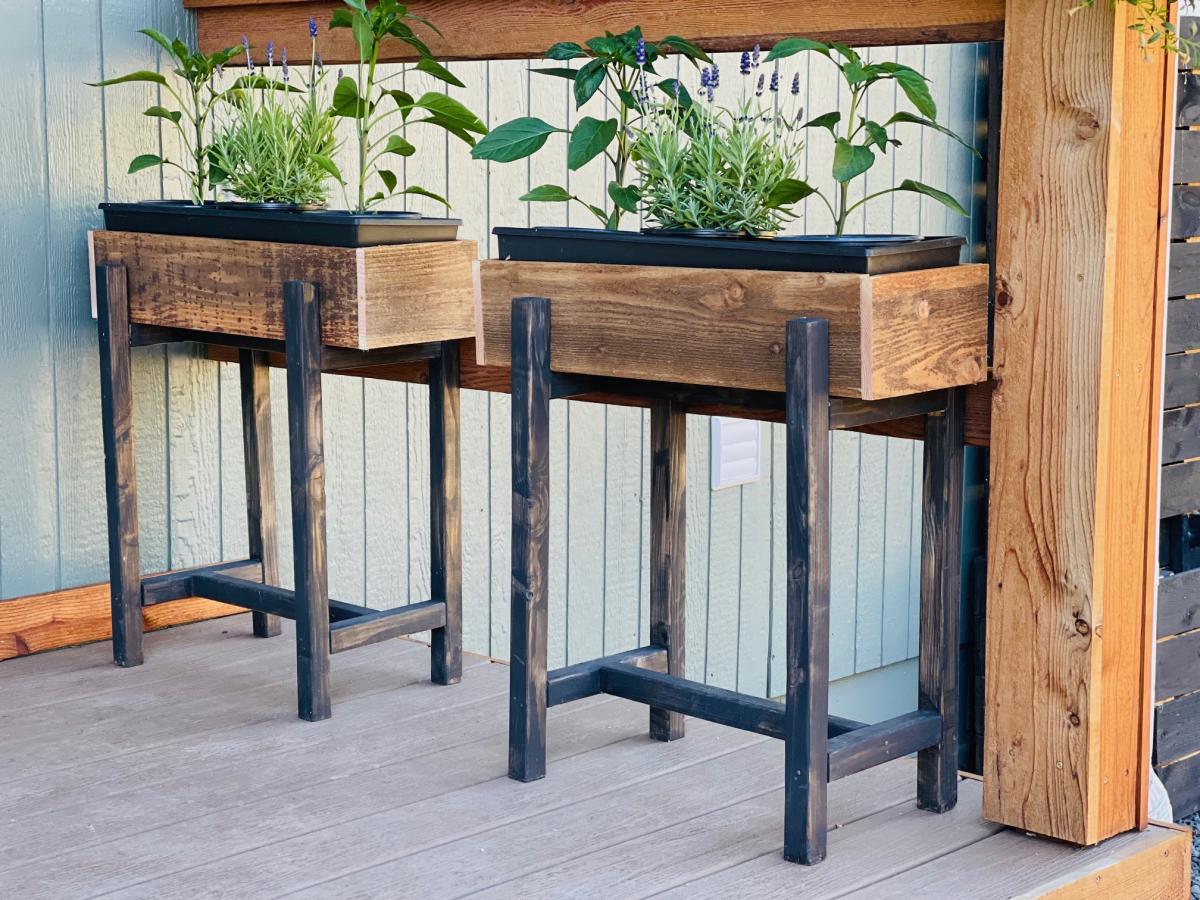
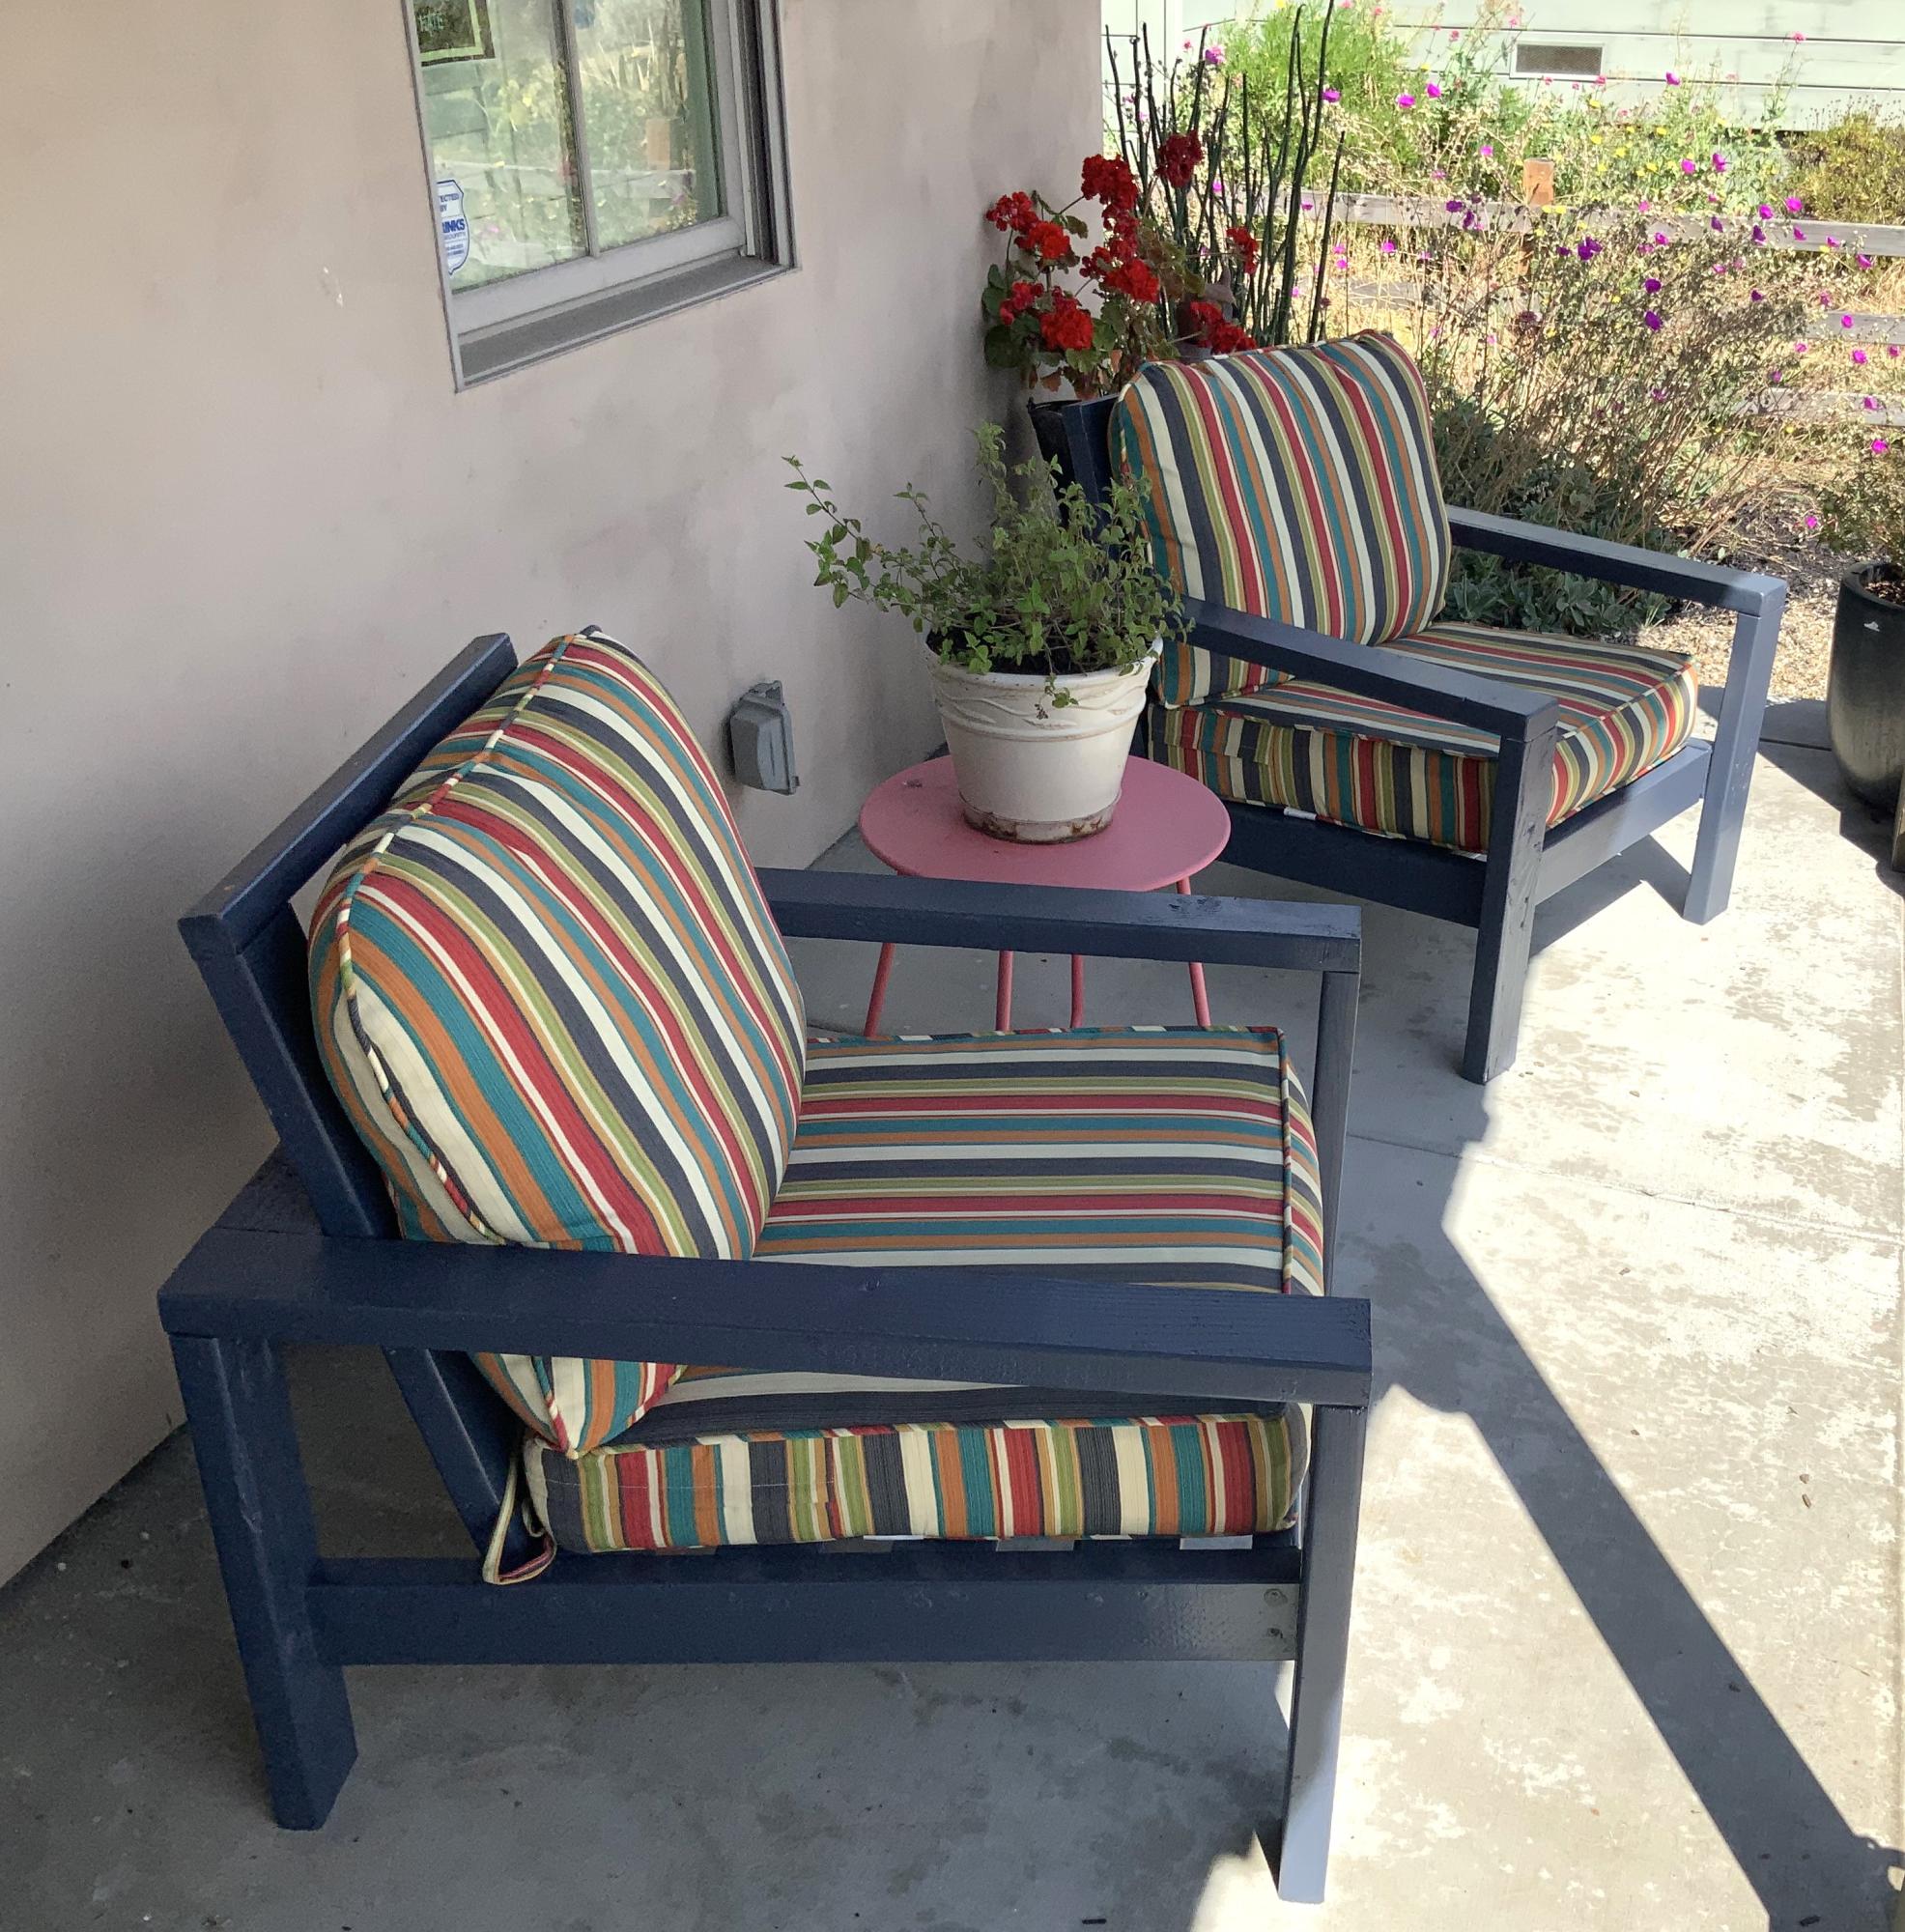
Everything featured here is made with reclaimed pallet wood, leftover paint and leftover screws/nails/sandpaper.

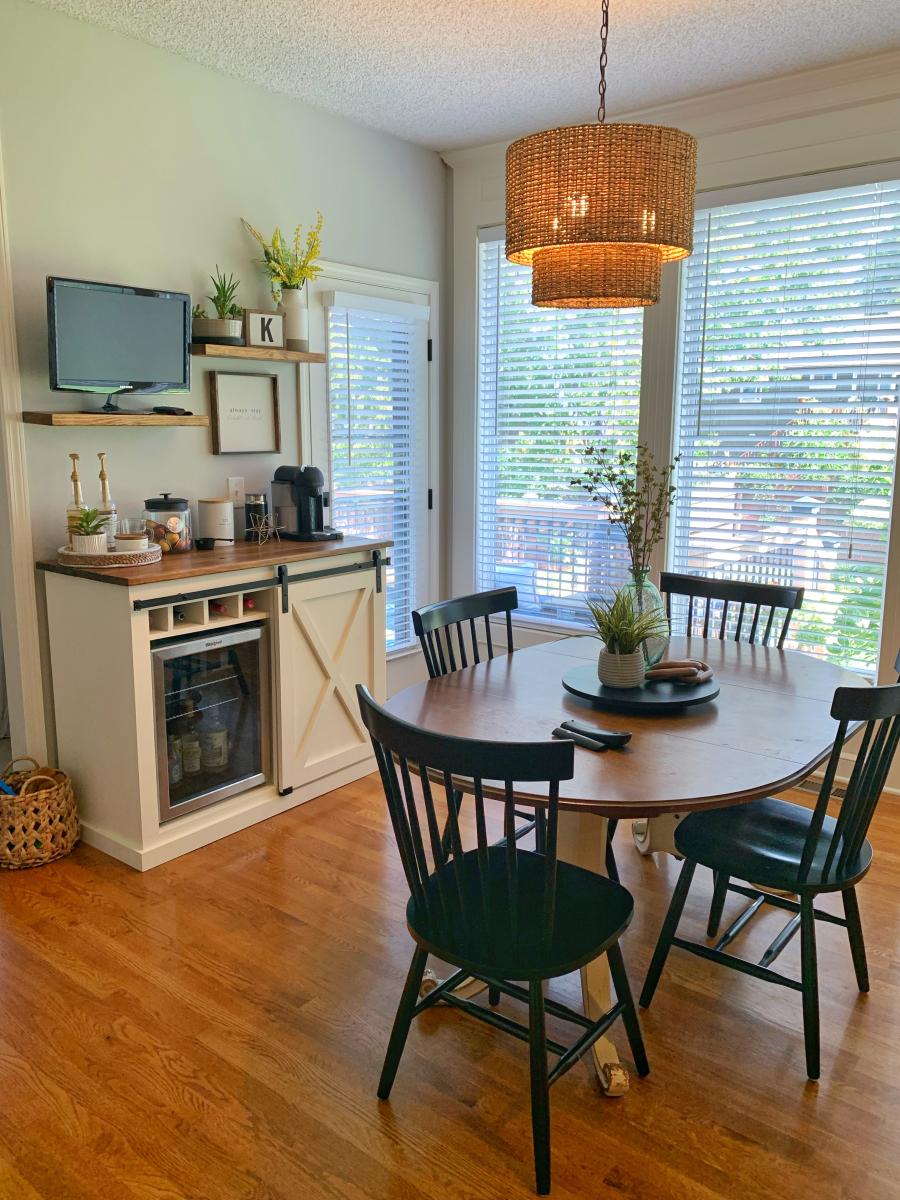
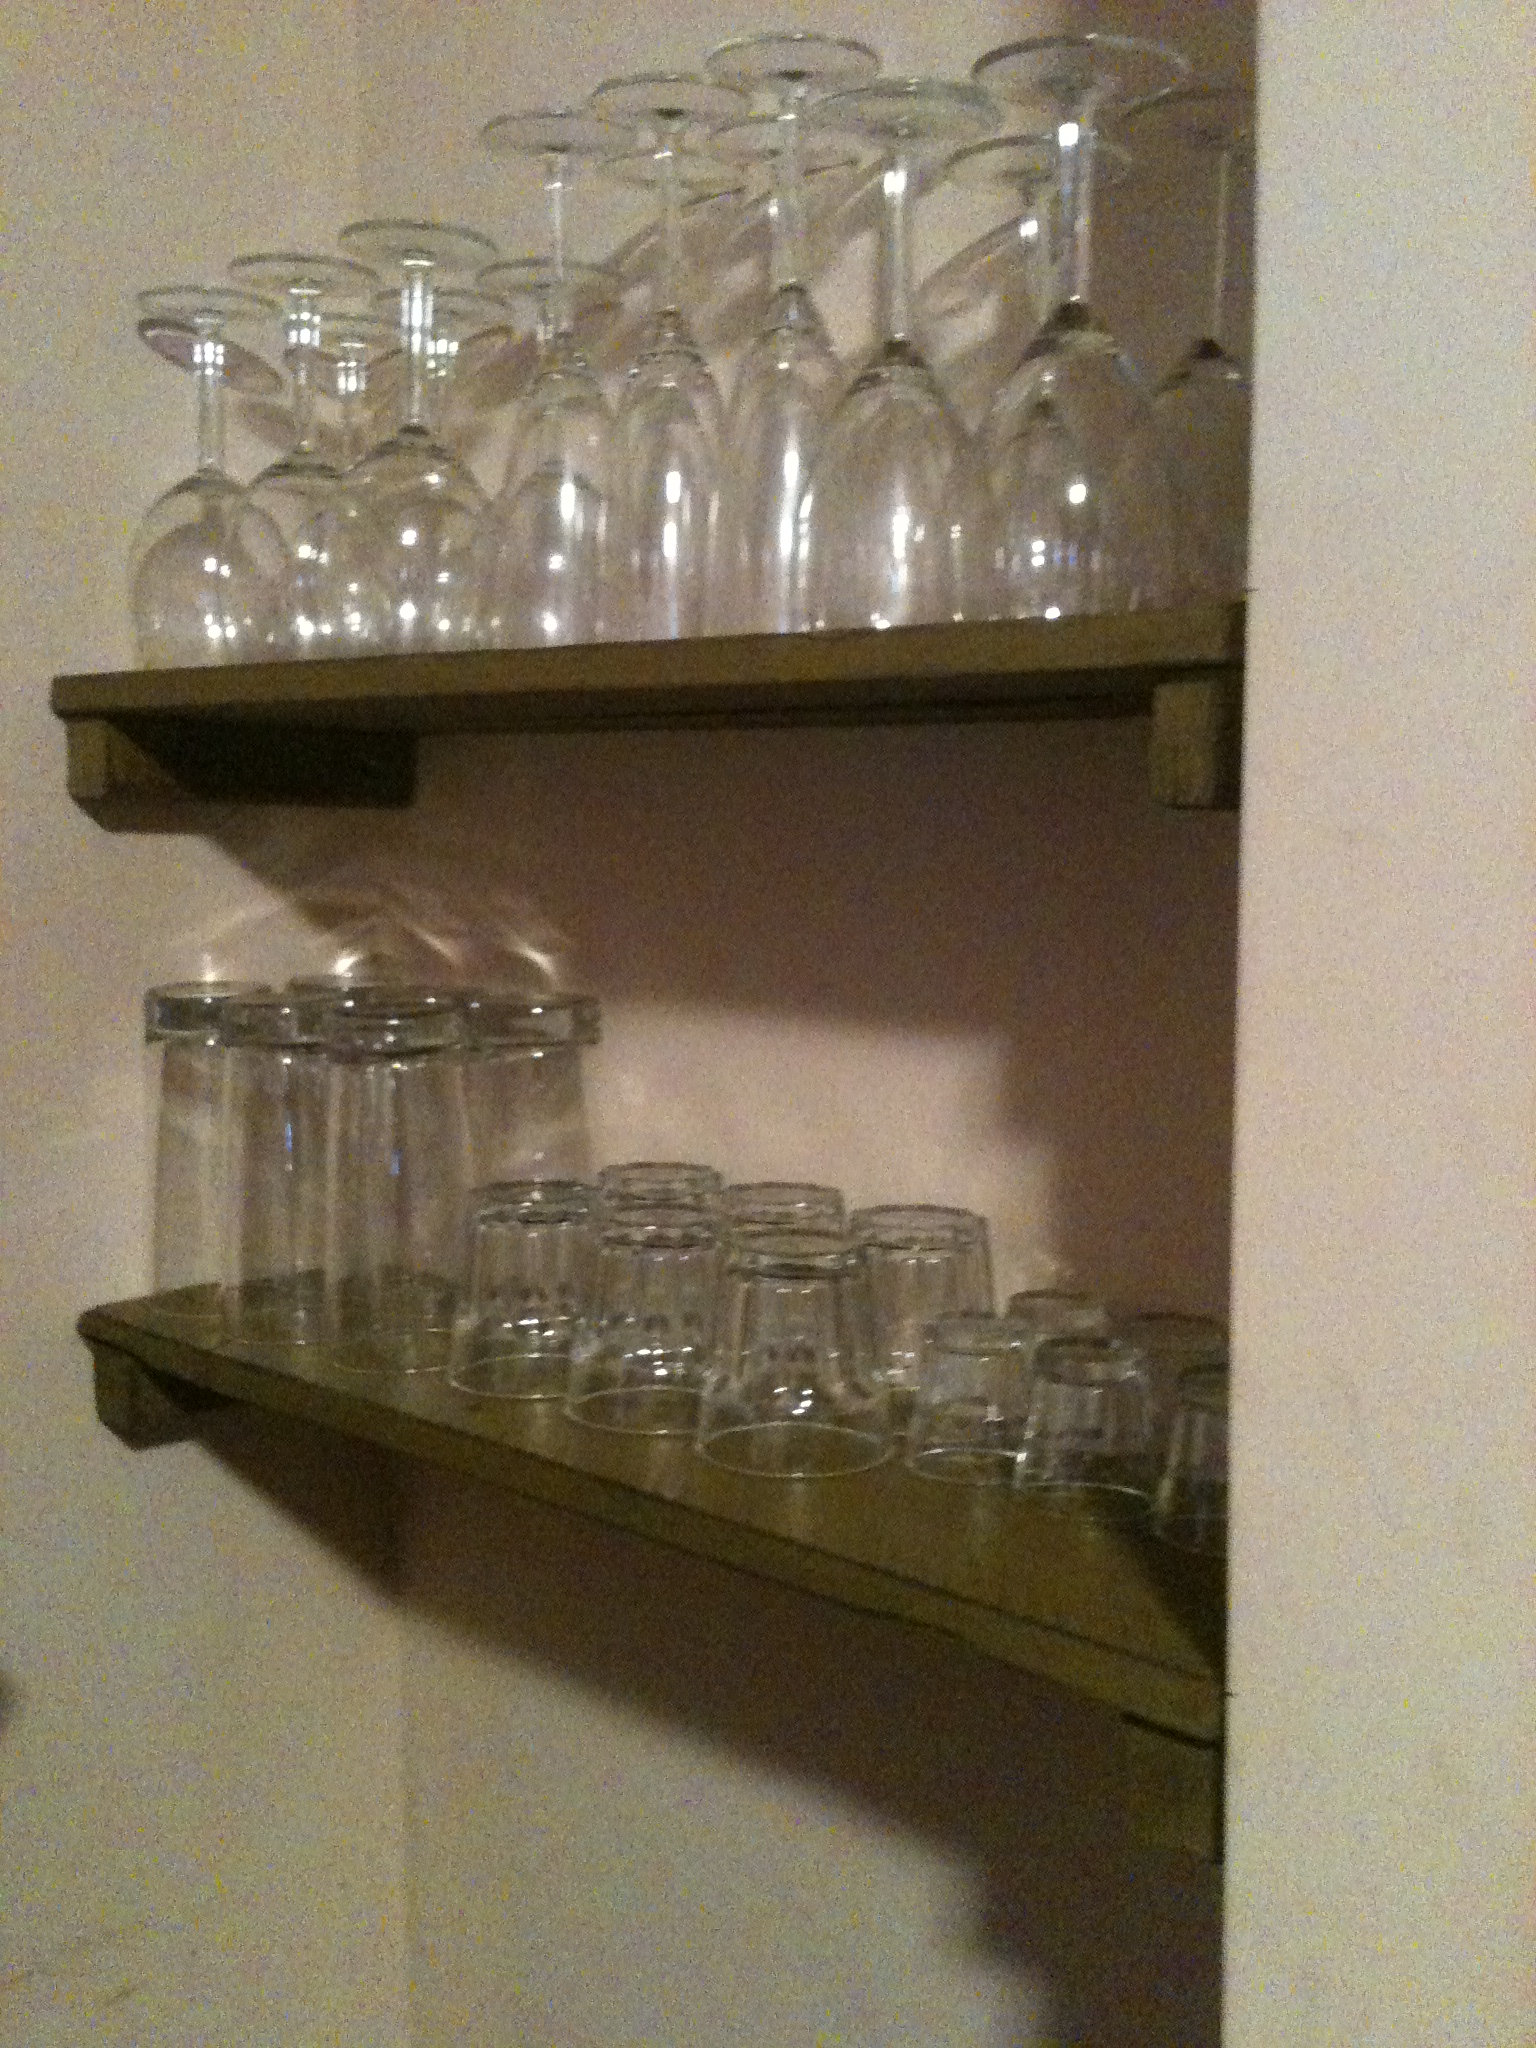
Except for the beer bottle shelves which were simply painted the paint was all worn down to look aged by using worn out sanding pads on a random orbital sander(seriously, leftover sanding pads). They were all left that way then with the exception of the shelves for the glassware which were rubbed down with ebony stain.

I'm listing my time for all these at just 3-6 hours even though it took two weeks because the time was spread out between other projects at the same time and most nights I only had a couple hours to work on them after work. Plus the obvious time for paint to dry.

Built from Plan(s)
Estimated Cost
Free
Estimated Time Investment
Afternoon Project (3-6 Hours)
Finish Used
Oops paint sanded with used sanding pads on a random orbital sander.
Recommended Skill Level
Starter Project

Comments

AlexWS

Wed, 10/19/2011 - 17:46

If your tastes are "anything I can get my hands on" than yes we do! That's actually only about a quarter of my collection so far, the rest are on the opposite wall.

Patio sofa

Submitted by Anonymous (not verified) on Wed, 04/24/2019 - 14:02

Went with regular cheap studs and extended the couch to make 4-across seating.  Probably should have used better wood because it was hard to find studs that were straight and not full of burrs and knotholes!  AND...studs are actually 1.5" x 3.5", so keep that in mind if you go that route when you're cutting from detailed plans because your dimensions will be off slightly.  Staining and adding spar urethane coat took the longest amount of time.  Cushions are 24" x 24" from Lowe's.  Wood = $80, Cushions = $180.  A little extra for screws and a few pieces of hardware.  This pic shows the couch without a back brace that I added later.  It's a beast, too!  After all that wood the couch probabaly weighs close to 150 pounds!     

Estimated Cost
$280
Estimated Time Investment
Weekend Project (10-20 Hours)
Finish Used
Minwax Puritan Pine Wood Stain, Spar Urethane
Recommended Skill Level
Beginner

Side-Street Loft Bed

Submitted by Anonymous (not verified) on Fri, 02/19/2016 - 07:41

This is a mix the "Side-Street bunkbed" plan and the "How to Build a Loft Bed." I used "Spax" 3 inch wood screws to attach the side rails instead of bolts used in Side Street plan.  I used KregJig pocket holes for everything else. 

Estimated Cost
$250
Estimated Time Investment
Week Long Project (20 Hours or More)
Finish Used
Behr paint: Anonymous
Recommended Skill Level
Beginner

Comments

Modified 4x4 Truss Beam Table

Submitted by Anonymous (not verified) on Thu, 10/03/2019 - 05:26

Build the 4x4 Truss Beam Table base with the Fancy X Farmhouse Table top shortened to 7' (84") for my wife's birthday! We love how it looks and can not wait to build the matching benches! Also, this is my first time attempting a building project and Ana-White Plan. The plans are very easy to follow and execute!!

Estimated Time Investment
Week Long Project (20 Hours or More)
Finish Used
Varathane - Kona and Clear Poly
Sherwin Williams - Cotton White
Recommended Skill Level
Beginner

Kitchen Shelf

I needed something to fill an empty wall in my kitchen. I wanted something for both baking and wine storage so I modified a couple of things I saw on this website. Wine storage on the very bottom (the slats are wide enough apart that the wine bottles sit in the cracks and stay snug) with baking stuff above that. I think I'll build a matching shelf or two for the wall above it

Estimated Time Investment
Weekend Project (10-20 Hours)
Finish Used
Minwax Polyshades Classic Oak Gloss
Recommended Skill Level
Intermediate

Comments

Faux Fireplace with Storage

Submitted by Anonymous (not verified) on Mon, 10/28/2019 - 16:33

Went with a black, high gloss finish which I sanded down with 220 grit sandpaper to soften the look. Cut up a birch tree from the backyard, back-lit the logs with two strands of orange Halloween lights from the dollar store (we drilled a hole in the bottom back for the plug for the lights).
Added a remote extender so we don't have to open the front middle door in order to operate our streaming devices.
Love to be able to decorate this for the holidays--can hardly wait for Christmas!

Estimated Cost
$250
Estimated Time Investment
Weekend Project (10-20 Hours)
Finish Used
Black high gloss
Recommended Skill Level
Intermediate

Double kitchen island with butcher block top

Submitted by bhoppy on Wed, 01/01/2014 - 11:58

I started on the project when I went home for Thanksgiving and finished up the drawers when I was home for Christmas. I live about 7 hours from my family. I took a few tools with me (kreg jig and drill) but borrowed a circular saw and miter saw for all the cuts. It was difficult working on it because it was fairly cold and my dad only has a carport. Which is why it took longer. My step-mom says she wants to paint it maybe with some milk paint. She also did not want the center shelf as she wanted a place for taller items.

The butcher block top was $299. It comes from lumber liquidators in 25" by 96". My dad had about 2 feet cut off the length. Ikea also sells butcher block tops for roughly half the price I think, but they were out of stock in both Atlanta and Charlotte.

I also made the small kitchen island before and this one went much more smoothly. Having the extra set of hands was awesome and made for a wonderful memory as I built it with my father:-)

Built from Plan(s)
Estimated Cost
$400
Estimated Time Investment
Week Long Project (20 Hours or More)
Finish Used
None yet
Recommended Skill Level
Intermediate

Comments

Ana White

Thu, 08/15/2019 - 12:14

This is amazing Stephanie!!!!  I can't believe I didn't see this sooner.  

We are going to feature your photo with the plans - thank you so much for sharing a brag post!  Hope you are well!