Adirondack chairs for the family
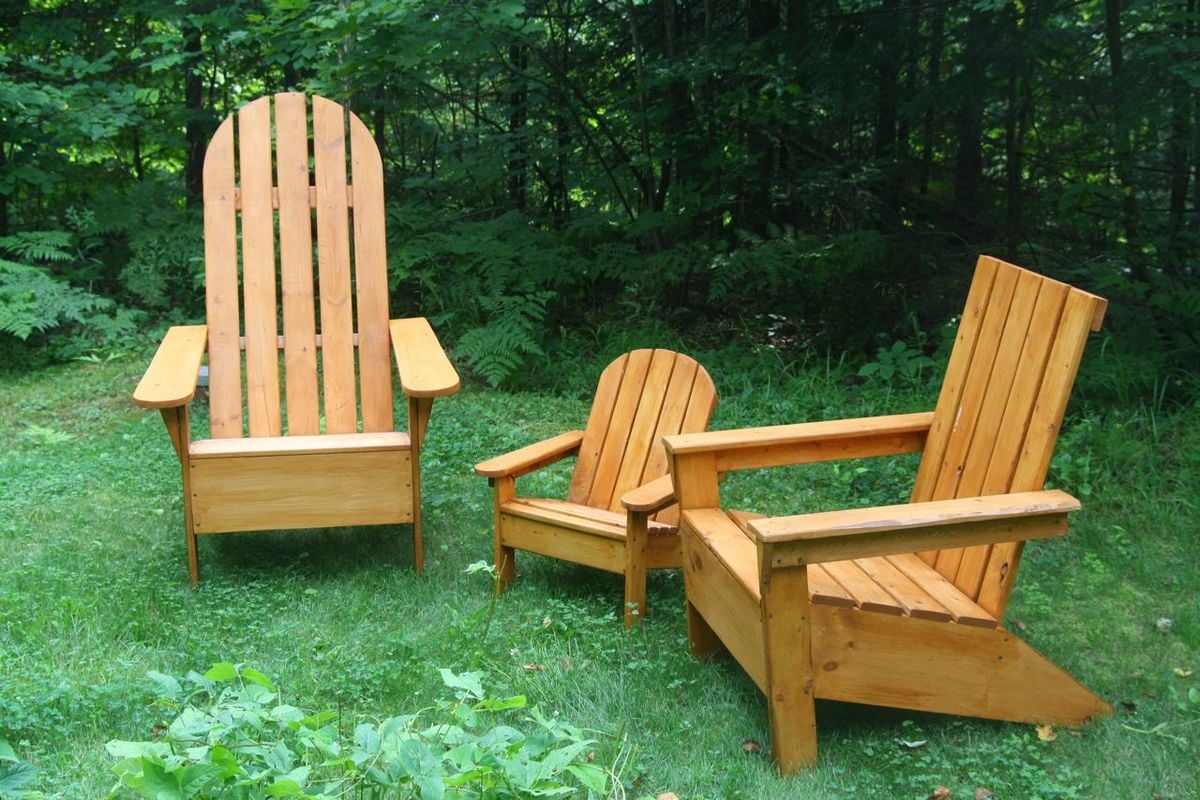
I've always wanted Adirondack chairs but found them way too expensive to buy. I found Ana's plan a while ago and promised myself I'd make one this summer. Well I enjoyed it so much I did three of them!
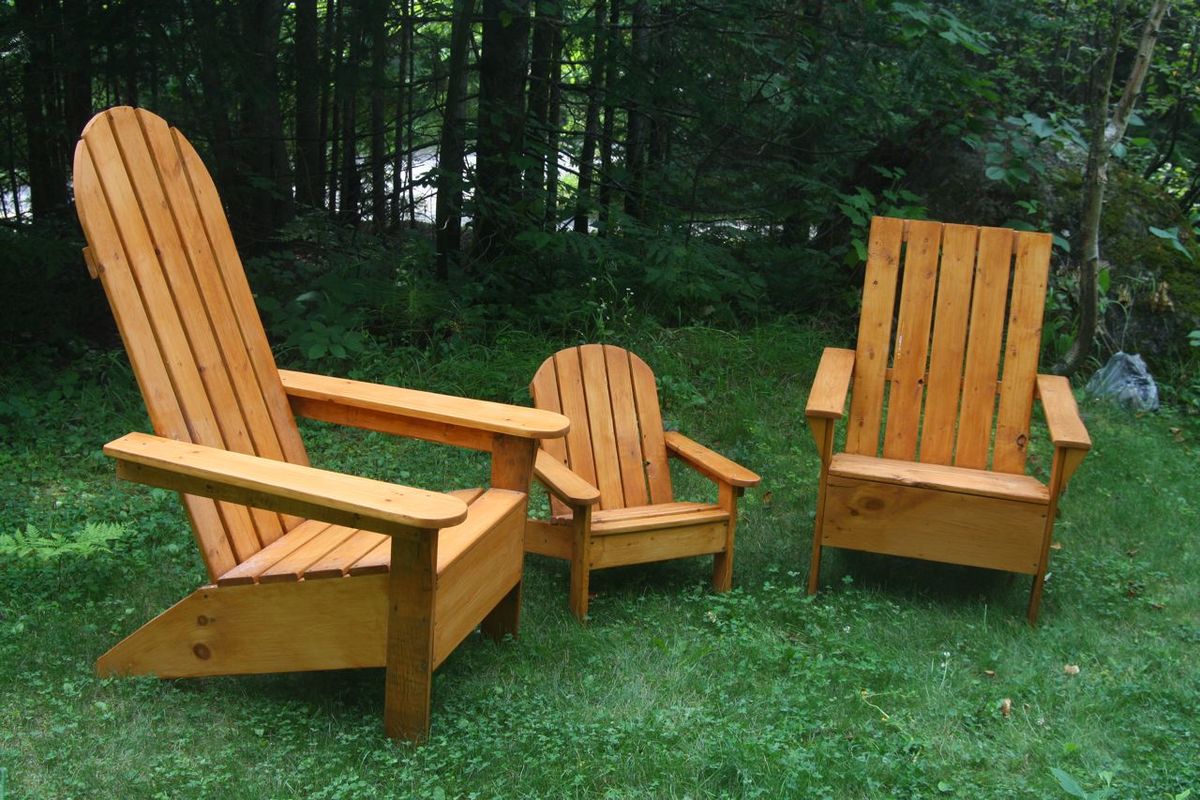
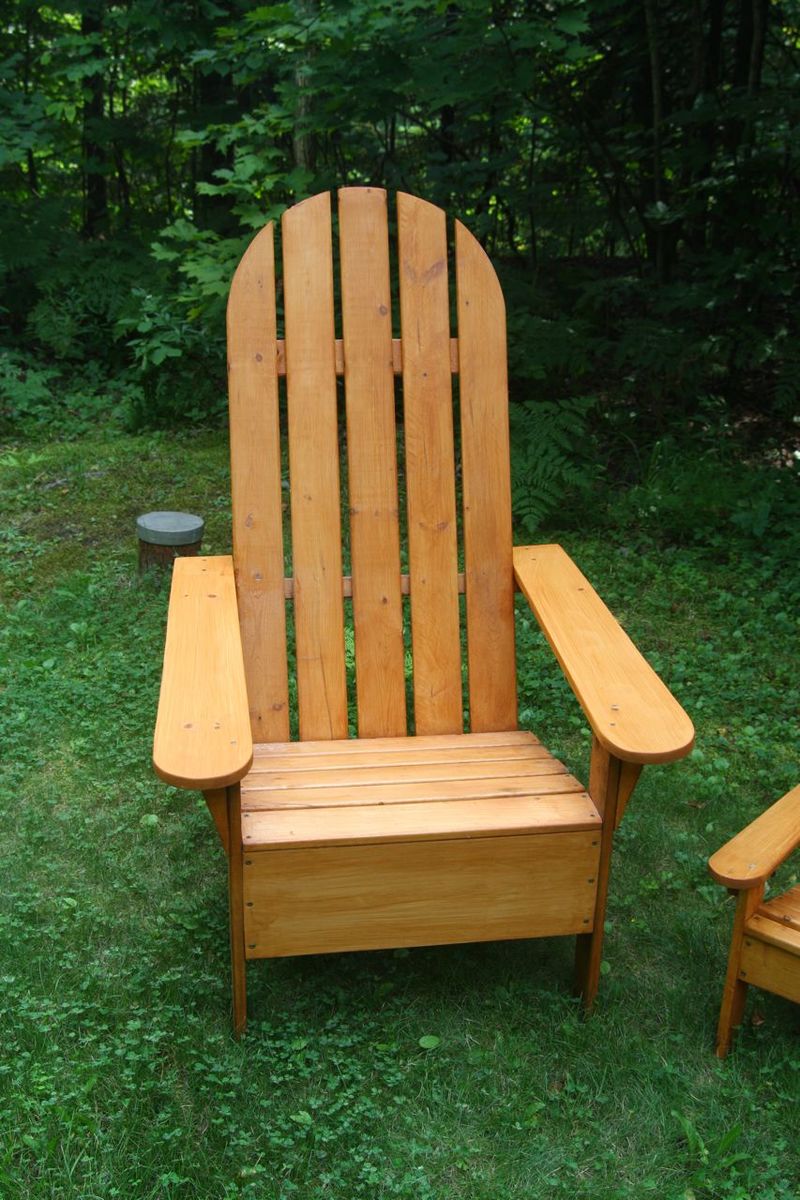
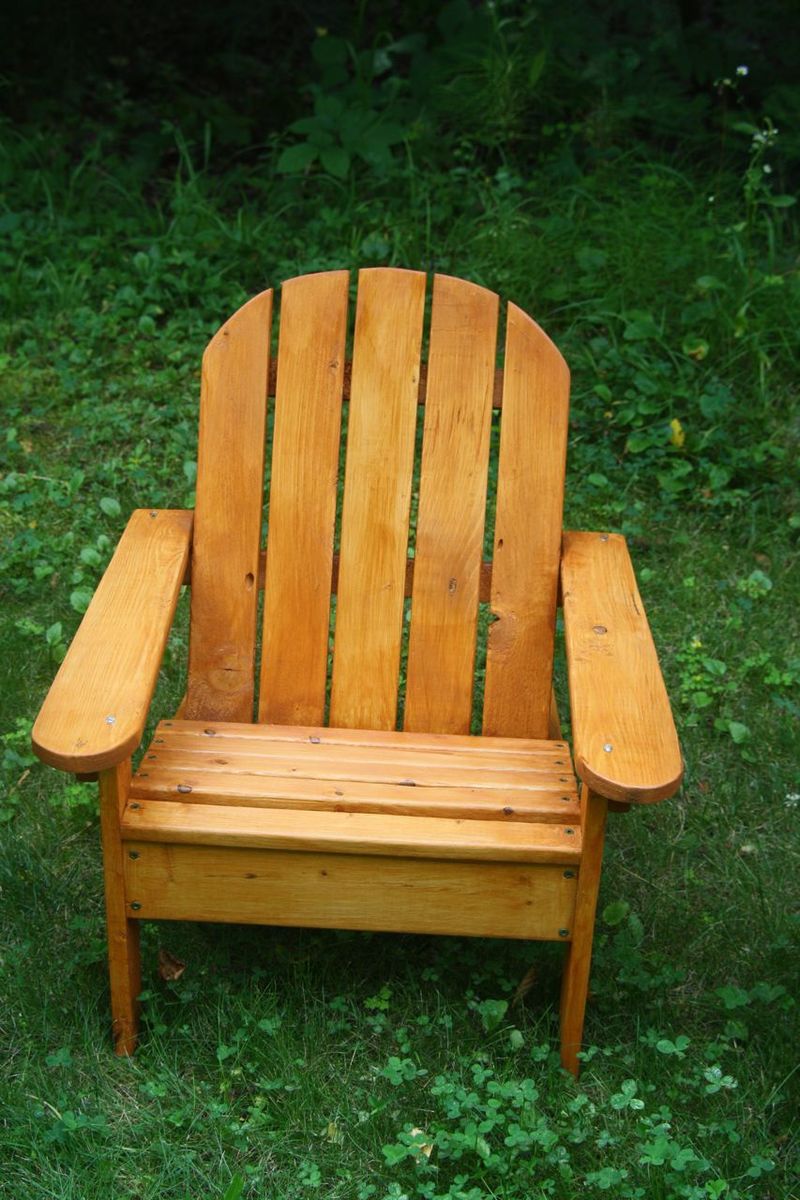
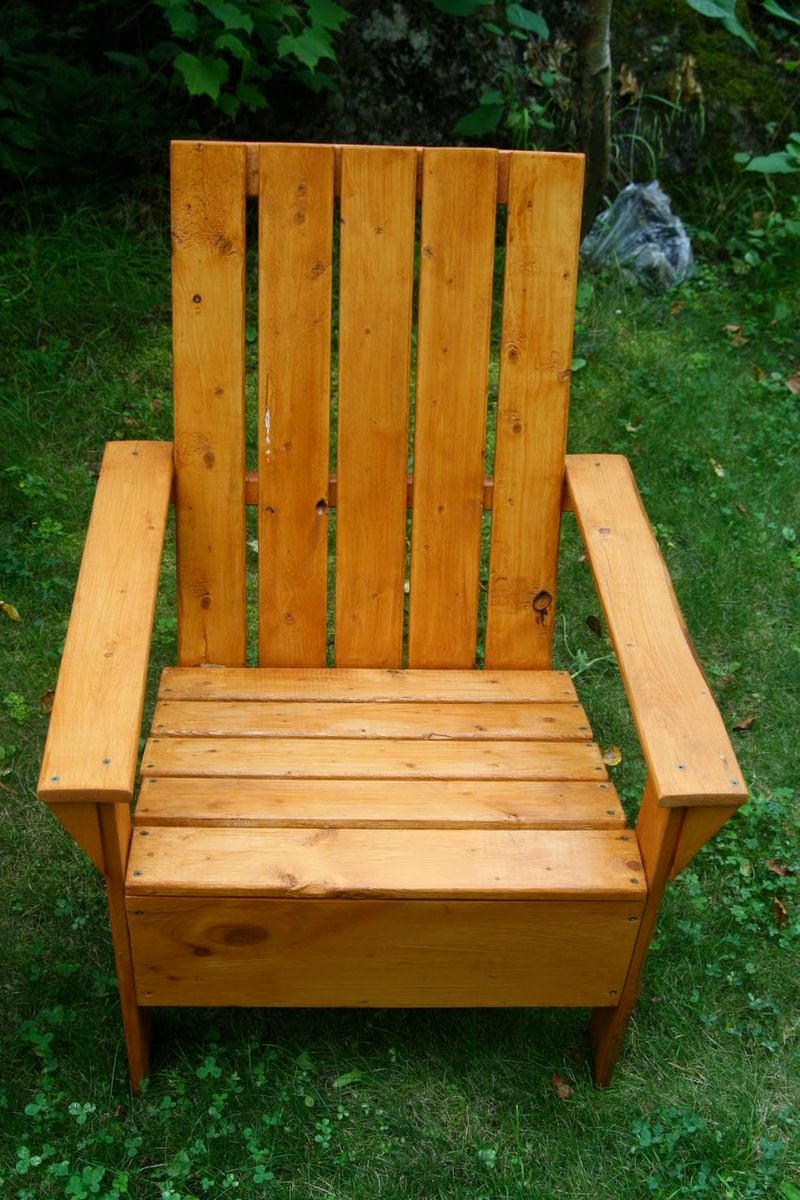

I've always wanted Adirondack chairs but found them way too expensive to buy. I found Ana's plan a while ago and promised myself I'd make one this summer. Well I enjoyed it so much I did three of them!


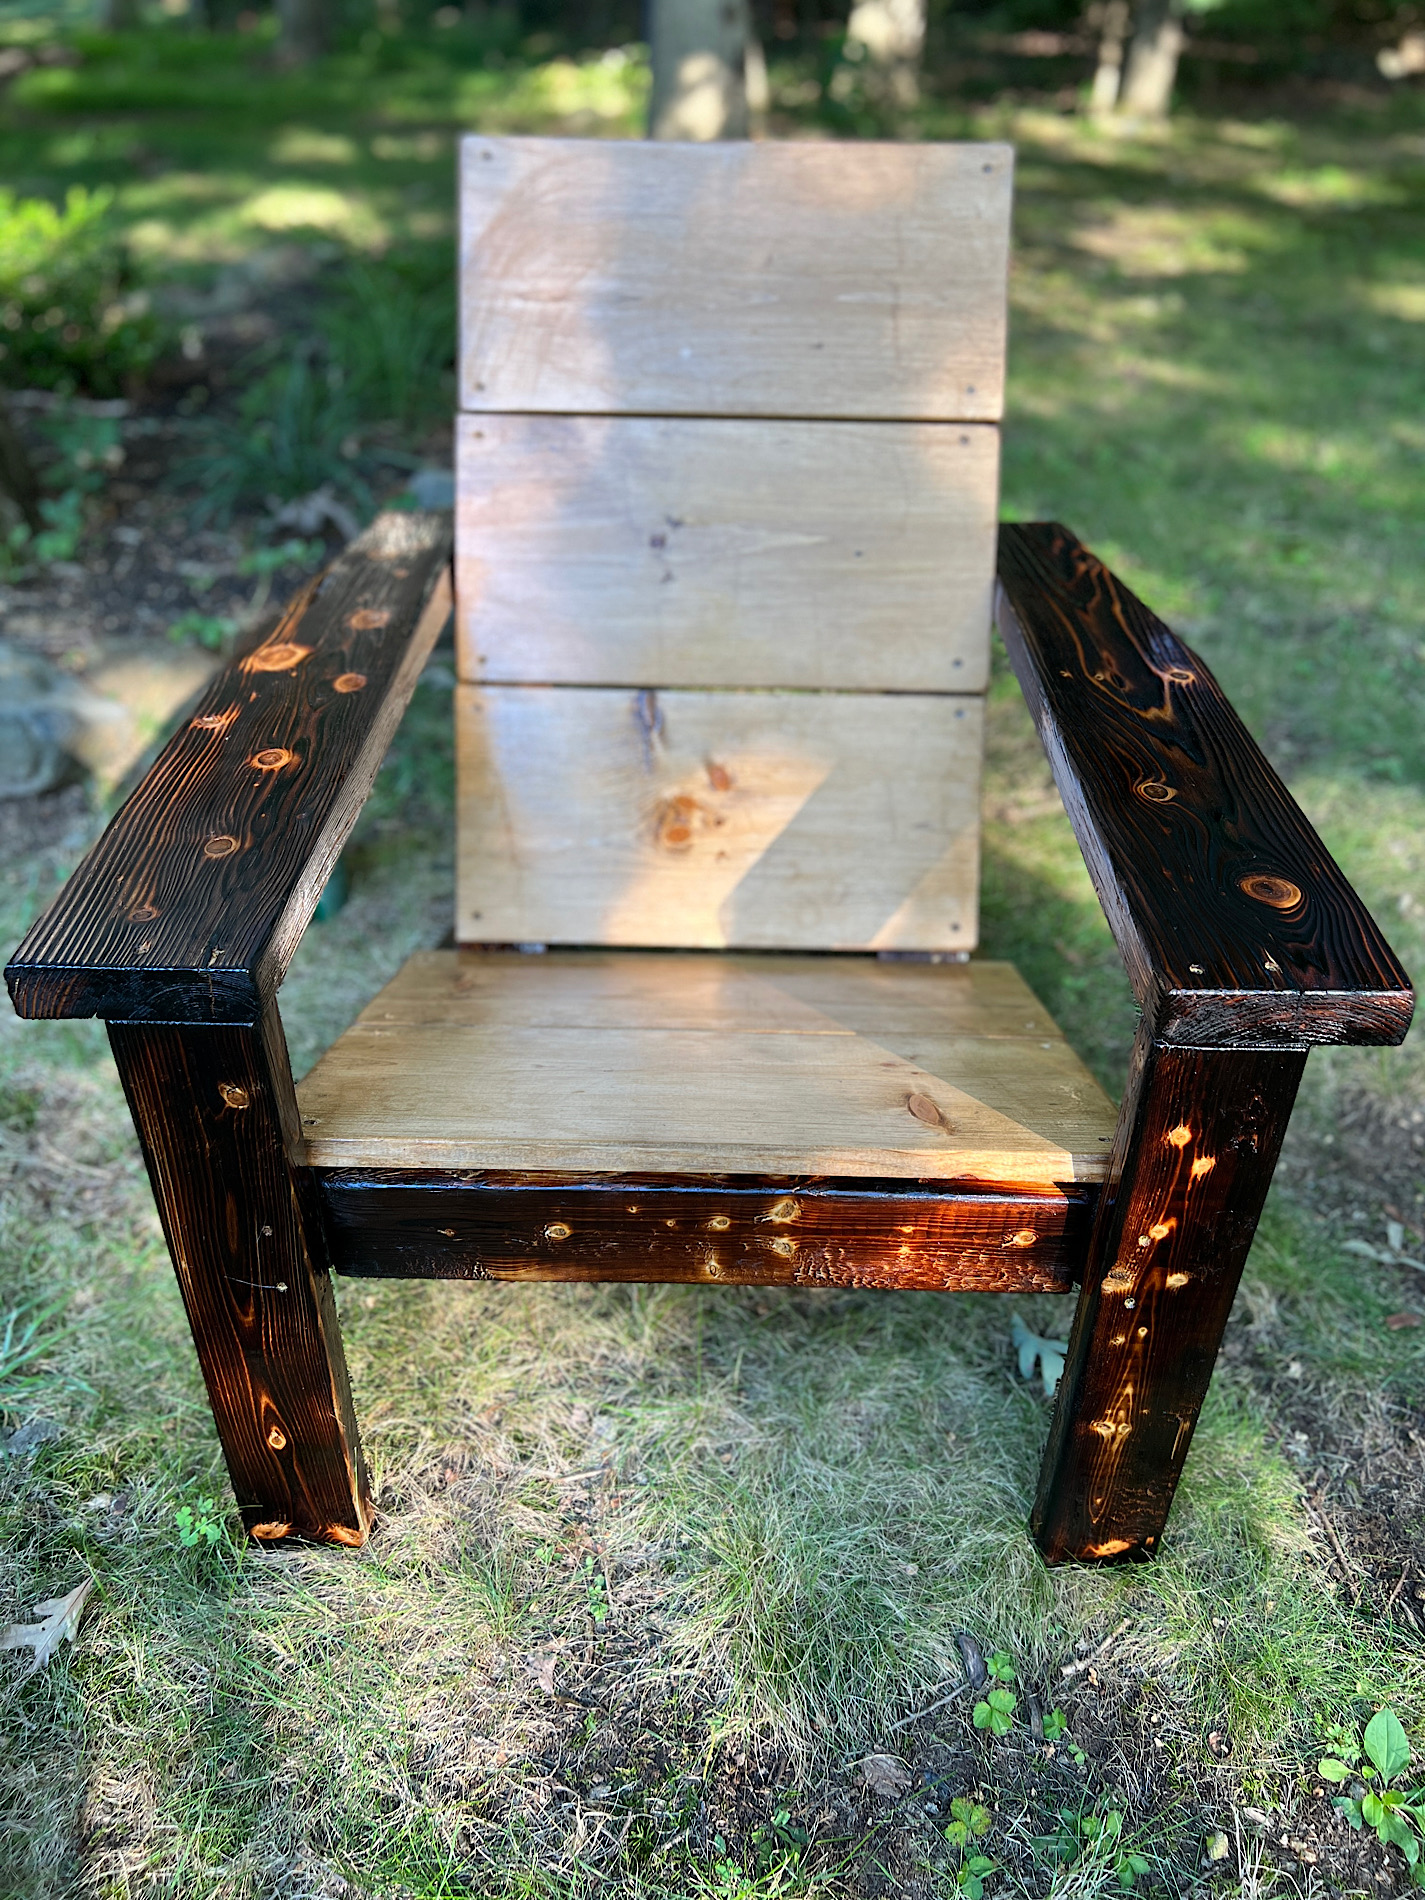
Made one change to plans. I used 2x6s for the arms. I used the Shou Sugi Ban burning technique to finish the 2x4s and 2x6s. I stained the back and set and the applied a couple coats of poly. Love the chairs! Building a couple more sets for around the fire pit. Thanks!
Thu, 09/15/2022 - 08:25
Love the wider arms and the finish is beautiful! Thanks for sharing.
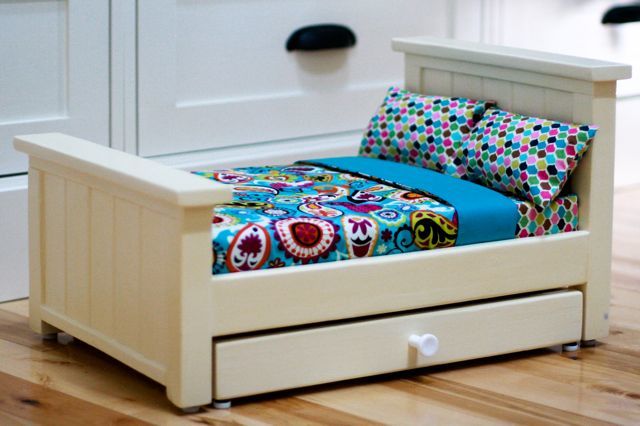
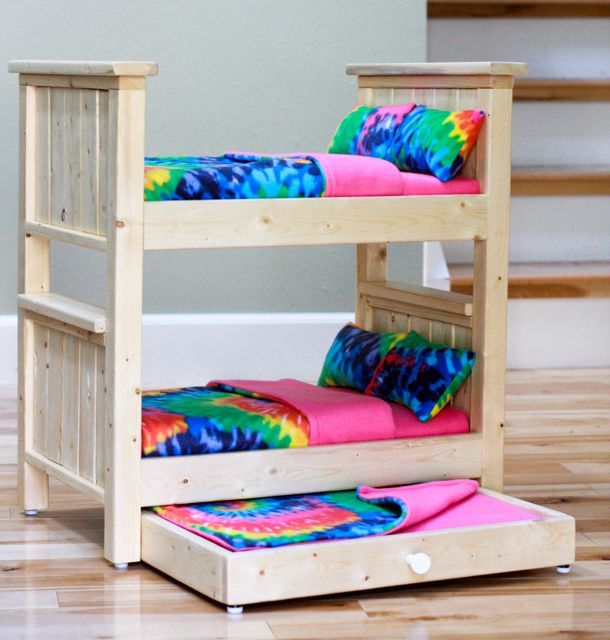
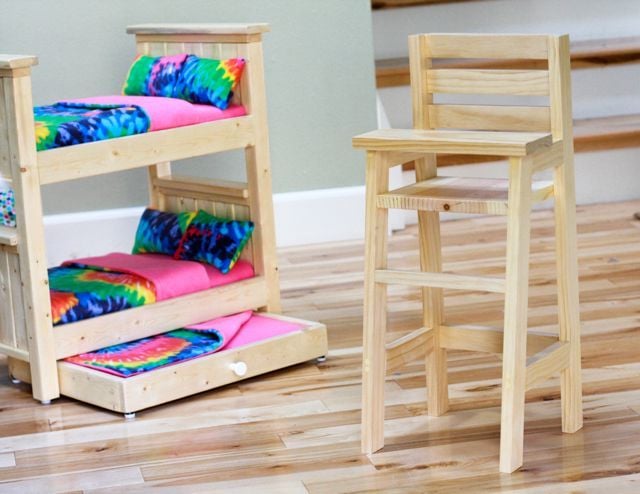
For these beds I modified the original farmhouse doll bed plans to accommodate a few more dolls. In the process, I discovered that, while doll furniture turns out SUPER cute, it takes me about the same amount of time to build a little piece as it does to build a big piece, especially when you consider the time it takes to sew the bedding.
I put these together mostly with nails and glue, but used my kreg jig to join the rails to the headboards and footboards.

Wed, 12/14/2011 - 23:05
Hillary you are so inspiring and talented!!! Love!
Thu, 12/15/2011 - 06:00
I love the mods you did on these. For the farmhouse w/trundle, I know you had to raise up the bottom and it looks like you did the headboard sized boards for the footboard and made the headboard w/even longer boards? Then for the bunkbeds, are those all headboard lengths for the head and footboards and then just very long 2x2s for the posts? I am never brave enough to mod anything just yet! I also absolutely love that bedding on the top pic! So bright and cheery!
In reply to Great job! by spiceylg
Thu, 12/15/2011 - 06:51
Isn't that bedding beautiful? I love it. The fabric is from Hobby Lobby. They have so many cute calicos.
Yes, you got the mods right. If I were to do the trundle again, I'd make the headboard longer so that it goes almost to the ground like the footboard, otherwise you can see the trundle.
The bunk was easy -- much easier than the other bunk plans all out of 1x2s. I've made them both now and the farmhouse one just comes together a lot faster (once you figure out the measurements).
Thu, 12/15/2011 - 09:57
I love Hobby Lobby but never think to check out their fabric! Silly me, I'll have to do just that! Okay, thank you for the info. I just noted the additional detail of the feet, how nice! If you don't mind, I'd love the measurement of the 2x2 for the bunks, simply because I'm lazy like that, lol!
Thu, 12/15/2011 - 10:27
The 2x2s are 22 3/4" and the slats in the headboard are 7". I think the bottom of the bottom headboard is around 2 3/4" or 3" from the bottom of the 2x2s. All the width measurements are the same as in the original plan. Also, I used lath strips for the mattress to rest on instead of a rectangle of 1/4" ply -- it seemed easier and I think it was cheaper, too.
Fri, 12/16/2011 - 08:00
You are so right about the time it takes.
I made a stuffed doll and her clothing for a niece, and I could have made myself two complete outfits in the time it took to sew one dinky doll dress.
Tue, 02/28/2012 - 07:40
Hillary how did you do the trundle for the farmhouse single bed. I read where you said you would do the headboard longer,but this is going to be my first build and I need a little more instruction to make the trundle and how long would you do the headboard. Thanks!!!
In reply to Trundle by lmhaney (not verified)
Tue, 02/28/2012 - 09:05
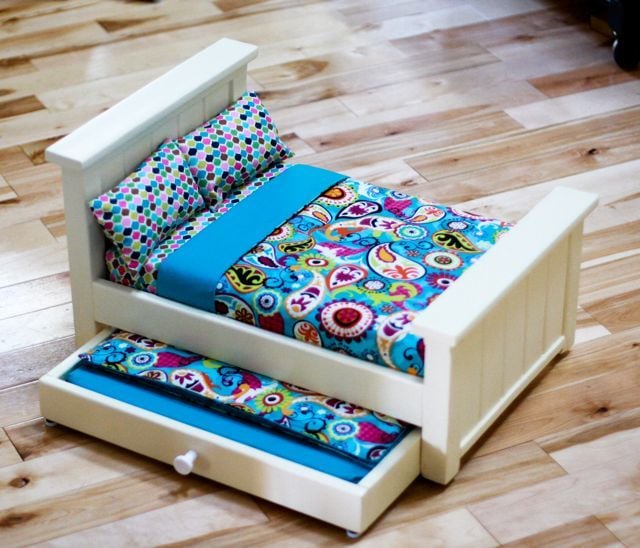
Hey. I made the trundle using 1x3 boards just slightly shorter than the size of the overall bed (so it would fit underneath). I used two 18 1/2" 1x3s and two 14 1/2" 1x3s. I built it using pocket holes on the 14 1/2" 1x3s, screwing into the 18 1/2" 1x3s. Then I attached two 1x2 cleats to the bottom insides of the 18.5" boards so that I'd have a place to set support pieces for the mattress. I attached the cleats with glue and nails, I think, but pocket screws would work fine, too. I used pine lath for the support, attached with glue and staples.
For the headboard, I cut my panel pieces at 7", I think, but I should have cut them at 9 3/4" so that the headboard panel would extend closer to the ground like the footboard panel does. Here is an abbreviated cut list:
footboard panel -- 5 1x3s @ 6"
footboard legs -- 2 2x2s @ 7 1/4"
headboard panel -- 5 1x3s @ 9 3/4"
headboard legs -- 2 2x2s @ 11"
All of the horizontal cuts are the same as the original plan as long as you are using #1 pine. If you are using #2 pine or furring strips, your horizontal cuts will need to be slightly smaller b/c your panel board will be slightly narrower than the plans expect.
Just be sure to screw the side rails of the bed in high enough to get the trundle underneath.
Hopefully that all makes sense! Good luck! Can't wait to see photos!
Sun, 08/05/2012 - 04:04
You think that the hardware store will cut all the peaces for me?
In reply to You think that the hardware by Aida (not verified)
Sun, 08/05/2012 - 06:29
They -might- cut it for you. But based on the experience of a lot of people here, and the advice of some Home Depot employees also on here, it's a mistake to have them do that.
You can do the cuts on your own though. If you can't afford a circular saw, or you're uncomfortable with them, you can buy a hand saw for about $25. It's no good for cutting plywood or MDF, but for solid wood it's hard to beat.
Mon, 08/06/2012 - 19:26
Nope, I don't think they will. And if they did you won't be happy with the outcome. Too many cuts and there's no way they'll get every cut right. You'd be better off finding a friend with a miter saw you could borrow for an hour to get all the pieces cut. Good luck!
Sun, 08/12/2012 - 08:27
Thank you........ I may have to stop been afraid of using this tools and just use it lol............love this bed and my daughter want me to make it for her........ I will post pictures
Tue, 10/29/2013 - 08:53
Just curious if you have ever thought of making these and selling them?? I have been looking for a doll bunk bed for my daughter for Christmas and love this bunk bed with trundle. So thought I would ask if you would consider making one and selling it!!
Sun, 12/08/2013 - 18:07
I absolutely love what you did with the trundle and the bunk bed. You are so talented! Thank you so much for sharing the measurements that you used to make the bunk bed and sharing tips. I am going to attempt to make one for my daughter. This will be my first woodworking project. I am crossing my fingers it goes well. Thank you! :)
Thank you! My favorite & first is from your mud kitchen! I put in running water!😂 For the GrandLuvs!”
@penny.vanderlugt
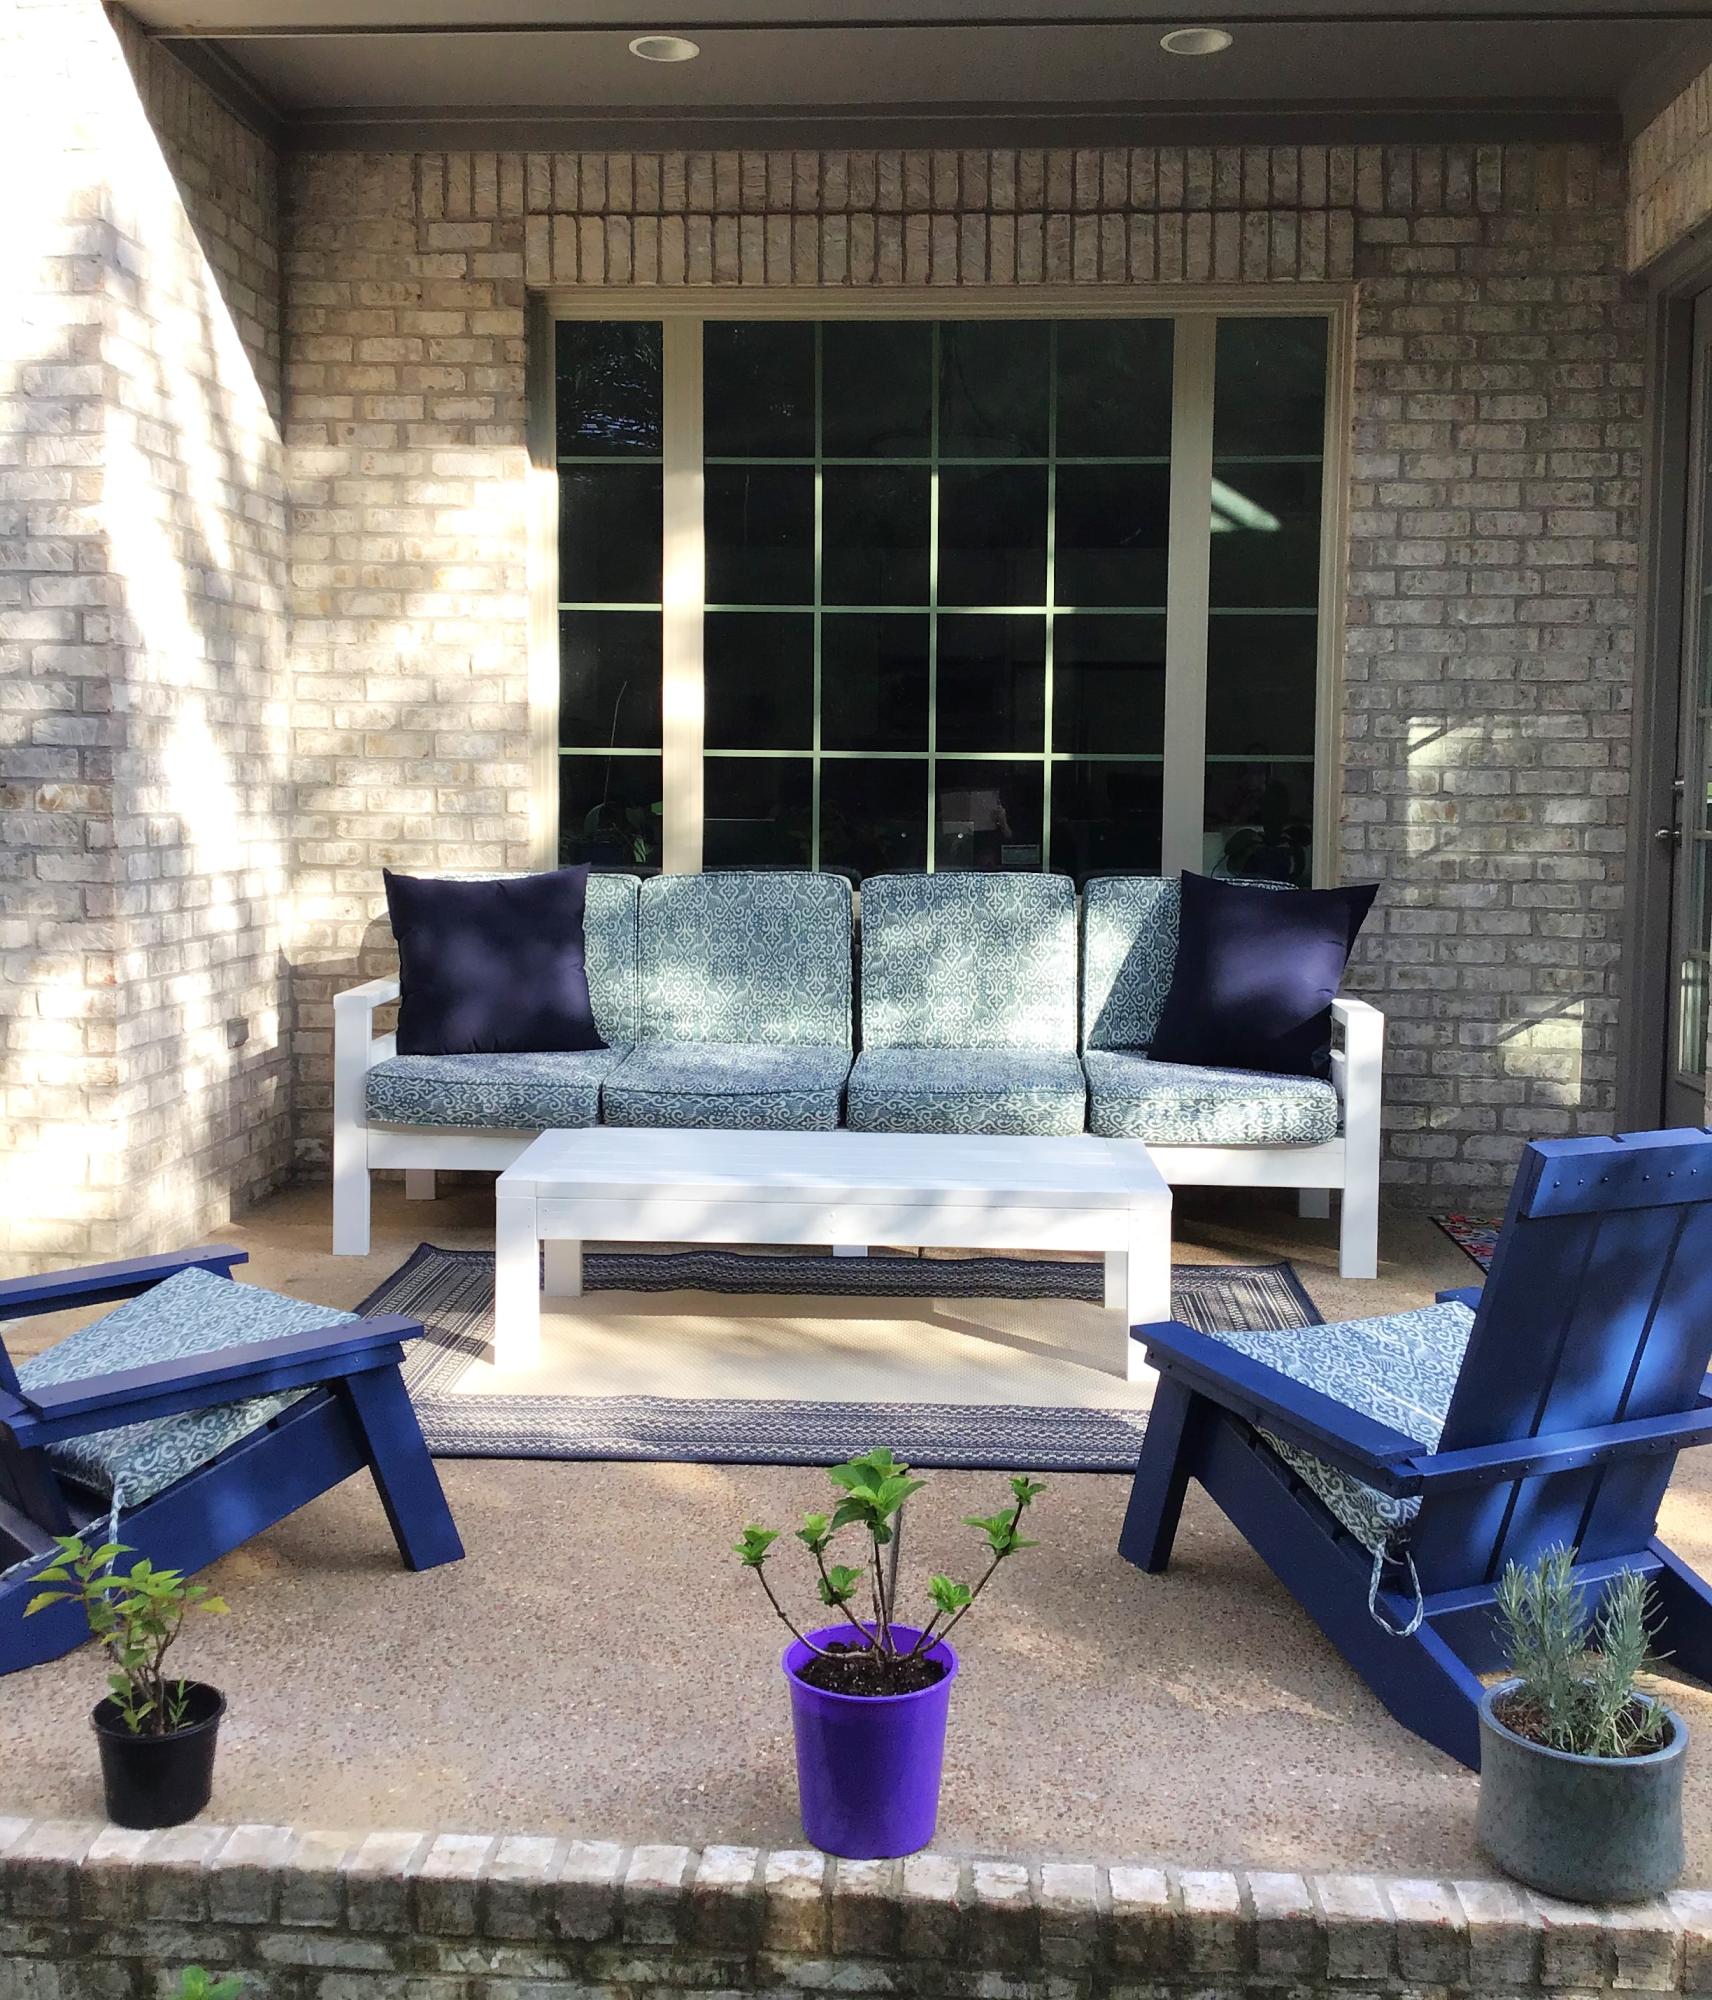
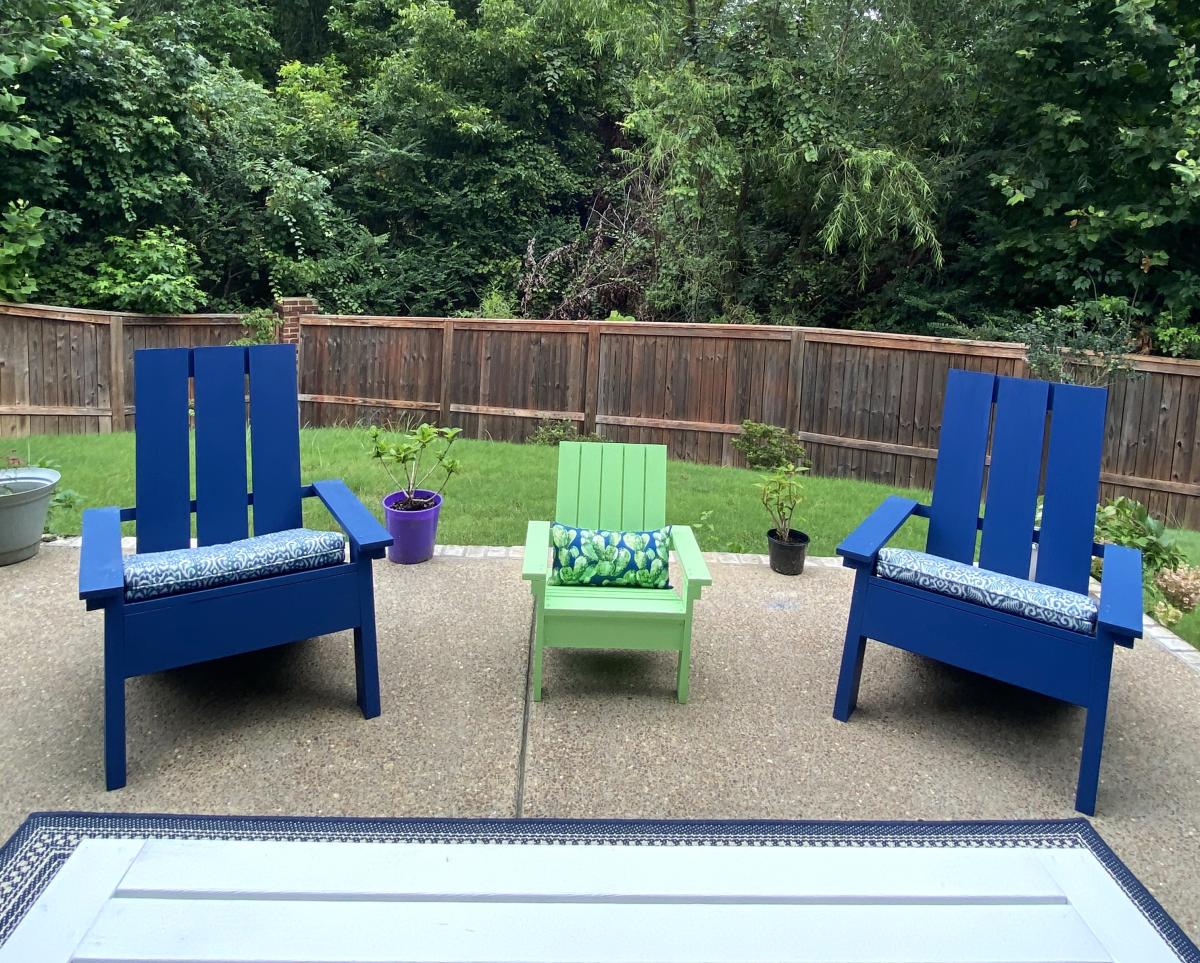
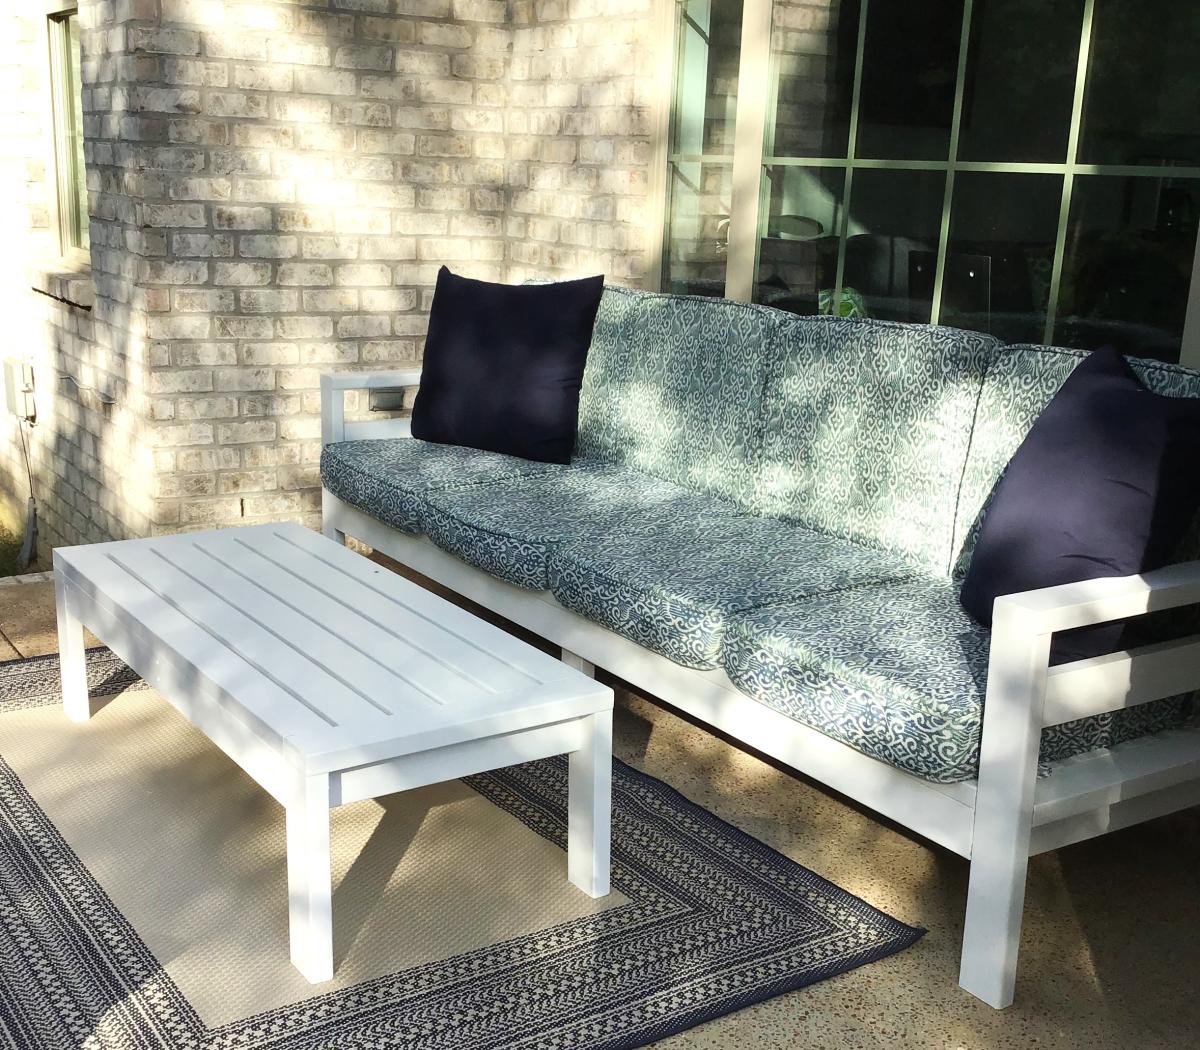
I decided to build my patio furniture and built a couch, with cushions, coffee table, 2 Adirondack adult chairs and one child’s Adirondack chair. It was so much fun to plan and build all of the furniture and so enjoy going out there on cool days! Thanks to Ana White for all of the plans! This is my 20th Ana White project! On to my next project! Plans were outdoor modern sofa, modern Adirondack chair, kids Adirondack chair, 2x4 outdoor coffee table.
JoAnne
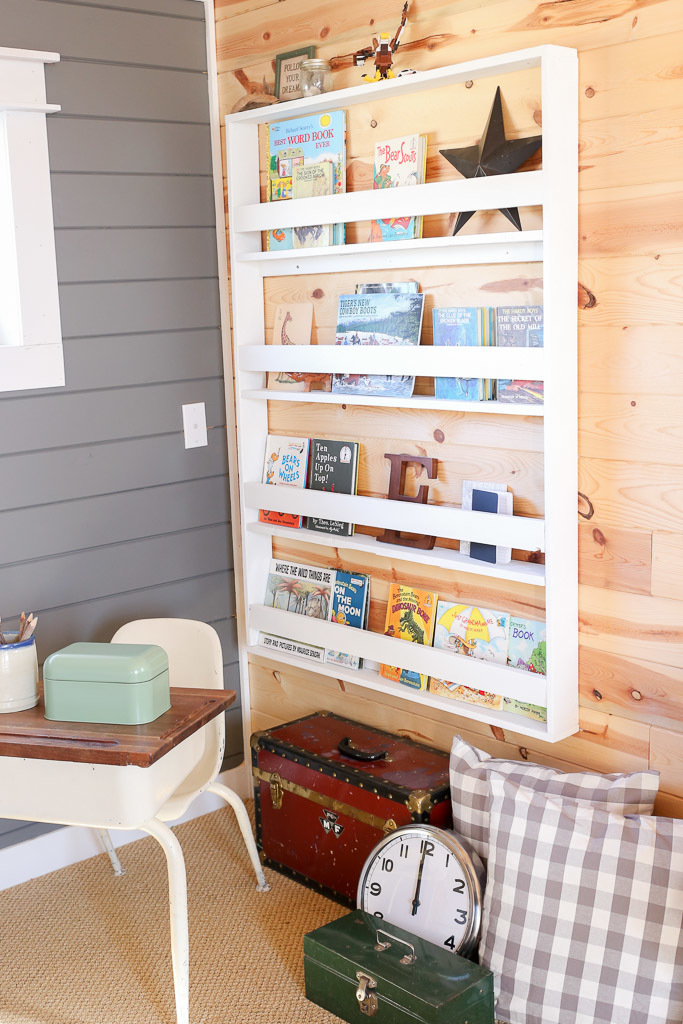
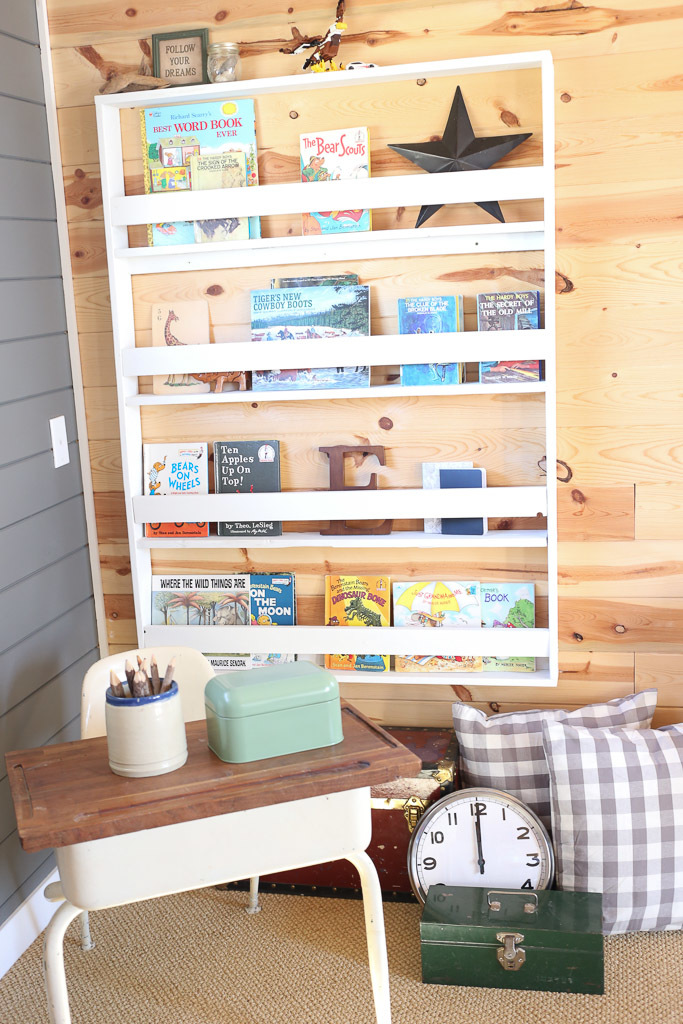
I built this book rack using scrap wood and modified plans from the Full Length Plate Rack. It was a really straightforward build, and functions very well as vertical storage that takes up little space. I predrilled, screwed and glued all of the joints, vs. stapling.
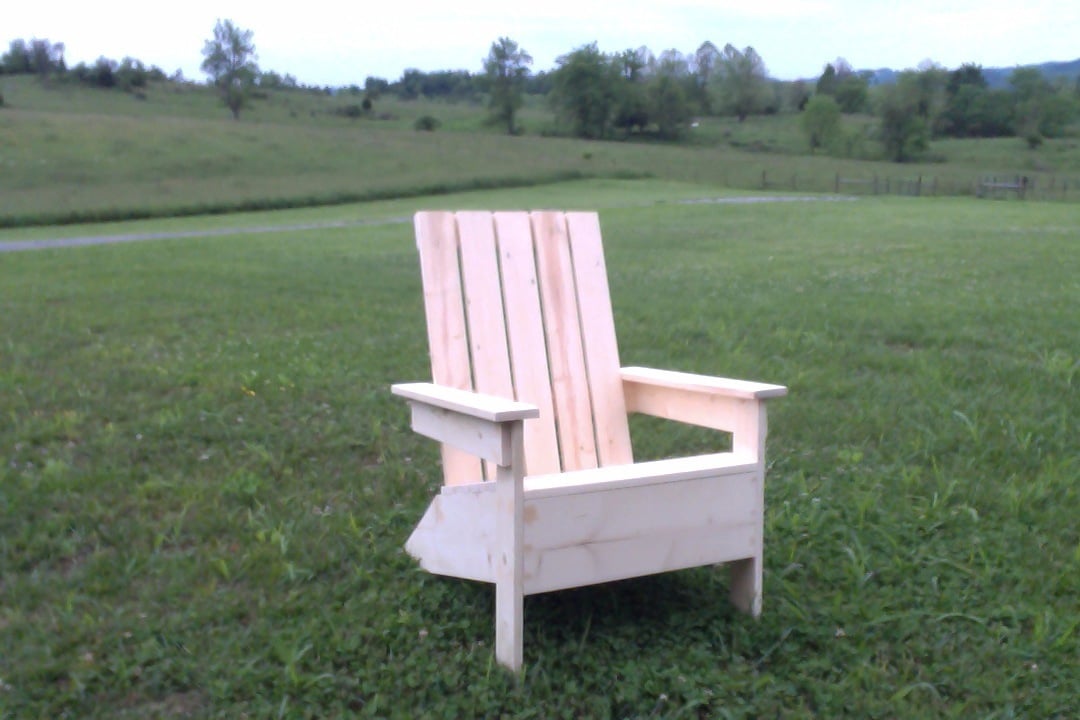
This was the second (larger) type project my husband has completed and I got to help this time! We made this for the loving ladies in our lives for Mother's Day. This one is his mom's and we didn't finish it because we don't know if she'll want to stain or just paint it. It was relatively easy!
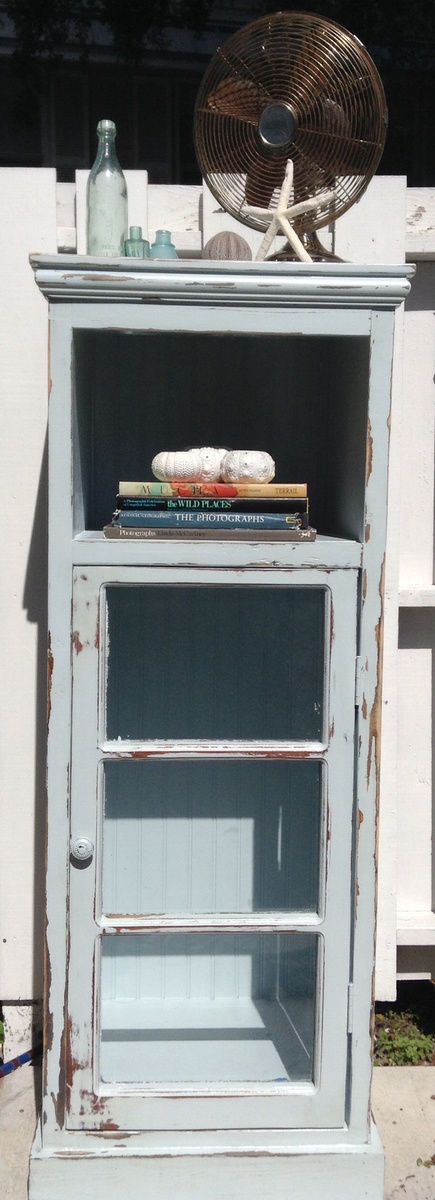
I was given an old window that was going into the trash from an old house in Key West that was being remodeled and decided I wanted to use the window as a door on a cabinet. These plans were very thorough and easy to follow. I modified the measurements to fit the window and am really happy with how it turned out. I added some trim to the top and bottom and used beadboard for the back to fancy it up a bit. I painted it in Sea Mist by Behr and distressed it by hand. This is my first post on this site. Thanks, Ana, for making this possible for me!
Mon, 03/17/2014 - 12:11
Love that color! I painted a console table in the same shade and distressed it. Still one of my favorite pieces to date! ( http://www.birdsandsoap.com/2011/07/touch-of-blue.html )Your cabinet looks great. I can't wait to get started building once the weather warms up here!
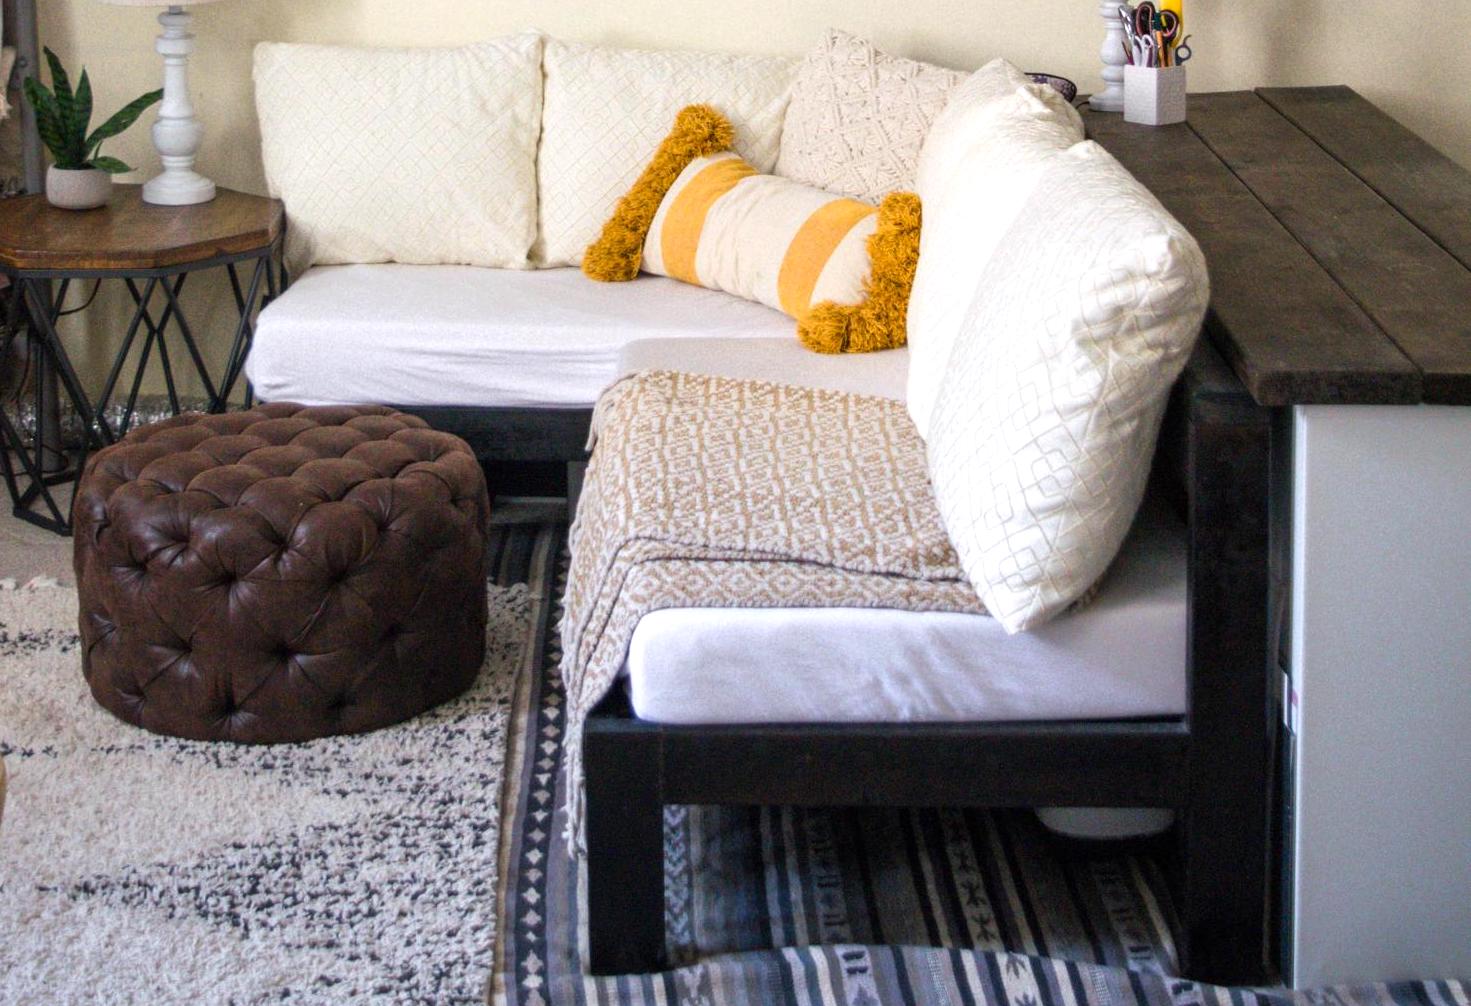
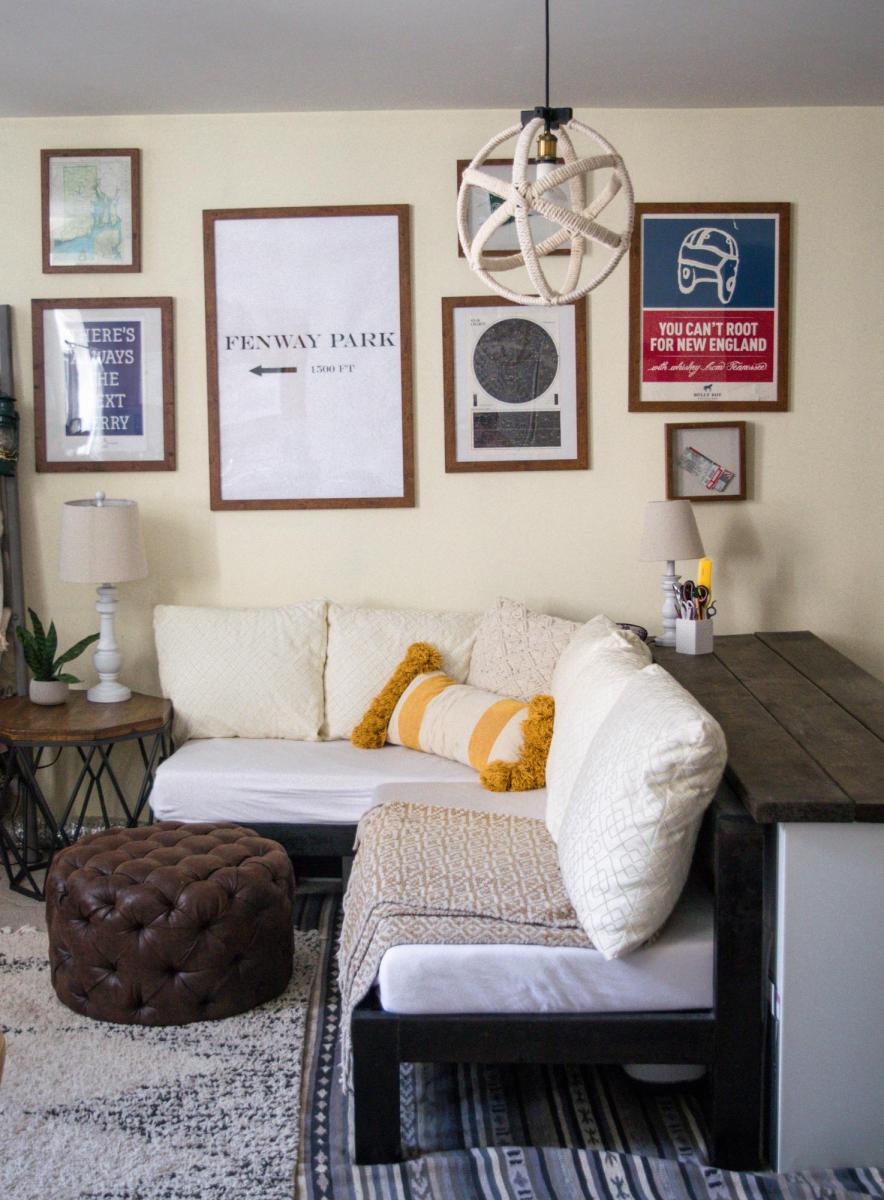
I modified the kids couch plans to make a sectional sofa for my apartment! We removed all but one of the arm rests. So when pillows are removed it doubles as a twin bed for our friends!
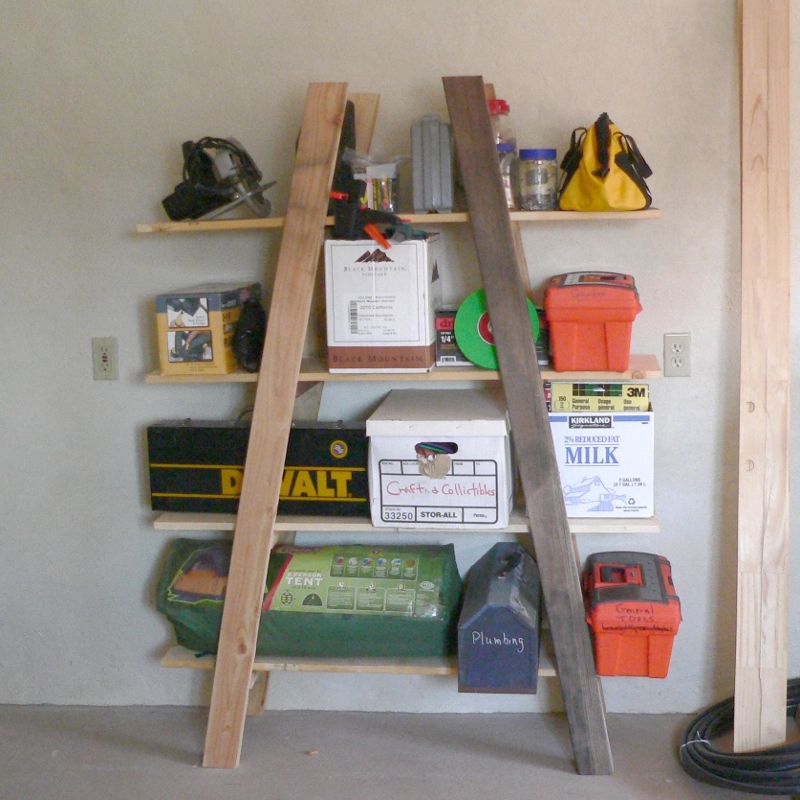
Made of old fence rail (the dark pieces) and cheap 2x4s and 1x12s .
This is not as stable as I hoped, but for an afternoon's project that got all those tools off the workshop floor, it's not bad. I will add a diagonal brace at the back later. Much later.
NOTE: My engineer friend notes that 2 braces at the rear, below the bottom shelf and below the top shelf, would minimize side-to-side wobbling, and 2 braces front to back, both under the bottom shelf, would minimize the front-to-back wobbling, They could be a scrap of plywood, a 1x6 or wider scrap. Just nail them in two or more places on each of the ladders and they make the structure more rigid. Screw them in if you want a shelf unit you can disassemble.
TIPS:
If you are using pockethole screws, start the screws in all the holes before you put the crosspieces on. Stop when you see the tip of the screw come through the first piece.
Clamp scrap 2x4 to the uprights to hold the crosspieces in place as you drill.
To get the shelves in place, lean the ladders against each other and attach the bottom and top boards on one side. Than pull the other ladder out as far as it needs to go and screw that side of the shelves in place.
Don't try this without clamps.
It could have been cheaper if I had used all reclaimed fence 2x4s, and if my errand runner had bought cheaper 1x12s. He bought top-grade when #2 would have worked for half the price,

We had some leftover granite from an outdoor kitchen build and wanted to maximize the use of it. We loved the look of a rustic table from Pottery Barn and set out to find something that was asking the same aesthetic. I came across the Jilly and Mia workbench console and thought it would work great with some minor modifications. I shortened the overall length and height, went with some heavy duty casters to support the weight of the granite, and reinforced the cross beams that would support the 3/4" plywood sheet and granite. I went with cedar for this build since it was outdoors and I'll finish it with a clear sealant.

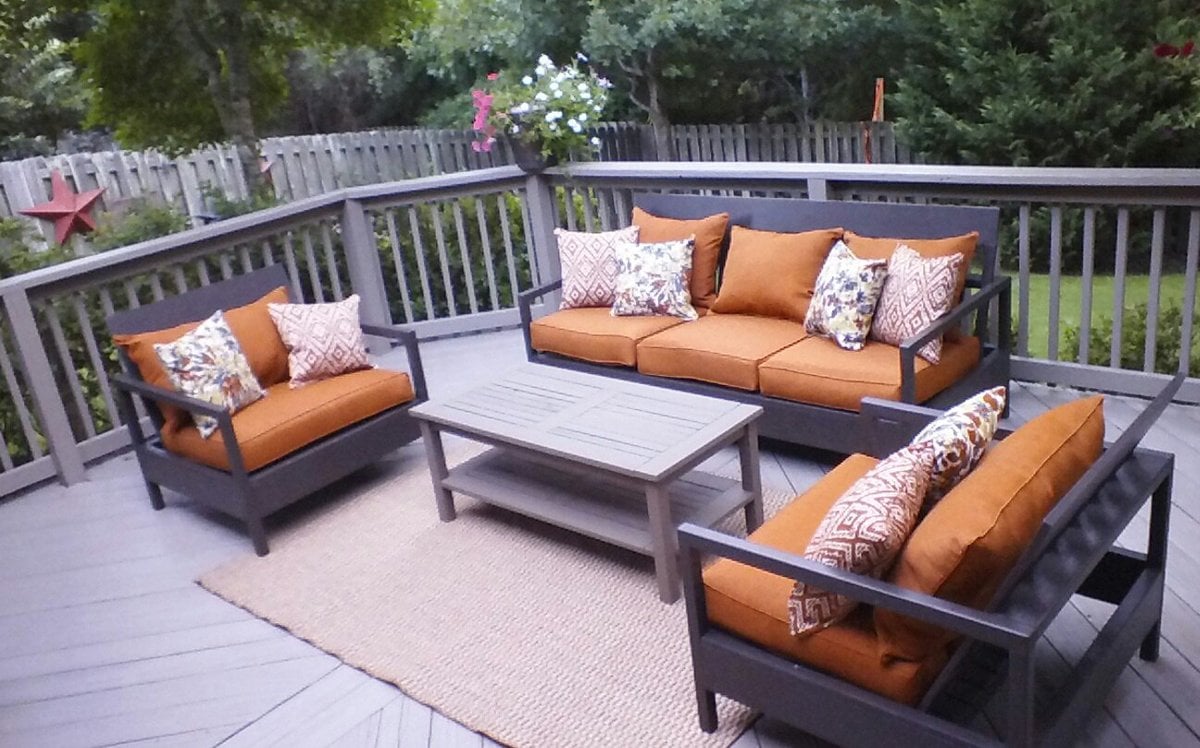
Well this was first project my hubby and I tackled together. He actually let me use the power tools. The plans were great! Loved having a shopping list! I made the cushion s myself. I have to say, I wish I had made the couch and chairs the size of cushions available at Lowes . AFt e r you buy foam batting fabric and chording I found set at lowes for a lot less but I am so happy how it all turned out . Thks for providing plNz!
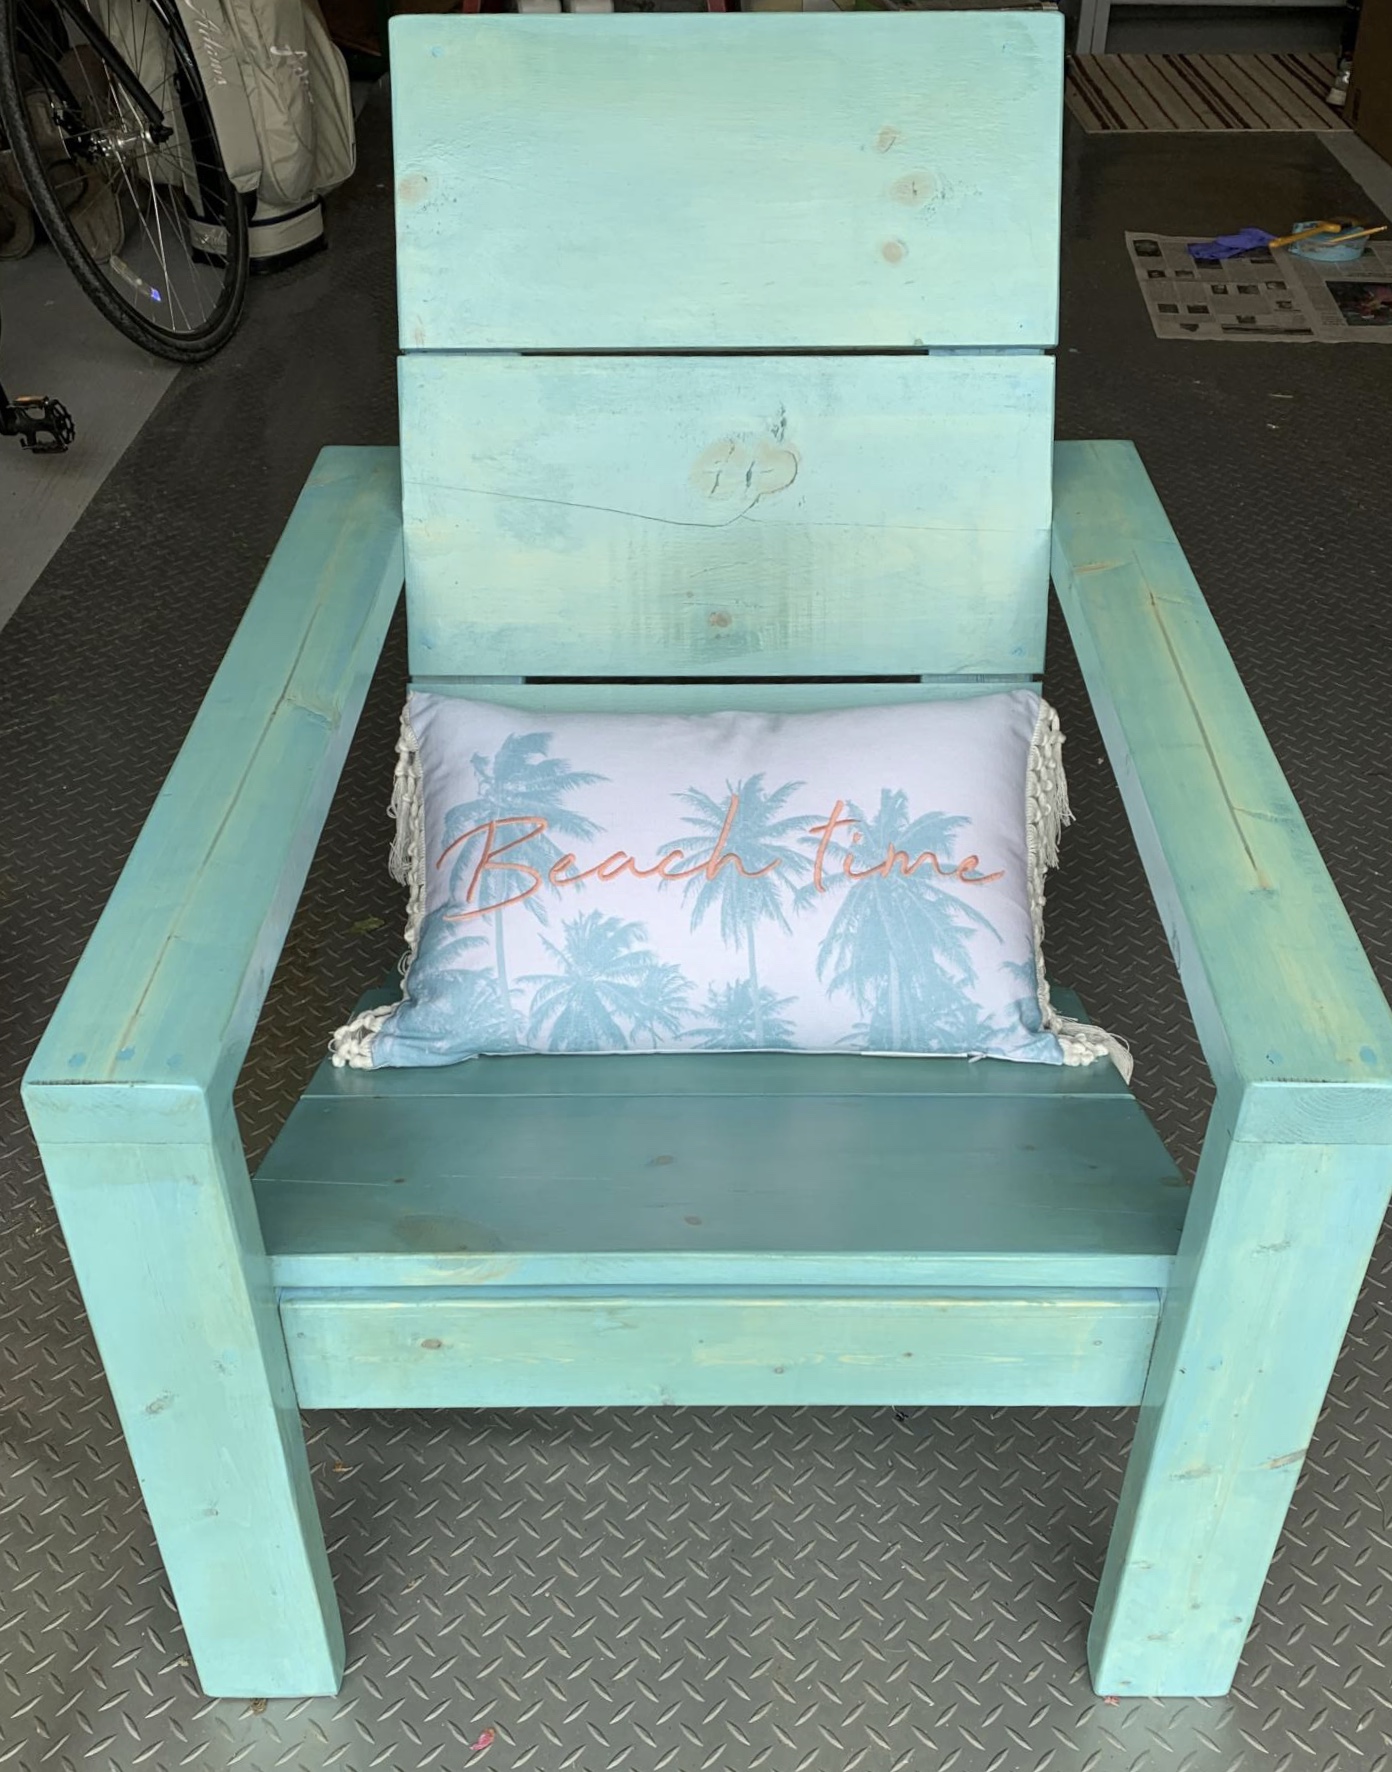
Built as a Birthday gift for my daughter-in-law. Hope she likes it.
Loved this project! We had an old headboard so my wife came up with the idea to cut off the top posts and use them as legs.
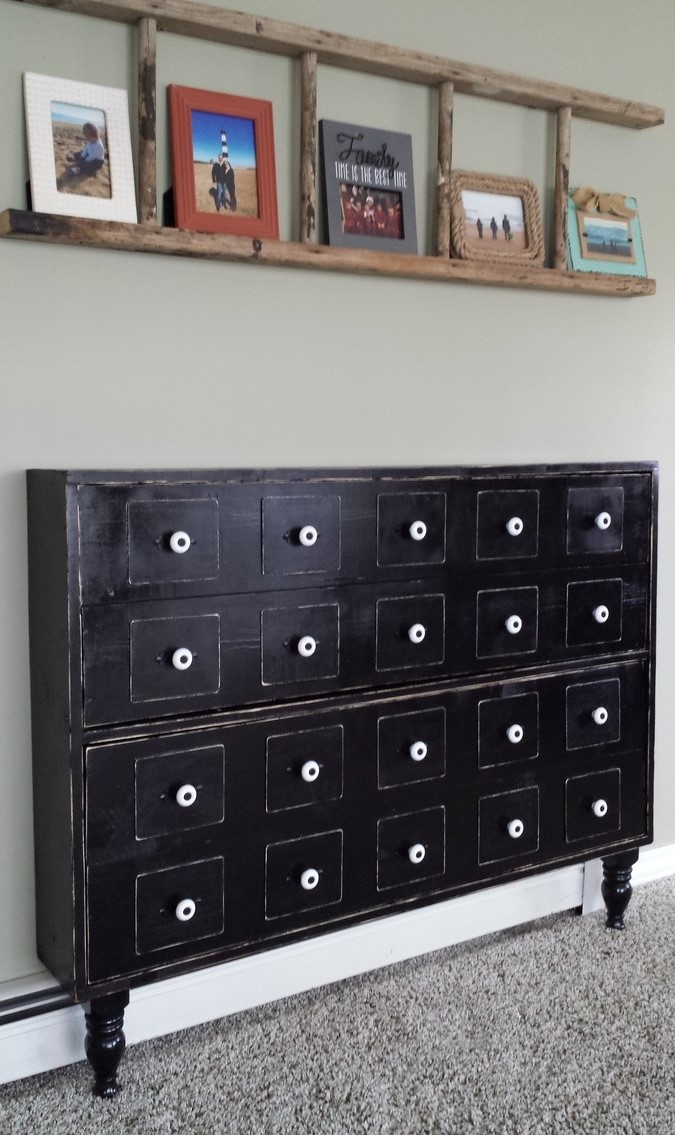
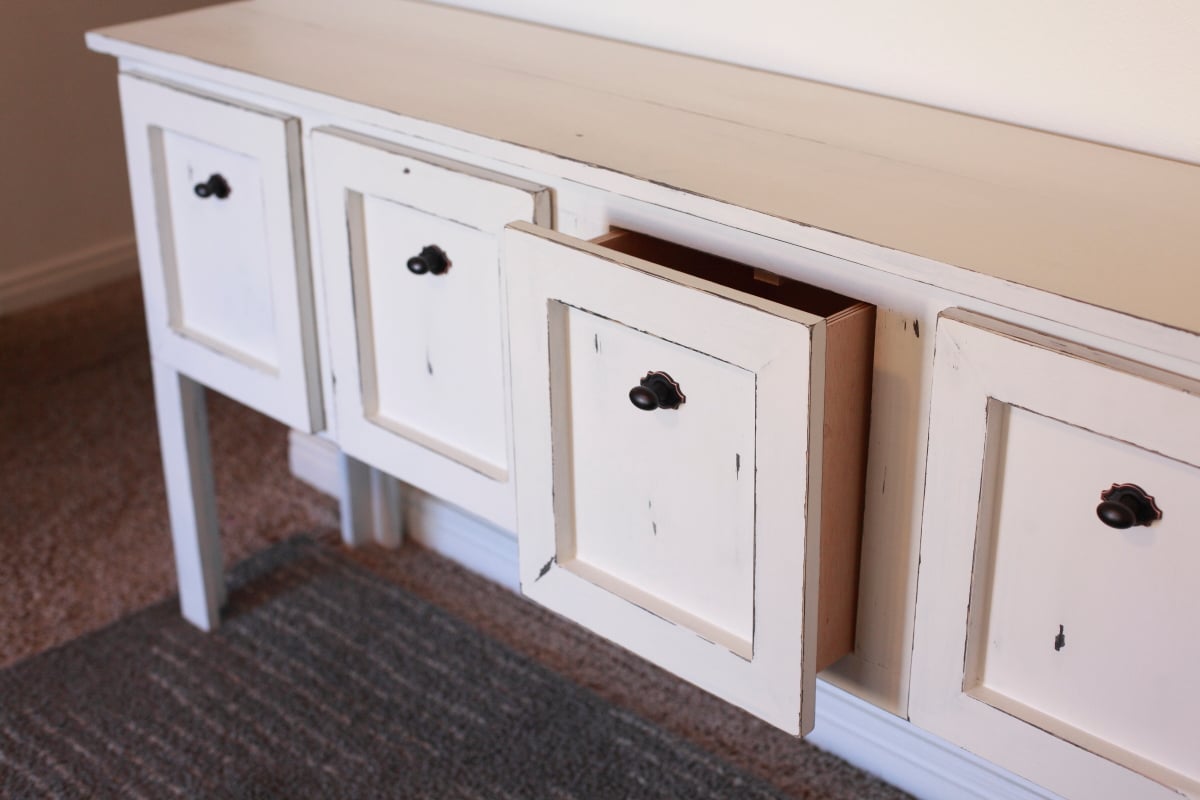
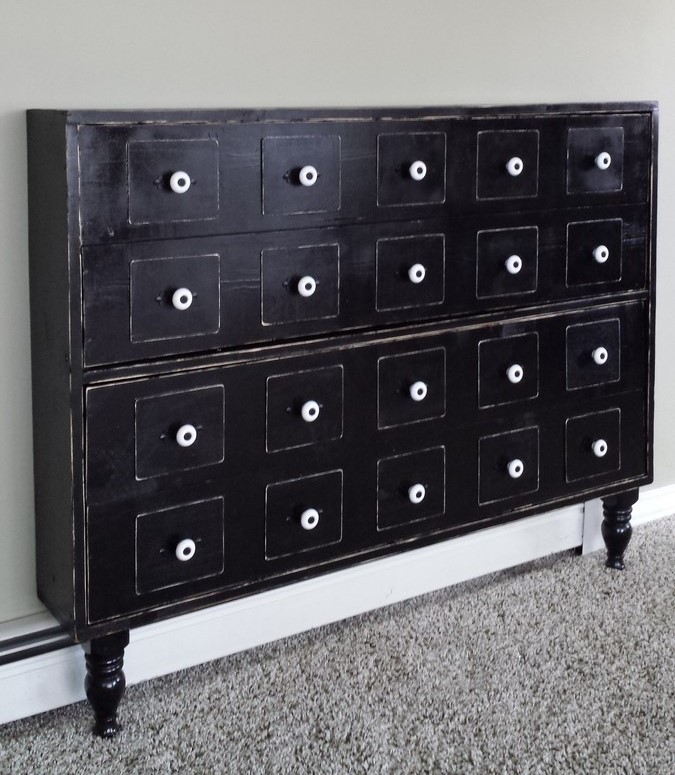
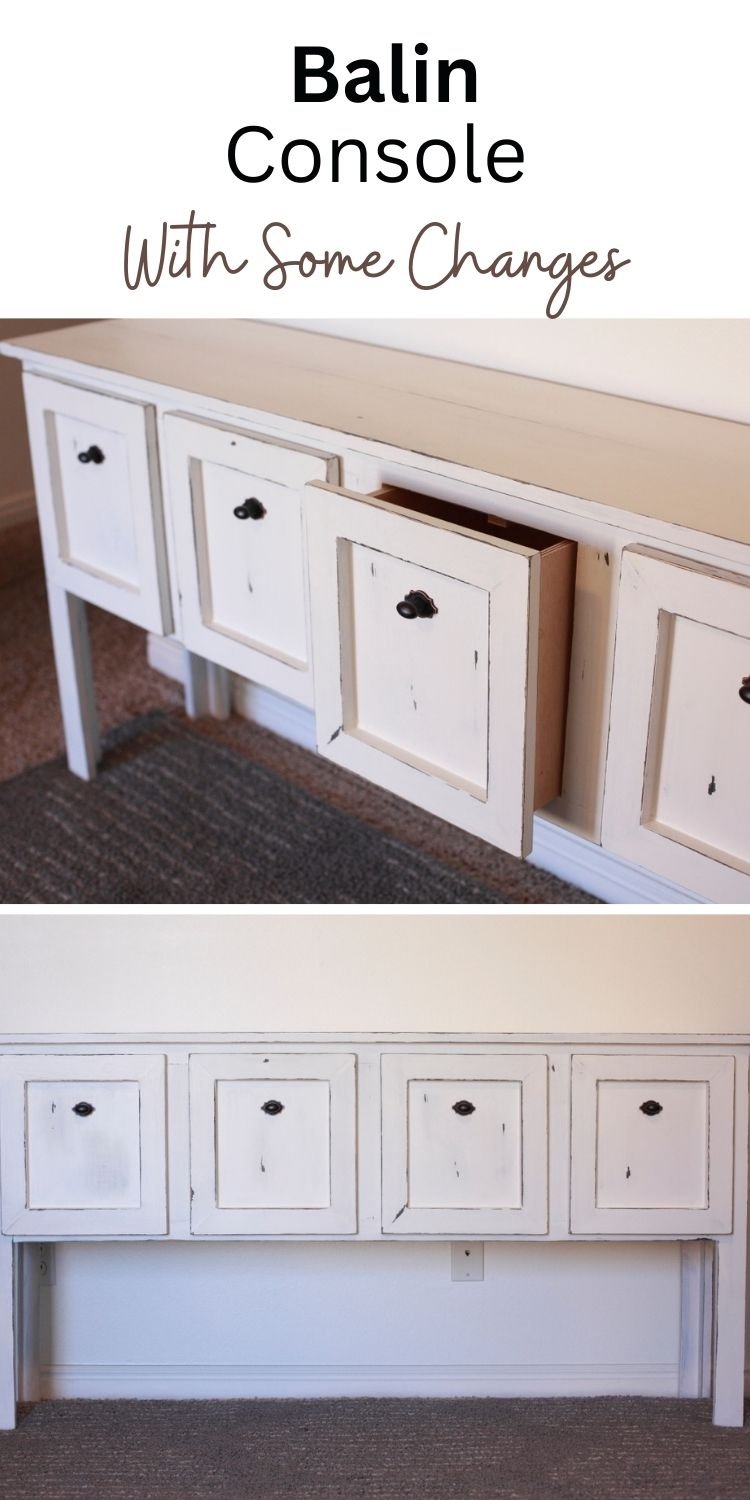
We made this table from the original Balin Console table plans, but faced out the drawer fronts with some mitered trim and added some drawer stops inside to keep the drawers from falling out when pulled all the way.
The drawers were made with a cabinet grade plywood along with the sides and bottom of the table. We used 1x8s on the console top to get that nice wood look, where all corners and ends would be showing, but for the sides and bottom of the table, since the edges were all trimed out, the plywood worked out nicely.
The legs seemed plenty sturdy without the extra trim, so we skipped that to get a more simple look.
Drawer handles were found at our local Home Depot.
For the finish, we stained (with Minwax ebony) the edges where we wanted distressing, then wiped on vaseline along edges and painted over in Behr Swiss Coffee (white) in matte. After drying we took sandpaper to the edges to show the dark stain through. Because we used matte paint, after everything was finished, we waxed with a clear wax and buffed for a nice shine and a smooth texture.
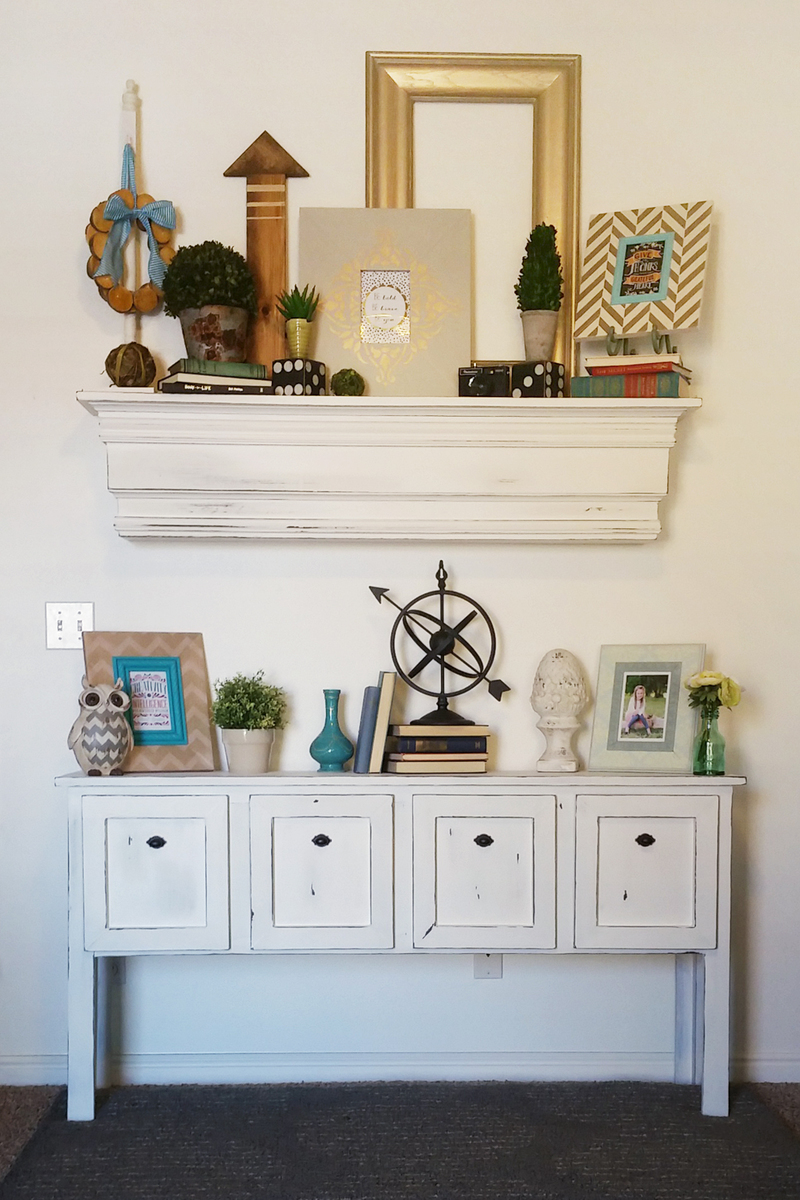
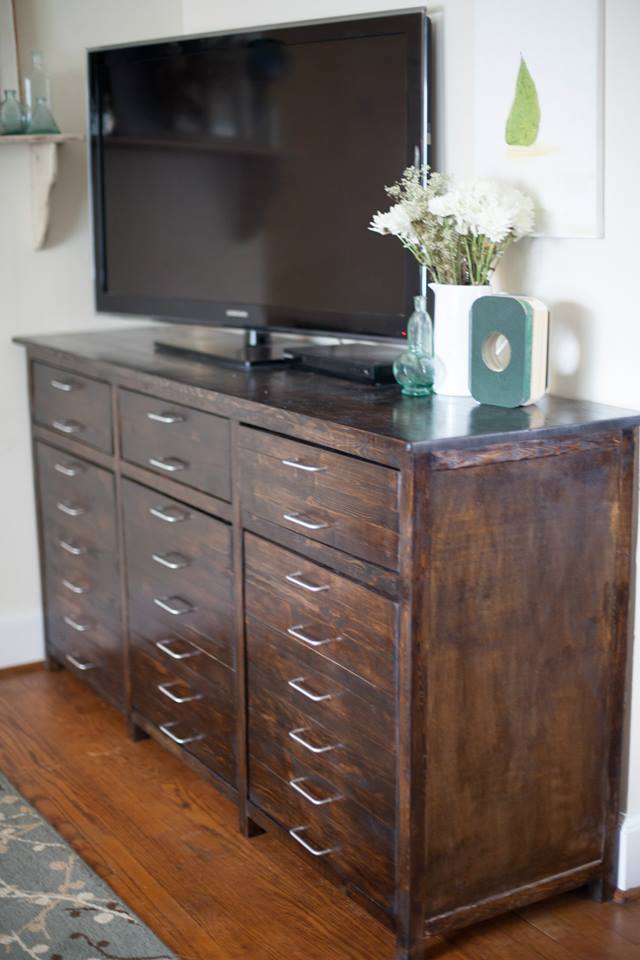
We made this and a dresser just like it. We wanted matching furniture.
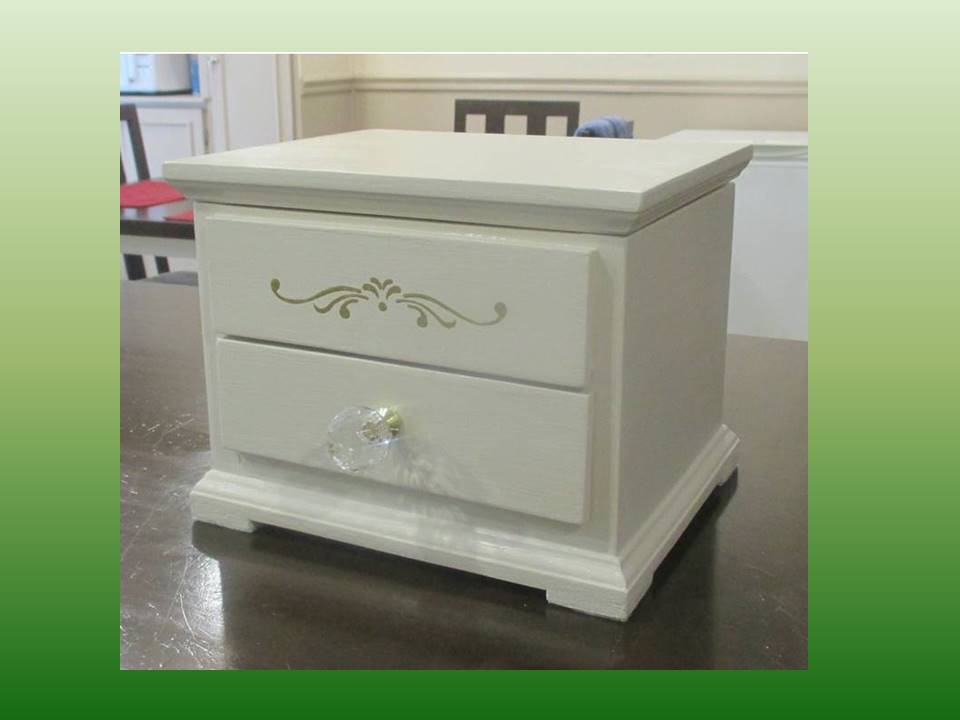
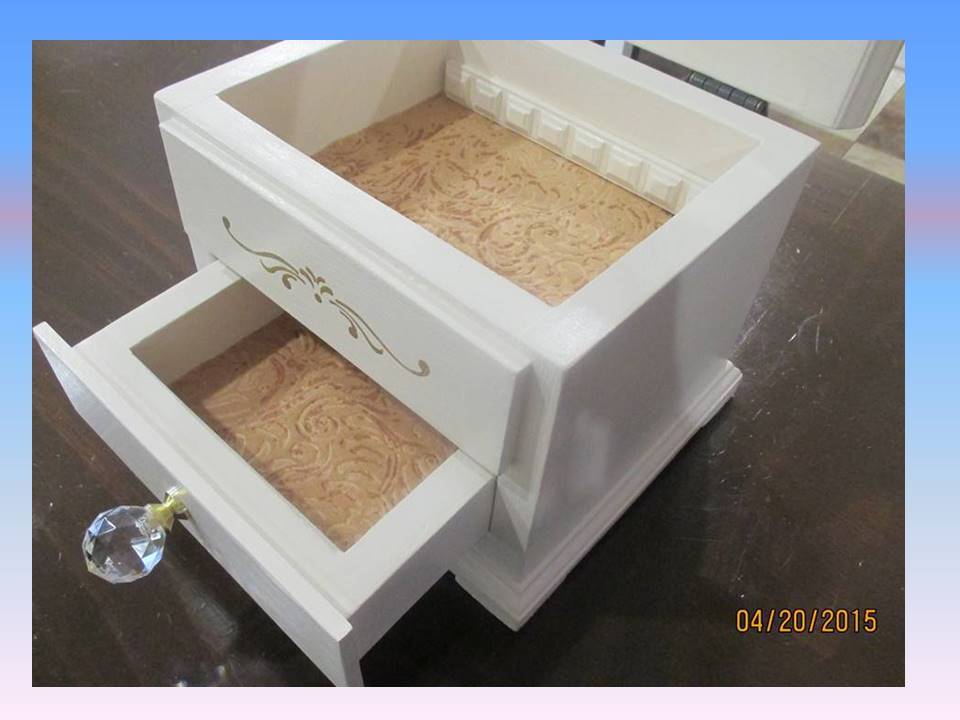
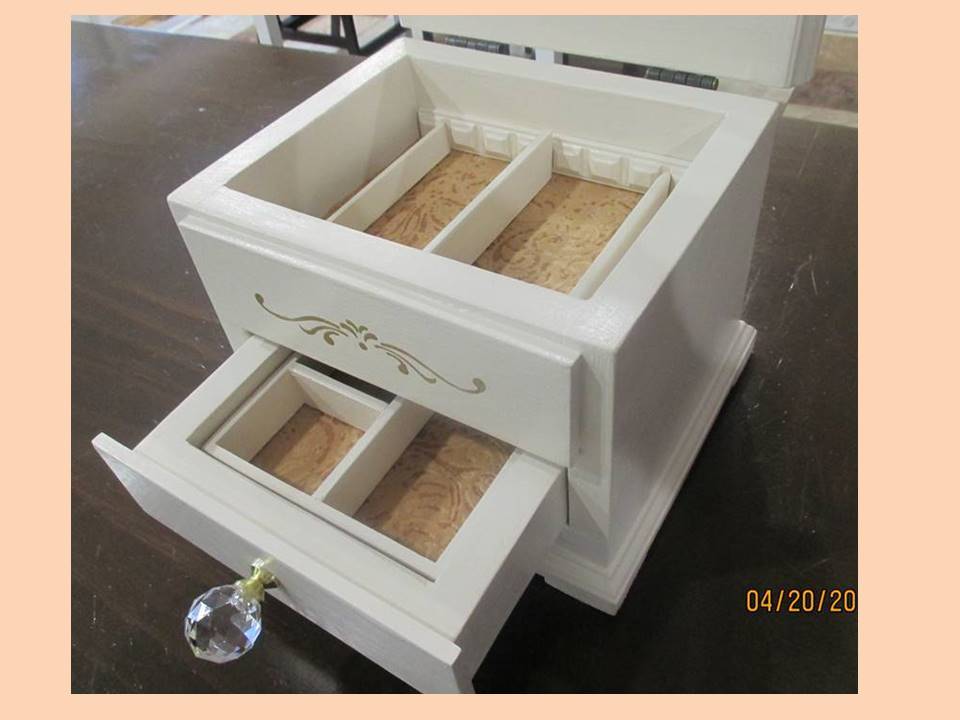
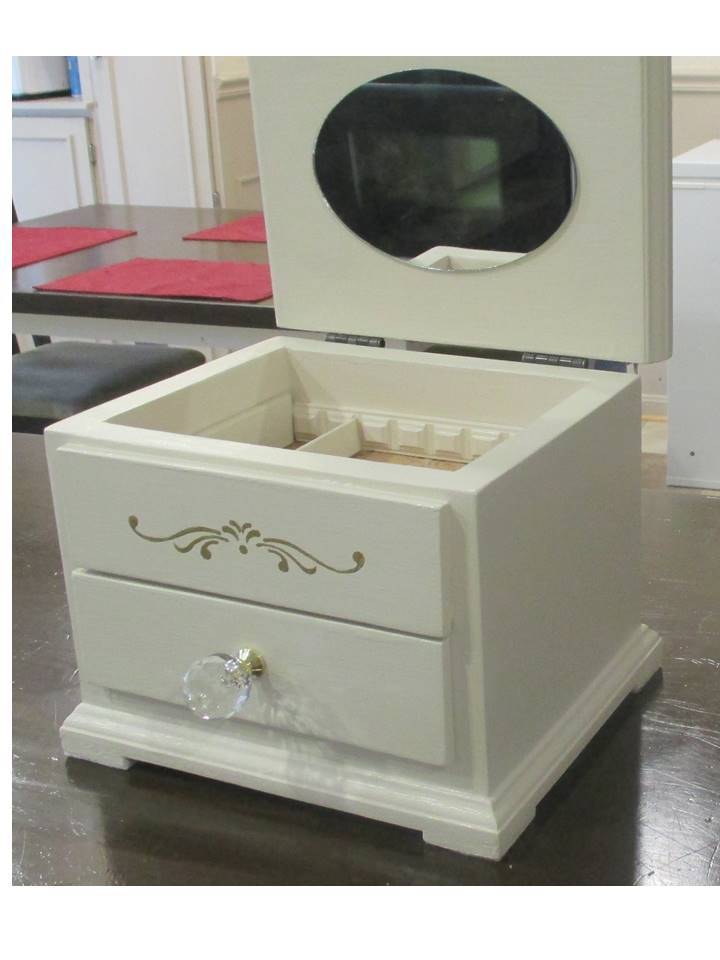
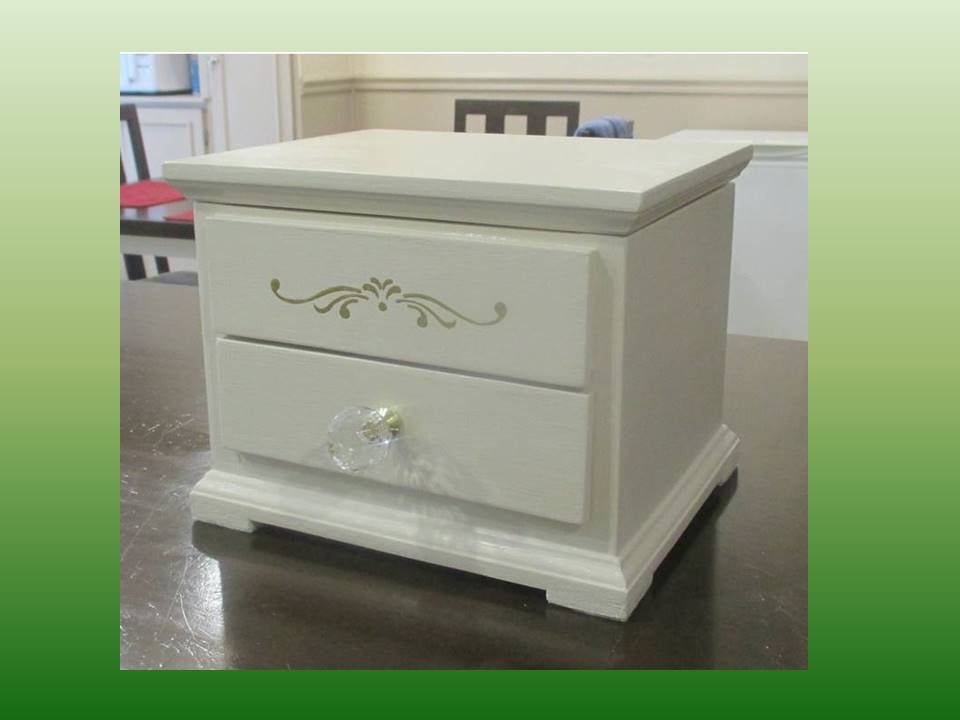
This jewelry box is a gift for a friend at work who is retiring. It is a variation of the Easy Jewelry Box, with the following modifications:
Hinged lift-up top with mirror
Overlay drawer fronts from ¼” craft wood (Gold stencil on top false drawer front, and drawer boxes are 1/8” shorter than the shelf from front to back, to ensure the fronts sit flat against the box front and drawer back doesn't touch the box back at all)
The bottom is 2 pieces thick, to allow space for the drawer overhang and attaching the bottom moulding.
Solid wood back (instead of plywood)
Top and bottom edged with mini stop moulding to make the overhangs, and added feet made from lattice
Removable drawer divider tray and 2 heights of removable dividers for the top, made from dentil, lattice and screen bead mouldings
I really took my time on this build to get everything just right with the build and the finish. Probably spent about 6 hours spread out over the last few weekends.
Wed, 04/22/2015 - 18:29
Hi Linda, thank you for the nice comment! This was a fun build, and I'm very glad to say the gift was a big hit! :)
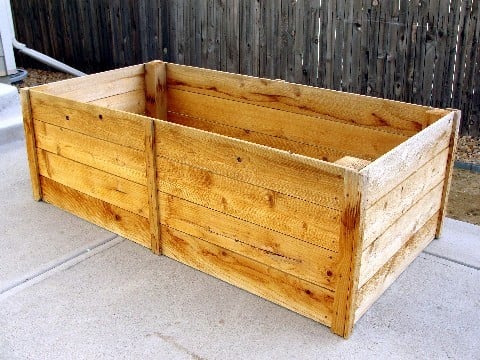
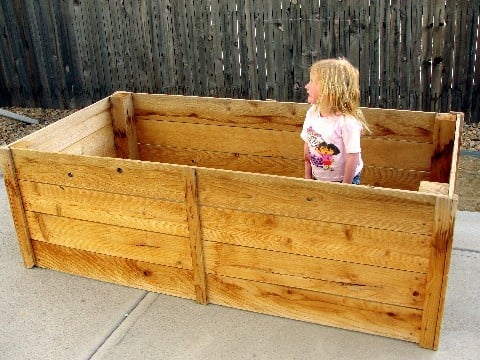
I made these last summer for my sister. And she didn't even use them yet! Very easy to make. She did want them taller, so that is the only modifacation I made. We're hoping the bunnies won't notice all the yummy veggies up this high :) I know, probably wishful thinking. Makes a great kid corral too.
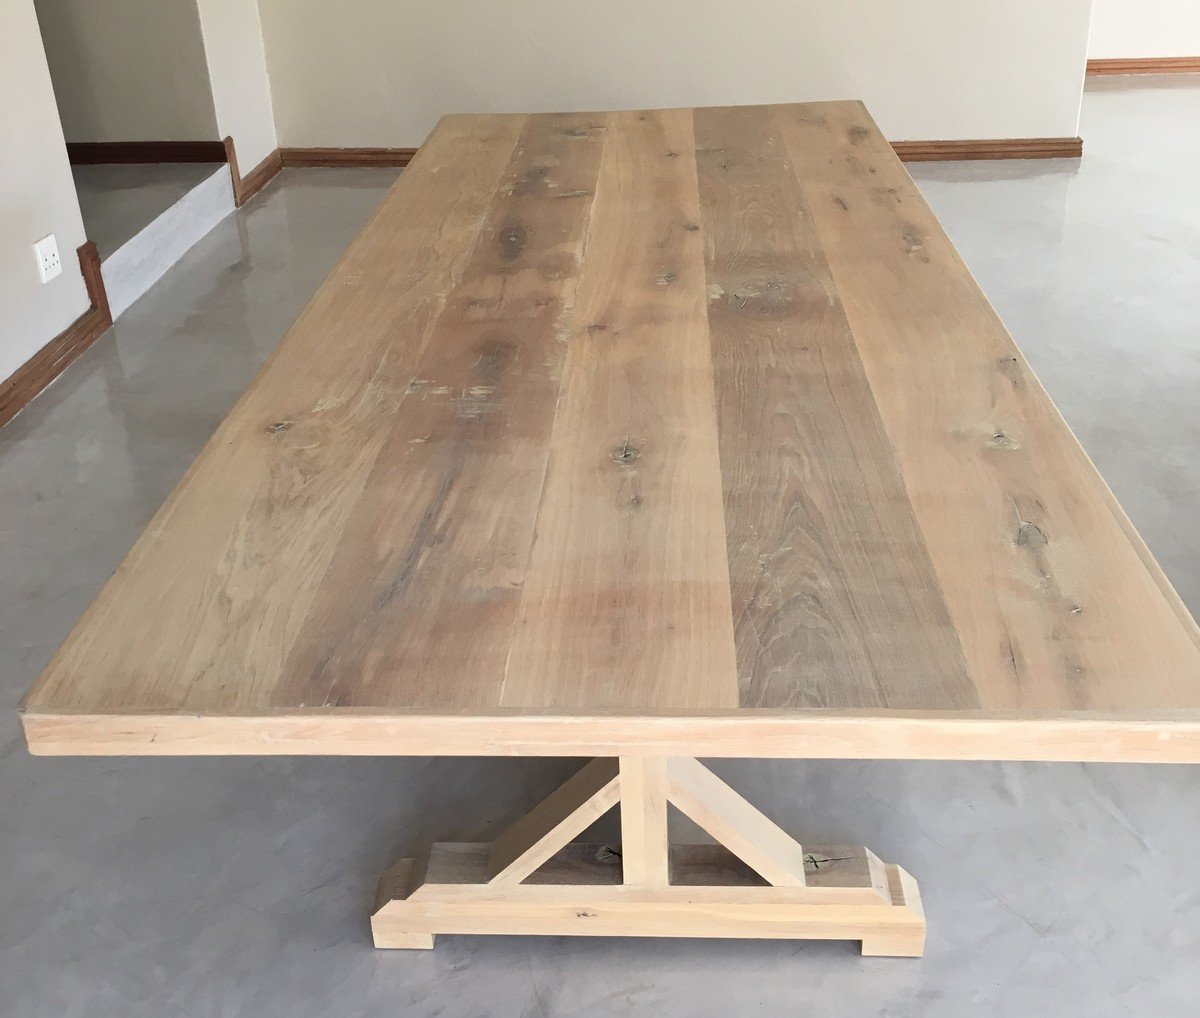
This table is made out of Solid Oak and took me +- 6 weeks to complete.
Thanks to Ana White for the plans as I followed them to the "t" with some minor changes in the size
Final size is 10ft long x 47 1/4 inch wide and 29 9/64 inches high

Hidden door bookshelves hide a furnace closet. Built by Kraig Faulkner
Thu, 01/23/2020 - 07:05
Great idea! Do the bookshelves swing freely when weighed down with books? What type of hinges did you use?
Thu, 09/17/2020 - 08:01
I'm currently working on a basement renovation project. I'm probably going to incorporate a feature like this for my mechanicals, too.
One important safety note for anyone who wants to do this: It's recommended that your furnace be a minimum of 30" away from any combustible materials. That includes walls and partitions. The image of this project displayed is right next to the furnace, which is not a good idea.
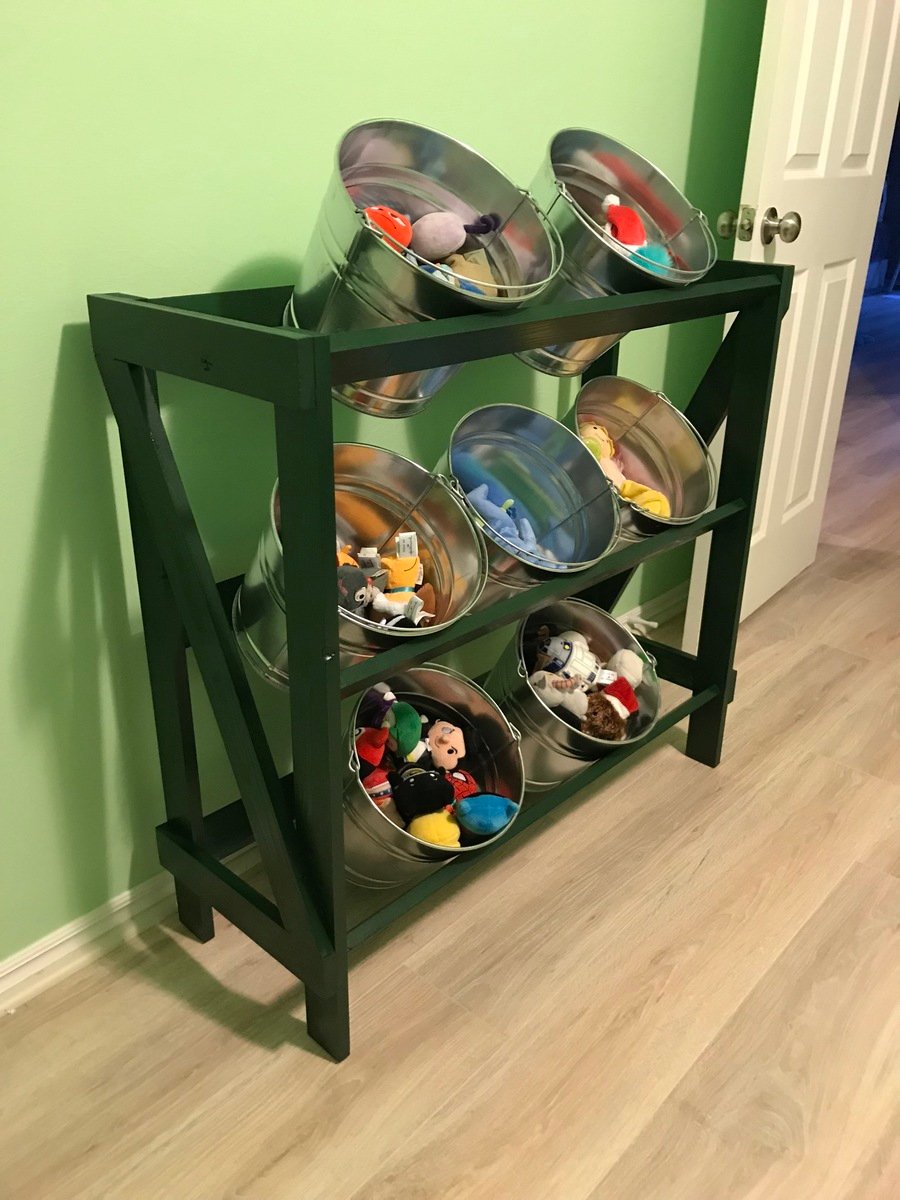
Built and painted to match toy bin.
Comments
Miasmom (not verified)
Mon, 08/15/2011 - 08:31
Those are awesome! All you
Those are awesome! All you need to make now is a doll adirondak chair and you've got a complete set of Ana White Adirondack chairs! ;)