DIY Home Fireplace
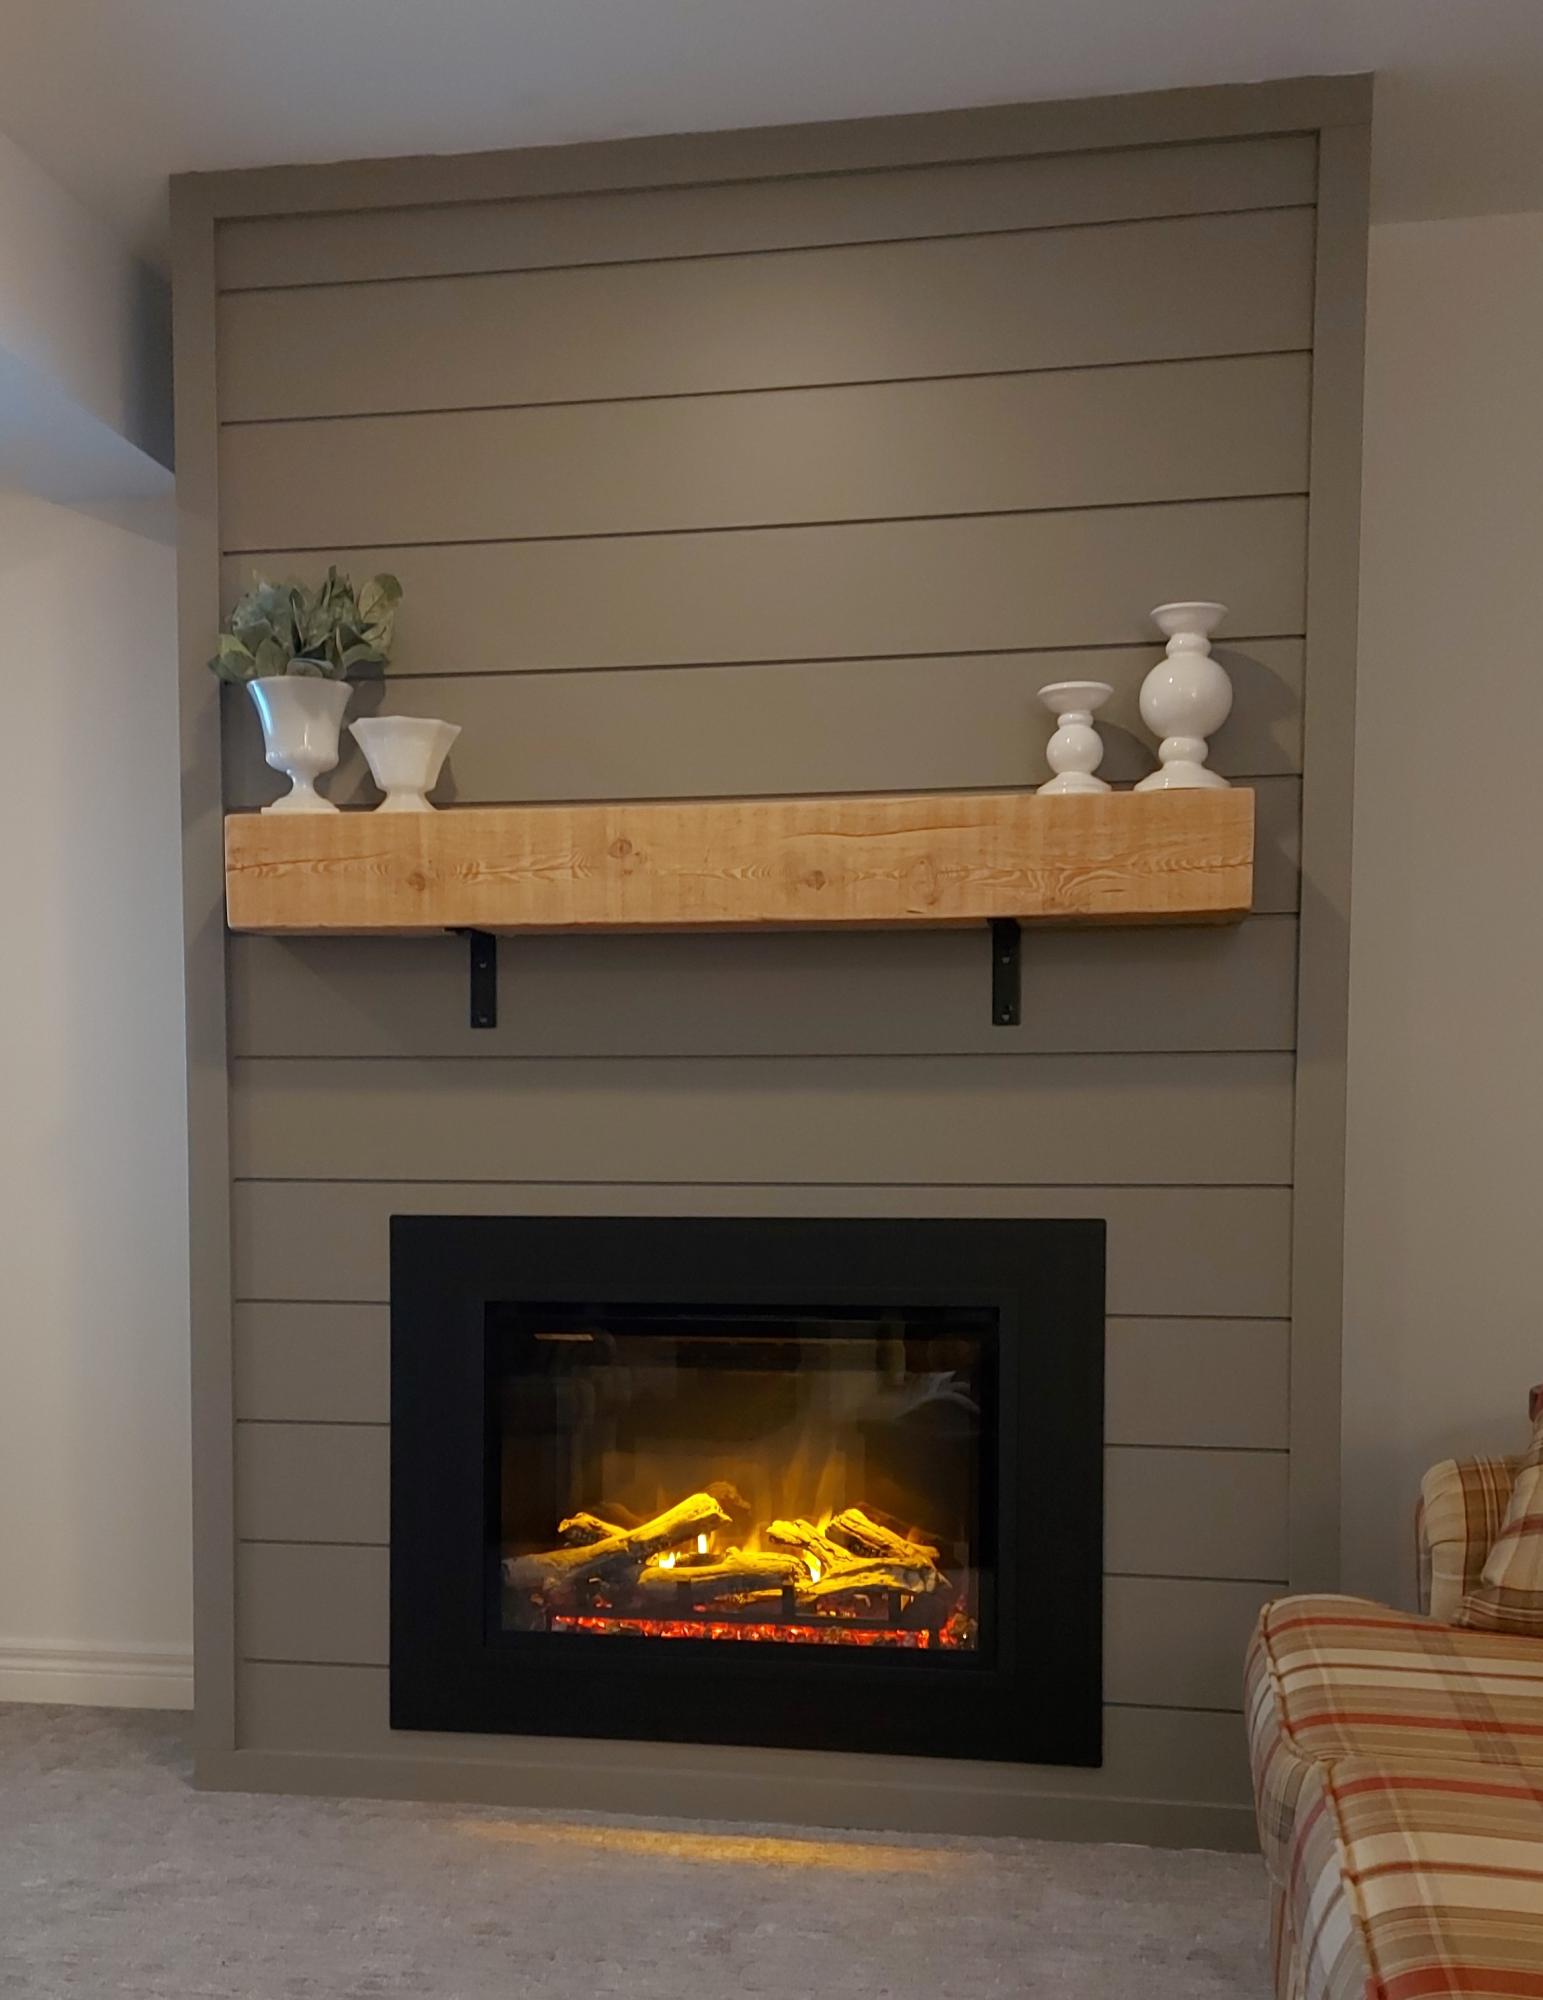
We built this fireplace where nothing existed before. The instructional video was very helpful. We are so proud of how it turned out.
Jim and Susie Jacob
Built from Plan(s)
We built this fireplace where nothing existed before. The instructional video was very helpful. We are so proud of how it turned out.
Jim and Susie Jacob
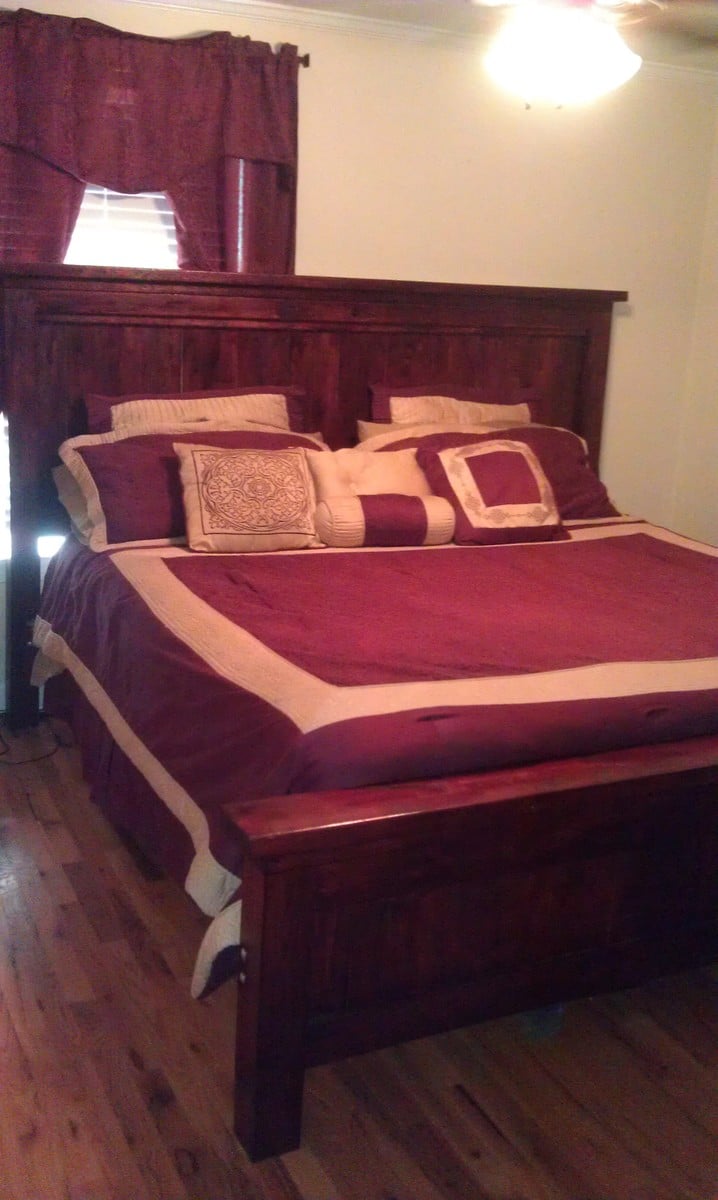
We have been sleeping on a inexpensive platform bed for the last 7 years and after falling in love with this website (thank you Ana, I am constantly bragging and showing your website to others) I decided to build us a farmhouse bed as my first project. I started this project back in October 2011....yes it took much longer than expected, but I have 2 kids a husband (so make that 3), a full time career in the military and a house to maintain. That and we got the news I am pregnant back in Nov!!! The head board and foot board did not take long and luckily we had a very mild winter here in NC (boo to no snow though). I decided to save some work and money by reusing the slats and hardware from my old bed to avoid buying more wood or having to get a box spring for our mattress. Unfortunately, that was my huge delay, I cut and stained my sideboards, bought what I thought would be great bed brackets and found myself with a space that was to wide for the slats and on top of that my husband managed to loose one of my brackets. Needless to say, months of sleeping on a mattress on the floor with my head board and foot board on either wall mocking us every night due to my overwhelming frustration and fear of having a colossal headboard fall on me while trying to work. I called upon the assistance of a good friend of mine (Christie you are amazing!!) to come over while my husband was out of town in May (I figured this would be a good time to surprise him, plus keep his opinions from making things take longer). So lots of how the heck are we going to do this and finding out the bed frame brackets I purchased were not as strong as they appeared (they broke!!). We got some new wood for the sides and some long bolts to get everything together and worked a whole Saturday to get it complete. Added a few L brackets to get rid of the wobble and its sturdy as a rock! It may have its flaws, but I love it and don't regret any of the time and stress it took to build it. I now have a beautiful comfortable bed to sleep in every night to patiently wait for my third little girl to arrive. It should last us for a very long time especially since I made sure that it could come apart and go back together for any future moves the military may take us.
I cannot wait to start my next project.....and hopefully it wont take as long this time ;).
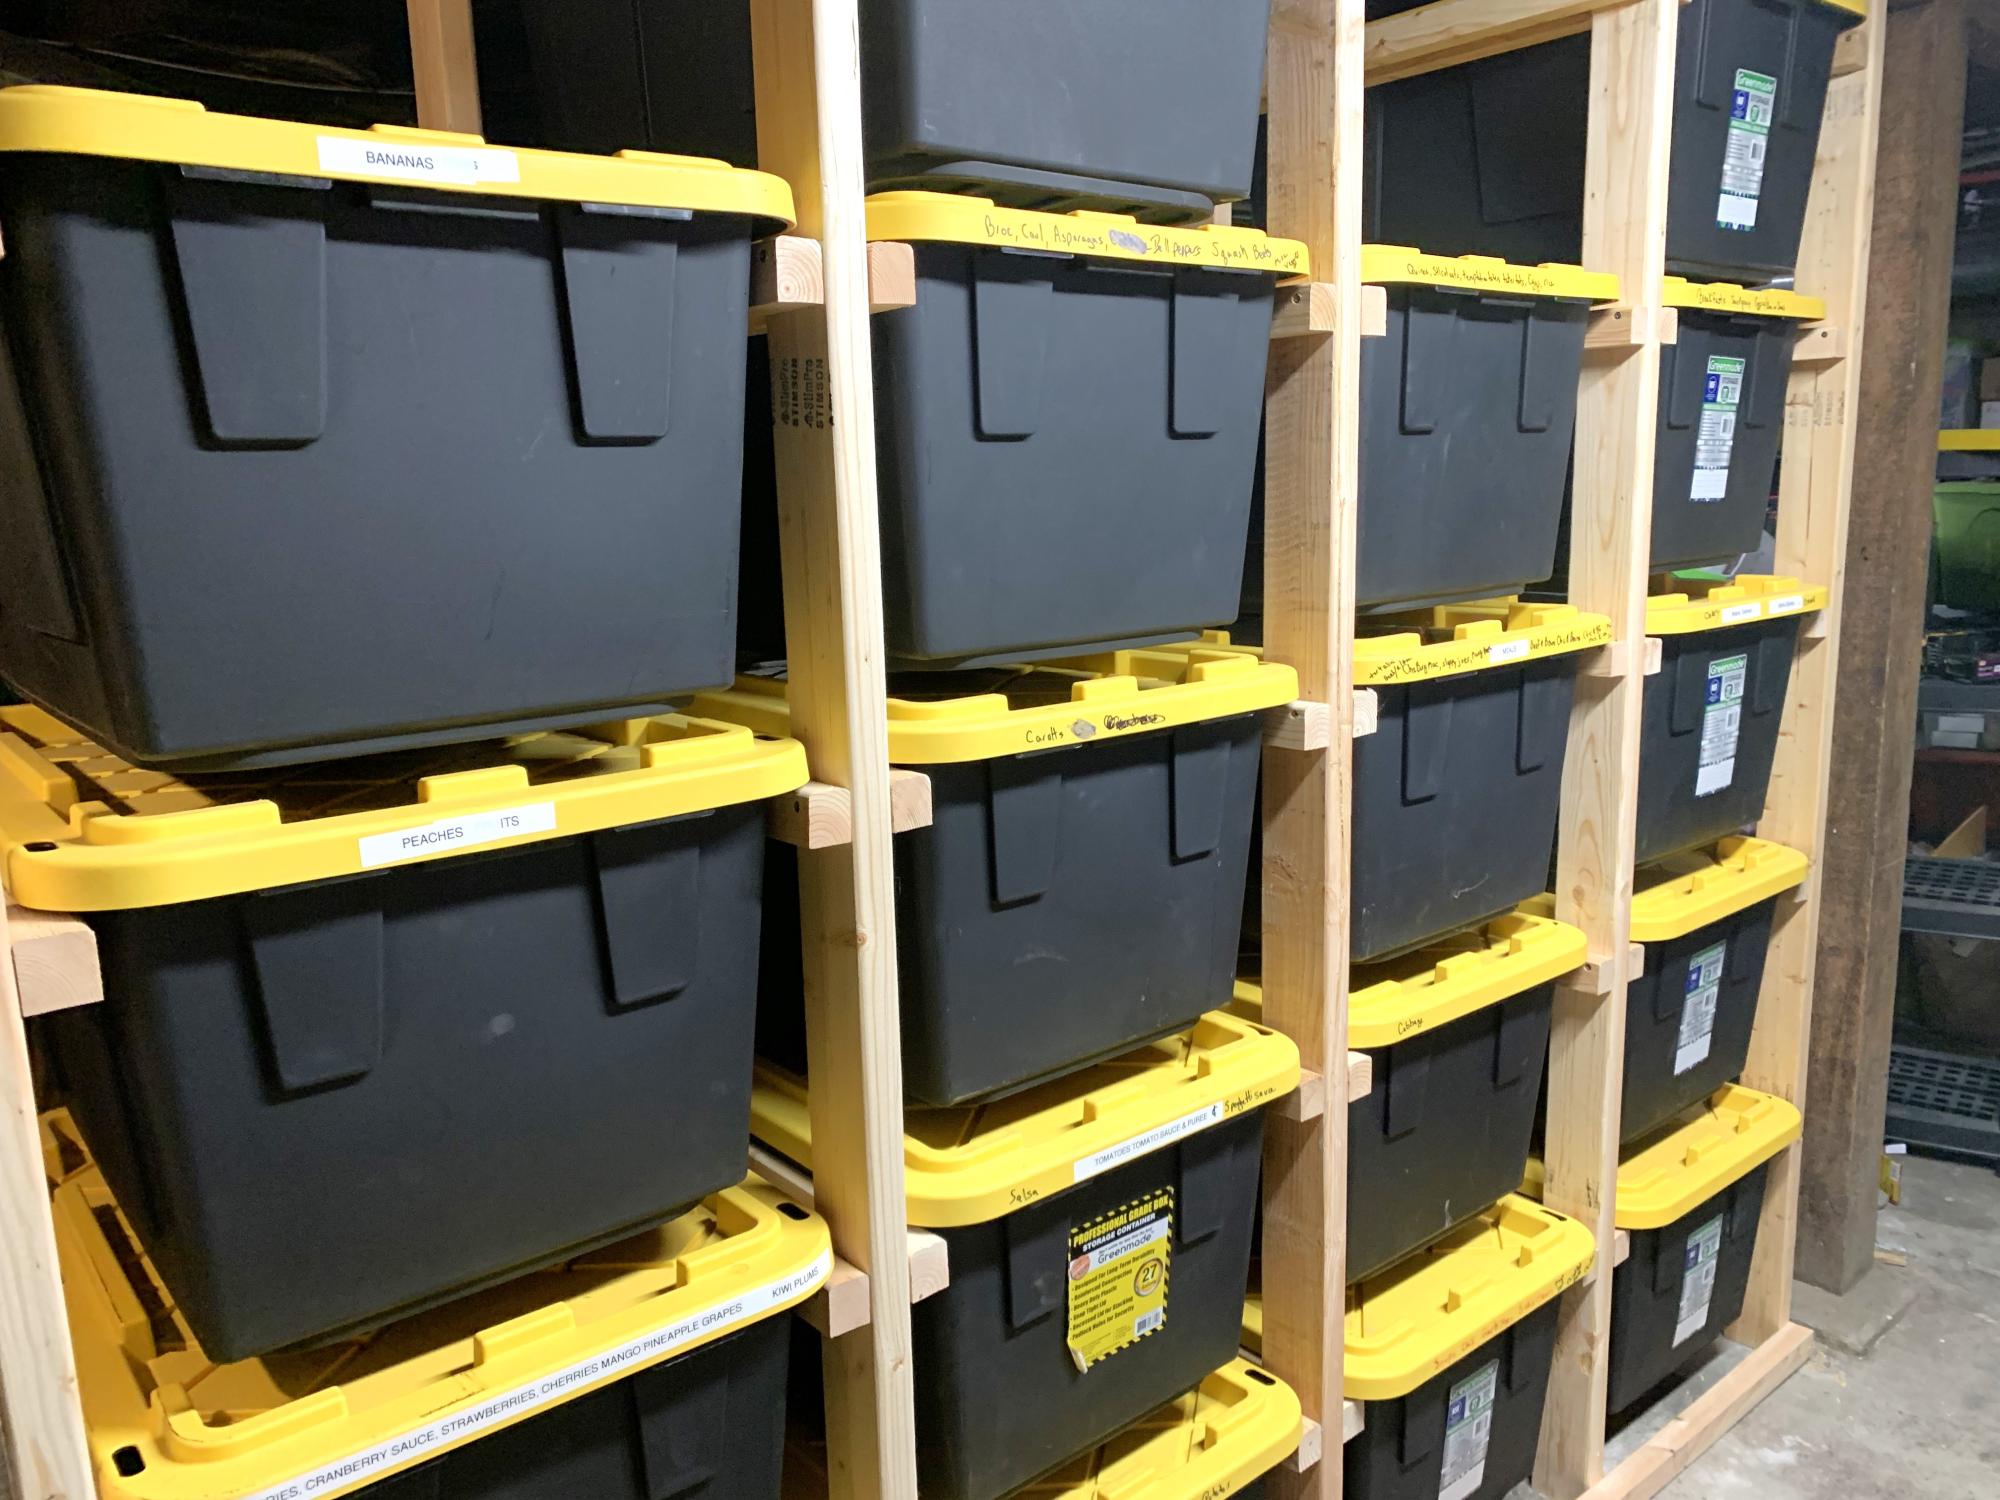
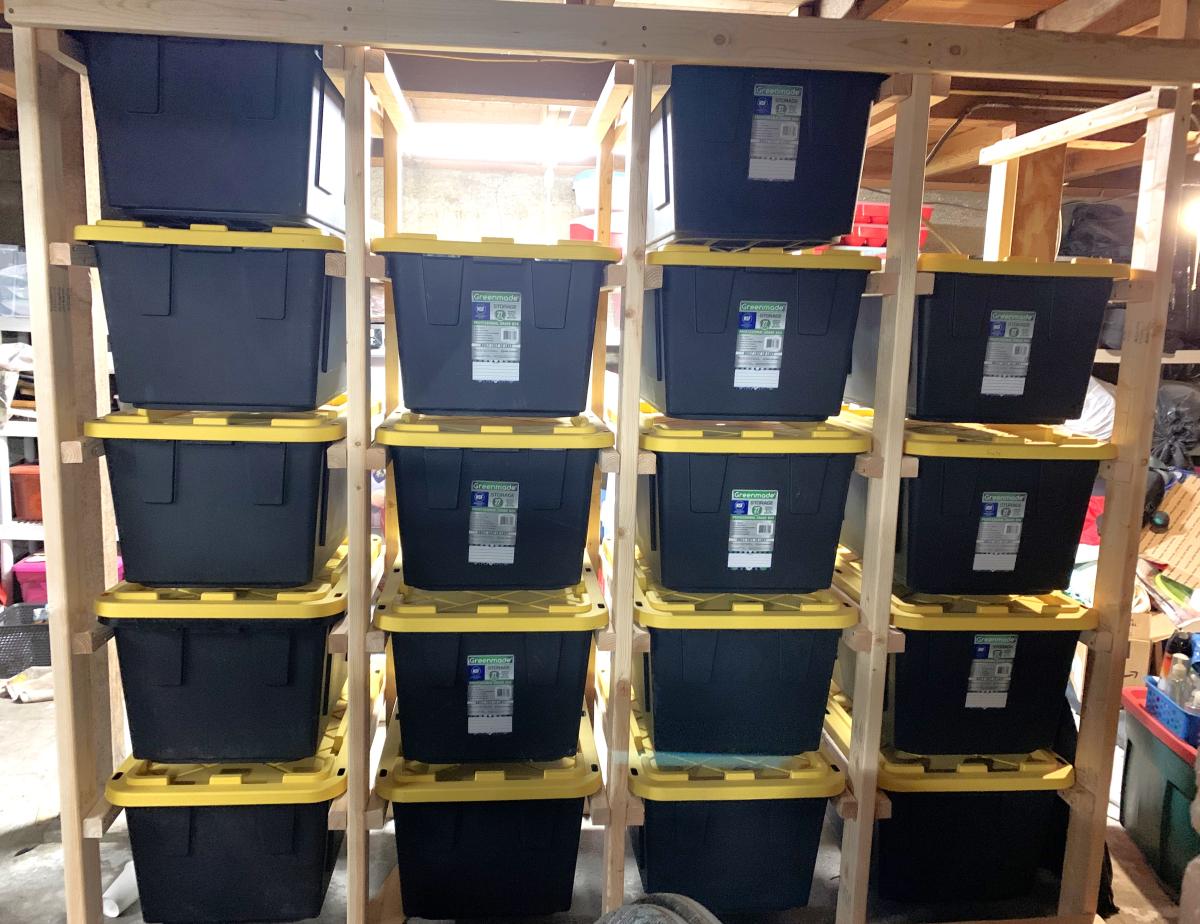
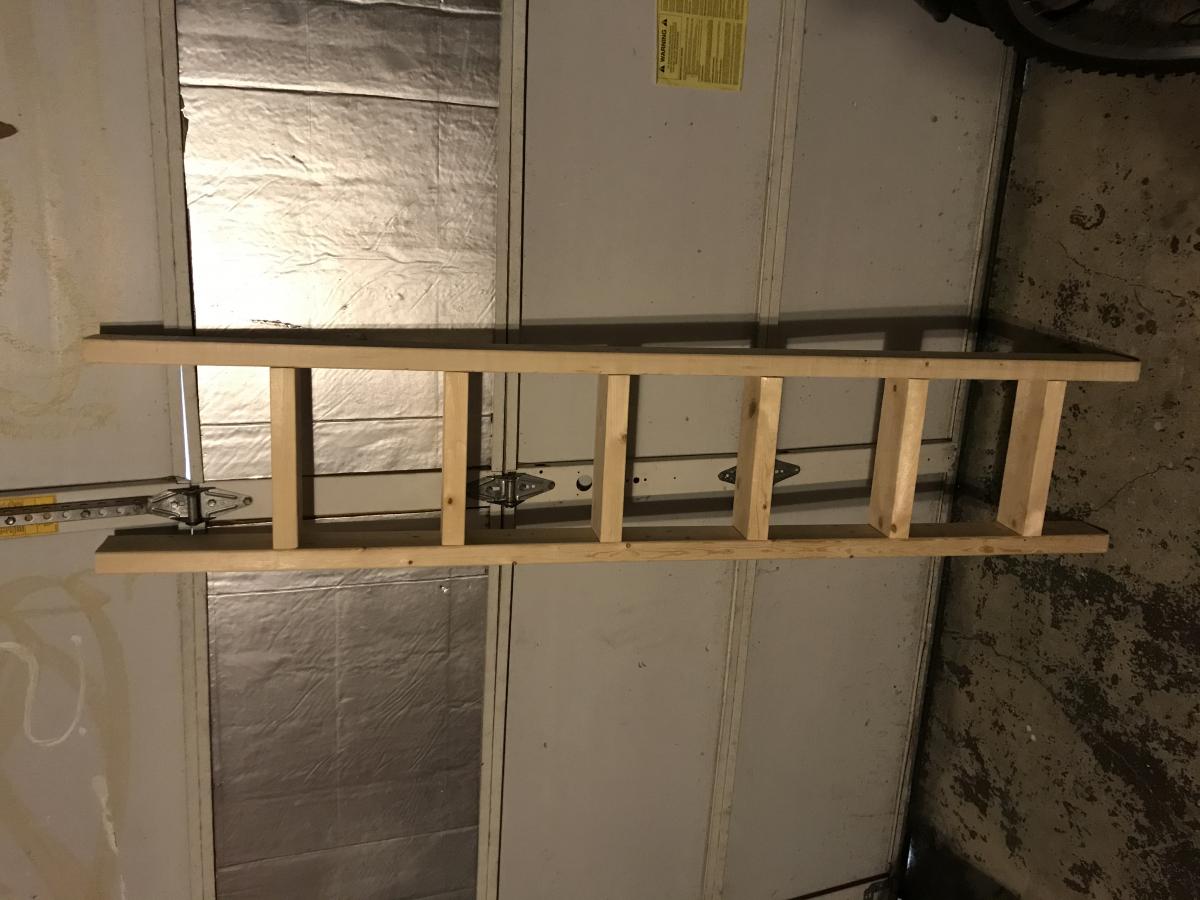
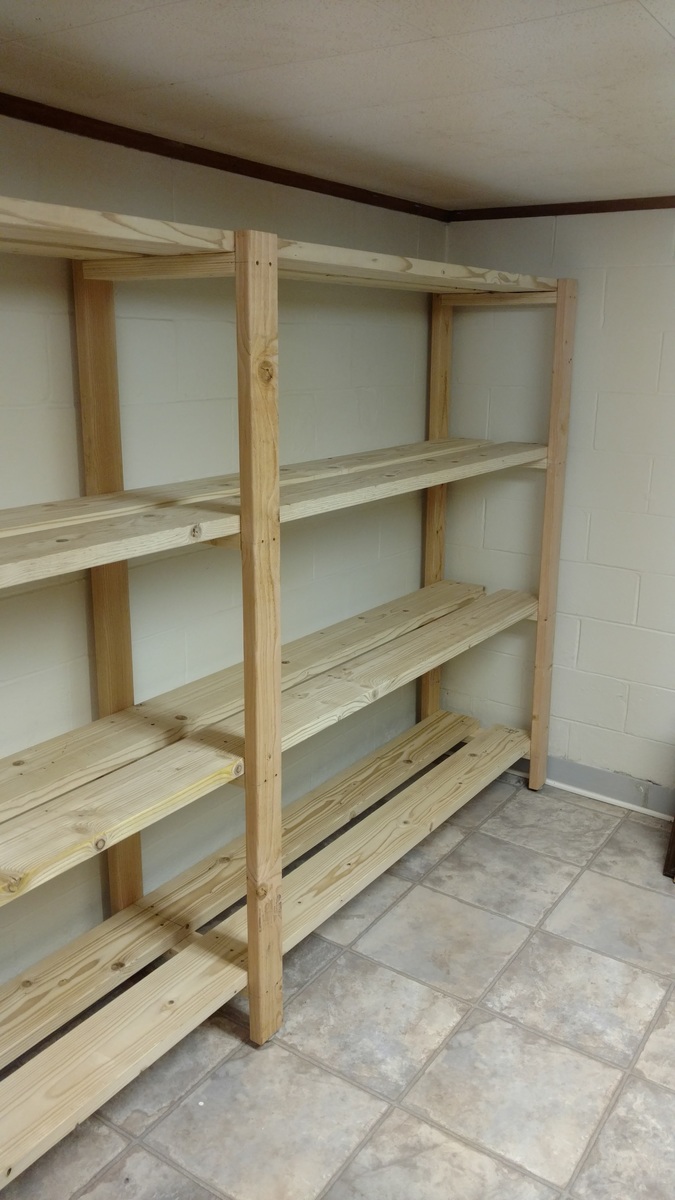
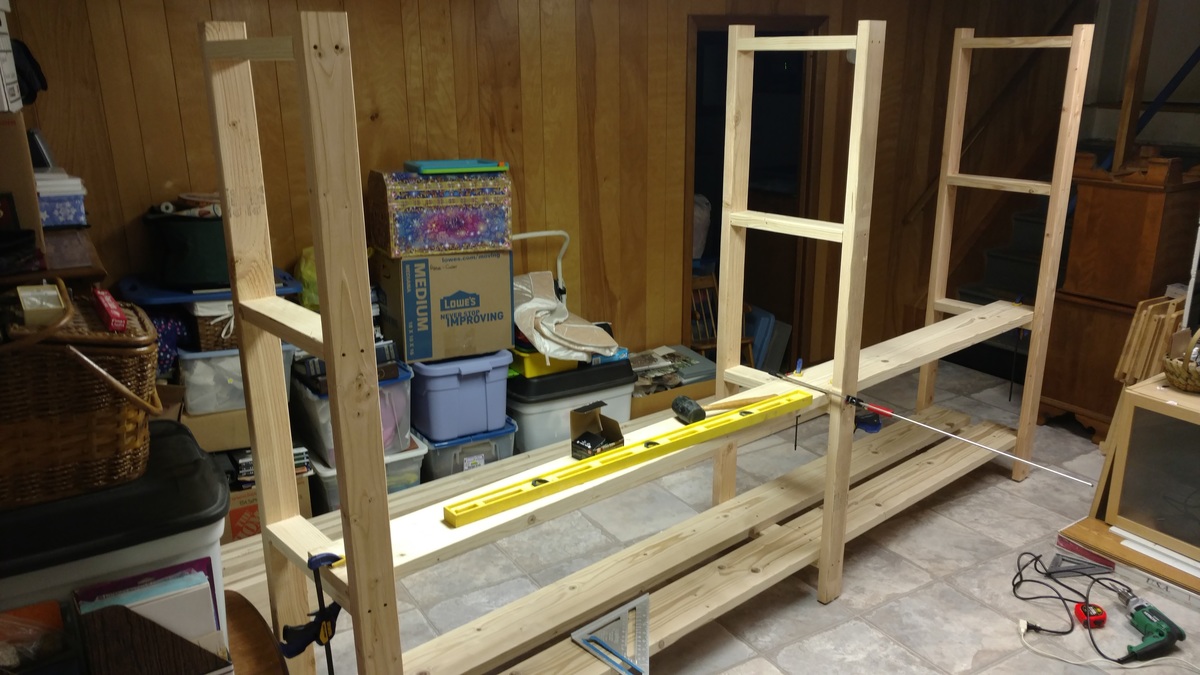
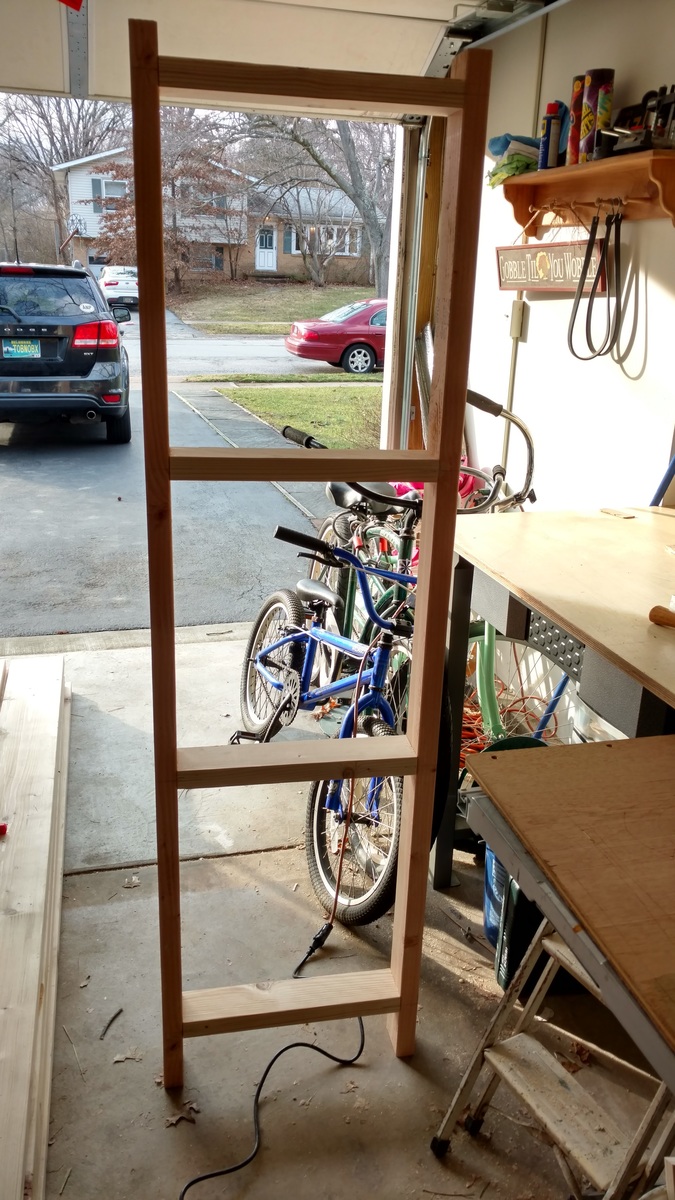
storage for totes - can be made to accommodate any size totes - just adjust the measurements basically it is "ladders " 2x4s for legs 2x2s for "runs" 2x4s across the bottom & top this is in a basement with short ceilings so if you have a taller space you can go taller or you can go shorter.

My kids needed a step stool and I had some scrap wood (2x10) left over from a previous project
Thu, 08/18/2016 - 20:12
Thank you! The dimensions are the same as the Ana White "Simple 1x10 Single Step Stool" except I used 2x10's instead of 1x10's like the plans called for. I also used some scrap pallet wood to make a design on the top of the stool.
- Stool height: 7 1/2" for legs, 1 1/2" for top, and 1/2" for scrap pallet wood; which gives a total height of 9"
- Stool width: 9 1/4" x 16"
- 5 degree angle cuts were made on the legs
Wed, 04/17/2024 - 09:21
Are the rails a 2x10 cut in half.? Or is it pallet wood?

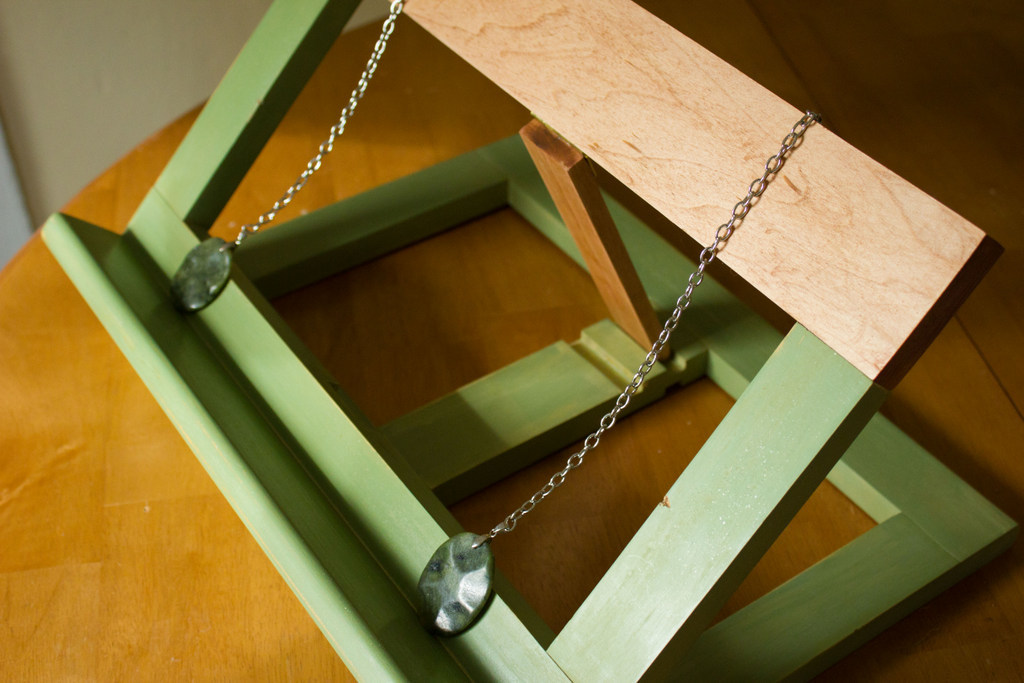
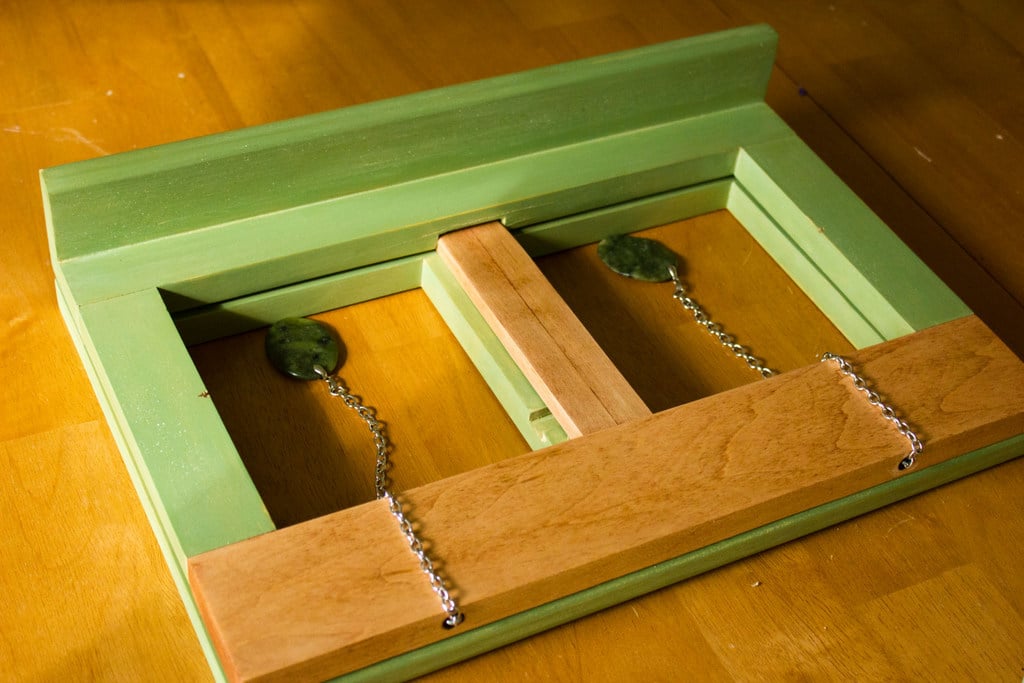
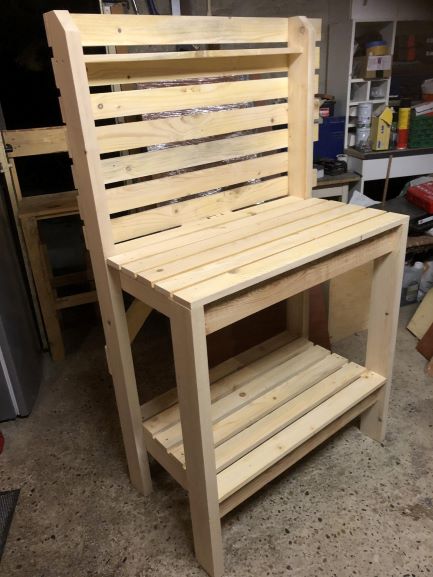
This was a project undertaken to facilitate my current pursuit of learning how to cook, but I think it will serve me well as I study, too, holding my textbooks up. It also let me experiment a little with staining and with using milk paint (which has NO VOCs but is kinda weird to work with). And it let me put to use some scrap wood that I think I was unconsciously saving for something special.
Because I had a scrap pile, screws, a few hinges, and the finishing products, this project was Almost free...I had to buy a narrow hinge ($1.50? I think?), and I chose to buy some pretty page weights ($3 including both pendants and the chain). So...not too bad, right? For a solid book stand that has meaningful beauty to me?
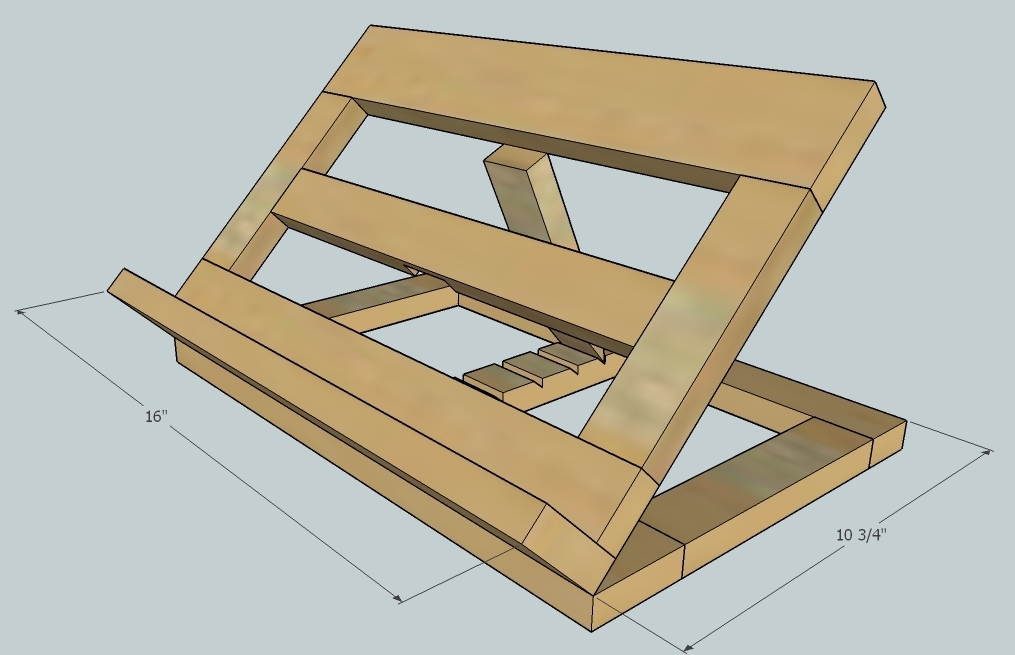
Ok, so this is all scrap wood. The stained pieces are maple leftovers from my cabinet project, and the rest is a mix of pine and poplar. See the dimensions in the last photo. The paint is Miss Mustard Seed Milk Paint in Lucketts Green, and the stain is Red Chestnut oil-based stain by Minwax. I finished the whole thing with one coat of wax buffed to a soft sheen (my new favorite finish).
I used a miter saw for my cuts and a router for the kickstand grooves, but really a regular circular saw would've worked just as well (or better, for the grooves). It took me several days to finish this project, but there's no reason it should take (someone other than me) more than an afternoon.


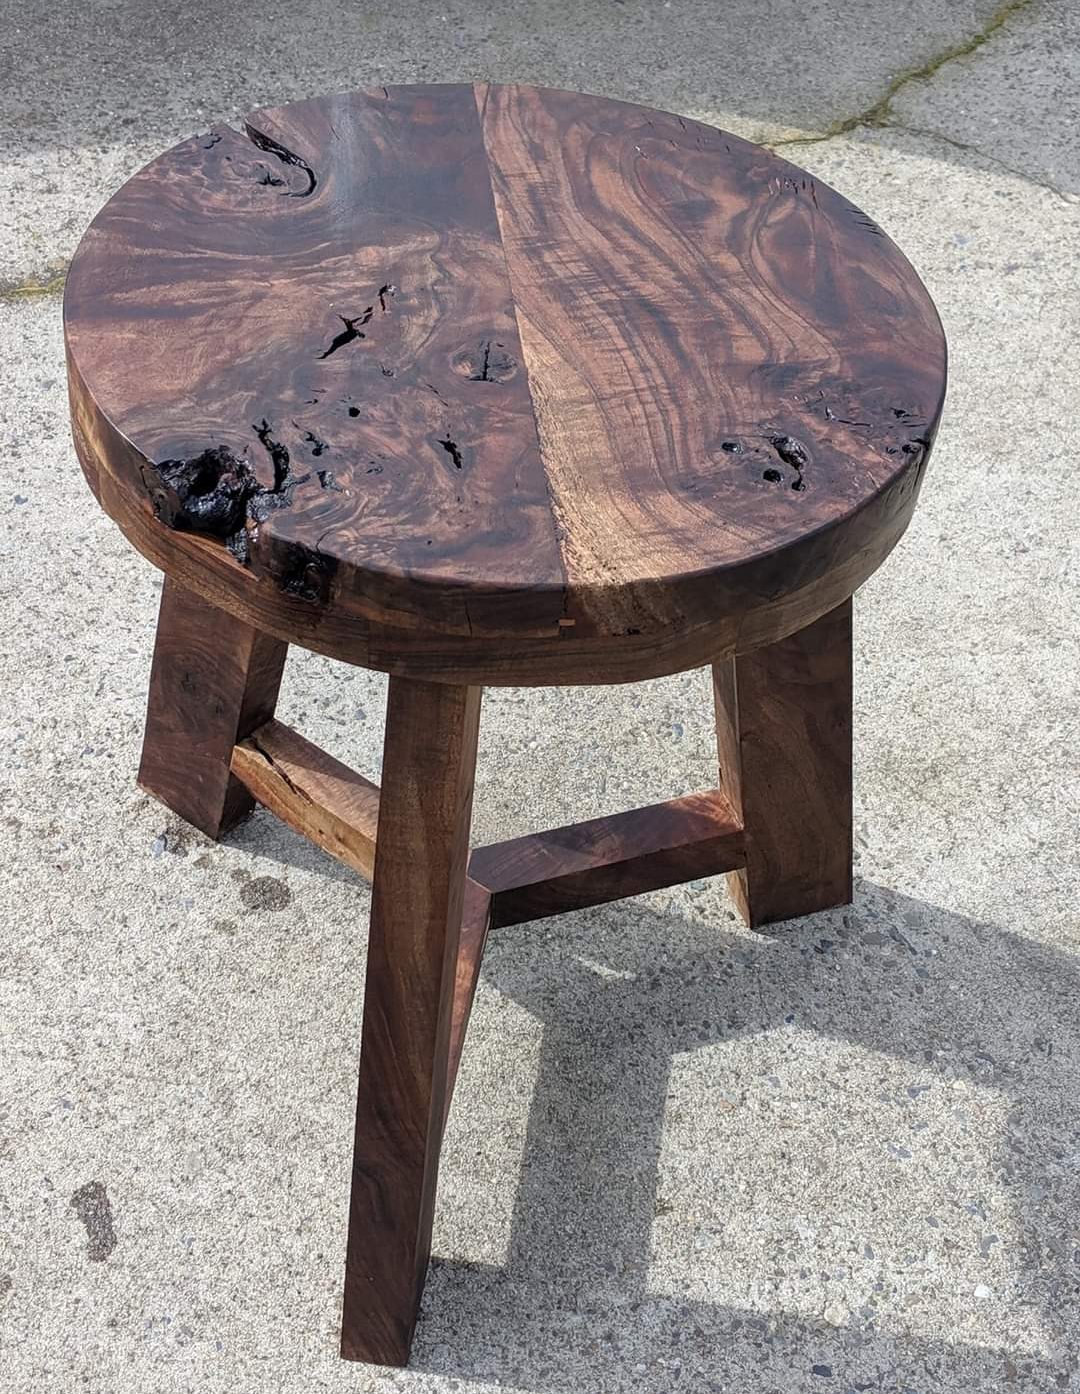
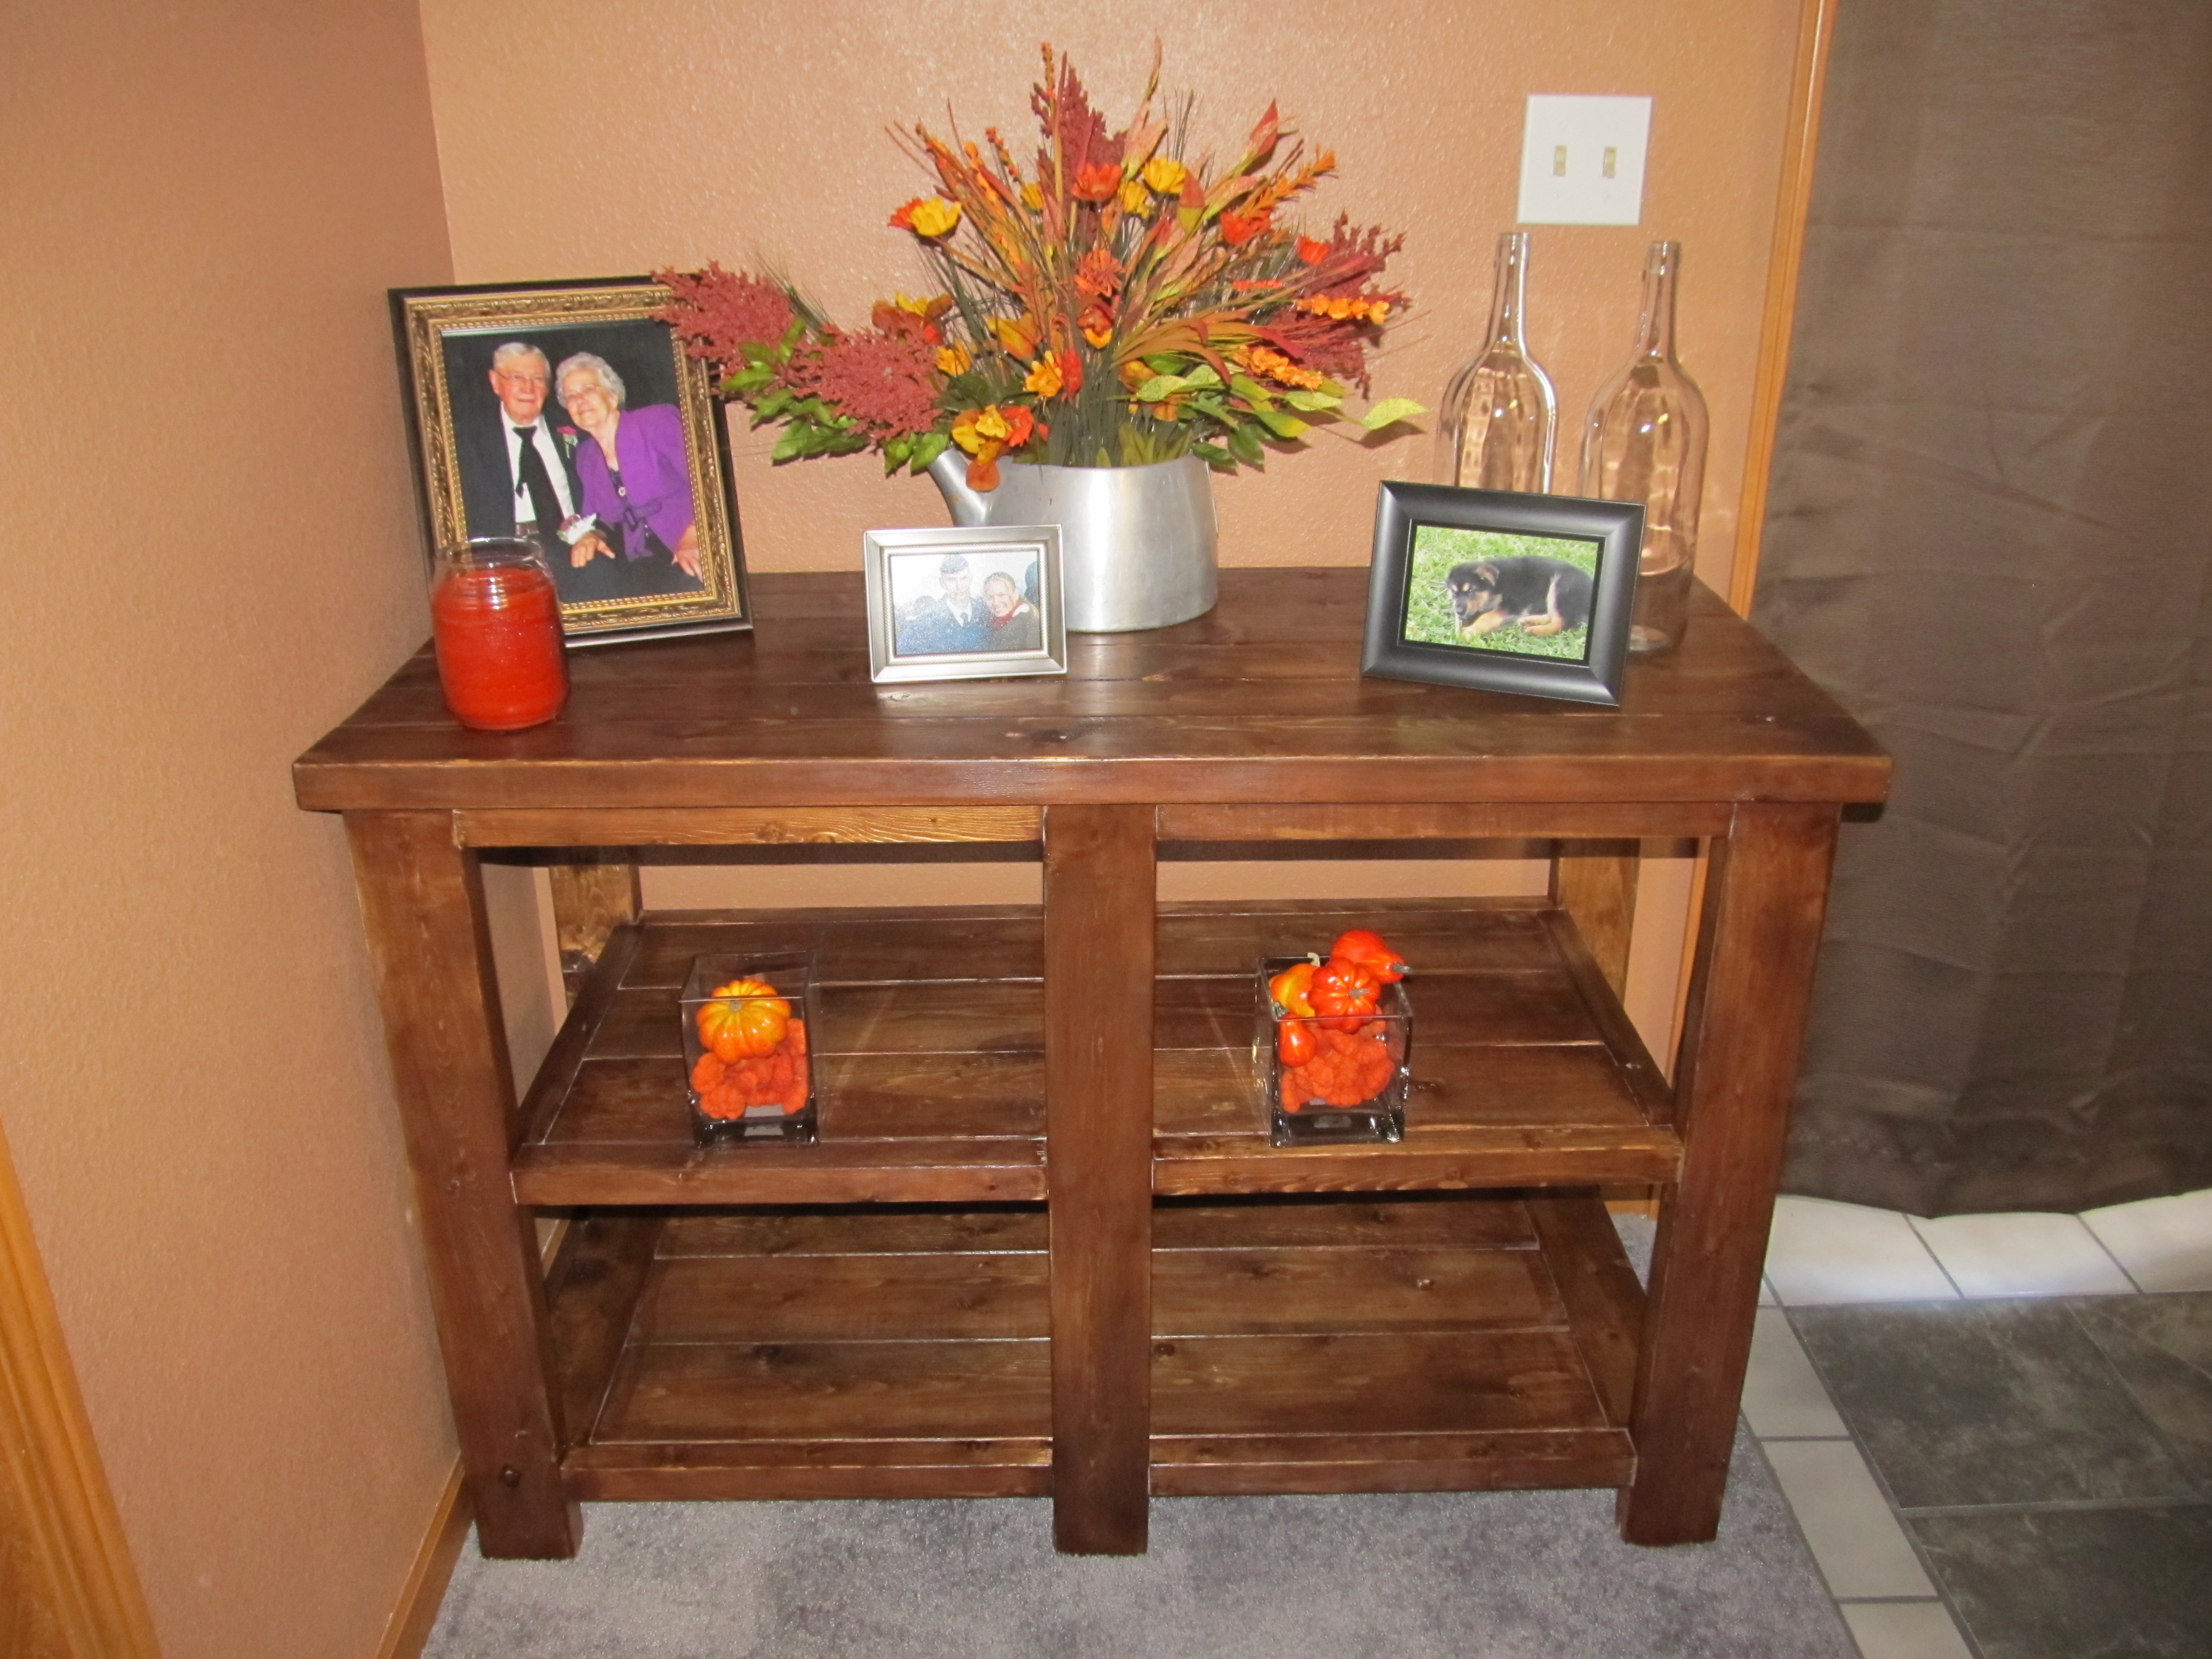
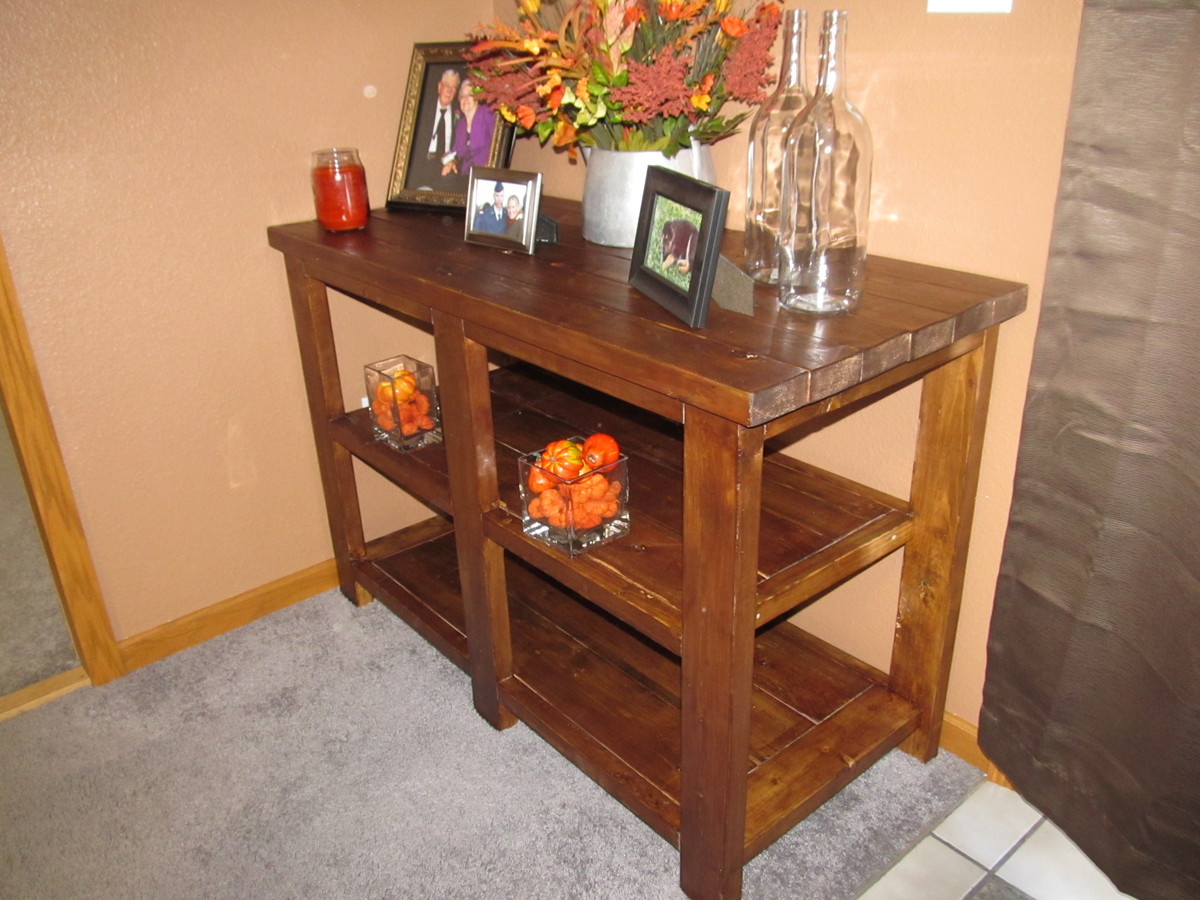
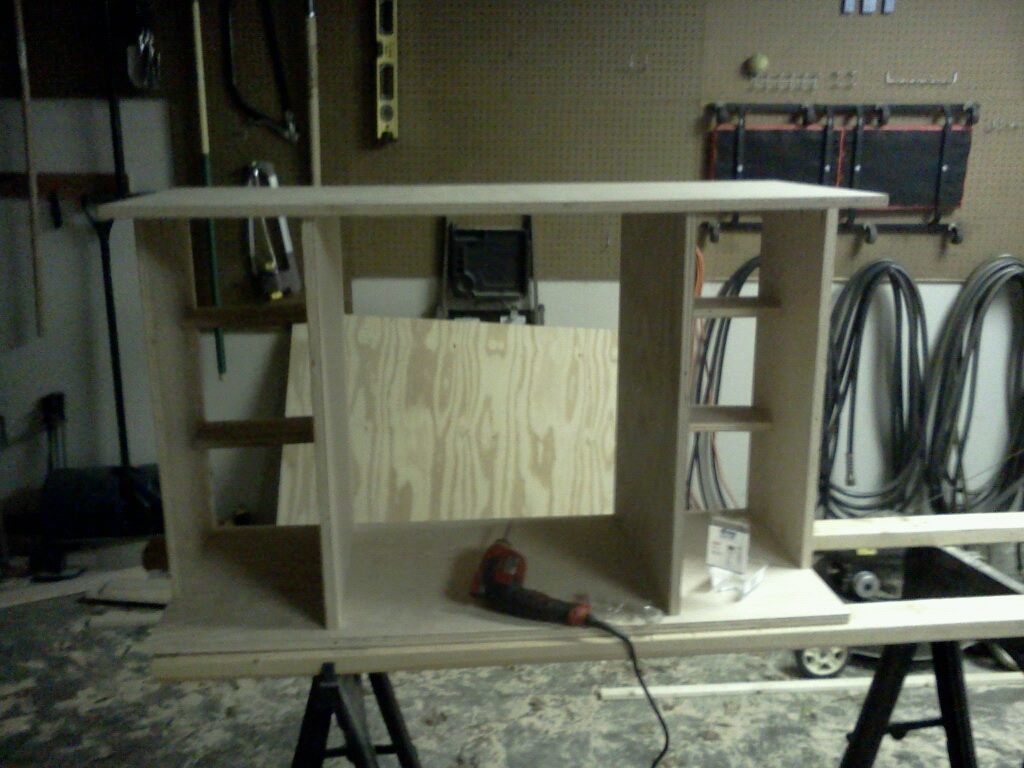
This thing is a beast ! I made the top way thicker than I should have but I love it.

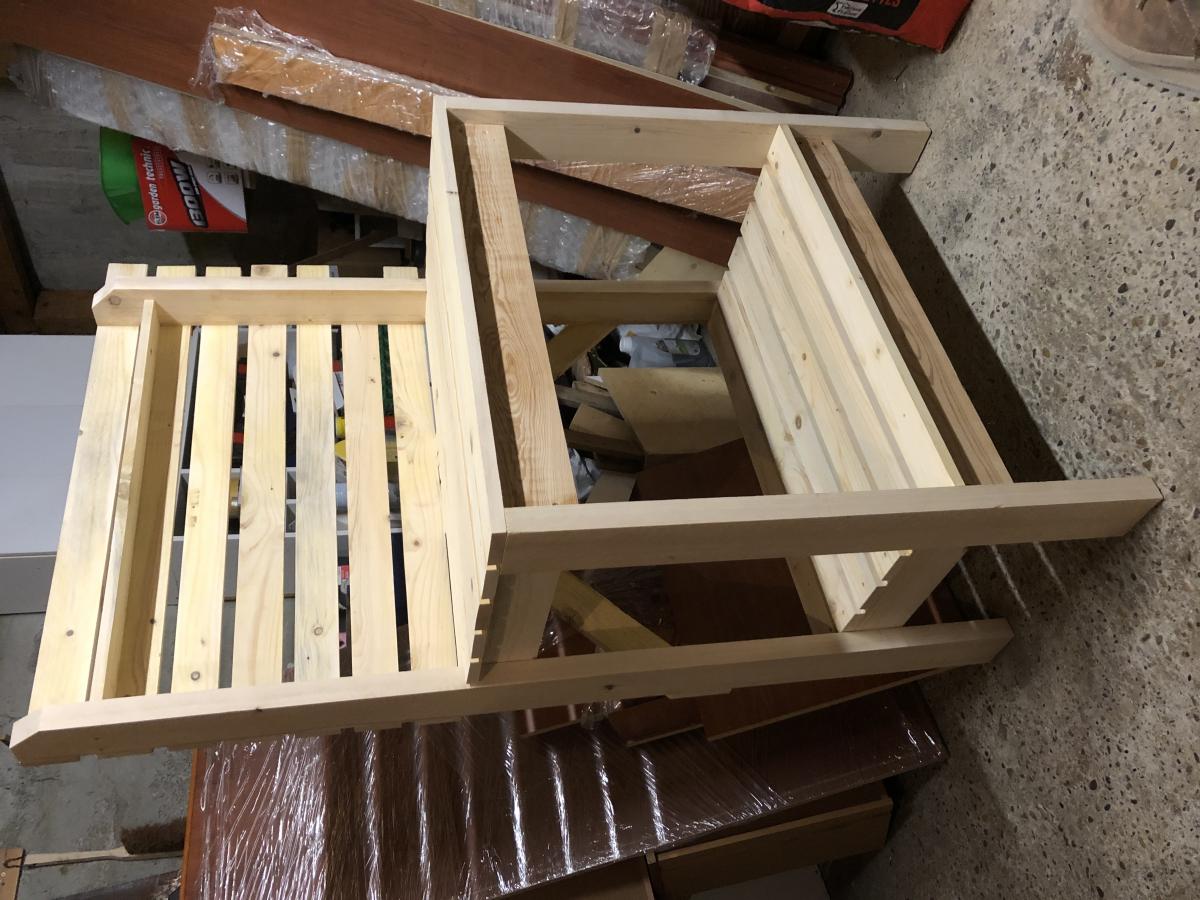
I recently had a workshop built and I have been trying to now work on the furniture for it. My first project was this workbench inspired by the plans "garage workshop workbench". I added drawers on each side and will probably end up adding a shelf in the open area as well after letting my kids finish decorating the top. It's already a nice addition and I may build a smaller version for my garage. I added casters and have the option to roll the table around or have it stationary.
Tonie

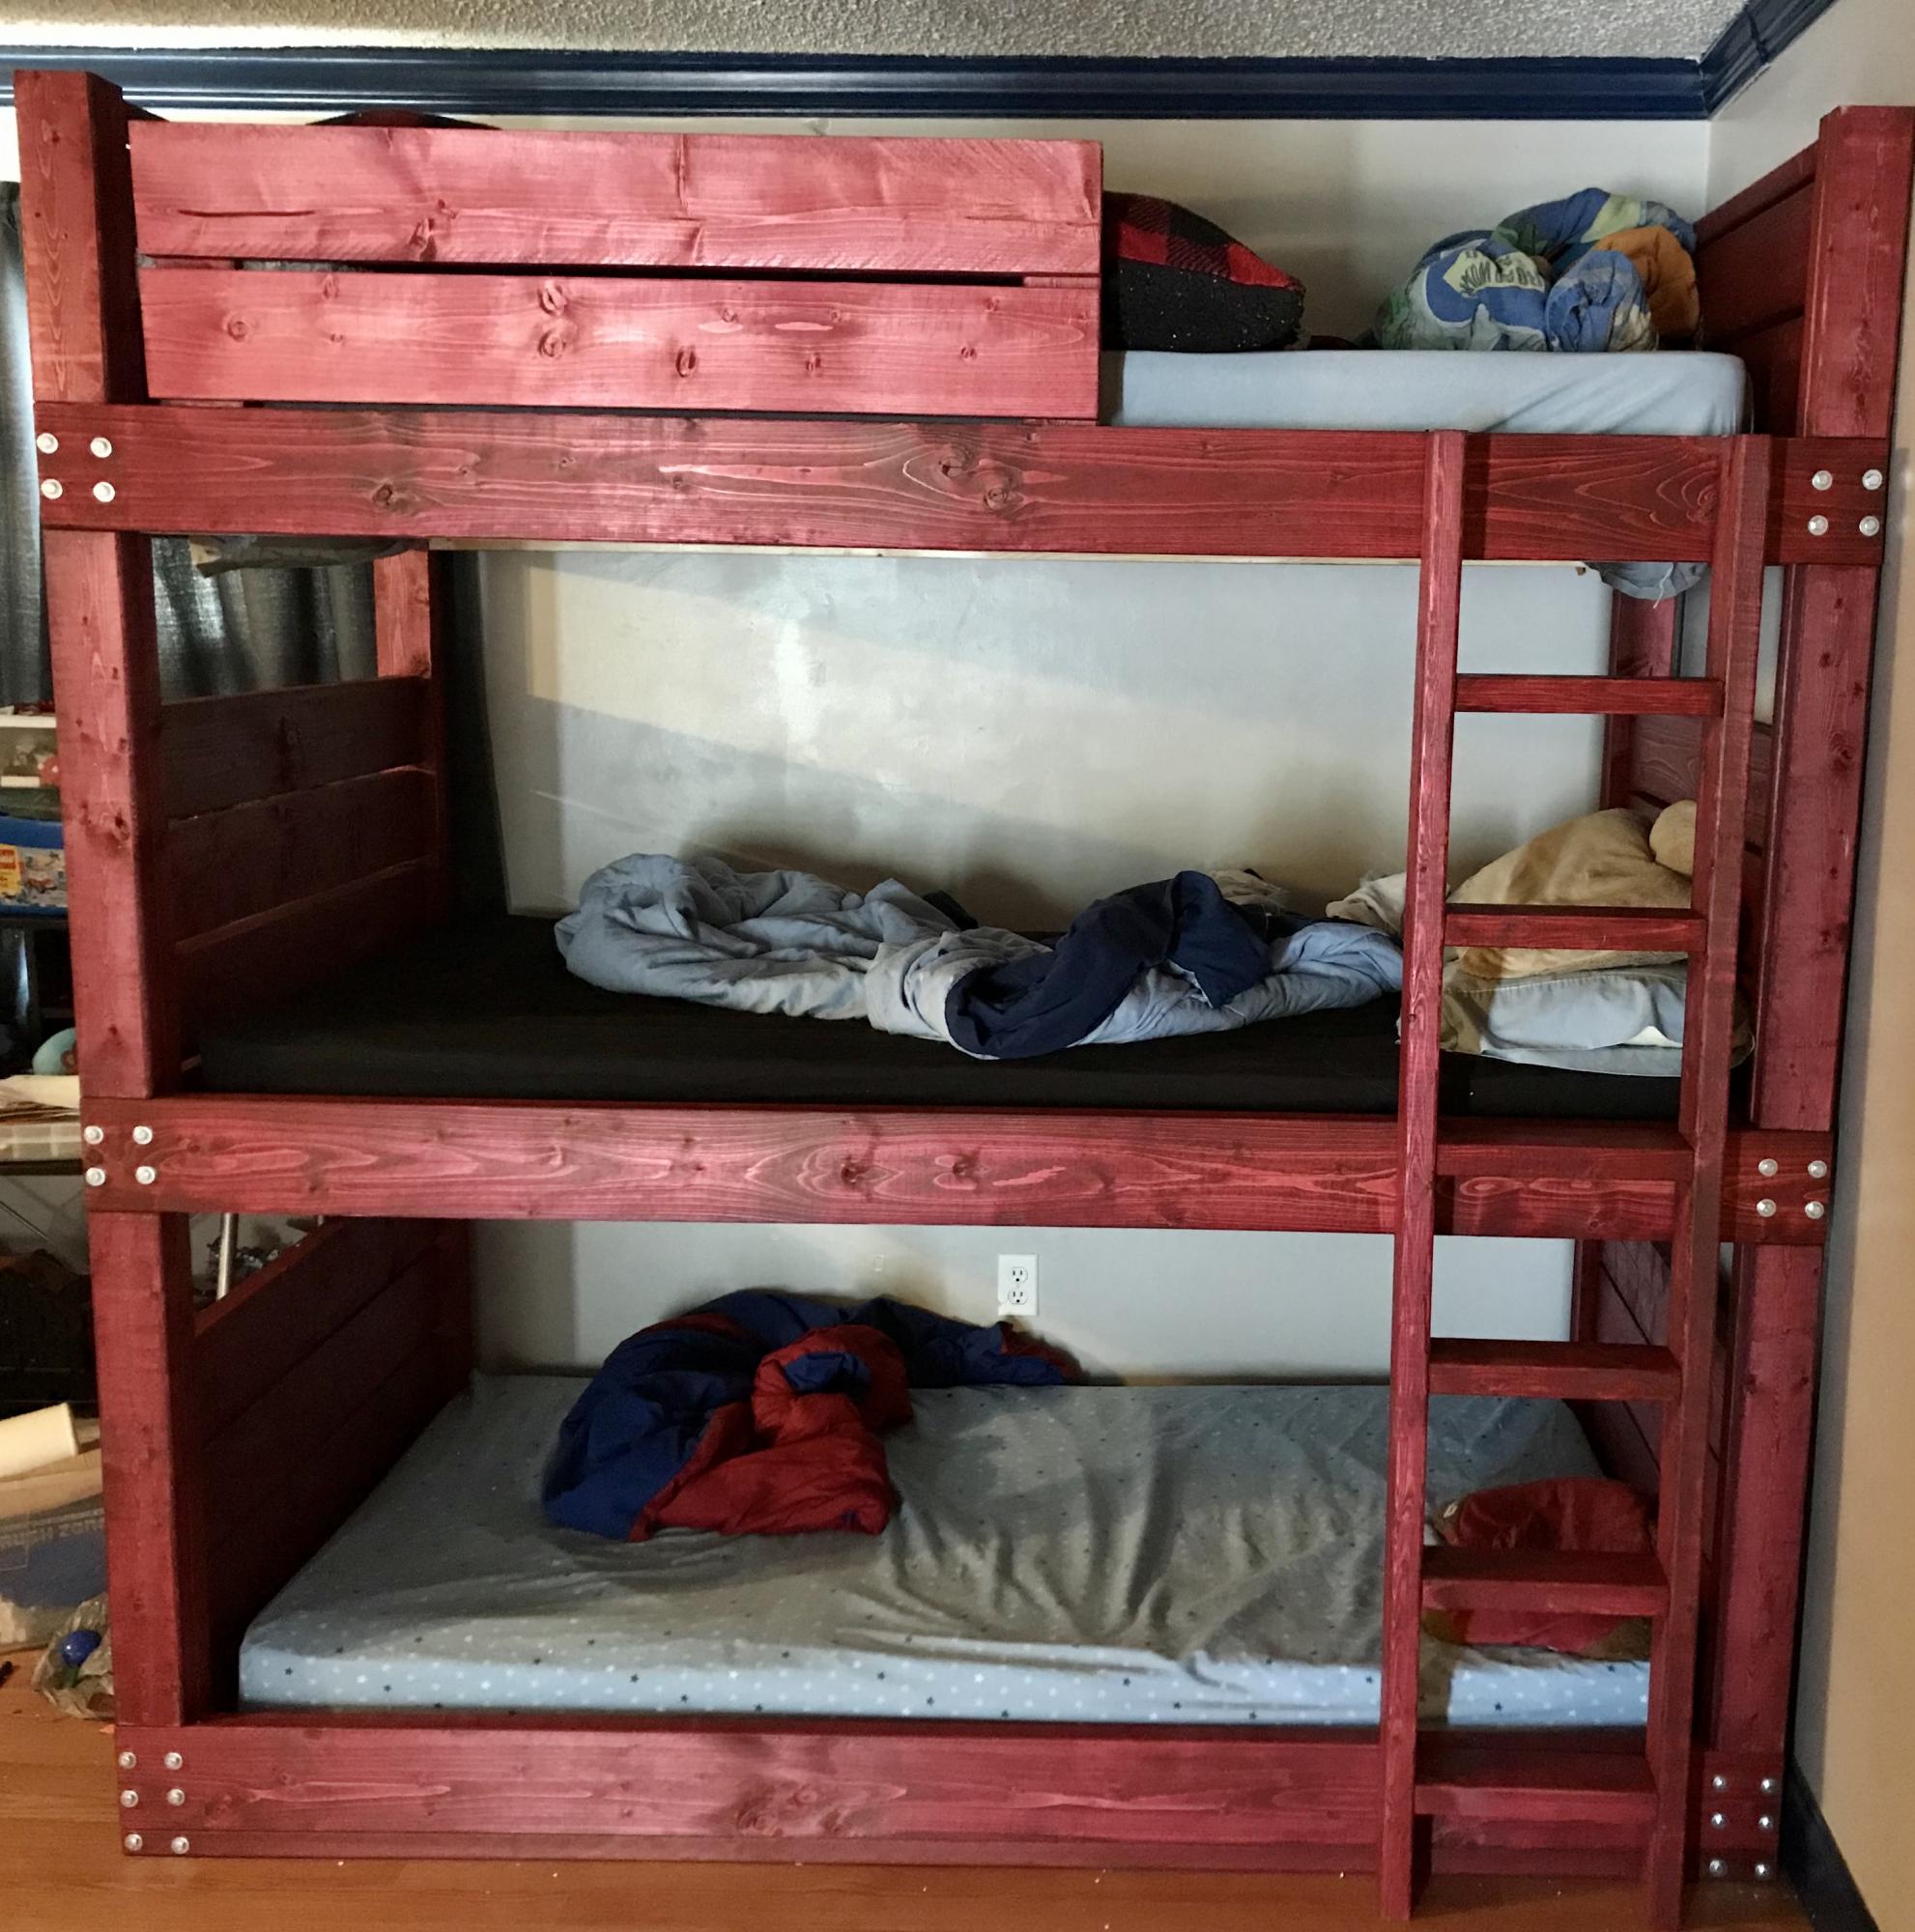
Our four boys matching double bunk beds recently succumbed to being used abused by four boys for 12 or so years, and I have always wanted to make them a pair of triple bunk beds for when friends come over. The broken pieces of a bed that had survived numerous military moves finally gave me the jump start I needed to finally get this job done. After about a day of measuring, pondering, and configuring, I came up with what I thought were good dimensions for the project. I increased the height of the corner posts to seven feet to allow for a higher top bunk, and squished the bunks a little tighter together as well. This ended up giving me a 26” gap between the bunks. When I build the next one, I will cut this down to 24” between each and give a little room room to the top bunk. Trial and error I guess. I added a 2x2 all the way around the bottom because although I wanted it very low, I didn’t want anyone feeling like they were sleeping on the ground, but I also didn’t want some 1” or 2” gap below the bottom bunk for balls, cars, and LEGOs to be lost. The guardrail was shortened a little based on what wood I had left at the end. The ladder I decided to build upright/no angle, which necessitated that I fashion the ladder myself out of some strip of metal that I think is meant for some sort of roofing purpose. Oh well, it worked. I wanted to do this because the bed is meant to be able to be disassembled, and if I had simply screwed the ladder to the bed, it would have gone against the “disassemble-bility” of the project. Last thing to note, the barn red staining was quite messy and a huge time investment, so although I stated it took 10-20 hours, probably 12 of the 20 hours was in the staining. We are all thrilled with the look of it though, so I guess it was worth it in the end. I hope this project was worth the read. Enjoy!
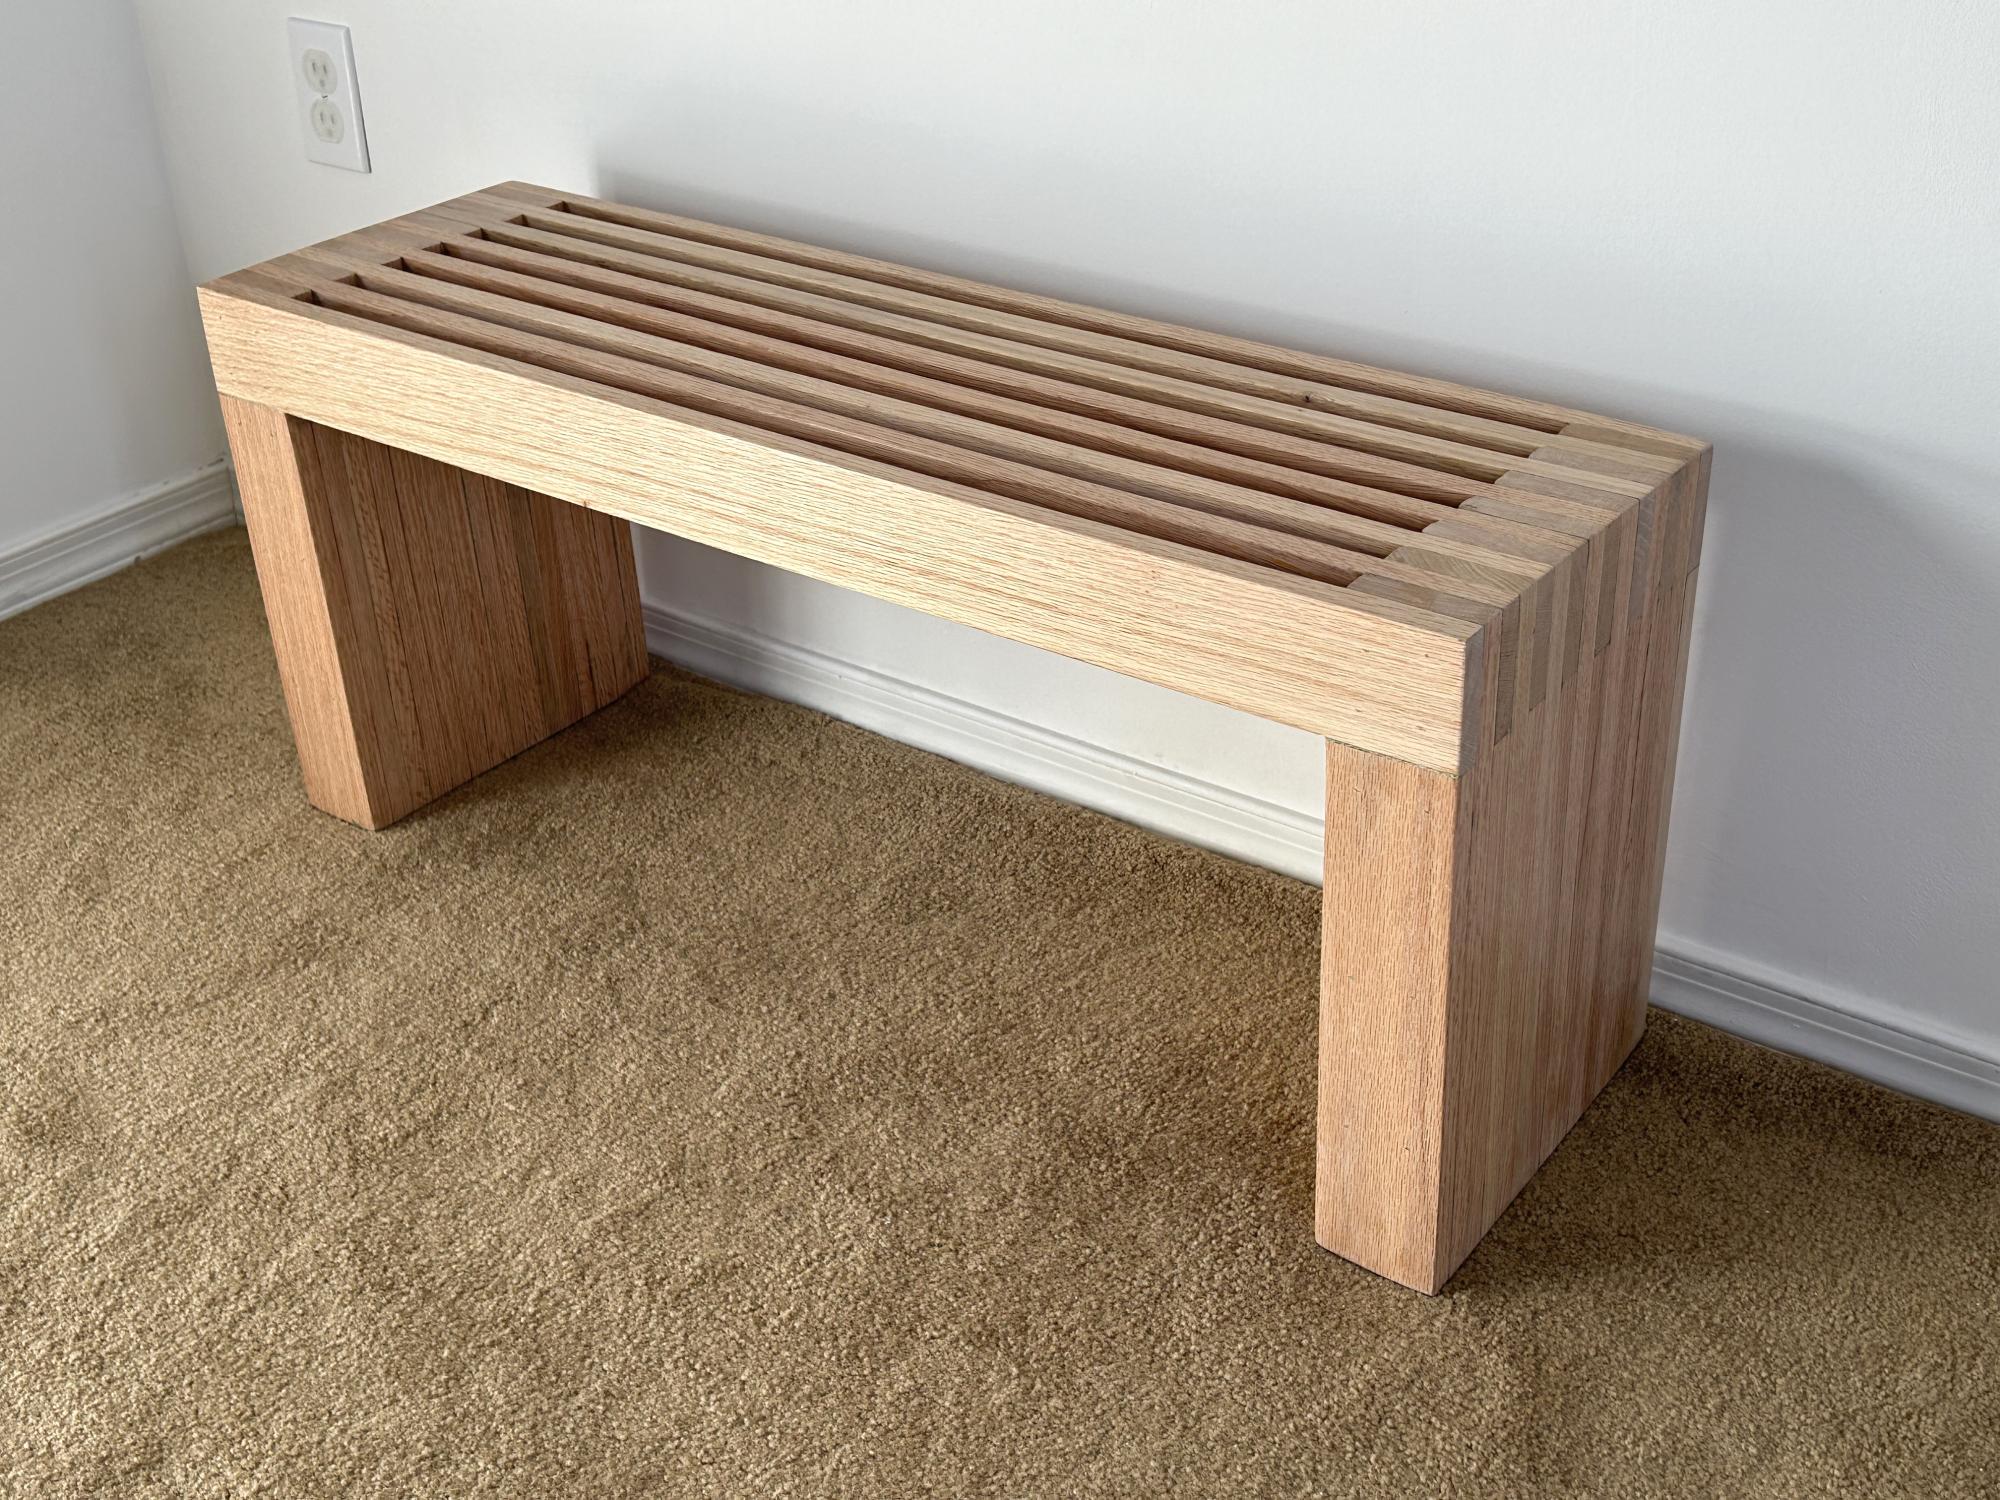
I turned some old oak shelves that I got from an estate sale into a 3' wide Scandinavian slat bench.
Pat Besong
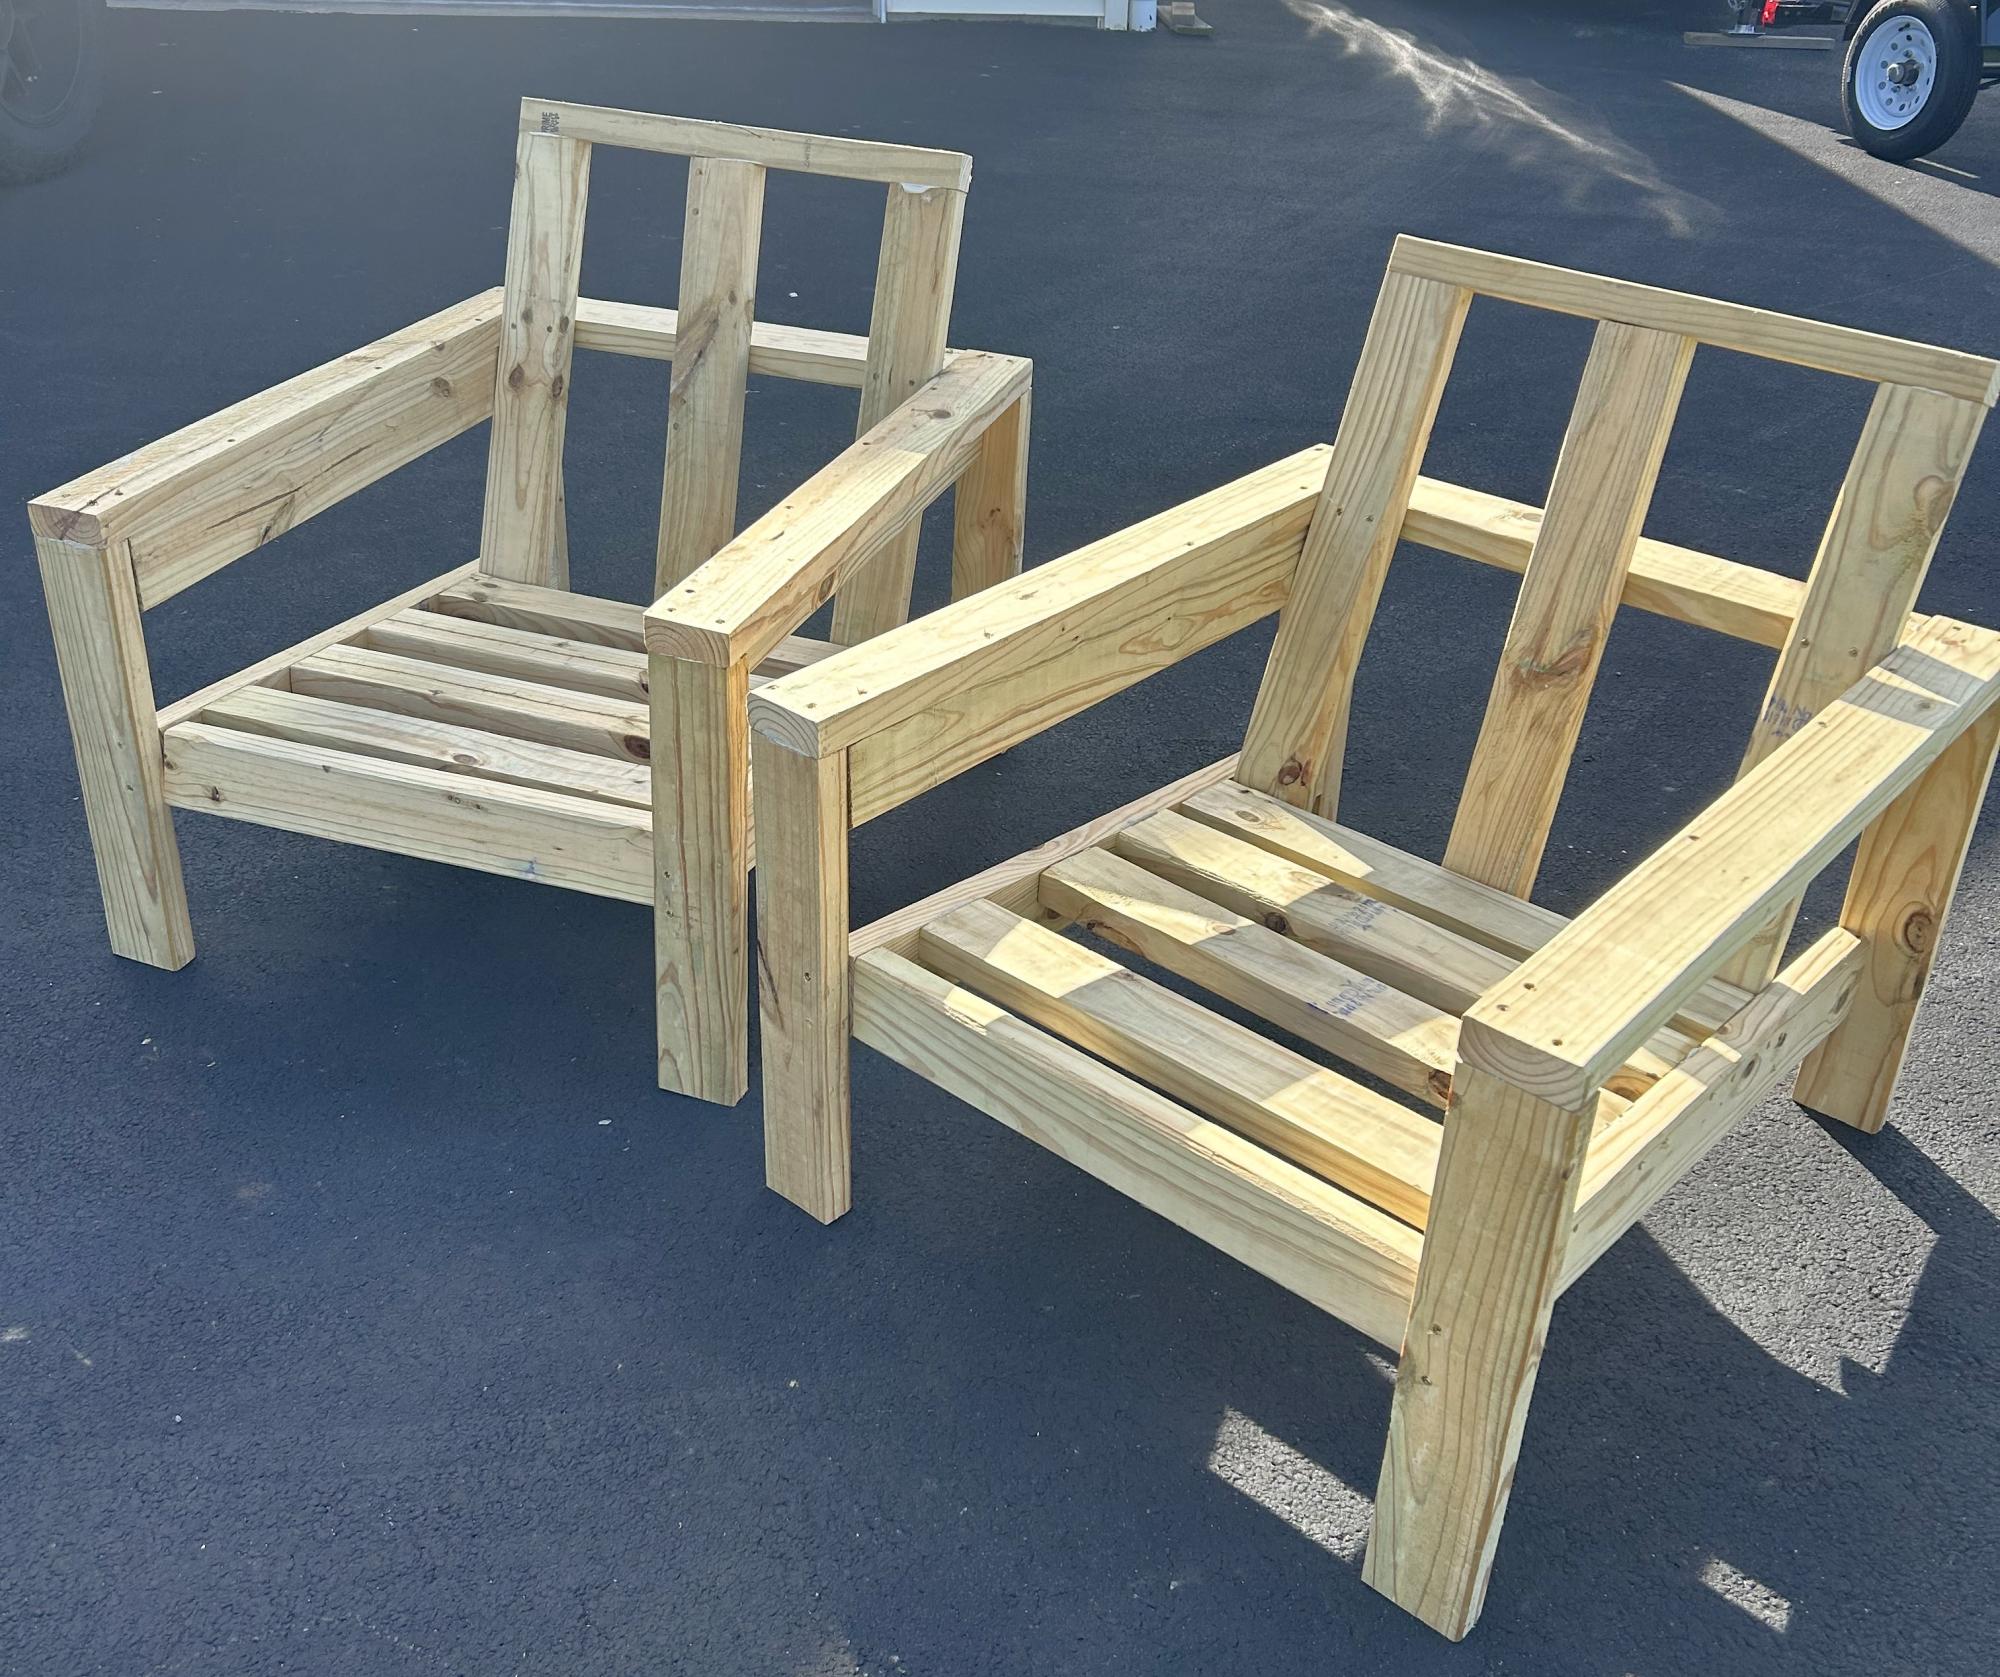
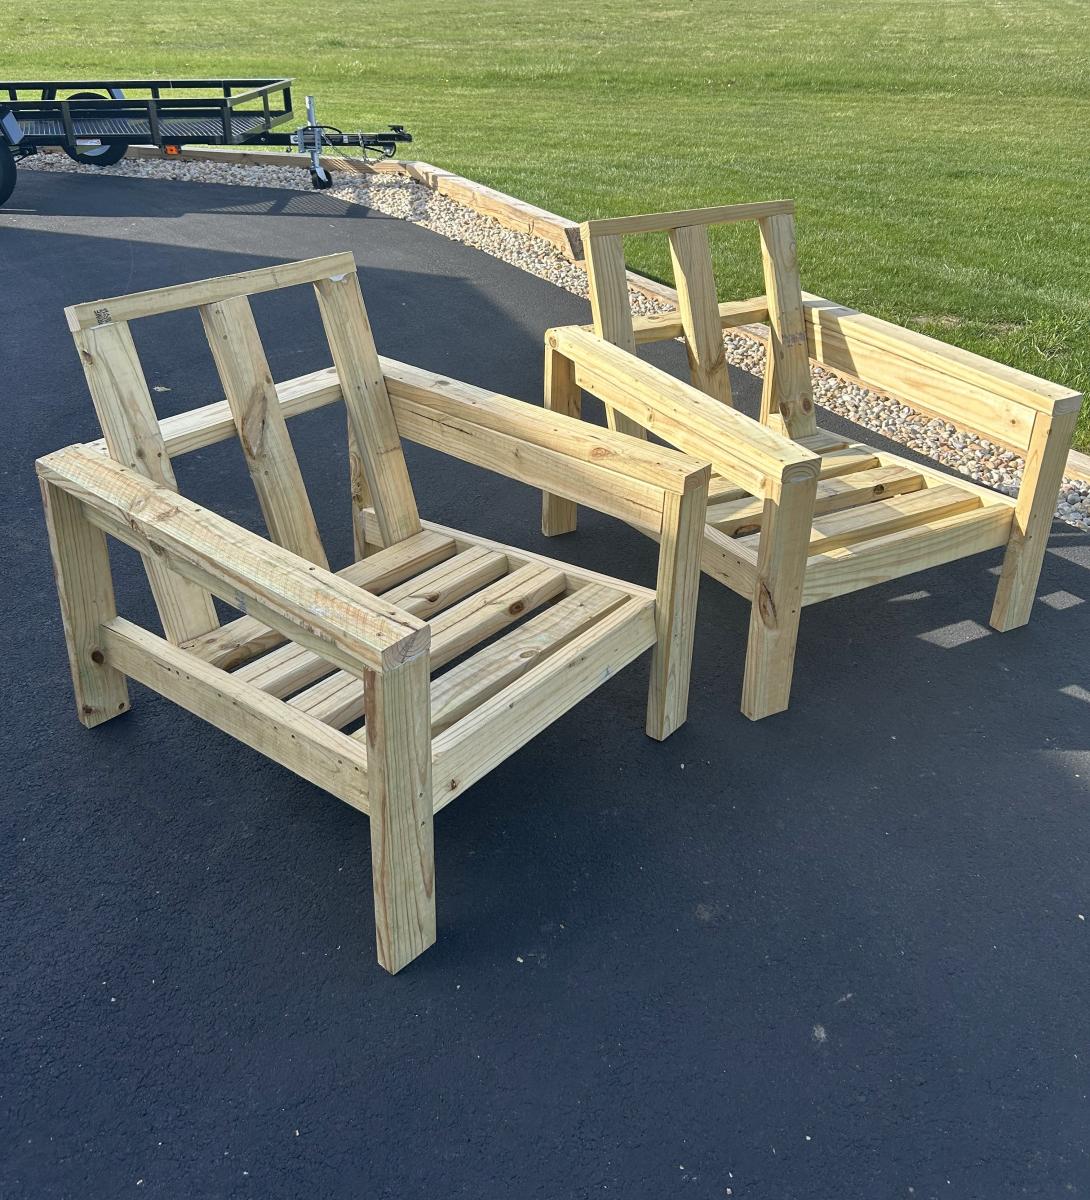
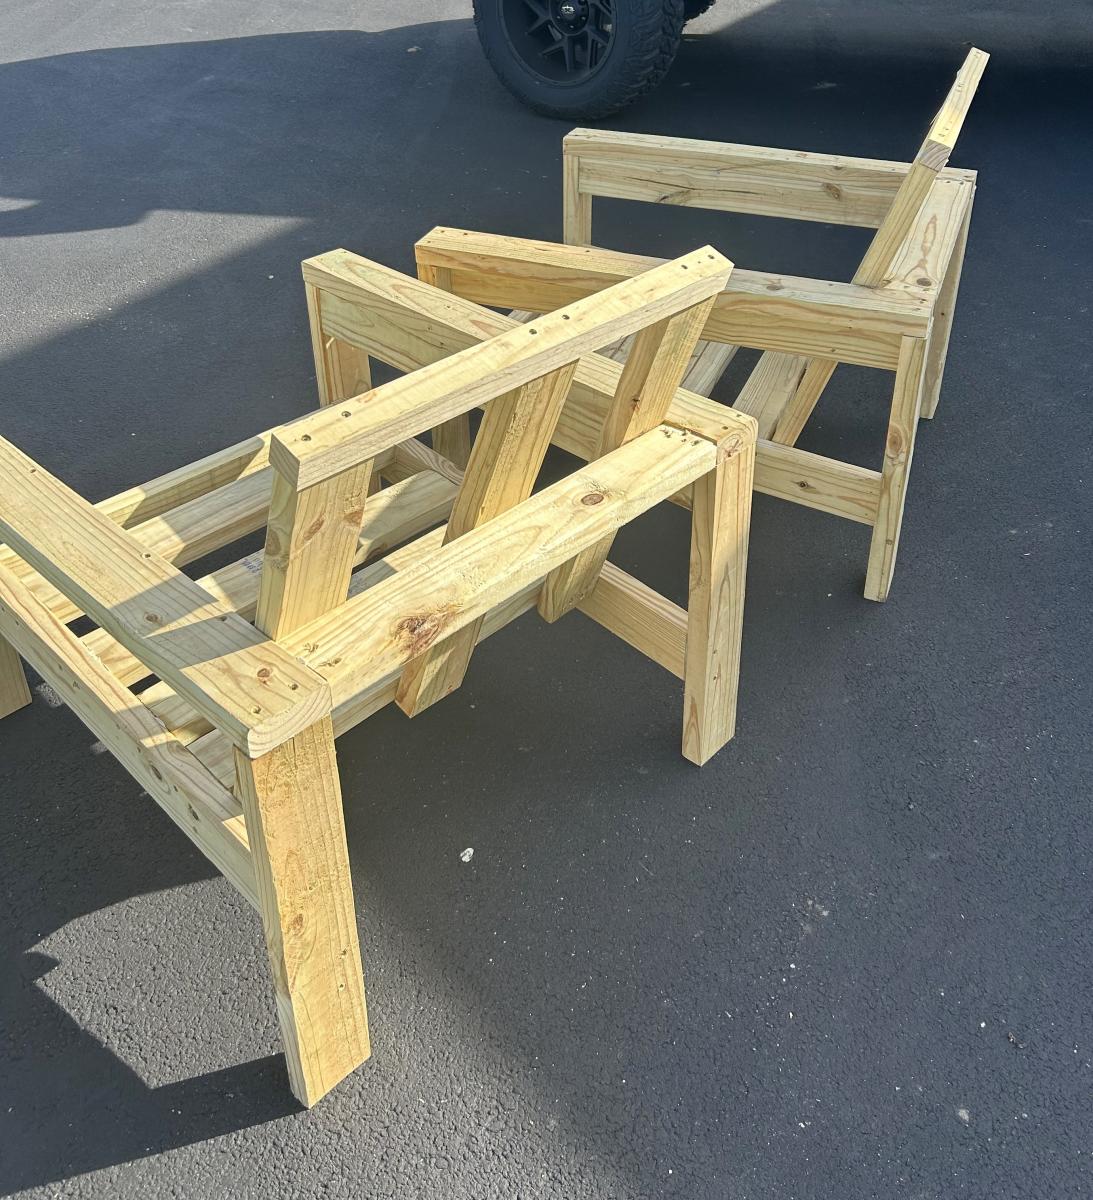
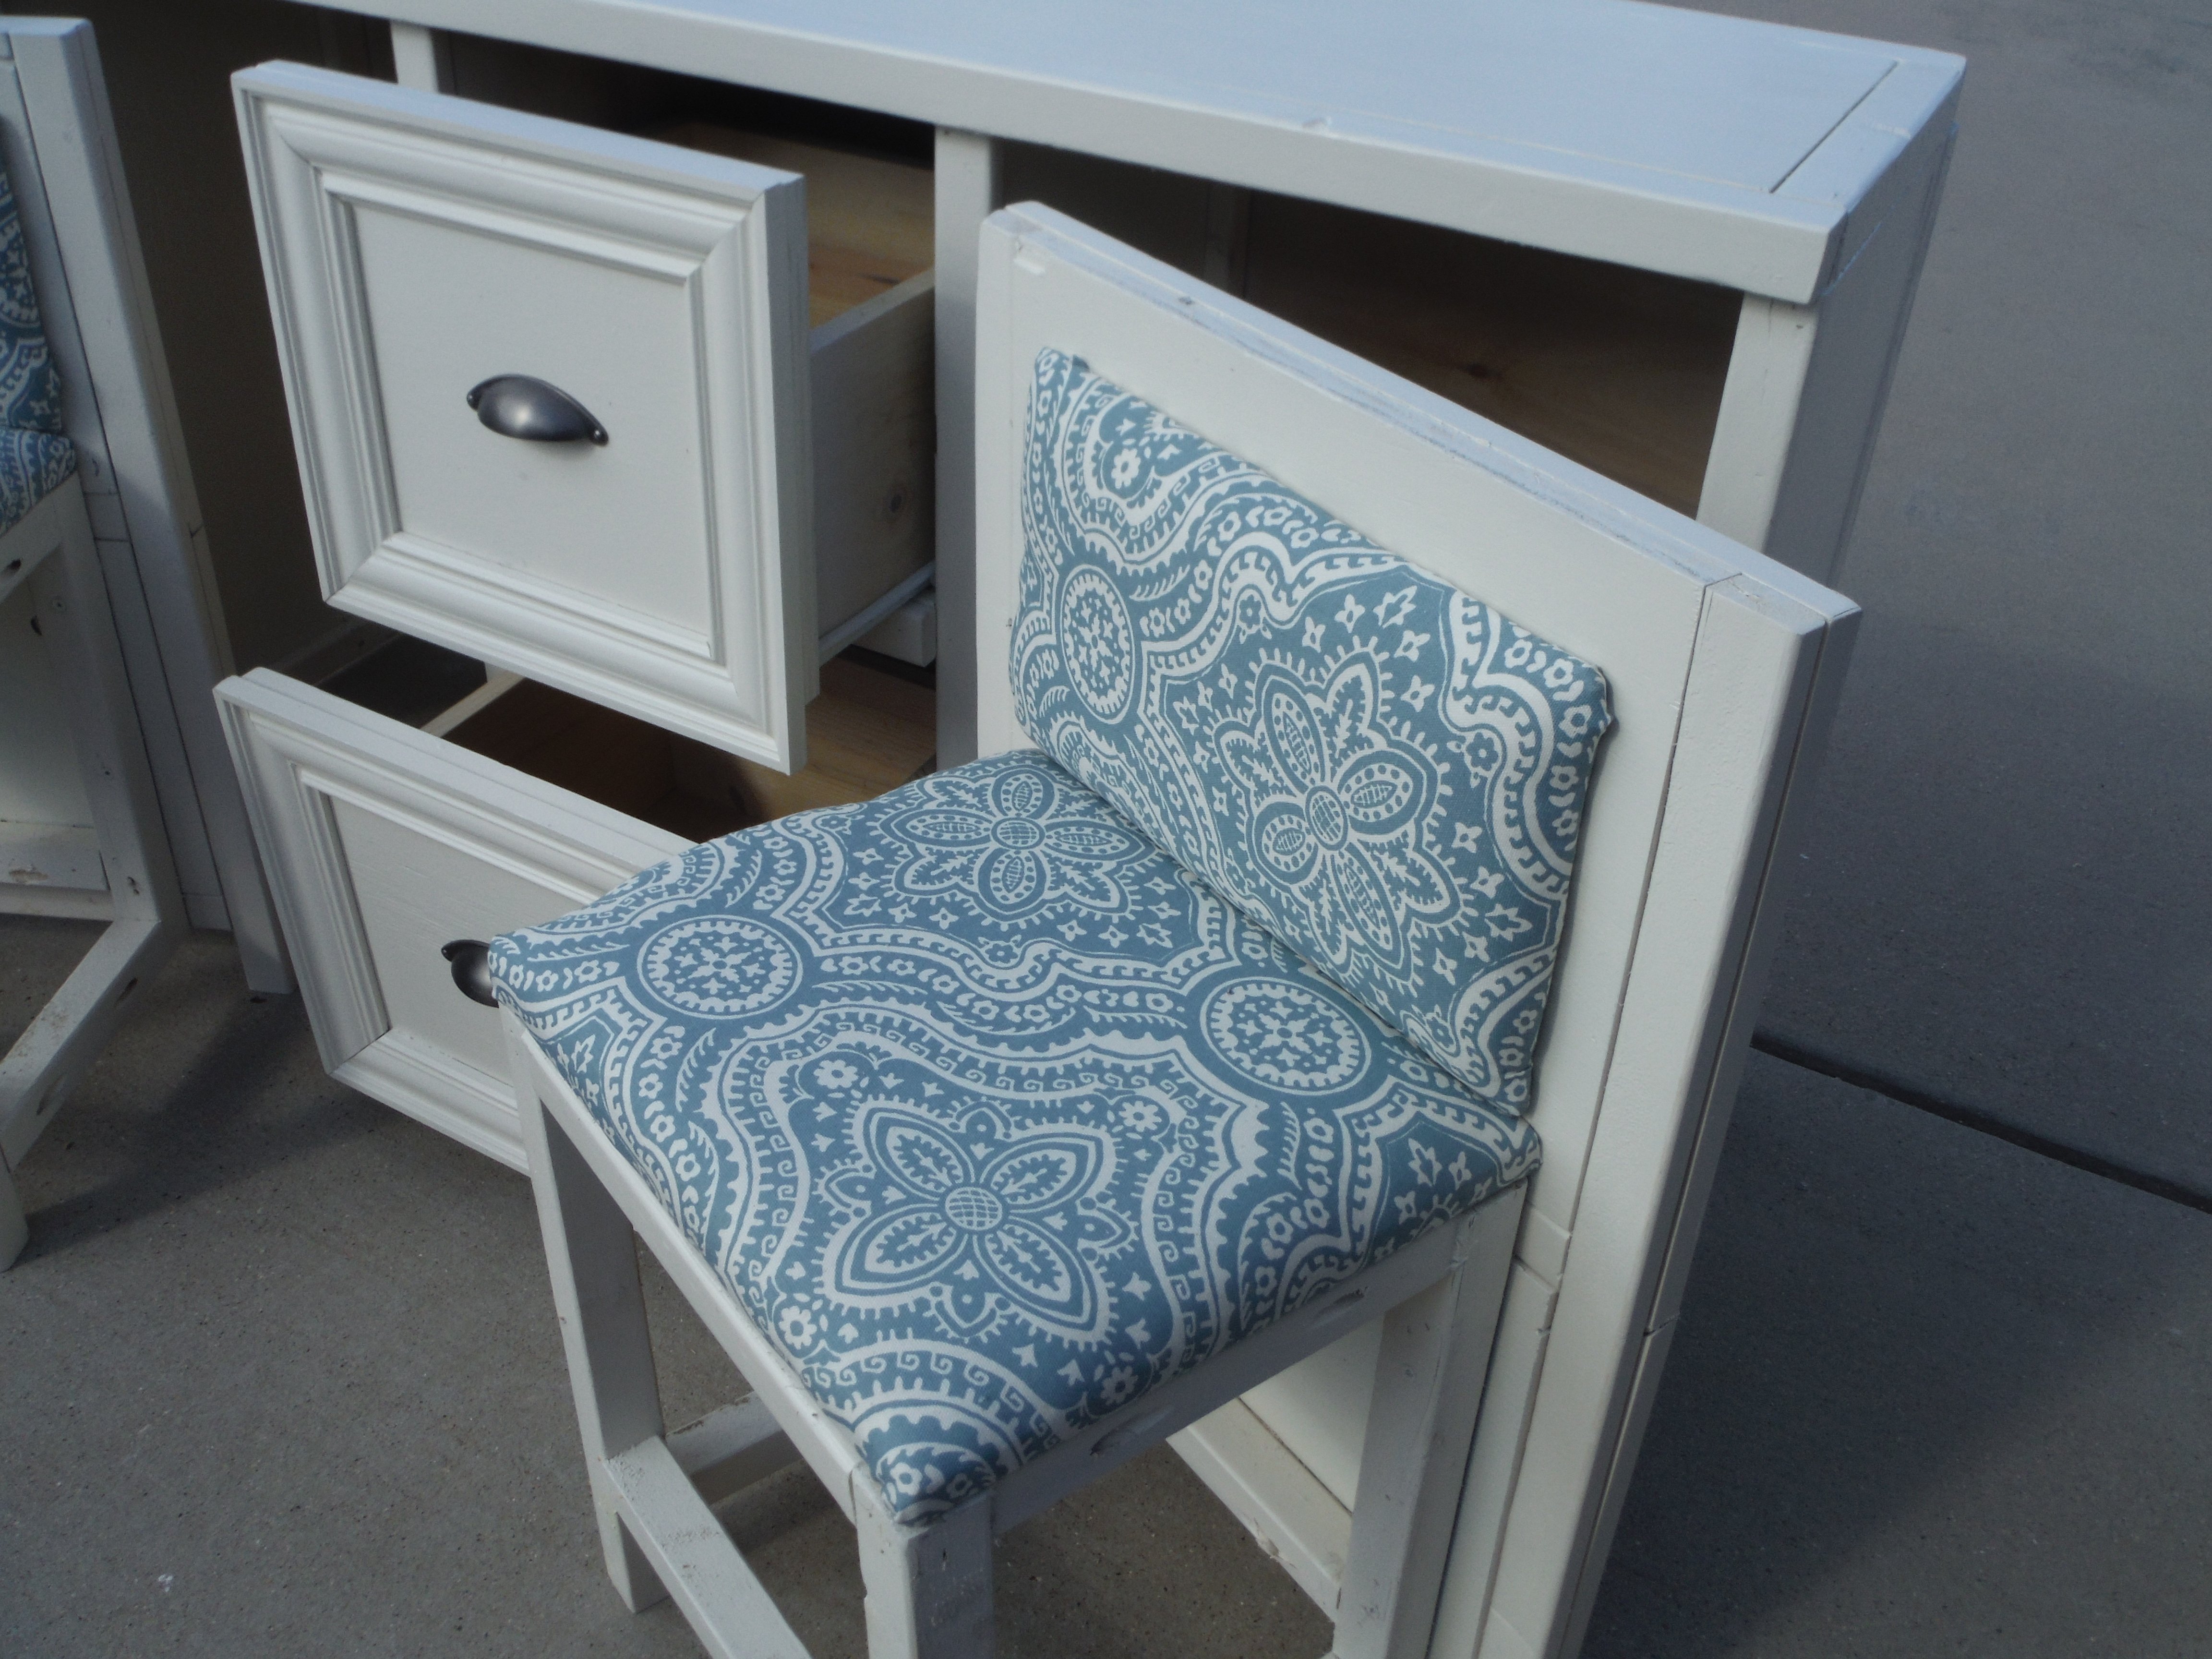
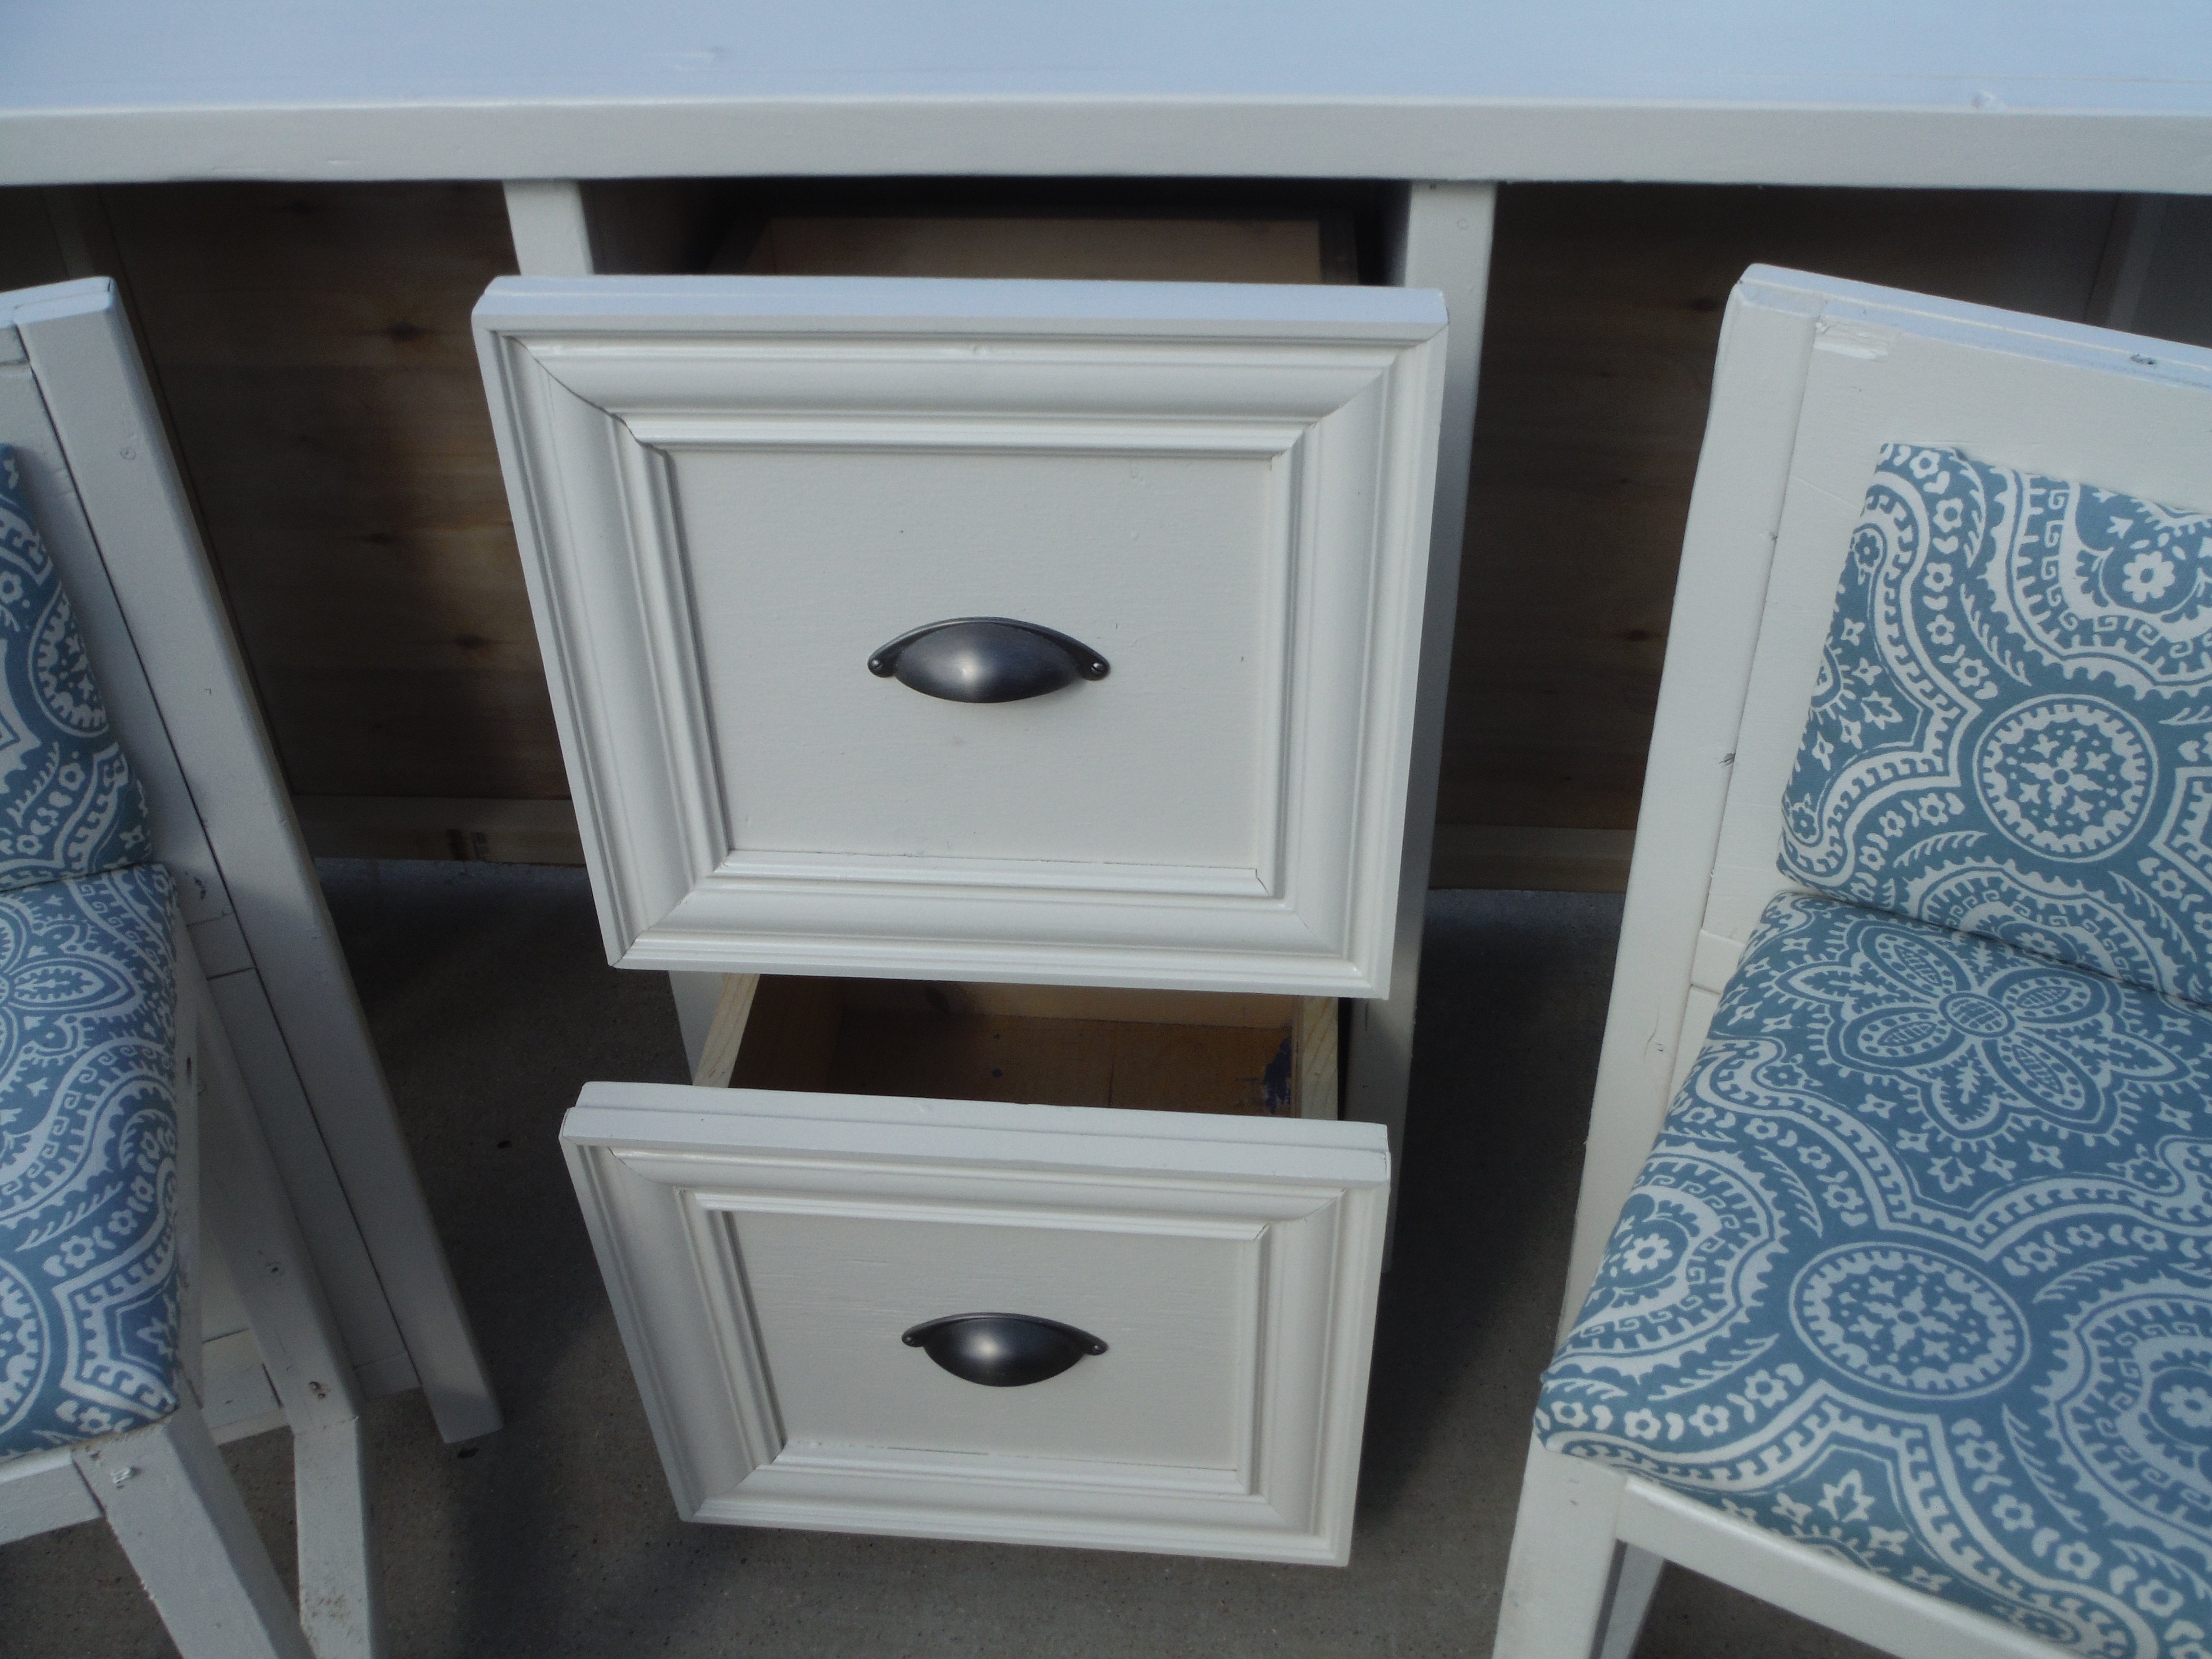
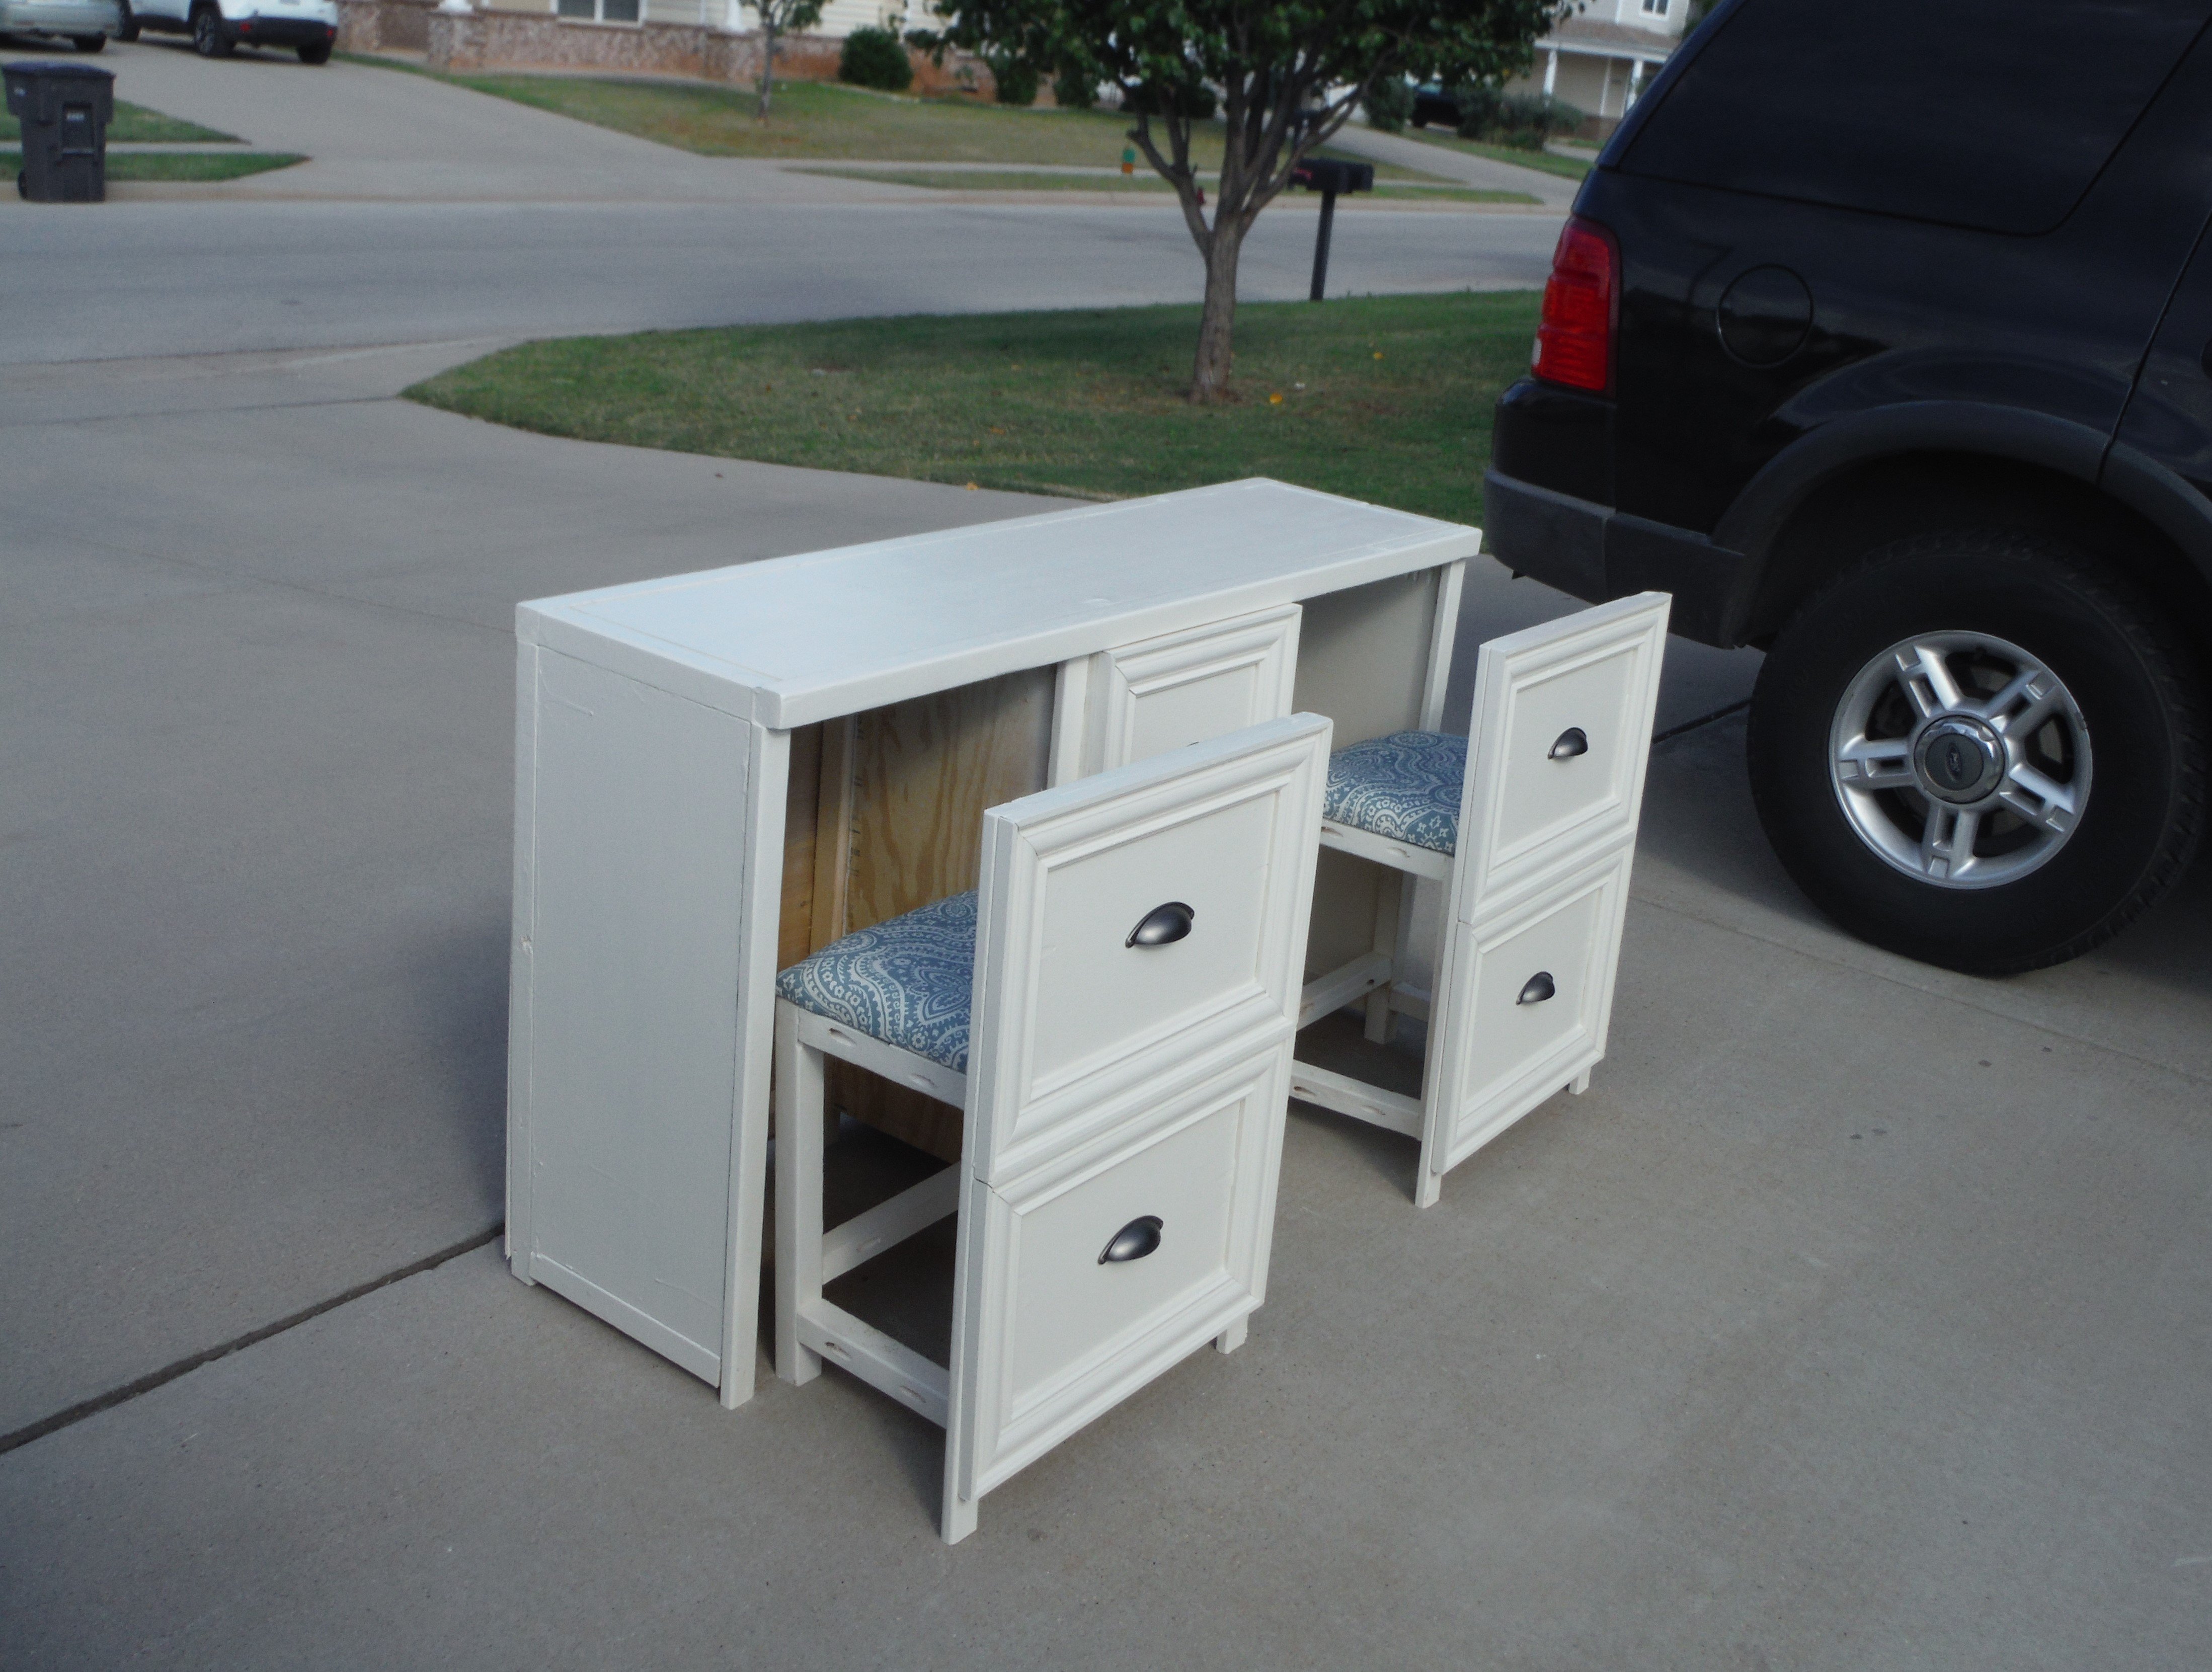
Made these two in about 3 hours. Instead of wood glue I used construction adhesive. Now to sand and stain then add cushions.
Richard Wilson - Kirkland, IL
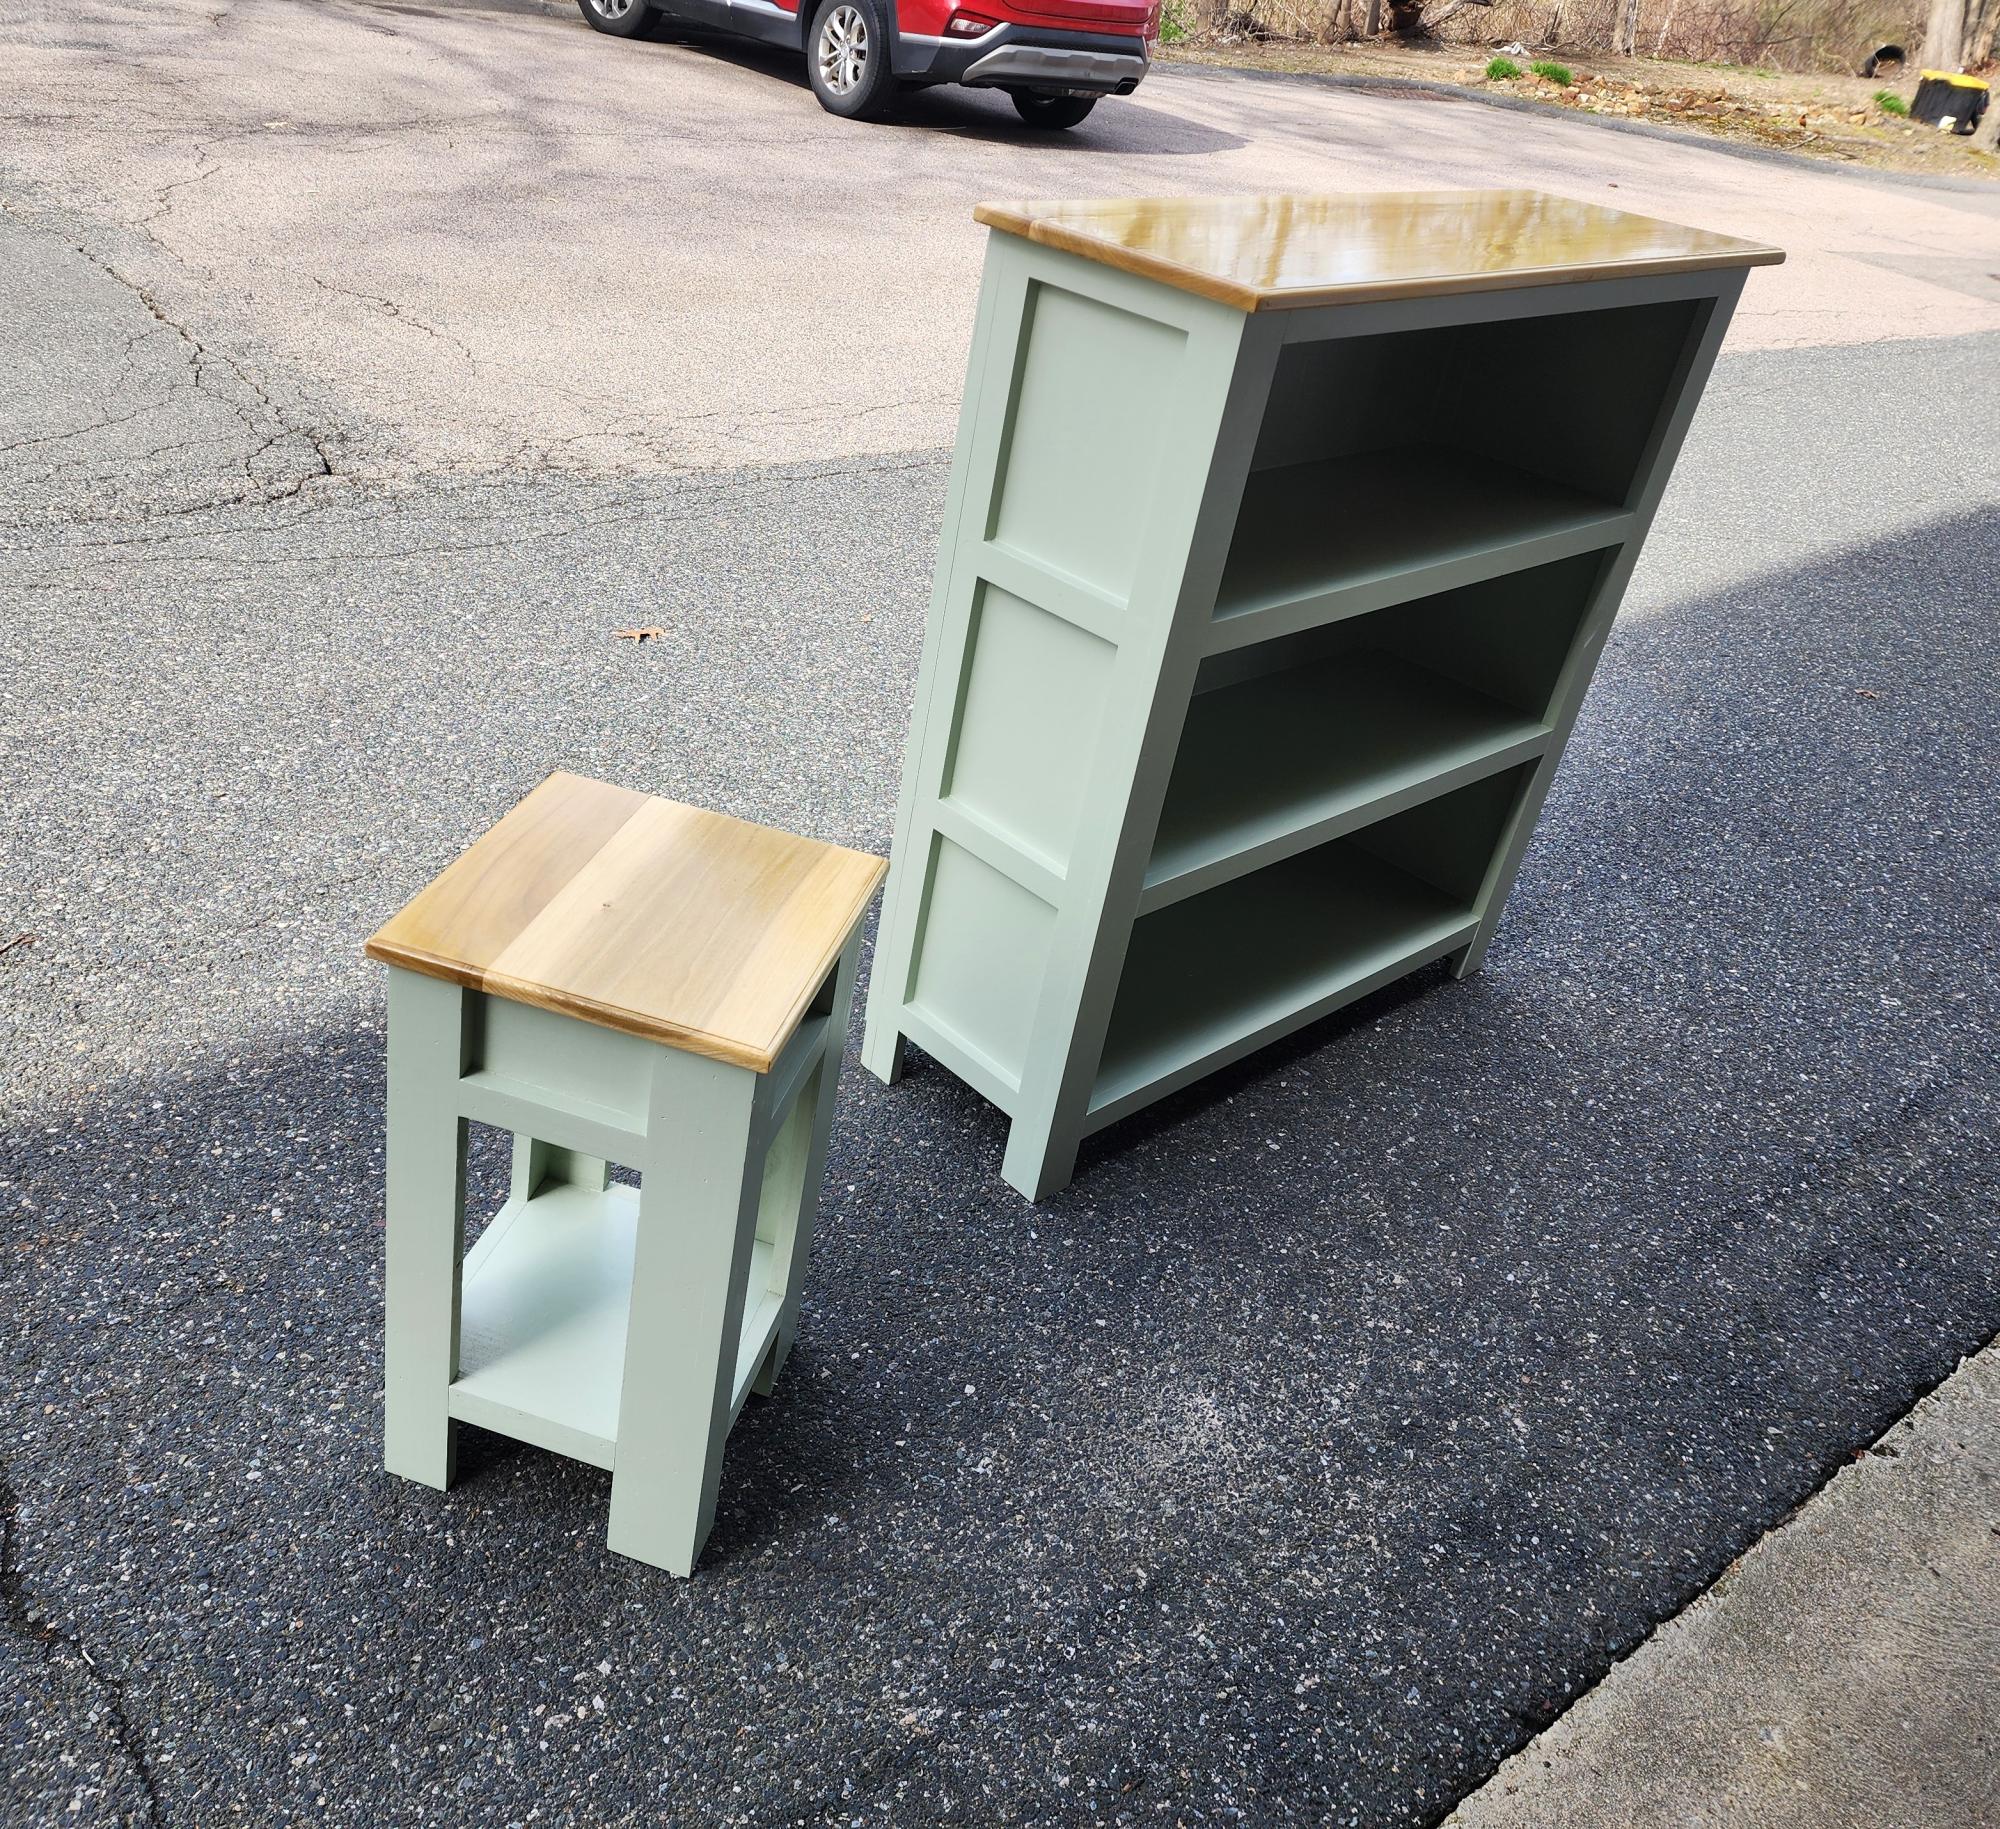
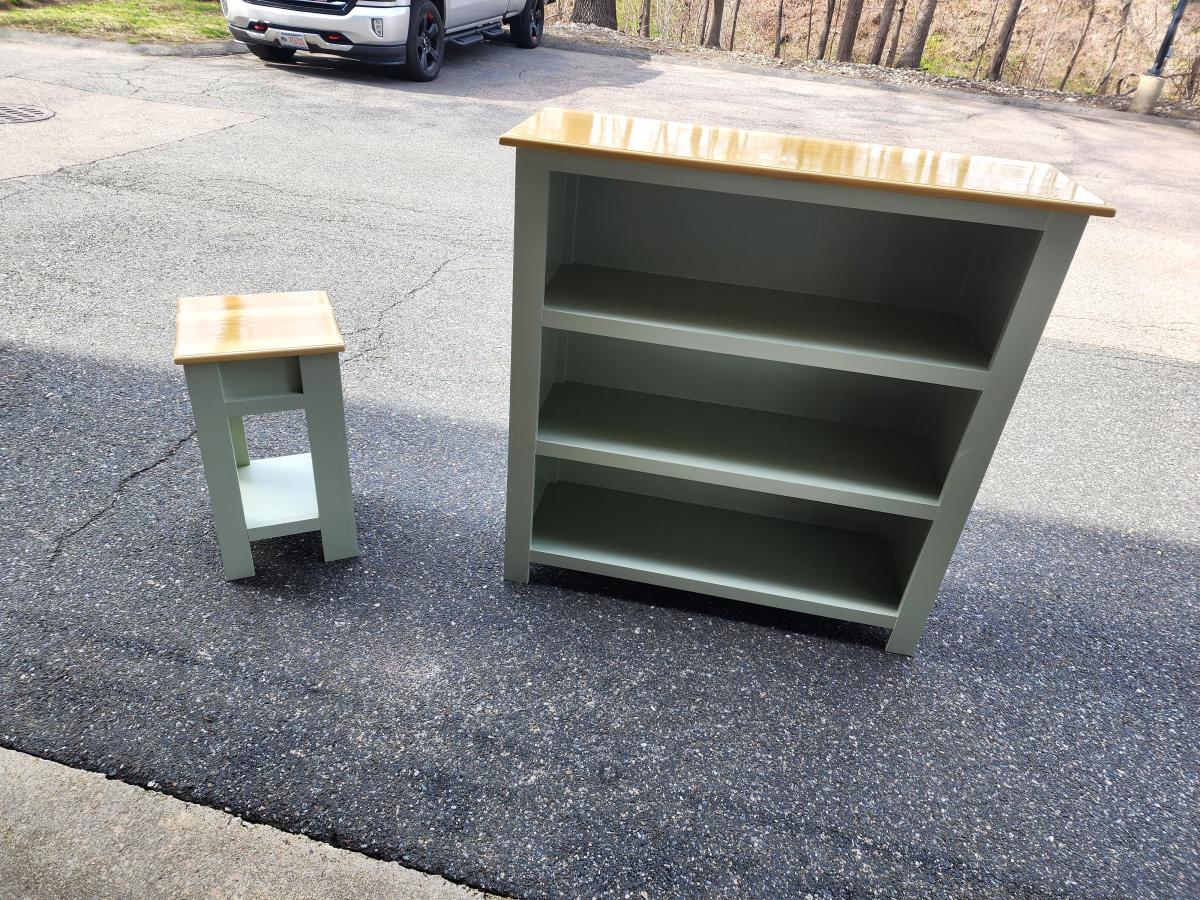
Madethe framed three shelf bookshelf with plans from Ana White. It was a gift for new baby in the family. I added a matching side table I designed based off Ana's plans! I used poplar 3/4" plywood, pine trim and poplar top for both pieces. Used Sherwin Williams Emerald trim paint in light green. Love the way these turned out!
Ray Bruhn
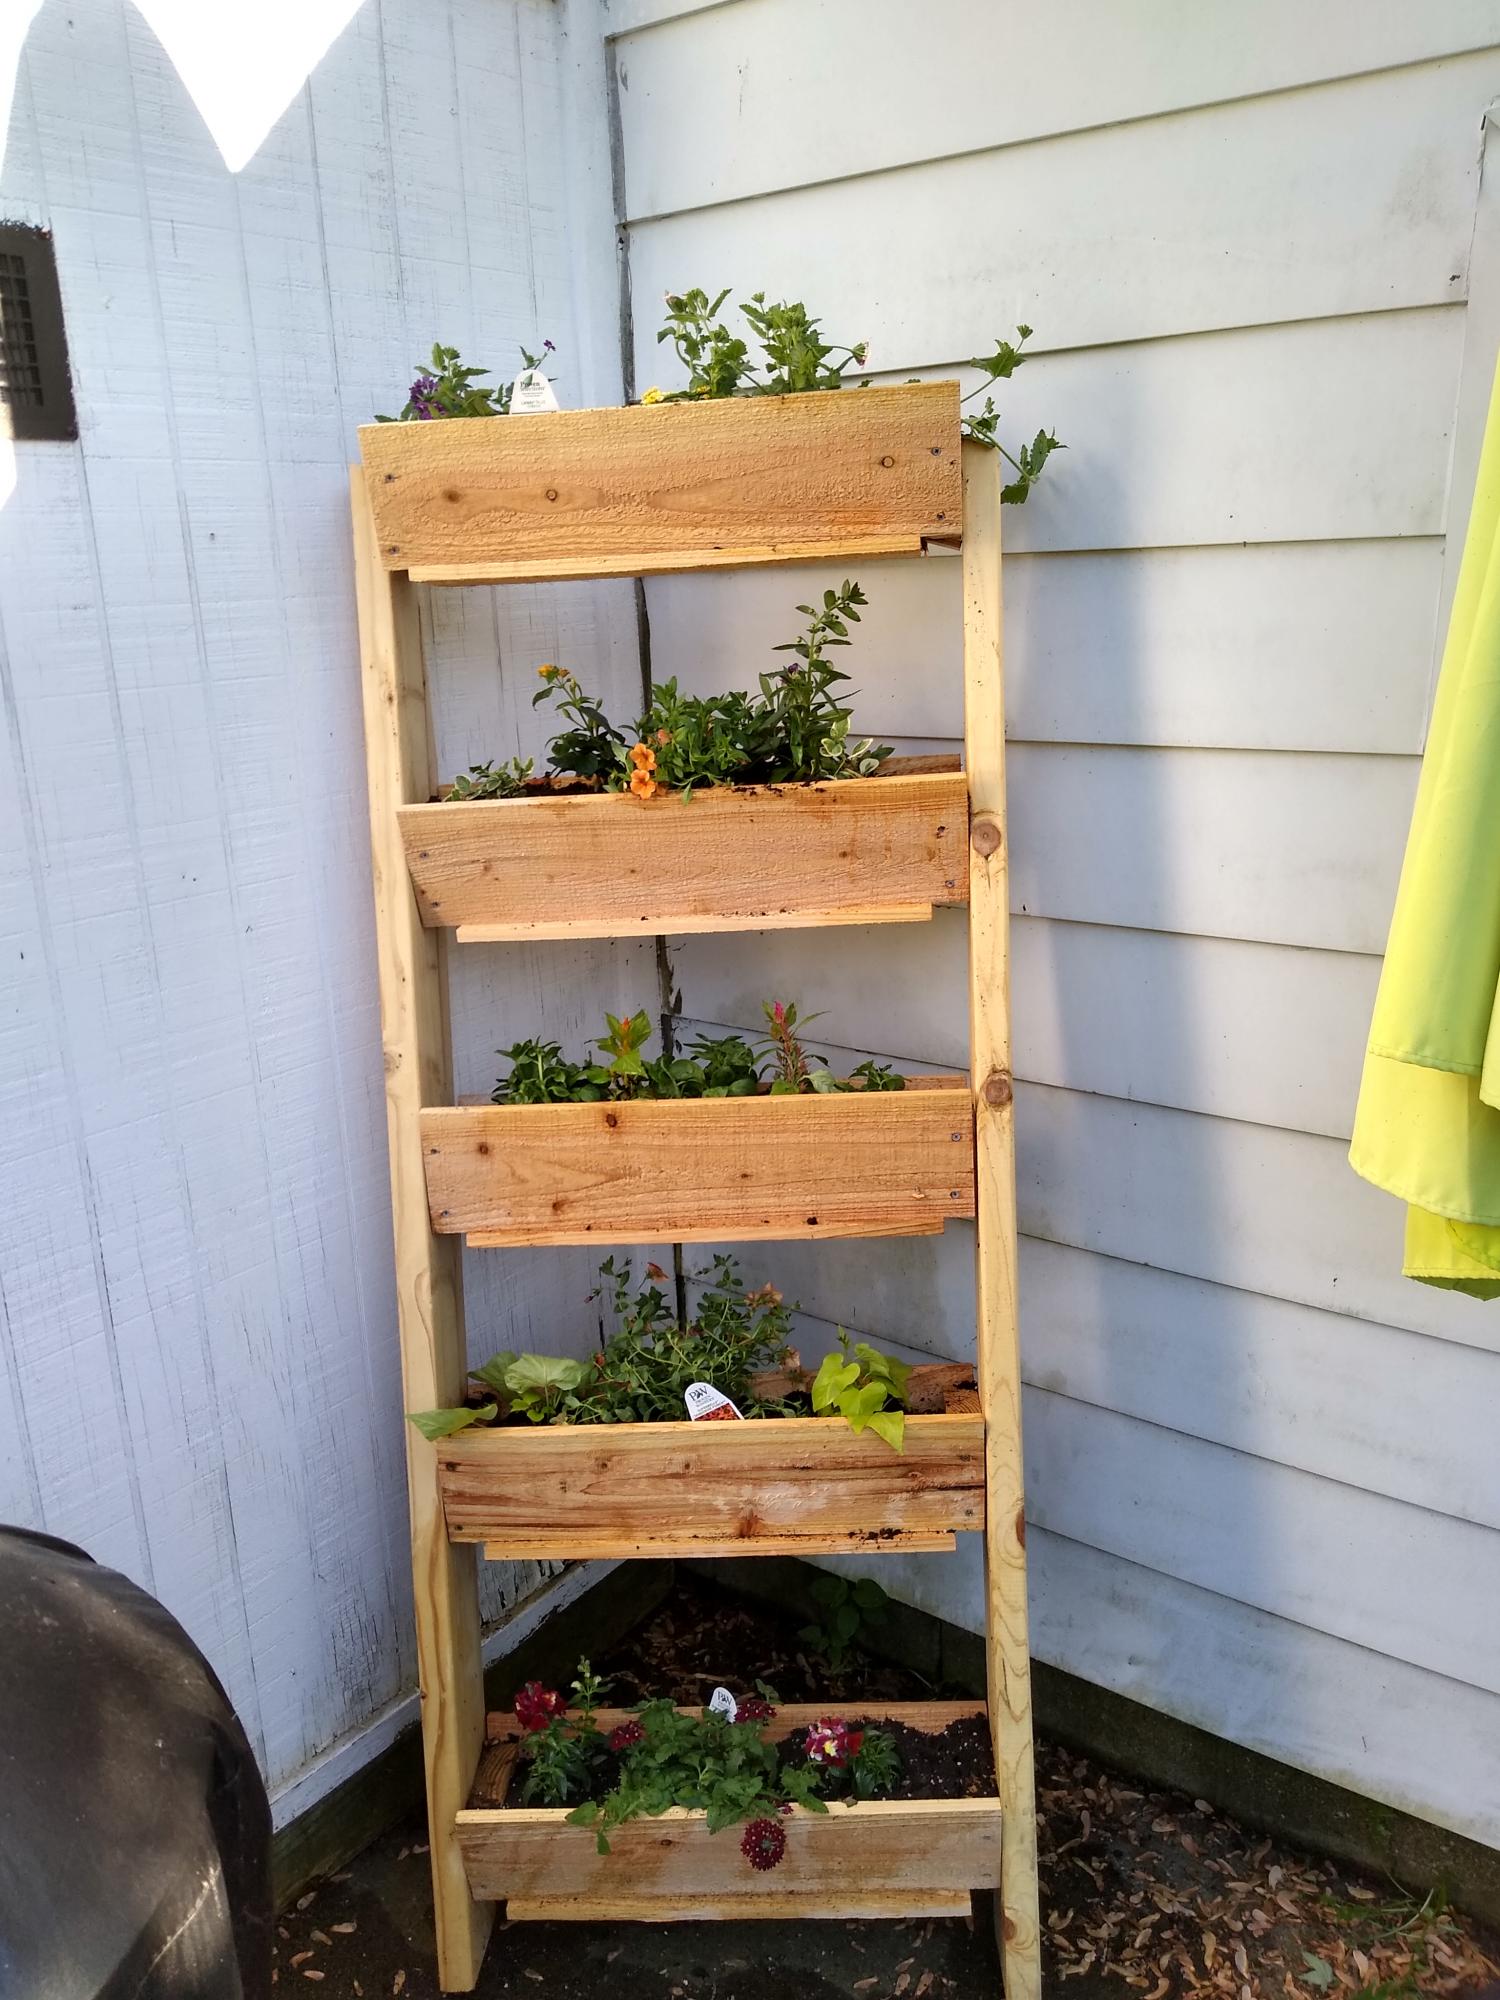
Flower box ! Easy to do.
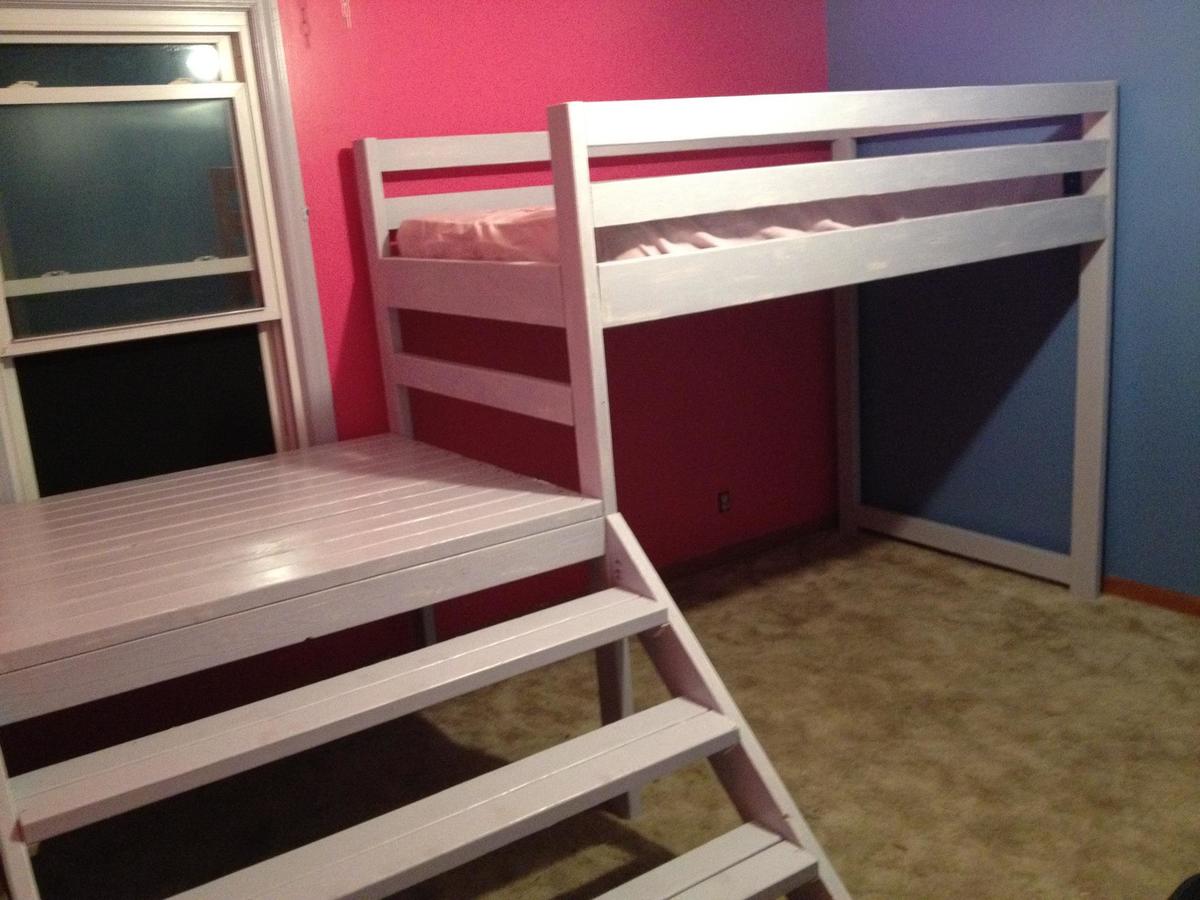
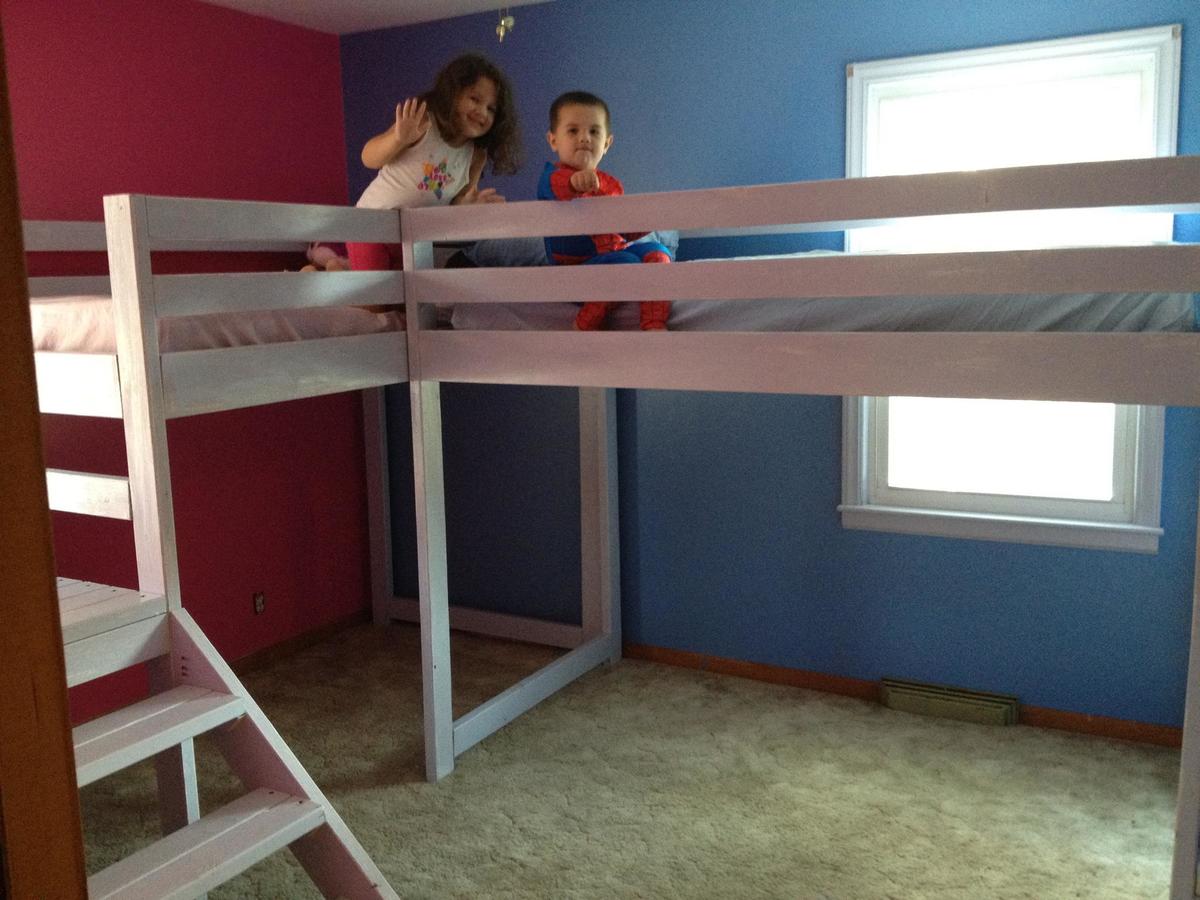
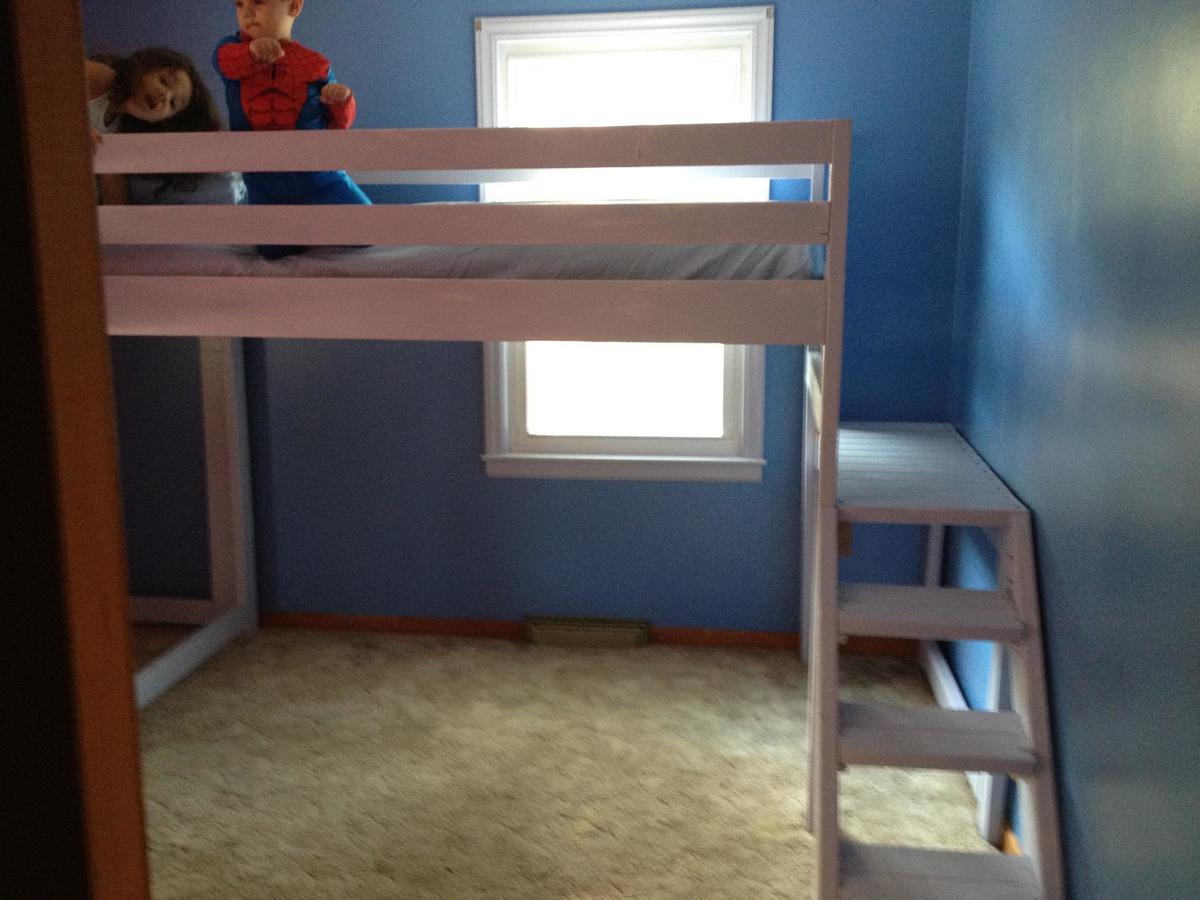
Found this on Pinterest and FELL IN LOVE! I have 2 kids that are inseperable, ages 3 & 4, a boy & a girl. I had been toying with ideas for them about bunk beds or maybe some PVC forts. But when I found this, it was like everything in one. Let me also start off by saying, although I am artistic I have never used a single tool or built ANYTHING in my life. EVER.
The beds were surprisingly easy to build and are incredibly sturdy & strong. I followed the plan exactly except for the platforms. I made my daughter's huge. (The plan calls for 22", I made hers 50") My son's I made smaller b/c that wall is shorter & there wasn't enough space. So his is only 16" but it's still plenty of room to climb up & get into bed. They use her platform as a stage to perform on or a small play area.
I'm going to glue down padding to cover both platforms and all the stairs b/c my kids are small but rough & tumble and I can already see the hospital bills. But the bed is EXCELLENT! Surprised to see no one else has posted a brag for it!
Make this immediately! The priming, painting & building for each only took one day. ONE DAY! I painted the room, the trim, and made both beds over the holiday weekend (Labor Day, Friday-Monday). My kids are now the envy of every child (and adult) that we know LOL!
I built it for this specific space,so I ended up shortening the length of it but also made it wider from front to back. The original plans would have run into into the door that's to the right. My old coffee table sat here, so I went off those dimensions.
What I learned:
If you do decide to tweak the plan, be sure to take into consideration that a 2x4 isn't actually 4 inches wide. The same goes for 2x6's (the bottom two shelves are made of 2x6 wood).

Entertainment center with Bluray/DVD storage in the doors. Based on the Cynthia media stand by Pottery Barn. I drew it up to my personal preferences using Draftsight (free 2d cad software). Used 3/4" oak for everything except for a few trim boards. It came out great, we are very proud to call it our own.
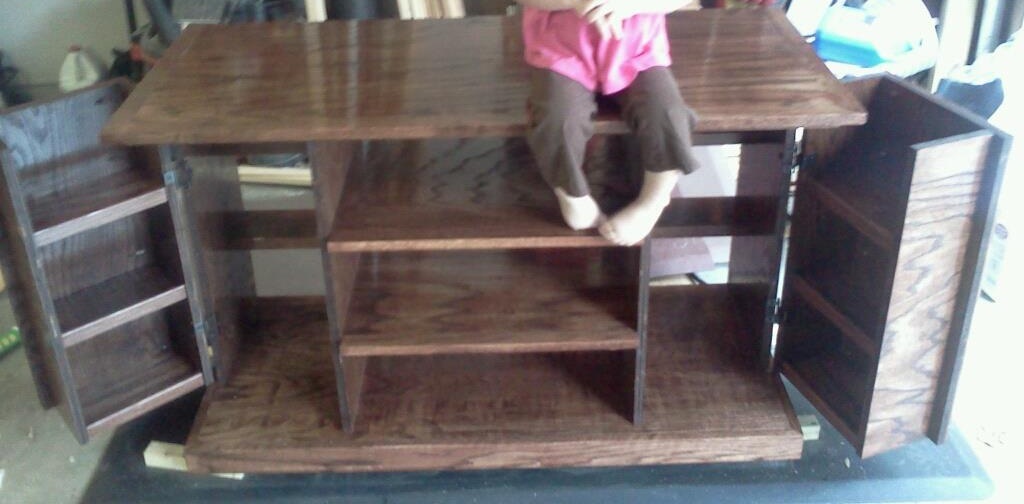
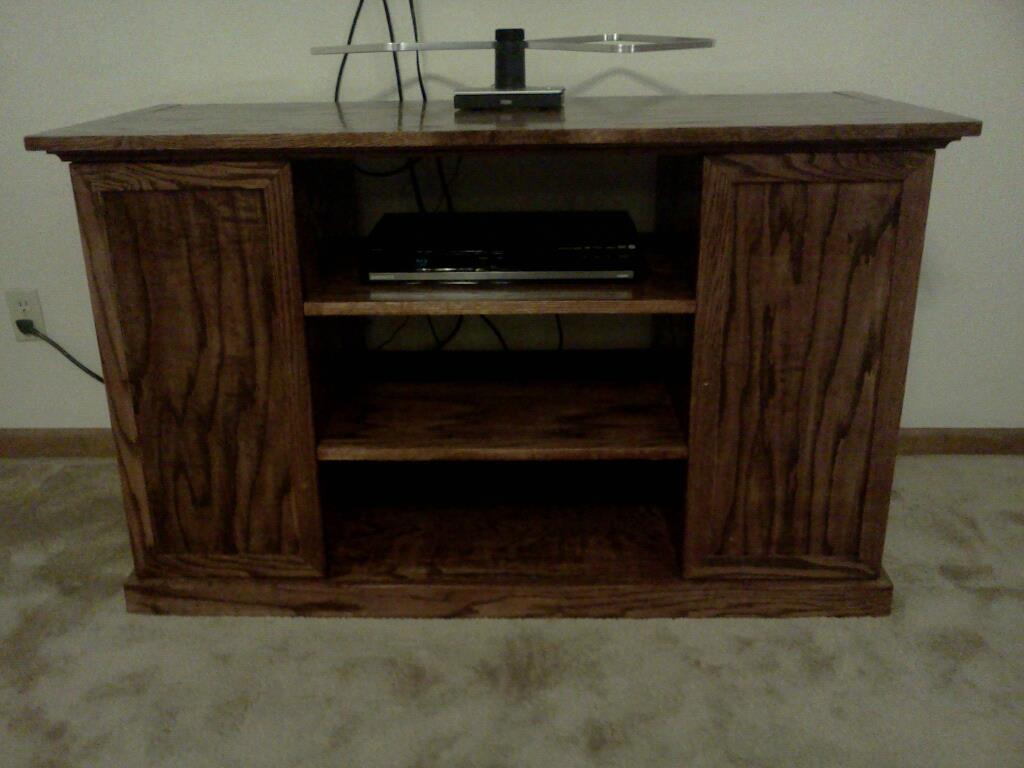
This is my favorite build so far!! Mines measure 52Wx30Hx14D. I use 11 3/4(1x12) strip plywood boards instead to fit our space.
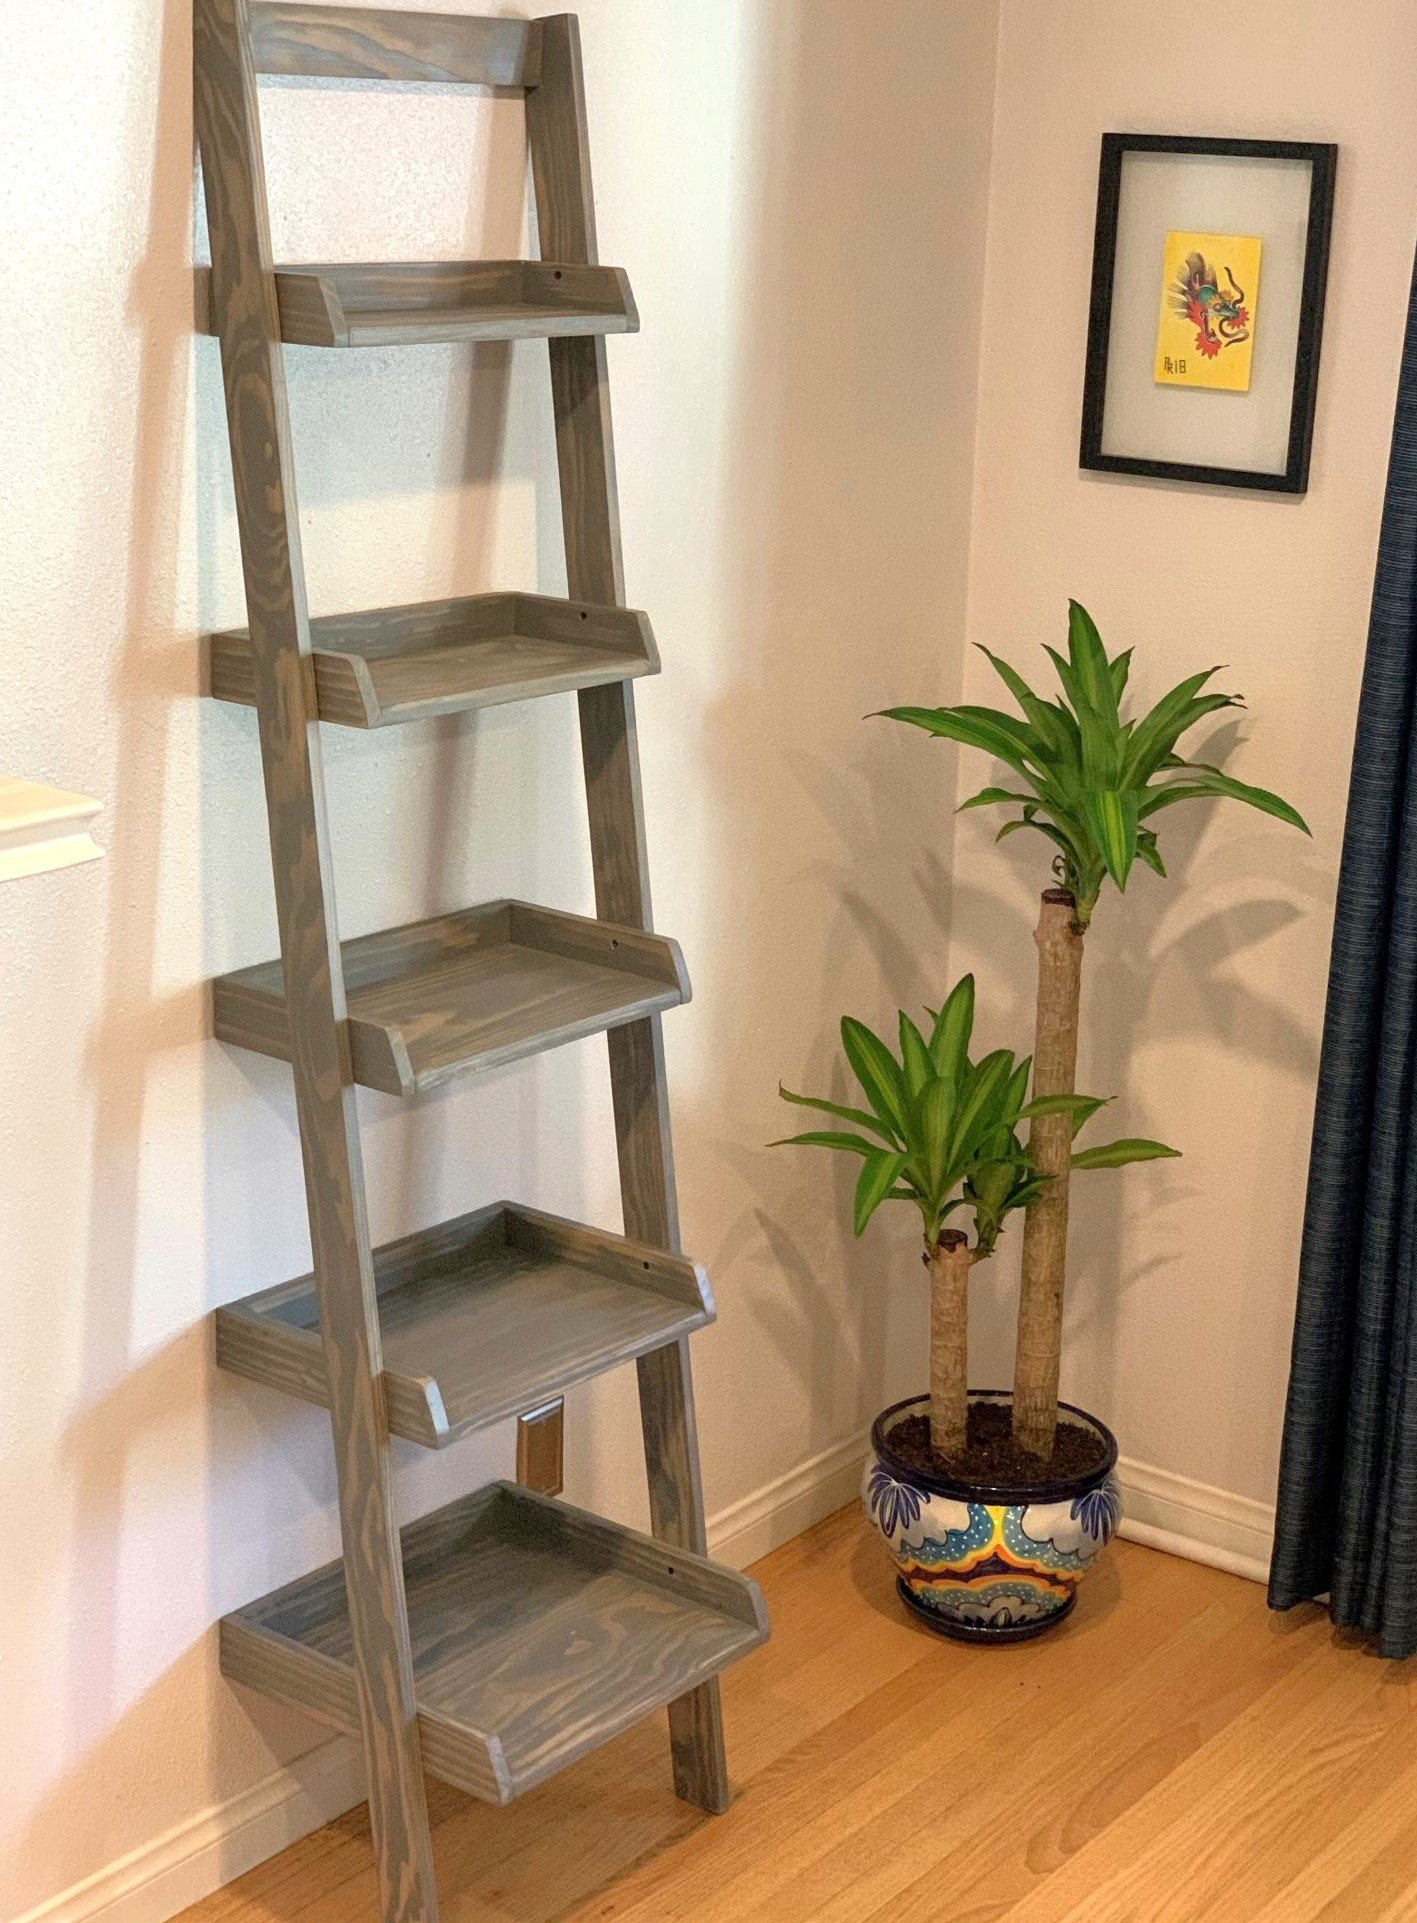
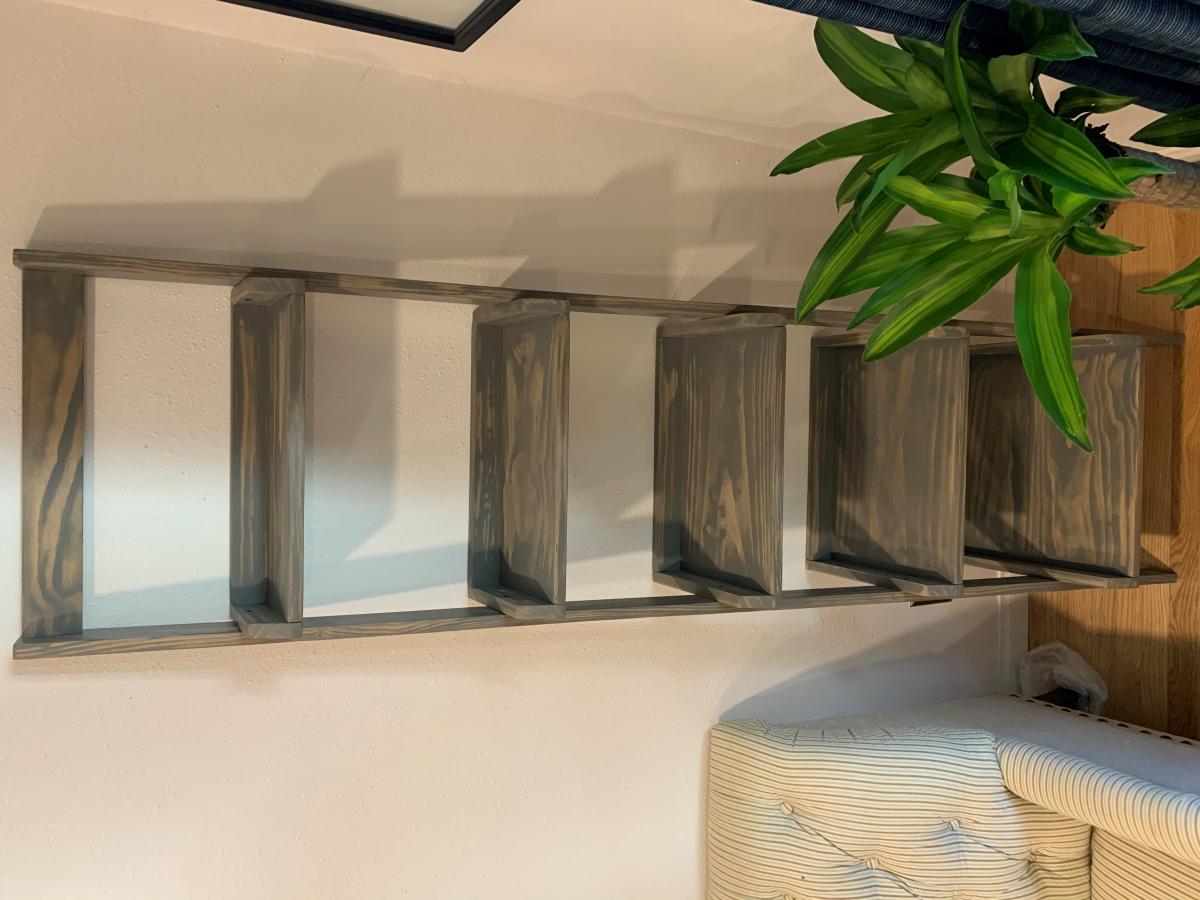
Another one bites the dust. Made this out of Ana instructions for a ladder shelf. Like the way this turned out alot. Ana White knows whats up :)
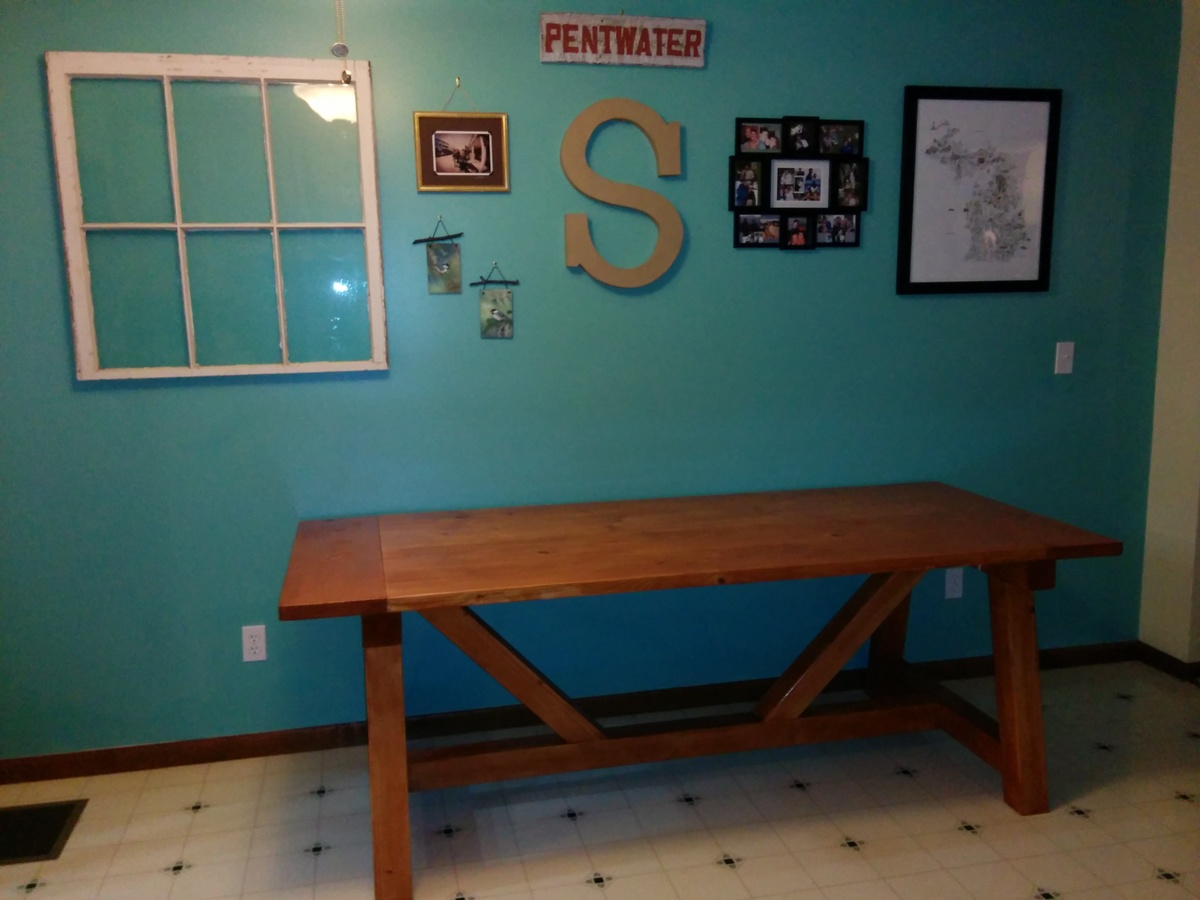
This was my first table, great directions from Ana White and other postings. Turned out great, the main addition I had was to add some supports for the ends as it felt like it needed it.
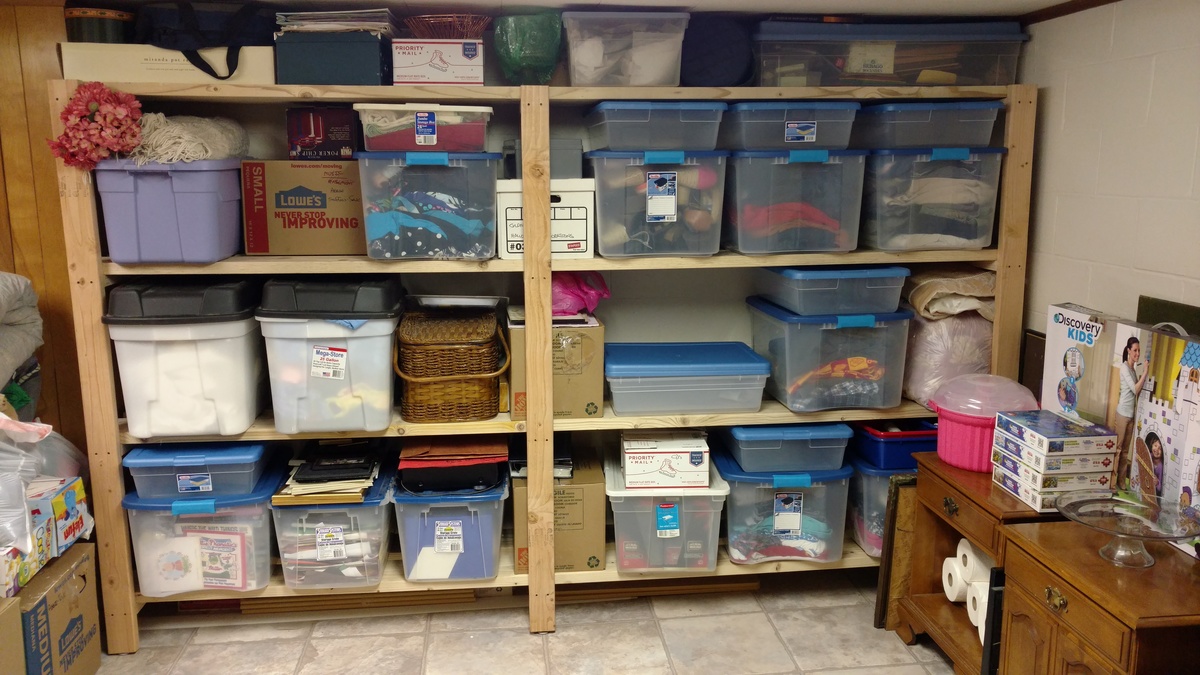
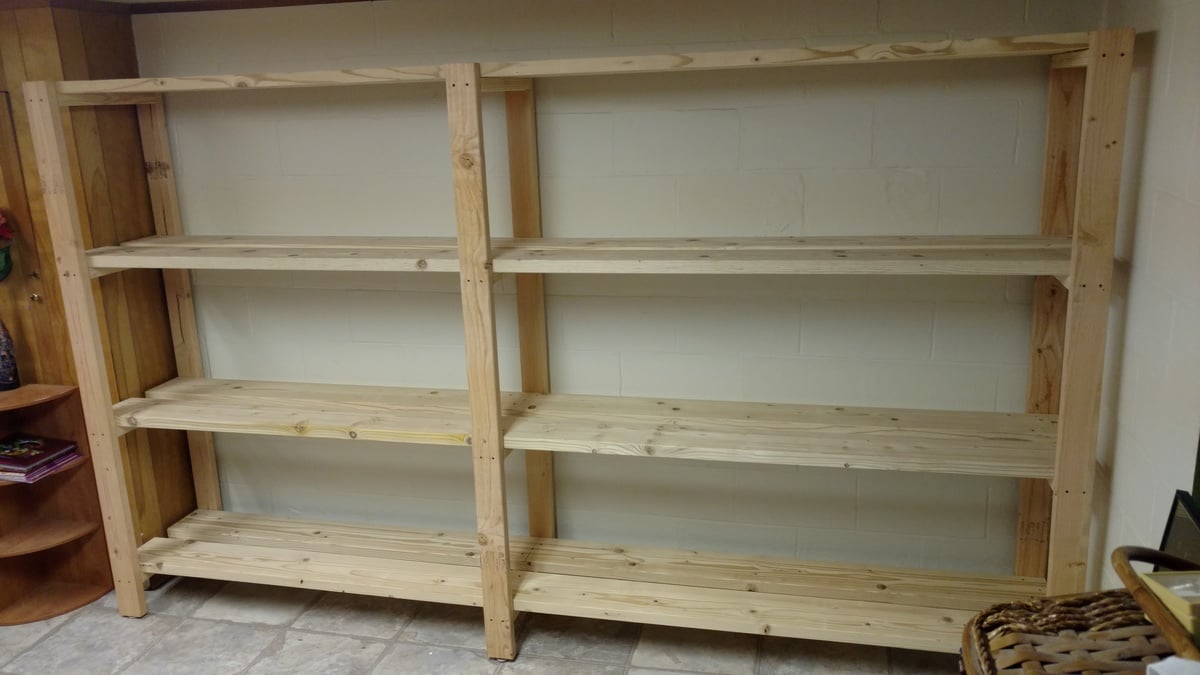
Time to get organized in 2017....and what better way than with some custom shelving. This was not too bad of a project to complete. It only took about 6-8 hours to cut, frame, and assemble everything together (thanks to an interruption or two). 'Twas nice to have a project for once that I didn't have to care about finishing the project with wood filler, sanding, painting. I am sure my wife thanks me more as I would have been another week getting things just right!
A few changes that I made from the original plans:
- used 2x8 for the shelving runs as I only was dealing with a 10ft run and was a few bucks cheaper to buy 8 boards vs 16 boards. Plus less cuts!!!
-installed adjustable furniture feet in the supports to deal with sloping basement floor. Unexpected side effect was it was easier to slide the unit around in the basement as I assembled it.
Outside of those changes I remained faithful to the original design. I didn't bother filling the screw holes as we will be hiding the shelving unit with a curtain once we turn the room into a TV/Office area.
Also as it wasn't 100% clear from the original plans, but the height measurements for the shelf supports are to center... not sure why it didn't register with me right away... but just in case anyone else didn't realize that as well.
bonjour j'ai réaliser ce projet avec du bois de charpente (récupération) , projet très facile à réaliser avec peut de matériel, le plus compliquer à été de transposer les dimensions de pouces en cm. est-il possible de recevoir des plans en cm ????


Comments
Ana White Admin
Mon, 01/08/2024 - 09:36
WOW!
You did an amazing job, absolutely love the color choice!
hmillgarv
Wed, 02/28/2024 - 19:20
Could this be modified to be moveable?
Hello! I’m wondering if you think this could be built as a temporary piece that could be moved? I live in apartment and wouldn’t want to leave something like this behind after spending time and money to build it. Maybe if I built in some removable access panels (a few of the slats?) to be able to attach it to studs (and later remove it) after building the entire piece. Thoughts? TIA!