Community Brag Posts

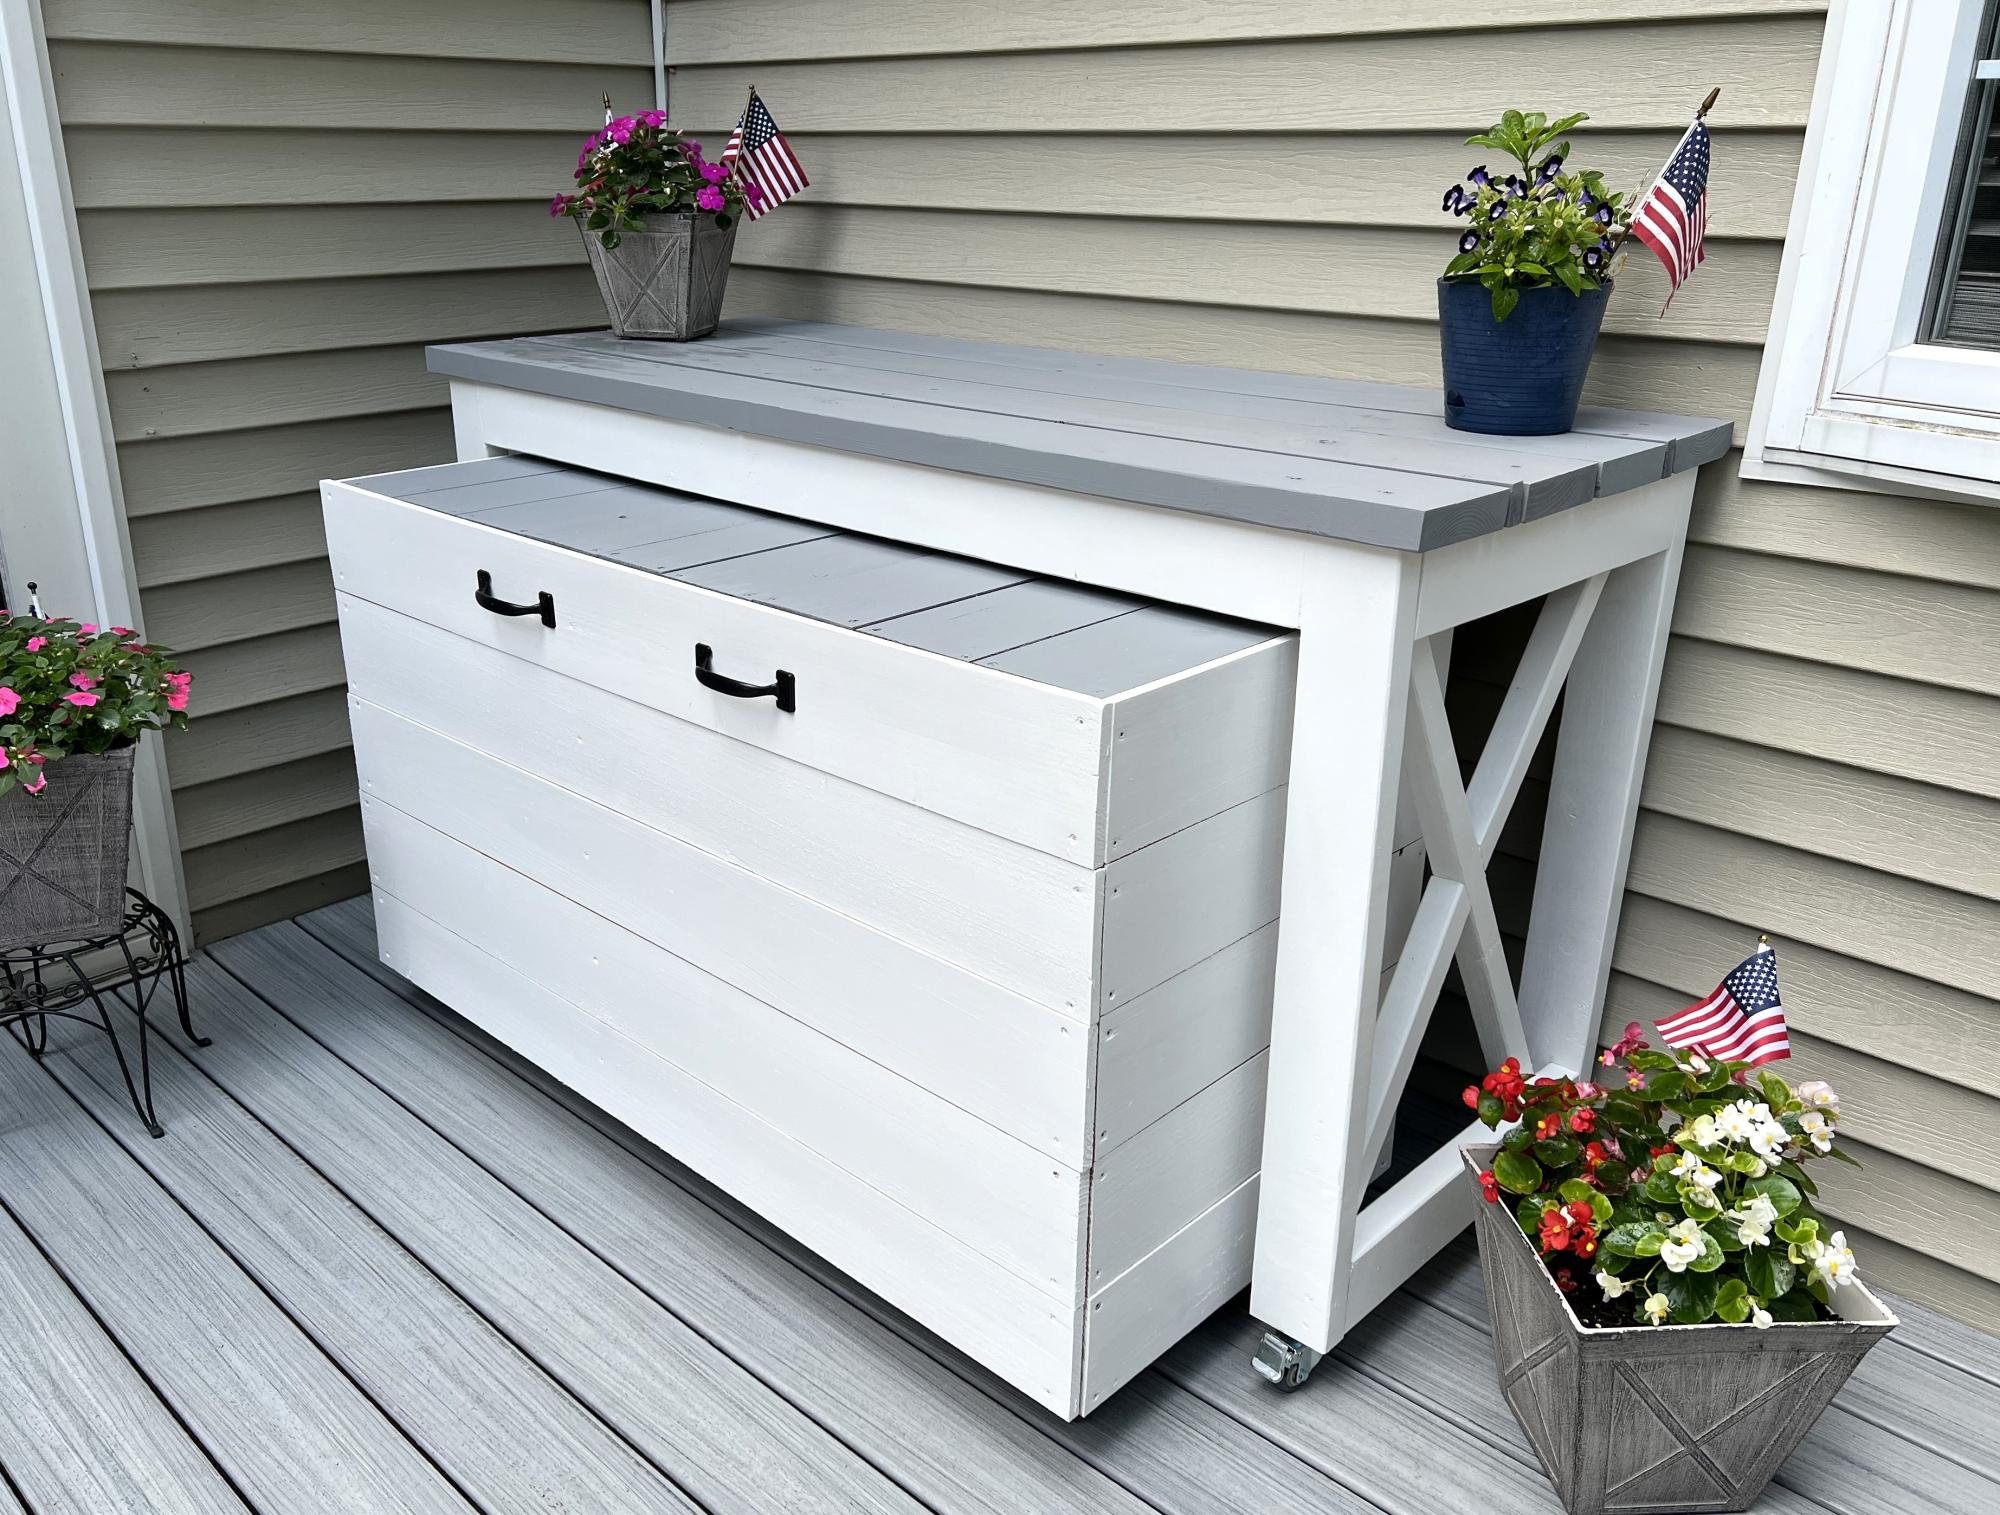
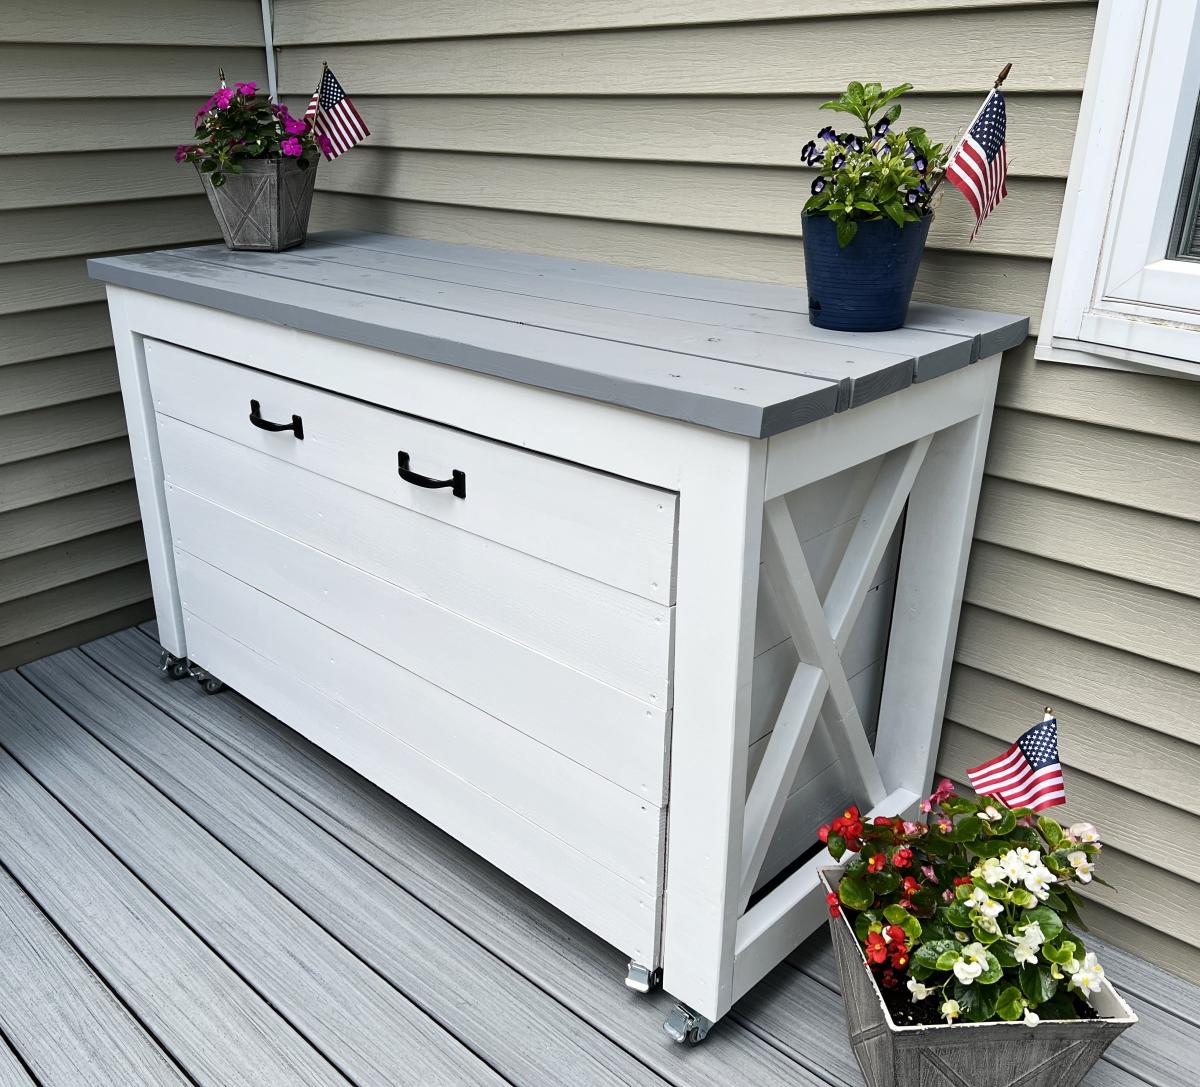
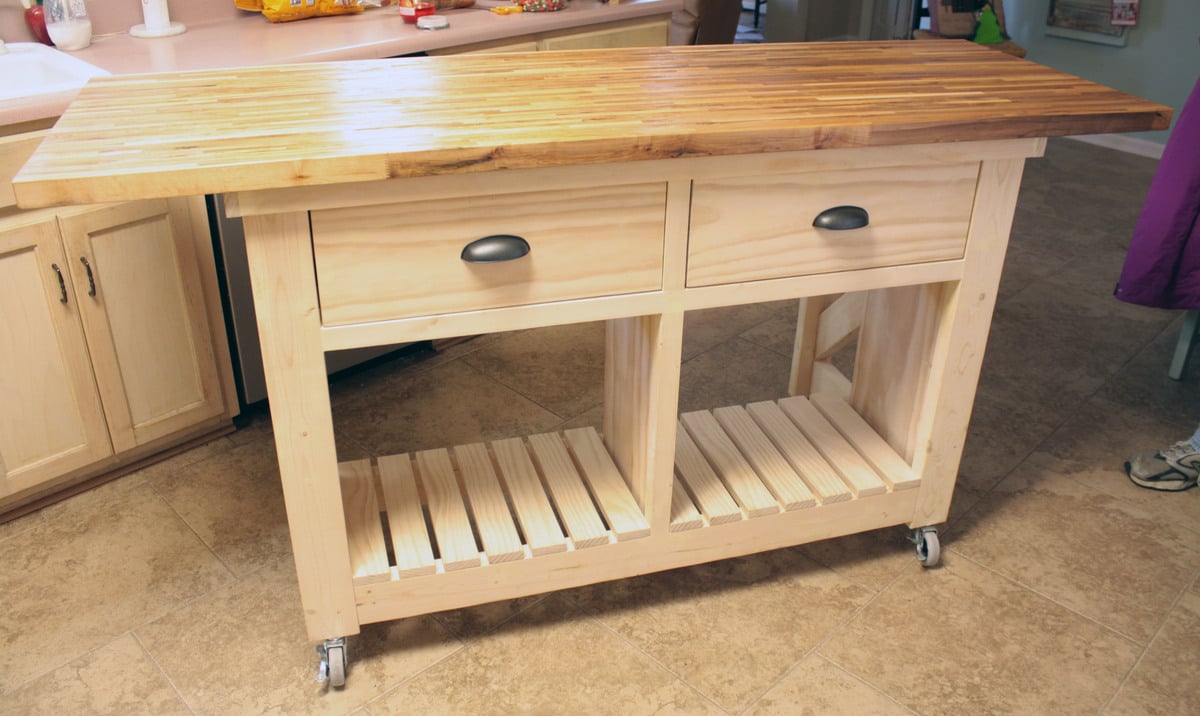
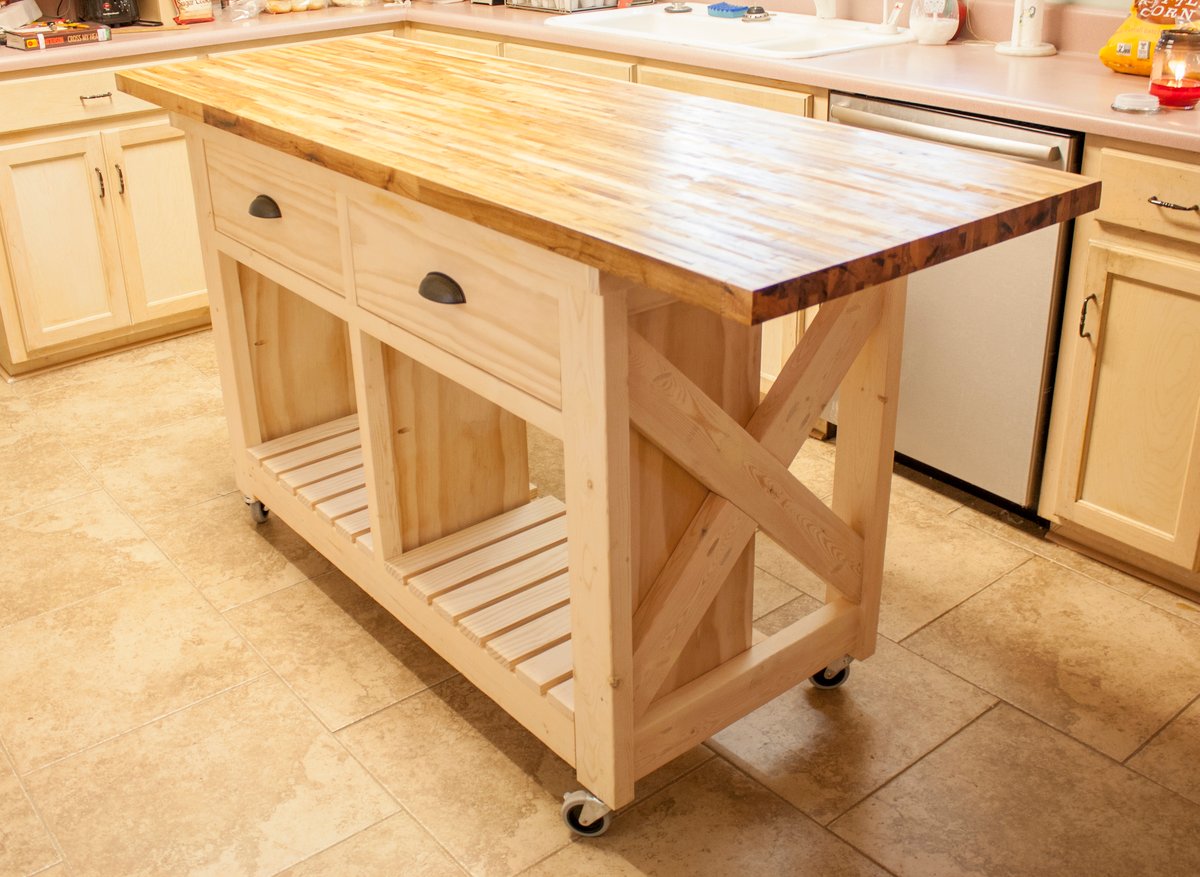
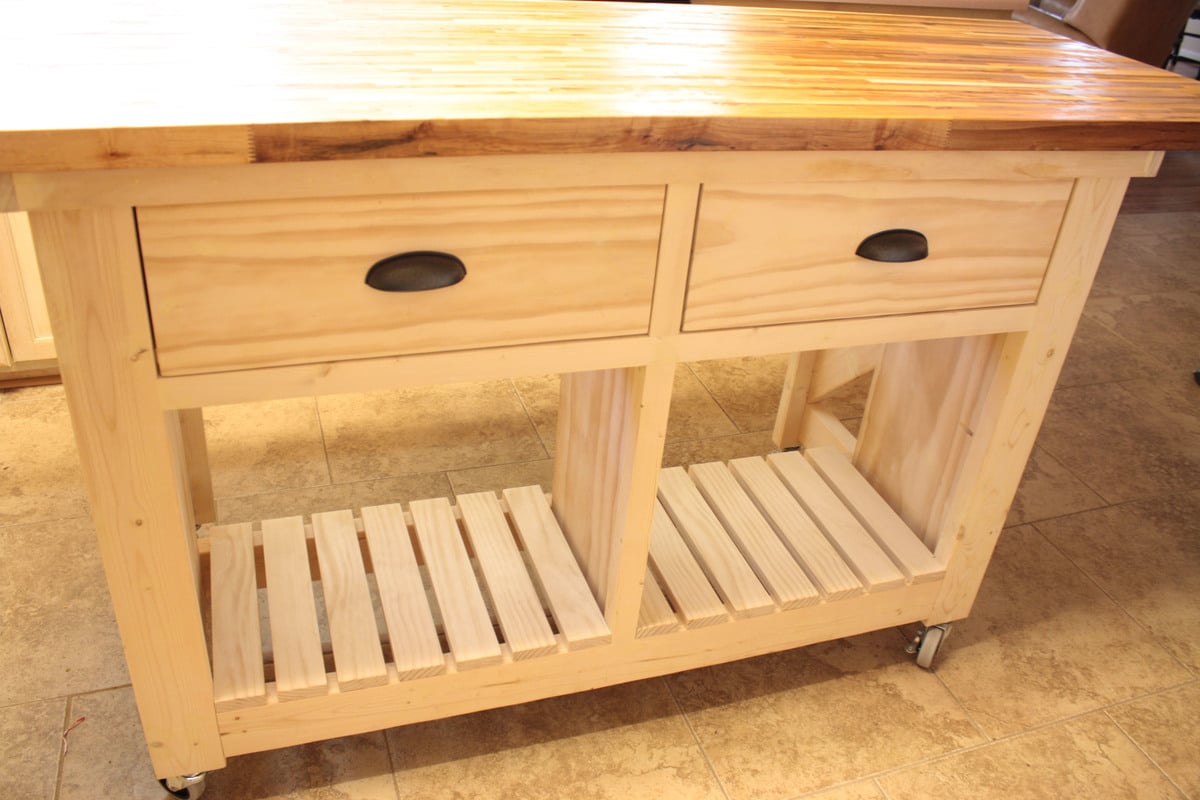
Miter saw cart modified

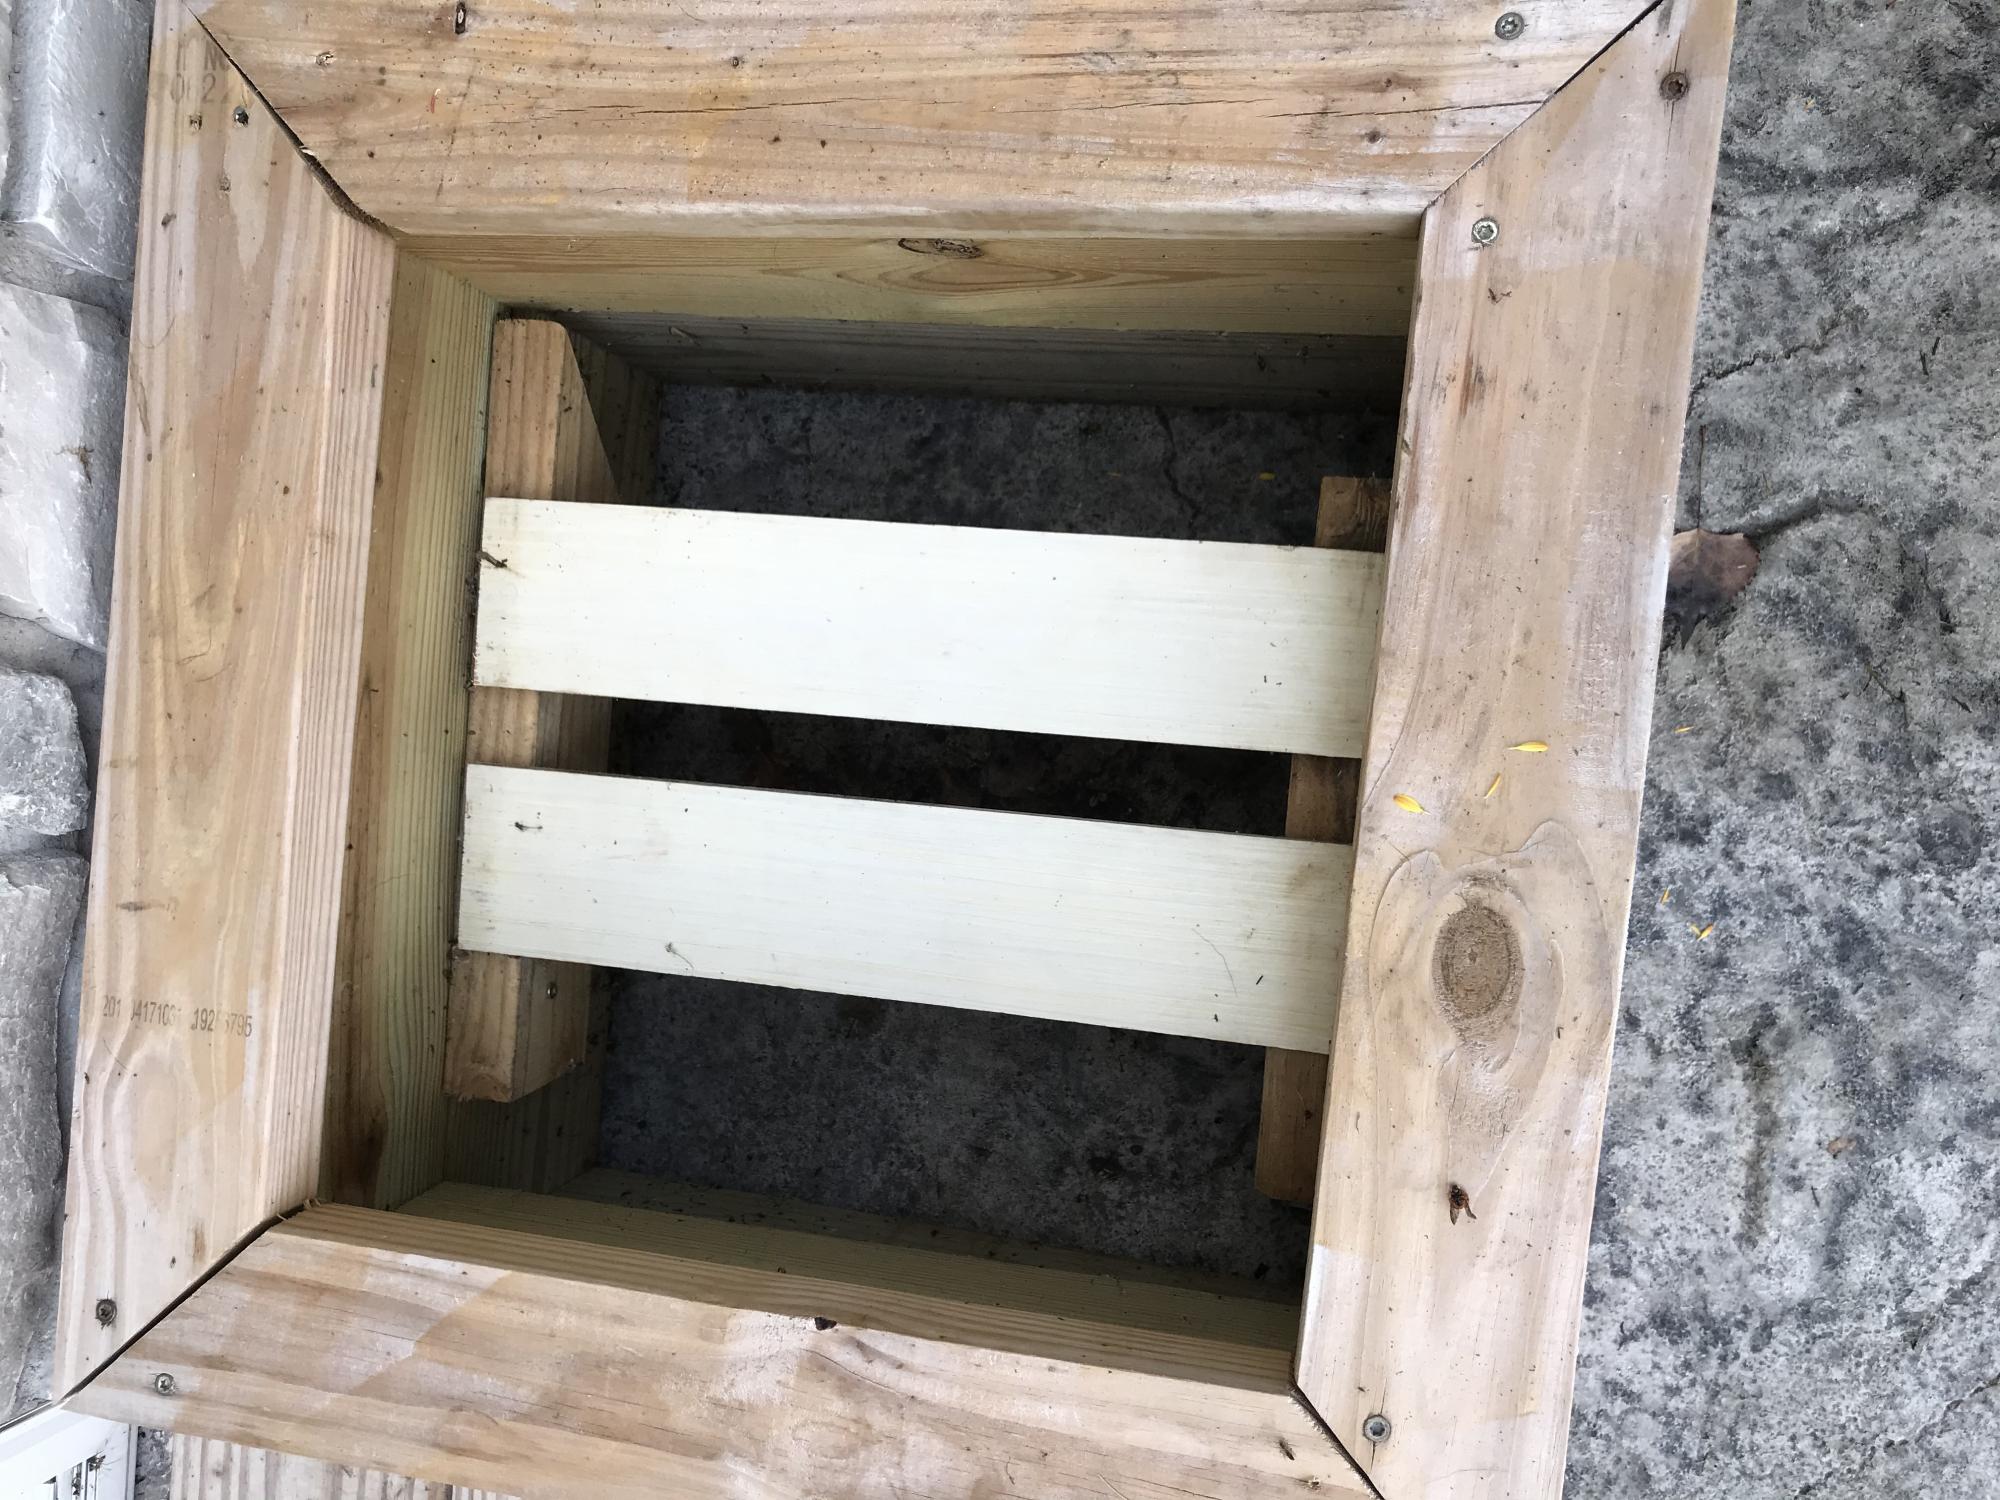
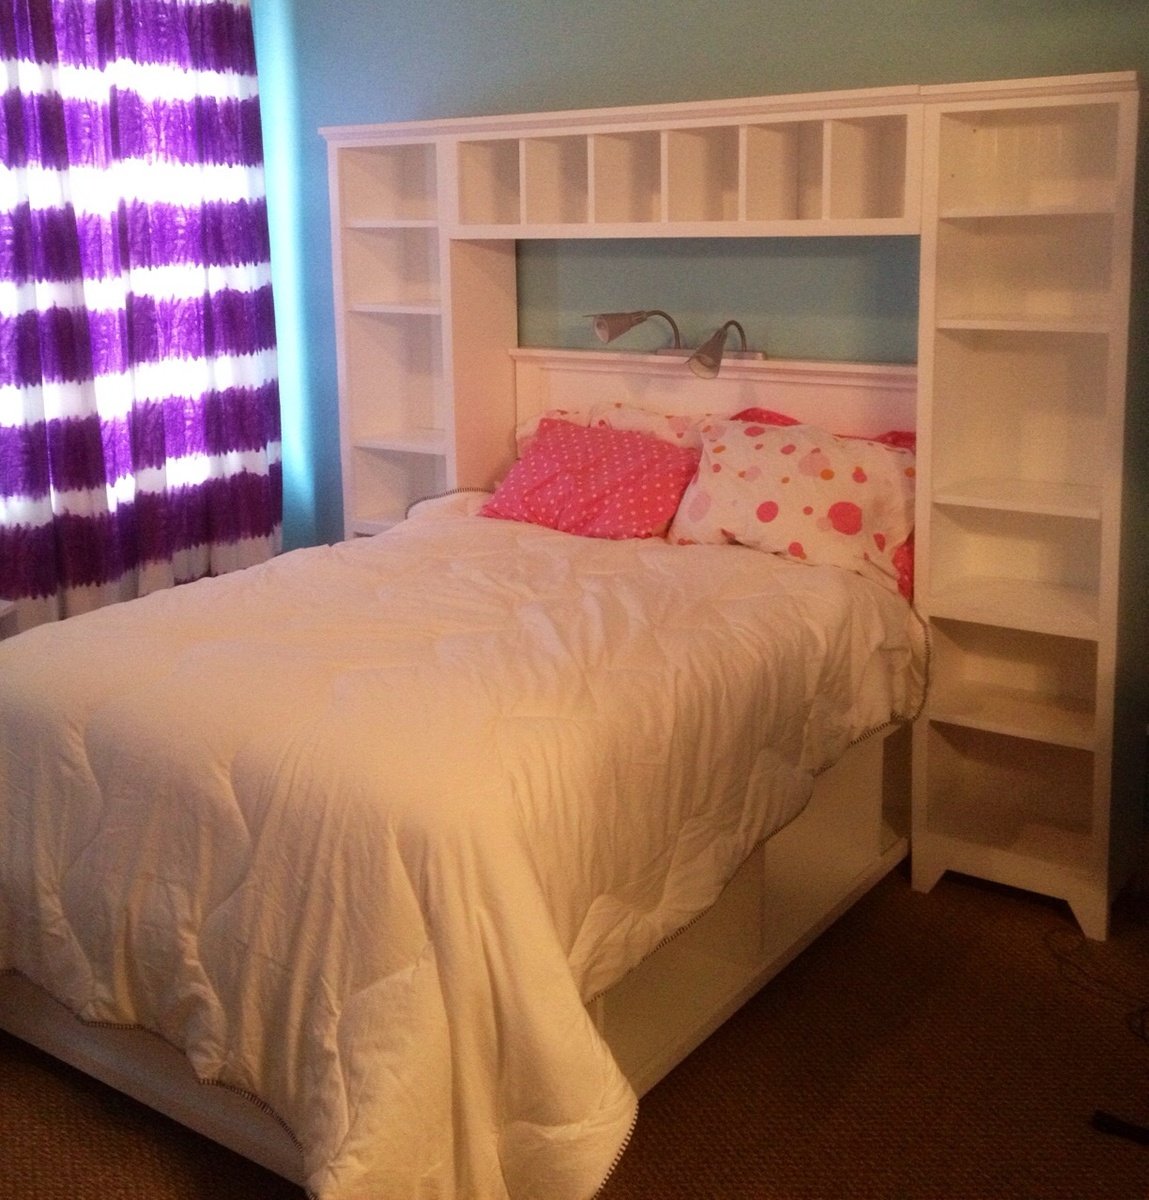
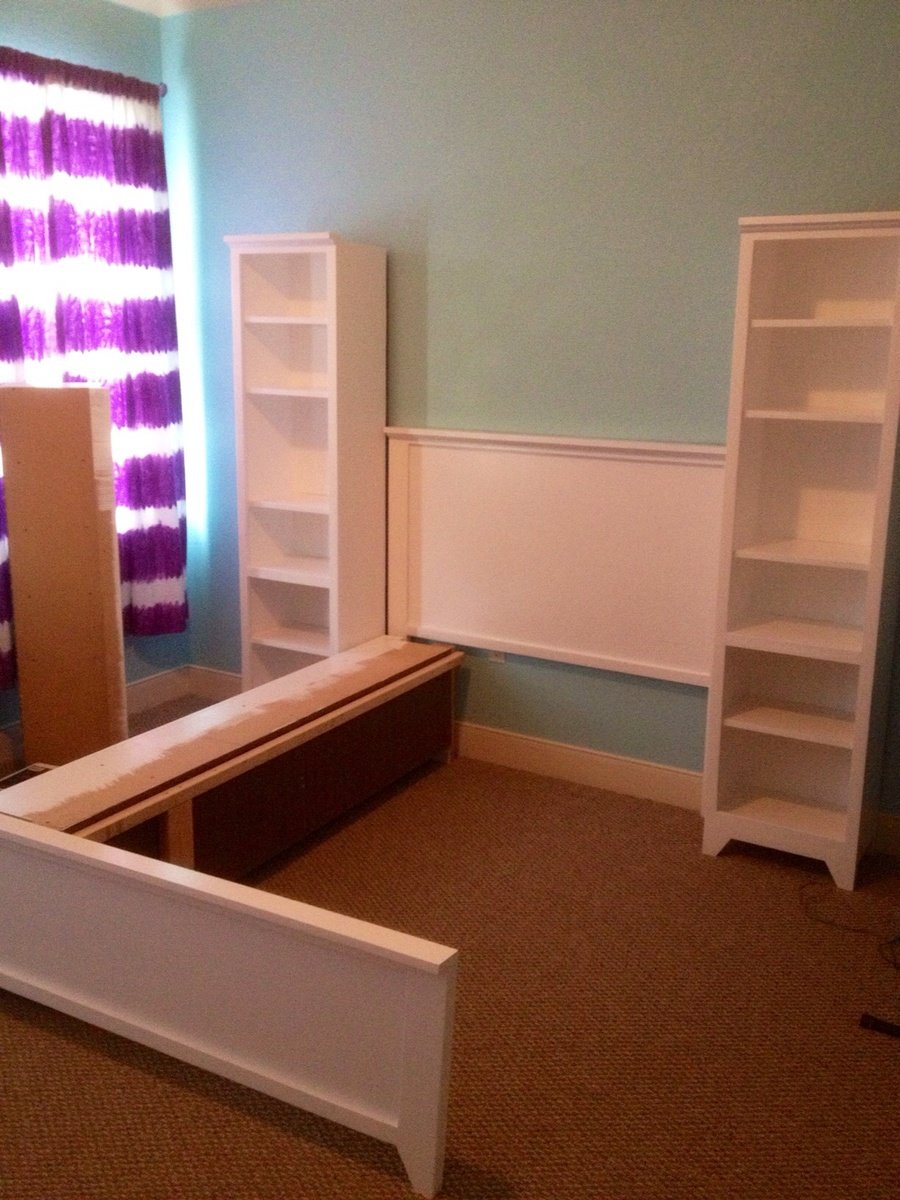
I have enjoyed my miter saw cart for years. My sweet hubby gifted me with a table saw but I was nervous to use it without support for large pieces of wood and needed better storage. So... I modified my cart by adding a back leaf and making the shelf adjustable with two sets of cleats for the height of both saws.

Built from Plan(s)
Estimated Time Investment
An Hour or Two (0-2 Hours)
Finish Used
Discounted paint from the oops cart at Home depot.
Recommended Skill Level
Beginner

Comments

Toy Storage

Submitted by hoffer5353 on Sat, 01/07/2012 - 19:30

After our basement remodel I decided we needed some storage for our growing collection of of toys.
This project went together much more quickly than I expected. I am so happy with the results.

Built from Plan(s)
Estimated Time Investment
Day Project (6-9 Hours)
Finish Used
valspar, interior semi-gloss
Recommended Skill Level
Intermediate

Comments

Vmc107

Fri, 07/19/2013 - 07:05

hi! Ive been looking for something like this for toy storage in my living room. Were you able to post the plans to make something like this?

Narrow Console Table

This past weekend I build Ana's Narrow Console table. I went Saturday evening to pick up the boards and cut them. I completed the whole project late Sunday afternoon. I don't have a nailer so in-between the project I switched to self-tapping screws and it became even quicker because using the ol' fashioned hammer and nails was difficult and time consuming.  Cutting the angles was a first for me, and it is not bad at all! I was very intimidated first but so glad I took that first step! Also, I just watched her video countless times to ensure I was doing it correctly, and that helped the most ;).  It is very lightweight and I did not need any assistance in carrying the table. I truly, truly believe anyone can do this!

Estimated Cost
$40 with the paint
Estimated Time Investment
Afternoon Project (3-6 Hours)
Finish Used
After sanding I used one coat of Glidden Flat + Primer "Crushed Silk"
Recommended Skill Level
Beginner

Comments

Seasonal And Holiday

Complete Full Sized Hailey Bed and Storage System

This project was our largest build to date, but the outcome was definitely worth the sweat! The build went relatively fast between my mom and I. I had a little problem assembling the tower bases, but we'll blame the 108 degree heat on my inability to figure out where to place my Kreg holes! I included a picture of how I did the tower base, in case anyone else runs into the same issue.

To accommodate for our base boards we added furring strips to the wall to bring all of the pieces flush. The hutch is secured into the studs with multiple L-brackets and so are the towers.

Finishing was very time consuming, but we'll worth the end result and look on my daughter's face! This system provides an incredible amount of storage. Thank you so much for the plans Ana!

Estimated Cost
$350
Estimated Time Investment
Week Long Project (20 Hours or More)
Finish Used
*All visible edges of the MDF were sealed with a mixture of white school glue & water, sanded and repeated until they were smooth.
*3 very light coats of Zinsser oil based primer with a foam roller, sanding between each coat
*2 coats of Behr Hi-Gloss lacquer in off the shelf white. Finishing was definitely the most time consuming part of the project.
Recommended Skill Level
Intermediate

Barn Door Garage Storage

Submitted by MommaBlue on Wed, 10/09/2019 - 07:13

I adapted this build from the Barn Door Entertainment Center plan.  Like most families, our storage space needed some major help!  We had minimal space to work with and all sorts of awkward things to store (rollerblades, helmets, etc).  I measured how deep I needed the shelves to be to fit our helmets and pretty much built around that!

The open shelves are great as they allow easy storage spots for the kids to reach - the doors are great because they allow me to hide the stuff that just never seems to get organized!  And the best part?  The sliding barn doors!  I park next to this thing so not having a swing out door was a major win for me!

I left the center of this piece open so I could fit a stand I already had in our garage, which allowed for a “charging station” for the cars!  Our garage is rustic theme so on this piece I went with standard common board for the walls and shelves and built the trim and doors from cedar.  The entire piece is stained with Minwax Provincial.  

Built from Plan(s)
Estimated Cost
300
Estimated Time Investment
Weekend Project (10-20 Hours)
Finish Used
Minwax Provincial
Recommended Skill Level
Intermediate

Comments

Luggage Rack

Submitted by Anonymous (not verified) on Sat, 10/19/2019 - 12:20

Turned out great! Problem with the plans: written instructions for legs say 35 degree angle but the diagram shows 40 degree angle. Which one should it be?

Finish Used
Used a white stain on legs and brown stain with dry brushed gray stain on top. Sealed with poly.
Recommended Skill Level
Intermediate

Faux Fireplace with Storage

Submitted by Anonymous (not verified) on Mon, 10/28/2019 - 16:33

Went with a black, high gloss finish which I sanded down with 220 grit sandpaper to soften the look. Cut up a birch tree from the backyard, back-lit the logs with two strands of orange Halloween lights from the dollar store (we drilled a hole in the bottom back for the plug for the lights).
Added a remote extender so we don't have to open the front middle door in order to operate our streaming devices.
Love to be able to decorate this for the holidays--can hardly wait for Christmas!

Estimated Cost
$250
Estimated Time Investment
Weekend Project (10-20 Hours)
Finish Used
Black high gloss
Recommended Skill Level
Intermediate

Double kitchen island with butcher block top

Submitted by bhoppy on Wed, 01/01/2014 - 11:58

I started on the project when I went home for Thanksgiving and finished up the drawers when I was home for Christmas. I live about 7 hours from my family. I took a few tools with me (kreg jig and drill) but borrowed a circular saw and miter saw for all the cuts. It was difficult working on it because it was fairly cold and my dad only has a carport. Which is why it took longer. My step-mom says she wants to paint it maybe with some milk paint. She also did not want the center shelf as she wanted a place for taller items.

The butcher block top was $299. It comes from lumber liquidators in 25" by 96". My dad had about 2 feet cut off the length. Ikea also sells butcher block tops for roughly half the price I think, but they were out of stock in both Atlanta and Charlotte.

I also made the small kitchen island before and this one went much more smoothly. Having the extra set of hands was awesome and made for a wonderful memory as I built it with my father:-)

Built from Plan(s)
Estimated Cost
$400
Estimated Time Investment
Week Long Project (20 Hours or More)
Finish Used
None yet
Recommended Skill Level
Intermediate

Comments

Ana White

Thu, 08/15/2019 - 12:14

This is amazing Stephanie!!!!  I can't believe I didn't see this sooner.  

We are going to feature your photo with the plans - thank you so much for sharing a brag post!  Hope you are well!

Square Outdoor Picnic Table

Submitted by Anonymous (not verified) on Sun, 07/30/2023 - 14:49

6 seater Recycled Fijian Kauri with extra leg supports, one side higher & closer for kids.

Marty

Built from Plan(s)

Comments

Farmhouse Hall Tree

Submitted by Anonymous (not verified) on Fri, 11/29/2019 - 20:43

I made this hall tree for my daughter for Christmas . I am a beginner with woodworking and this is the first piece of big furniture I have made.

Built from Plan(s)
Estimated Cost
$140, but i used an expensive chalk paint on it
Estimated Time Investment
Week Long Project (20 Hours or More)
Finish Used
Valspar Chalk paint and minwax cherry wood finish. I put 2 coats of the stain on the seat and sides . the chalk paint did not cover well and took 3 coats .
Recommended Skill Level
Intermediate

Outdoor L Shaped Sectional and Table

Submitted by Anonymous (not verified) on Fri, 08/04/2023 - 11:36

My wife used you patio sectional and table plans to make herself a summer oasis. She built it specifically to fit a corner of our patio that we were never using. Now it is used almost daily for reading, visiting or just sitting outside watching the birds.

Tony for Julie

Seasonal And Holiday

Mudroom Bench with Easy Drawers

Submitted by GeekAthair on Mon, 01/06/2020 - 20:12

We've been desperate for more storage in our little house and this build really helped. The whole bench is 103“ wide and each drawer gives us 24"x17" of usable space. We had to do some custom shaping for the benchtop (two joined fir 2x12's) fit as the walls are not square but in the end we were really pleased.

The hardest part of the project was getting all of this built and in place while working around a busy family as this is our only meal space and the majority of cutting/forming was done either on the weekends or after bedtimes. If I were to do this again I'd prioritize sending the kids to grandparents for the weekend and know king everything except for paint out in one go. 

We could have spent less time with the benchtop by using plywood like in the plans but we wanted the look of a separate benchtop. We may replace the fir with stained oak down the line but this should be plenty sturdy for the next several years. 

Built from Plan(s)
Estimated Cost
$300
Estimated Time Investment
Week Long Project (20 Hours or More)
Finish Used
Valspar paint, minwax clear poly
Recommended Skill Level
Intermediate

Comments

Rustic bookcase

Submitted by kschuck on Sun, 02/02/2014 - 15:41

This was the first project my husband and I built from scratch. We experimented with our brand new Kregg Jig for a little while until we felt comfortable with it, and then nervously got started. Surprisingly, the only mishap we had was that we (ok, I) accidentally bought 1X10's instead of the 1X12's. Nothing a quick trip to Home Depot won't fix! We followed Ana's directions exactly, and definitely recommend the Kreg Jig! Our neighbor is a contract worker, and he was pretty impressed at how sturdy the bookcase was. The only part that gave us a little trouble was that our planking on the back (from Lowes), was a little too wide, so we had to trim it down a bit. This was also my first time staining, but thankfully I was going for the rustic look, so I just sanded off the corners and any weird spots.

Estimated Time Investment
Weekend Project (10-20 Hours)
Finish Used
Stained with Rustoleum Dark Walnut and finished with Minwax finishing paste wax
Recommended Skill Level
Beginner
Back