Mudroom Closet Makeover

The concept of hidden boot storage at the back is genius!!! I knew as soon as I saw your plan that I needed that in this space! Thank you so much for what you do!


The concept of hidden boot storage at the back is genius!!! I knew as soon as I saw your plan that I needed that in this space! Thank you so much for what you do!


I had so much fun building this! I got a little creative with the corner section and decided to make it a table. I built a small hatch so that I could put in a container for ice and cold beer. When the hatch is not in use, the container can be removed and the hatch can be closed to provide more table space. I also added drink holders!


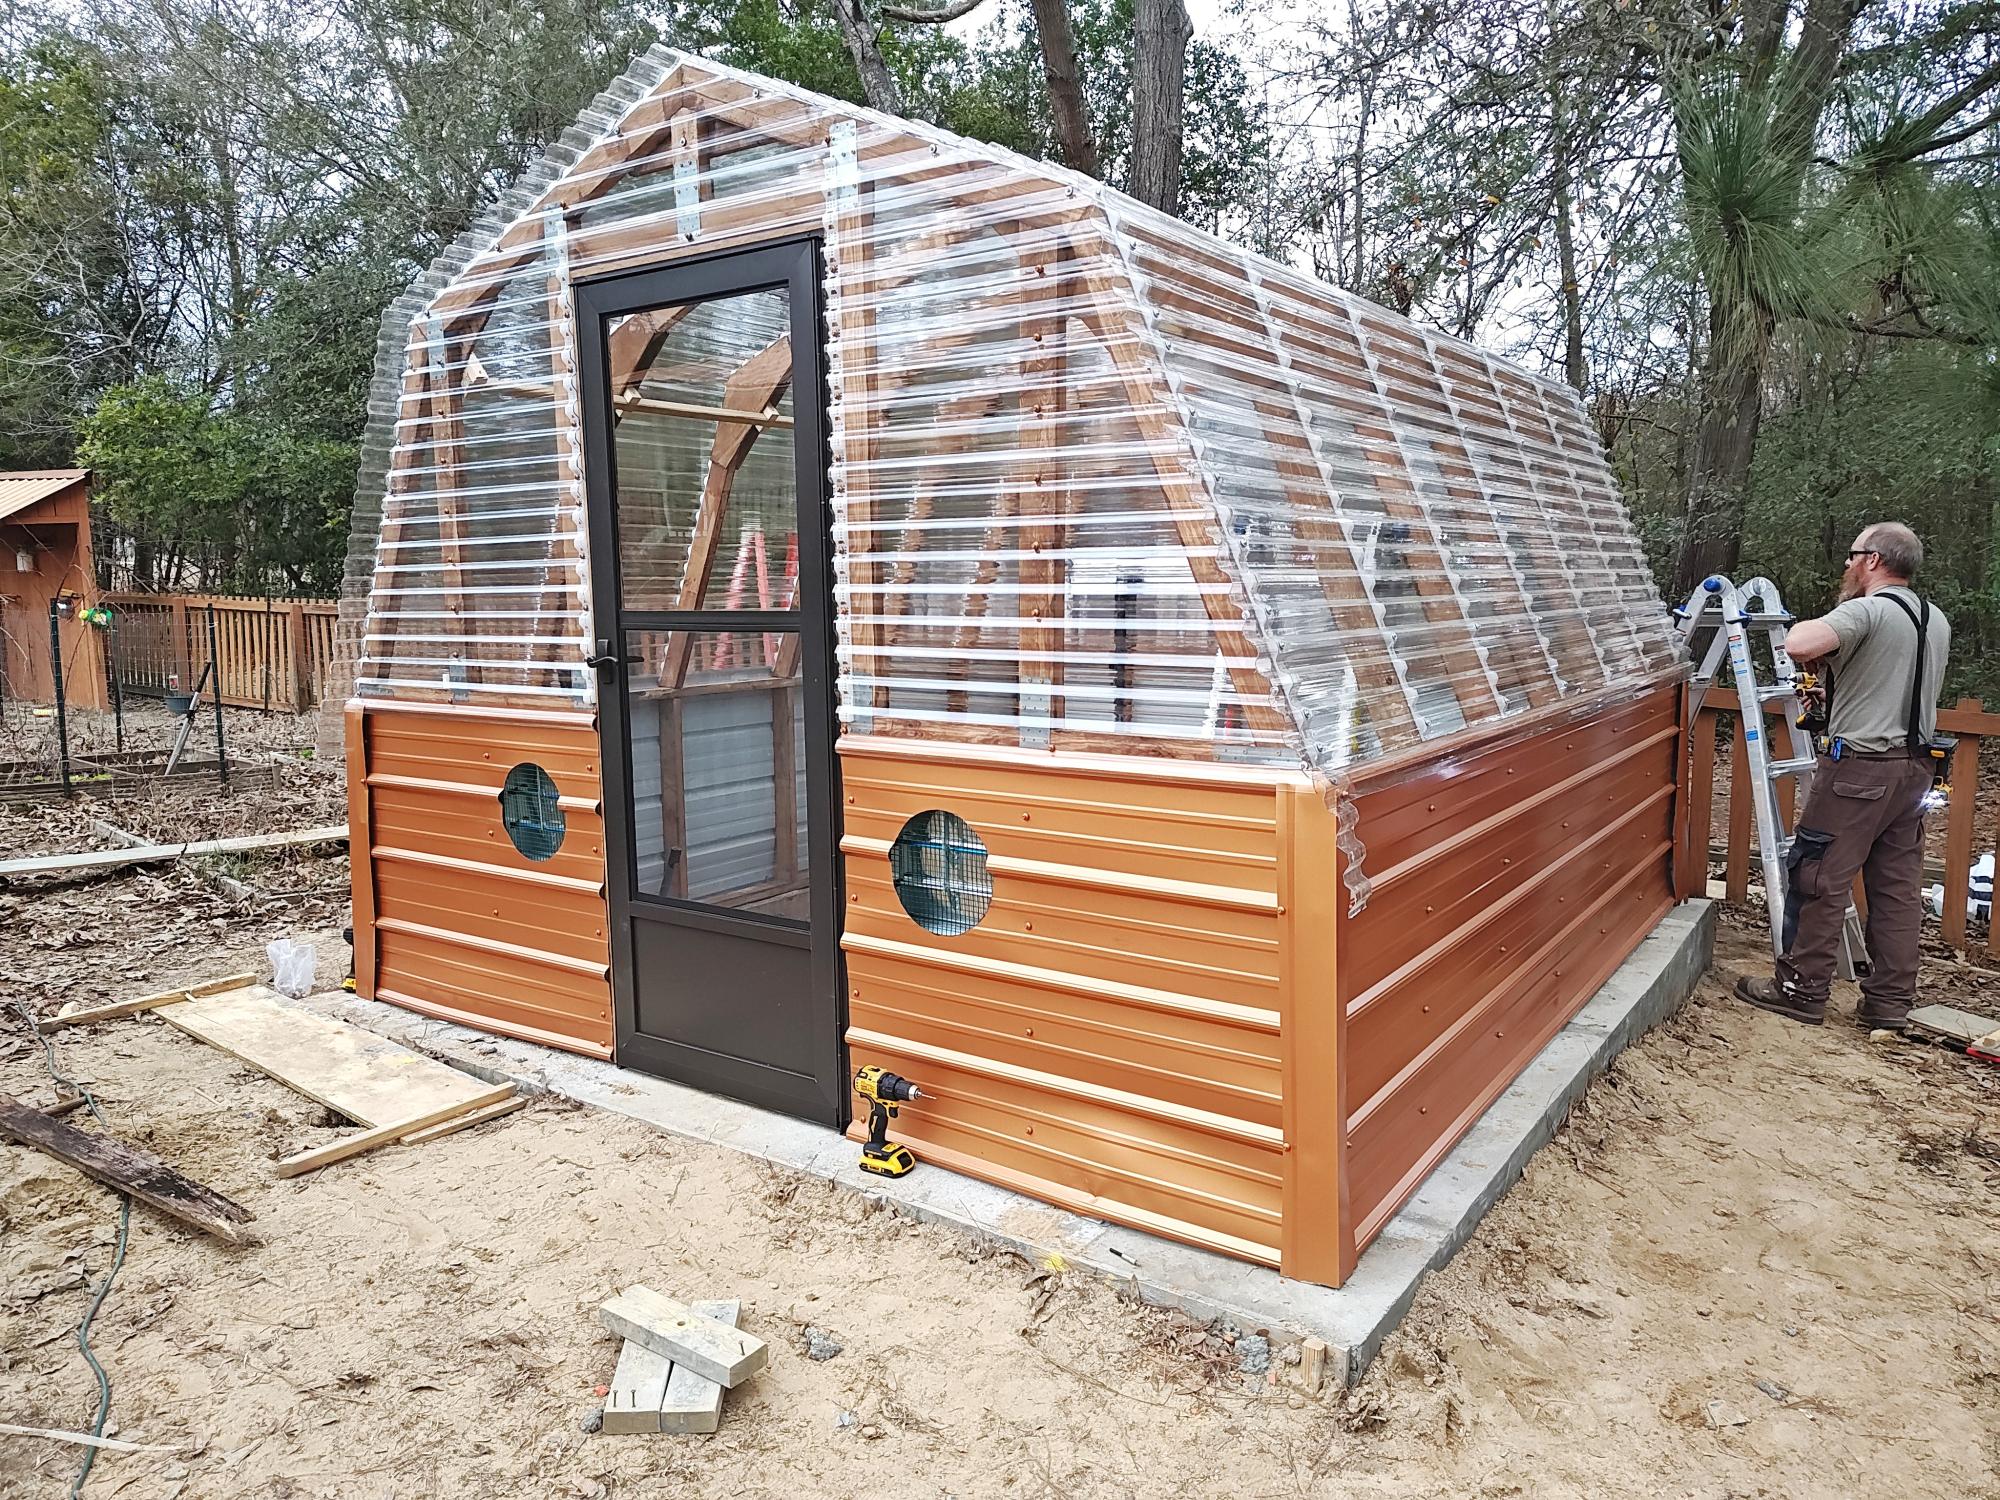
A variation on your barn style greenhouse. I included a cooling fan with intake louvers, temperature controlled heater and grow lights. Also used anchor bolts embedded in concrete footer.
David Buckmaster d [email protected]

I had this space in my mudroom that was a perfect spot to make a custom shoe dresser. I adjusted the plans I found on this website to custom make storage for shoes. Now this weird little space is functional.


I used Ana's plan and made ten of these for our firepit area. The only thing that I changed was the back brace pieces....I couldn't get 1x2s so just used 2x2's.

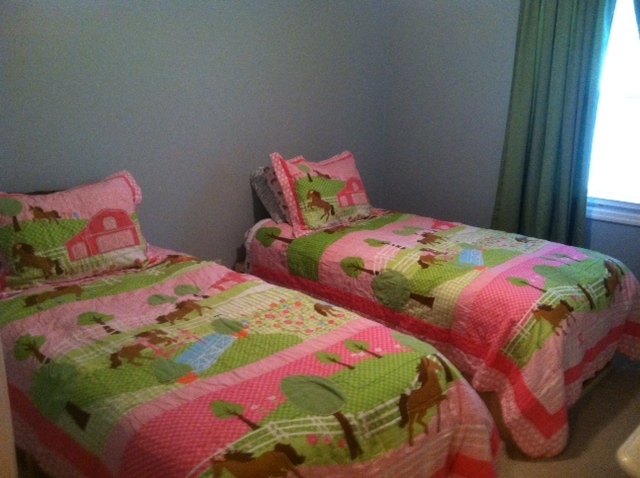
Rather than buying beds for two of our daughters, I wanted to take the opportunity to build them. I really had a great time doing. I used the plans from the Captains Storage beds, but modified it a little.
We ripped two 3/4 inch finished ply into 12in pieces.
That gave us all the sides, ends, and dividers.
The platforms are 12x12 3/4x
The ends are the same only sorter.
Rather than using slats for the middle support I just used the remain ply.
We finished the front with 6ft sections of 1x2 inch furring strips. A good sanding and clean up, and we are good to go!
Thanks for posting the plans! We really enjoyed building the beds and our girls love them!

Fri, 09/20/2013 - 13:14
LOVE this! was looking for something other than the slats that would TRULY hold my polynesian kids, thank you for sharing! :-)
New to raising chickens, but eager to jump right in to it.
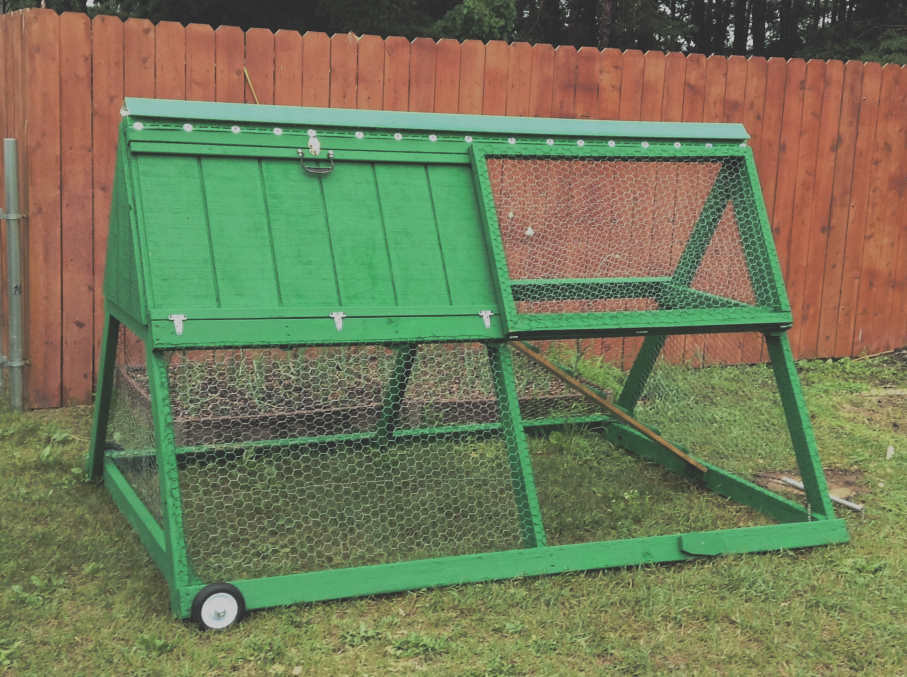
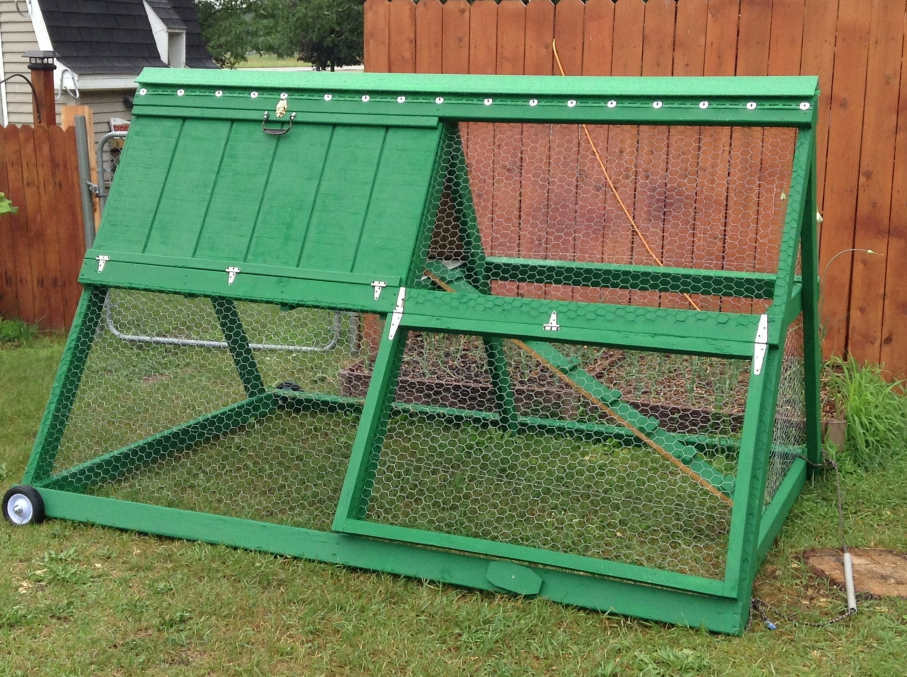
We bought a pre-made coop for the main home for our new chicks and it's very nice, not something I could do myself since I'm not yet at that level, but I saw this chicken tractor and thought it would come in handy for what I have in mind so I made up my mind to build it.
The lumber, chicken wire, staples, and wheels are all store bought new and came to about $75. The materials we had on hand were the screws, hinges, plastic coated metal shelving (used in the nesting area, I thought that would make it easy to clean), paint, and the corner piece of vinyl siding for the roof cap (hubby's brilliant idea, and I painted it green with spray paint for vinyl).
I did not try to build it quickly, I don't really know how much time it took me, but if I had to guess I'd guess total time would amount to about 3 afternoons, by myself.
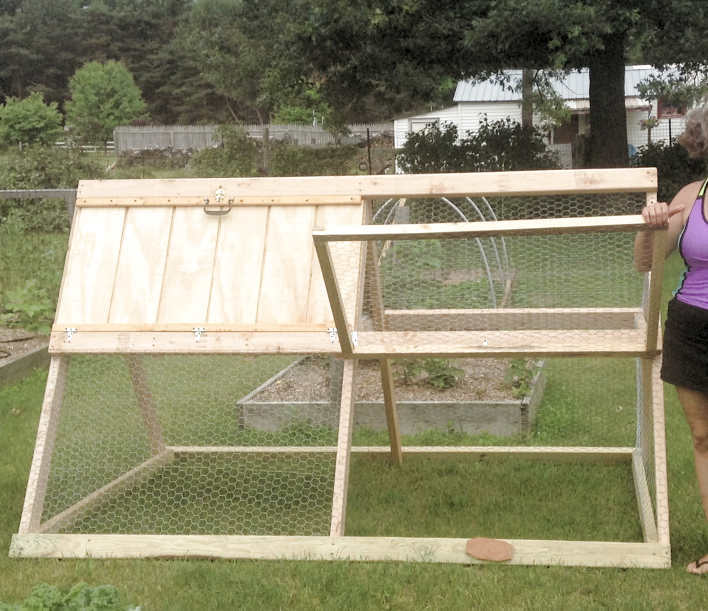
I wanted to leave the top on the one side open with the option to slap on the other boards if/when the need arises. I have the other t1-11 panels that can sit right in those areas because I stapled the chicken wire in a way that would allow it.
I also added a flip up panel as seen in the pictures for access. I didn't want a small door that I would have a hard time getting to things in there. I'm so glad I added this feature, it sure gives plenty of room for me to maintain the food and water dispensers as well as get in there and catch the little chickies :)
I wanted it green to blend into the wooded background in our backyard. I didn't want to take any beauty away from the cedar greenhouse and fencing we added last year, and this tractor would be moved from time to time and I felt this green that we had on hand was perfect to help it blend in rather than stand out.
This thing is heavy! I have a hard time moving it around and usually need my husband to move it so I won't hurt myself. I am considering some options... I don't like the rope I have on it to pull it, any suggestions would be appreciated.
As with the other items I've made with Ana's plans, this was fun and pretty easy to make. I love this site! Soon I will take on my next project, I've bought and gathered the materials, I'm anxious to get started :)
Thank you for looking :)




Our old screen door wasn't cutting it anymore, so I built a new one, and to kill two birds with one stone, I included a built-in dog door. Now I just need to find the motivation to close off the old dog door.
I have the plans to build this screen door with a built-in dog door posted via the blog link below for anyone interested.

We used the shoe dresser instructions with some modifications to make it longer

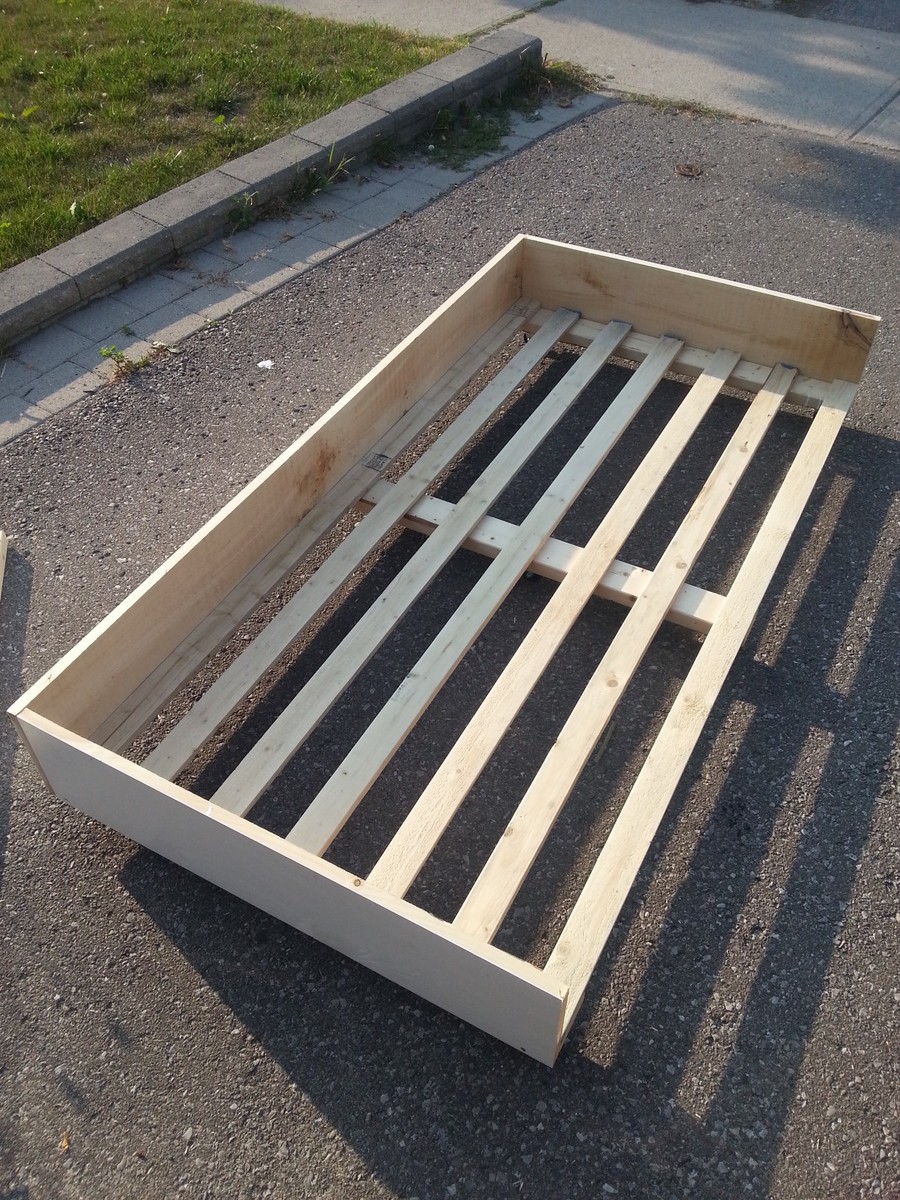
Took the farmhouse plan and added a Trundle. Was initially going to build two farmhouse beds for my two girls, but thought adding the Trundle would free up some much needed floor space. The girls love it!




Super easy and fun project! We altered the original plans to build a loveseat and had zero issues. We did add some extra support below.
I did not find 25”x25” cushions within our price range so I settled for 25”x22.5” and they work but ultimately 25x25 works best.


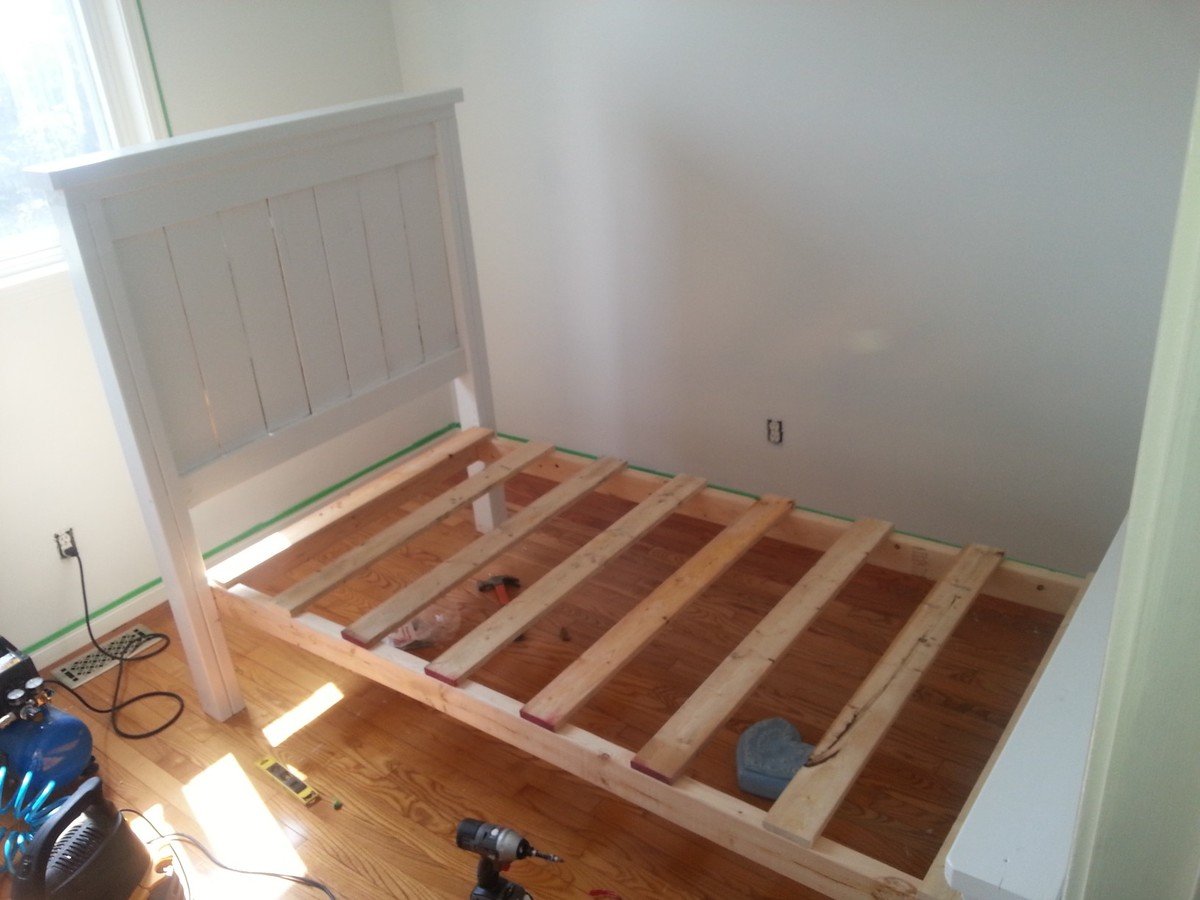
The plans for this headboard are great. Very easy to follow and the cut list is spot on. I used some choice pine from Lowe’s ($63) and then used the vinegar with steel wool mixture to age the wood. That’s where this piece is at right now. Trying to decide if I want to leave it or put a light satin clear coat.
Thank you for the plans!!
OK.....I added 2 more pics. I added 1 coat of Satin Clear Poly witch gave it a richer look.
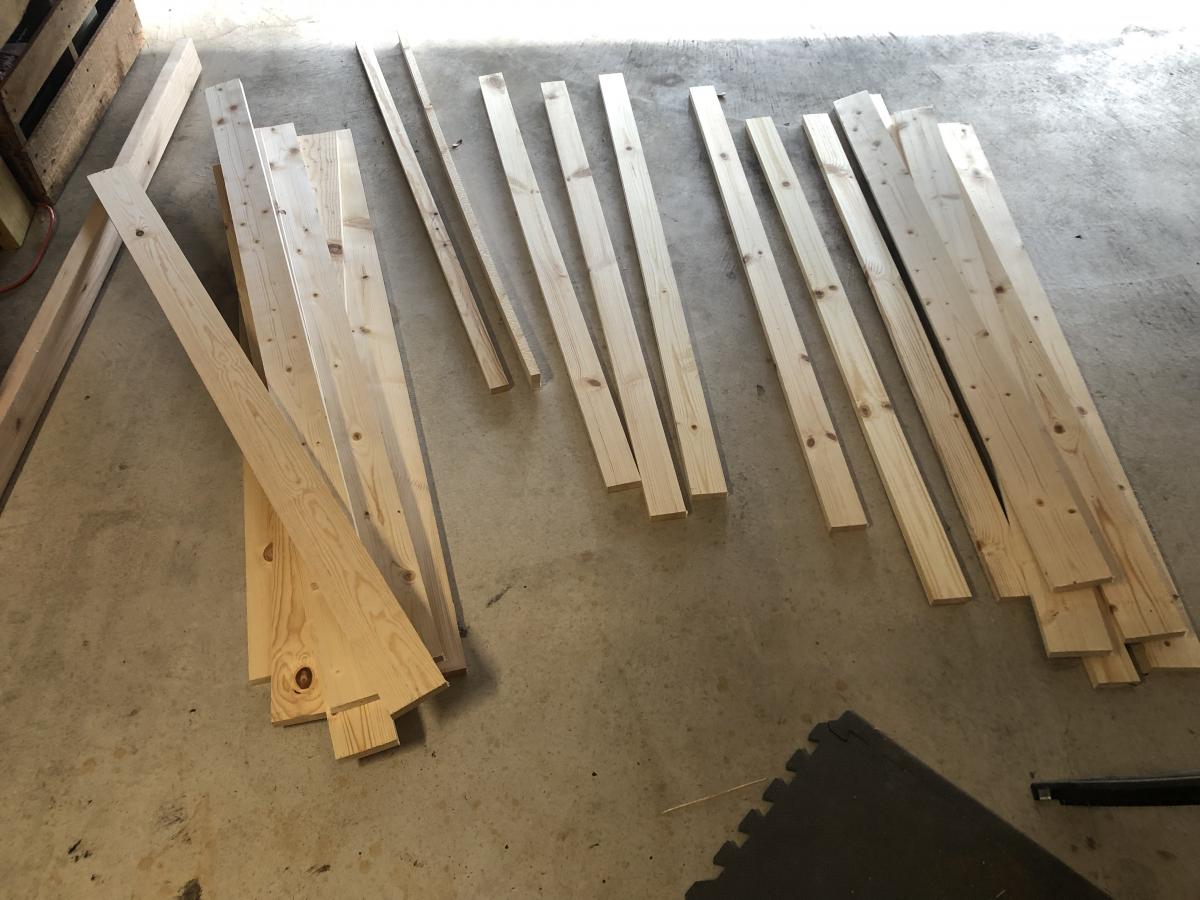


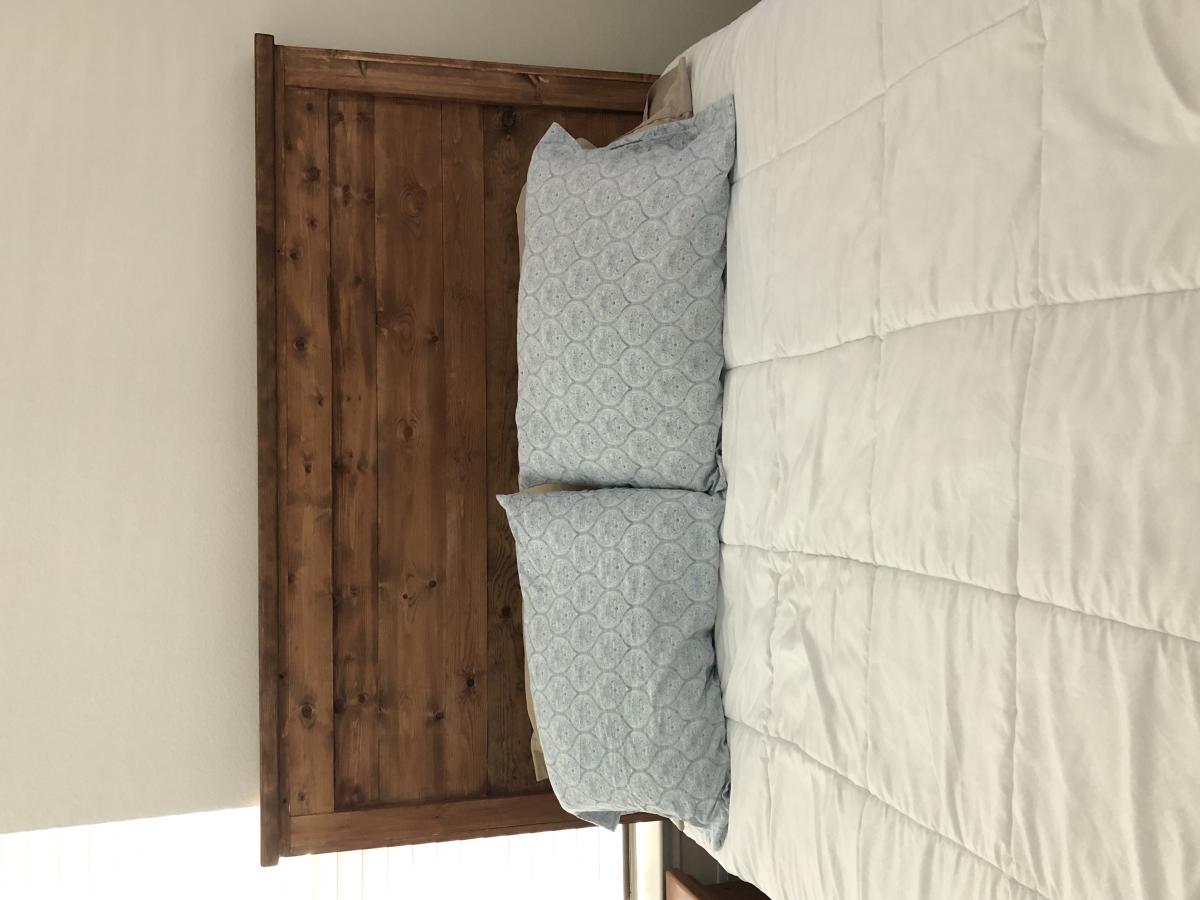

This is one of my first wood working projects I have accomplished and these two plans were some that I really enjoyed making.


Great for a small flock of 5 or less.


This was quick build. First time for us using trim, so we wasted a few feet getting the angles right. We attached the legs directly to the frame, and did not use the metal brackets. We also did not build the floor frame. We measured how high/wide the laundry baskets ($3/piece at Target!) were, and made it to fit them. We added a piece of rubber mat to the top (bought at Lowe's). A few weeks later we helped our daughter and son in law build one for their new house!

I built this for my daughter after building a ladder shelf for my kids bathroom. It took more time to install and adjust the drawer slides and paint the project.

Sat, 09/07/2019 - 03:32
Hi mltdblack
Really nice finish on the cabinet.
It looks like there’s molding on top of your mirror.
Did you buy a mirror with a frame or buy molding and put it on over the mirror?
What molding did you use an how did you secure it?
What size mirror did you use? Thanks
Fri, 01/07/2022 - 14:14
I am so sorry. This is the first I am seeing your question. The mirror came with a frame and I carefully nailed thru the frame to attach with my 18 gauge nailer. I bought the mirror at Lowe’s and I believe it was 15.5” x 50”. Also, I used full extension soft close drawer slides.

I built this saw several years ago using plans i got on the internet. At the time I needed a way to easily breakdown full sheets by myself. It is extremely accurate and easy to use. With the removeable wings attached it opens up to over 12'. It easily collapses for storage. I would reccommend this to anyone who does not have the room for a professional quality cabinet saw. It took me about a weekend to build. All parts were readily available at my local homecenter and hardware store. I since have gotten a cabinet saw and a tracksaw so sadly this saw now sits in a corner of my shop.

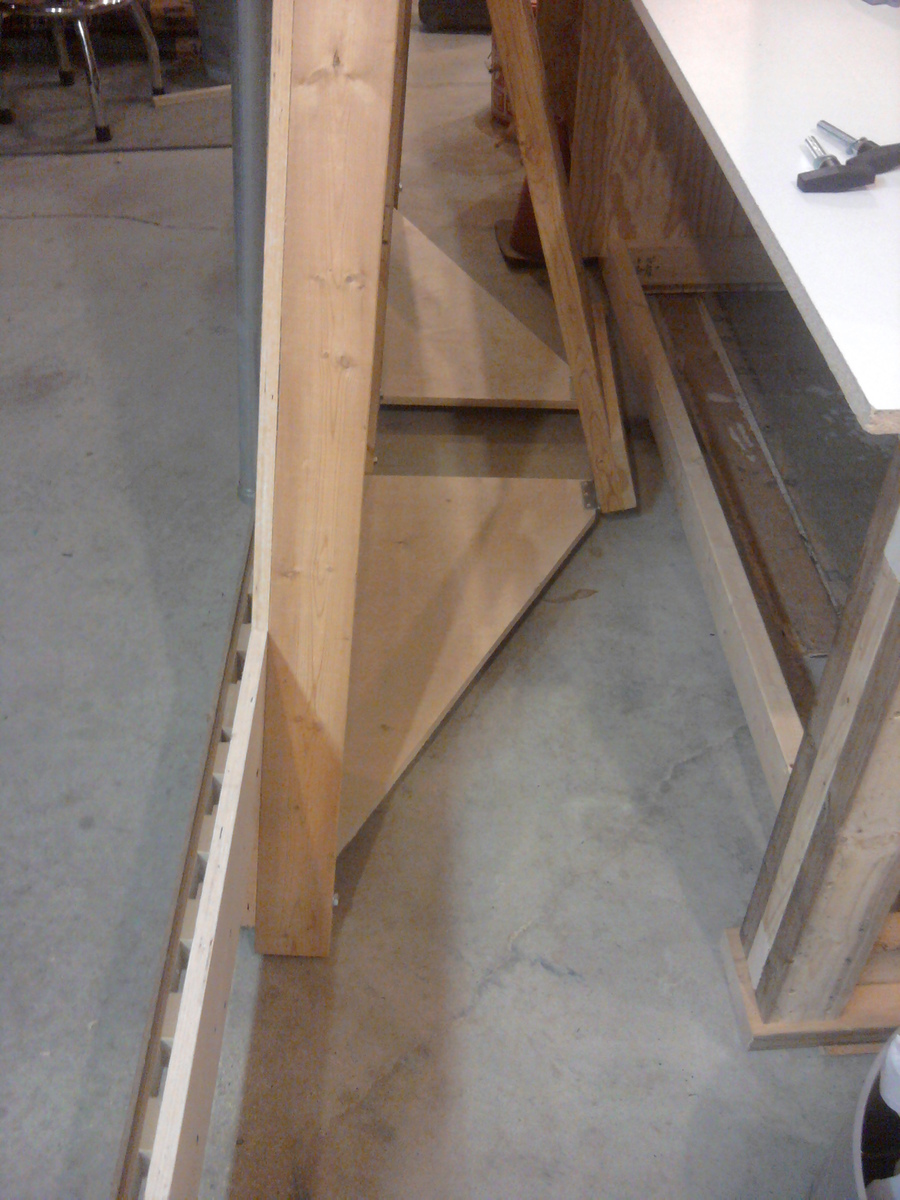

Thank you soo much for the apron plans. I've used a sewing machine about 5 times in my life, and I didn't know what "stitch in the ditch" or bias tape or trim was, but with the plans and some web searching, I was actually able to sew this apron. It took me considerably longer than others, especially because I don't have an iron, pins, or a seam ripper (ripping a seam took me over an hour). Again, thank you sooo much! I hope to never lose my pen and tape measure at the lumber yard again with this handy creation :)
Sun, 06/15/2014 - 05:27
Great job on the work apron, Yvonne! Congrats on conquering the sewing machine!
In reply to Looks great! by JoanneS
Tue, 06/17/2014 - 00:27
Thank you, Joanne. :) There is so much I want to learn, and for some reason, I feel like I need to learn it all now, when my life is busier than ever. Hah!
In reply to Amazing job by spiceylg
Fri, 06/27/2014 - 10:55
Thank you so much. It reminded me of using a jigsaw, and vice versa. :)

This project was quite easy and did not require many tools. The plan allowed me to adjust the measurements easily so it could fit in that space. I used regular 2x4’s and treated the wood with Mountain Ash colour in a semi-transparent stain from Sherwin Williams, I just love the colour! I build 2 - 2 seaters exactly the same. The one side has no arm, as I wanted it to look like a lounge chair. I love to sit in the corner and stretch my legs 😊. I bought the cushion covers from IKEA, and got good quality foam.

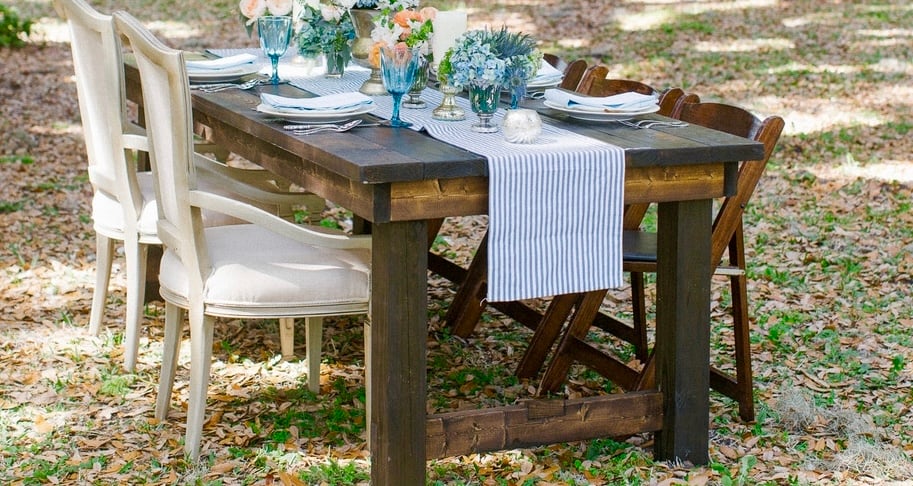
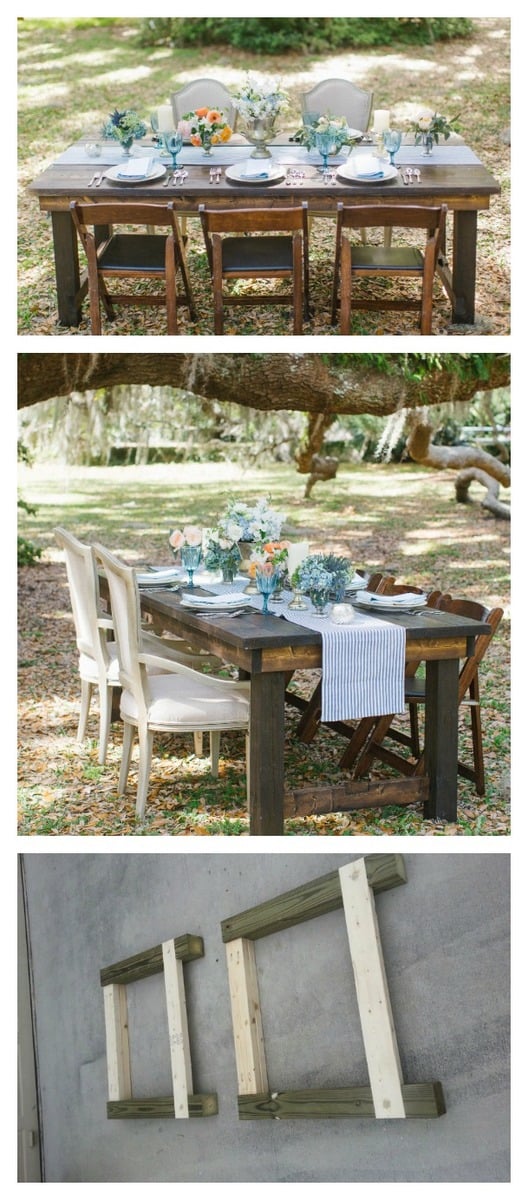
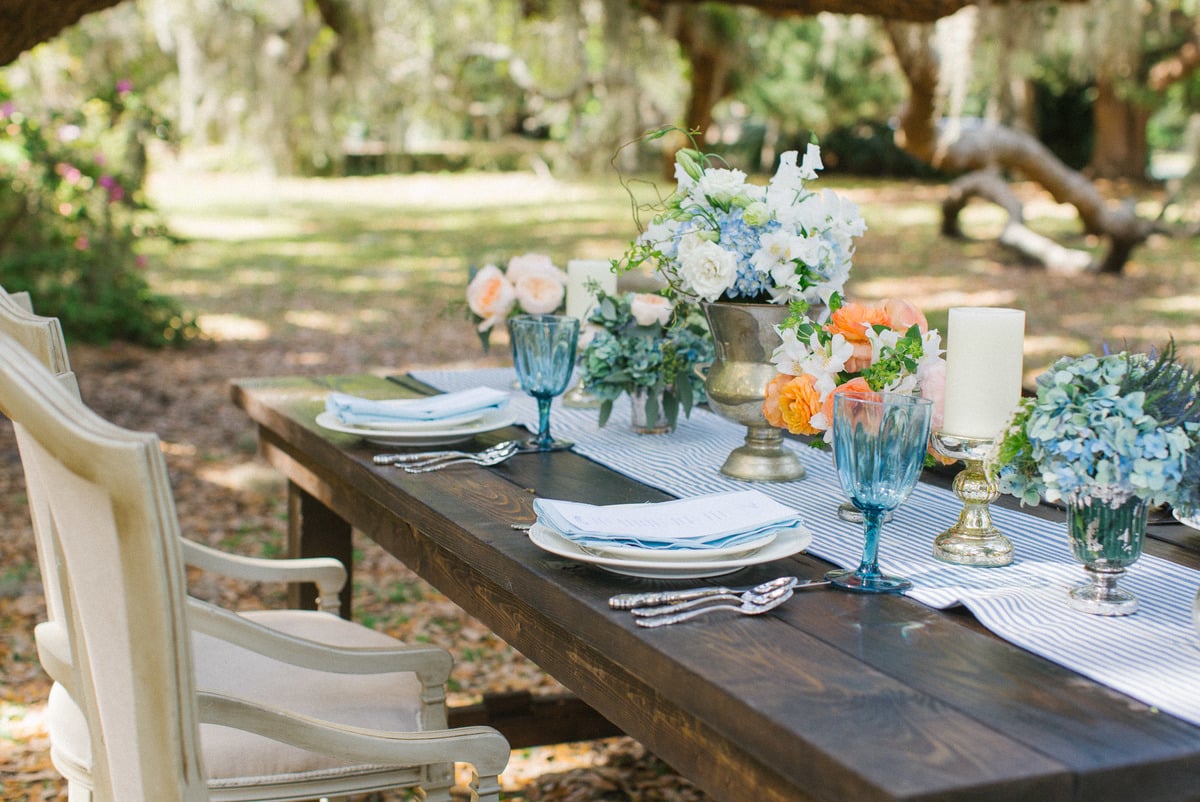
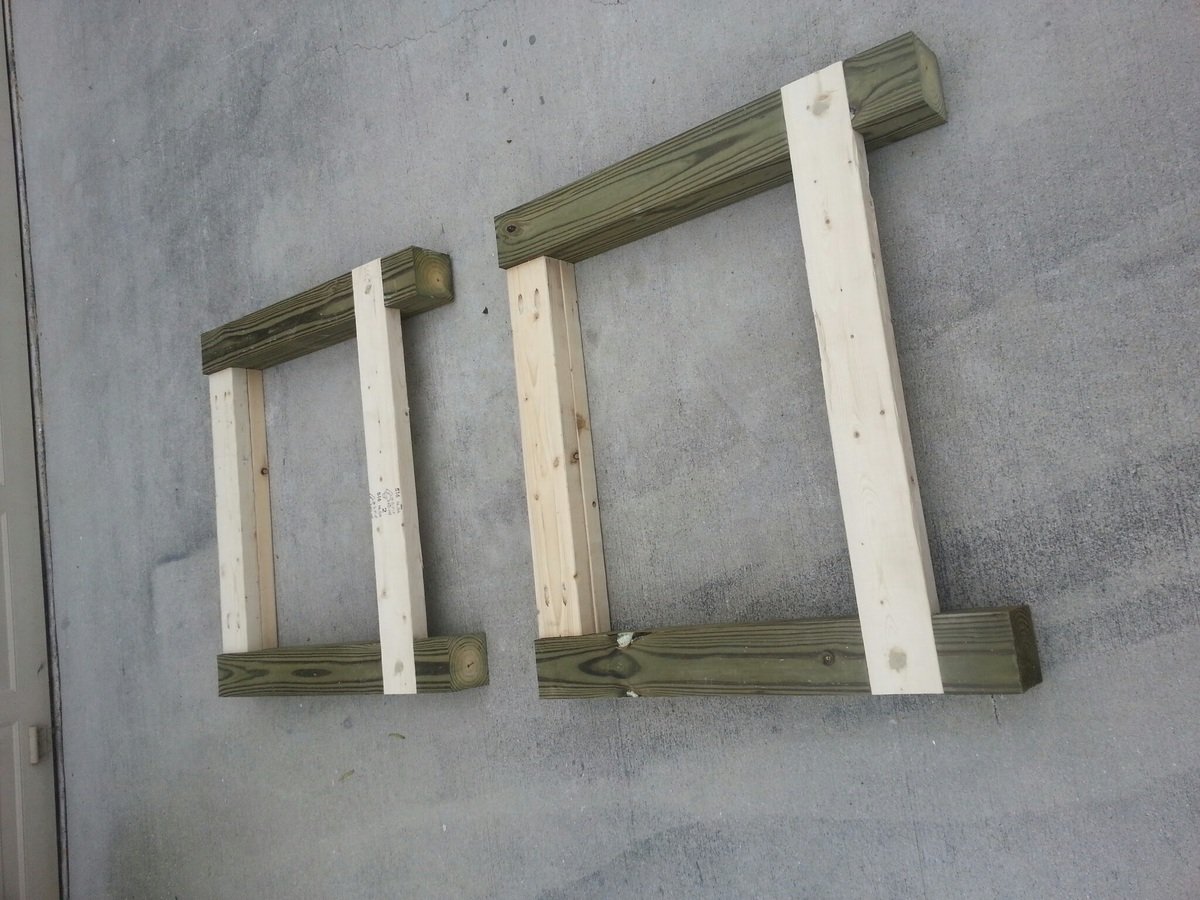
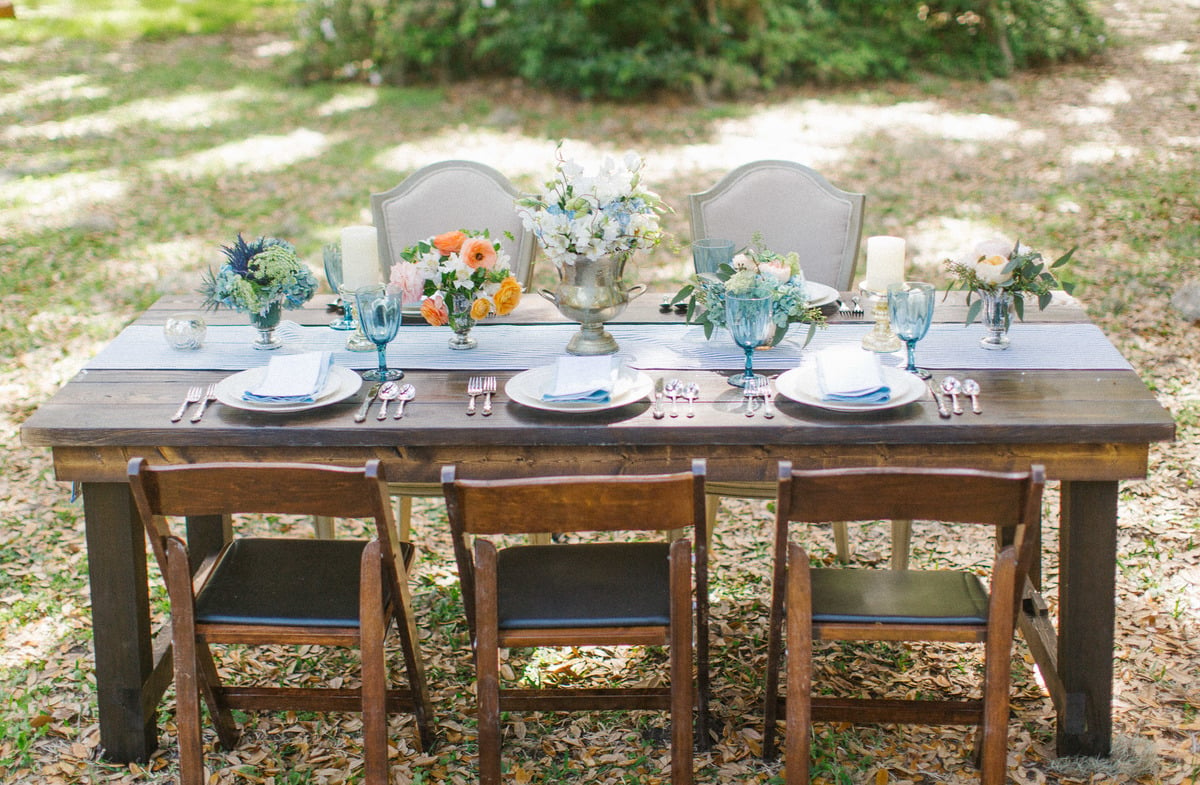
My wife wanted a portable farmhouse style rustic dining table that she could take to photoshoots and other events. I started with a top made with 2x6s and make the legs with 4x4s and the rest with 2x4s. Stain is dark walnut with a clear coat on top.
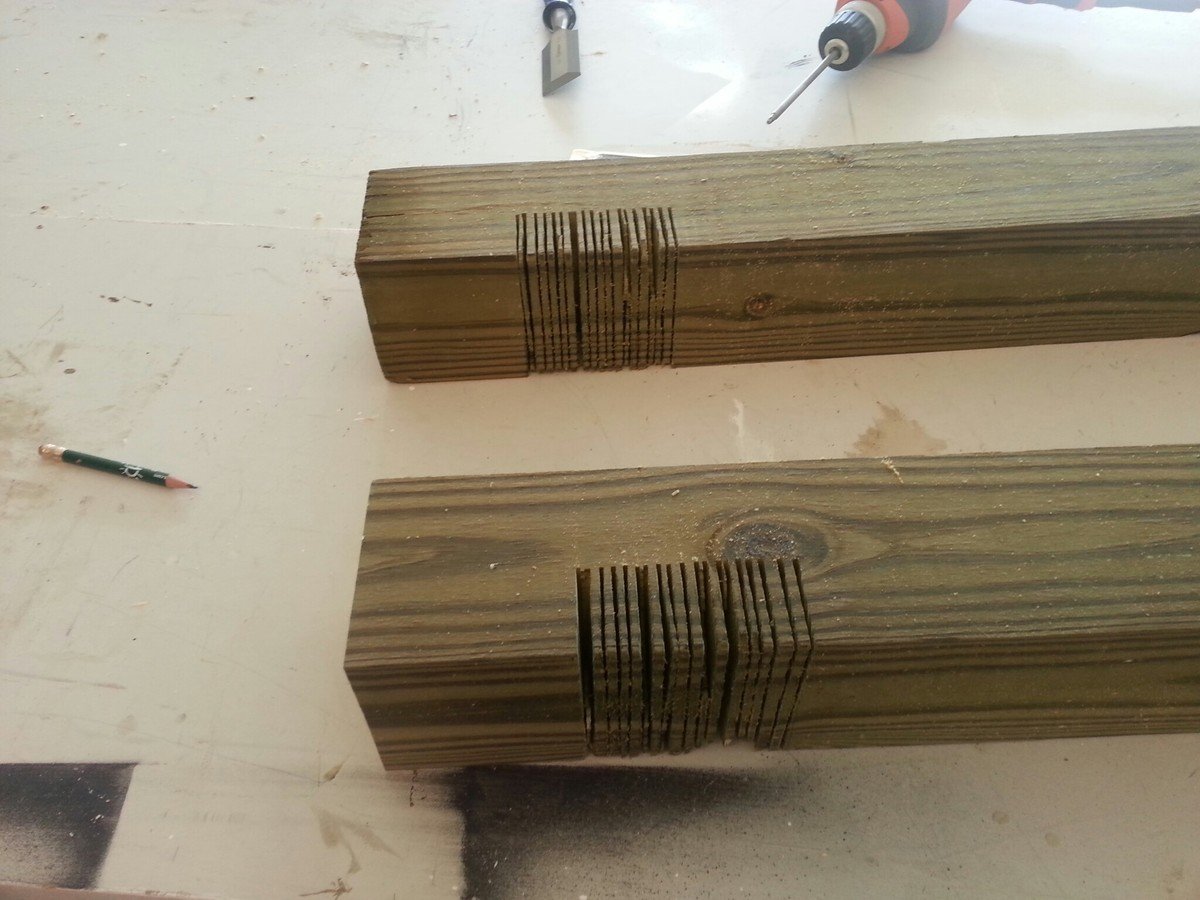
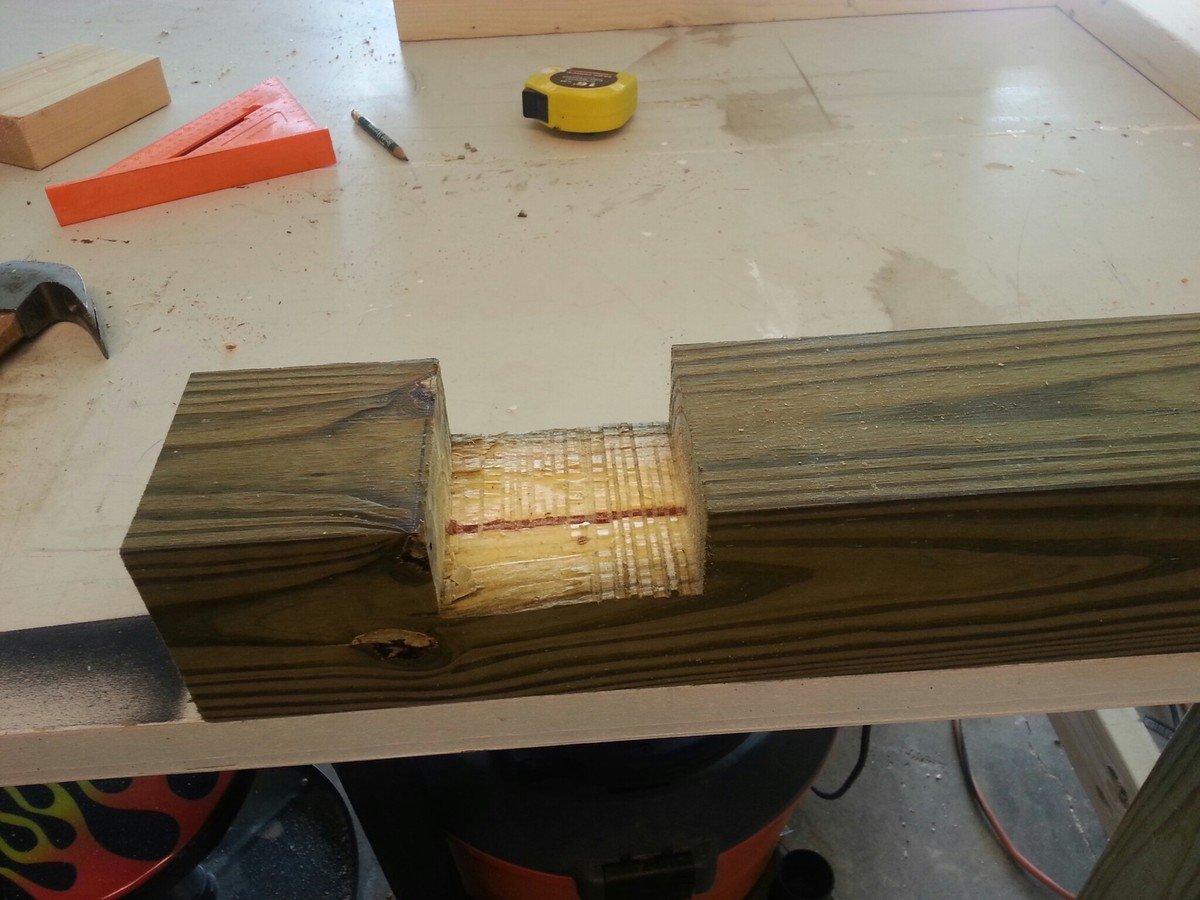
The legs are attached with door hinges and can fold into the top for more portable use. There is also a board that can be inserted in the bottom slots so that when in use the legs can not fold in.
So far the rustic dining table is working out great, although this table is VERY HEAVY and needs 2-3 strong people to carry it around. I have also made a lighter version using 1x6 tops and all 2x4 frame and legs.
Photos courtesy of Jennifer Blair Photography Designed by Amber Veatch Designs
Wed, 06/12/2013 - 04:15
Oh I really hope that you are able to put these modified plans up!!! A foldable farmhouse table.... what will they think of next!
Sat, 10/22/2016 - 12:25
Stunningly beautiful! Thank you for sharing and inspiring!
Sat, 10/22/2016 - 17:21
I cannot find the plans for the tiny house drawers any where. Can someone please point me in the right direction. Thank you!

I loved this plan so much but I really wanted double doors so we made a few modifications to fit them. Can’t wait to build out the interior and start growing! Thank you for the amazing plans!
Comments
Ana White Admin
Thu, 01/21/2021 - 18:36
Beautiful!
Thank you for sharing here, it is amazing!
foreveryoung8
Fri, 01/22/2021 - 11:42
Closet Mudroom
May I ask how you would assemble if you wanted the hinge in the back as in this picture?
Thank you.
jeansay
Wed, 08/25/2021 - 04:51
Hello, can you tell me how…
Hello, can you tell me how to find the plans for the Mudroom Closet makeover? I’m interested in doing the one pictured on this page.
Thank you