Community Brag Posts

Patio cooler/Grill cart!

Submitted by Anonymous (not verified) on Thu, 06/22/2017 - 14:06

Great project! I'm new to wood working and have been looking for simple but challenging builds. Needless to say this fit the bill... This grill cart was a great starter build and ultimately became a Father's Day gift!  My Pops loved it! 

I did add a couple of custom pieces: a foldable table top extension and towel bar... things Dad will undoubtedly need as he's an outdoorsman who loves to BBQ!

Thanks for the idea/design plans! 

Estimated Cost
$150
Estimated Time Investment
Weekend Project (10-20 Hours)
Finish Used
Semi-gloss spar urethane (3 coats)
Recommended Skill Level
Beginner

Comments

Outdoor Sofa from 2x4s for RYOBI Nation

Submitted by BuilderJ on Thu, 07/13/2017 - 16:45

We've been wanting to tackle some outdoor furniture for a while and finally took advantage of a coupon to get a bunch of outdoor cushions. With a big mound of cushions taking up space, we had to force ourselves to get to it. We spent more time talking about cushion and stain colors then it actually took to cut and screw it together. This is a great solid project to start with. Don't be intimidated by it. We can't wait to start on some chairs to go with it. 

Estimated Cost
The cushions are from atHome. It's hard to say exactly because we bought a lot of them (for some upcoming projects) when we had a 20% off coupon. For these three sets and accent pillows, probably $125. Probably $25-30 for the lumber. $29 for a gallon of Behr deck coating (used maybe 1/4of it). $9 for a box of deckmate screws (used 75% of them).
Estimated Time Investment
Afternoon Project (3-6 Hours)
Finish Used
Behr Deckplus solid color waterproofing wood stain in cordovan brown.
Recommended Skill Level
Starter Project

Ultimate Workbench/Miter Station

Submitted by Anonymous (not verified) on Mon, 03/06/2023 - 15:32

This plan is exactly what I needed for my workspace. I ended up adding some slat wall pieces and cabinets above from cubicles in an old office nearby that closed down for a tool wall and storage. I left the right opening empty due to how unlevel my floors are. I may close it in later with drawers or cabinets, but it will be my sitting workspace for now. I trimmed out the edge with 1x2s and painted and stained everything for aesthetics.

Comments

2x4 and 2x6 Chairs and Couch

Submitted by clintusaf on Mon, 05/11/2020 - 16:43

I used the Modern Outdoor Chair from 2x4s and 2x6s plans and slightly modified then to make a 3 seater couch. My cushions(most expensive part) were 24 in x 24 in and purchased from Lowes for $40 per seat. The couch is 79 inches in total length. I also dropped the seat down to the lower level to allow more room for my cushion backs to sit further down into the seat.

Estimated Cost
$400
Estimated Time Investment
Weekend Project (10-20 Hours)
Finish Used
Thompsons Waterseal Teak Oil Walnut Semi-Transparent
Recommended Skill Level
Beginner

Shoe Dresser

I had this space in my mudroom that was a perfect spot to make a custom shoe dresser. I adjusted the plans I found on this website to custom make storage for shoes. Now this weird little space is functional.

Built from Plan(s)
Estimated Cost
80
Estimated Time Investment
Day Project (6-9 Hours)
Finish Used
Rustoleum chalk paint Serenity Blue, classic grey and special walnut Minwax
Recommended Skill Level
Intermediate

Comments

Beds for my girls

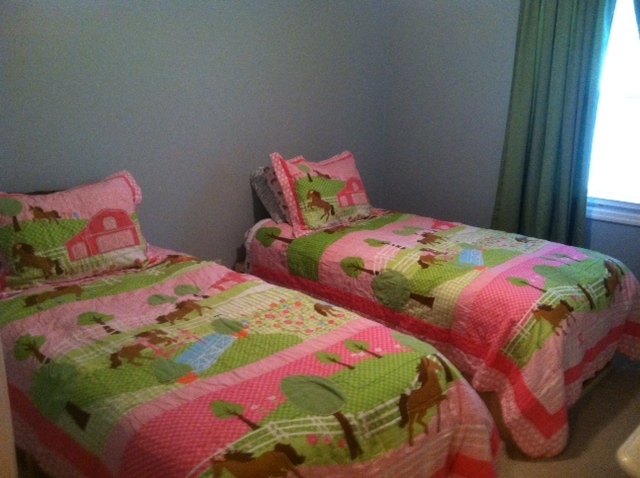
Rather than buying beds for two of our daughters, I wanted to take the opportunity to build them. I really had a great time doing. I used the plans from the Captains Storage beds, but modified it a little.

We ripped two 3/4 inch finished ply into 12in pieces.
That gave us all the sides, ends, and dividers.
The platforms are 12x12 3/4x
The ends are the same only sorter.

Rather than using slats for the middle support I just used the remain ply.
We finished the front with 6ft sections of 1x2 inch furring strips. A good sanding and clean up, and we are good to go!

Thanks for posting the plans! We really enjoyed building the beds and our girls love them!

Built from Plan(s)
Estimated Time Investment
Weekend Project (10-20 Hours)
Finish Used
unfinished wood
Recommended Skill Level
Beginner

Comments

sulu293

Fri, 09/20/2013 - 13:14

LOVE this! was looking for something other than the slats that would TRULY hold my polynesian kids, thank you for sharing! :-)

Mailbox Base

Submitted by TxDork76 on Wed, 11/14/2018 - 20:27

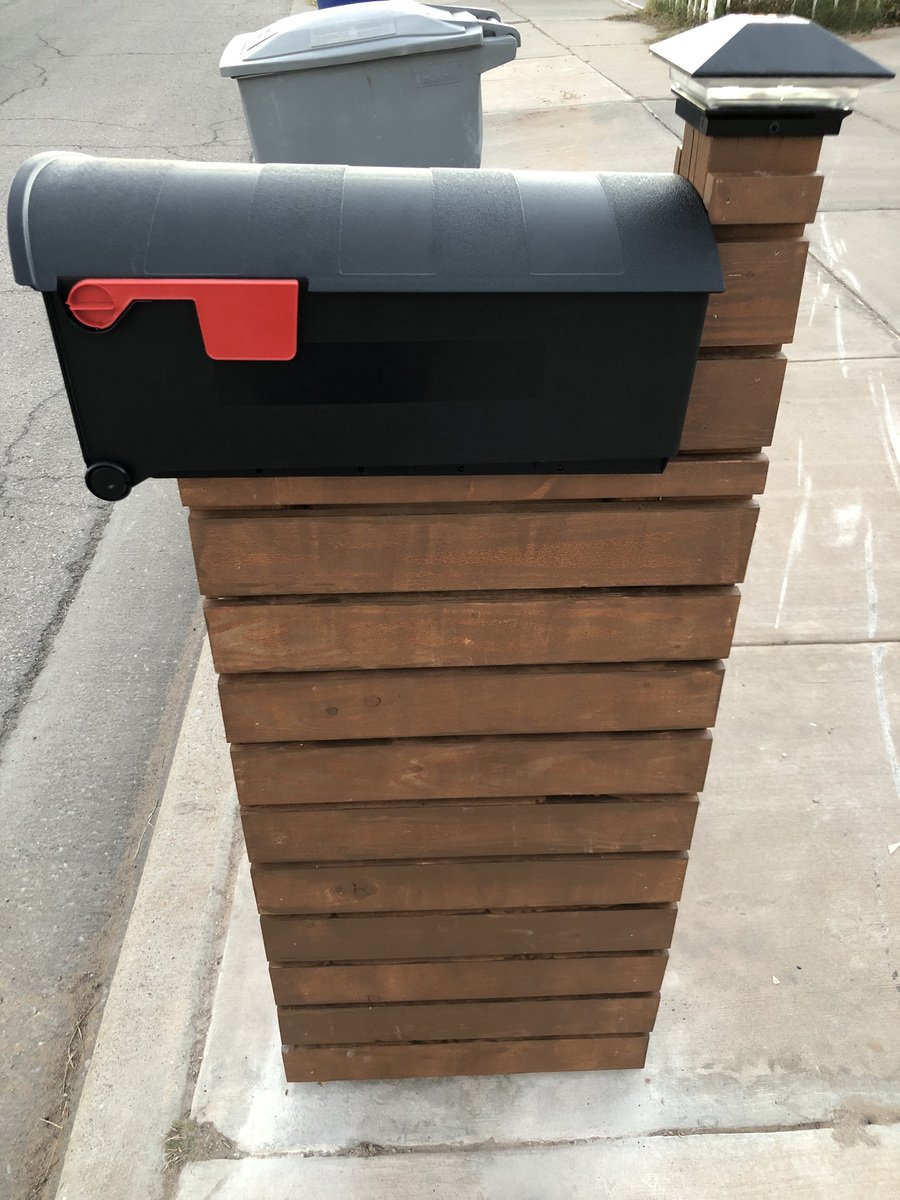
my mailbox was hit by a vehicle so I decided I wanted to do something creative/different but also didn't want to spend much money as it may just get taken out again in the future :)

this is a good project to get kids to help you with

instead of cutting into the concrete easement, I installed 2 post bases & locked them with sleeve anchors.  They're sturdy enough but will give if hit again.  drilling the holes for the sleeve anchors was the hardest part of the project.

I used a left over 4x4x8 for the posts, scrap 1x4s, 1x2s up the sides (1/2" gap between boards), and a 2x4 scrap to attach the mailbox.  I eyeballed the width between posts using the mailbox itself. I left over stain from another project (almost bought a quart of oops paint at HD)

I figure the total cost would have been about $100

It's a super easy project that took about 4hrs. I've already had a couple of neighbors come by to take measurements to try something similar.

FYI: USPS guildlines for installing a curbside mailbox: https://www.usps.com/manage/mailboxes.htm

Estimated Cost
$75-$100 depending on materials/tools on hand.
Estimated Time Investment
Afternoon Project (3-6 Hours)
Finish Used
valspar semi-transparent stain & sealer in "Pinebark"
Recommended Skill Level
Beginner

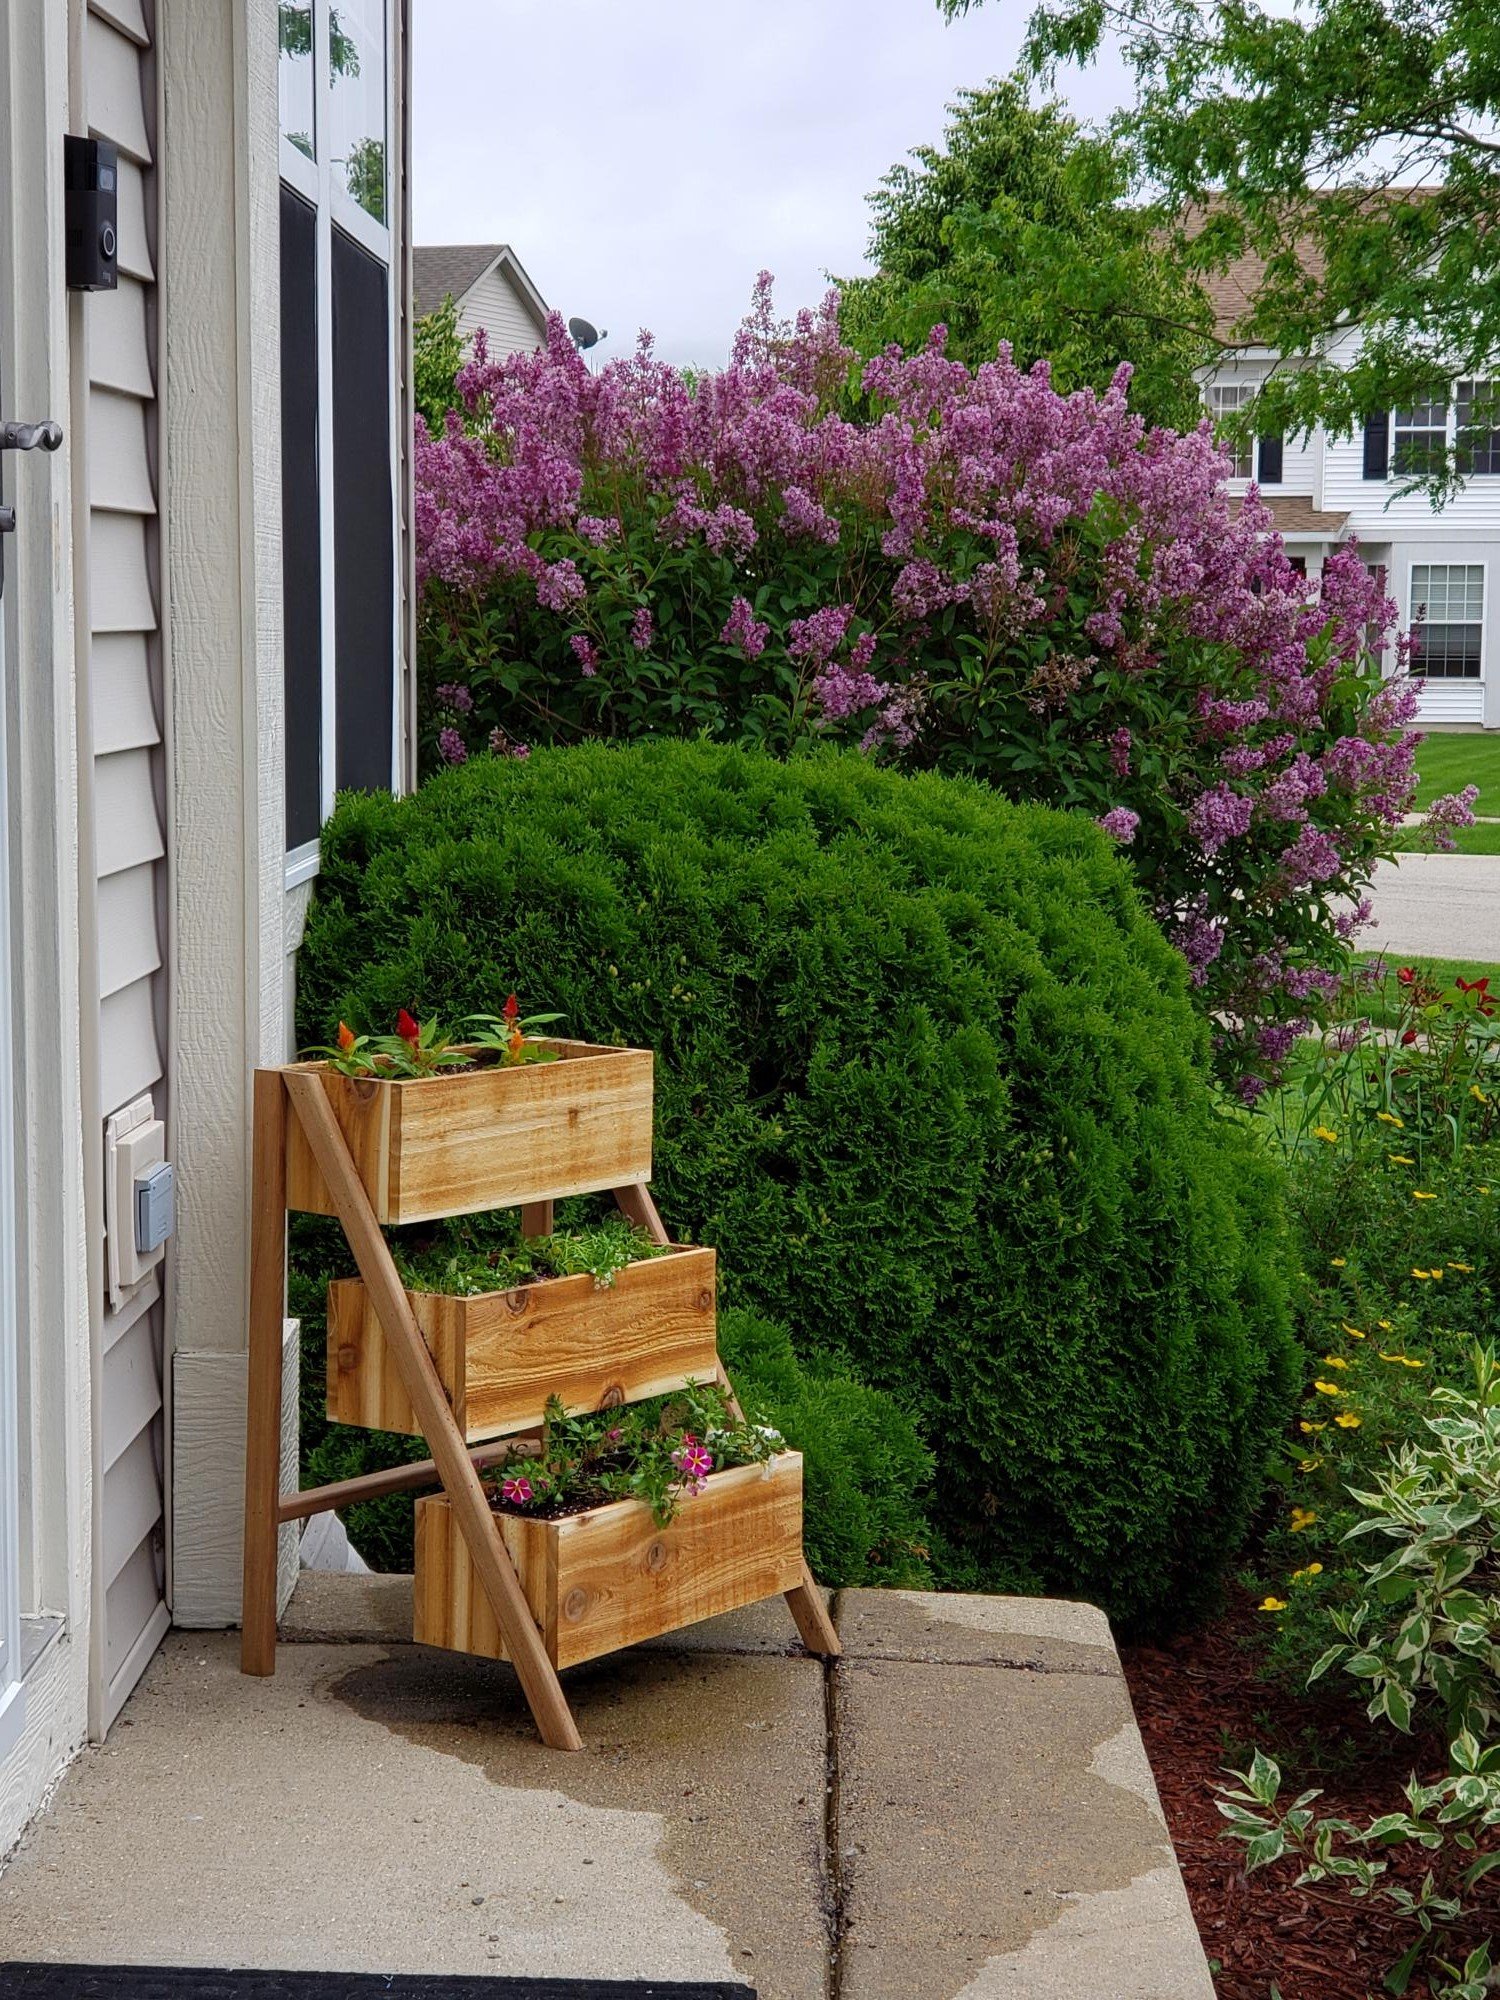
Tiered Planter

Submitted by Anonymous (not verified) on Mon, 05/31/2021 - 16:24

Great planter plan. very easy to build

Comments

Seasonal And Holiday

Modern outdoor chairs

Submitted by Anonymous (not verified) on Tue, 06/08/2021 - 08:01

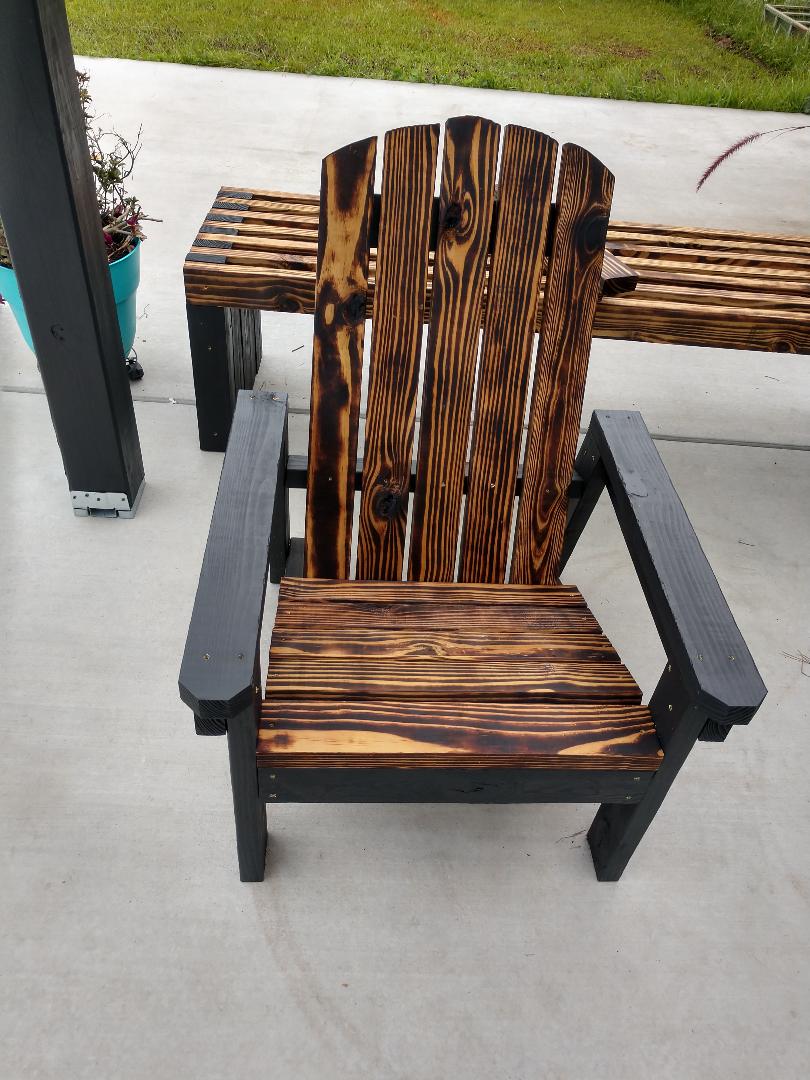
Love these plans! Made a modification and added backs to the chairs. Also, built ottomans to match the chairs which can also be used as additional seating.
Many compliments on the set. Thanks Ana!

Comments

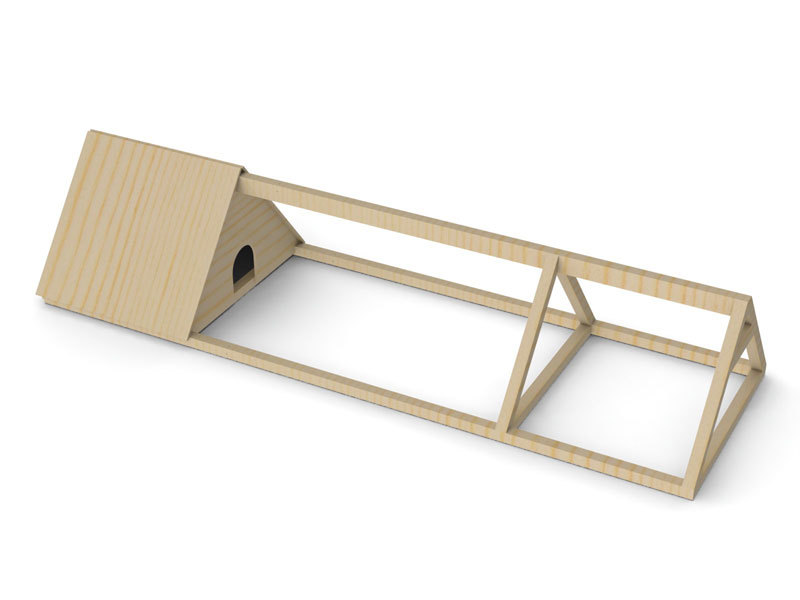
Triangular Rabbit Hutch

Submitted by Medeek on Fri, 05/03/2013 - 18:14

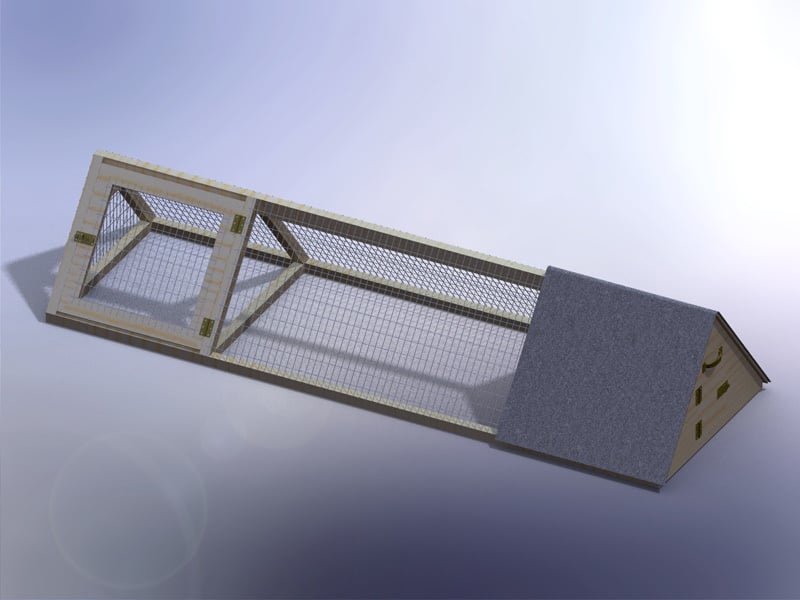
This is a rabbit hutch I created for my kids 5 rabbits. The thing that makes this hutch really nice is if you have a large lawn you can just move the hutch a little bit every day and the lawn gets mowed, fertilized and you don't have to worry about cleaning up all the rabbit droppings. I also mounted a rabbit feeder on the inside of the house door to keep the food dry, which has worked really well.

Here is a short blog of all the steps in its construction:
http://design.medeek.com/gallery/RH3080_COPALIS_2013/RH3080_COPALIS_201…

Estimated Cost
150
Estimated Time Investment
Day Project (6-9 Hours)
Finish Used
Exterior Paint brush or spray. Choose your color.
Recommended Skill Level
Beginner

Comments

Medeek

Sun, 05/05/2013 - 01:52

I apologize I haven't got the completed planset up for this project yet but I will try to get it up in the next couple of weeks as well as a very complete materials list. You will need to go to a farm/feed store to get the correct 1"x2" wire and 1/2"x1" wire for the floor. Do not go to Home Depot and use the cow wire they have or the hardware cloth for the floor, neither of which are the correct choice. Home Depot has the lumber but not the wire. If you have any questions or even improvements to my design I would be interested in hearing from you.

Medeek

Sun, 09/13/2015 - 19:18

Finally got around to uploading the plans.  I still need to create a material list for this plan but the basics are there now.   We've had rabbits in it for about a year but recently we've tried some guinea pigs and it works great for that as well.  The guinea pigs can pretty much live off just the grass and dandelions but you do need to move it daily to give them plenty to eat.

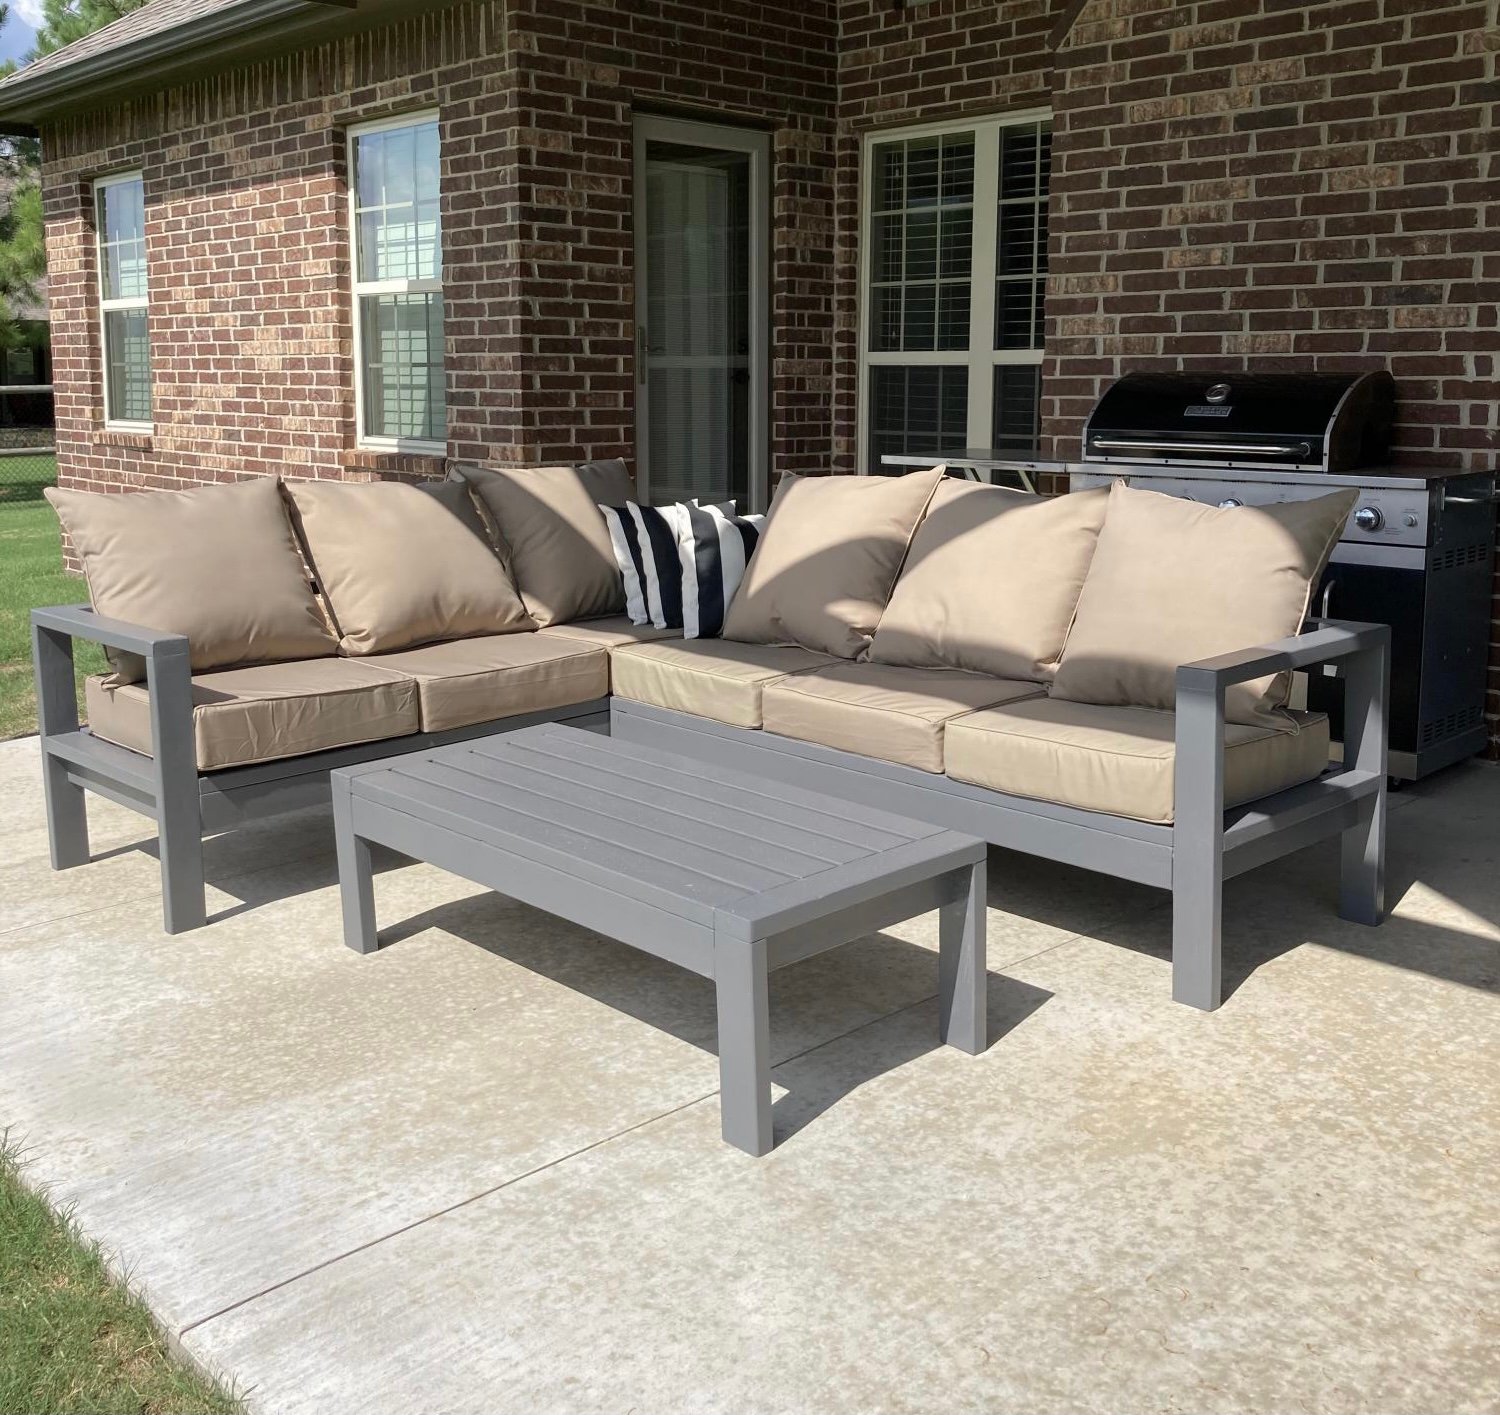
Great Patio Set

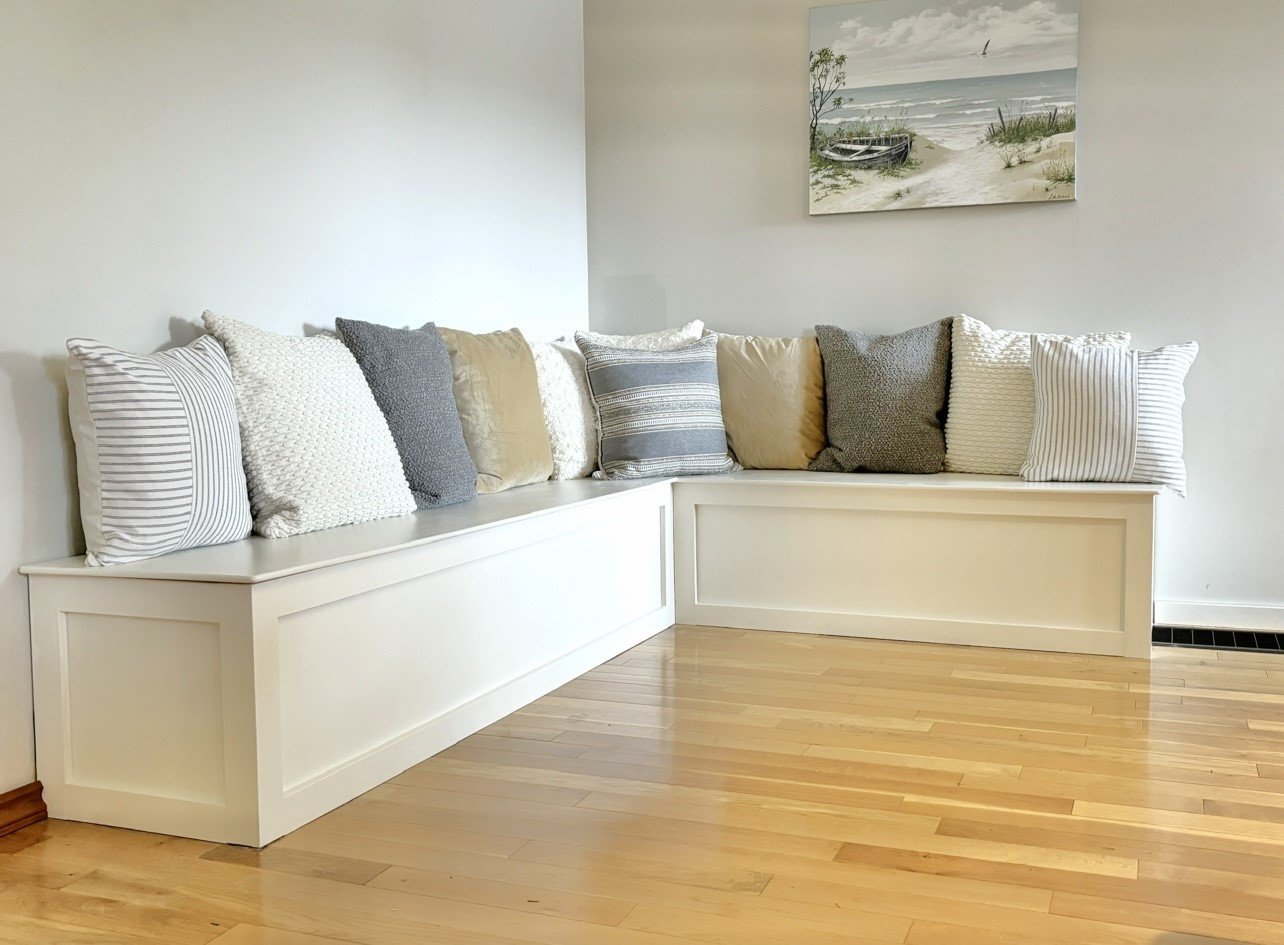
Submitted by Anonymous (not verified) on Mon, 10/04/2021 - 13:02

I wanted sturdy seating for my patio. Ana White had the perfect plans for my L shaped seating and coffee table. It was simple to put together and we love it!

Comments

Seasonal And Holiday

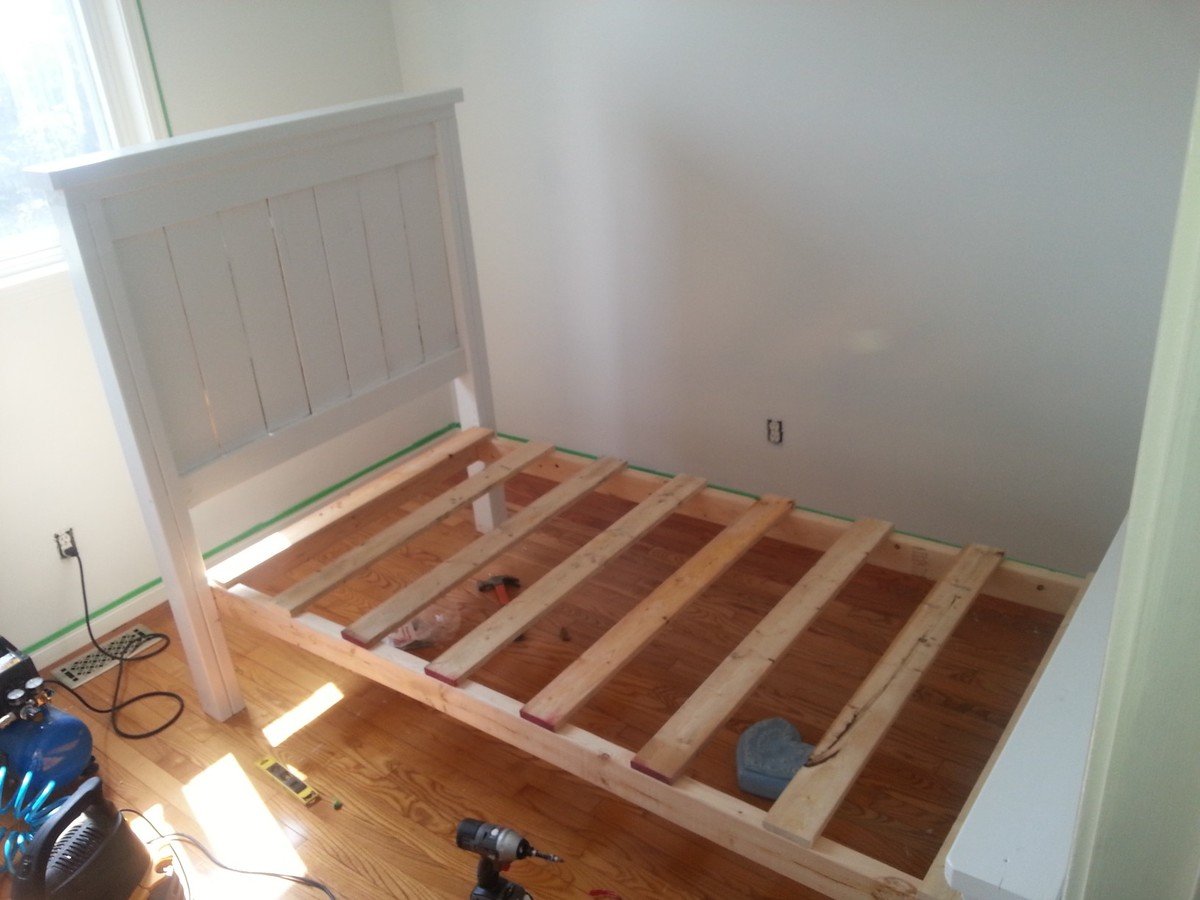
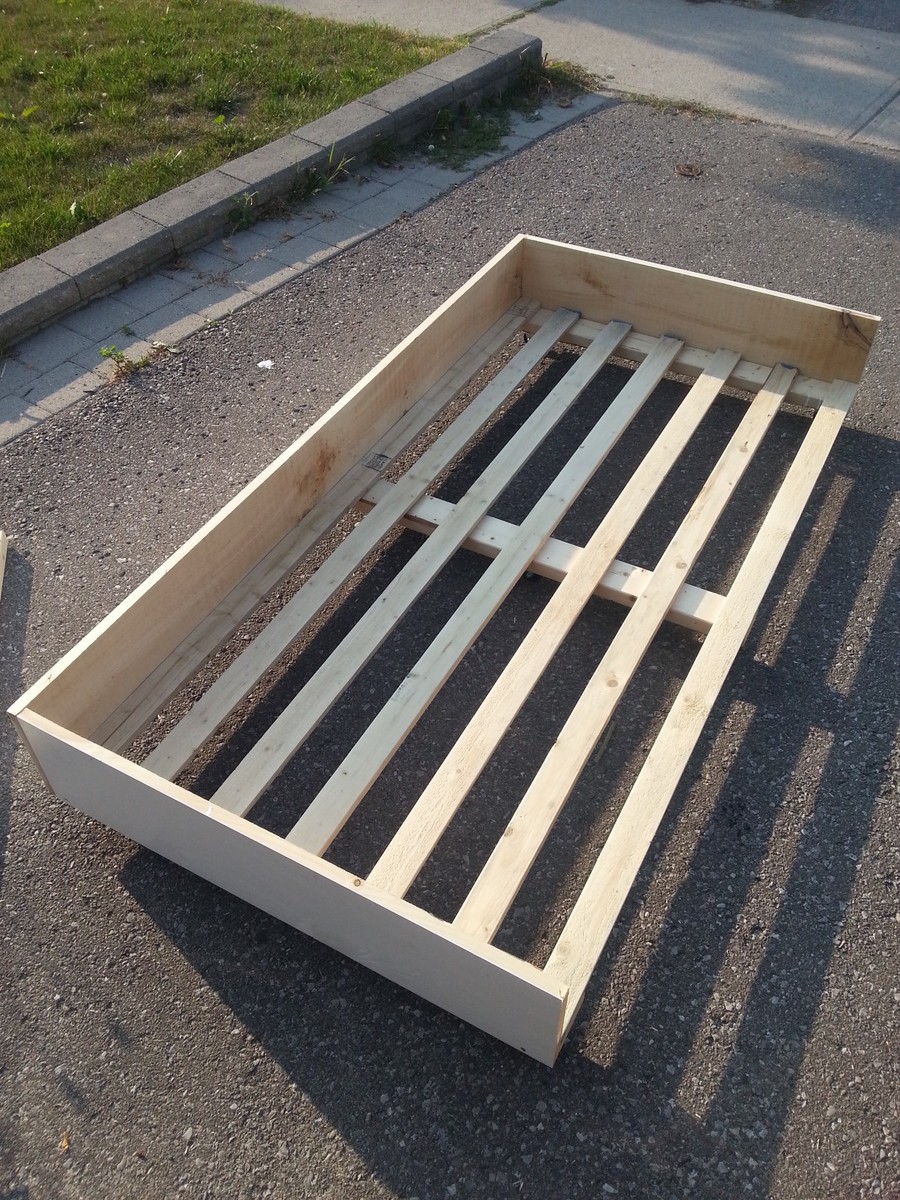
Twin Farmhouse Bed with Trundle

Took the farmhouse plan and added a Trundle.   Was initially going to build two farmhouse beds for my two girls, but thought adding the Trundle would free up some much needed floor space.  The girls love it!

Estimated Cost
$150
Estimated Time Investment
Day Project (6-9 Hours)
Finish Used
Latex paint
Recommended Skill Level
Intermediate

2x4 outdoor couch

Submitted by Anonymous (not verified) on Sat, 07/18/2020 - 18:46

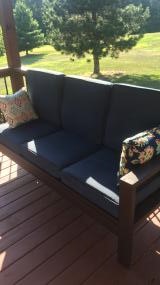
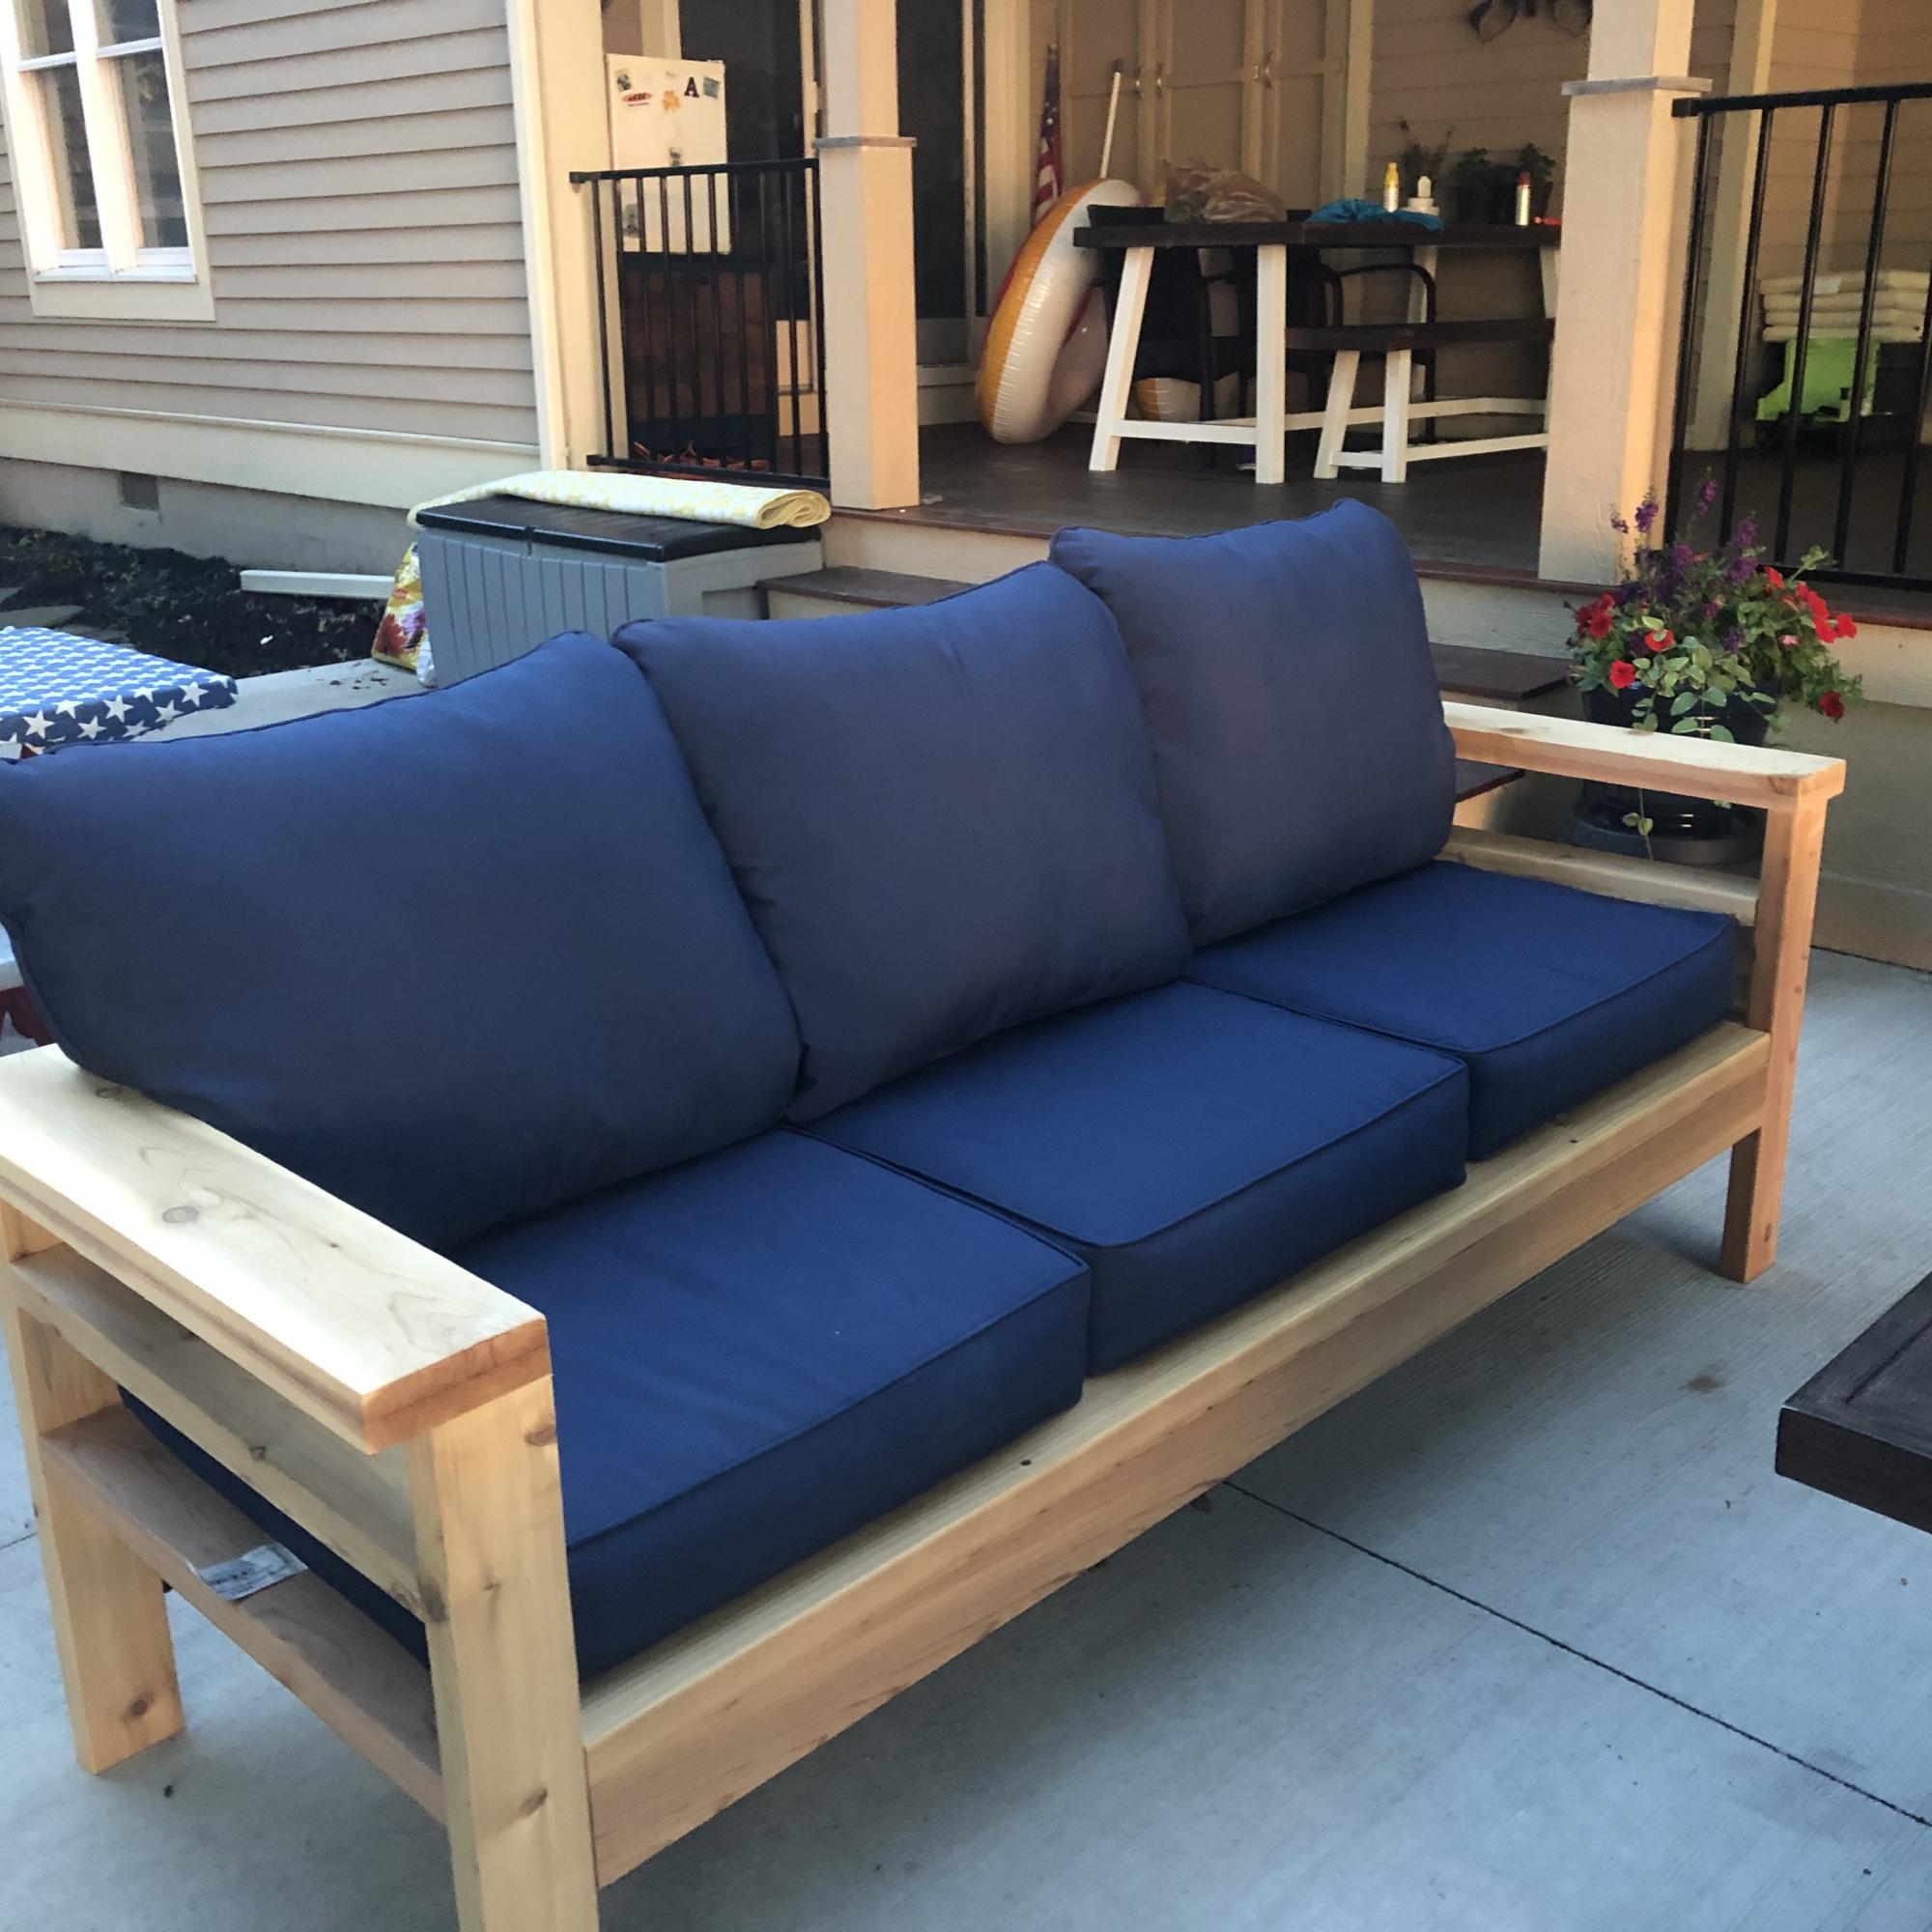
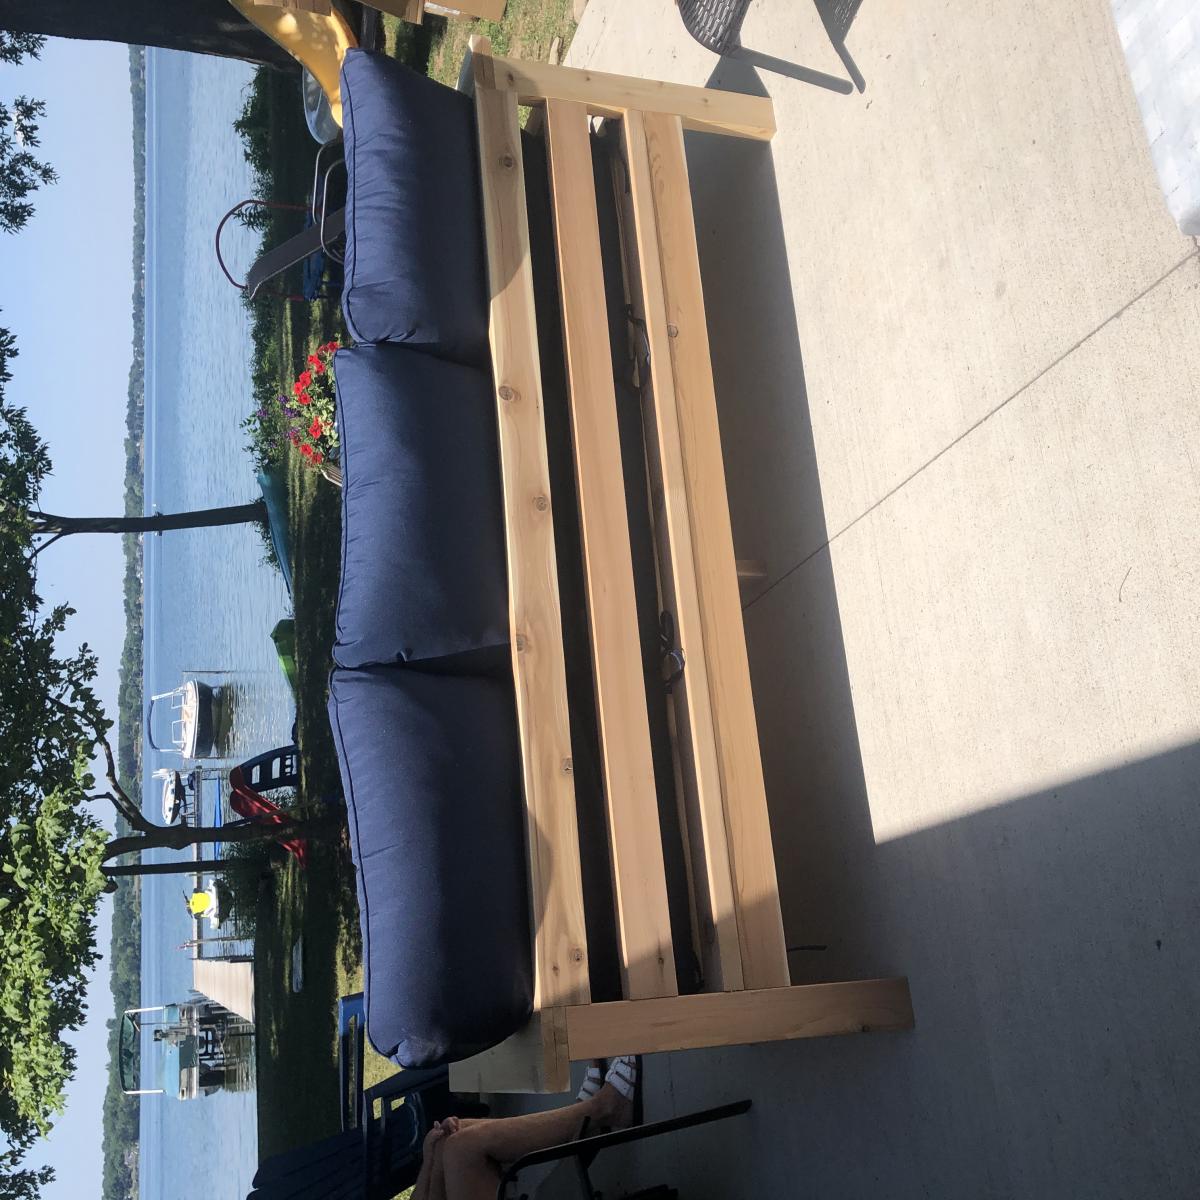
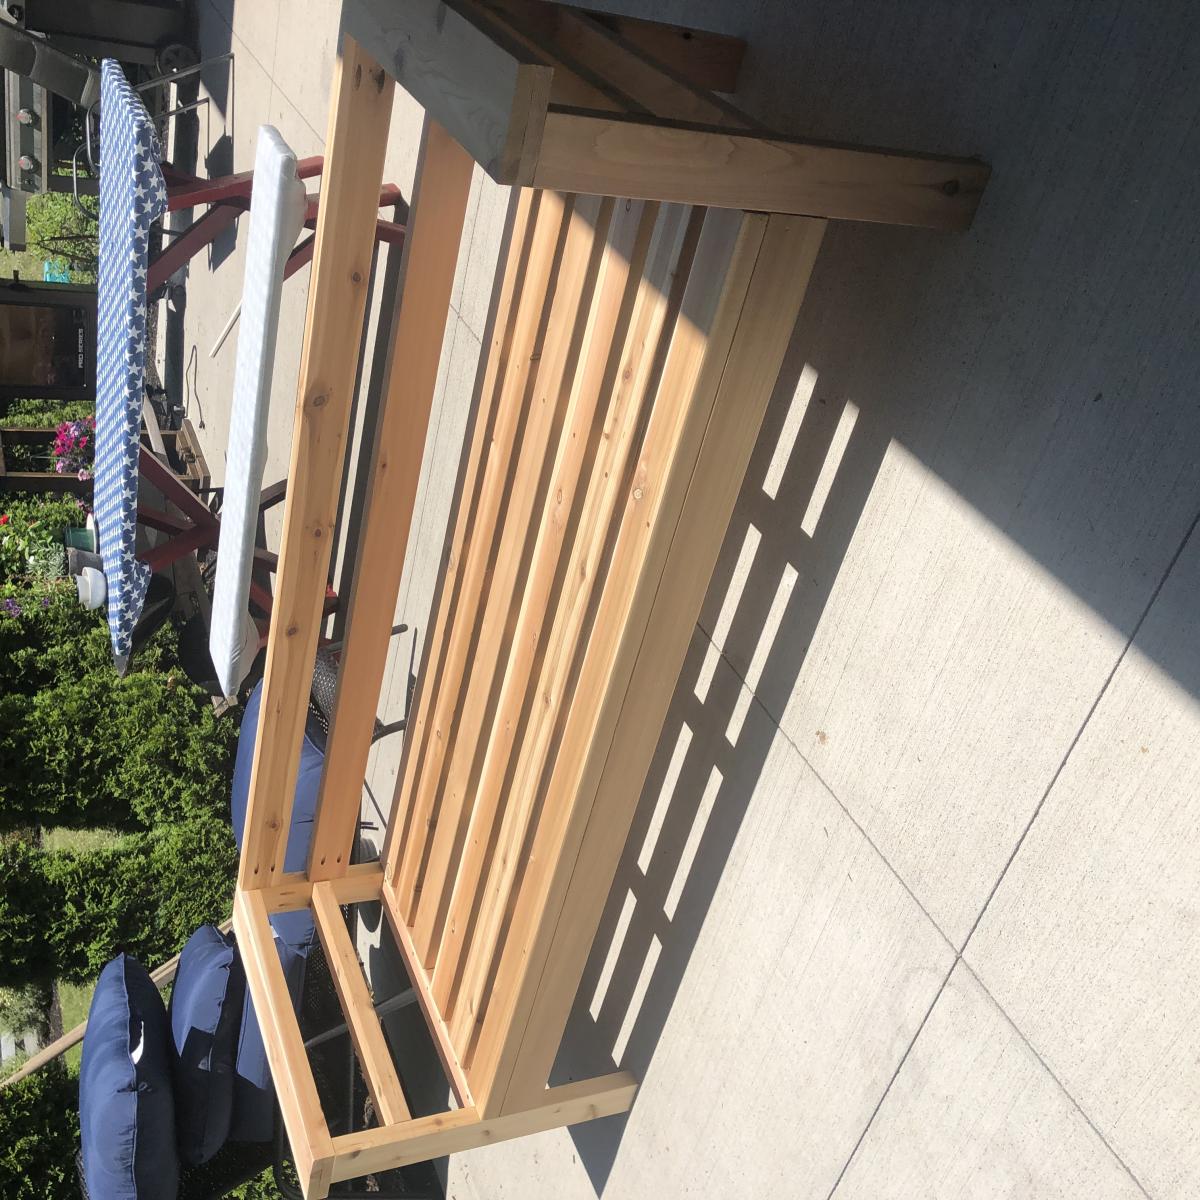
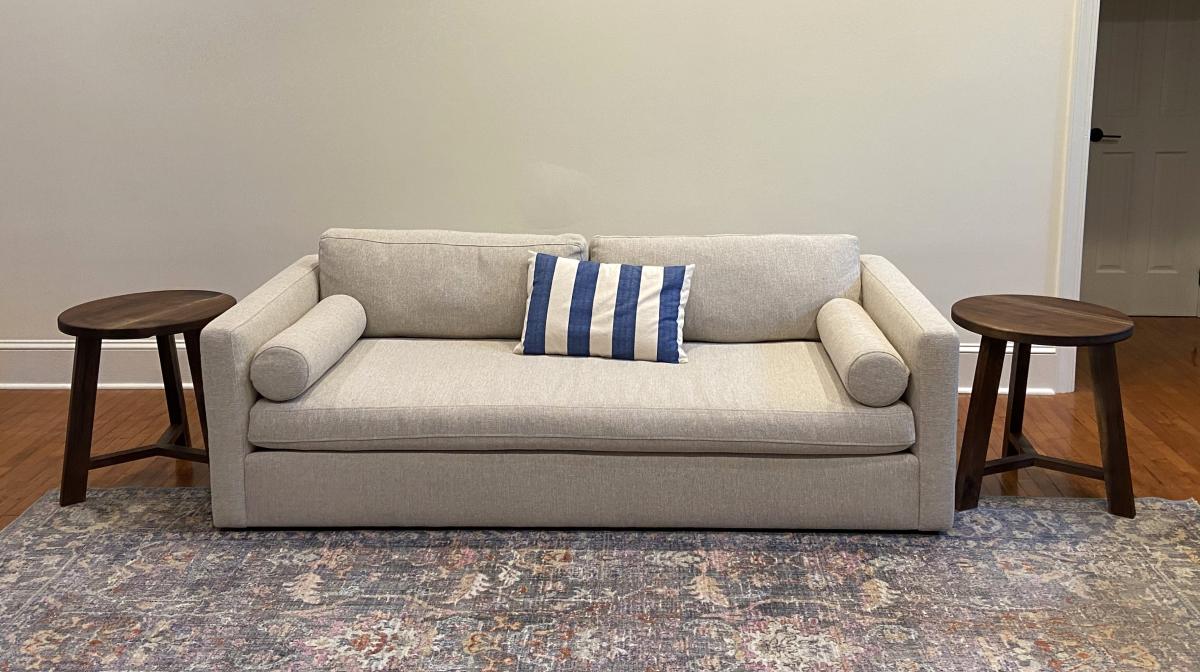
I used cedar and added the extra boards so the cushions would stay put. We also made the arms 2x6 boards so we wouldn’t need end tables for the couch. The plans were super easy to follow. I mostly used pocket holes so the screws wouldn’t be visible. Love how it came out! Thank you for the plans, Ana!!

Built from Plan(s)
Estimated Time Investment
Day Project (6-9 Hours)
Finish Used
Nothing yet. Deciding on whether to let it grey on its own
Recommended Skill Level
Beginner

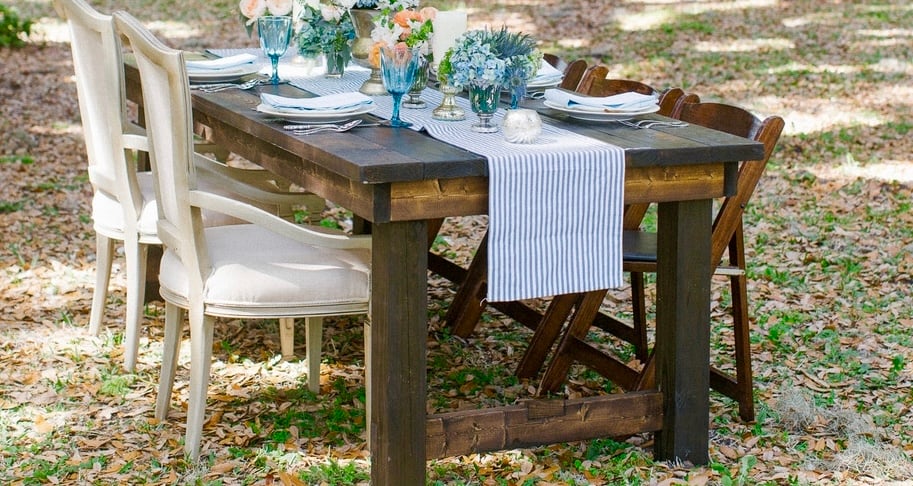
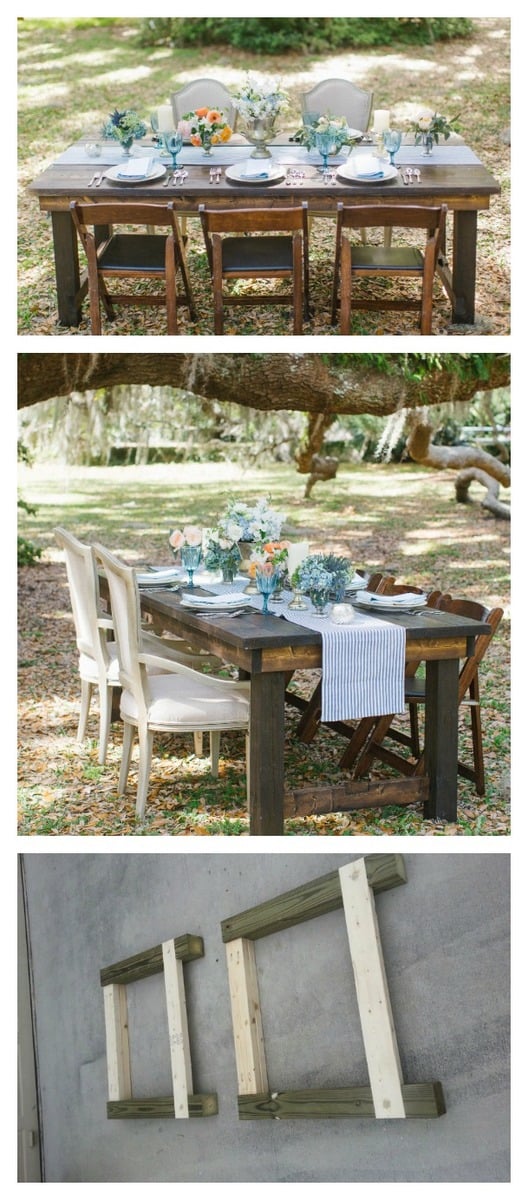
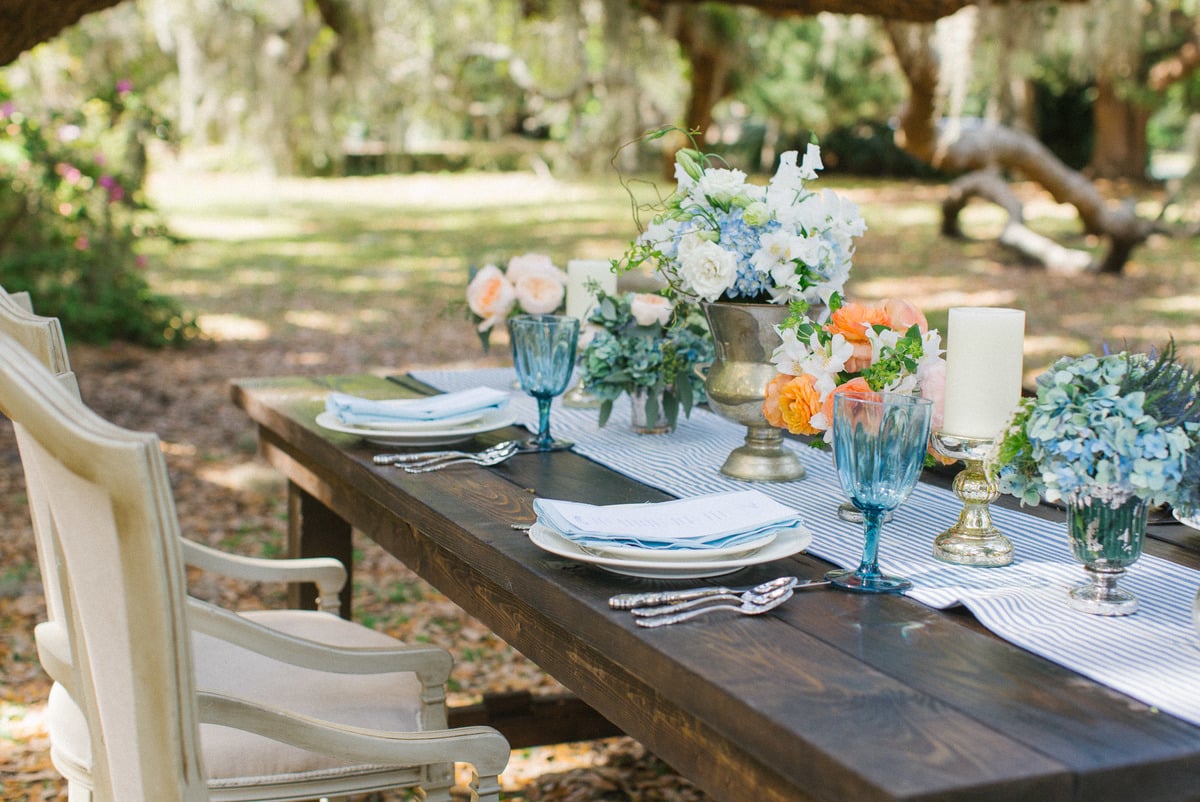
Foldable Farmhouse Rustic Dining Table

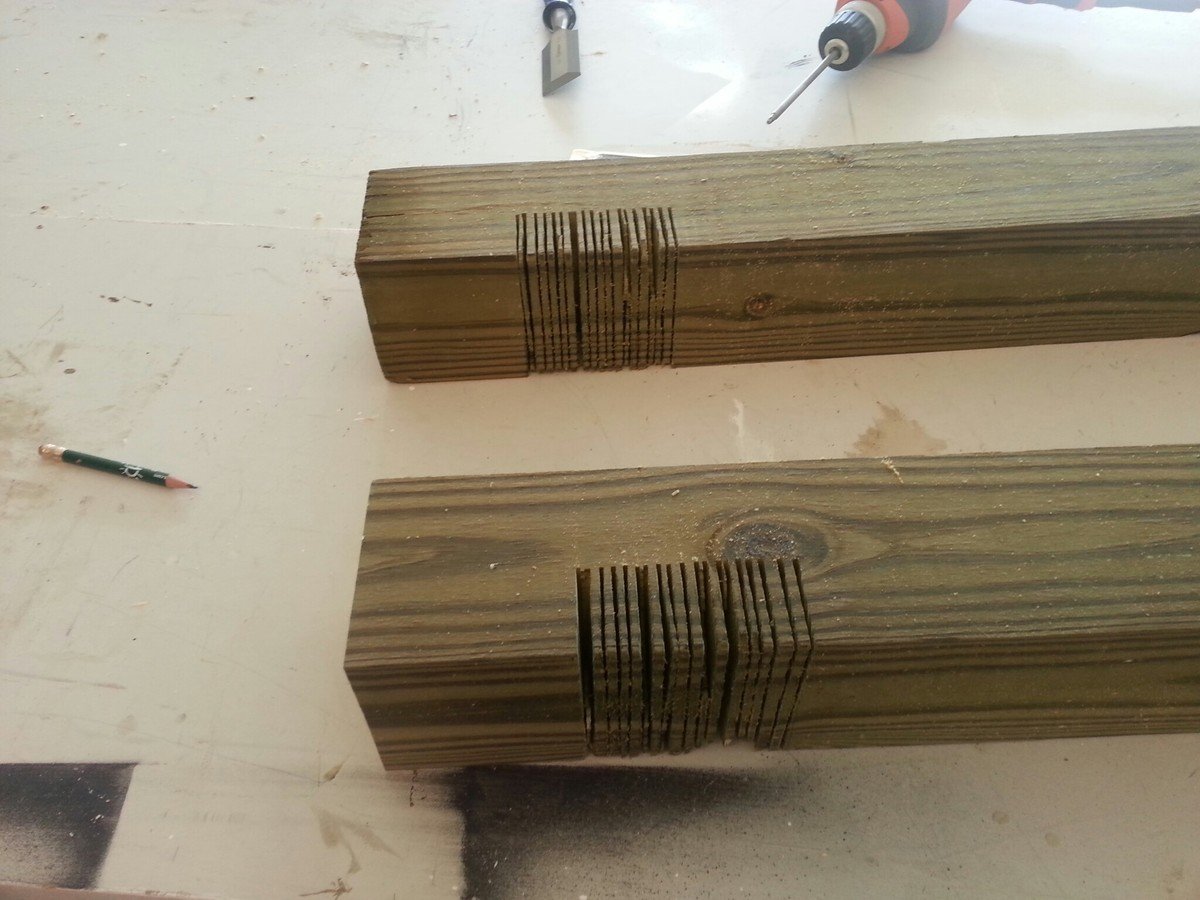
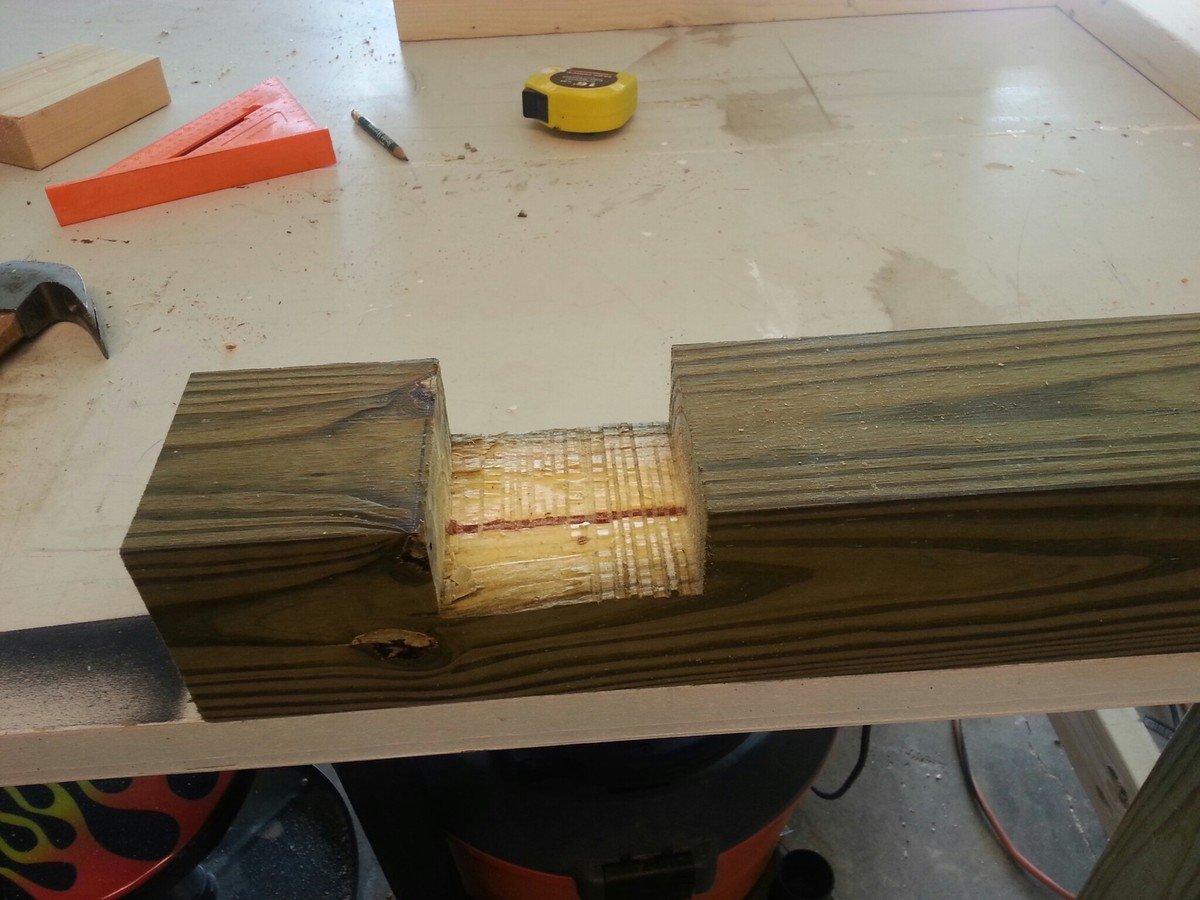
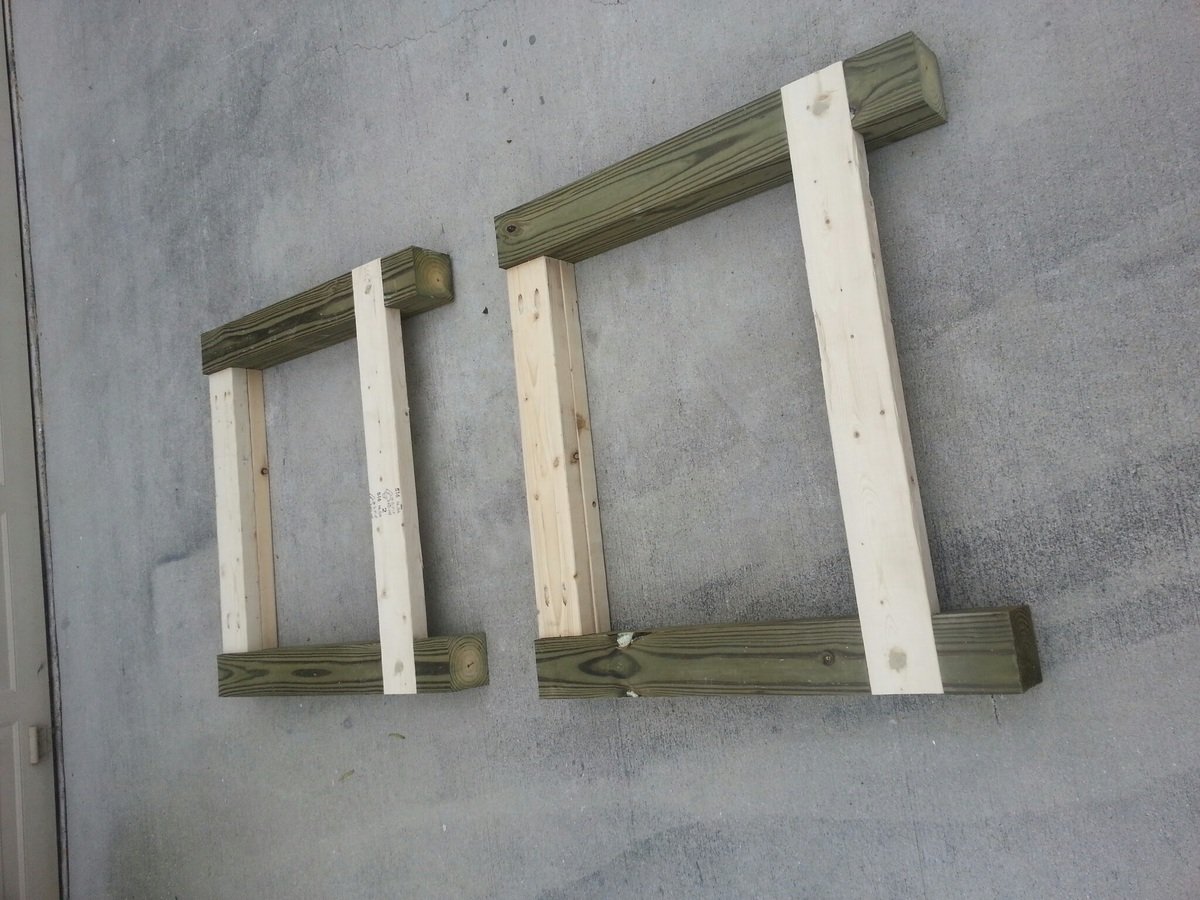
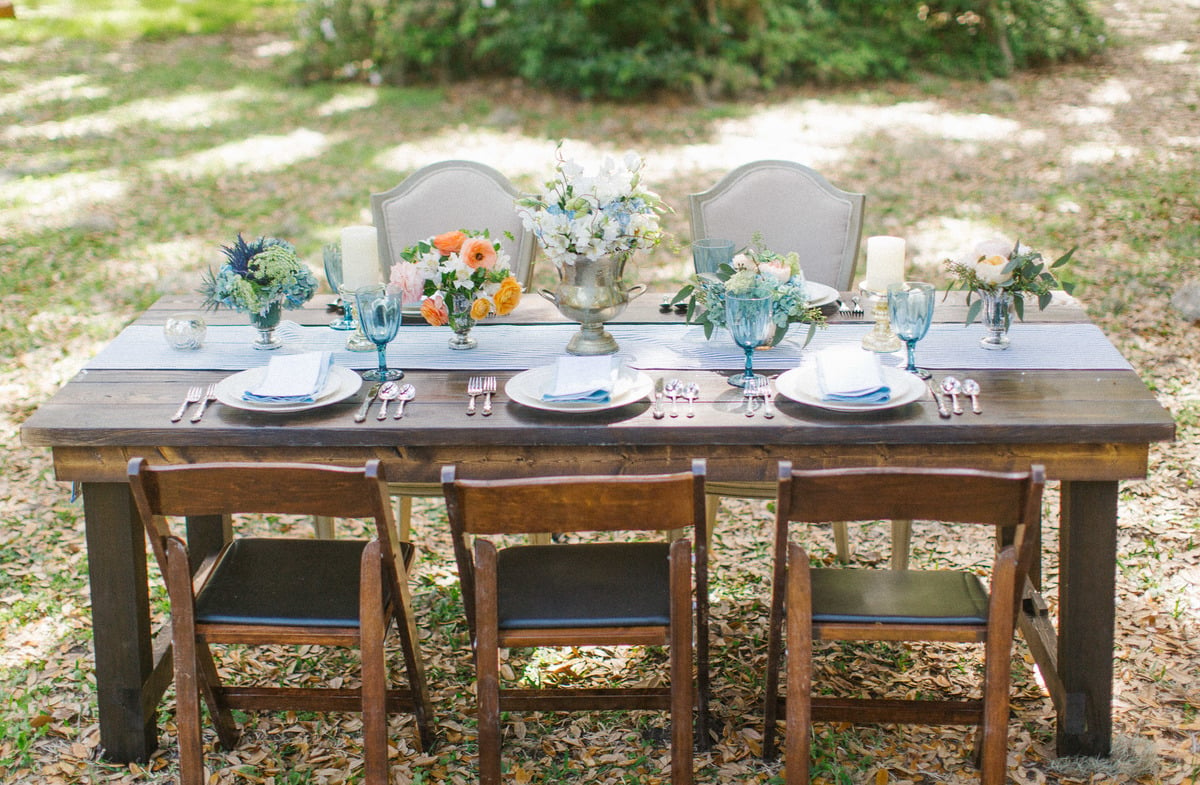
My wife wanted a portable farmhouse style rustic dining table that she could take to photoshoots and other events. I started with a top made with 2x6s and make the legs with 4x4s and the rest with 2x4s. Stain is dark walnut with a clear coat on top.

The legs are attached with door hinges and can fold into the top for more portable use. There is also a board that can be inserted in the bottom slots so that when in use the legs can not fold in.

So far the rustic dining table is working out great, although this table is VERY HEAVY and needs 2-3 strong people to carry it around. I have also made a lighter version using 1x6 tops and all 2x4 frame and legs.

Photos courtesy of Jennifer Blair Photography Designed by Amber Veatch Designs

Estimated Cost
150.00
Estimated Time Investment
Weekend Project (10-20 Hours)
Finish Used
Miniwax Dark Walnut
Recommended Skill Level
Intermediate

Comments

Juanita_r

Wed, 06/12/2013 - 04:15

Oh I really hope that you are able to put these modified plans up!!! A foldable farmhouse table.... what will they think of next!

Unicorn1960

Sat, 10/22/2016 - 17:21

I cannot find the plans for the tiny house drawers any where.  Can someone please point me in the right direction.  Thank you! 

Rustic Round End Tables

Submitted by Anonymous (not verified) on Sun, 05/19/2024 - 10:52

I used the End Table plans modified slightly. I cut all of the boards from a 10’ walnut slab. My wife Julie, and I finished them with Danish Oil. A great project; ready to start the next one!!

Stephen Russell

Built-in Bookshelves

Submitted by seeca13 on Sat, 10/05/2019 - 13:34

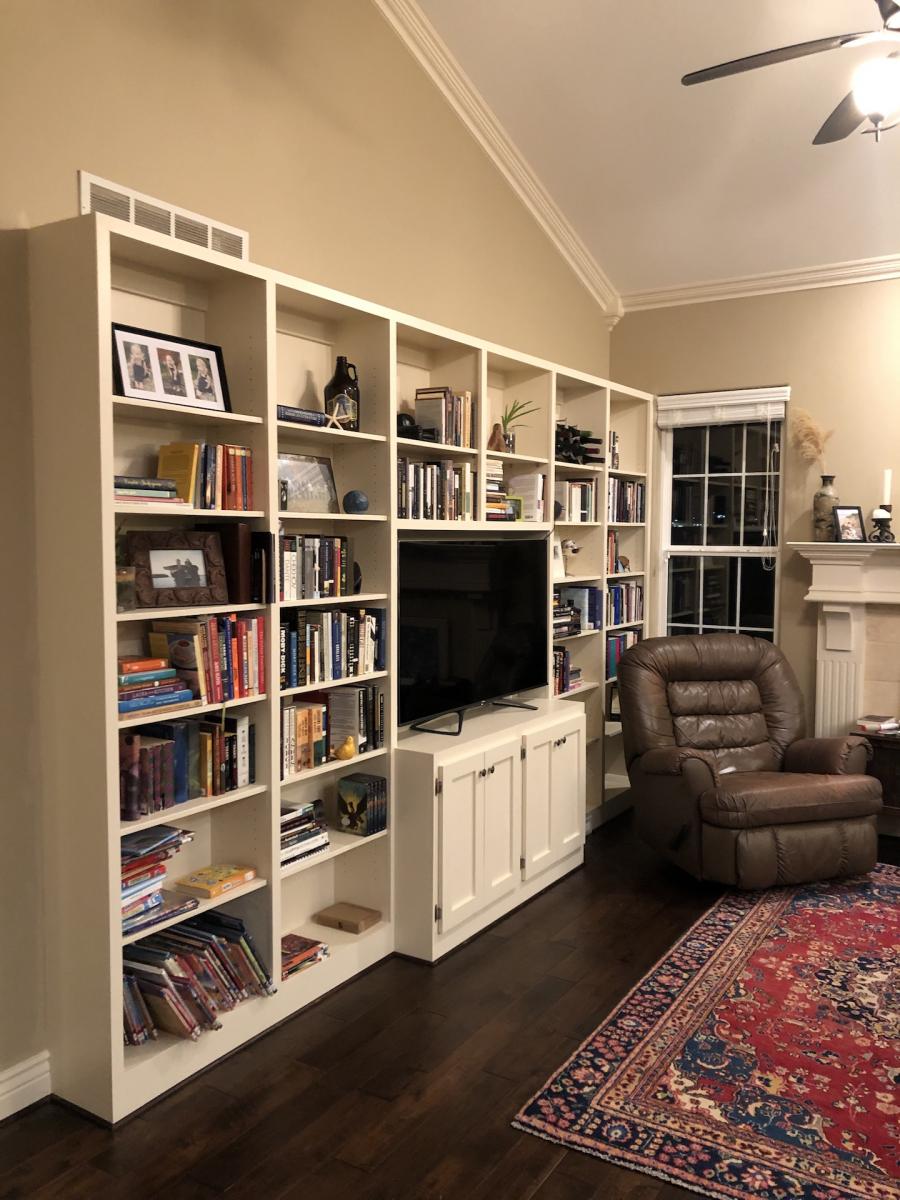
I built this project in 6 separate pieces before installing it in our home. I pulled the baseboard and attached it to the wall to give it a built-in feel.  For the majority of the project, I used 3/4" plywood with the exception if 1/4" plywood for the back of the shelves as well as the centers of the cabinet doors.  For the trim, I used select pine boards.  I had to work around an airconditioning vent that was in the floor.  I was able to divert it to run out the bottom of the bookcase. 

This build is loosely based on the Willy Bookcase.  I actually found another brag post on the Willy Bookcase that was immensely helpful in constructing my project.  I'm so grateful for the brag boards!  Instead of fixing all of the shelves like the Willy, I used a Kreg shelf pin jig to make the shelves adjustable.  The shelf that lines up with the TV is fixed for stability. 

The estimate below covers all of the wood, paint, screws, hardware, etc.  For fun, I'm including an in progress photo to illustrate the process.  Thanks for looking!

Also, a note - this is a relatively easy project, however, I listed it as "intermediate" because of the cabinet doors.  They definitely made it more complicated!


Built from Plan(s)
Estimated Cost
600
Estimated Time Investment
Week Long Project (20 Hours or More)
Finish Used
Sherwin Williams paint custom matched to trim.
Recommended Skill Level
Intermediate

Comments

Back