Dining chairs for X based pedestal table

I made the 4 chairs to complete the dining suite. The table was made from the X based pedestal table plan.
The timber was all cut from 200mm x 50mm pine sleepers and finished with Cabots clear finish.


I made the 4 chairs to complete the dining suite. The table was made from the X based pedestal table plan.
The timber was all cut from 200mm x 50mm pine sleepers and finished with Cabots clear finish.


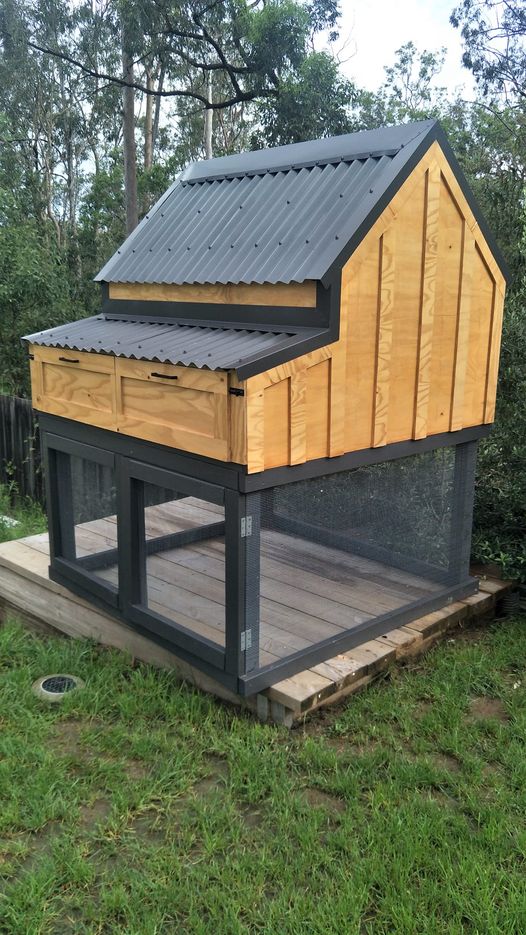
I had to convert all the measurements from inches to mm, but it was worth the brain drain. I didn't add the garden, but extended out the chicken coop. I am thrilled with the results! Thank you!
Fri, 12/03/2021 - 07:39
WOW, definitely worth the extra effort, just beautiful! I wish we could offer metric plans, may need to figure that out.
Wed, 03/23/2022 - 20:32
Did you change out the 2x4 and 2x6 on the lower half?

This little girls room needed a little happy birthday! I planked the wall with birch veneer, made simple box frames for the beds and desk, and attached them to walls with heavy duty cable. Then my friend added her designer touch, and made it cozy and girl CHIC!


Our local Habitat for Humanity puts on an annual event where they get folks to restore discarded or worn down furniture and sell them at auction. My wife and I participated last year and this year I was asked to build 4 dog houses and then they were going to let local designers/decorators finish them out.
I figured it would be easy to find a good dog house plan, but I was wrong so I had to come up with my own designs. I did not want to use plywood becauase I wanted them to look good. So I used 1x4's and 1x6's. I built them all just a little bit different, but the same basic design on all 3. Since I am not very good with circular cuts, did not do any fancy 1/2 circle doorways!
There are "after" pictures on the Blog. Thanks for looking!

I used the Modern Outdoor Chair from 2x4s and 2x6s plans and slightly modified then to make a 3 seater couch. My cushions(most expensive part) were 24 in x 24 in and purchased from Lowes for $40 per seat. The couch is 79 inches in total length. I also dropped the seat down to the lower level to allow more room for my cushion backs to sit further down into the seat.


I am loving my new garage shelves. They were my first woodworking project and very easy to do! I left the bottom right side open to fit my outdoor table and chairs in the winter (I live in Michigan). I also used thicker plywood than plan because my shelves are a bit deeper.


Used Ana's plan for chairs, coffee table, sofa and lounger. Stained and clear coated. Wife is happy. What can be better!

I used the trestle table and benches plans to make a cedar picnic table...
by Joe
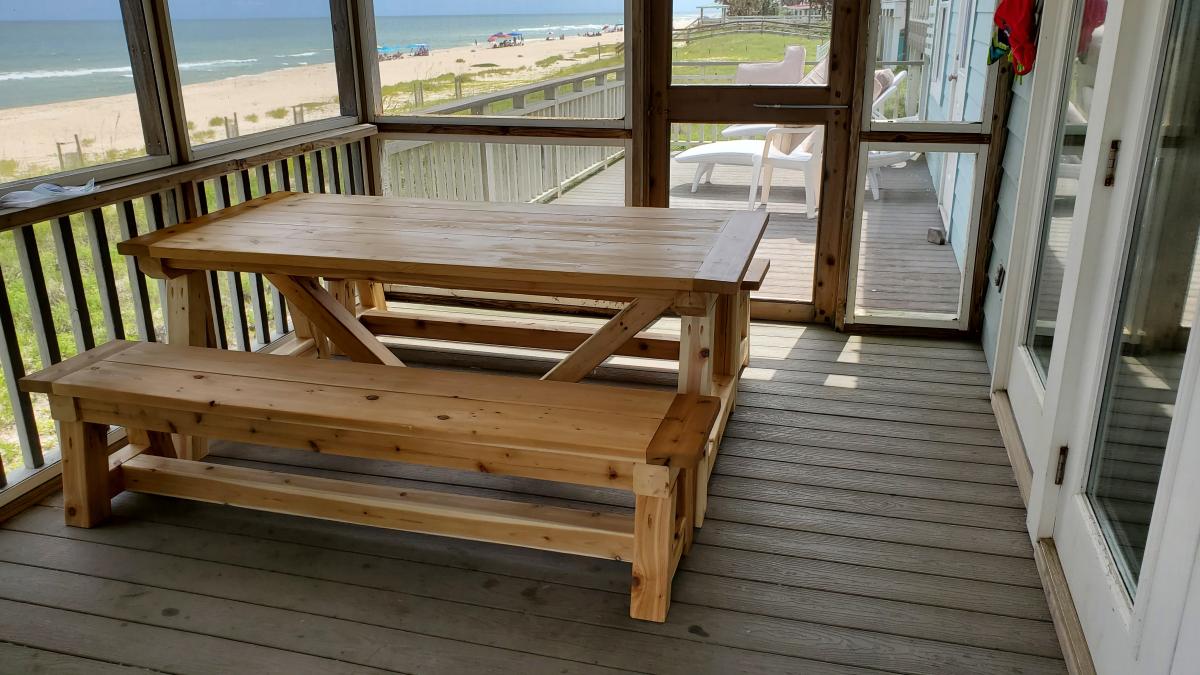
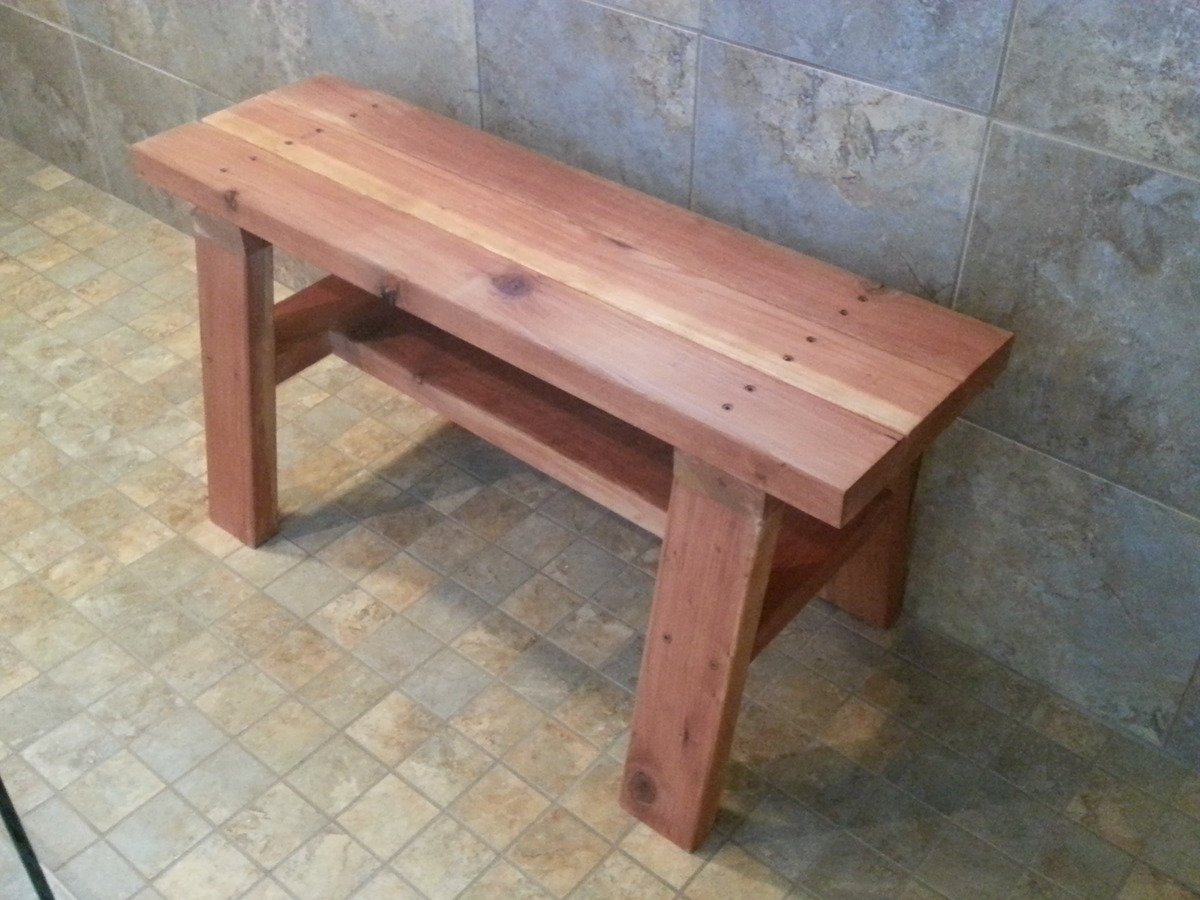
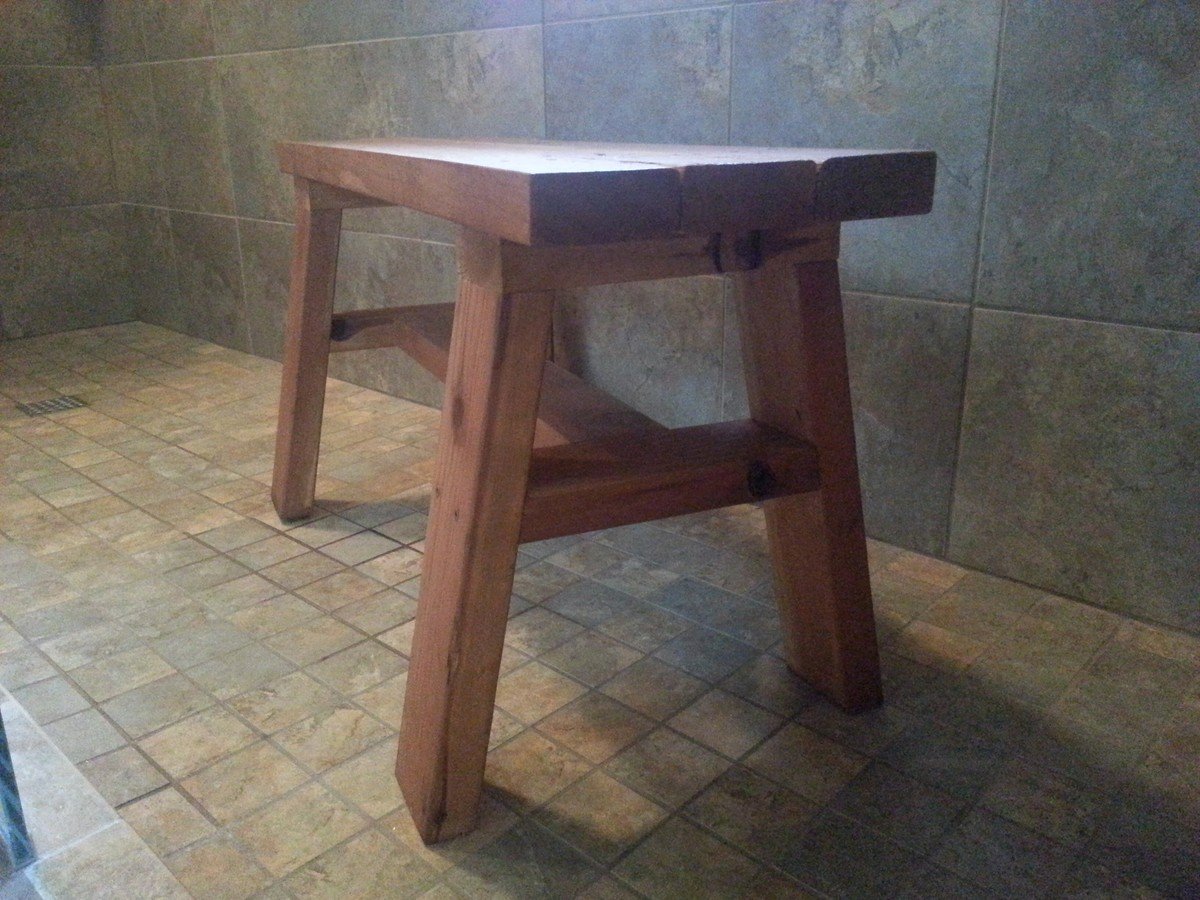
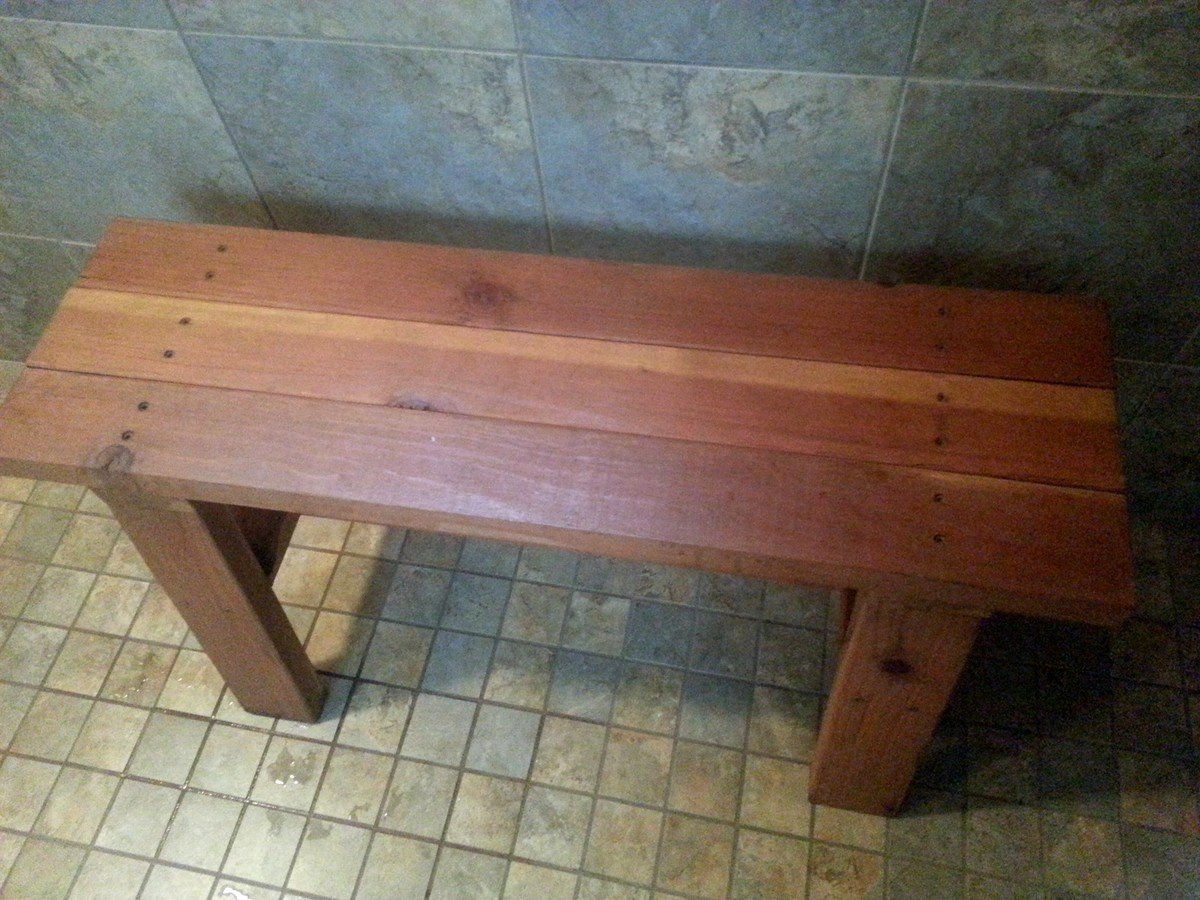
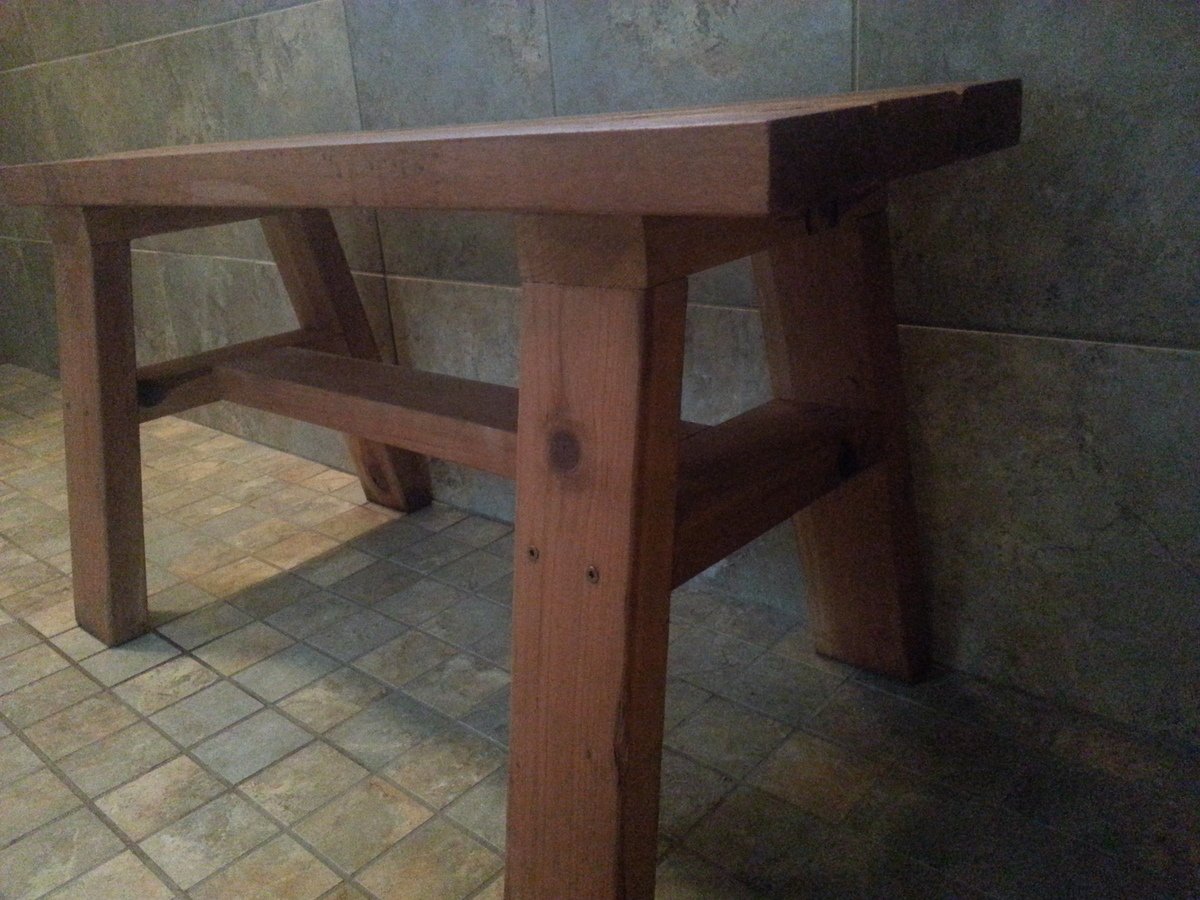
I wanted to build a small shower bench. I used the Providence Bench Plans and just made it a bit smaller with a few adjustments. This bench is 35" long and 18" tall. I did not use the cross supports on the bottom because it was so short. Also, you will see that I turned the bottom stretcher and side supports flat/horizontal. I put the screws for the seat boards through the top down just because this was the easiest way for me to do it. The plans did not show in detail how to attach the seat boards from the underside. It just said "finally, the seat boards." I guess they probably used a pocket jig. I bought a pocket jig and used it in the couple of places, but this was my first time using it. I used brown, coated decking screws in the places I did not use the pocket screws. This was my first attempt at building anything and my first time to use a pocket jig. I used a natural wood stain and Behr Weather-Proofing since it will be in a wet area.
This was our first ana white build. Bed build took one Saturday - to finish up took another week or so working nights - most of our time spent on getting the color we wanted and sanding and finishing. Building the 2x4 frame took more time than anticipated as well. We are super happy with how it turned out.
First furniture project, first Kreg jig use.
Heavily adapted storage sofa plans. Used existing day bed mattresses. Made all wood surfaces finished with nice cladding, and all fabric portions removable and washable.
Added arms, and a back ledge. Ledge is hinged to allow access to wall behind so I can get to the outlets.
Lots of work, but it is AWESOME. Thanks for the inspiration Ana!
Sun, 01/22/2017 - 13:37
This is almost exactly what I want to do! I have a dog who loves to rub on furniture and I don't want upholstery. Why did you make the back thicker? Is it just for added shelf space along the back? Thanks for posting the pictures. Very inspiring!
Mon, 02/20/2017 - 07:18
Sorry for the delay in seeing your question. I haven't signed on to this site for a while. You are correct thinking that I wanted to have shelf space along the back. The sectional is the entire width of the wall and I knew that I would not be able to have end tables. I wanted a way to have a lamp and a place to put drinks, etc. As it turns out the arms of the sectional are great for holding my beverage. The shelf holds my lamp and some baskets with general stuff like the remotes inside. Thank you for the compliment.
Wed, 01/18/2023 - 09:28
Hi! I know this is a very old post but I would love try to make something similar to what you did in your storage sofa modifications - especially the wider frame and armrests. Any chance you wrote down your plans or have more pictures of your build? I also would love to understand how you made your upholstery/fabric removable. Did you follow any plan for making the cushions? Thanks in advance!

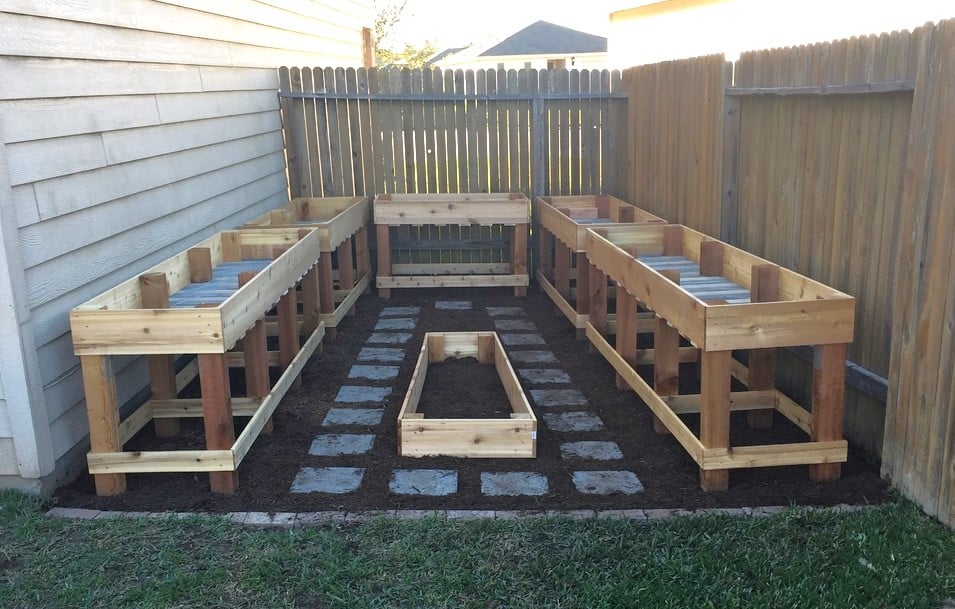
We made some modifications to the greenhouse to include a bench with three levels, a working bench and a square foot garden. We also put it on concrete to keep all the weeds out from the bottom as well.


First ever wood project. Under $200 in materials! Less than a weekend of work (for two people). Beautiful results!!!!! Built from plans on Ana-White.com The only change we made to the build was adding some additional support legs in the middle of the bed.

I wanted a large chest to store toys, books or blankets. I wanted it to be cheap to build and be rustic. This project turned out perfectly! I used 2" and 4"-wide furring strips and rope for the hinges and handles. I used 1/4" plywood for the bottom and made a groove with the router for it to slide into while assembling. I helped 16 girls make these who had no previous experience and they loved it!


Fri, 12/27/2013 - 06:21
Can you provide a lumber list for this? I know you said you used 2x4 but the lumber I see in the photo doesn't look like 2x4.
Thanks,
Ben
In reply to Lumber list by benjaminrogers
Fri, 12/27/2013 - 07:17
Hi Ben!
I used 1x4's and 1x2's. I have a shopping list and cutting list on my blog. I can't post the link here but you can click on the link where it says "Blog Link" under "About This Project"
Let me know if you have any other questions!
Fri, 12/27/2013 - 07:22
Thank you so much! Somehow I missed the link!
Ben

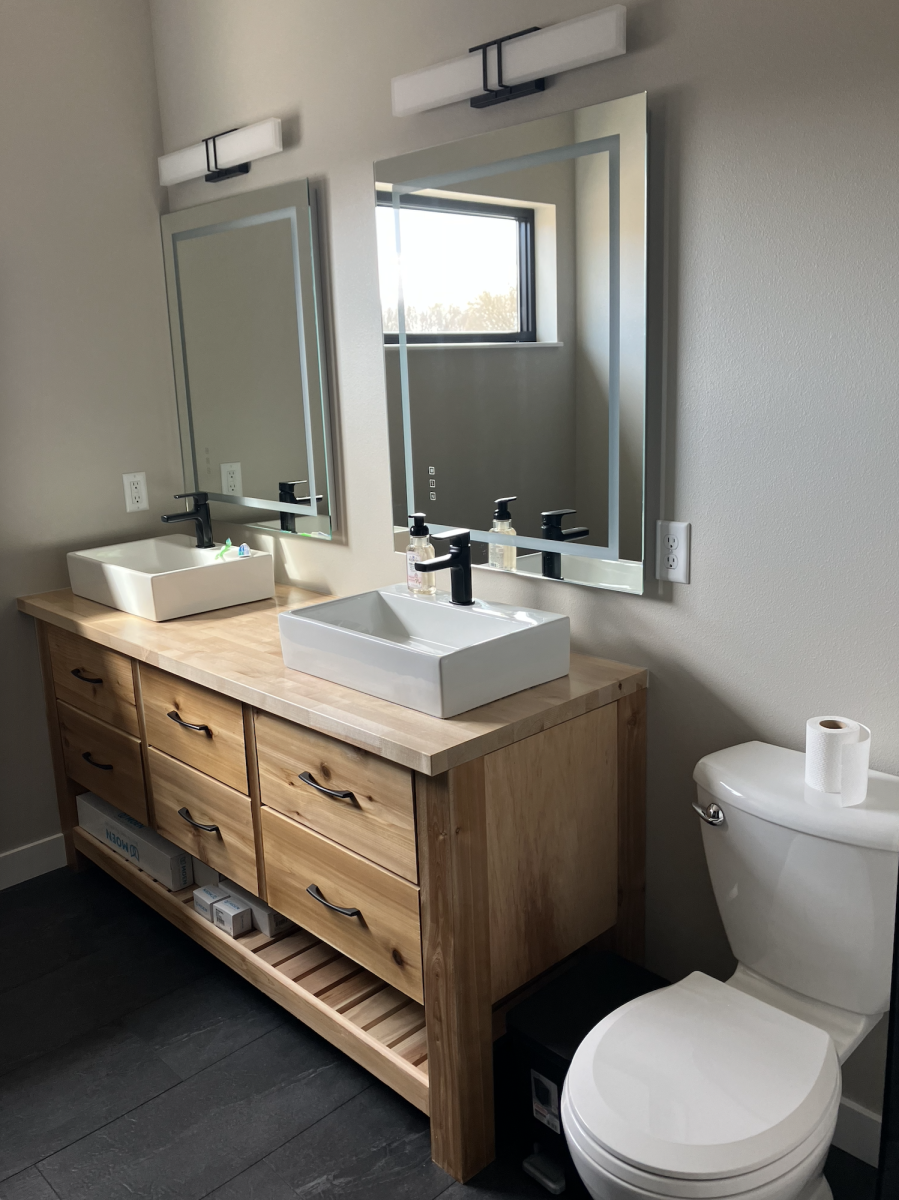
After looking at some terribly overpriced particle board vanities, I found the lovely Rustic Farmhouse Double Bath Vanity plans and decided to go for it. I think this vanity turned out much better than anything I could have bought with the same amount of money, and it will last much longer too!! Thanks Ana!!
Thu, 05/04/2023 - 10:26
Absolutely stunning, thank you for sharing your beautiful createion!

This was a fun project to build. I did change somethings around. I used plexiglass on all doors instead of plywood and it turned out great. Took a lot longer than planned but in the end it was worth it!


I've made another record cabinet, this time with a nice dark walnut stain. To see more details and plans visit my blog.
http://www.woodworkingfourdummies.com/
Cheers,
Ian
Click the blog link for a full description of this project. Thanks for looking! - Clint



I took the “classic bunk bed” plans and changed them to accommodate my 3 girls. I have 9 ft ceilings so I just stretched the traditional plans out to allow the 3rd bunk to be added. It turned out nice and my girls enjoy it. I also built a matching toy box that is visible in one of the pictures. Please excuse my messy shop. I built this with my 40 year old shopsmith and a kreg jig. Thank you for the plan.


I bought a house in 2011, and I didn’t like the way the door looked in a dining room that leads to the crawl space and a little broom closet. So instead, I built a bookshelf on hinges and painted it white and so with the help of the plans from Inset Bookshelf Doorway plans I was able to create some more bookshelf space within my house for my Fiance, who is an avid reader and Librarian. I apologize for the lack of pictures as I had no idea it would turn out so well. It was actually relatively easy using a circular saw, a kreg jig, wood glue, wood filler, and a spray painter, I thought it turned out well. At first, I measured the doorway, and adjusted the plans to meet my needs taking into account that a 2x4 is actually a 1 3/4 by 3 3/4. This was the hardest thing for me to adjust to is the actual wood size. From there, I started building out the frame. Once that was complete, I added in the shelves with the Kreg Jig to make sure that it was all flush and hidden. Lastly, I added in 1/4 inch sheet wood for the back. Now it was time to prep. I took wood filler and filled in the sides, where the drill holes were, and since I could not get sheet wood long enough for the whole door frame to make sure everything was smooth so I used wood filler and puddy to fill in the space in between. Once everything was dry, I used my Ryobi paint sprayer and may have over-done it on the first pass, since this was my first time using it. After cleaning it up, I applied another coat and I am pretty happy. Finally, I finished it off with a magnetic pin to lock it in place so it appears to be shut and all you have to do is to push to open. Future updates, per the Fiance's request is to use a book with string through the back to unlock it in a gated fashion. I hope you guys enjoy, and I apologize for the lack of overall detail. This was done over a year ago and I have since cleaned out my notes.


The painting took me a long time but it was fun learning all the skills required to make this project. I added a little microwave oven under the sink and a utensil holder along one side. The wood construction was quick - the painting knobs, and jig cut-outs took a little longer!

Comments
Ana White Admin
Mon, 03/06/2023 - 13:35
Love the look!
What a beautiful set! Thank you so much for sharing your amazing work:)