Community Brag Posts

Outdoor Sofa and Chair with Slanted Back

Submitted by Anonymous (not verified) on Sun, 07/16/2023 - 10:22

OK, I think this build may be my biggest project yet! It is definitely the heaviest. With the strong winds we can get here in Florida we needed substantial outdoor furniture.
I did make some modifications along the way measurement-wise so the sofa would fit my front porch better. All in all, this took 2 full days. I built the sofa first, stained it the next day and then decided (due to trying to get stain in all the nooks and crannies) to stain the chair pieces first before putting it together.
I am so happy with the results and so far, almost a year later, this furniture looks great and hasn't moved an inch in any of the thunderstorms we've had! Thank you Ana!!

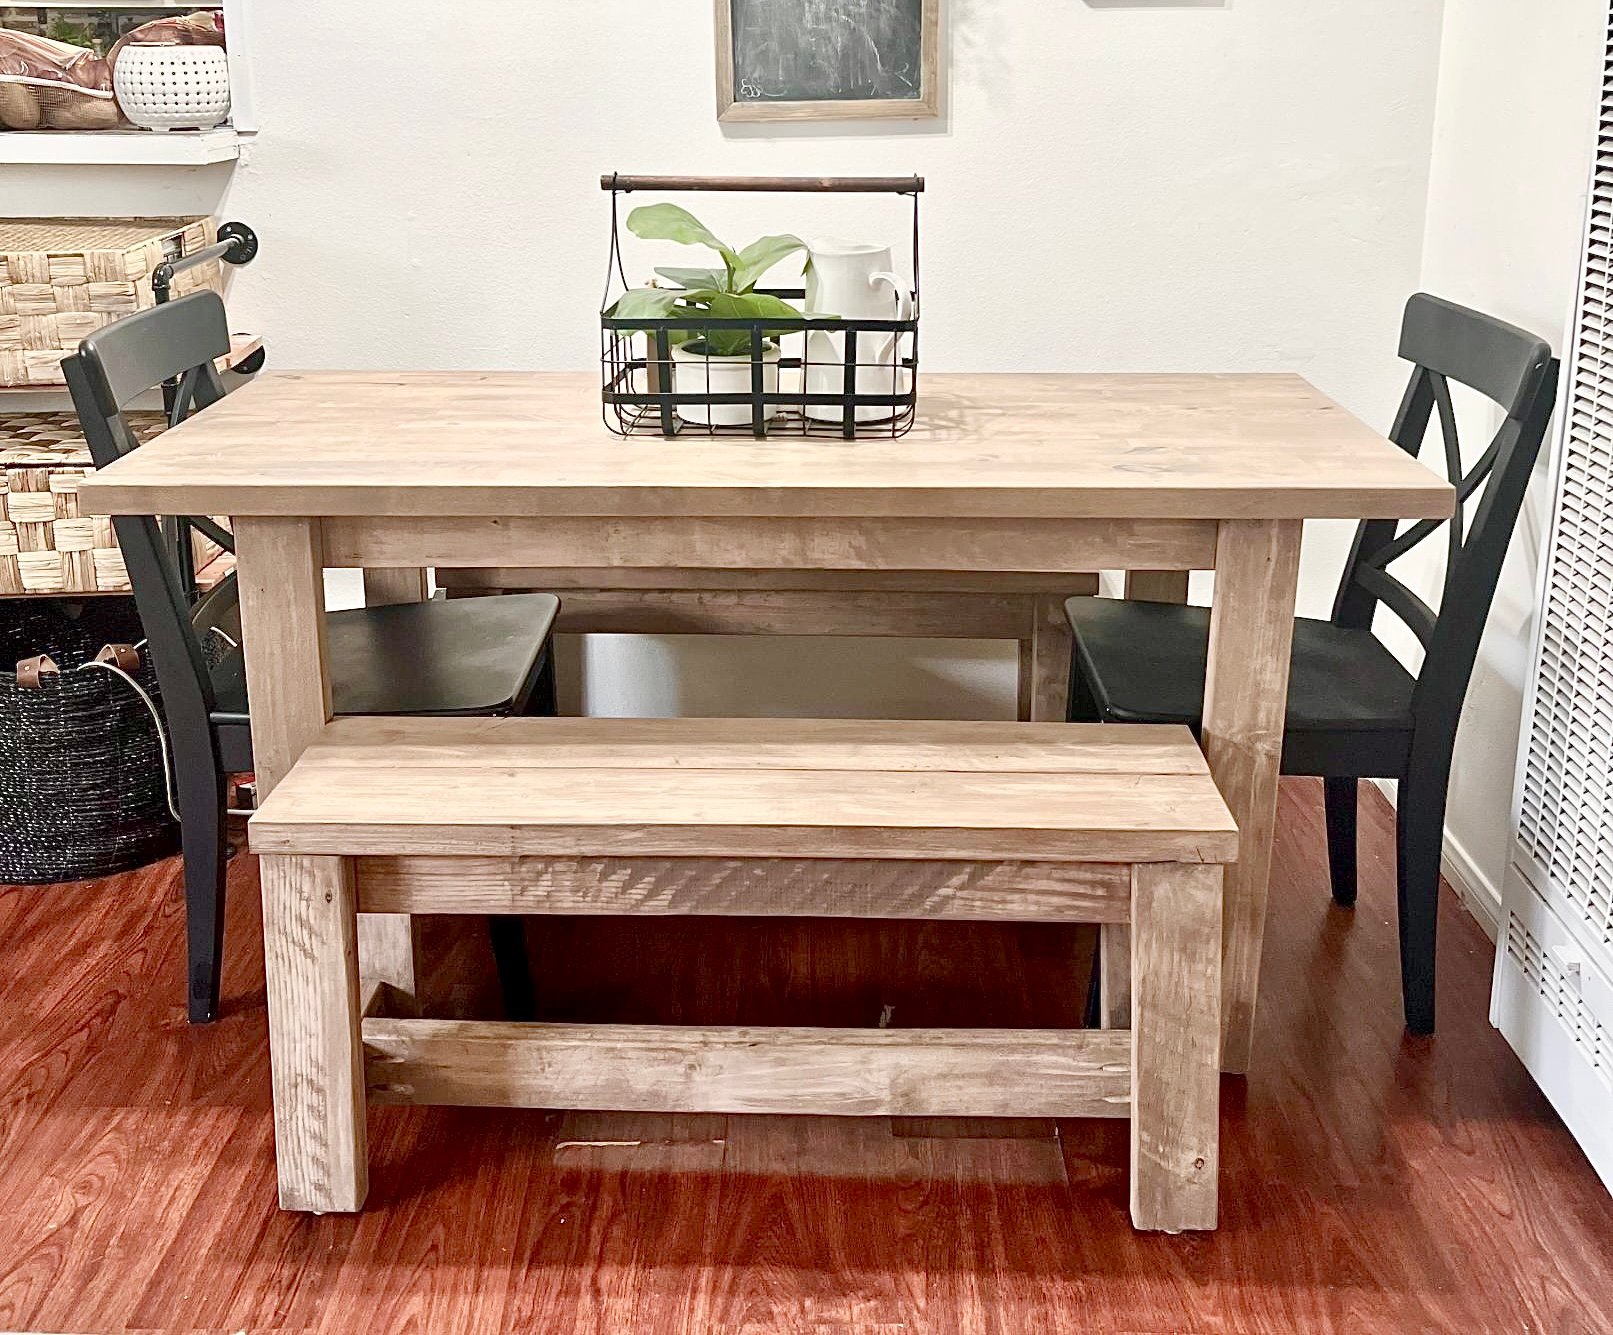
Two-Toned shabby chic 4X4 Truss dining Table and Benches

4c4 truss with dark walnut top 4" thick, base stained dark walnut with white wash and shabby etching.

Estimated Time Investment
Weekend Project (10-20 Hours)
Finish Used
Dark walnut, white paint, matte pily
Recommended Skill Level
Intermediate

Comments

thewoodbuilder

Tue, 11/18/2014 - 04:55

I know right, i think looks even more amazing when seen in person.  I did 2 chairs to match as well. which i will load up now.  :0)

White Bunk beds with ladder instructions

I redid this whole room for less than $600! Make sure you take your time with cuts and fitting. I did this with my father in law (my daughter even got to help out!), and it's less than perfect due to some rushing! More details on my blog.

I also couldn't find any 4x4's. Instead of doubling up on 2x4's, I just used one. That allowed me to change the tops of the head/foot boards to only 48" instead of 50 1/2. You can get enough for a head and foot board out of one board this way.

After looking at a TON of bunk bed ladders online, I designed my own. Just some leftover 2x4's. The sides are 47 1/2 inches long, and the rungs are 13 1/2 inches long. It's screwed to the bunk bed from the back so you don't see the screws.

Estimated Cost
$300
Estimated Time Investment
Weekend Project (10-20 Hours)
Finish Used
Sanded the heck out of everything, then two coats of Behr primer, followed by 2-3 coats of Behr semi-gloss in New Day Dew (it's a Disney color)
Recommended Skill Level
Beginner

Chicken Run

Submitted by Kdline on Mon, 04/13/2015 - 06:36

We built this coop from an existing playhouse and used Ana's plans to build the run!  So easy and turned out perfectly!

Built from Plan(s)
Estimated Time Investment
Day Project (6-9 Hours)
Recommended Skill Level
Beginner

Comments

Simple Play Kitchen

Submitted by Anonymous (not verified) on Sun, 06/04/2023 - 13:03

I made this play kitchen as a Christmas present for my kids, and it’s been a big hit! It’s built mostly from leftover hardwood plywood, and a couple of 1x12 pine boards. The oven knobs and faucet were cut from redwood scraps and attached with 1/2” dowels to freely rotate. The vertical surfaces were painted with leftover house paint and sealed with water-based polycrylic. It was a fun build, and I learned some new skills (like installing hinges)! Thanks for the plans!

Comments

Modern Outdoor Chair with Backrest

Submitted by PoppaZotch on Mon, 08/17/2020 - 11:53

Per request of my wife, I opted to add a backrest to the chair. I feel as though my backrest design keeps with the style of the original build. I accomplished this by cutting the 2x4 vertical arms of the backrest at 13 inches with a 10 deg miter cut at the base. This allows you to keep with the 3/4" on the 2x6 backrest slats. I finished it off with a 2x4 top plate. I'd also note that I made slight modifications to the plans to accommodate 24" cushions.

Estimated Cost
$100
Estimated Time Investment
Afternoon Project (3-6 Hours)
Finish Used
sanded to a 220 grit
Recommended Skill Level
Intermediate

Rustic Sideboard / Buffet Table

This was our second project (though I'm proud to say that I was able to put the bulk of it together all by myself...and that's because of the miracle of the Kreg Jig pocket hole kit!)

First I had to modify the plans so that the sideboard wasn't as deep (about 16" deep...so just a couple/few inches off the original plans). Then we bought the wood. My husband helped me cut most of the pieces, and then I started drilling pocket holes. It felt like it took forever! But once that was done, I was able to put it together so quick...like an IKEA furniture! BUT! I really should have checked for SQUARE better than I did, b/c once it REALLY started coming together, things were a little off kilter... Thank goodness my husband had the patience to SAND THE HECK out of the bottom of the poor thing to level it back out. :P

The door fronts took forever...and the drawers took a while to fit in correctly (all of which my hubs did). We had left our lumber on the patio, and the second day it got rained on. It might have helped if our lumber didn't get wet (to help keep things straight and square).

The things that took the longest: squaring, leveling, doors and drawers, and the base molding (I ended up using a 2x4 and 1x2 to build my own base along the bottom...we wanted to stain the wood instead of paint it, and didn't want to pay the $$$ for paintable molding).

I used the same Rustoleum Dark Walnut stain that I had used on our Farmhouse Table...but I didn't shake it enough before using it, then left it on longer than I should have, so it is much darker than our table. Eventually may want to paint over it since it was so hard to get stain in all the nooks and crannies.

I didn't think to stain the inside of the doors. I will have to go back and paint it someday. We used particle board for the bottom and inside shelf (much cheaper than plywood). I tried staining the bottom piece, but it just soaked in the stain. So I used some dark brown spray paint instead. Worked like a charm. Planning on painting/covering the shelves one day, too.

OH! AND, I couldn't find the wider "bead board" (or whatever it is that everyone else used on their sideboards), so we used plywood as a backing, then attached some thin Poplar boards on the front for the appearance of planked boards. VERY painstaking. Would recommend a different method for that part.

(Timing: We started building this around the beginning of November, brought it in and used it before it was finished...then finished it a couple days before Christmas. Just the other day I added some drawer liners).

Built from Plan(s)
Estimated Cost
$200-300 for lumber.
Estimated Time Investment
Week Long Project (20 Hours or More)
Finish Used
Rustoleum Dark Walnut
Deft Clear Satin, 1 coat.
Recommended Skill Level
Intermediate

Comments

hillarylouise

Wed, 02/06/2013 - 15:20

I saw your comment on my blog and had to come take a peek! It sounds like it was a challenging project, but you did a fantastic job. Beautiful!

Single Simple Modern Outdoor Lounger

Submitted by Anonymous (not verified) on Fri, 04/22/2011 - 12:18

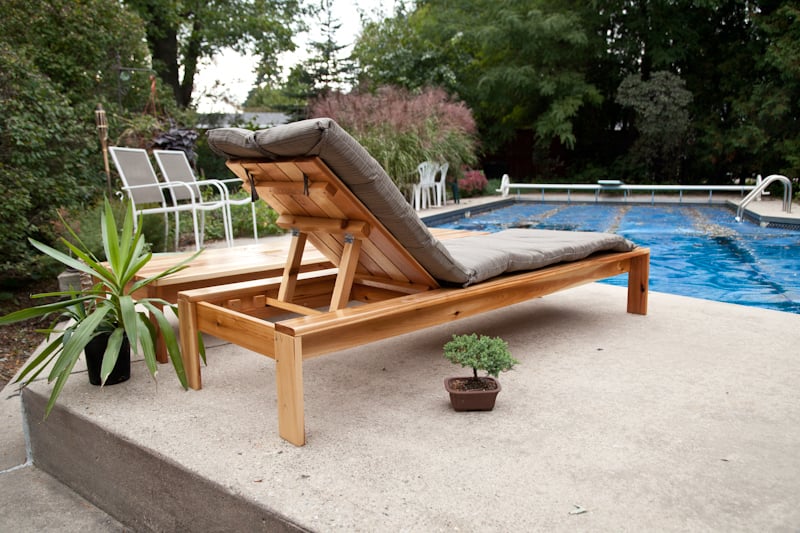
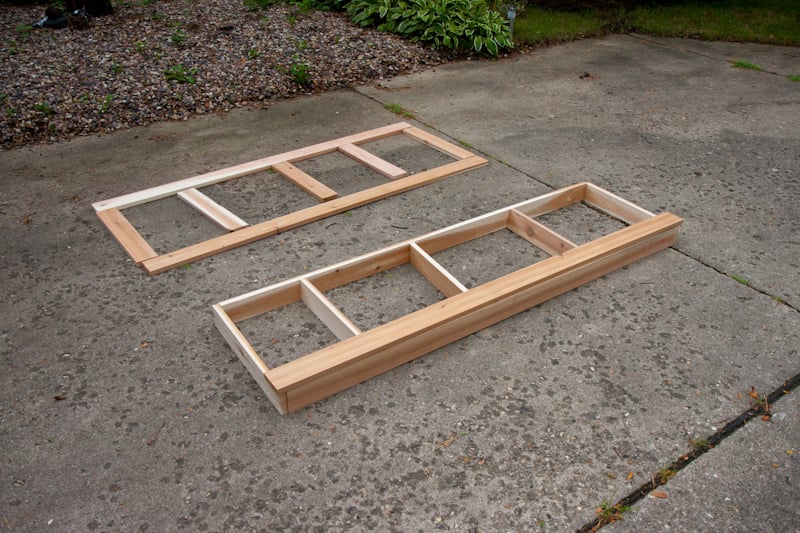
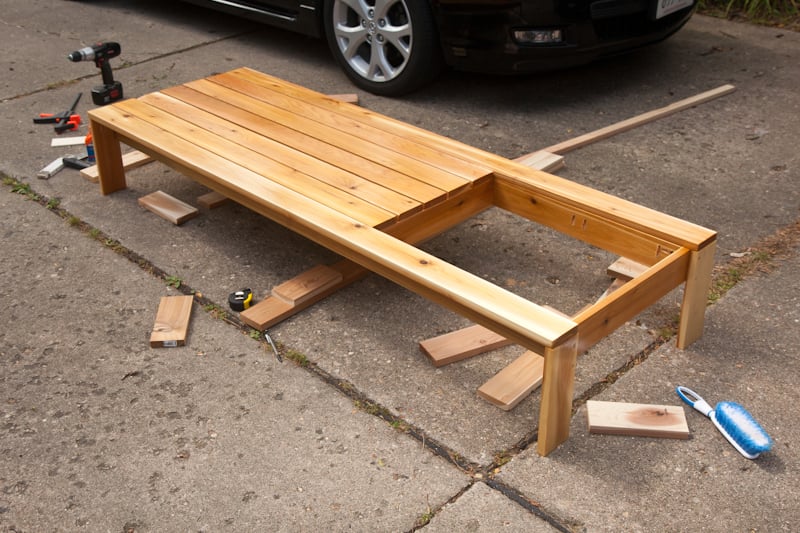
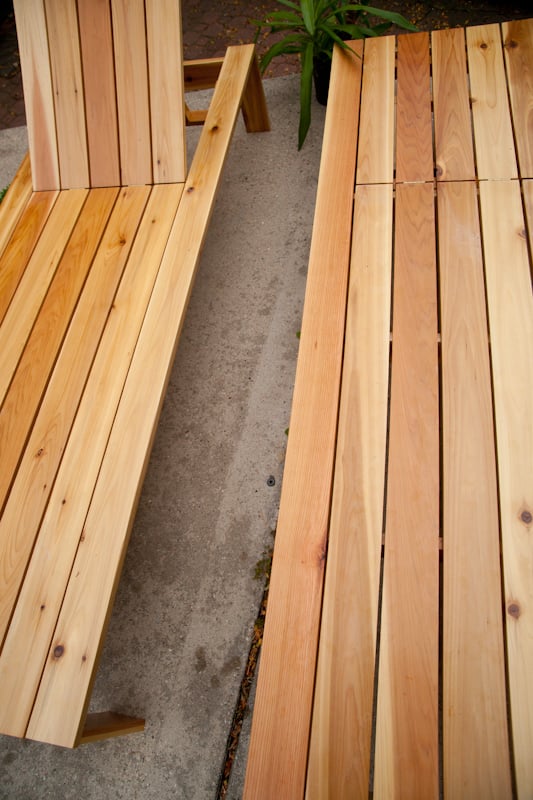
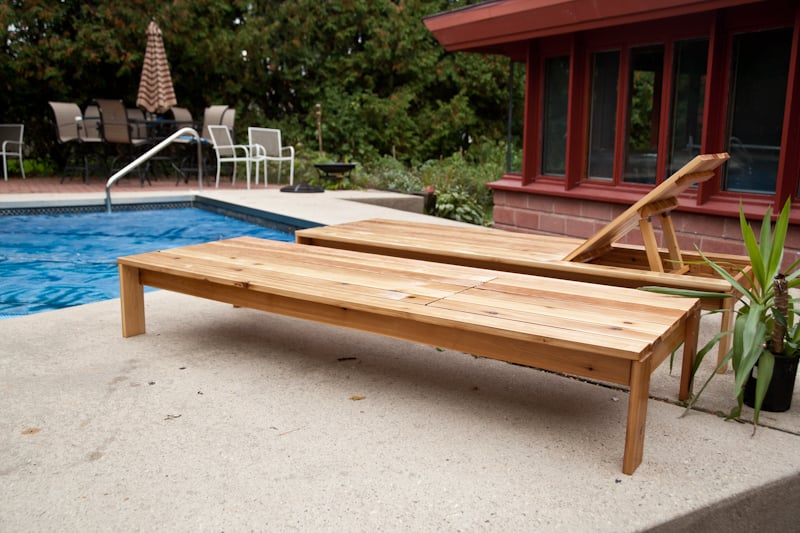
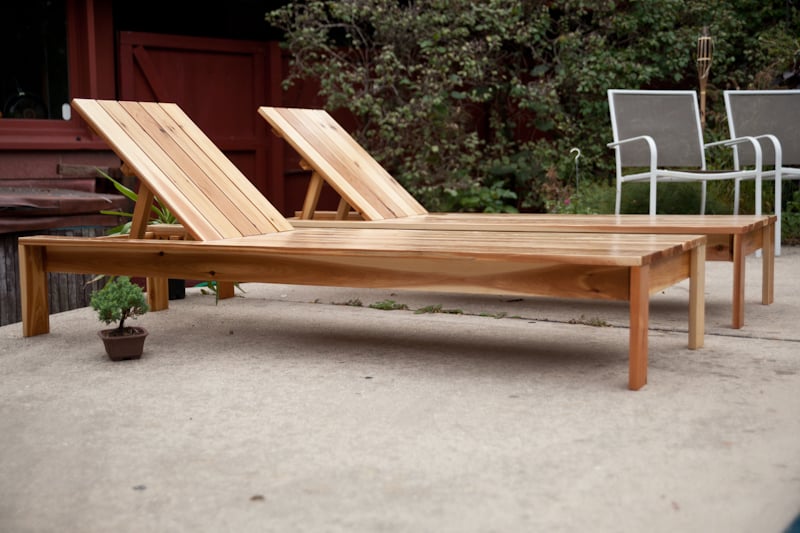
Modified the double lounger plans into 2 single loungers. I liked the idea of the boards running the long way rather than from side to side like the single lounger plan. These were pretty easy to build. All assembled with a Kreg for hidden screws. Made with Sanded and super polyurethaned cedar (3 or 4 coats). turned out beautiful with the matching boards running from head to toe!

Estimated Time Investment
Weekend Project (10-20 Hours)
Finish Used
Multiple coats of polyurethane with sanding between each coat.
Recommended Skill Level
Intermediate
Seasonal And Holiday

lawn and garden shed

Submitted by brittanyj on Wed, 08/19/2015 - 13:17

Needed a shed to store bikes and mowers, etc, so I'd have more room in the woodshop : )  I made a lot of modifications to the plan to fit my space and make it much larger.  The completed size is 7 foot tall at the peak, 6 feet deep and 5.5 feet wide.  I made it as a 3 sided shed, using the wall as the 4th to save on cost, increase air flow, and make the exterior house wall accessible.  I also made an egress in the back of the shed in order to get behind the shed if needed. 

Instead of roofing shingles, I opted for ribbed metal sheets and one clear sheet in the middle to make a skylight, so there would be light in the shed.  This is my favorite part of the project.  It was a huge pain to attach the roofing from a ladder with very limited access, but it looks great and I love the light coming in.  We have very little rain in CA, so I'll have to wait until winter/rainy season in order to test out its waterproofing. 

Since the shed sits between the house and the neighbors block wall fence, and I wanted to use as much of the space as I could, I decided to design the shed to have the side wall against the house rather than the back wall, as shown in the plan.  This took a large amount of modifications, but with careful planning and measuring, it can be done.  This also meant blocking off access to behind the shed, so I cut an egress in the back wall and added hinges so you can lift the back cut out panel, and rest it on a stop block attached to the fence behind it in order to have access.  That's what woodworking is about- problem solving.  Love it. 

As you can see by the full shed picture, it fits a large amount of stuff- 2 adult bikes, mower, edger, trimmer, chainsaw, hedge trimmer, garden tools, shovels, etc, with plenty of room for more.  I now have a free corner in my garage that I've already filled with a DIY rolling workbench and more pegboard space for tool hanging.  Woodshop increased space= happy Brittany. 

I should also mention that building the frame and adding the pickets was quite a quick and easy job.  The hardest and most time consuming part was the roof (I didn't have metal cutting tools), rolling each very heavy wall to the site (I was alone) and the previous 2 weeks in which I built the paver patio the shed sits on.  Hard work, but worth it.  I love it!

Built from Plan(s)
Estimated Cost
$280
Estimated Time Investment
Week Long Project (20 Hours or More)
Recommended Skill Level
Intermediate

Comments

brittanyj

Mon, 01/25/2021 - 13:15

It has been incredibly useful for storing! One thing about the skylight- Over time the sun has warped it and there is now a hole and crack there. So I wouldn't plan on the clear roofing being a long term solution- I will be replacing it with either thicker clear roofing or 2 layers.

Garage Shelves

Submitted by Anonymous (not verified) on Wed, 10/24/2018 - 08:43

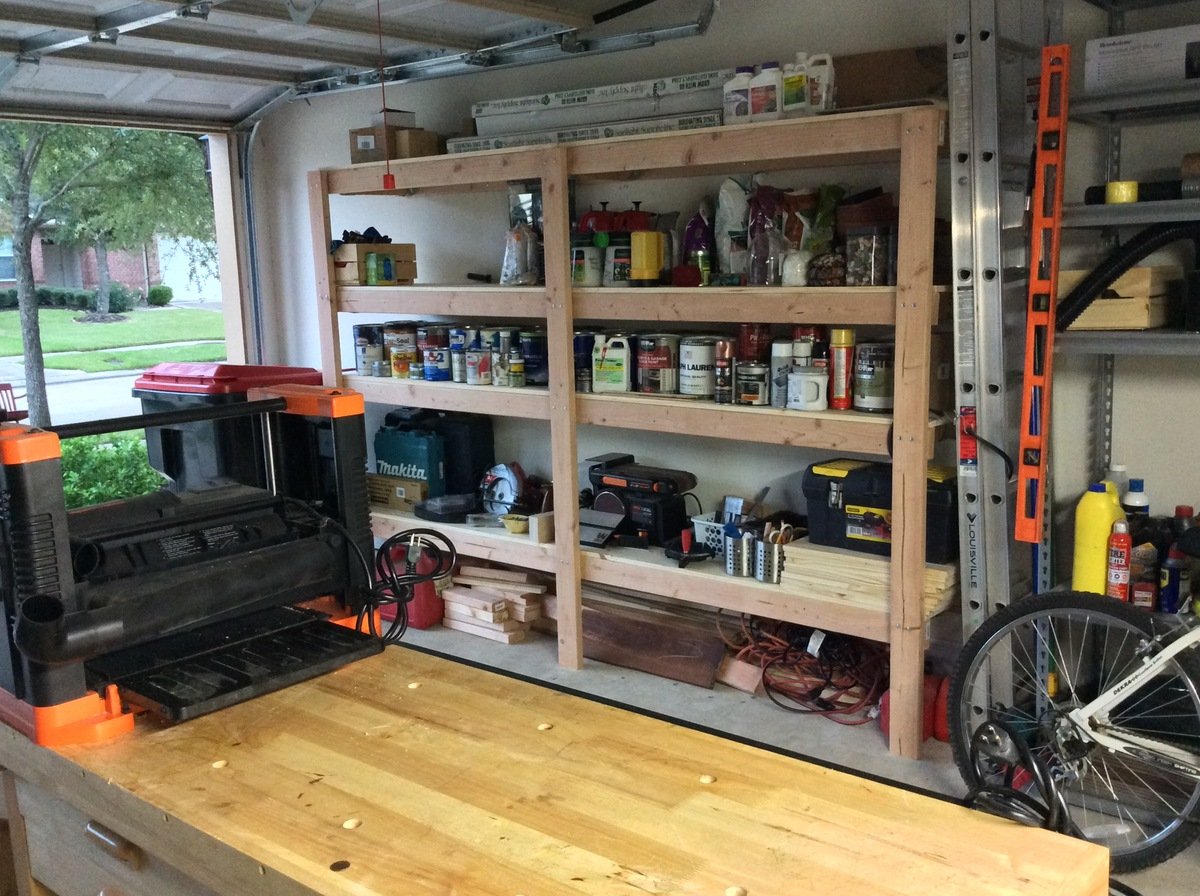
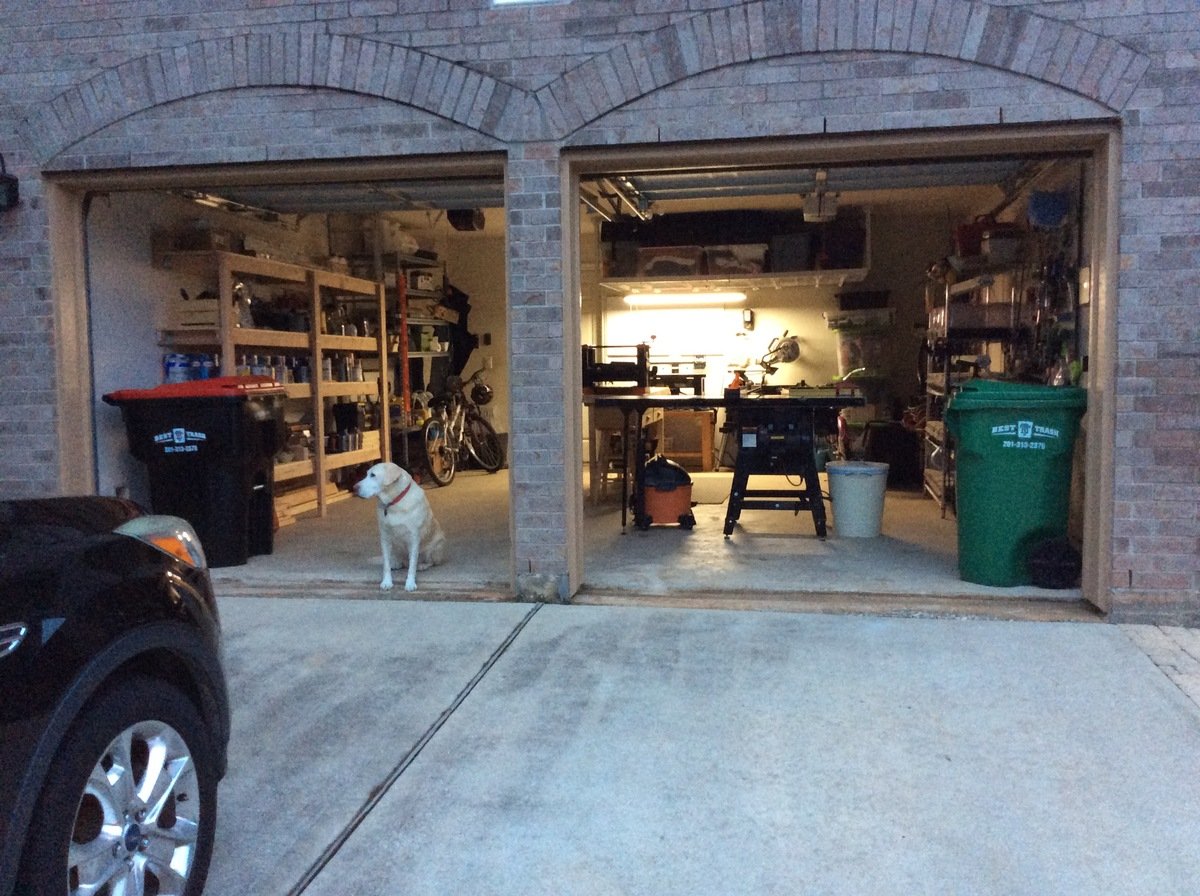
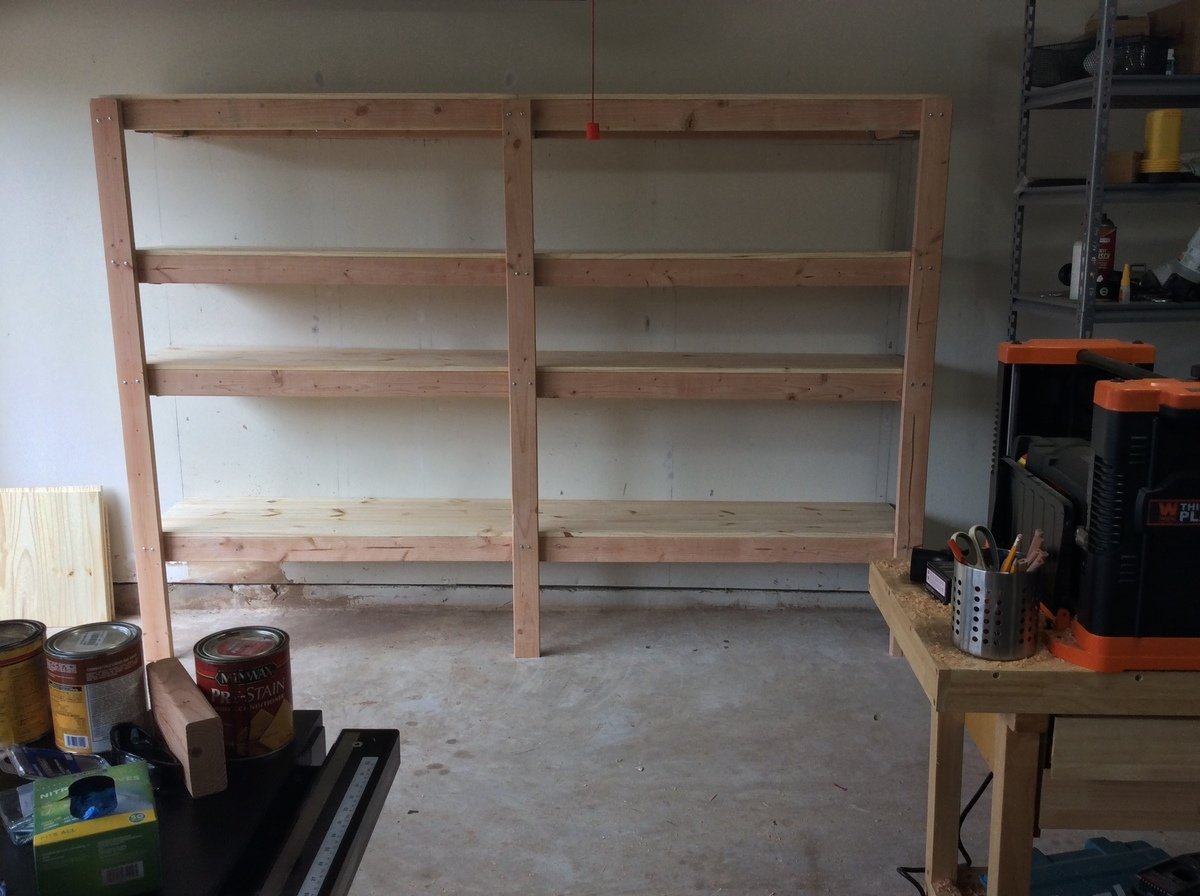
This was a pretty easy project, but I had to adjust the vertical legs to accommodate the sloping garage floor. I drew a  horizontal line for the top edge then measured to the floor at the spacing I wanted the vertical legs. I used these measurements to cut the three vertical legs. It’s level and straight, even though my garage is sloped. 

Estimated Cost
$300
Estimated Time Investment
Week Long Project (20 Hours or More)
Finish Used
Garage shelving
Recommended Skill Level
Beginner

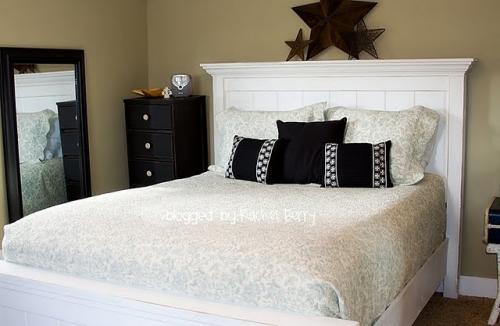
Finally Built a Platform Bed!

Submitted by Anonymous (not verified) on Mon, 07/25/2022 - 10:39

I've been wanting to build this bed for awhile and finally got around to it. I made a few small changes to the plans:

-I used 2x8's instead of 2x6s, so it wouldn't be so low to the ground.
-I ripped 3/8" off of the 2x8 supports in the middle so the mattress would nest inside the frame and not slide around
-I didn't add the headboard because it seemed a bit chunky/rustic for my taste. I will come back and do something else for the headboard. Maybe a cool paneled wall with built in sconces? We'll see!

Love these plans though, appreciate it!

Comments

Outdoor end tables

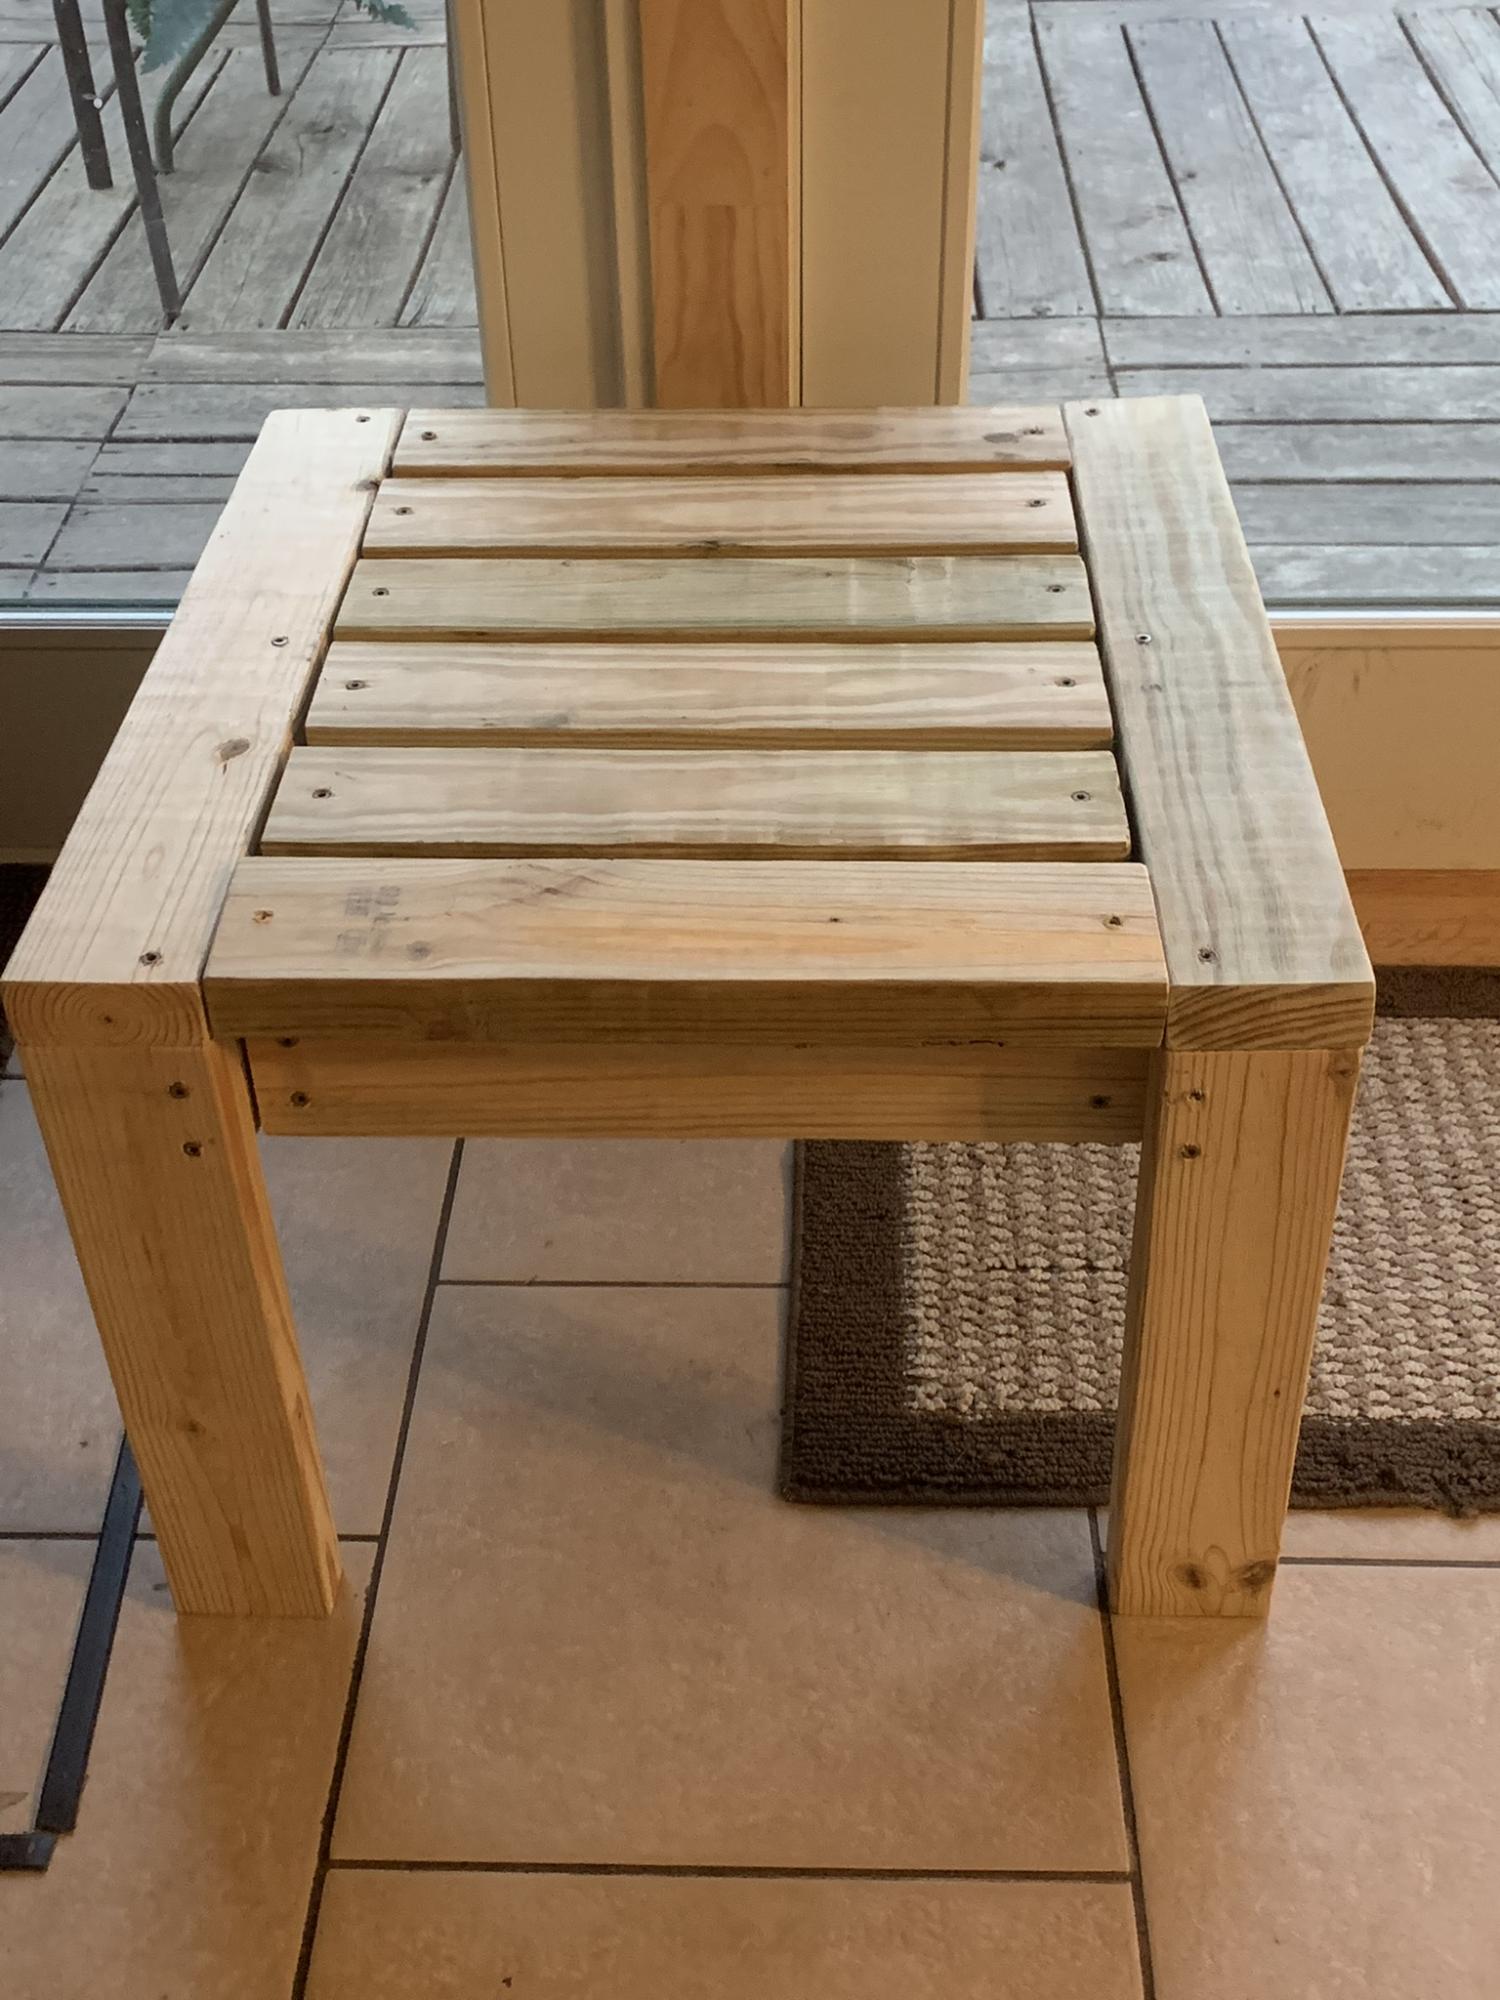
I made these two Ana White outdoor end tables for my patio. Next up will be the matching coffee table

Built from Plan(s)

Comments

IKEA Hack 6" Tray Cabinet

Submitted by Matty3481 on Thu, 01/07/2016 - 16:30

I'm happy to share with everyone my IKEA hack 6" tray cabinet.

I found a 24" cabinet box in IKEA's As-Is section and took it home for half price ($23)!  I would have preferred plywood, but my table saw is a little small and cutting large sheets of plywood is a little scary.  When I deconstructed the cabinet, it sustained some damage (as its particleboard), so if you try this at home, be careful!  I ended up changing the depth to 22" in order to cut off the damaged piece, but that shouldnt be noticeable with average trays and cutting boards.  

I used Ana's 6" tray cabinet plan and modified the dimensions a little for my planned space.  It still needs the back, face frame and door (which will be a replacement drawer front from the cabinet manufacturer).  I plan on building the face frame at the time the cabinets are installed, since this will go in between the 36" corner easy-reach and the 36" sink base.  Once its done, I'll post updated pics!

Estimated Cost
$30 (cabinet and an aluminum straight edge tool to help me cut straight lines with my Dremel).
Estimated Time Investment
Afternoon Project (3-6 Hours)
Finish Used
Face frame will be painted to match factory cabinets
Recommended Skill Level
Intermediate

Western Saloon doors

Submitted by tracysmith on Thu, 08/02/2012 - 00:44

I built these doors for a very good friend of mine who actually helped me get started turning my new love for building (after finding Ana's site) into a way for our family to make some extra money.

It took me a little while to wrap my brain around building something without using my Kreg Jig. I used a router table set up with some raised panels bits and put the whole thing together with glue and nails! Wonderful experience!

For the finish, I used a vinegar solution to give the cedar wood an old barn look. I think the final result turned out great and the final step was a clear coat sprayed on out of a rattle can.

Estimated Cost
Lumber cost was about $80
Estimated Time Investment
Week Long Project (20 Hours or More)
Finish Used
Vinegar solution and a clear coat put on.
Recommended Skill Level
Advanced

Comments

birdsandsoap

Thu, 08/02/2012 - 10:51

These turned out great! I haven't seen this style of door in forever! They used to be really popular, I remember my Aunt and Uncle having these in the entry to their kitchen. They were the coolest thing ever when I was a kid! Maybe they are a making a comeback?
I'm really impressed with your routing skills, that's a task I have yet to tackle, but I've got the bits laying around waiting.

Nice job!

tracysmith

Thu, 08/02/2012 - 21:10

Thanks a bunch! My friend is replacing an old set of louvered doors that went into her laundry room. Her family are farmers and rodeo people so the western decor really fits in their house. Great western stuff there. They made a chandelier out of a wagon wheel! Really cool!

This was my first attempt at routing so I really appreciate your compliment! It's really simple if you can get the basics of it. I'm sure you'll do just fine when you get to that point. If I can do it, anyone can do it! Thanks again!!

laneal1987

Mon, 01/23/2017 - 09:32

I really want to try and build this for a closet.  Are there any instructions for this?  This is the first door of this style that I have come across that I absolutely love.

Hidden Desk

Submitted by Anonymous (not verified) on Sat, 10/08/2016 - 12:24

I shrunk the size and dumbed down the plans to fit my skill level.

Built from Plan(s)
Estimated Cost
175
Estimated Time Investment
Weekend Project (10-20 Hours)
Finish Used
Walnut
Recommended Skill Level
Intermediate

Comments

Texastia

Mon, 10/10/2016 - 09:08

I love what you did! It looks so great! I prefer this style, which is more simplistic than the other. Great work!!


Jessi_ites

Tue, 10/11/2016 - 14:56

Thanks! I wish I would of set up an account before I posted so I could get notifications.  I honestly didn't think anyone would notice it :)

Jessi_ites

Tue, 10/11/2016 - 14:58

I am so excited that people noticed this :)  Is there any way of putting this under my account?  I didnt make an account until today and I would like to get notifications.   I have my project on my facebook page and can prove that I made it with other pictures. Thanks!

crstorm

Mon, 01/20/2020 - 07:44

I would love to see this in a farm-house (rather than rustic) aesthetic along with drawers under the seats for extra storage. Maybe on casters with a fold up extension on the other side? So many ideas running through my head with this!

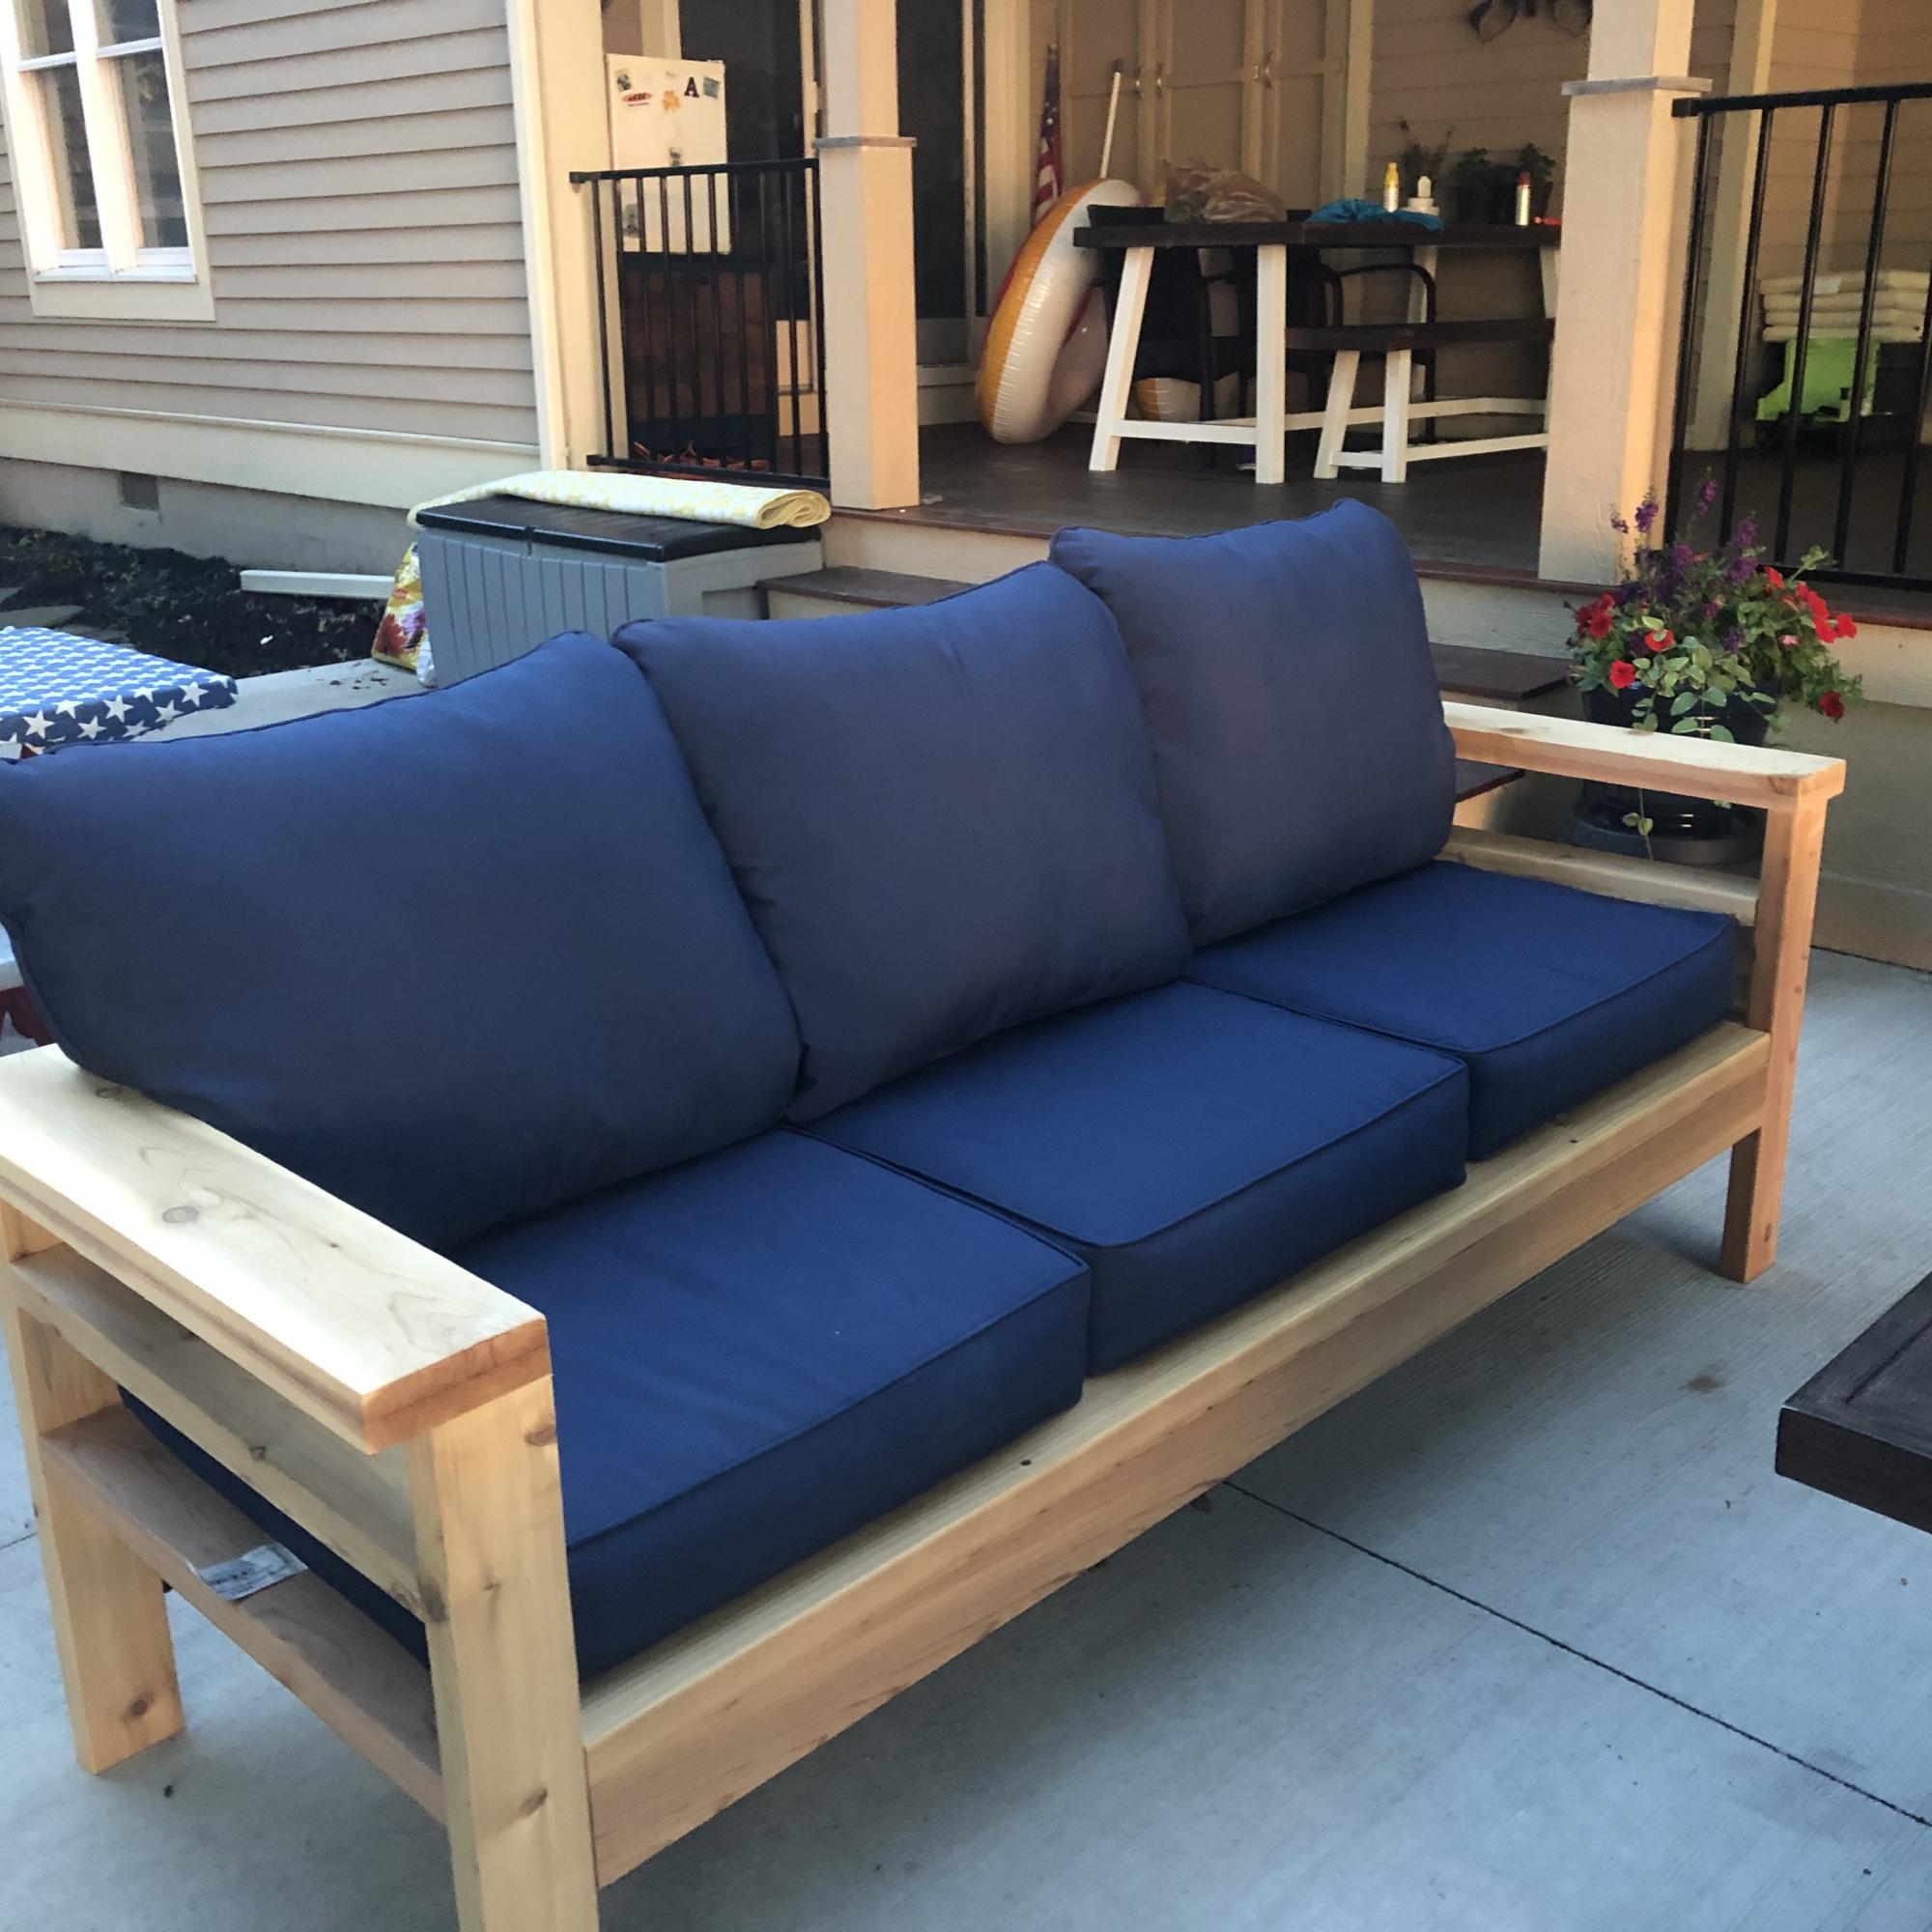
2x4 outdoor couch

Submitted by Anonymous (not verified) on Sat, 07/18/2020 - 18:46

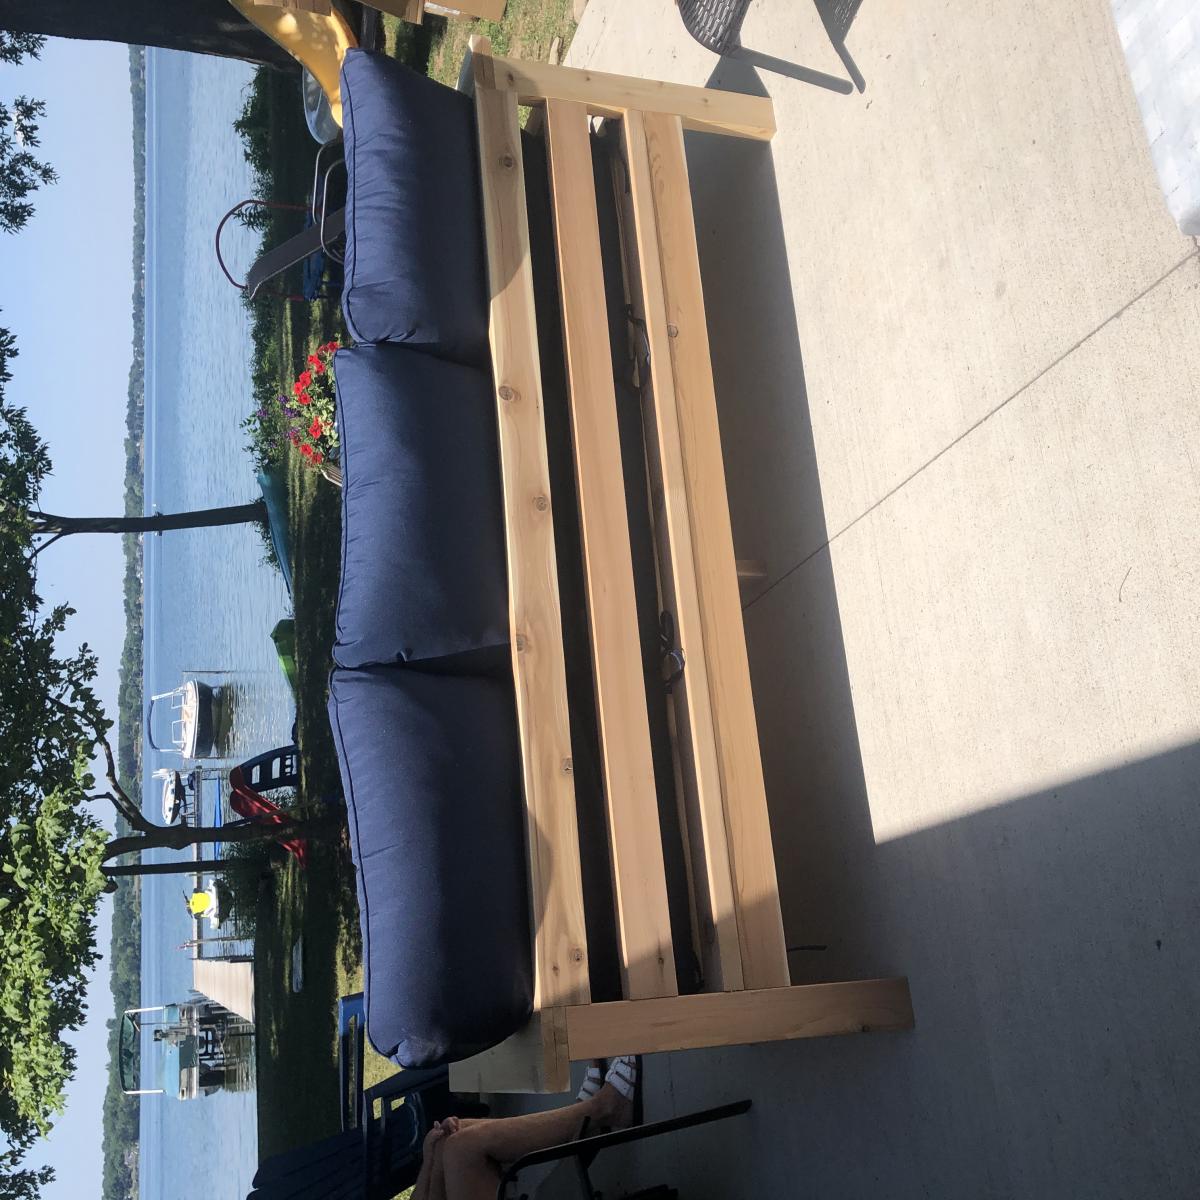
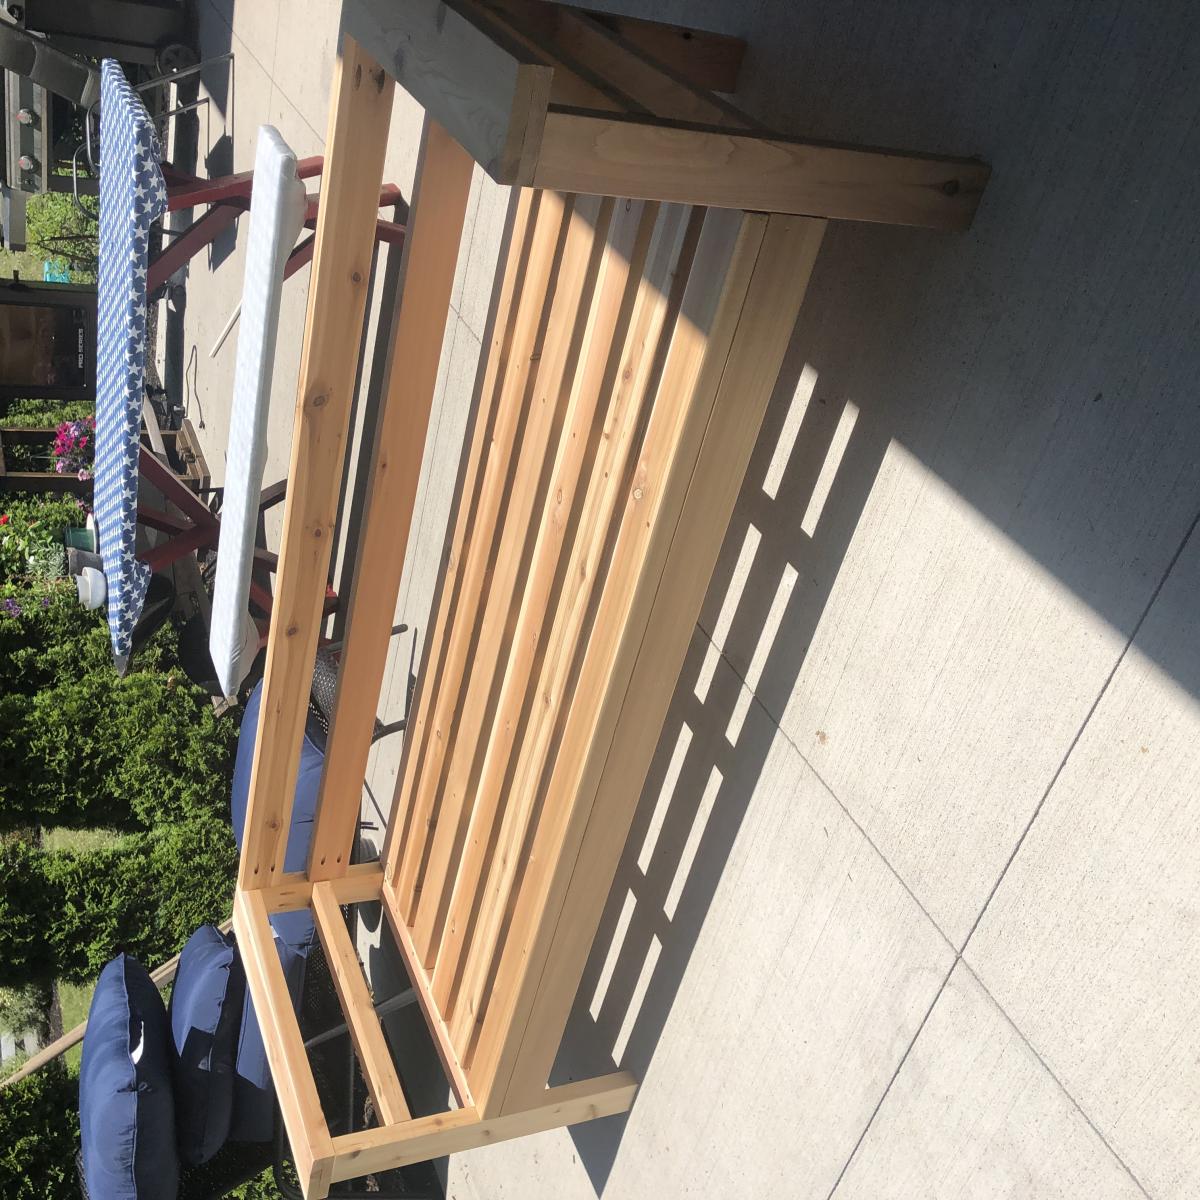
I used cedar and added the extra boards so the cushions would stay put. We also made the arms 2x6 boards so we wouldn’t need end tables for the couch. The plans were super easy to follow. I mostly used pocket holes so the screws wouldn’t be visible. Love how it came out! Thank you for the plans, Ana!!

Built from Plan(s)
Estimated Time Investment
Day Project (6-9 Hours)
Finish Used
Nothing yet. Deciding on whether to let it grey on its own
Recommended Skill Level
Beginner

Trash / Recycling Cabinet

Submitted by Anonymous (not verified) on Tue, 07/27/2021 - 11:21

This was a build I was able to check off my Honey-do List. We use it as a Trash / Recycling Cabinet. Basic cabinet build with tray drawers for the trash cans.

Estimated Time Investment
Weekend Project (10-20 Hours)
Recommended Skill Level
Intermediate

Comments

Back