Community Brag Posts

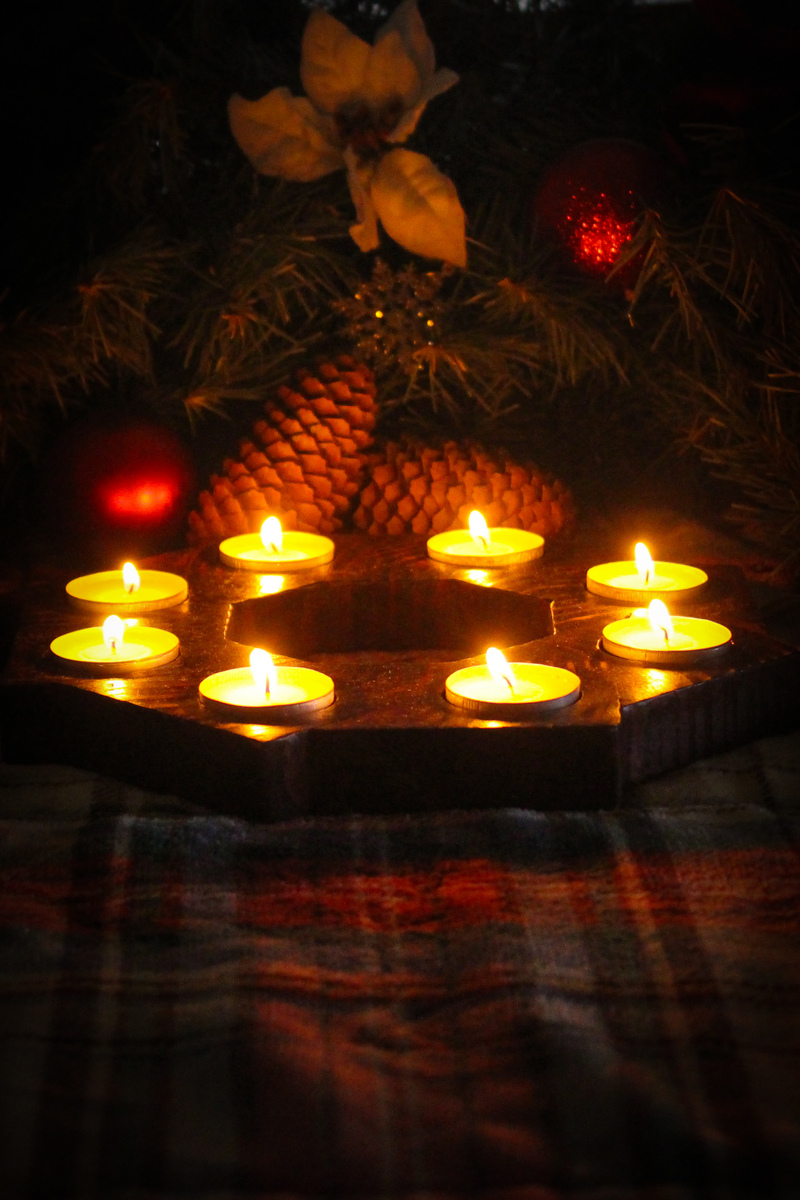
Bird's Mouth Votive Candle Holder

Submitted by mtairymd on Mon, 12/25/2017 - 04:49

My wife asked for a homemade votive candle holder for the holidays. Searching online, I found that the general design concept is a board with holes in a straight line. Since the desired design is for a holiday centerpiece on a table, I chose an octagon shape. We think it turned out very nice! My kids even gave it a "that's pretty cool" which is an upgrade over their comments on my previous projects :). 

Estimated Cost
$2
Estimated Time Investment
Afternoon Project (3-6 Hours)
Finish Used
Dark Cherry Stain
Recommended Skill Level
Beginner

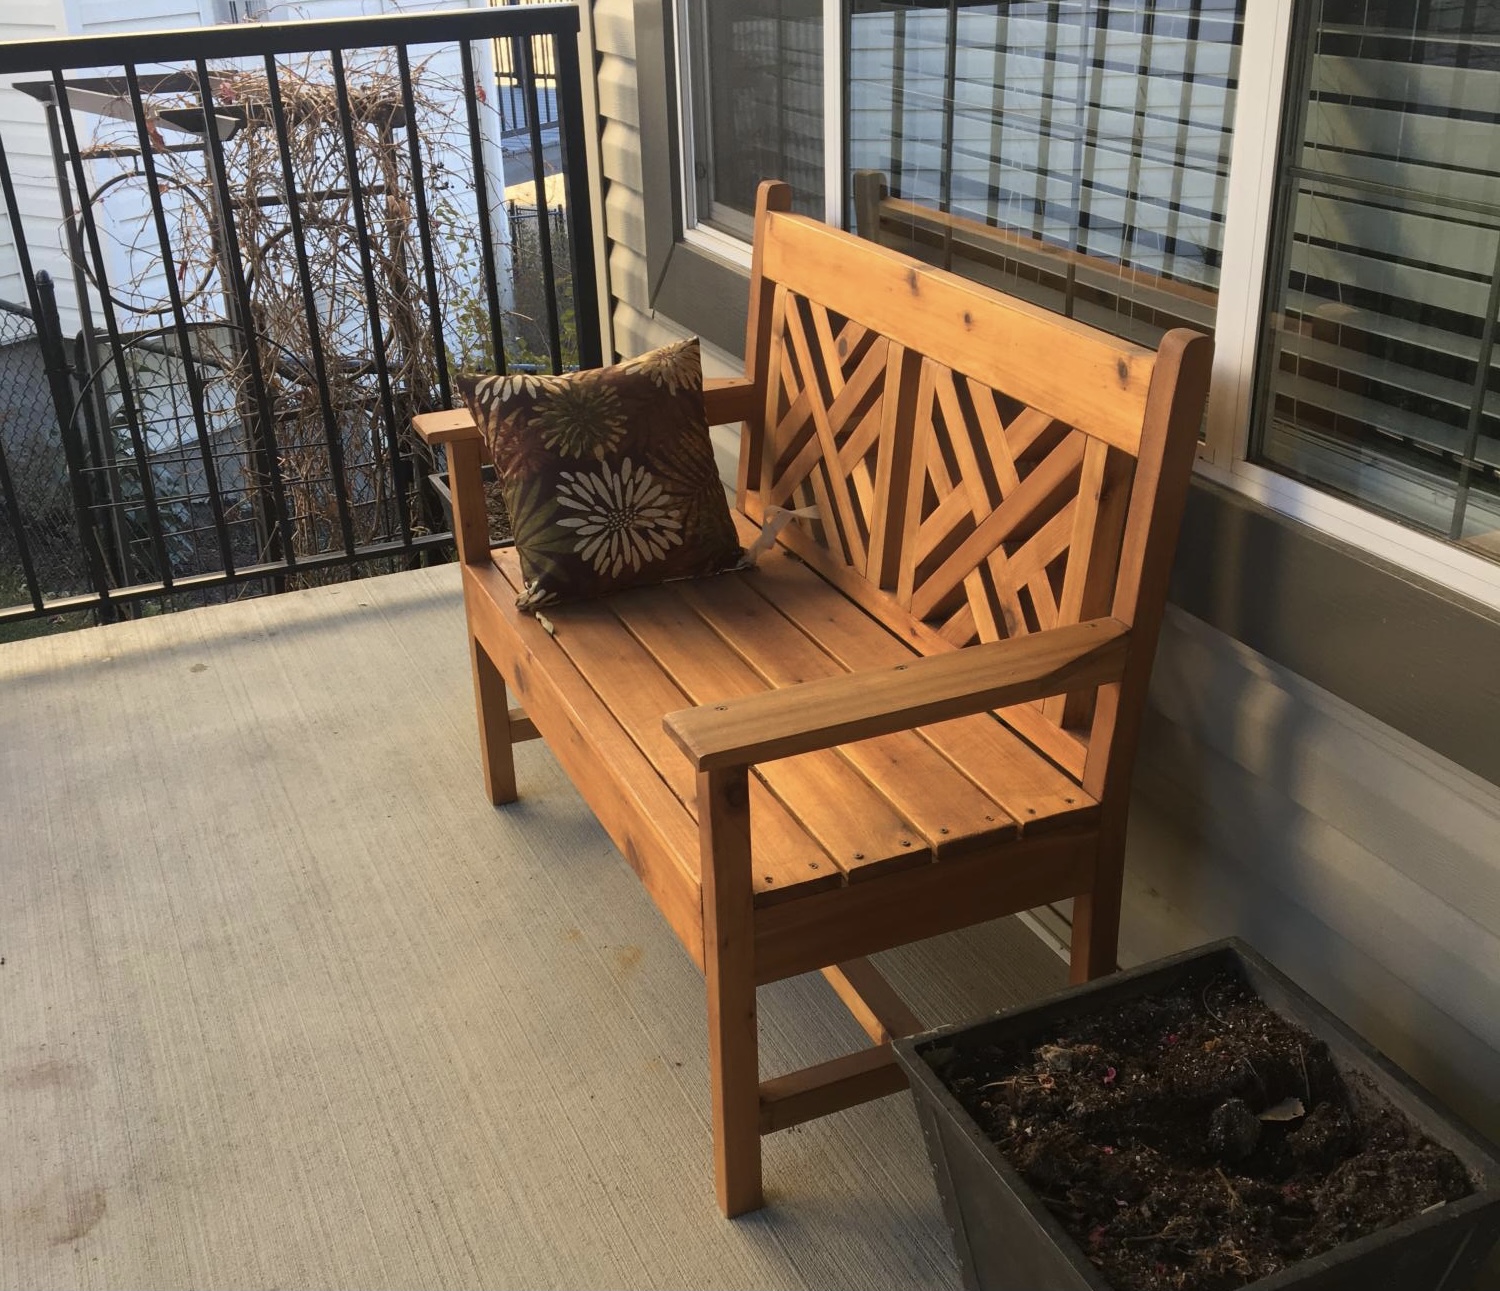
Bench

Submitted by Anonymous (not verified) on Sun, 12/26/2021 - 12:19

Loved making this instructions were so simple. I love how it shows how much wood and what cuts are needed

Built from Plan(s)

Comments

Lego Table with matching end tables

Submitted by hblackburn on Tue, 04/19/2011 - 18:13

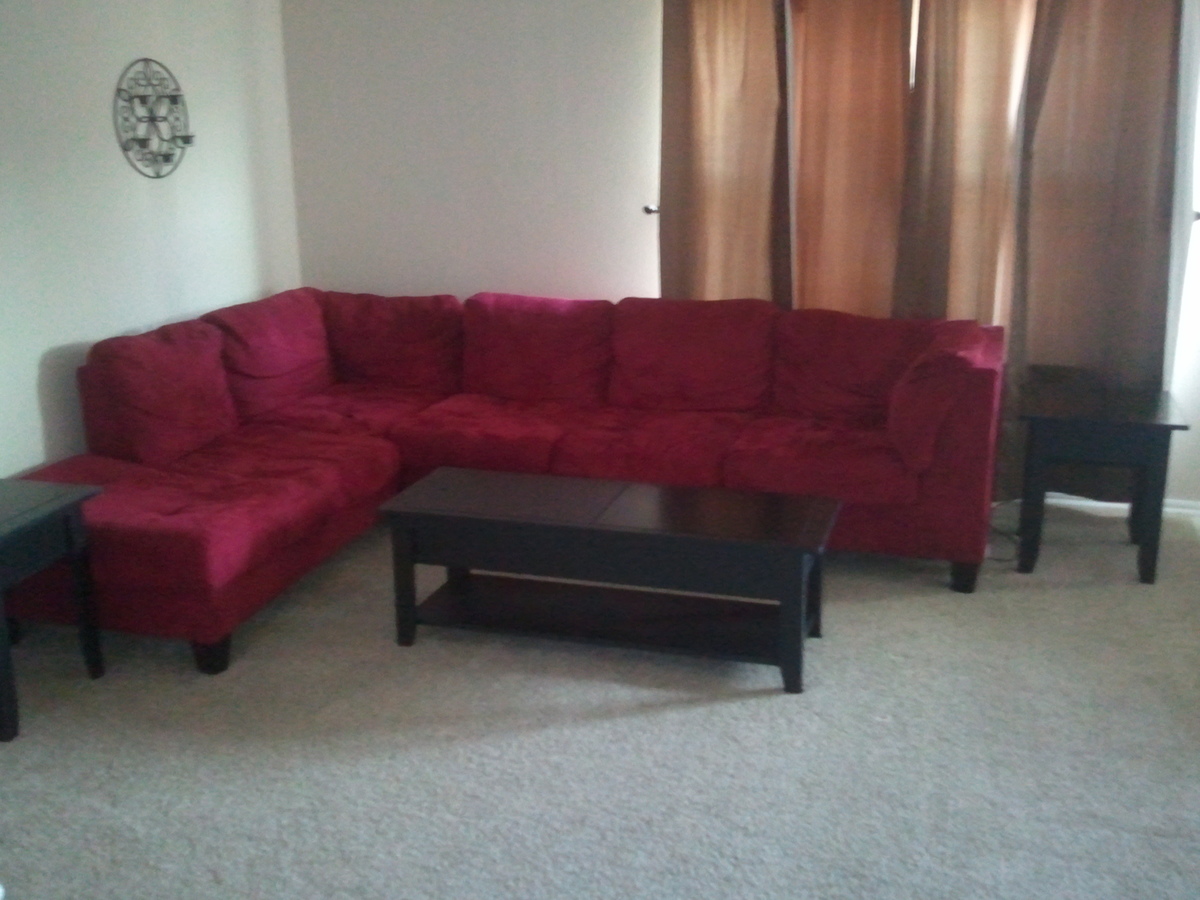
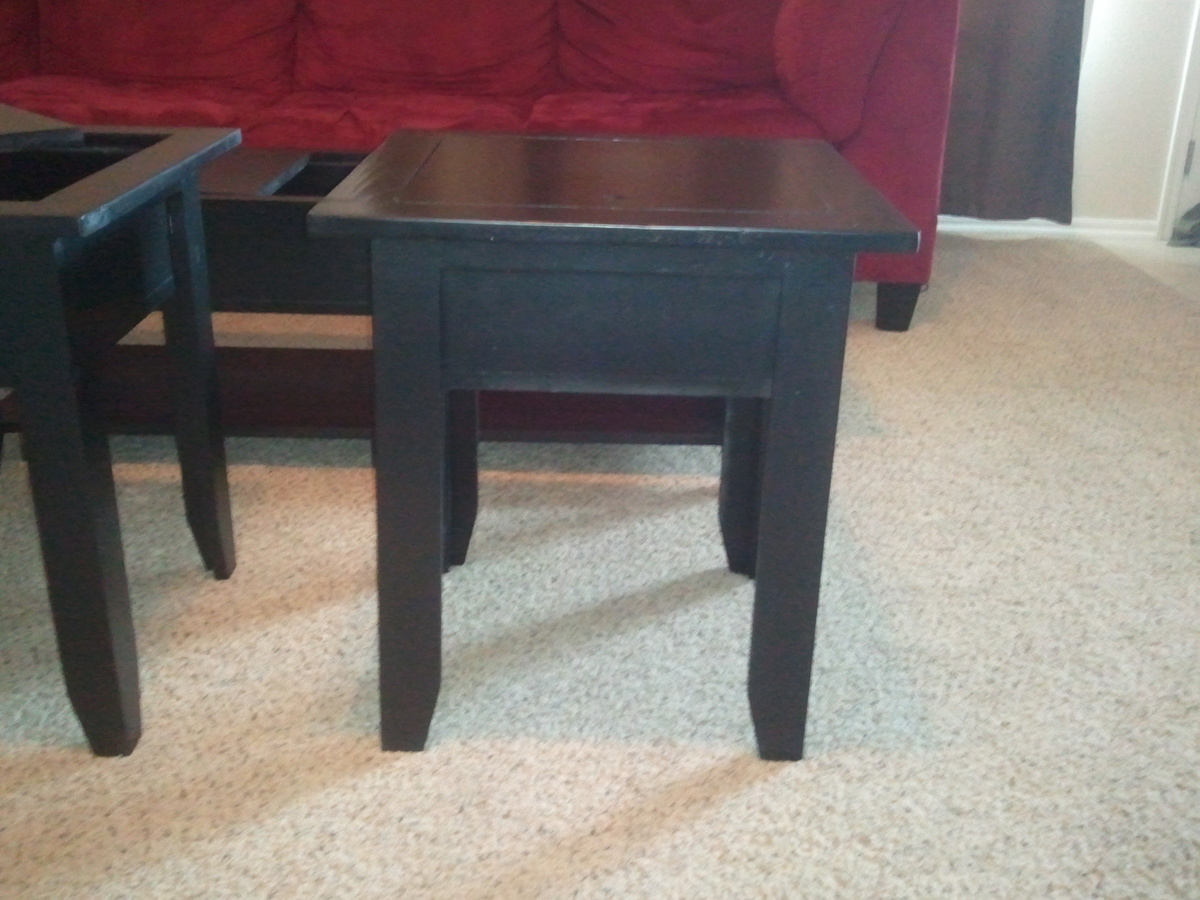
This is the lego table my husband & I made. It was a fun project to build & we liked it so much we had to make some end tables to match. We used the same design just scaled everything down for the end tables. Making them was no problem but painting them was a different story. We started out with a latex primer & paint,  & found out that was a mistake. The latex paint is just too soft for furniture. So we went out & got some oil base paint and sprayed them. With lots of sanding & repainting we finally got them done.

Estimated Cost
$100
Estimated Time Investment
Weekend Project (10-20 Hours)
Finish Used
Oil base paint.
Recommended Skill Level
Beginner

My first DIY project

Submitted by sara1 on Sun, 06/23/2013 - 07:08

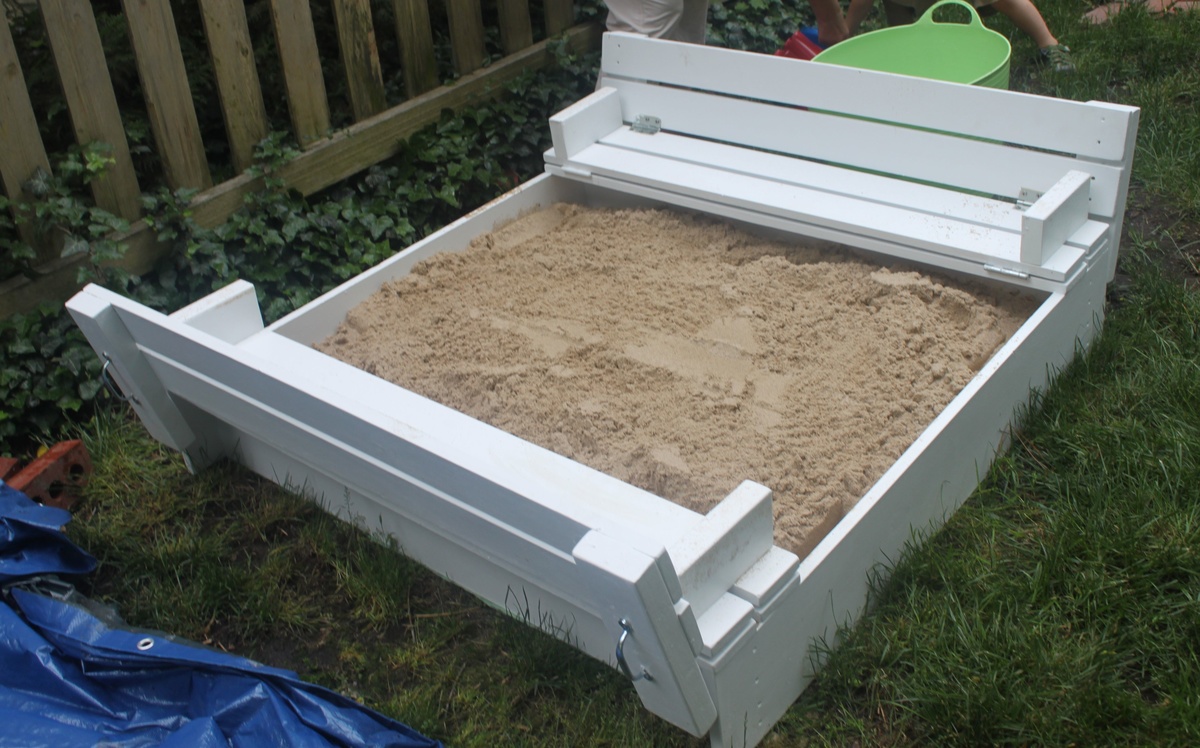
I was inspired to try this after reading all the comments and being discouraged by the high price and poor quality of commercial sandboxes. We followed the instructions and it was super easy! I'm a complete novice, so if I can do it, anybody can.

After cutting the wood and sanding it, it only took about three hours to assemble the sand box. I then primed and painted it the next day taking about 3-4 hours. We also attached a landscaping barrier to the bottom with a staple gun to prevent weeds from growing through the sand. We used 10 bags (50 lbs) of play sand, but you could get by with less.

So far, it's been a big hit with my three-year-old son.

Built from Plan(s)
Estimated Cost
$150
Estimated Time Investment
Weekend Project (10-20 Hours)
Finish Used
Valspar primer and pure white, satin finish
Recommended Skill Level
Starter Project

Simple Outdoor Dining Table

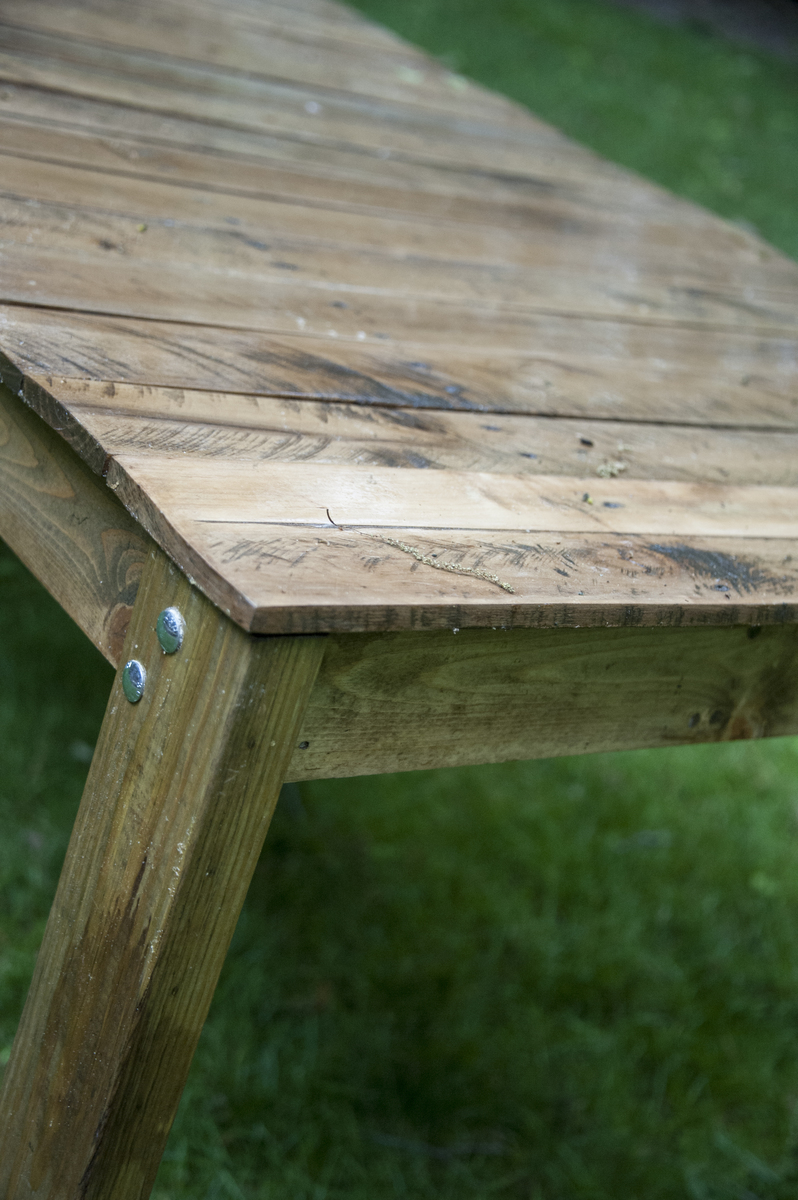
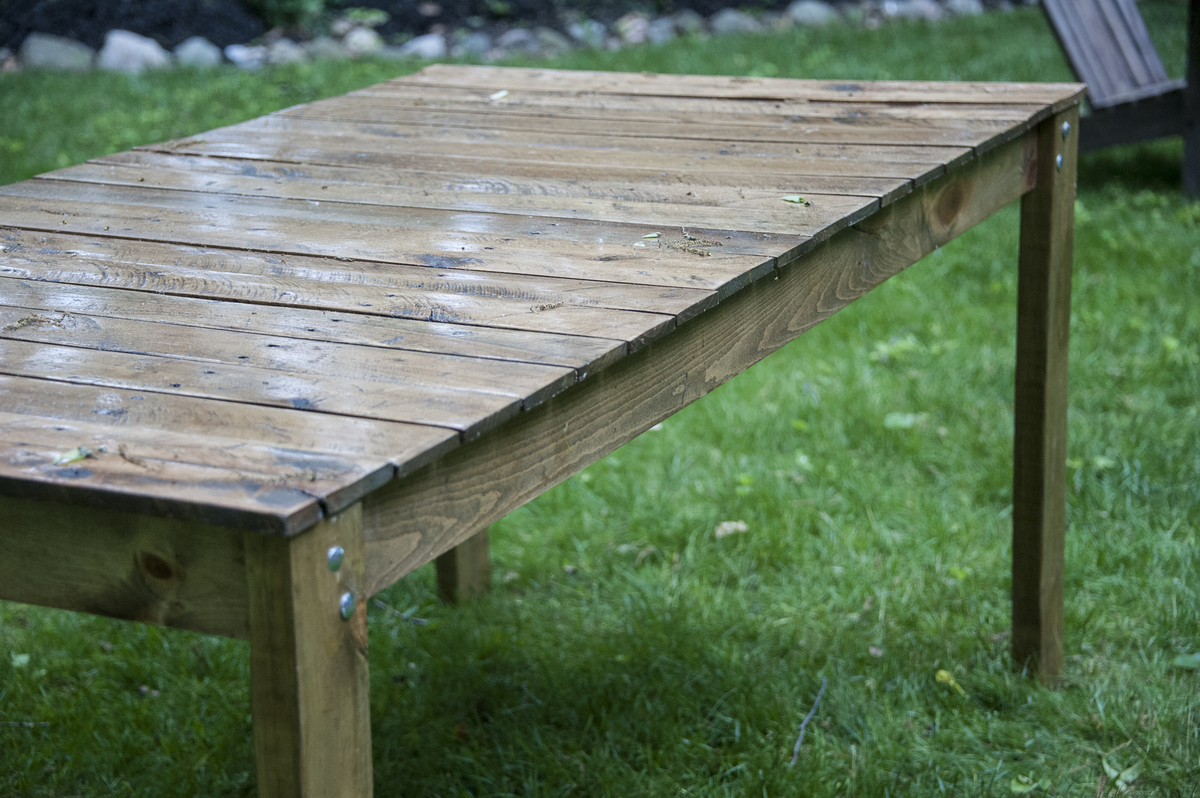
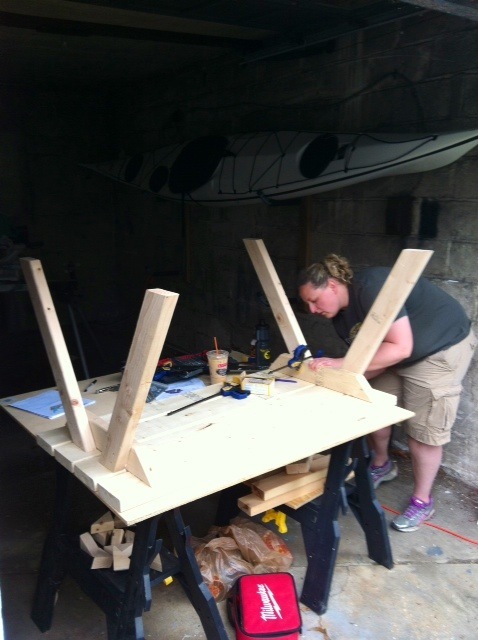
This was my very first project wood building project. I was very pleased with how it turned out. It's not perfect, but I have learned some tricks for my next project.

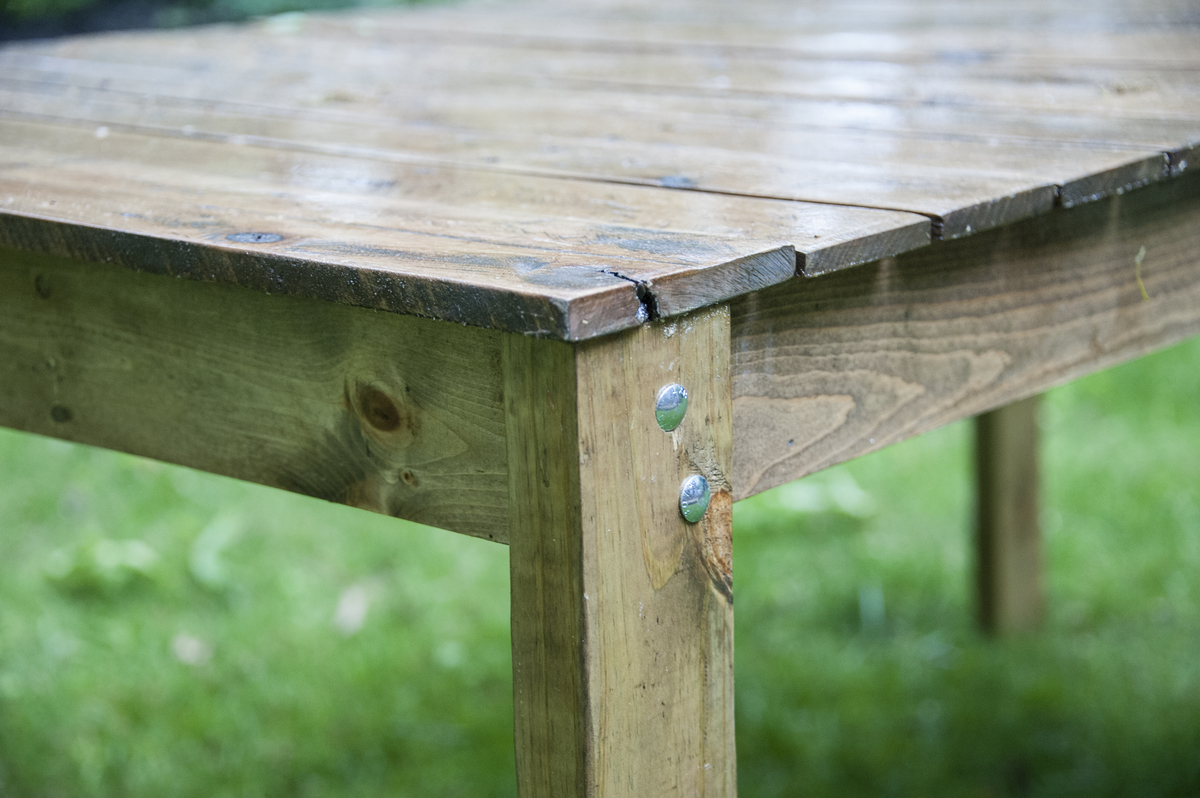
I wanted the older look, so the top planks are all boards cut from pallets (not very easy to take the pallets apart). The rest of the wood was purchased, with the legs cut from treated wood.

All parts were coated in 2-3 coats of spar varnish.

Skill level, I would say is intermediate, with the lining up all of the separate boards and the pocket holes making it a little harder than beginner project, in my mind. BUT, remember that is coming from someone who has never built anything.

Time was a little longer because of using the wood from the pallets. Removal from the pallets was difficult and time consuming. The boards then required extensive sanding, and then several coats of spar varnish before building to be sure that ALL surfaces were covered, since the wood was not treated.

Very glad that I did it. I like the imperfect top (most of it), with the nail heads down the middle (not functional, just kept them from the skids), and the worn top.

I completed the project myself, with a little help from my dad at the end, putting the legs on. Just using screws didn't sound strong enough, and the bolt locations were a little tricky with the locations of the pocket holes on the inside.

Plan to make a bench, next, but maybe not the matching one. I think a project with fewer cuts and attachments is next in my future.

Built from Plan(s)
Estimated Time Investment
Week Long Project (20 Hours or More)
Recommended Skill Level
Intermediate

Comments

JoanneS

Fri, 06/05/2015 - 14:17

This looks super! Love the pallet boards on the top, and how you preserved the old wood look. Congrats on your first project!

Mars Map

Submitted by brittanyj on Thu, 12/28/2017 - 13:59

This was a time intensive gift made for the husband for Christmas.  Found a really cool Mars Map that's in print here: https://www.etsy.com/listing/387457074/mars-map-8x8-letterpress-redwhit…
That we saw in store at the amazing Boys Fort in Portland.  Decided it might be cool to make a wood wall hanging from it, and woodburn the image.  

Traced image onto wood with graphite paper, then took versatool from Michael's and woodburned for the next 20,000 hours : )  It was a ton of work, but in the end, a completely one of a kind, personalized gift that I know he'll love on his office wall.  Real conversation piece.  Cool stuff!

Estimated Cost
Scraps, $15 woodburner
Estimated Time Investment
Week Long Project (20 Hours or More)
Finish Used
Varathane poly
Recommended Skill Level
Intermediate

Christmas Stocking mantle

Submitted by Anonymous (not verified) on Sun, 12/26/2021 - 13:22

I made 2 different-sized mantles, one for my daughter’s house (taller and wider) and one for mine.

Built from Plan(s)

Comments

Seasonal And Holiday

Full Storage Bed

I built Ana's Full Storage Bed.  This was fairly easy to build and it is a perfect bed for a child's room.  I LOVE the added storage!  You can see the plans for the crates I built to fit at our blog http://www.shanty-2-chic.com/2011/03/crates-for-storage-bed.html 

Built from Plan(s)
Estimated Cost
$120
Estimated Time Investment
Day Project (6-9 Hours)
Finish Used
Minwax Dark Walnut Stain and Minwax Polycrylic Gloss
Recommended Skill Level
Intermediate

Notre Dame Kids Picnic Table

Submitted by Shaila on Mon, 06/24/2013 - 18:54

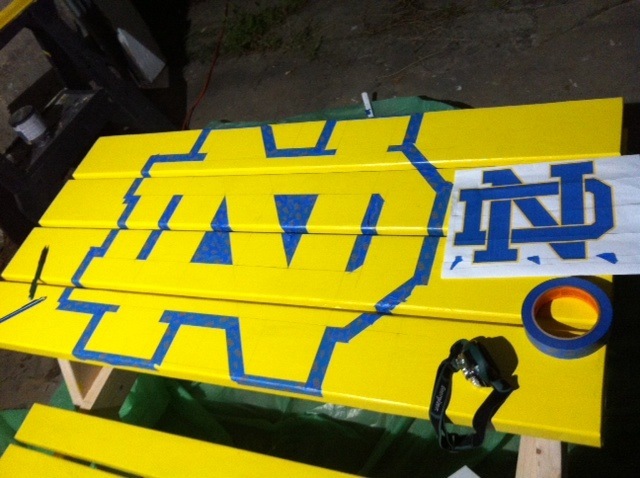
I wanted to make a gift for my friend's kids. I also didn't want to make something they didn't have room for and couldn't really use. The request was a picnic bench for their 3 and 5 year old. I offered to paint it to match the house and they said no, they wanted Notre Dame colors. One of the big box stores has official NCAA colors so it was a perfect match! The wood cost $25 (only 5 2x4 were needed) and the paint, screws, etc. brought the project up to $90. The instructions made it super easy to build and I really took my time making sure everything was square. Also just to build the table is a few hours, maybe not that much. The prep and painting took me a while.
The kids were happy with their table and their Dad, a Notre Dame alum, was thrilled with the design.

Built from Plan(s)
Estimated Cost
$35 without paint, $90 with paint
Estimated Time Investment
Week Long Project (20 Hours or More)
Finish Used
Behr Exterior Paint/Primer - H.D. They made samples of the NCAA official colors, dried them, then color matched them for the exterior paint. I painted the yellow top and benches (2 coats first) then did the ND with special no-leak tape, then the legs. Two coats for the blue as well.
Recommended Skill Level
Beginner

Comments

MichelleC

Mon, 06/24/2013 - 19:57

I showed this to my husband and he LOOOOOOOVES it. He is about the biggest Notre Dame Football fan there is! Only problem...we are a house divided, with me being a BYU fan, hahaha!

Fancy X farmhouse coffee table

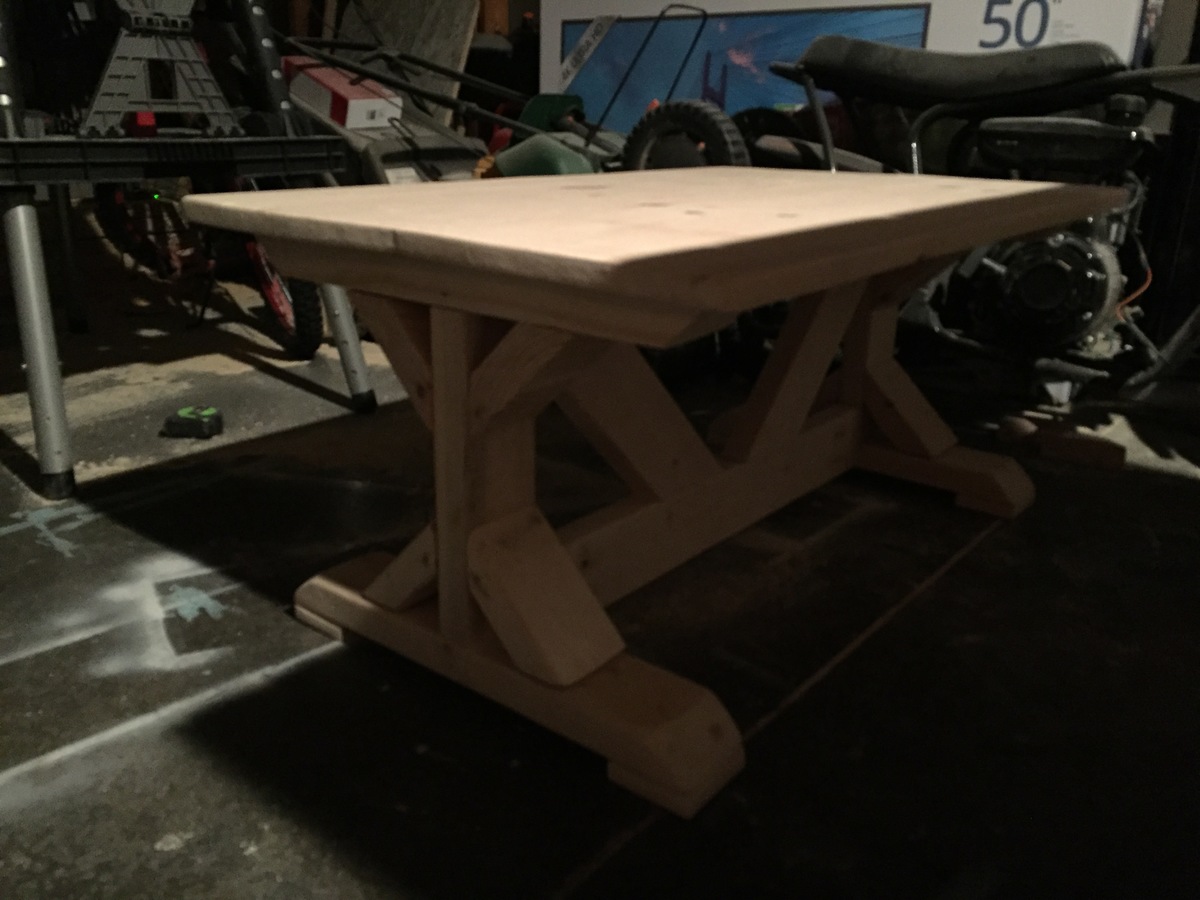
It’s not done yet, but I wanted to share my coffee table with y’all. I made it with the same proportions as Ana’s fancy x kitchen table just 3ft wide and 16 inches high. It’s going to be the same finish as Ana’s too. Dark walnut with satin polyurethane.

Built from Plan(s)
Estimated Time Investment
Afternoon Project (3-6 Hours)
Finish Used
Dark walnut
Recommended Skill Level
Beginner

Comments

Covid projects

Submitted by Anonymous (not verified) on Sun, 12/26/2021 - 14:58

Merry Christmas Ana, Just a few of my projects inspired by your great work. I have no carpentry experience other than shop class 40 years ago. Love doing wood work thanks to you.
Happy New year Mikw

Comments

Dresser with Open Bottom Shelf for Changing Table

Submitted by karahart on Wed, 04/27/2011 - 13:46

My husband and I built this dresser to use as a changing table in our daughters nursery. I explain the build process (with photos) in this blog post : http://mekhart.blogspot.com/2011/03/nursery-room-biggest-build-yet.html and the finishing process in this blog post : http://mekhart.blogspot.com/2011/04/nursery-room-finished-dresser.html . I'm so thankful to Ana...I love that almost every element of her nursery is home made!

Estimated Cost
150
Estimated Time Investment
Week Long Project (20 Hours or More)
Finish Used
Paint with a whitewash over top and glazing on the edges. To see more details on how to replicate this finish, check out my blog post here : http://mekhart.blogspot.com/2011/04/nursery-room-finished-dresser.html .
Recommended Skill Level
Advanced

Hubby's First Build

After searching and searching for a decently priced bed for our two year old and failing to find anything that I liked under $400, I decided to do a google search and came across the directions for the Emme twin bed. I loved the design and the color of the stain in the instructions but had to go with white as everything in our toddlers room is white. My husband said the instructions were simple to follow. I think he did a wonderful job for his first time ever building anything. Not to mention my little girl loves the bed. Thank you Ana!

Estimated Cost
100
Estimated Time Investment
Weekend Project (10-20 Hours)
Finish Used
Dutch Boy Dura Clean Paint in Moonlit Snow
Recommended Skill Level
Starter Project

Comments

vpihoney

Tue, 03/11/2014 - 07:49

Hello - Your bed looks great! How did you attach your rails? I'm at this point in the build and trying to figure out the best option as my bed brackets aren't fitting.

Modified version of the 2x4 outdoor sofa

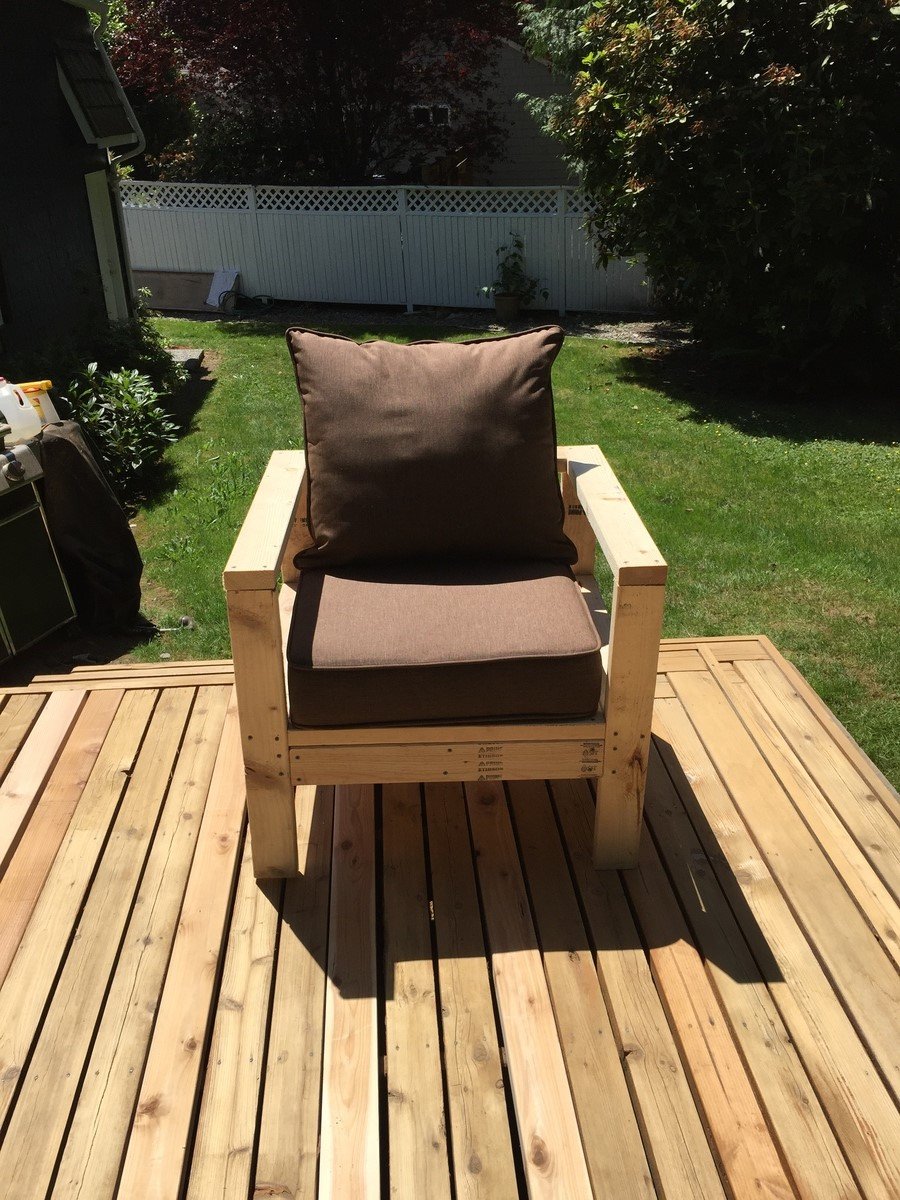
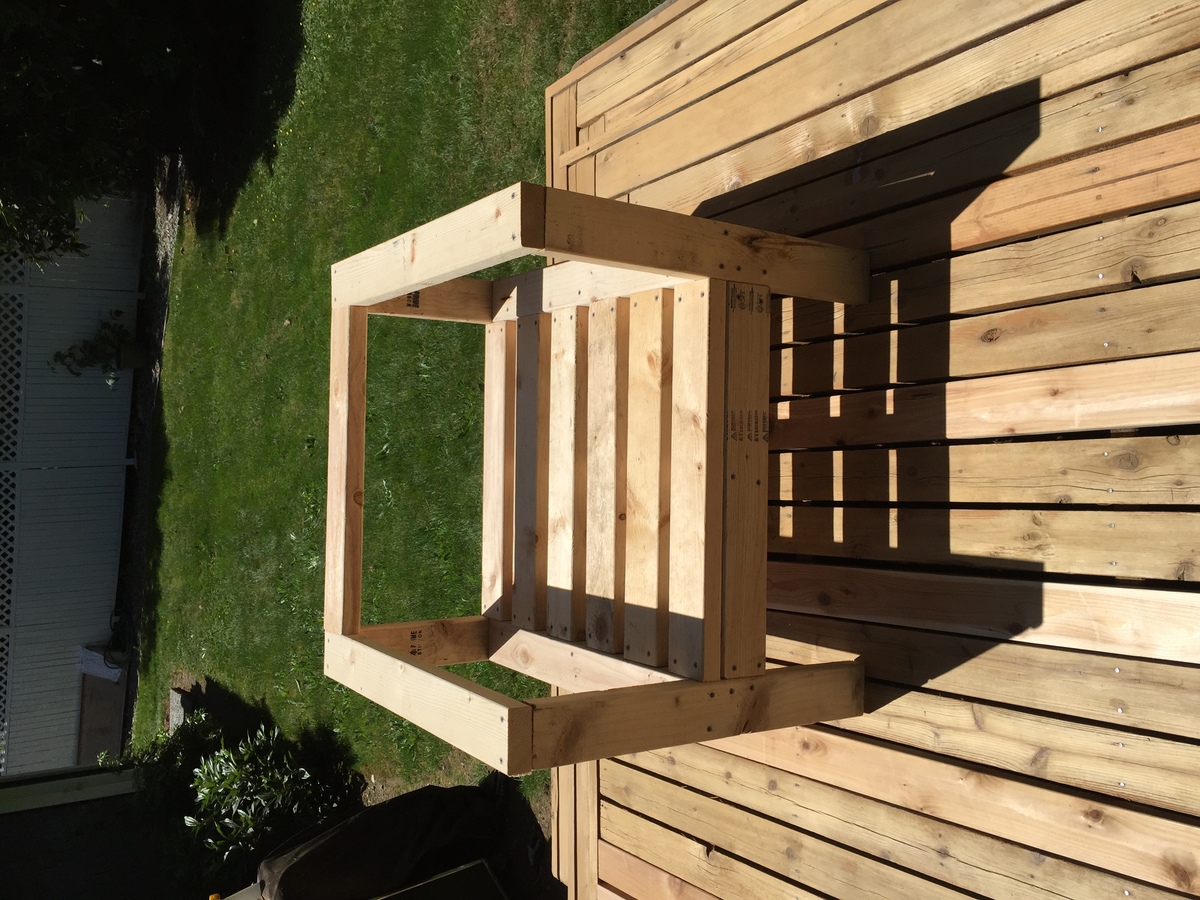
Clearly, not done with my project yet (sanding, priming/painting) but I was so excited I wanted to share right away. I've been checking Ana's site for about a year now and never had the courage to build anything... until today - I am thrilled I did. I had some cheap 2x4's studs at home so if I failed, no big waste of money. To my surprise... this was incredibly easy to build and that seat is sturdy. I modified the plan and intend to build 1 more chair and 1 sofa that accommodates 2 people. Thank you Ana! Amazing site and now I am so much more confident on my ability to build beautiful projects myself :)!

Estimated Time Investment
Afternoon Project (3-6 Hours)
Finish Used
Not finished yet - but will use deck solid stain (Behr) all in one from the Home Depot.
Recommended Skill Level
Beginner

Sweet dreams bunk bed

Built this for our 6yr old. She has decided she wants it to be pink so we picked out a beautiful Aubrey Hepburn worthy shade and will update our photo. 

Built from Plan(s)
Estimated Cost
$100 materials + $36 Pocket Hole Jig
Estimated Time Investment
Day Project (6-9 Hours)
Recommended Skill Level
Beginner

Bristol Lounge Chair

Submitted by bruno3288 on Fri, 06/28/2013 - 07:29

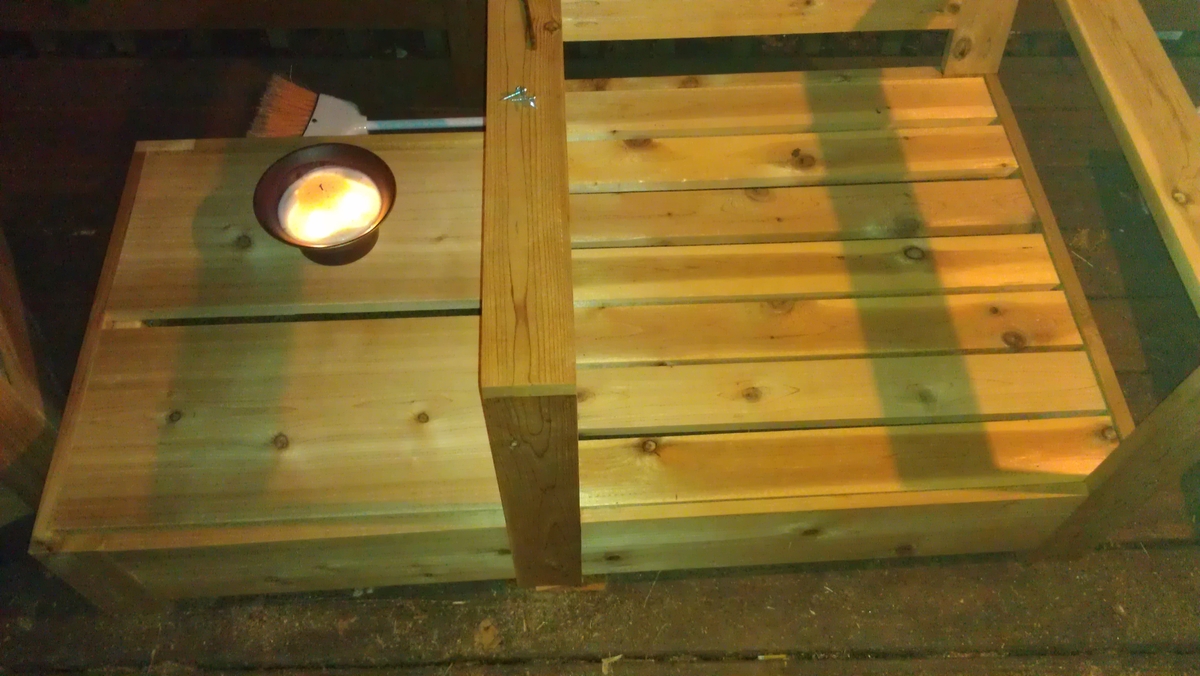
Bristol chairs with an attached side table. I added a planter box under one of the boards to fill with ice and beverages.

Estimated Cost
60-65
Estimated Time Investment
Day Project (6-9 Hours)
Finish Used
None as of yet but that is only because I have to sand some of the other boards.
Recommended Skill Level
Beginner

Tiki Bar from Potting bench!

I wanted a Tiki Bar for my deck big enough to store bottles and trinkets, and put a spread on to eat outside. The simple potting bench was my base plans and i just expanded from there. I increased the depth by 4 inches and the width to 46 inches. I increase the height to 7 1/2 feet at its highest point. I used treated 4x4s for my legs and to provide the upright height. I used 2 (8 inch) Lag bolts where the roping is to keep it sturdy on top. All additional parts were bought at Lowes.

This ended up being about $200.00 but will last for a long time.

Estimated Cost
$200
Estimated Time Investment
Day Project (6-9 Hours)
Finish Used
Nothing yet.
Recommended Skill Level
Intermediate

Three Beds and Desk

Submitted by Owen Farms on Sat, 01/06/2018 - 02:13

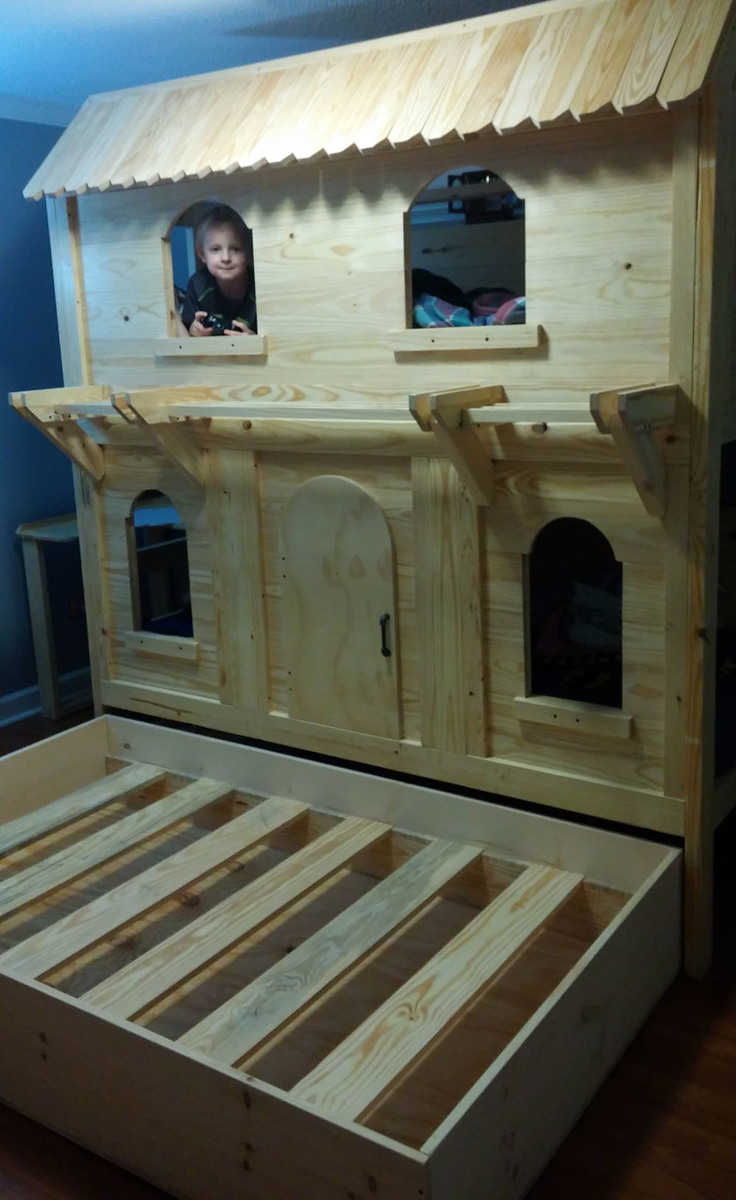
Trundle bed and desk addition.

Built from Plan(s)
Estimated Cost
450 dollars
Estimated Time Investment
Weekend Project (10-20 Hours)
Finish Used
Poly coat
Recommended Skill Level
Intermediate

Comments

Small Rustic X Console

Submitted by Anonymous (not verified) on Mon, 12/27/2021 - 02:36

My first project!

Built from Plan(s)

Comments

Simple White Nightstand

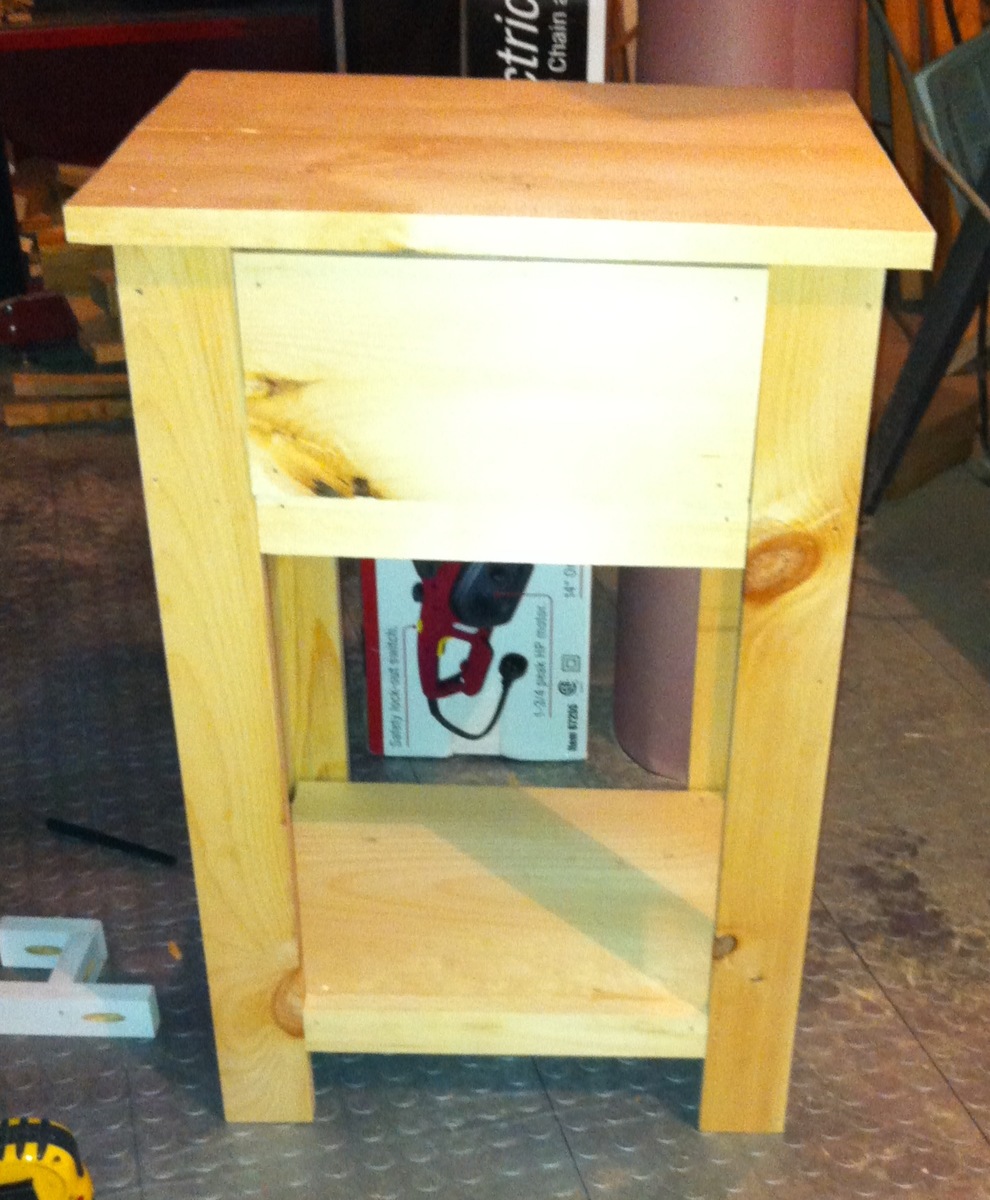
It is a friend's birthday on 5/6 and I noticed she didn't have a nightstand so instead of buying a present, I decided to make her a nightstand. I really liked how the person who built "Lee and Beth's Simple Nightstands" used bead-board on the sides, and I have a lot of bead-board left over from our master bathroom renovation, so I decided to use it, too, and that way I wouldn't have to buy the wood for there, because I didn't have any extra plywood to use there. I also used the bead-board on the back and as the bottom of the drawer.

It looks more modern-cottage than it does modern, like I wanted, but it still looks good.

Pictures are of what it looked like pre-sanding and wood-filling, with 1 coat of the stain on it, and then finished with white paint.

With the combination of scrap wood and new wood, I only spent $20 on new wood for the project, and $5 on the drawer pull!

For the top, instead of a 1x12 and 1x3, I used a 1x12 and and then flanked it with 2 1x2s - for a more balanced look. I also cut the 1x12 at like 19 1/2 inches instead of 18 1/2.

Built from Plan(s)
Estimated Cost
$25
Estimated Time Investment
Weekend Project (10-20 Hours)
Finish Used
I originally wanted this to look just like the one that Ana has posted (minus the distressing) - in an espresso stain with the brushed nickel pull on the drawer. I forgot to add the pre-stain and put the stain right on the wood and it looked horrible. The wood did not take the stain well, nor was it even, and the wood filler was visible all over the place. I decided to paint it a flat white instead. I put on 2 coats of white primer and 3 coats of FLAT white paint. I don't really like glossy paint as I feel like it's harder to get it to cover right. I haven't done it yet, but will add a couple coats of satin polyurethane to protect it.
Recommended Skill Level
Intermediate

Comments