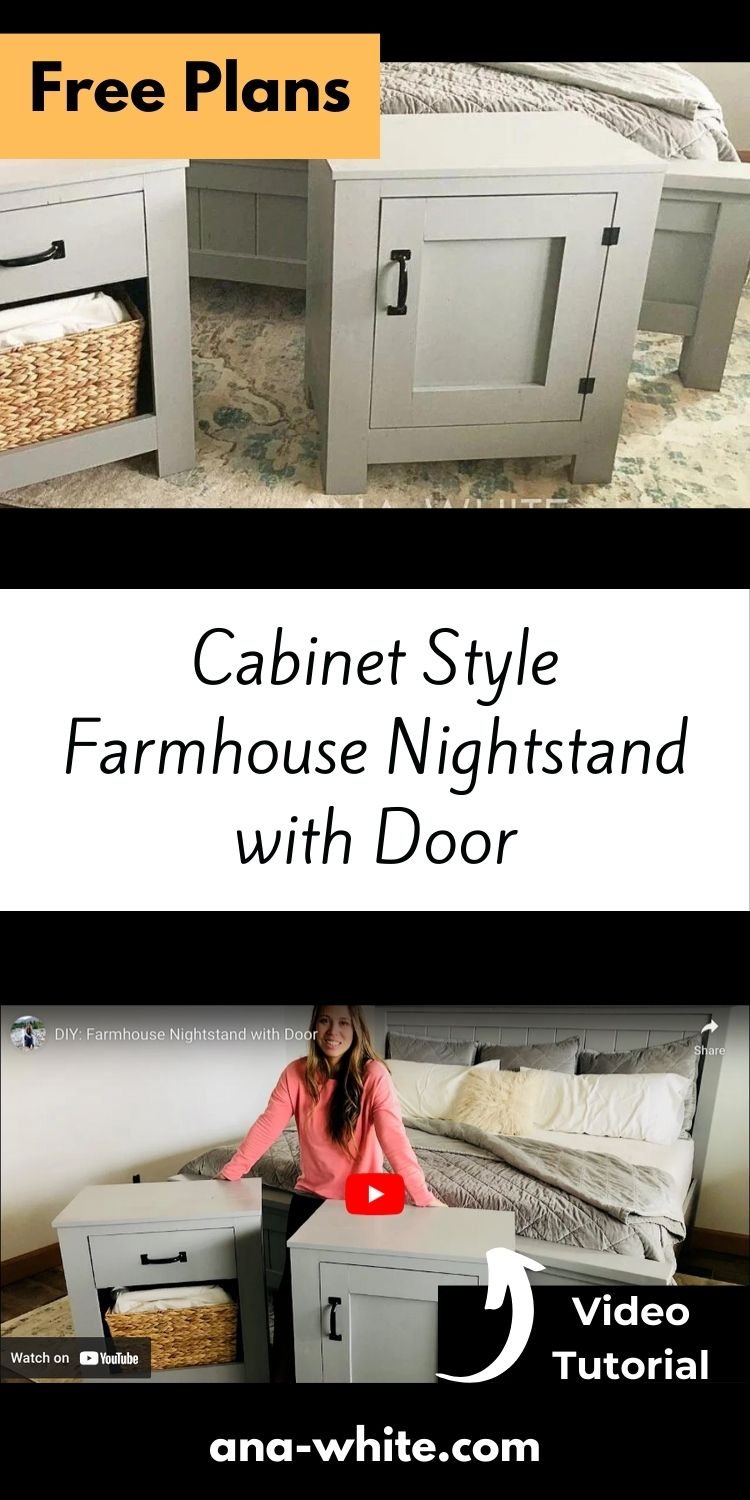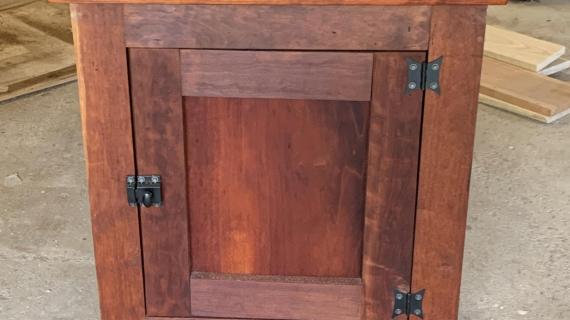
Cabinet Style Farmhouse Nightstand with Door

The free plans on this website are made possible with advertising and affiliate links.  Thank you for helping us keep plans free.


ana white diy nightstand
Difficulty
Intermediate
| Print this plan

Easy to build farmhouse style nightstand with free plans by ANA-WHITE.com

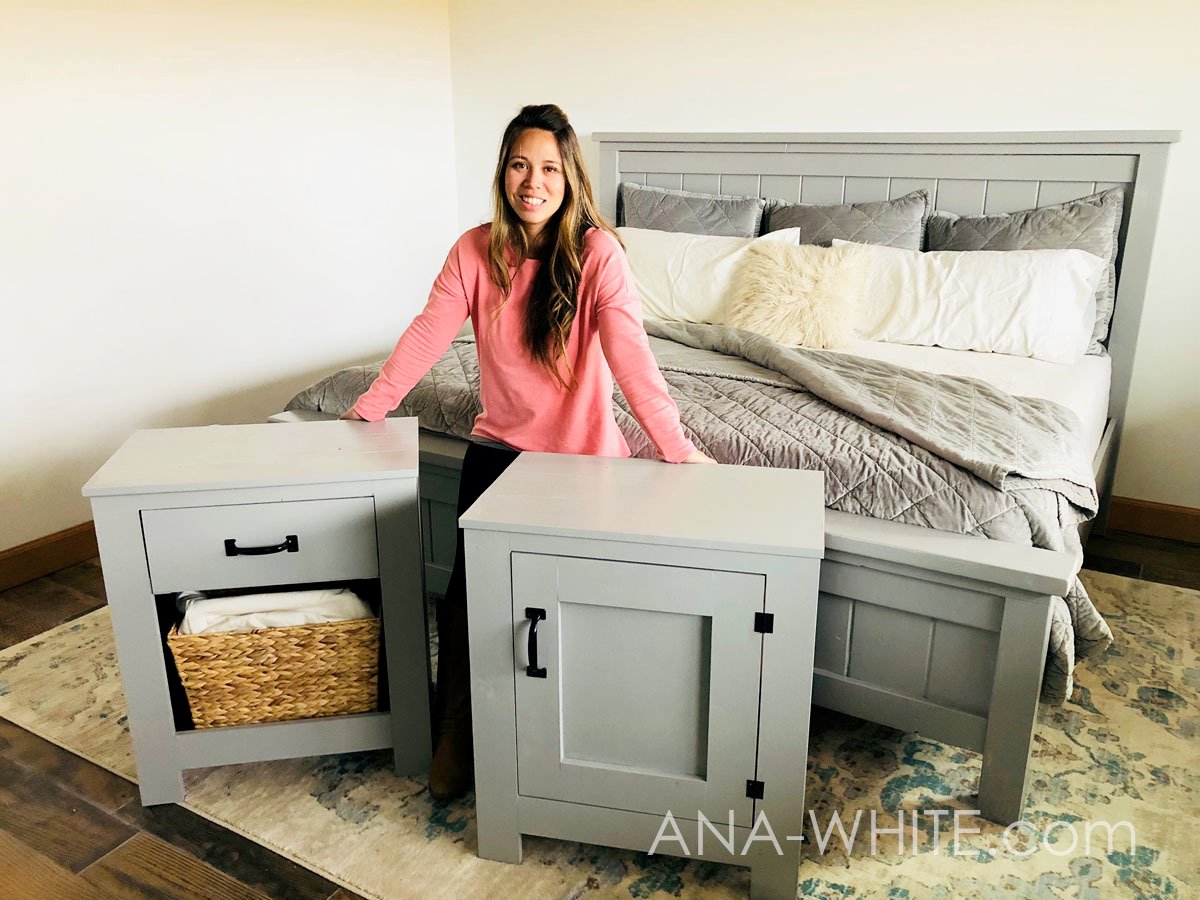
Build your own nightstands!  This beautiful, extra large nightstand features a roomy interior and large top.  I've had these nightstands for many years now, and they are still looking great and functioning awesome!

Related Plans: Cabinet Style Nightstand with Drawer and Open Shelf

diy nightstand plans
ana white

Are you looking for a beautiful bedroom furniture set that is sturdy and stylish- but won't break the bank?

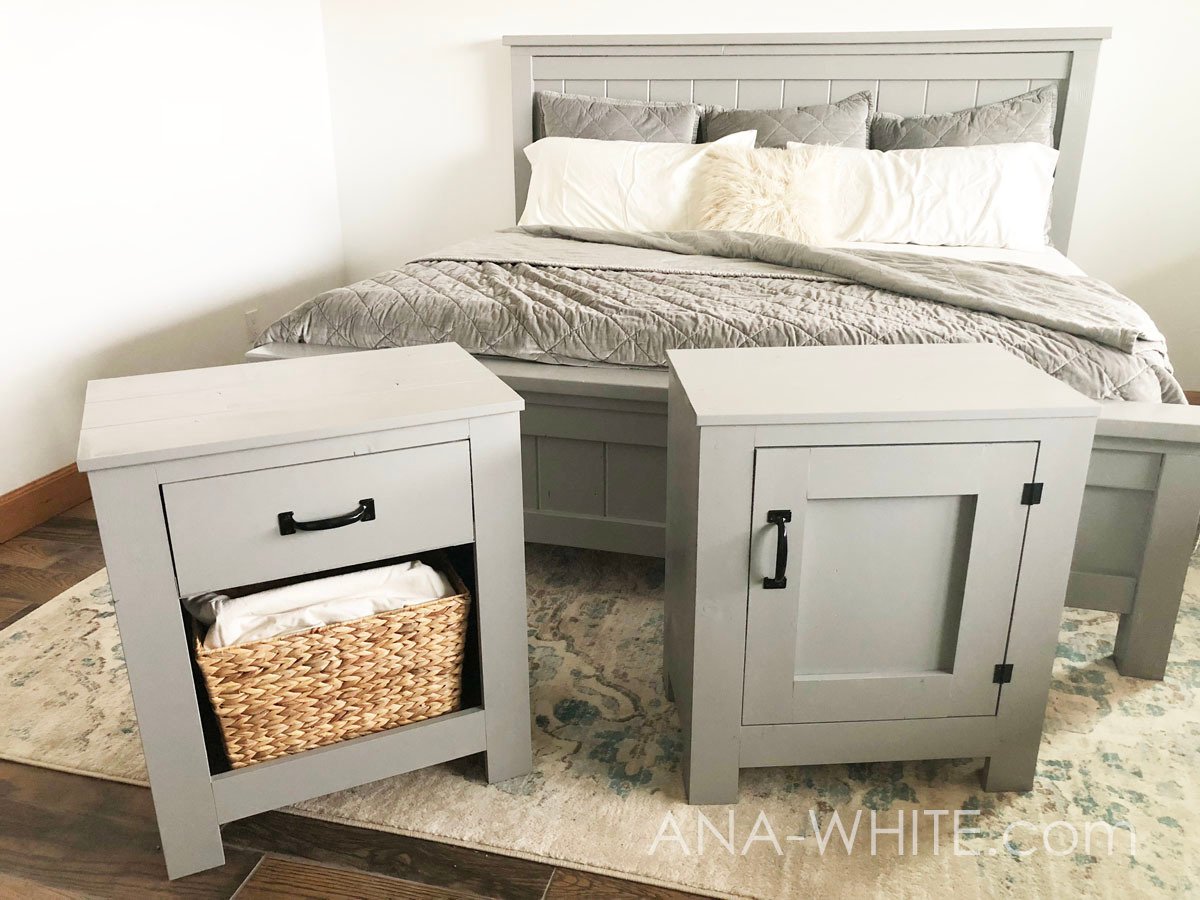
For a few hundred bucks, I DIYed this set for our guest room!

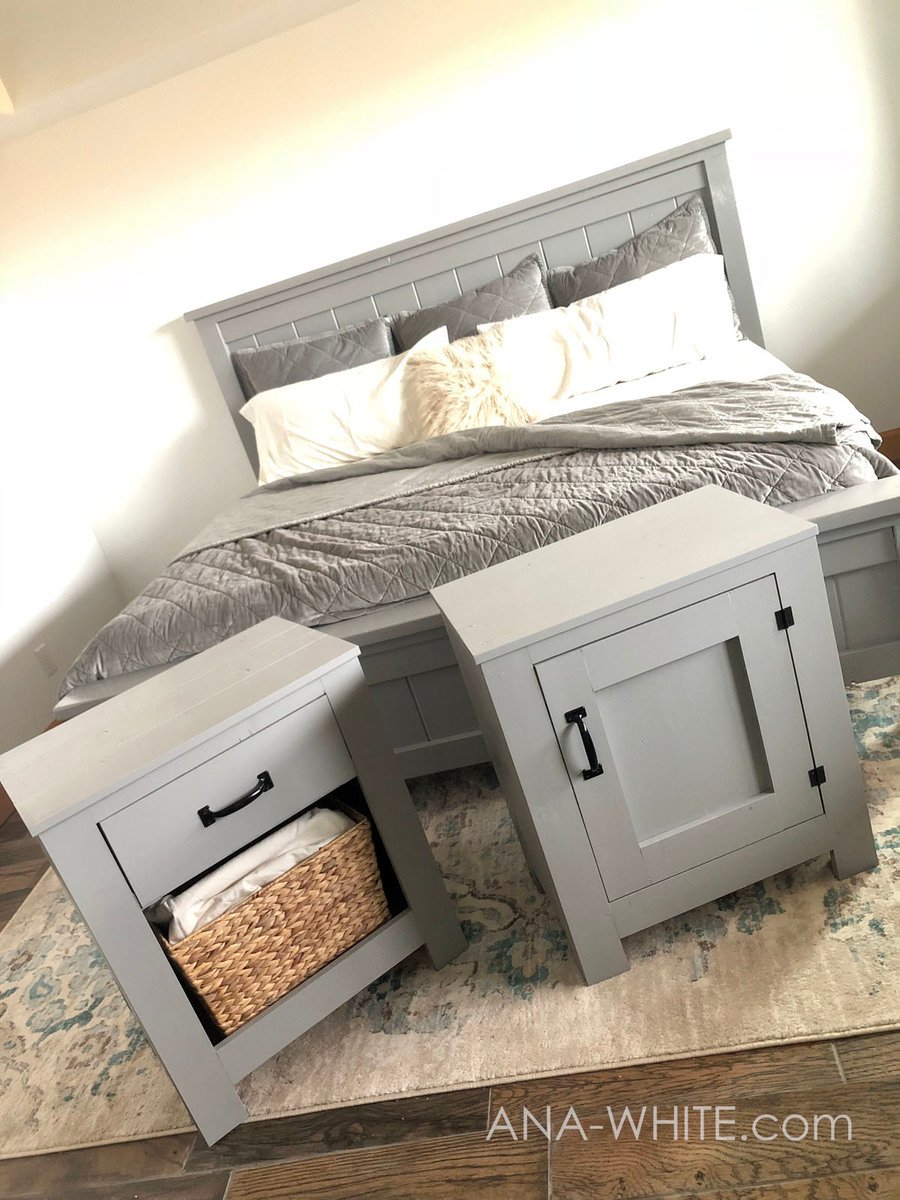
The farmhouse bed I built ten years ago for about $100 (plans here) - it's made new again with a fresh coat of paint.  We have a bigger room for it now, so I thought new nightstands that are oversized to match the Farmhouse Bed would complete the set.

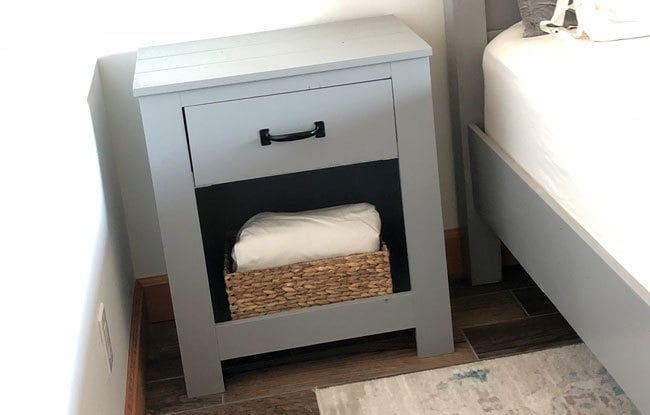
Last week I built and shared the plans for this cabinet style farmhouse nightstand with drawer and open shelf.

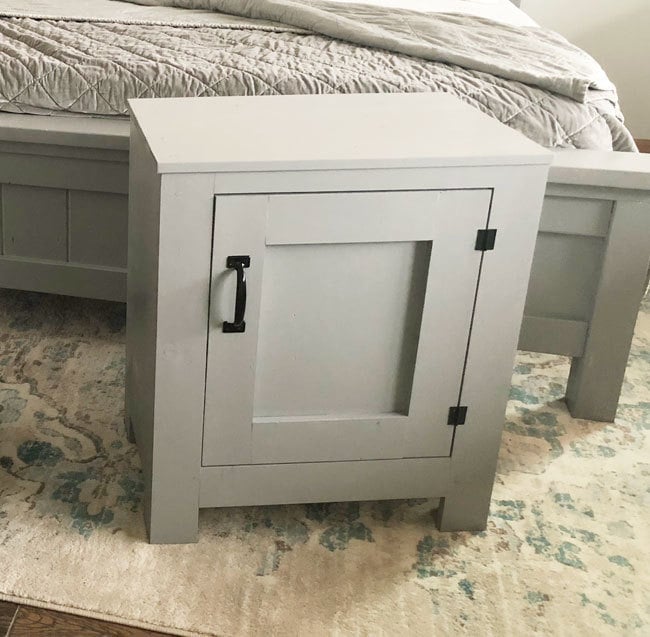
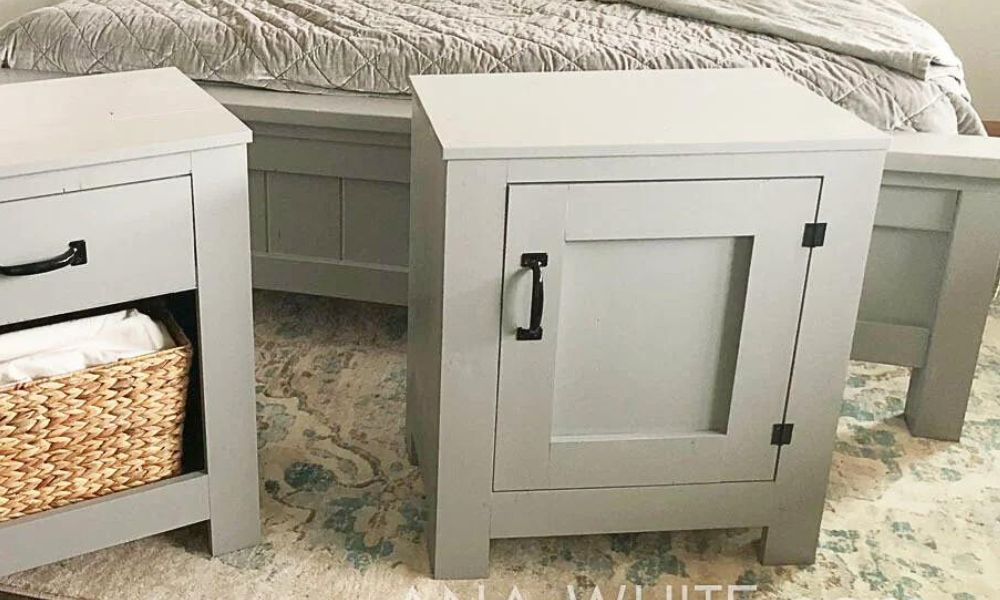
This week I tackled a second nightstand, same size, but with a door instead.

The door is easier to build than the drawer, and conceals all the contents of the nightstand. I envsion it as a mini linen closet for our guest room.

We featured this build in our latest video "Working Spouses"

And I'm excited to share the plans with you below.

Please do share a photo (or two) if you build and tag me #anawhite so I can see it - and of course, we always appreciate it when people take the time to upload brag posts.

Thanks for reading, enjoy the plans!

Ana

Pin For Later!

Cabinet Style Farmhouse Nightstand with Door

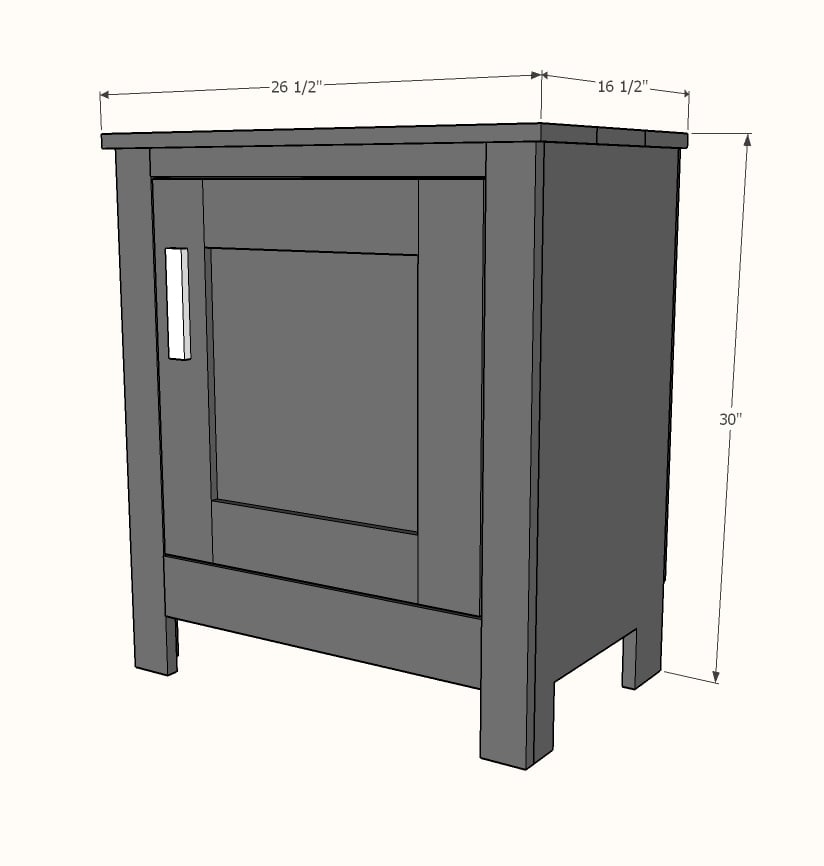
Dimensions
nightstand plans
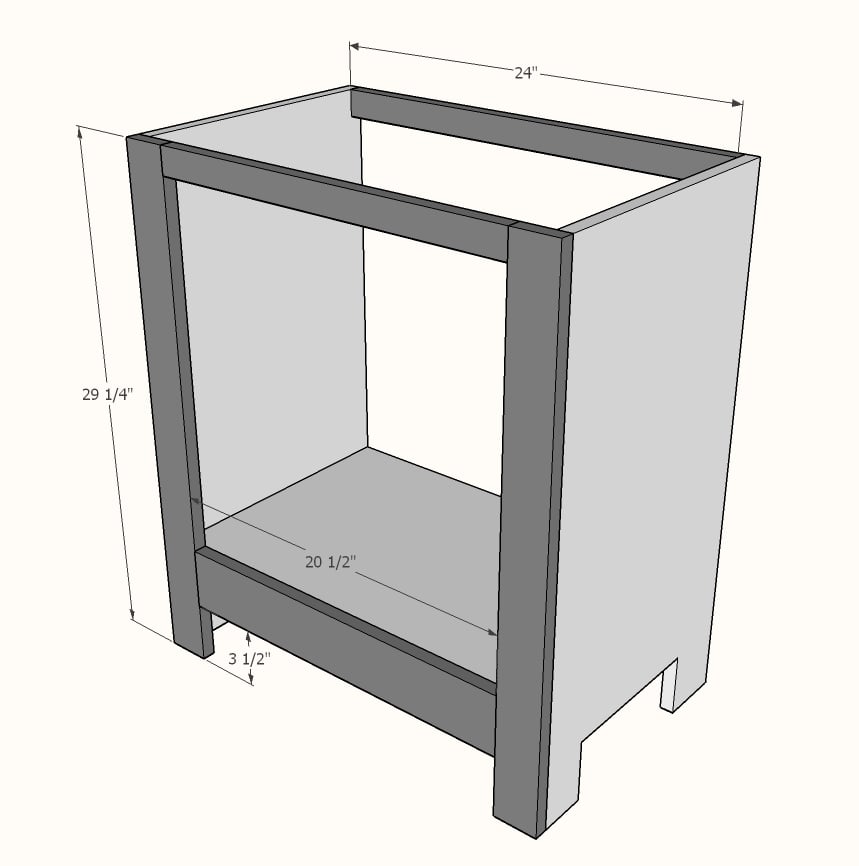
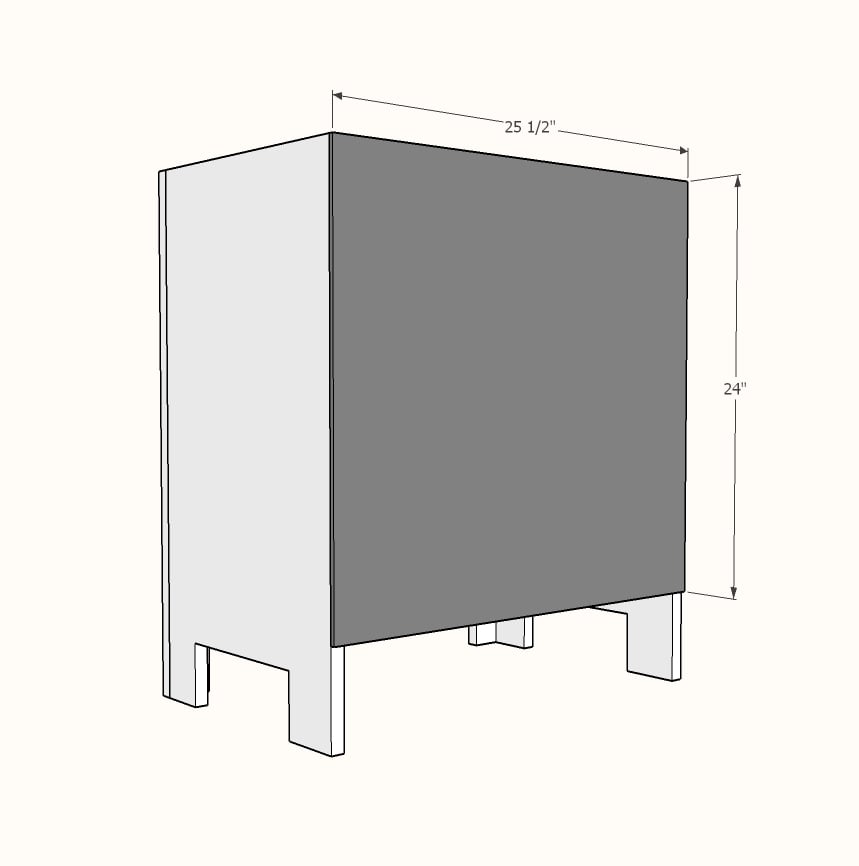
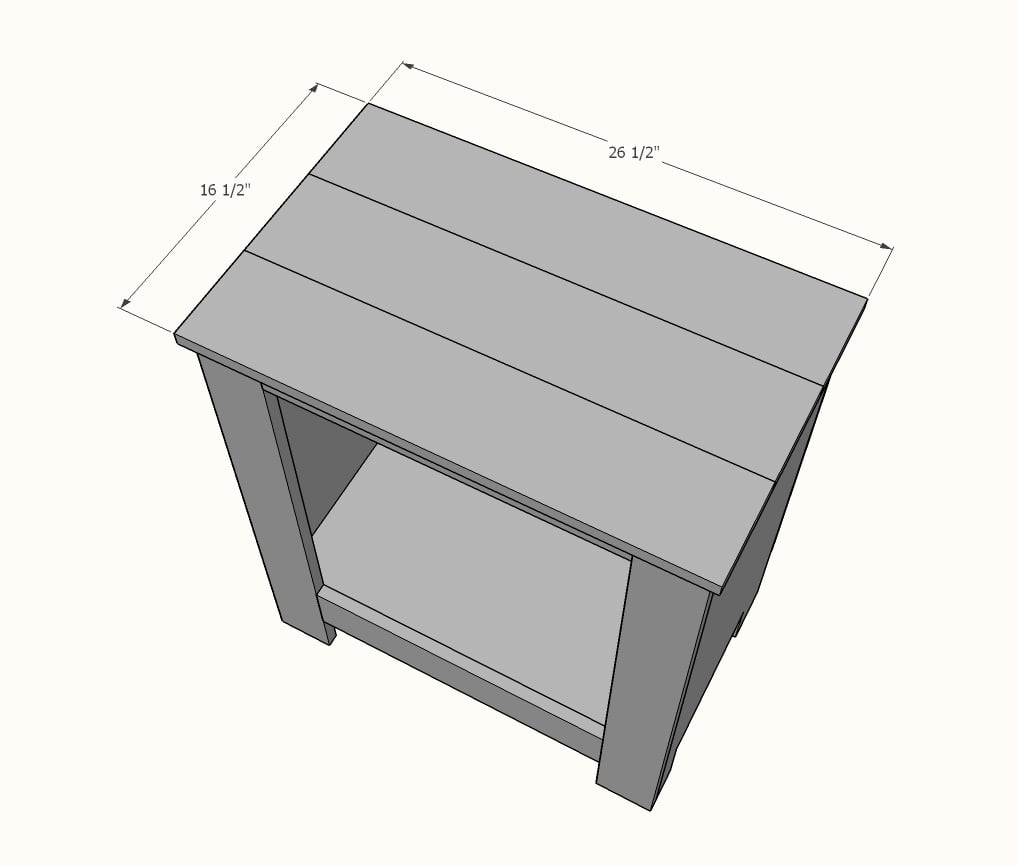
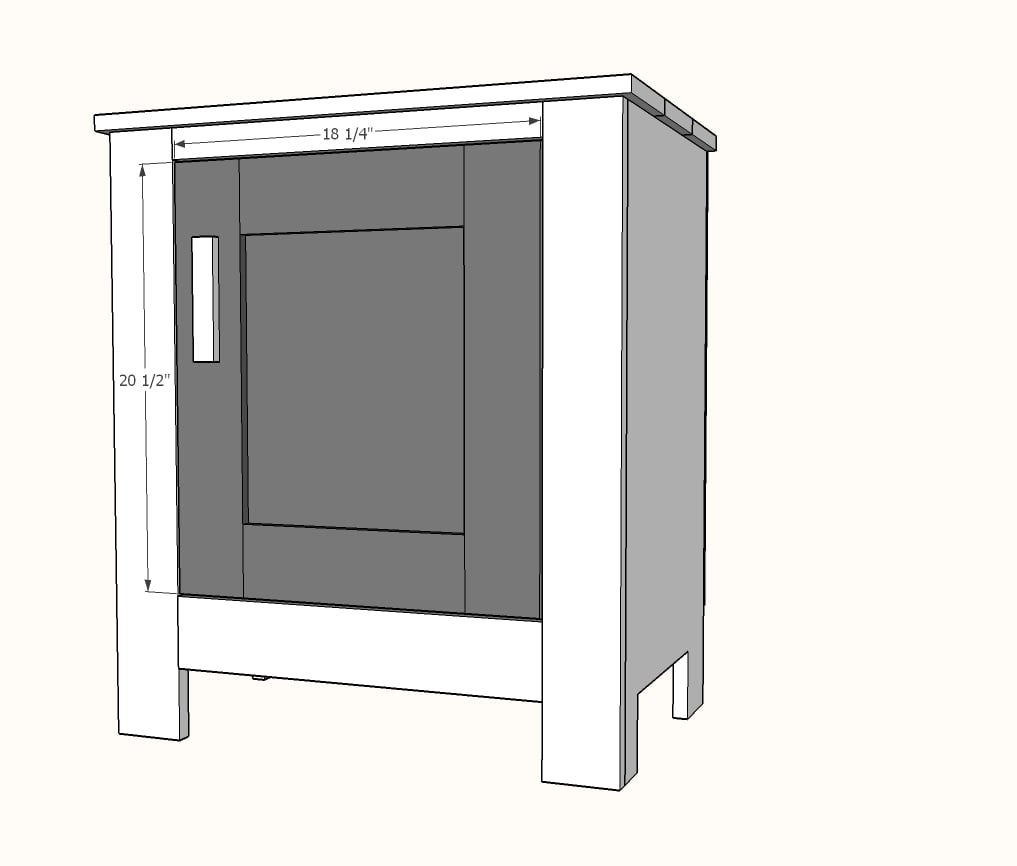
Dimensions shown above - this nightstand is VERY large

Preparation

Shopping List
  • 48" x 48" piece of 3/4" thick plywood - I used paint grade birch
  • 24" x 48" piece of 1/4" thick plywood
  • 2 - 1x4 @ 8 feet long
  • 1 - 1x2 @ 4 feet long
  • 1 - 1x6 @ 8 feet long
  • Set of hinges
  • Knob or handle
  • Magnetic clasp or hasp
Common Materials
3/4 inch finish nails
1 1/4 inch finish nails
Cut List
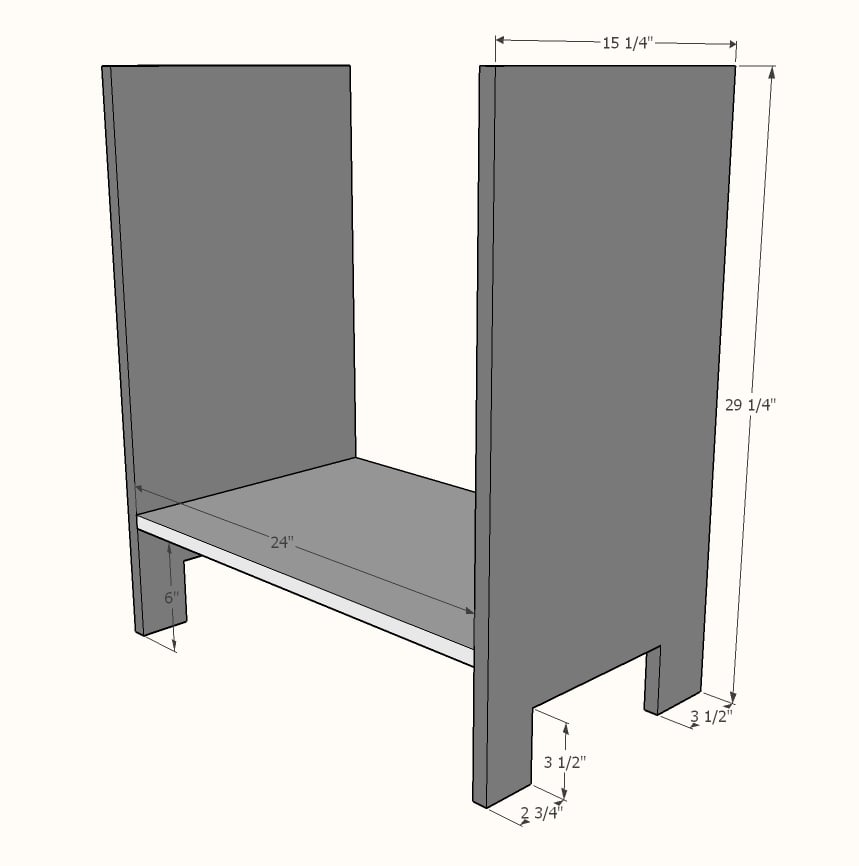
  • 2 - 3/4" plywood @ 15-1/4" x 29-1/4" - Sides
  • 1 - 3/4" plywood @ 15-1/4" x 24" - Bottom
  • 2 - 1x4 @ 29-1/4" - Face Frame Legs
  • 1 - 1x4 @ 18-1/2" - Face Frame Bottom
  • 1 - 1x2 @ 18-1/2" - Face Frame Top
  • 2 - 1x2 @ 24" - Back Supports
  • 1 - 1/4" plywood @ 25-1/2" x 24" - Back
  • 3 - 1x6 @ 26-1/2" - Top
  • 2 - 1x4 @ ~20-1/2" - Door Frame Stiles - measure and cut to fit
  • 2 - 1x4 @ ~11-1/4" - Door Frame Rails - measure and cut to fit
  • 1 - 1/4" plywood @  13" x 15" - measure and cut to fit, about 1" larger than frame opening
Tools
Tape Measure
Speed Square
Pencil
Safety Glasses
Hearing Protection
Kreg Jig
Drill
Circular Saw
Jigsaw
Miter Saw
Brad Nailer
Power Sander

Instructions

Step 1

Cut sides and bottom from 3/4" plywood.

Use a jigsaw to cut out sides to look like legs.

Drill three 3/4" pocket holes on ends of bottom shelf.  Attach to sides with 1-1/4" pocket hole screws.

Step 2

Cut all 1x boards on miter saw.  Build face frame with 3/4" pocket holes and 1-1/4" pocket hole screws first.  Attach face frame to plywood with 1-1/4" brad nails and wood glue.  

Note top and bottom board length should be 18-1/2”

Drill 3/4" pocket holes on ends of 1x2 back support.  Attach at top back corner with 1-1/4" pocket hole screws and glue.

Step 3

Cut back plywood with circular saw or table saw.  Nail on with 3/4" brads and wood glue.

Step 4

Build top with 1x6s pocket holed together at edges.  Attach to top with 1-1/4" brad nails and wood glue.

Step 5