We are getting to the good part.
With snow threatening to stick, and noticeably less light each day, winter is fast approaching up at the Momplex. We have been blessed with a beautiful fall (THANK YOU for your thoughts and prayers for good weather!), and are still optimistic about getting a roof on the Momplex and being able to work inside over the winter.
I am so desperate to work inside the Momplex because these are the projects that I love. I already have the kitchen cabinets made in my head, and let me tell you this, the days of paying as much as a car for kitchen cabinets are OVER. I can't wait to show you how I build cabinets! I've got built-in entertainment systems, walk in closets, bathroom vanities with tile tops all made in my head, and I cannot wait to be able to take these designs and build them!
This is what keeps me going when the wind is blowing and two layers of down isn't enough. I am determined to be working on the inside of the Momplex this winter, and cannot wait for the Mom's to move in and enjoy our hard work for the rest of their lives.
Today, I got a little teaser for inside projects - we got to build stairs!

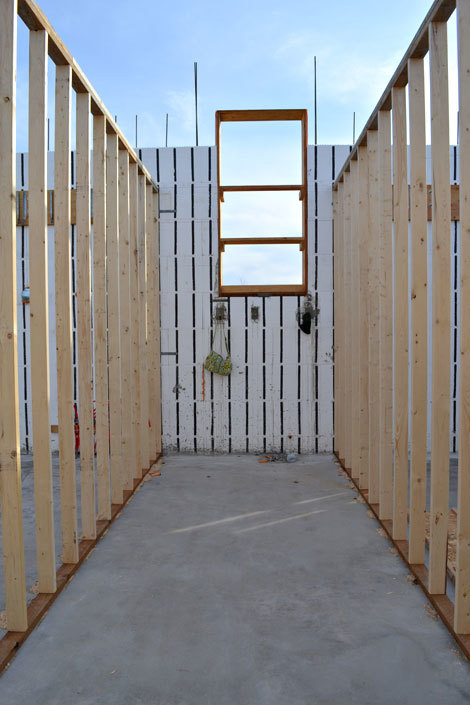
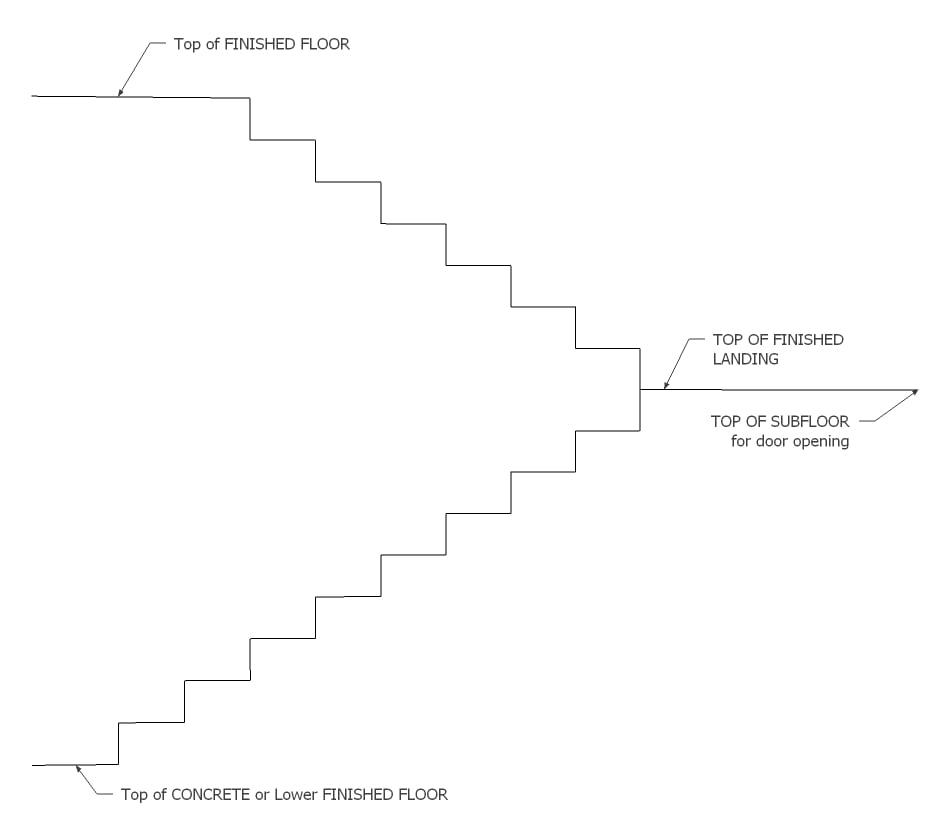
Designing Stairs
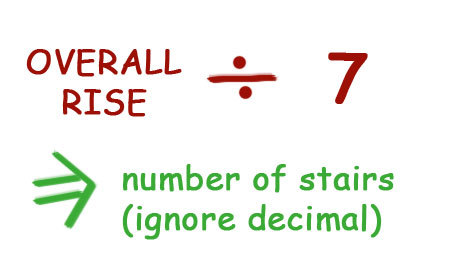
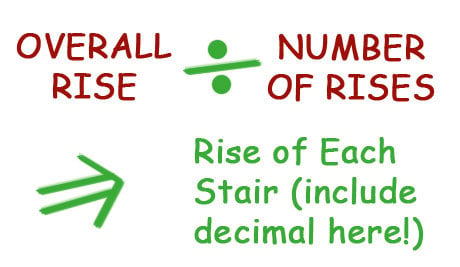
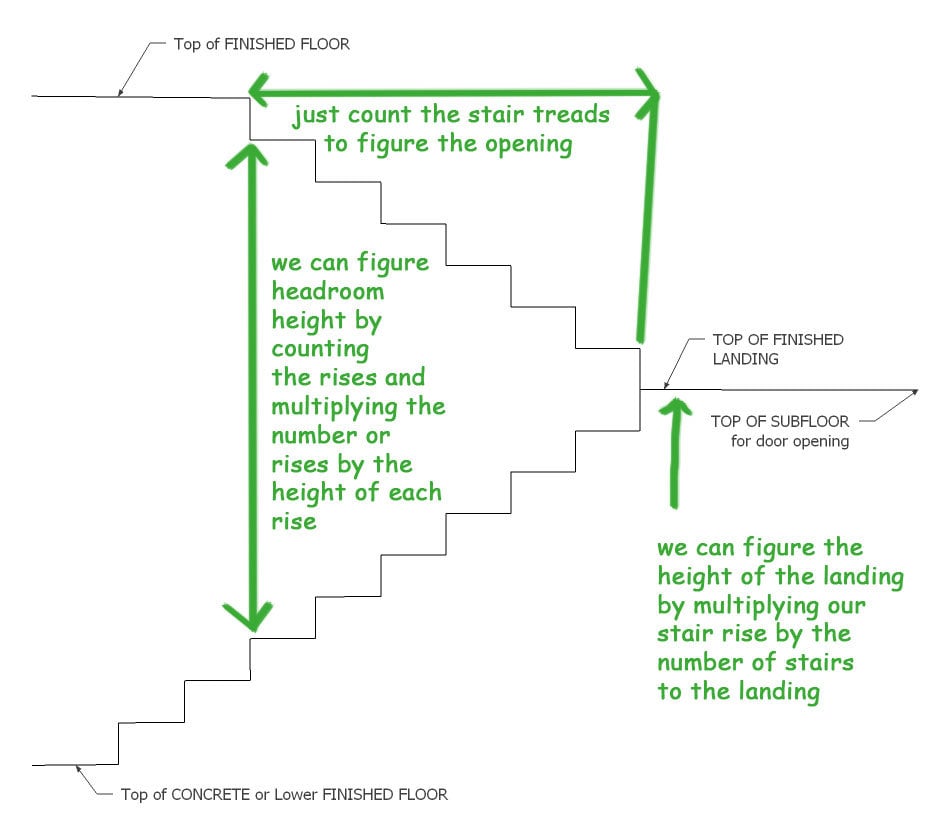
Standard stair treads are 11 1/2" to work on 11" cutouts for your stairs. Knowing this and the rise of each stair, we can draw out our stairs, and figure the height of the landing, how much headroom we will need, and even the opening size needed. Isn't this so cool???
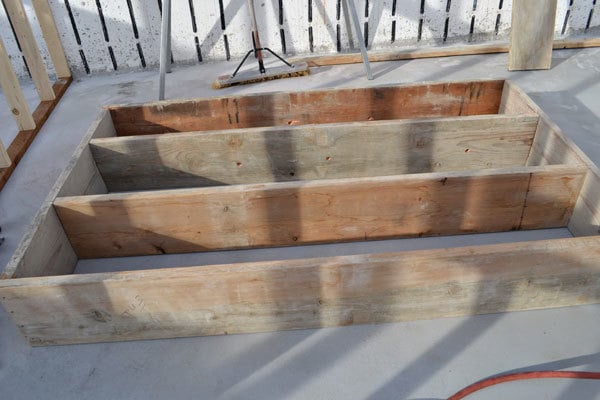
To build our stairs, the first thing we did was build the landing. We kept the joist on the landing at 16" centers to match the 16" centers on the walls surrounding the stairs.<div><br></div><div>If the boards in this post look familiar, it's because they are reused from first the footer forms ...
</div><div><br></div><div><img src="https://lh3.googleusercontent.com/--V0vttZbmc0/TicVjOs3wPI/AAAAAAAAIxY/…; alt="" align="none"></div><div><br></div><div>And then the scaffolding planks ...</div><div><br></div><div><img src="http://ana-white.com/sites/default/files/icf-concrete-pour-14.jpg" alt="" align="none"></div><div><br></div><div>I promise, this is the final use for these 2x12 boards!</div>
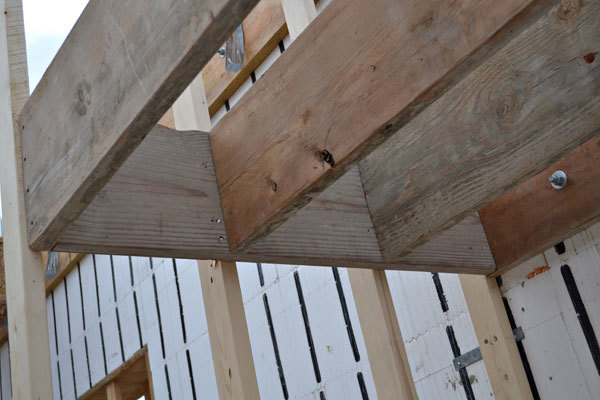
Perfect fit! We attached the landing at the correct height (remember, the figuring is for finished floor height, so we have to move the framing for the landing down to account for the subfloor and flooring). Bolts hold the landing into the ARXX block walls, and the ends are toenailed into the joists from both sides. This landing isn't budging.
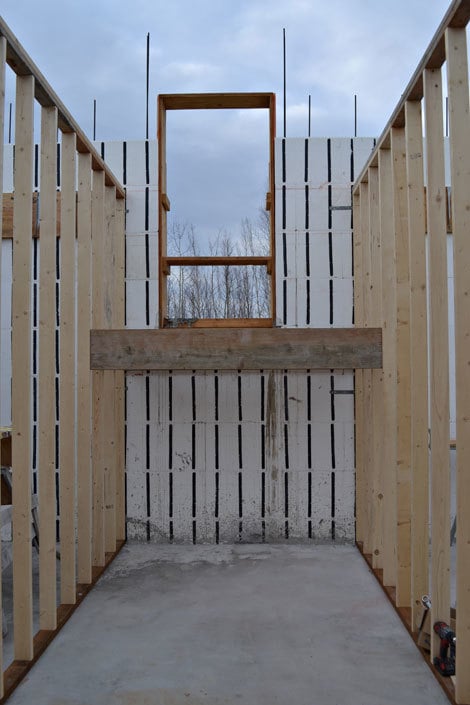
With the landing in place, we put layed the subfloor on top. Now it's time to build the actual stair stringers!
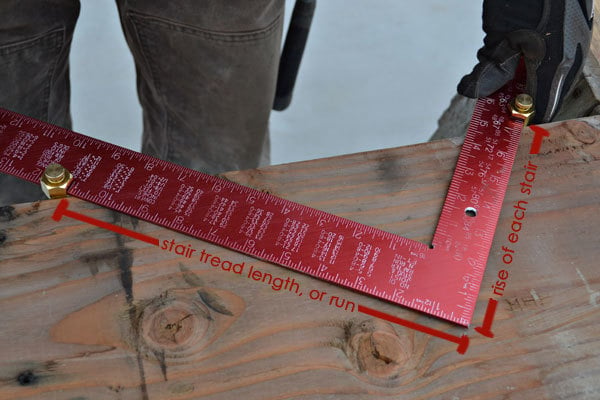
With a special square, called a rafter square (you can also use this guy for roof framing), special bolts and attached to the square to create a cutout pattern as shown above.
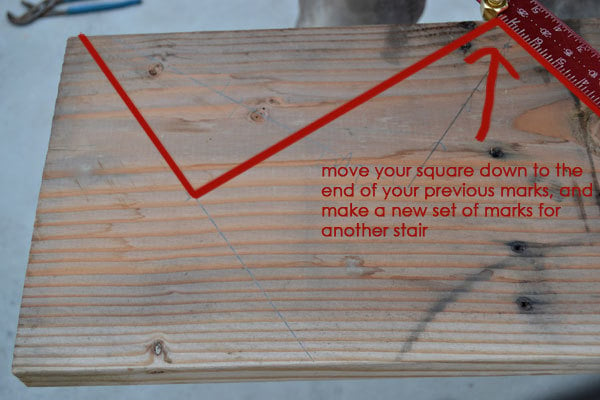
Then we just start marking stair cutouts! You have to be very very careful here, making sure each stair cutout matches the previous.
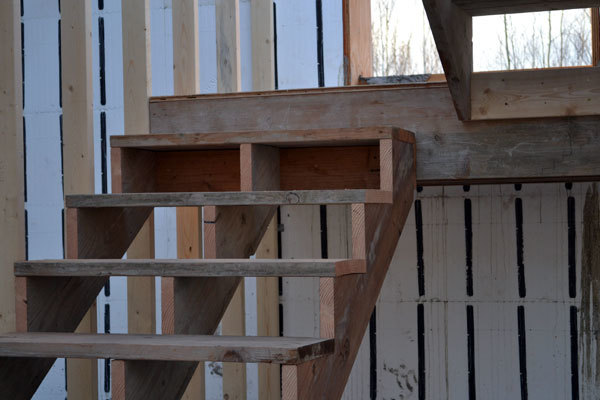
Depending on how you are starting and stopping each stair, you may choose a different method of cutting the ends of each stair. Also, we trimmed the bottom rise by 1" to account for 1" thick stair treads.
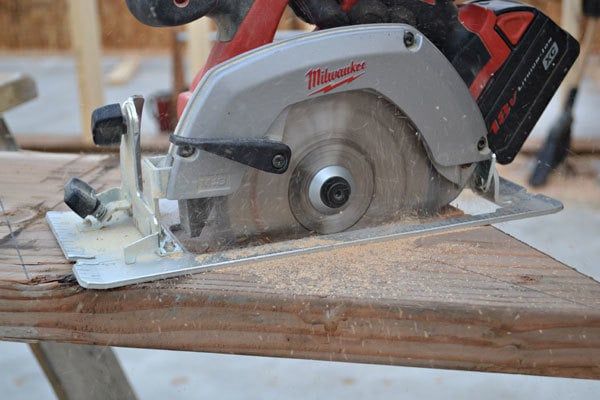
Once the stair stringer pattern is drawn on the stairs, we use a circular saw to cut out each stair.
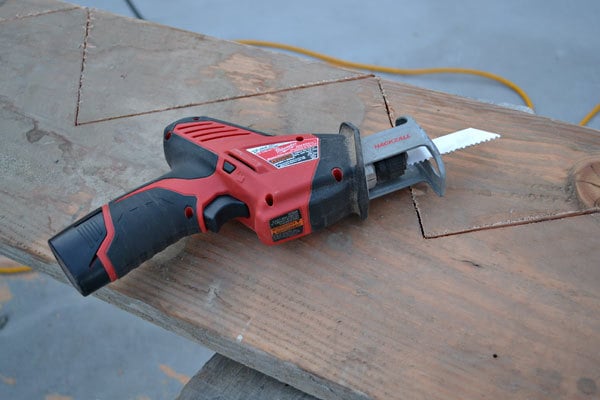
Then the cuts are finished with a straight saw blade. This tools worked pretty good.
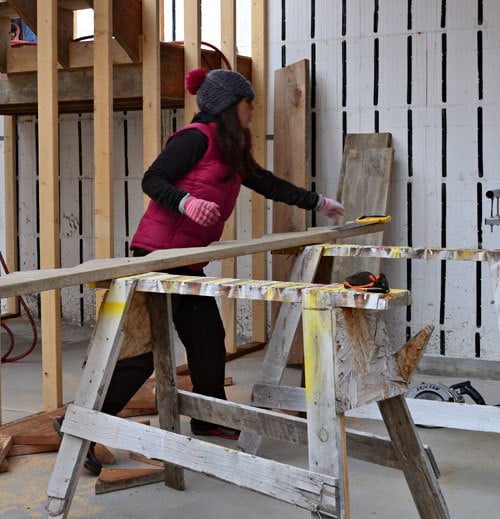
But I found myself reaching for the handsaw. It worked better. Bonus - cheap therapy and a workout all in one!
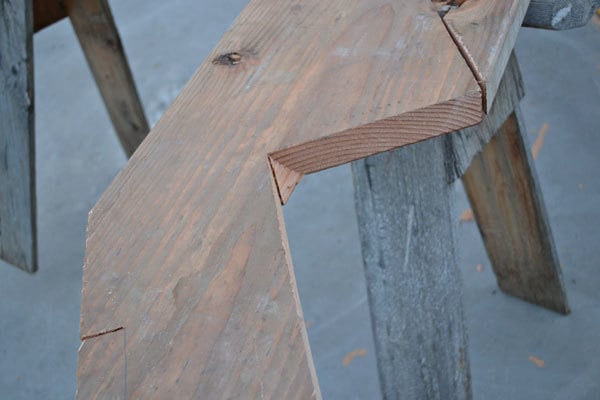
Sometimes the cutouts would break off, and these little triangle pieces would have to be cut off. We have a total of 12 stringers to cut, so this was a long day. You can see the light is fading.
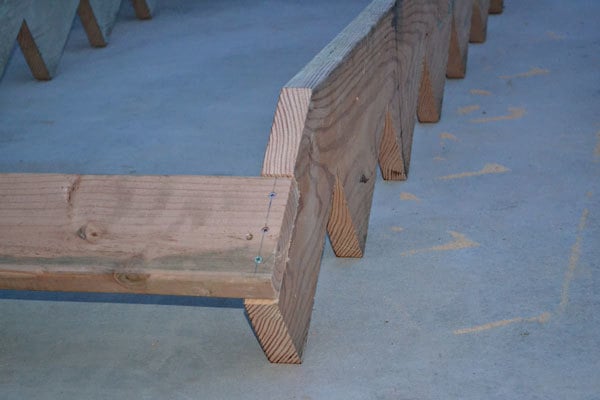
My FIL, Tim, and I worked on the stairs together. He suggested notching out the bottoms so we have something solid to anchor the stairs to the concrete with. Great idea!
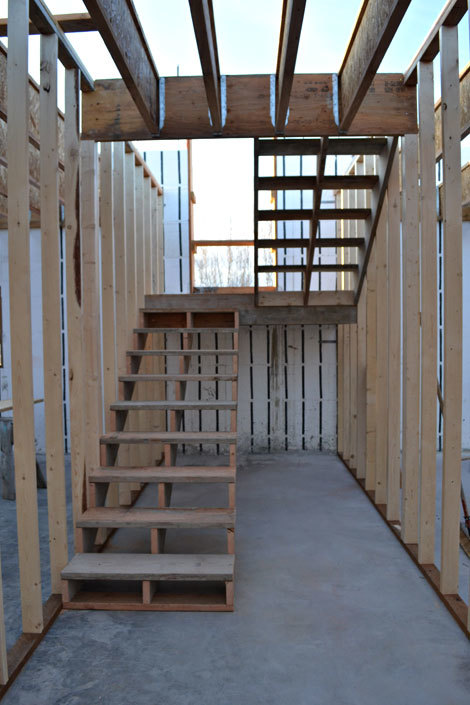
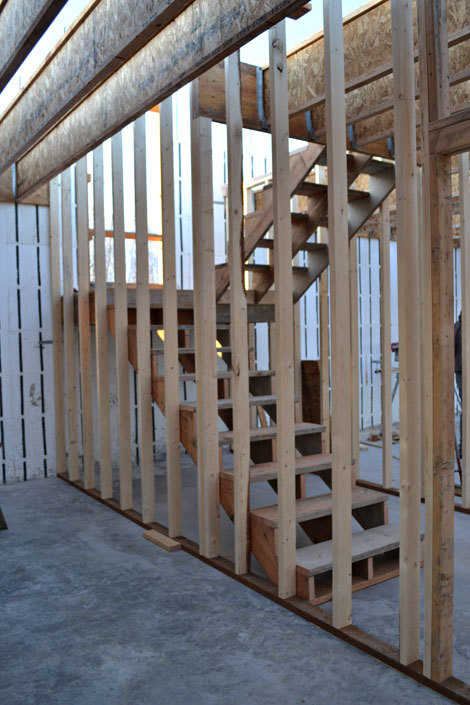
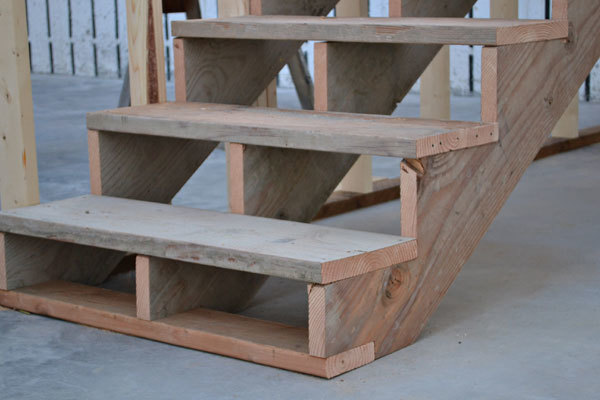
There are three stringers per flight of stairs, one in the middle that you can't see in this photo.
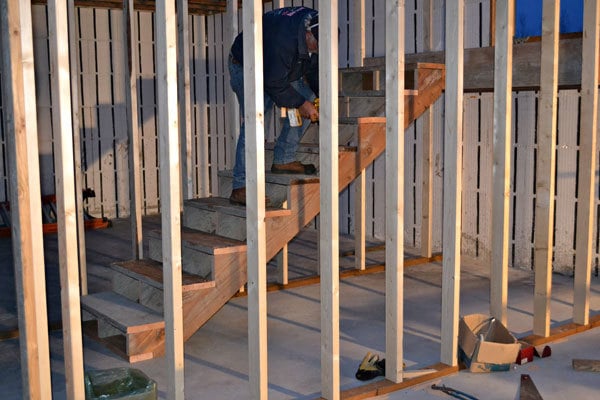
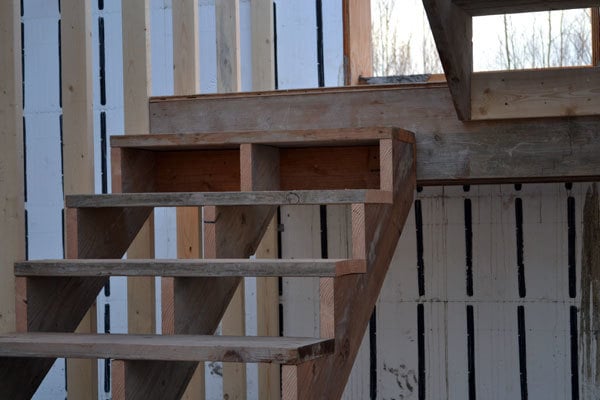
It was dark when we finally got the stairs put in and Uncle Bill helped screw the treads down. Time to call it a night! I couldn't sleep that night, excited to wake up and work on the remaining stairs.
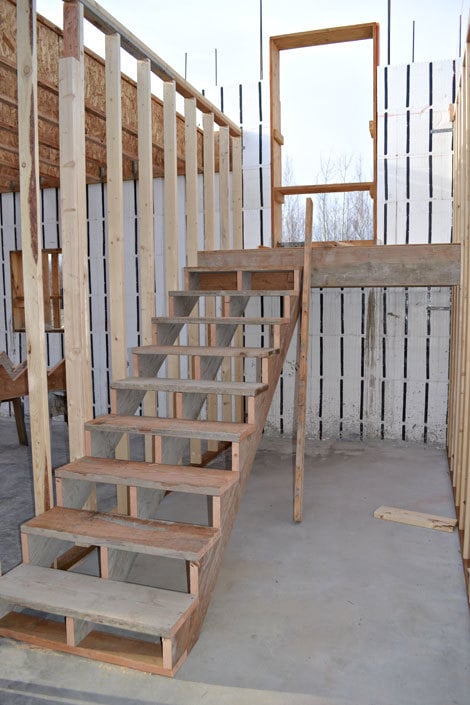
Still there in the morning!
Comments
guest (not verified)
Mon, 10/17/2011 - 10:52
Inspired
Tsu Dho Nimh
Mon, 10/17/2011 - 14:17
Convenient stair calculator
k g (not verified)
Mon, 10/17/2011 - 14:34
Oh Ana!! I am soo excited
Guest (not verified)
Mon, 10/17/2011 - 15:24
Can't wait to see what you
kahrani
Mon, 10/17/2011 - 16:30
I'm in awe of you! This
Guest (not verified)
Mon, 10/17/2011 - 19:43
Love the stairs. What a
Jenn Zynn (not verified)
Tue, 10/18/2011 - 16:43
Those stairs are a beauty to
Liara (not verified)
Tue, 10/18/2011 - 16:54
I'm so impressed that you
Melissa Humbert (not verified)
Tue, 10/18/2011 - 19:17
YAY Momplex!
Matty (not verified)
Thu, 10/20/2011 - 06:16
is the bottom step 1 inch shorter?
Ana White
Thu, 10/20/2011 - 10:07
Yes, that's exactly what we
annalea
Fri, 11/04/2011 - 17:37
Kitchen cabinet plans? Please????
In reply to Kitchen cabinet plans? Please???? by annalea
claydowling
Sat, 11/05/2011 - 03:54
Boxes