What to do after you've spent a year and a half building a super insulated building, so air tight it's poured in concrete?
Drill big fat holes in it of course!
We've entered my most dreaded phase of building.
It's utility time.
I despise this stage because there is so much work, so much money invested ... but you can't see it. In other words, you aren't getting a finished project. You are getting what looks like a freeway interchange of pipes to be hidden inside your walls. It's going to be a long few weeks of drilling holes in the interior walls of the Momplex and pushing pipes and vents through, and later pulling wires though.
Where to start? These are the systems we will have in the Momplex:
- HRV (heat recovery ventilation)
- Plumbing Water Supply (hot and cold)
- Plumbing Drainage
- Phone/Telecommunication/Internet/Stereo/Cable or Satellite TV/Etc
- Electrical
- Central Vacuum (have you seen the automatic dustpans?)
- Heat System and Thermostats
- Dryer Vents
I know, these new houses are really getting complicated! But a little work now will sure be nice for Mom later on!
So where to start?
Because everything has to run in the walls or floor joists, sharing the same space, starting with the biggest pipes makes the most sense.
And the HRV system has the biggest pipes at 6" in diameter.
An HRV system basically pulls stale or moist air out of the home, and as it goes out, it exchanges with the new air coming in, warming that new air up. So it's more controlled and efficient than cracking a window.
To make sure we had a balanced HRV system, that works optimally and keeps the air fresh, dry and warm, we worked with a local ventilation company that engineers the design and supplies the parts and oversees you DIYing the installation. By going the DIY route, we are getting the best possible system, but saving over $3000.
Are you wondering how we run a 6" pipe through a 2x4 wall?
Well, you squish the pipe of course!
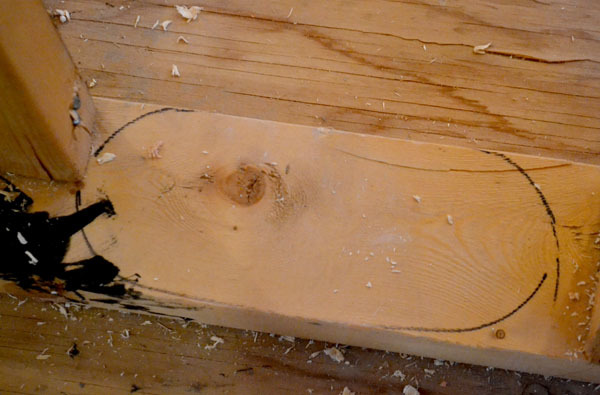
A flat pipe is twice the work to drill holes for though.
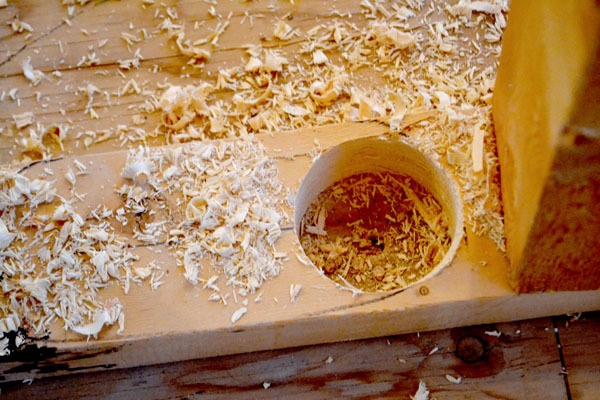
Normally you'd just drill one hole.

But we will need to do double duty to squish the pipe to fit inside the 2x4 walls.
With all the holes we are drilling, we invested in a good hole saw kit. Yep, no more smoking (yes, smoking as in burning smoking) wood as you try to drill a 4" hole.
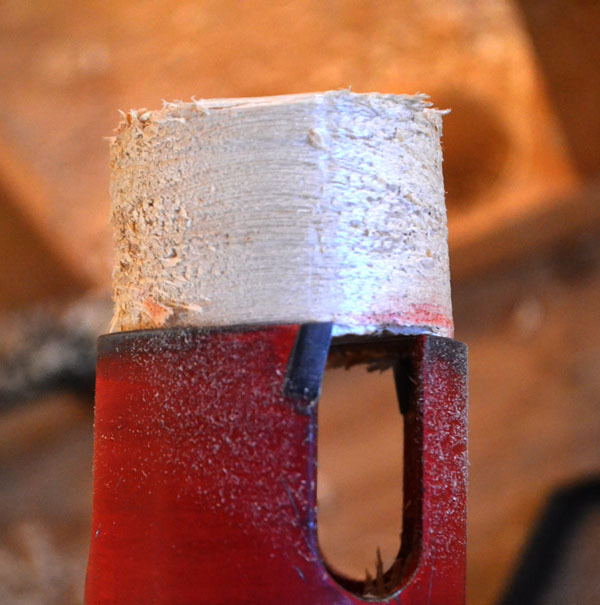
This hole saws actually work like a saw blade, running in a circle, instead of teeth rotating in a circle, so the sawdust is spit out as it bores a hole in no time flat.
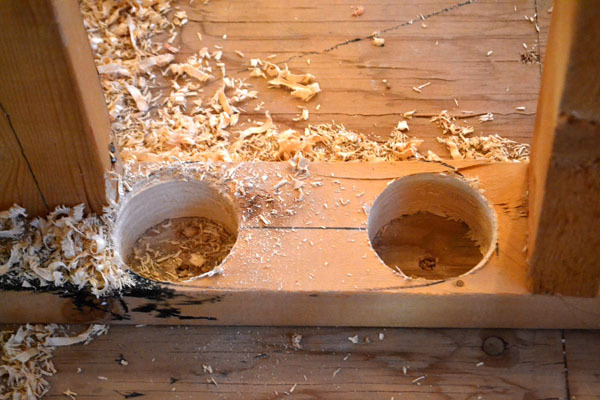
When you've got twice as many holes to drill, speed and efficiency are very important.
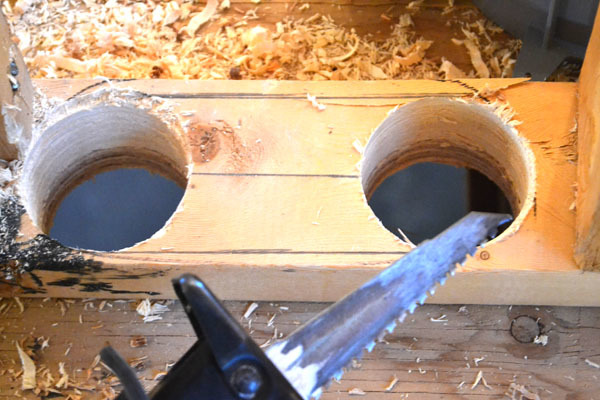
Then it's just connect the dots with a saws-all.
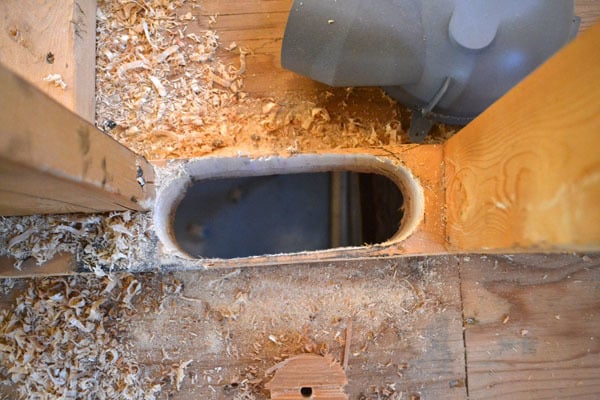
One down ...
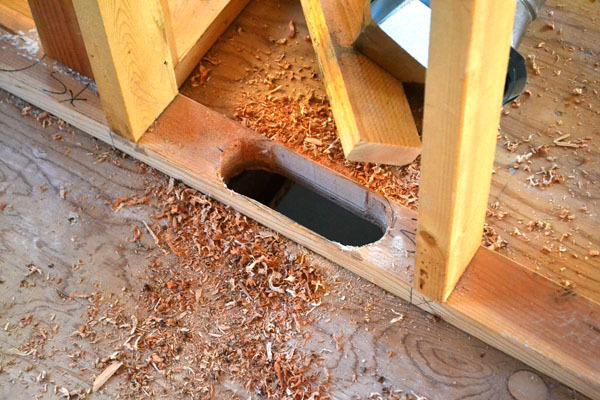
to early to count how many to go.
Just keep repeating to yourself ... we are saving $3000 to DIY the installation ourselves.
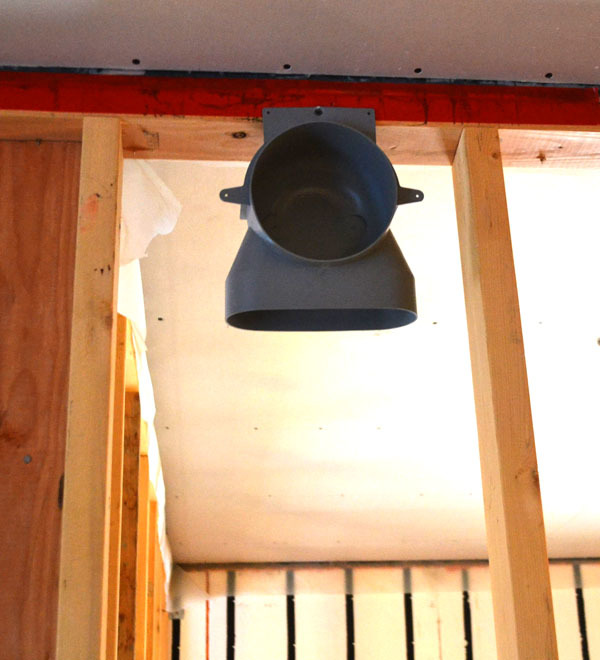
Throughout the Momplex, inlets and outlets are hung according to the engineered plans where air will be pulled out of the Momplex, and then new air replaced inside the Momplex. The air is pulled from rooms including kitchens and bath, where moisture is created. New fresh air is then pushed into bedrooms and other rooms. This keeps the air circulating throughout the home.
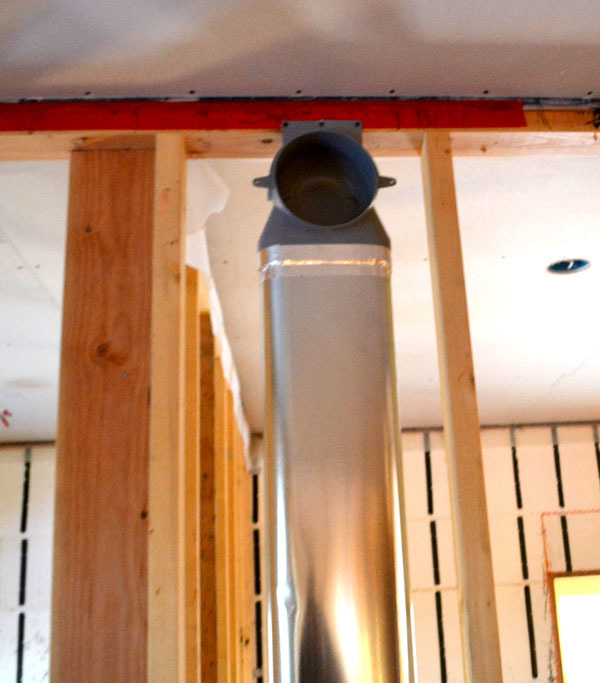
From the inlet our outlet, we run the flat pipe.
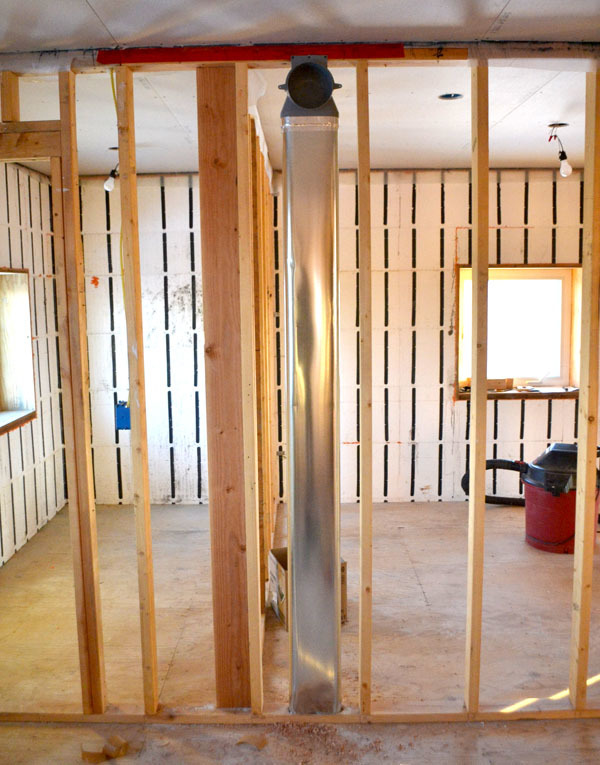
And that goes down through the wall and through the holes drilled in the floor.
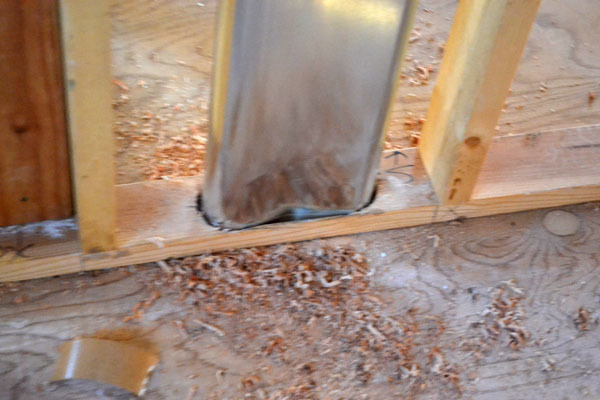
Man that guy is good!
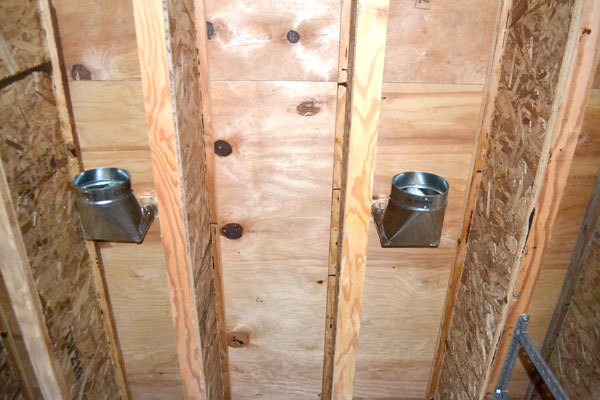
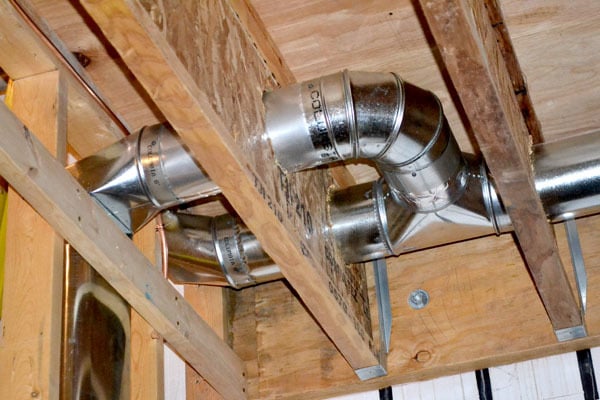
Underneath, the flat pipe is converted to a round pipe with a special corner fitting.<p></p><p><img src="https://lh4.googleusercontent.com/-i9WtJqVQQdI/UO0cEpIwpGI/AAAAAAAANIk/…; style="width: 470px;" alt="" /></p><p></p><p></p><p></p><p>Here's a close up for you. </p><p></p><p></p>
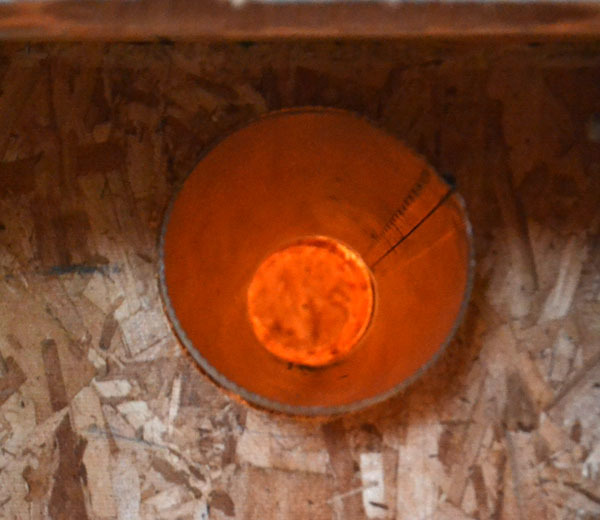
The round pipe just needs a circular hole drilled.
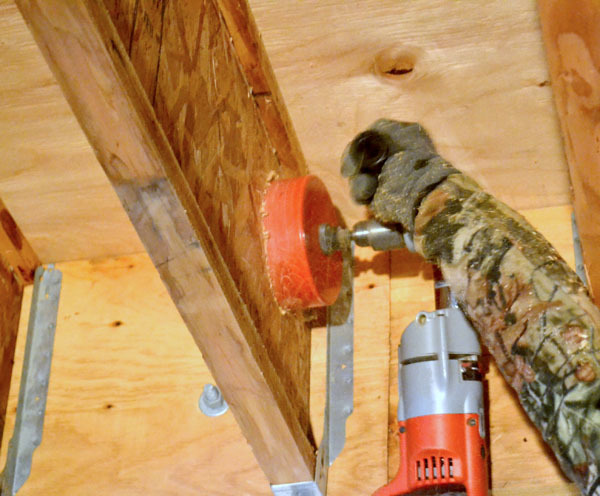
It's much easier to drill these with the hole saw kit because it's just mark the center and drill away. Half the work, half the time!
We are very grateful for our friends Bob and Martha for loaning us this right angle drill. It is a lifesaver!
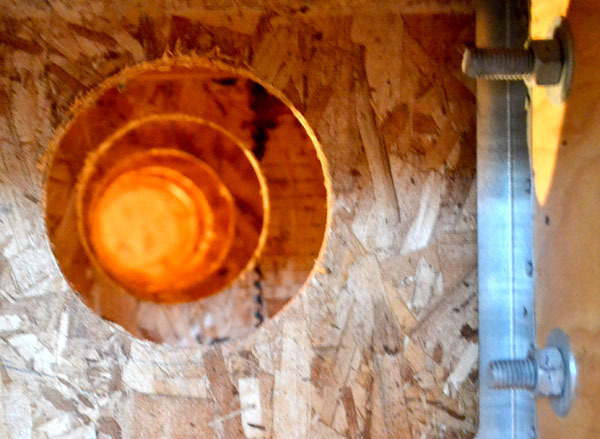
Pretty quickly, a row of holes can be drilled through the joists.

And then it's just take your pipe

And cut it to length.
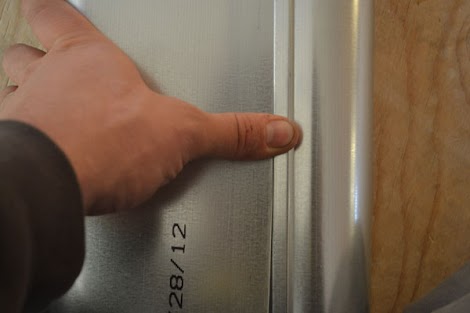
And snap the pipe together. Of course every seam or joint of ever pipe gets taped to prevent air escaping and creating an inefficient system .. but that's another story ... and another day .. er few days.
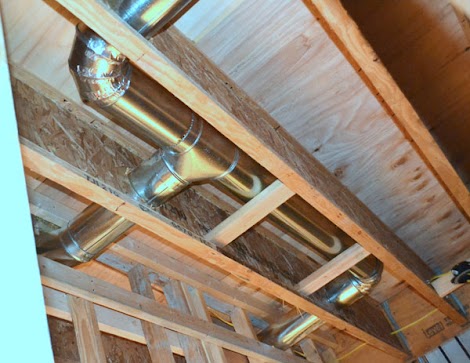
Then the pipe gets put in between the joists.
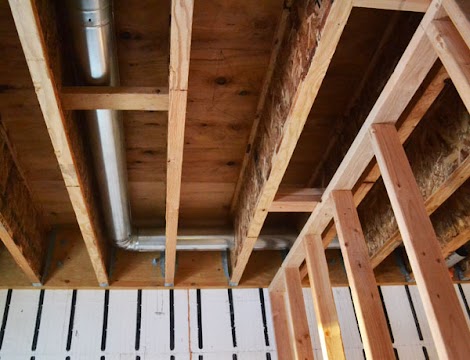
Where the pipe runs between joists, parallel, blocking is placed in the joists to support the pipe.

There is pipe everywhere in the basement ceiling.
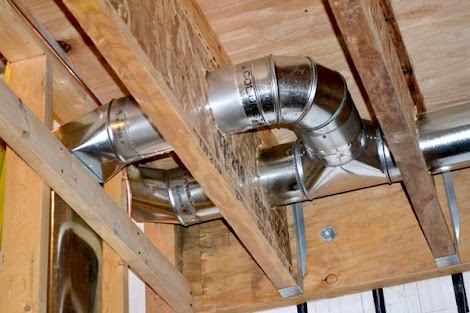
Grandpa Tim helped out, and although it seems like a ton of work, the HRV system was done in 3 days. Not bad for a $3000 savings!

I think we need to take Grandpa Tim on vacation!

And if I say so myself, even though I dread this stage and gripe that nothing gets "done", those are some pretty pipes!
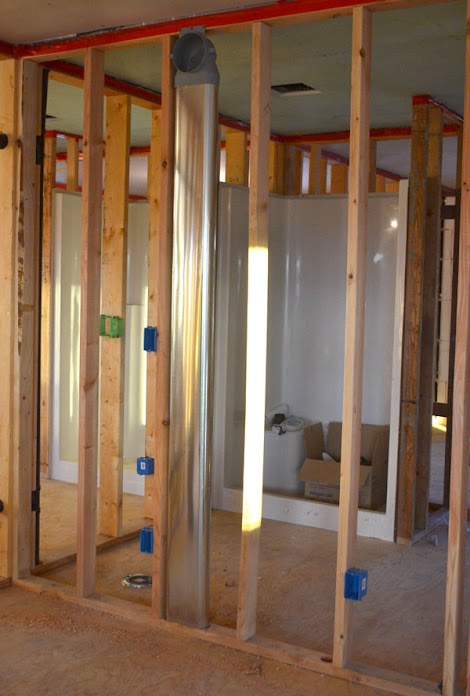
We still have to hook the HRV system up to the piping. Can you see the green box? That's the boost button, guaranteed to suck moist air right out of bathrooms and prevent windows from icing up and mold developing.
It will be interesting to see how the system performs!
So what do you do in your area for ventilation? Do you just open windows? Or do you have an HRV system? Do you like it? Or never use it? It's interesting to see how other homes keep air fresh and dry without throwing good heat out the window!
Comments
Patrick Dukes (not verified)
Thu, 01/10/2013 - 13:24
HRV?
In reply to HRV? by Patrick Dukes (not verified)
Ana White
Fri, 01/11/2013 - 18:00
Hi Patrick, the HRVs are
Lady Goats
Thu, 01/10/2013 - 14:06
I've never heard of an HRV system...
In reply to I've never heard of an HRV system... by Lady Goats
Ana White
Fri, 01/11/2013 - 18:01
HI Gina, you are so lucky! We
MelissaH (not verified)
Thu, 01/10/2013 - 19:20
I am so glad to see more of
In reply to I am so glad to see more of by MelissaH (not verified)
Ana White
Fri, 01/11/2013 - 18:03
Hi Melissa, thank you! It's
Chantelle - Th… (not verified)
Thu, 01/10/2013 - 22:01
Yup, HRV, just like yours!
In reply to Yup, HRV, just like yours! by Chantelle - Th… (not verified)
Ana White
Fri, 01/11/2013 - 18:05
Oh Chantelle, I hear you! We
deltaechobravo
Fri, 01/11/2013 - 07:53
network cables
In reply to network cables by deltaechobravo
annalea
Fri, 01/11/2013 - 13:20
True!
In reply to True! by annalea
Ana White
Fri, 01/11/2013 - 18:09
Annalea, you've convinced us!
In reply to network cables by deltaechobravo
Ana White
Fri, 01/11/2013 - 18:09
Hi David thank you for the
Nicole R (not verified)
Fri, 01/11/2013 - 08:23
My mom has a central vac and
In reply to My mom has a central vac and by Nicole R (not verified)
Ana White
Fri, 01/11/2013 - 18:12
Hi Nicole, I went to a
ChristopherW (not verified)
Fri, 01/11/2013 - 08:41
Is this an in the earth heat
In reply to Is this an in the earth heat by ChristopherW (not verified)
Ana White
Fri, 01/11/2013 - 18:17
Hi Christopher man I wish we
Klynel (not verified)
Fri, 01/11/2013 - 09:15
Holes in joists?
In reply to Holes in joists? by Klynel (not verified)
Ana White
Fri, 01/11/2013 - 18:19
Hi Klynel, Great observation
Klynel (not verified)
Fri, 01/11/2013 - 09:19
Holes in joists?
Kim Eminem (not verified)
Fri, 01/11/2013 - 11:11
HRV
In reply to HRV by Kim Eminem (not verified)
Ana White
Fri, 01/11/2013 - 18:22
Hi Kim, our house is like
James (not verified)
Mon, 01/14/2013 - 09:59
Another vote for wired
EB (not verified)
Tue, 01/15/2013 - 11:06
suggestion
EngineerMom (not verified)
Tue, 01/15/2013 - 16:28
We live in the Pacific NW -
LornaJay (not verified)
Sun, 01/20/2013 - 11:33
We ran a small hotel in
Sisters88
Fri, 02/15/2013 - 18:26
I'm catching up on all your
Ranina
Sat, 02/16/2013 - 01:18
Building a house
iwEvolunnkue
Thu, 03/21/2013 - 22:35
well i think this is a great