Supplies I Used
Minwax® Wood Finish™ in Early American
Natural Bristle Brush
Synthetic Bristle Brush
Minwax® Water Based Helmsman® Spar Urethane
Staining Rags
Sandpaper in Medium and Fine Grits
Prepare the Project
Believe it or not, this project starts out brand new! I wanted the top to be super flat, so a plate would rest on top without rocking. So I spent quite a bit of time sanding the top with a random orbital sander, in the direction of the wood grain, using medium grit sandpaper. You have to be super careful because it will leave scars if you go against the grain.

I followed the power sanding with quite a bit of sanding in the direction of the wood grain with a hand sanding block, starting with medium grit to match the sandpaper in the orbital sander, and then working my way down to fine.
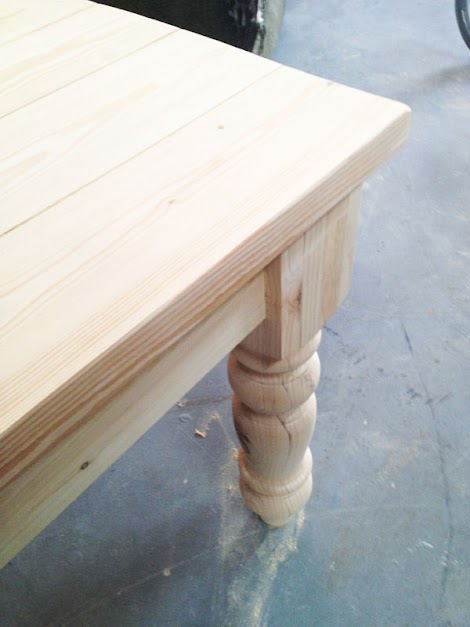
Sanding dust is the enemy, so I brushed the project off with a soft bristled brush, then vacuumed the entire area. And then I followed up with a quick wipe down with a barely damp cloth.
The table is now ready for staining!
Stain Application
Because the tabletop will not be painted over, I want the stain to go on super smooth and even. So I applied Minwax® PreStain Wood Conditioner to the wood. I used my natural bristle brush, but you can also use a foam brush here.
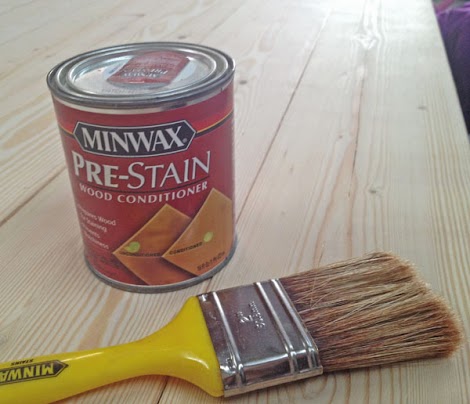
For Minwax® PreStain Wood Conditioner, I give the wood conditioner about 15 minutes to soak in before starting stain application.
Yes, I do have a thing for Minwax® Wood Finish™ in Early American – hence the giant can!!! I had my sister help me out as we’ve got quite a bit of table to stain (and it’s her table).
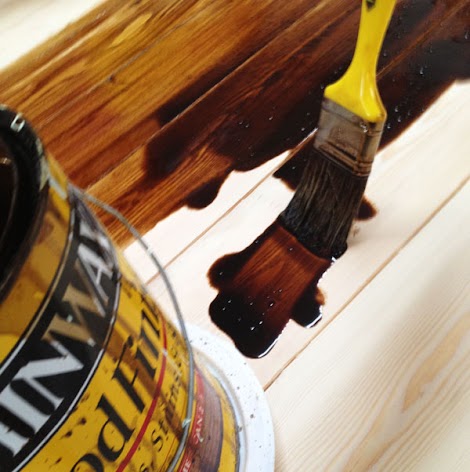
We brushed the stain on with a natural bristle brush.
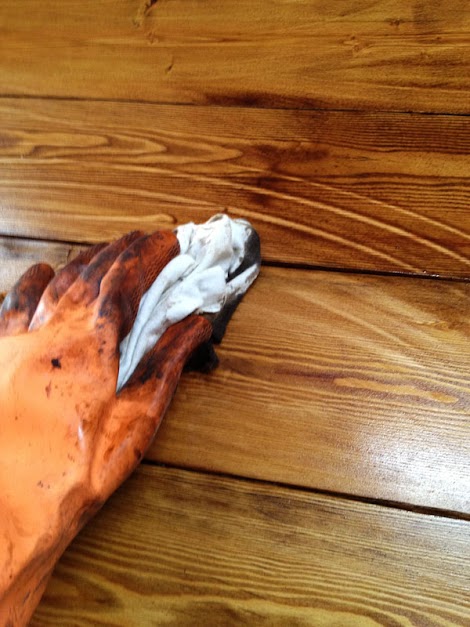
And then let the stain sit for a few minutes before wiping off. The stain went on really smooth and even because of the wood conditioner underneath. Isn’t she pretty?
But my sister has dark espresso kitchen cabinets, and we wanted the tabletop to be a darker wood.
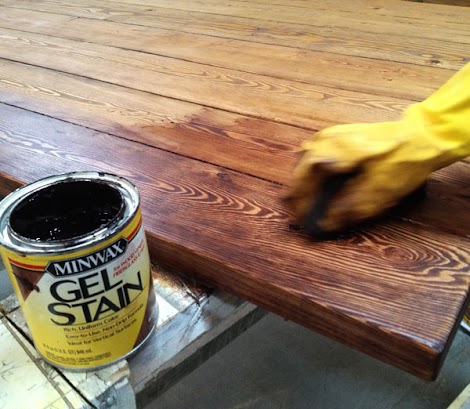
That’s one of the really cool things about stain. If you want to deepen the color, you can! I love that about stain - you have so much control over the outcome of your project!
Once the first coat of stain was dry, we applied a layer of gel stain over top in one of my favorite colors - Red Elm. Gosh, I just love that stuff!
Now that’s the color we were looking for!
We let the stain dry for a day.
Now how to keep that beautiful stain color, even with years of use?
Next, we’ll add the protective top coat.
Protective Top Coat
I really love working with Minwax® Fast-Drying Polyurethane and Minwax® Polycrylic® Protective Finish, but decide to use Minwax® Water Based Helmsman® Spar Urethane for the tabletop. The main reason is Helmsman® has superior durability for surfaces that are subject to dampness. It stays flexible and holds up well in exterior elements, and is great for countertops and tables.

But what surprised me the most was how easy it is to apply and how beautiful the it made the wood!
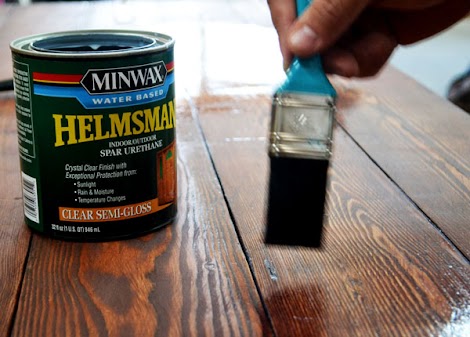
First up, I gave the can a good stirring. And then I started by applying a very thin coat of the Minwax® Water Based Helmsman® Spar Urethane, this time with a synthetic brush. If you use a natural bristle brush, the water will swell the bristles and you’ll ruin your brush. If you don’t want to switch out brushes, Minwax also makes an oil-based version too.
I let the first coat dry for a couple of hours, and then gave it a very light sanding with 220 grit sandpaper. And then added a second coat.

I was very impressed with how easy the Minwax® Helmsman® Spar Urethane went on – like really good nail polish! It was so easy, we even let our kindergartner help and she did a great job

NOTE: If you let your kids help, always go back and do a neat brush coat over top.
Then that coat dried for a couple more hours and I snuck out in my PJs and did a quick sanding (again with fine grit sanding block) and added another coat.

And then that dried, and we repeated one final time.
Now comes the really really really tough part.
For normal top coats, 24 hours is recommended before use. But with a tabletop, 72 hours is advised. The table was just so beautiful, I wanted to bring it over to my sister’s house right away and give it to them!

It was tough, but we let the tabletop dry for the full 72 hours. What’s three days when they can enjoy the table for many many years to come?
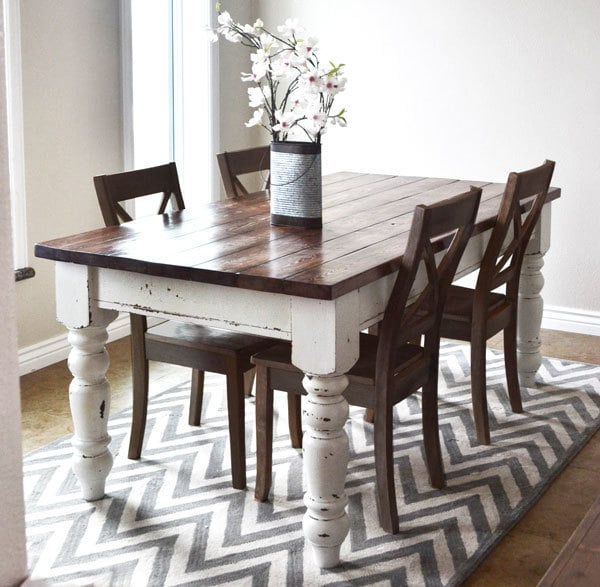
Thanks Minwax for sponsoring this finishing tutorial and for making awesome products that make our furniture look so good and stand up to this kind of use!!!
Comments
ckmikichi
Tue, 05/14/2013 - 14:53
Is this table built from the
birdsandsoap
Tue, 05/14/2013 - 15:34
Love that Early American
harpo1856
Wed, 05/15/2013 - 13:18
Does the urethane fill in the
In reply to Does the urethane fill in the by harpo1856
Ana White
Wed, 05/15/2013 - 14:39
My sister really wanted a
Binda B
Wed, 05/15/2013 - 18:25
How would you clean a table
AleksClark
Thu, 05/16/2013 - 07:38
Spar Urethane
Jennifer Hanshew
Wed, 05/22/2013 - 11:32
Table
Jmae31
Fri, 06/21/2013 - 09:07
I also love this table and
Mrswhetstone
Sun, 09/15/2013 - 21:31
Could gaps be filled in with
Toni and Brad
Sat, 11/09/2013 - 01:03
Dining table
moku87
Mon, 12/23/2013 - 08:06
Distressed Laminate, anyone?
Cindylee
Fri, 04/04/2014 - 17:14
Hi Ana whit, Please can you
louisa99
Sat, 05/31/2014 - 11:32
What were the procedure for
happymeal
Sun, 06/01/2014 - 04:45
Wow!! that table looks really
happymeal
Mon, 06/02/2014 - 03:27
Well, that table needed lots
milkyways
Fri, 06/06/2014 - 02:43
Great article, I'm
milkyways
Fri, 06/06/2014 - 02:47
Wow, that table looks
tombolo
Tue, 06/10/2014 - 01:30
very creative, how to make it
Lawlet
Tue, 06/10/2014 - 21:29
very beautiful, looks more
MargaretB
Mon, 06/16/2014 - 15:57
Just what I want
kasimmon
Fri, 06/27/2014 - 06:17
Ready to get started!
avineyard13
Wed, 07/09/2014 - 21:30
How to clean this type of table?
kaylalsimmons
Thu, 07/17/2014 - 12:46
The polyurethane process
Meighan1144
Fri, 10/17/2014 - 09:57
Chairs
Where can I find these chairs!? Or some similar to this!! Love them !!
Liz82
Tue, 04/19/2016 - 09:22
Table Plans Availability
Is this table available in your plans? I did not see it.
In reply to Table Plans Availability by Liz82
Ana White
Tue, 04/19/2016 - 13:00
http://www.ana-white.com/2013
http://www.ana-white.com/2013/05/plans/husky-farmhouse-table
Tim Thomasson
Thu, 05/12/2016 - 08:17
I'm working on a table
I'm working on a table similar to this. I hope it turns out half as good as yours!