Hello DIY Friends!!!
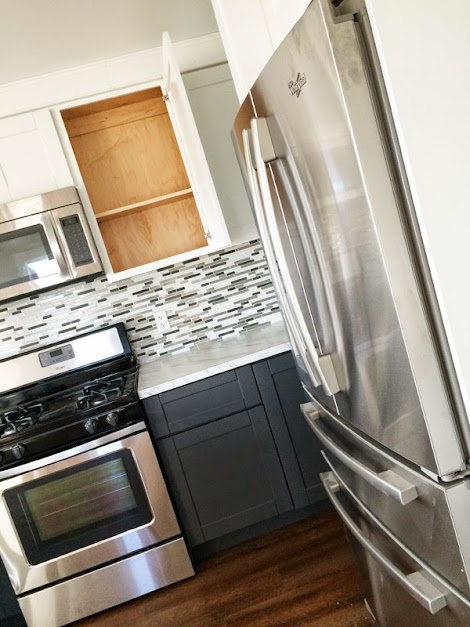
I'm so excited to share with you a little sneak peek of the kitchen we are working on!
Everything BUT the kitchen sink (and appliances) is DIY!!!
We've made some major progress lately, and I'l be sharing how we did those projects with you shortly.

Today, I want to share with you (just in case you missed it the first time around) one of my favorite ways to do drawers for kitchens.
Favorite because it's super easy and inexpensive, but you get a nice drawer that will hold up to everyday kitchen use.
I use the Metabox drawer side/slides by Blum (this post is not sponsored by Blum - they probably have no clue who I am). You can buy them off Amazon for around $7 - pretty comparable to most standard drawer slides, but with the Metabox, you get the sides too. They come in different lengths and drawer side heights. I'm using here the tallest ones in the 20" length.
Since the drawers sides are integrated into the slides, all you have to do is add the bottom and back. With the slides comes a chart that tells you how big to cut your bottom and back (depending on your opening). I cut the bottom and back out of 3/4" prefinished plywood, but you could use 1/2" or 5/8" material too. The bottom and back are 1-1/4" less in width than your overall opening. Length is determined by the slide sizes you are using.
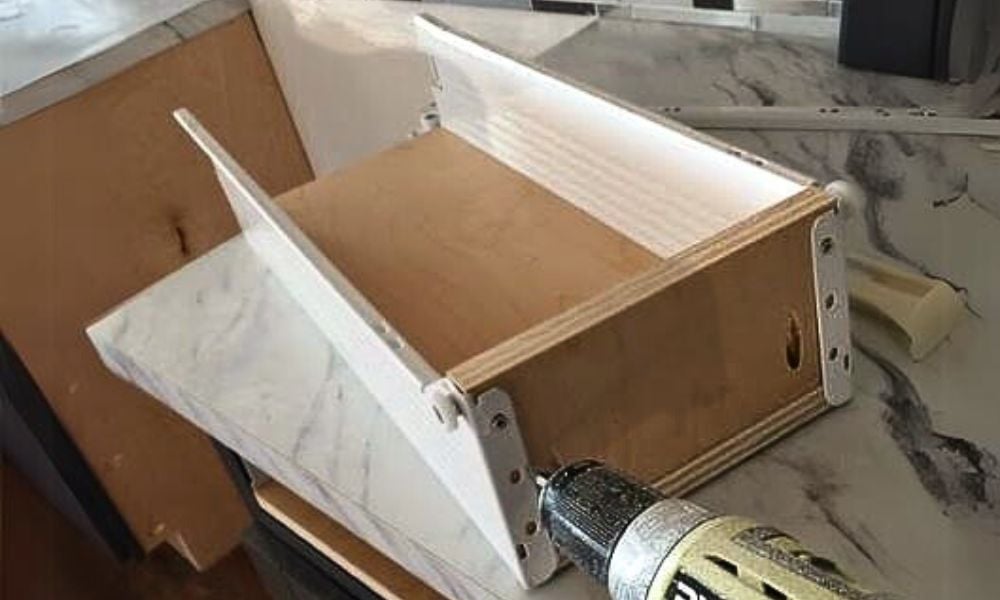
To build the drawer, you simply predrill holes in the bottom for attaching the slides (location of predrilled holes is given with instructions).
I also went ahead and attached the back to the bottom with my Kreg Jig - cause I'm a rebel that way ...
And then I simply attached the sides/slides to the bottom through the predrilled holes.
And then I attached the back of the slides/sides to the back piece.
That's all you do to make the drawer box!
Now on to the cabinet.
Since our cabinets have a face frame, the slides will get attached to this inside of the face frame (as opposed to attached to the inside of the cabinet itself). So sockets are needed to attach the back of the slide to the back of the cabinet. This is really slick because it makes it EASY to adjust the slides so the drawer slides just right.
Because we do a ton of drawers, we invested in a drawer slide gun. It is about $20 and basically holds the drawer slides in place while you attach them. Not necessary but nice to have!
The drawer gun holds the slide level to the face frame, and has opening to allow you to screw the slide on with the drawer gun holding it.
For face frame installation, the drawer slide is attached directly to the face frame, and then floats through the cabinet and is attached to the back.
If the drawer doesn't slide just right, it's easy to back the screws out and adjust the drawer slides to the right or left, until your drawer slides just right.
The drawer box then can just slide right in with the slides.
Now on to the drawer face ...
This is the neighboring 21" base cabinet so the drawer face is a little bigger.
You can make the drawer faces, either like these are, or just use a slab of hardwood in the right size. To attach the drawer face to the drawer itself, you use a mounting bracket that works with the Metabox drawer slides.
Using the mounting brackets does two things - it attaches the face without having to put any holes in the front, and it allows the face to adjust up, down and right and left, so you can get your cabinet drawer and doors line up just right.
They are super easy to install - just attach to the back of the drawer face,
Position on the drawer box,
And then clamp in place.
Next, you can adjust the drawer faces so they match your doors with just a screwdriver.
I was able to build and install all of these drawers in a couple of hours - and that's in between feeding the baby. So you could definitely whip these out much quicker!
I can't wait to show you the rest of the projects we've been working on!!! Will be sharing soon!
XO Ana + Family


Comments
Lady Goats
Thu, 05/01/2014 - 13:10
Perfect
rhonit
Thu, 05/01/2014 - 18:42
Building doors
kevinneumann
Mon, 05/19/2014 - 06:34
Large/Deep Drawers