Hello DIY Friends! We are on the finishing stretch of our Tiny House project, and we can't wait to share all the projects with you.
The finishing stage really does take up the most amount of time, doesn't it? The same could be said true for finishing any project.
Over the years, I've gotten quite a few comments and questions on how to stain wood projects. After staining hundreds of projects, I believe I've found that happy medium that works for me - where I can quickly and easily stain a project that looks amazing. Sure, there are faster methods. Sure there are slower, more involved finishing processes. But this how I stain my projects.
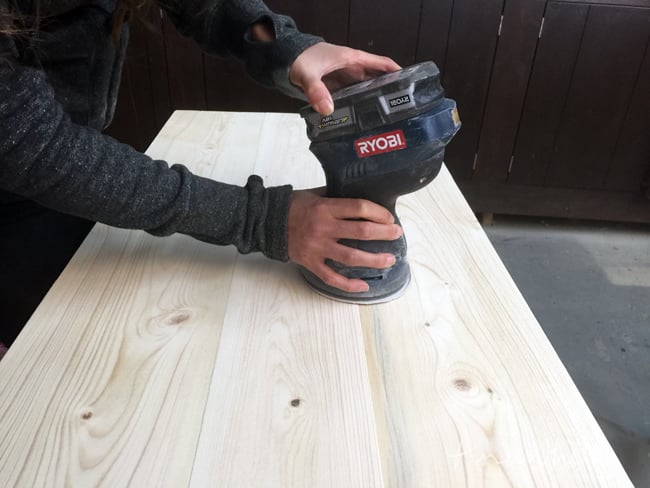
Sanding
I start with a good sanding. I use 120 grid sandpaper for most of my projects, but sometimes will go with a finer grit (the finer you sand a project, the less stain it will accept) or a coarser grit for that rustic look.
I always sand in the direction of the wood grain, and am very careful to not leave sanding scars that the stain will later highlight.
Depending on the project, sometimes I will sand my boards before assembly. This is important when you are working with small pieces where it may be hard to mauneuver your sander into tight places. If I have really rough boards to work with, I will even sand my boards before cutting. Work with your wood and project and be open to doing what is necessary for your particular project.
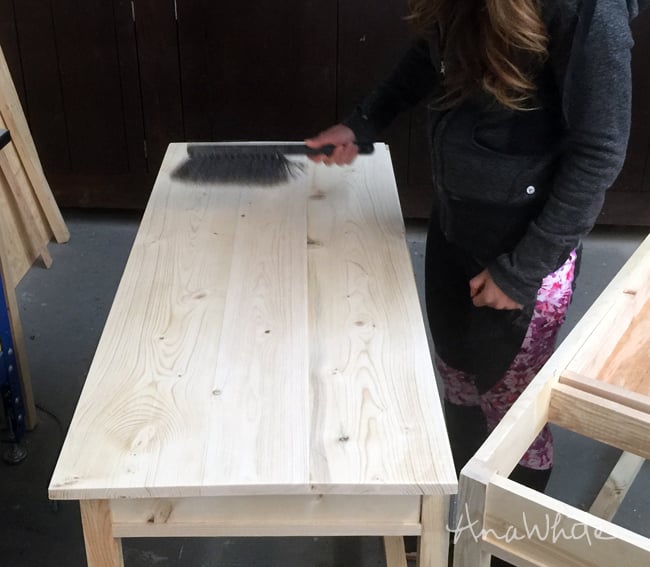
Prepping
After you sand a project, it will have a fine layer of sanding residue on it. I keep a brush around to clean a project off before staining. A damp, lint free cloth works really well, or vacuum with a soft bristled brush.
Befor staining, I usually position my project so I can reach all sides. Sometimes this means scrap wood under the legs, other times it means turning the project upside down first to stain the underside.
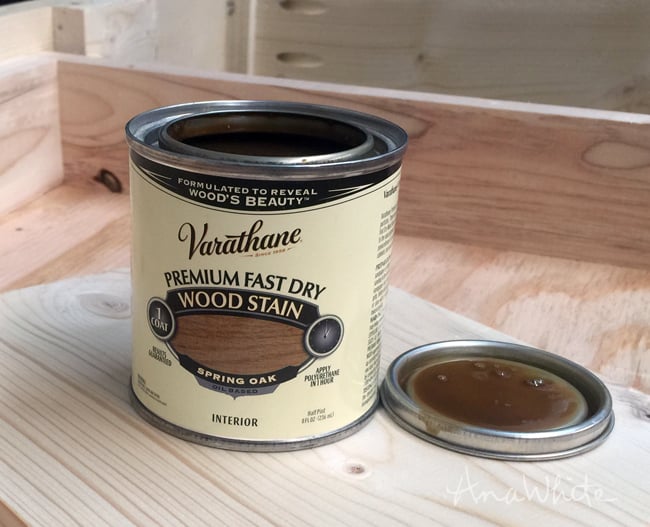
Stain
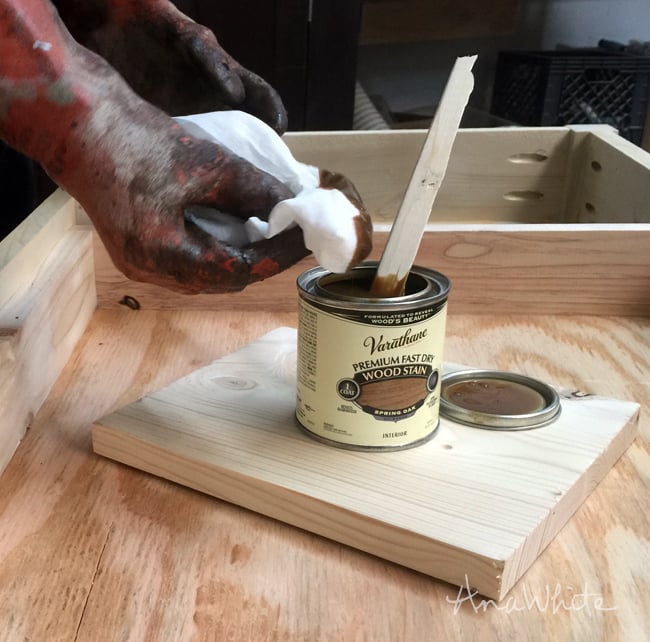
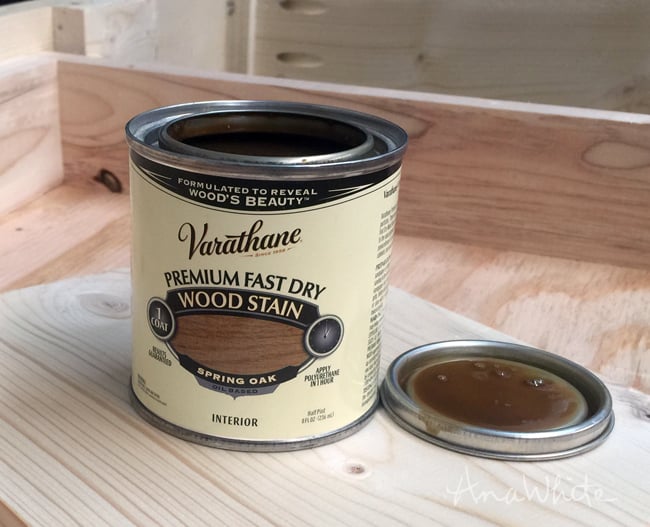
I've been using and loving Varathane Stain (it's the same as Rustoleum) for a few years now and love that it works really well on softwoods. Where I live in Alaska, spruce grows locally, so I do try to build with it as much as possible. Varathane stain works really well with it and does not come out blotchy or uneven. In this tutorial, I'm using Spring Oak - it's a very light neutrel brown.
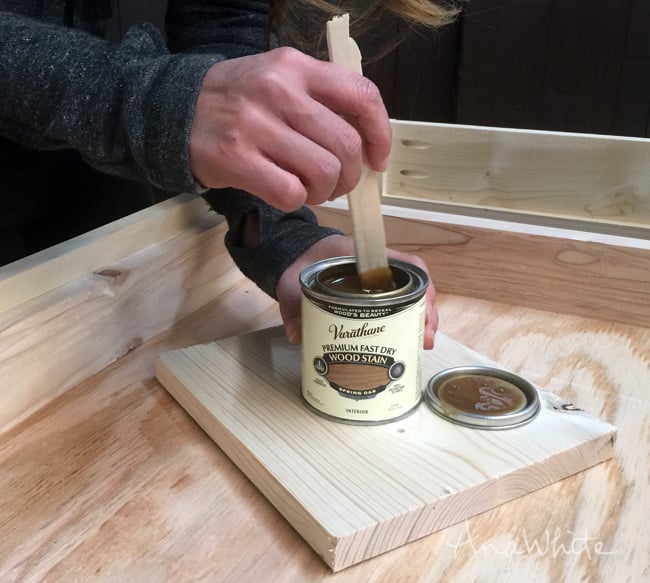
Mixing
It is very important to mix well your stain. If you don't, the stain at the top of the can will be lighter than the stain at the bottom, and this will affect your finished project. It's a good idea to stir the can here and there as you work just to make sure the color is consistent.
Applicator
I use shop towels, leftover t-shirts, and for small projects, paper towels to stain. It saves a brush clean up, and regardless, you have to go back over and wipe stain. So I just wipe it on from the start. This does deposit less stain on the project, but I feel it gives me more control as I can always add additional coats of stain to deepen the color. It's easy to darken stain, but very difficult to lighten in.
Testing
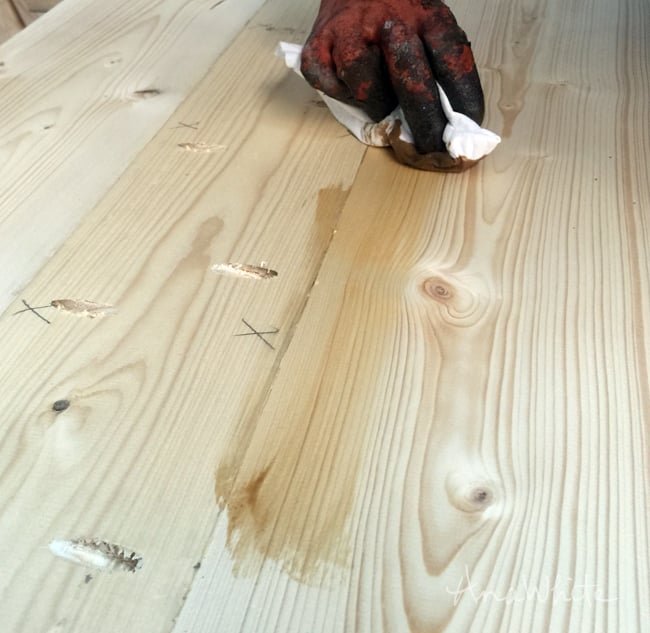
I always take a second to test my stain color on a hidden area of the project. I do this even if I've used the stain dozens of times - different wood can take stain differently, even within the same species.
Applying Wood Stain
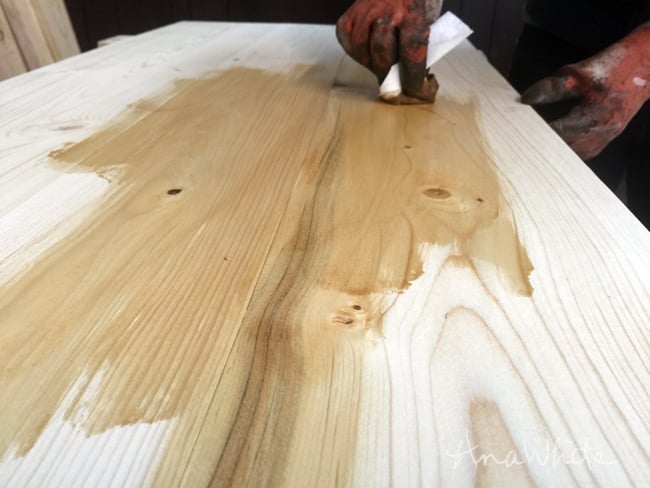
Then I just start applying the wood stain, working in the direction of the wood grain. I work fast, and in sections, being carefully to not show overlapping marks. You can work the stain into lighter areas to even out the stain coats.
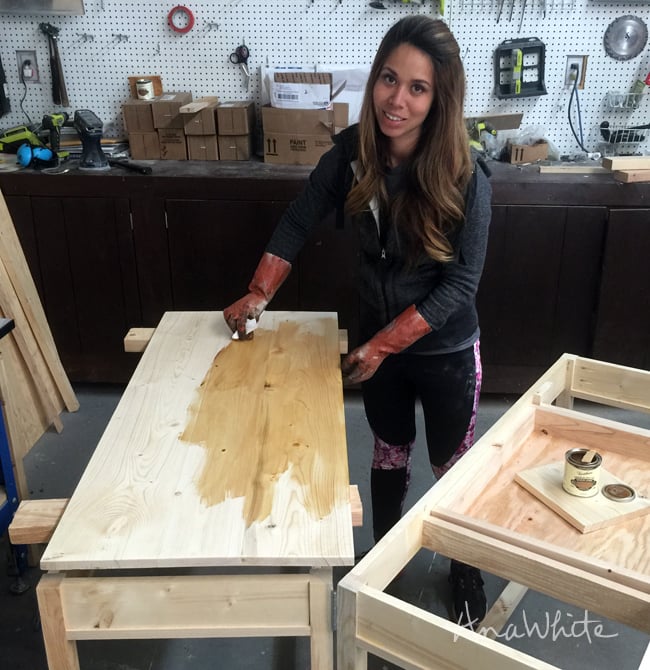
For this project, I concentrate on staining the tabletop. Then I will work on the base. By dividing the project up into sections, I don't get overwhelmed and can walk away from my in the middle of staining it - ie kids need something.
Top Coat
Stain needs a clear top coat to seal it and make it easy to clean.
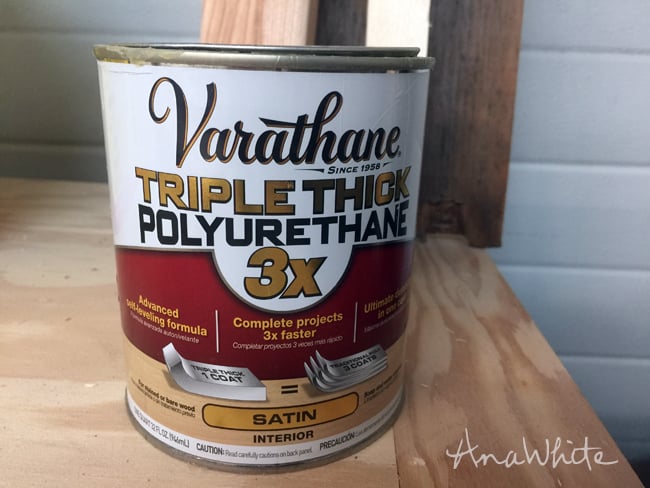
I love using Varathane Triple Thick Polyurethane on my projects because it is so fast and easy to apply. No need to apply multiple coats, wait for the coats to dry, sand between coats - with triple thick, it's just one coat and done. We've had it on our dining table and coffee table for quite a while now, and it is very durable and cleans up easily. I don't recommend it on painted finishes, as it does yellow, but it is perfect over stain.
Here's a really good video on how to apply Triple Thick -
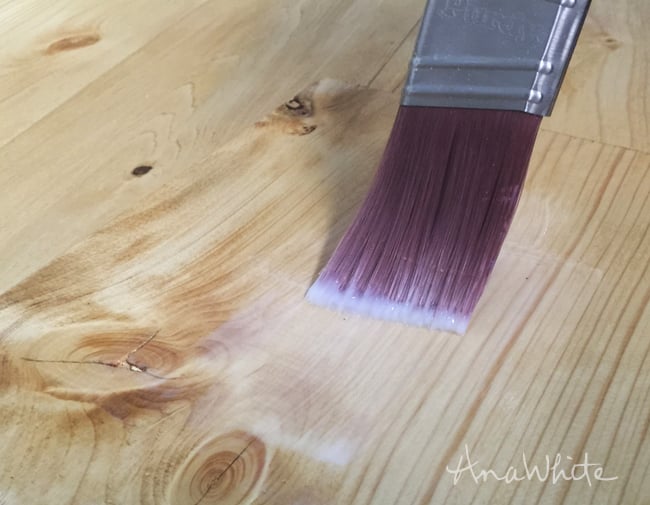
Just apply it pretty thick and even, don't overbrush it, use a synthetic brush. I love that it is soap and water clean up too.
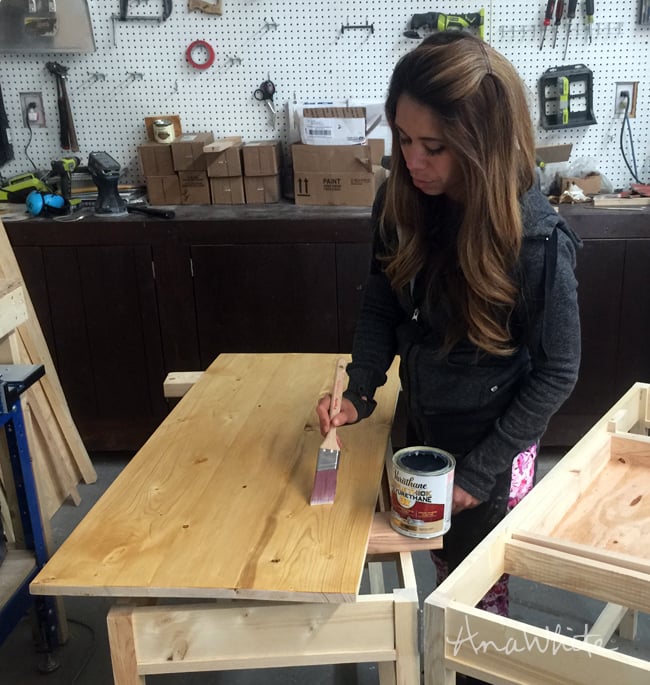
And that's it - my quick an easy way of staining projects.
On to the next!
XO Ana
Disclosure: I do work with Rustoleum and love using their products. All opinions expressed are my own.
Comments
spiceylg
Fri, 03/25/2016 - 08:10
curious
I am surprised that you didn't mention using a wood conditioner. I have found it makes a big difference. Does the stain you use already contain it?
Alan J
Fri, 07/10/2020 - 11:01
No VOC Stain
Hi Ana! Thanks for posting great plans and DIY topics. Curious if you have any recommendations on no VOC interior wood stains? I've used Rubio Monocoat before and it's worked great, but gets pricey.