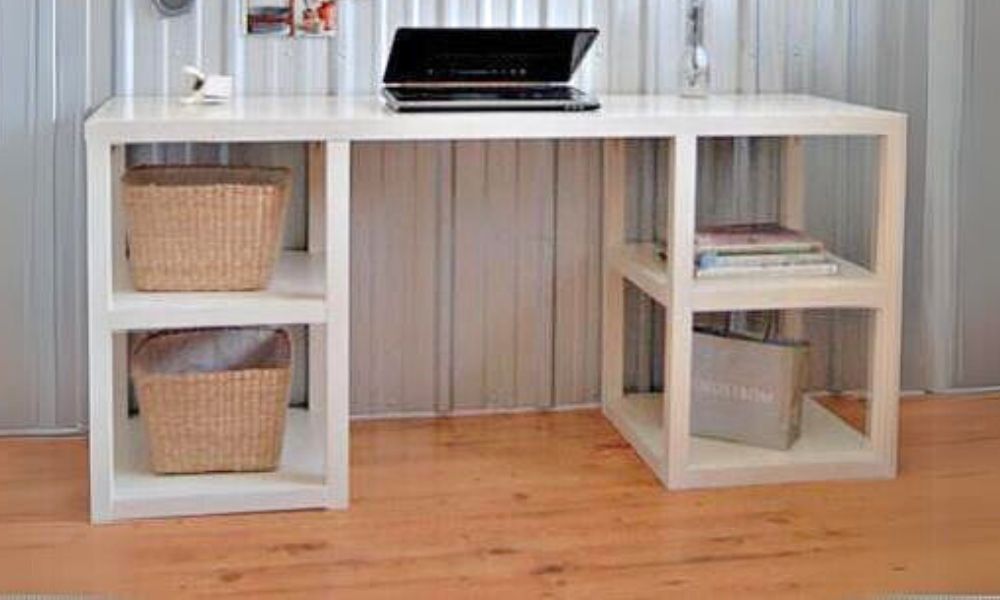
Build your own desk with free plans by Ana-White.com
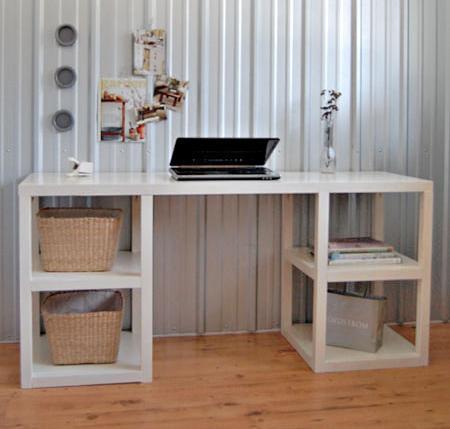
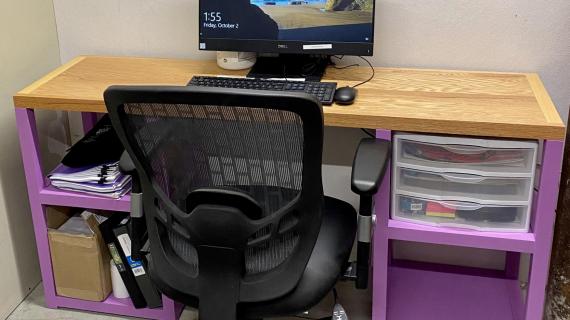
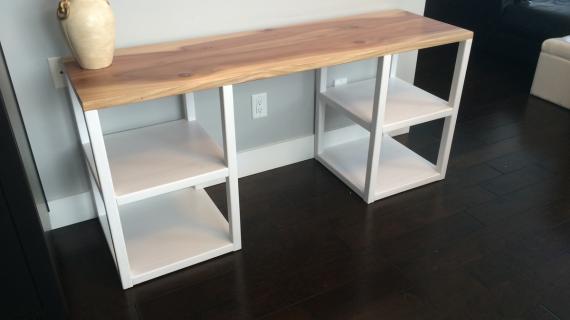
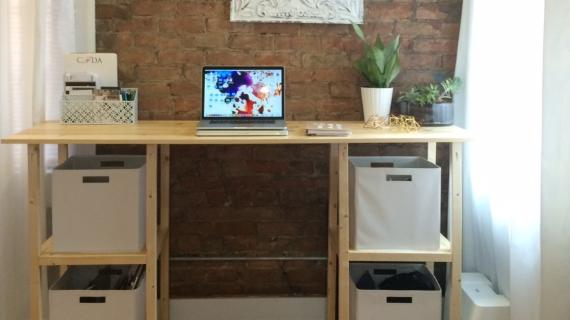
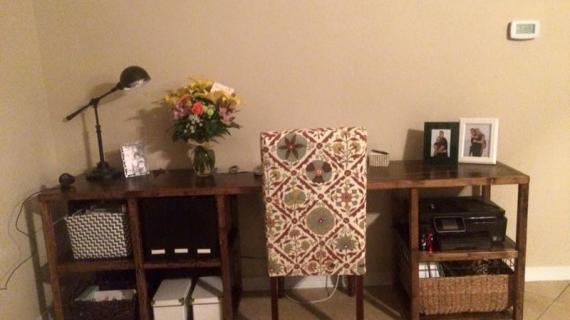
This desk features a modern, parsons style design, with large roomy shelves. Step by step plans include detailed diagrams, shopping and cut list, and lots of reader submitted photos.
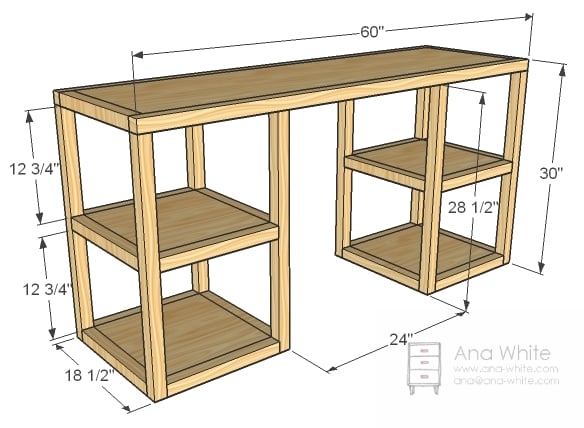
Preparation
- 1 - 4x8 Sheet of 3/4″ thick MDF or Plywood, ripped into three 15 1/2″ widths x 8 feet long
- 7 - 2×2 boards, 8′ long
- 1-1/4″ and 2-1/2" pocket hole screws
- paint and finishing supplies
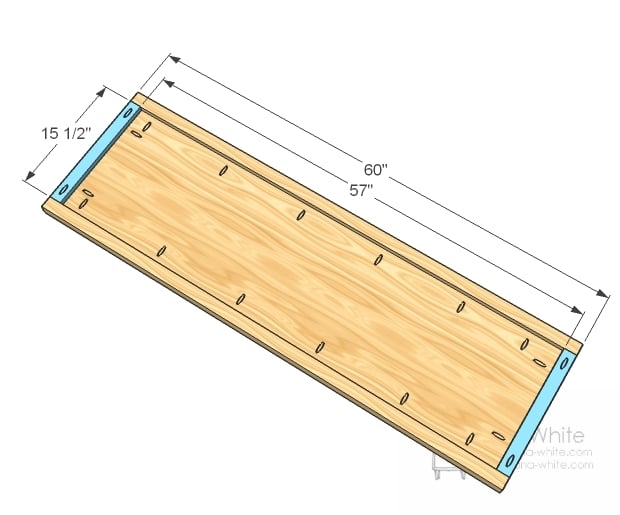
- 1 – 1×16 @ 57″ (desk top)
- 4 – 1×16 @ 15″ (Shelves)
- 10 – 2×2 @ 15 1/2″ (Trim perpendicular to desktop)
- 8 – 2×2 @ 15″ (Trim parallel to desktop)
- 8 – 2×2 @ 28 1/2″ (Legs)
- 2 – 2×2 @ 60″ (Desktop Side Trim)
Pocket Holes - Go through the entire set of instructions and drill all pocket holes first. Basically, you need pocket holes on both ends of all the 15″ and 15 1/2″ 2x2s, one pocket hole on the tops of each leg, and then pocket holes on all sides of the shelves and desktop. Remember to set your jig for 1-1/2″ thickness for 2x2s and 3/4″ thickness for the MDF or plywood panels.
For long term durability and more professional results, I recommend using a pocket hole joinery system for wood joints. Here is a video with tips for using a pocket hole jig:
Instructions
Step 1
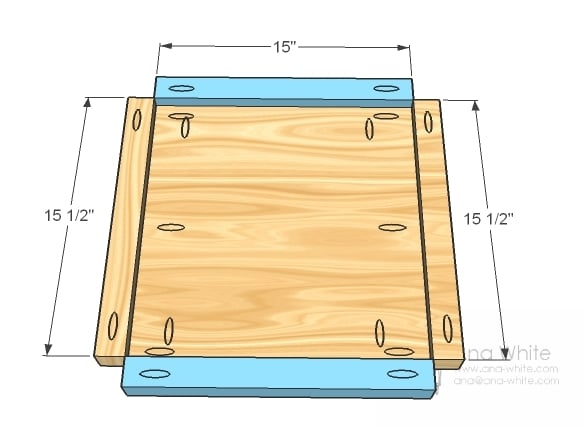
Shelf Trim
With the tops flush, glue and screw the shelves to the trim as shown above. Use 1 1/4″ pocket hole screws. Drill pocket holes set for 3/4″ stock. Make sure you have already drilled one pocket hole in each end of all of the 2×2 trim pieces. The pocket holes in the 2x2s need to be for 1 1/2″ thick stock. Build four of these.
Step 2
Legs
Mark legs for the center shelf. Then glue and screw through the pocket holes into the legs. Remember – the tops of the legs should each have a single pocket hole to attach the top. If you don’t have a right angle drill, resist the urge to place the pocket hole on the inside where it won’t be seen – you also won’t be able to get your drill in there. Build two of these.
Step 3
Step 4
After dry, sand well with 120 grit sandpaper.
Remove any sanding residue with a vacuum followed by wiping down with a damp, lint free cloth.







Comments
russkilpatrick
Thu, 09/10/2020 - 08:03
Downloading plans
Hi this is perfect for our new home schooling room we’re scrambling to build. I can’t seem to download the pdf. Is there another way to get these plans? Thx!