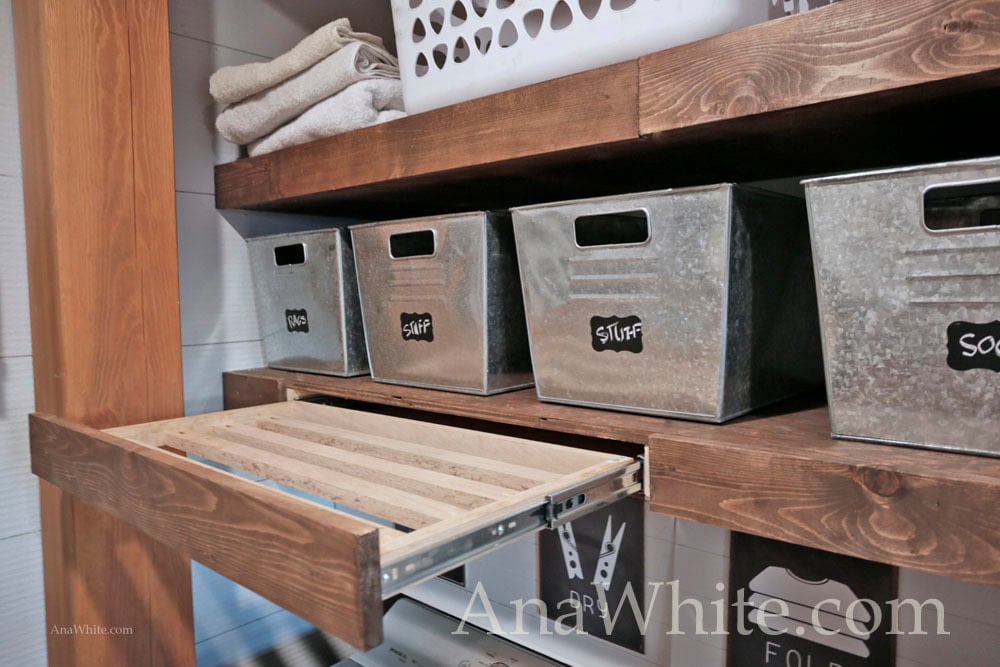
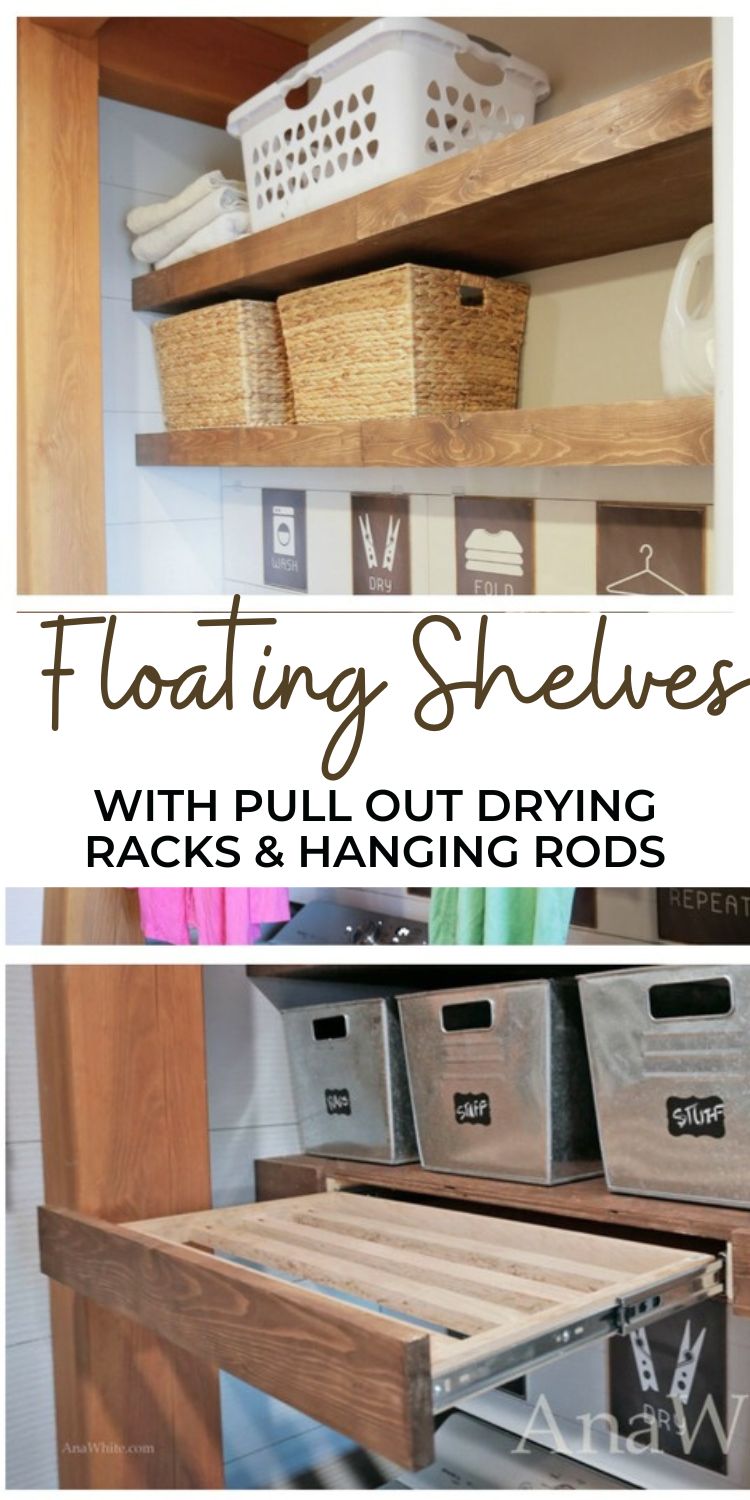
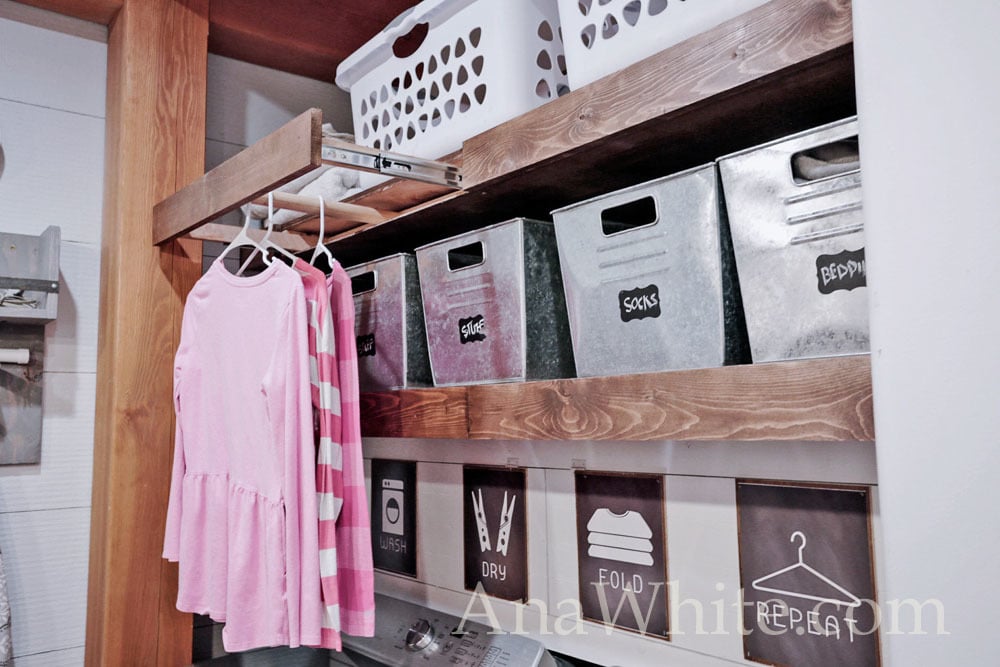
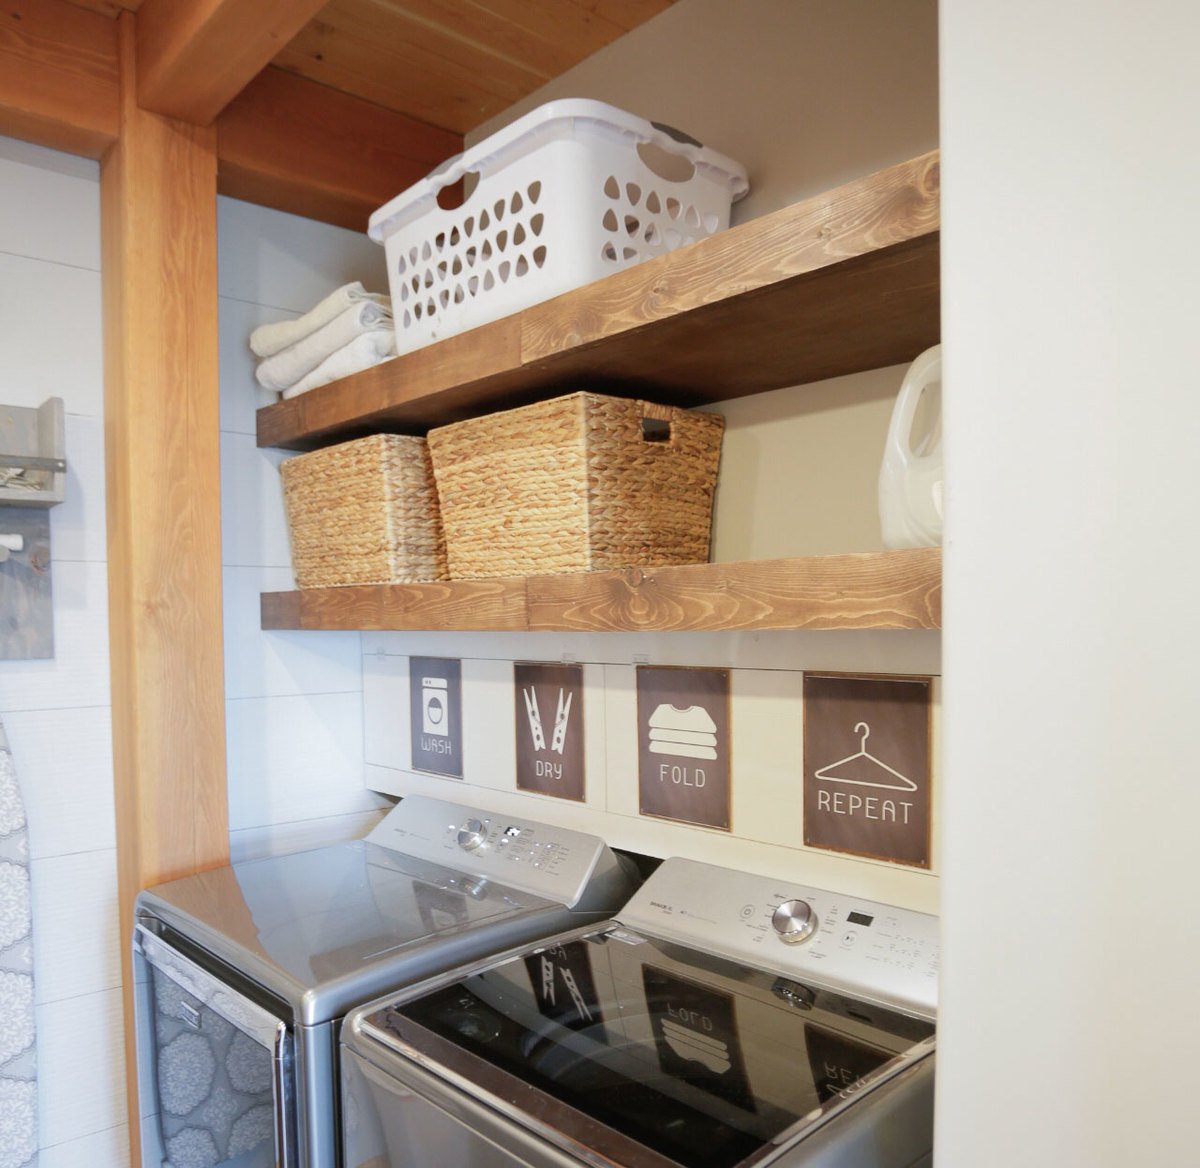
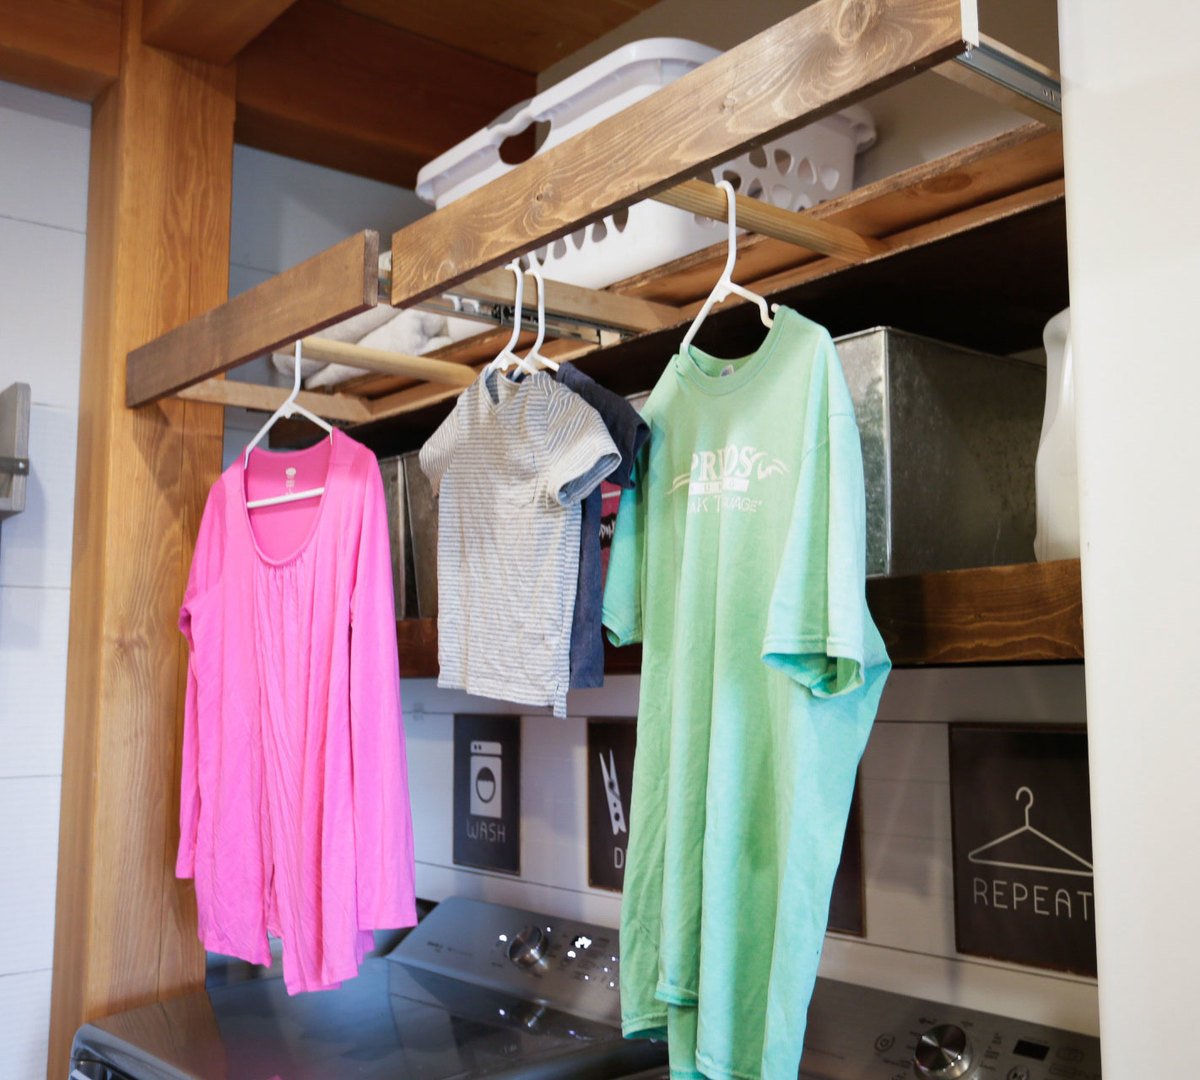
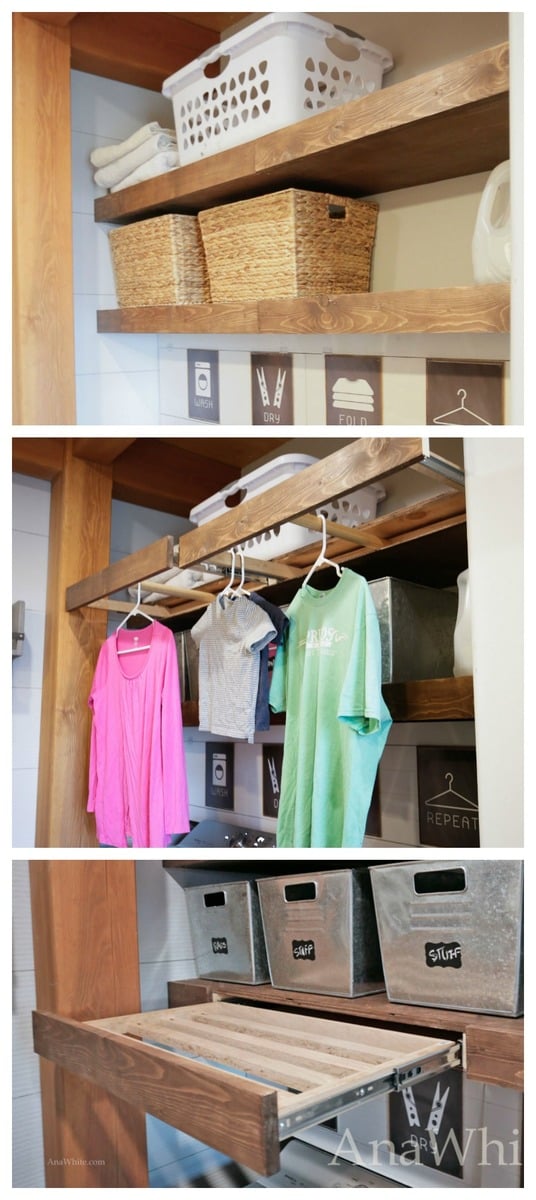
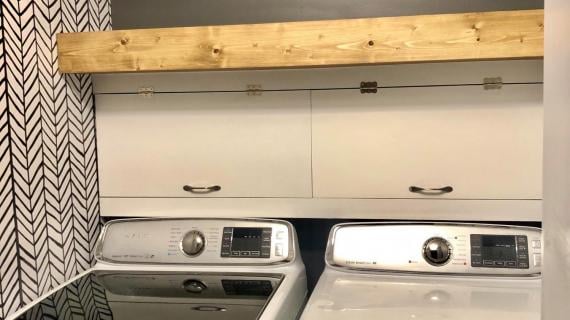
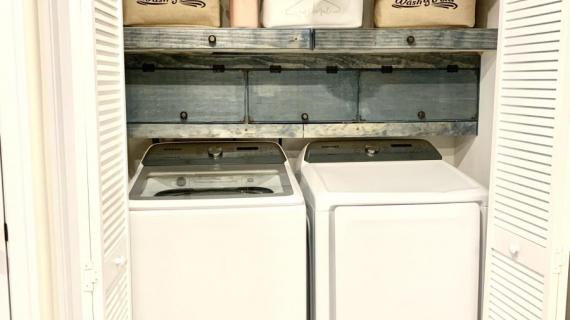
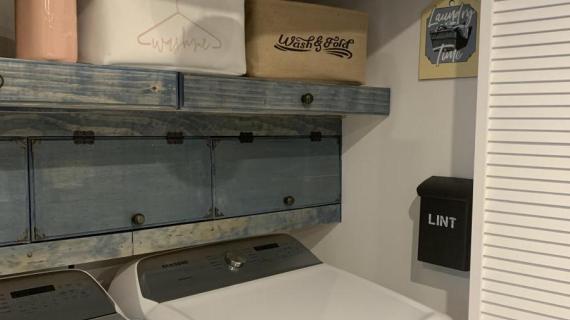
These floating shelves have a secret! They hide drying racks and closet hanging rods! Build your own with free tutorial by ANA-WHITE.com
Pin For Later!
Preparation
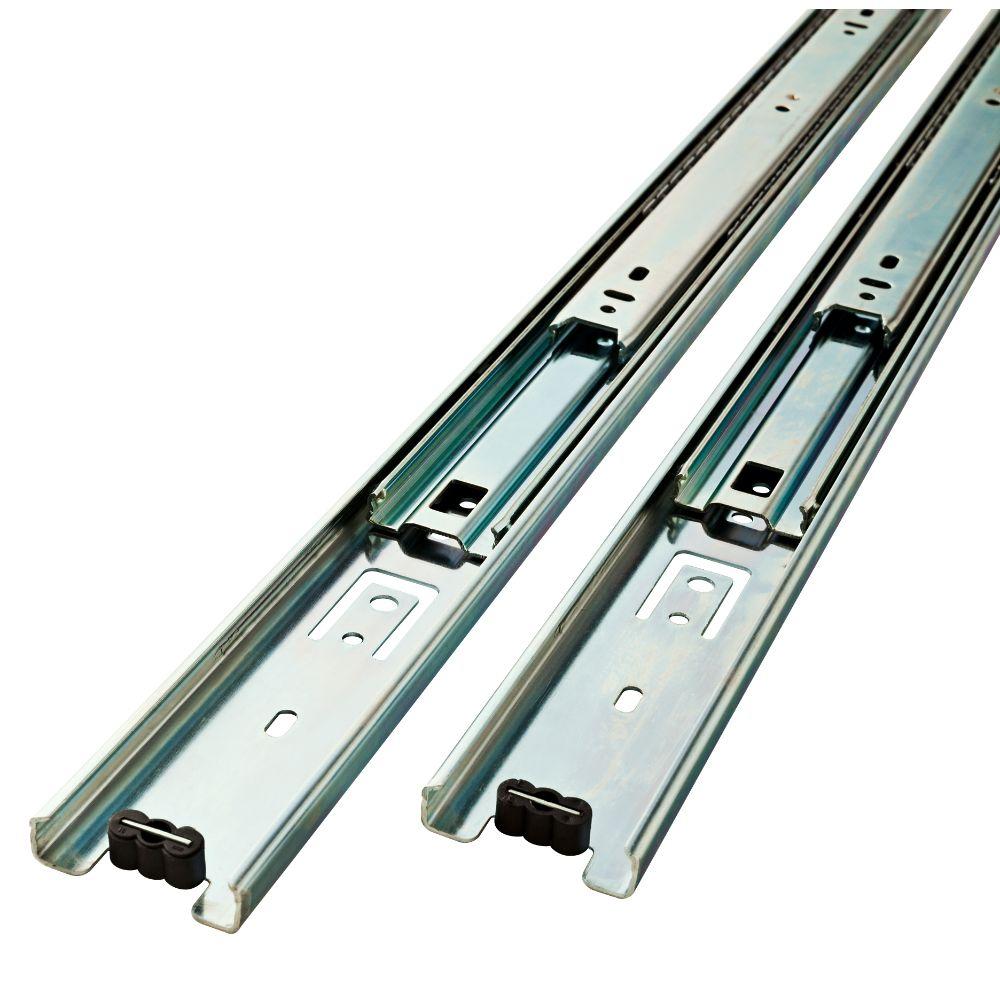
Liberty 16" Full Extension Drawer Slides (one set per drawer)
2x3s for shelf framing
1x4s for shelf fronts
3/4" plywood for shelf top
1/4" plywood for shelf bottom
1x2s for pull out racks
2-1/2" Kreg Jig screws (we used the HDs)
1- 1/4" Kreg Jig screws for building the racks
3" screws for attaching to wall
1-1/4" and 3/4" brad nails for attaching plywood to framing
The stain I used is Varathane Dark Walnut

Instructions
Step 1
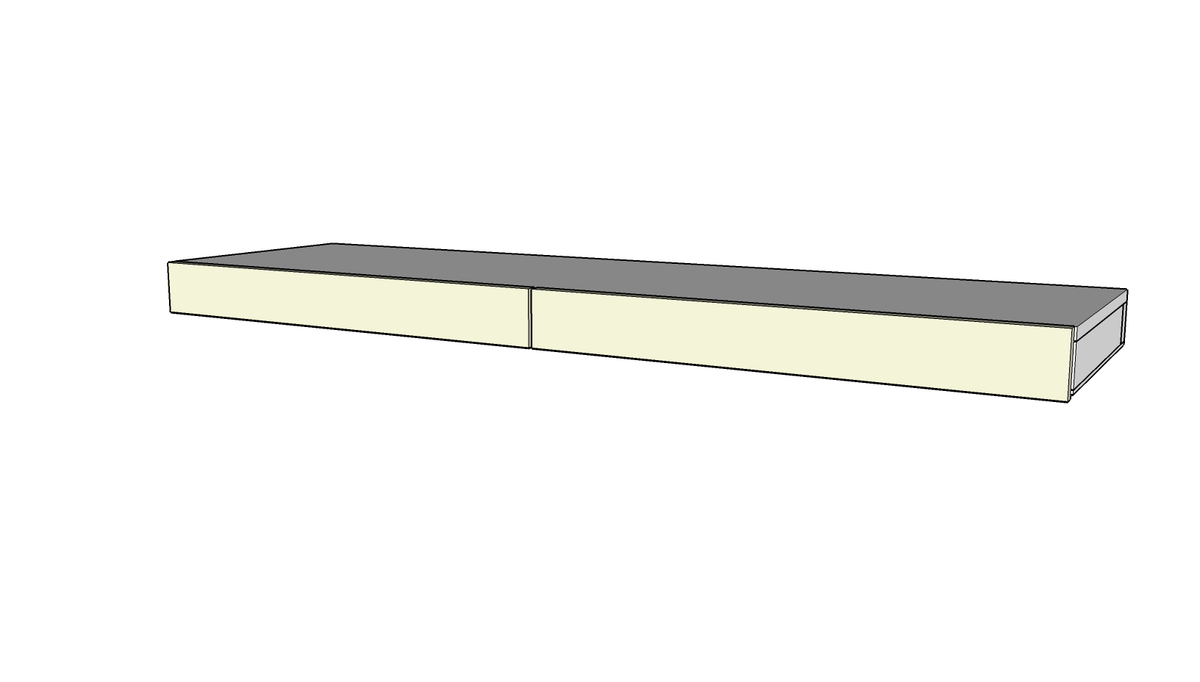
NOTE: If you can do steps 1-5 first on a workbench, and then install the completed shelf, and add the bottom in place, it will be much easier. Due to our alclove installation, we had to build in place which was much more difficult.
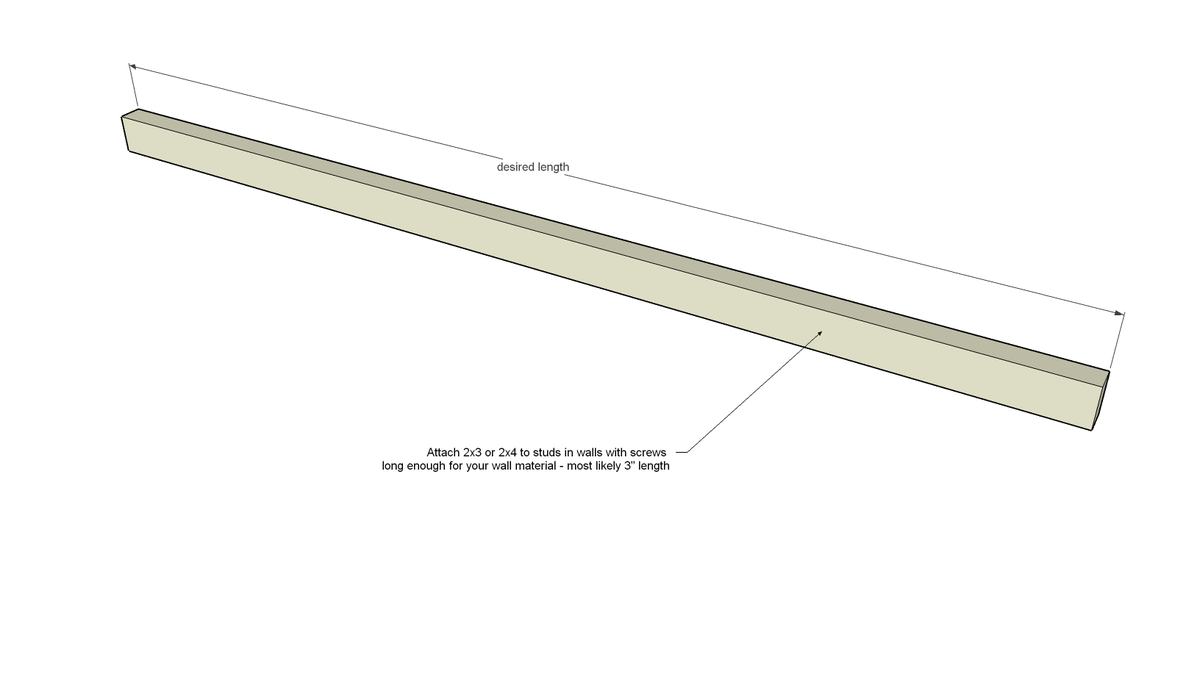
If building in alclove, attach back 2x3 to wall with screws suitable for your wall type. For a standard framed wall, 3" self tapping wood screws should suffice. Mark studs and attach securely to studs, two screws per stud. You want to place your screws toward the top and bottom edges of the 2x3s to maximize shelf strength.
Step 2
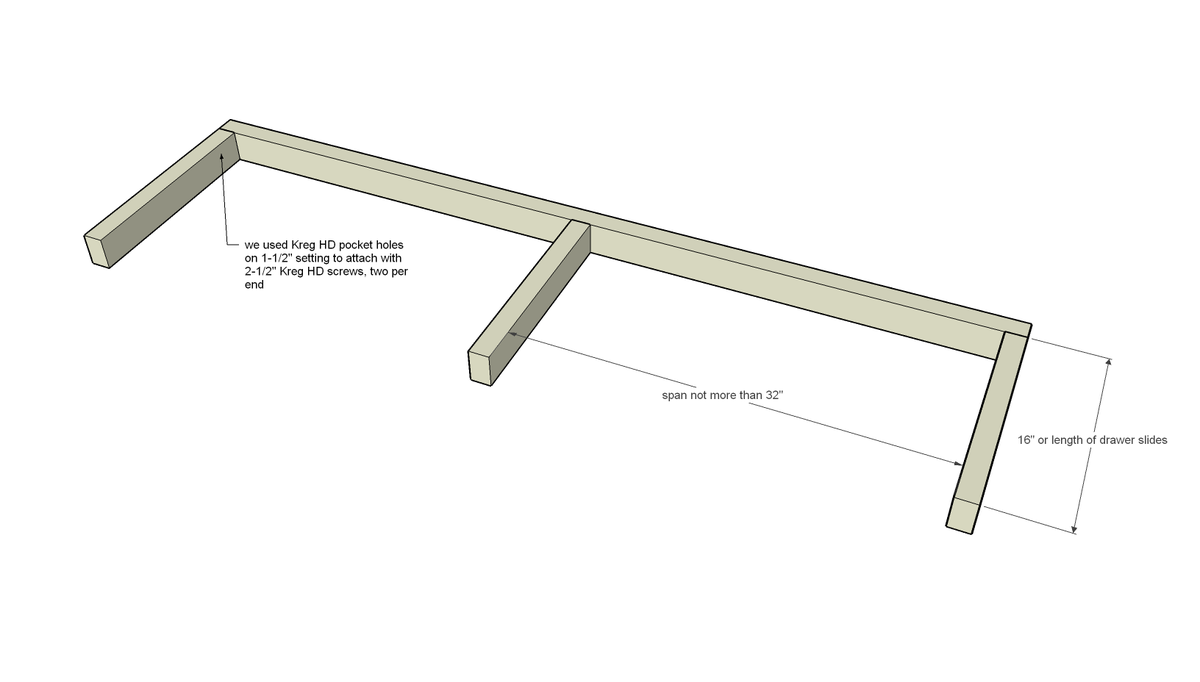
The top plywood should not span more than about 32" - so you'll need dividers about every 32".
If you can attach the supports from the back with 3" self tapping screws, that works. We had to build in place so used the Kreg HD screws to attach supports to the back. Do not attach to any side walls until after step 3.
Step 3
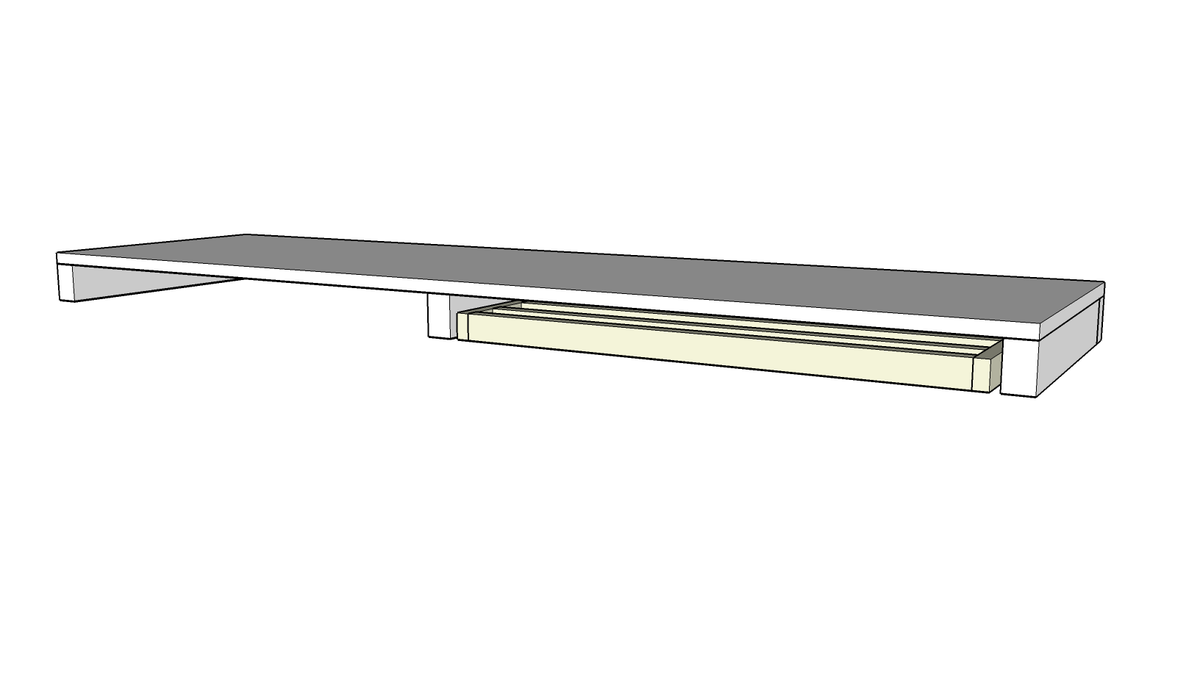
Place 3/4" plywood on top of 2x3 framing and attach with 1-1/4" brad nails and wood glue.
Make sure everything is square - if not, the drawers will not slide right.
After the plywood is attached to top and glue dried, you can attach 2x3s to side walls, just shim if needed to make sure you keep the 2x3 framing square.
NOTE: we prestained the 3/4" plywood before installing.
Step 4
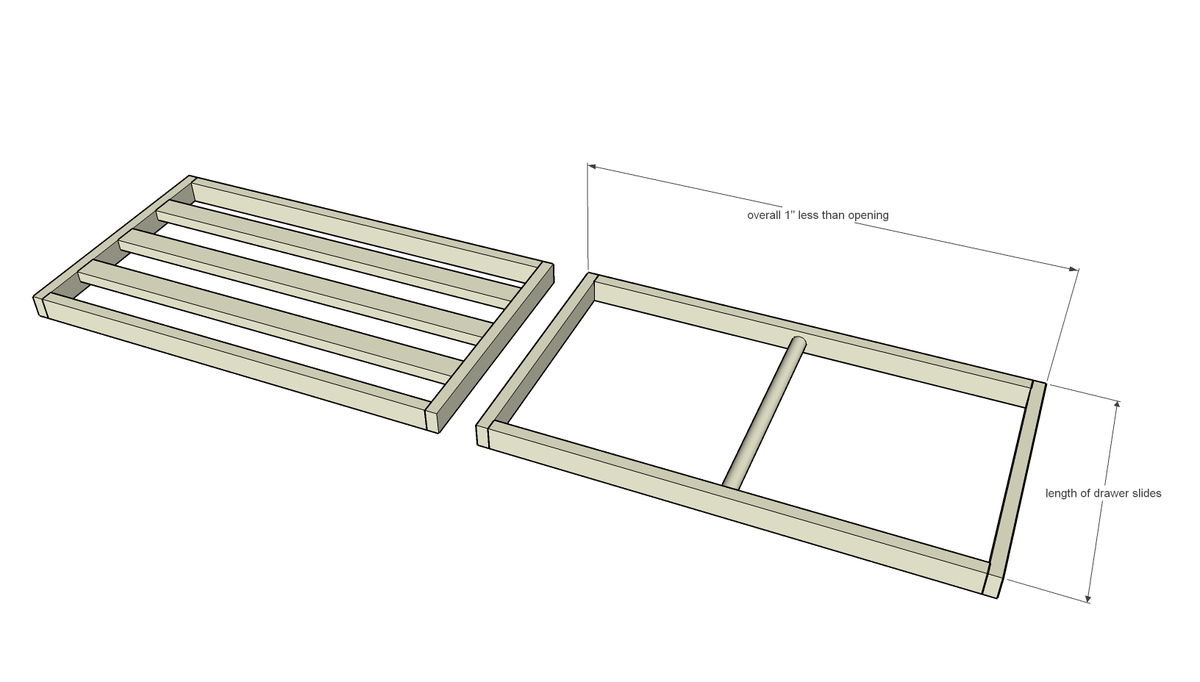
Measure the insides of the 2x3 framing. Build racks 1" less overall in width for Liberty drawer slides linked in shopping list or to suit your drawer slides. Rack depth should match your drawer slide length. I used hardwood 1x2s and closet rod dowels to build, using Kreg Jig on 3/4" setting with 1-1/4" pocket hole screws.







Comments
kwier
Mon, 01/21/2019 - 16:18
Liberty Drawer slides
I have visited the link for the Liberty drawer slides and tried to search for both online and local places to purchase. Nothing can be located. Is there an online retailer to buy these from?
Brian Famous
Tue, 01/22/2019 - 05:10
Liberty drawer slides
You can get the Liberty drawer slides on Amazon
Of course, Liberty is just the brand. The important things you want to look for in a side mounted drawer slide are:
In reply to Liberty drawer slides by Brian Famous
Ana White
Tue, 01/22/2019 - 21:05
Thanks so much for the help,
Thanks so much for the help, you are right on.
emsydaisy
Thu, 09/10/2020 - 06:13
2x3s
Where do you buy your wood? The 2x3s at Lowes and Home Depot are always so warped, I don't see how they could be used to mount drawer slides on and come out remotely straight.
sullivar
Sun, 09/13/2020 - 07:22
You and I have the same…
You and I have the same timing! I was just fussing about the same thing last night after screwing everything together to find out my 2x3's looked like a spiral staircase. My drawers feel quite stuck.
Isabel64
Sun, 08/30/2020 - 14:28
Hidden cabinetry
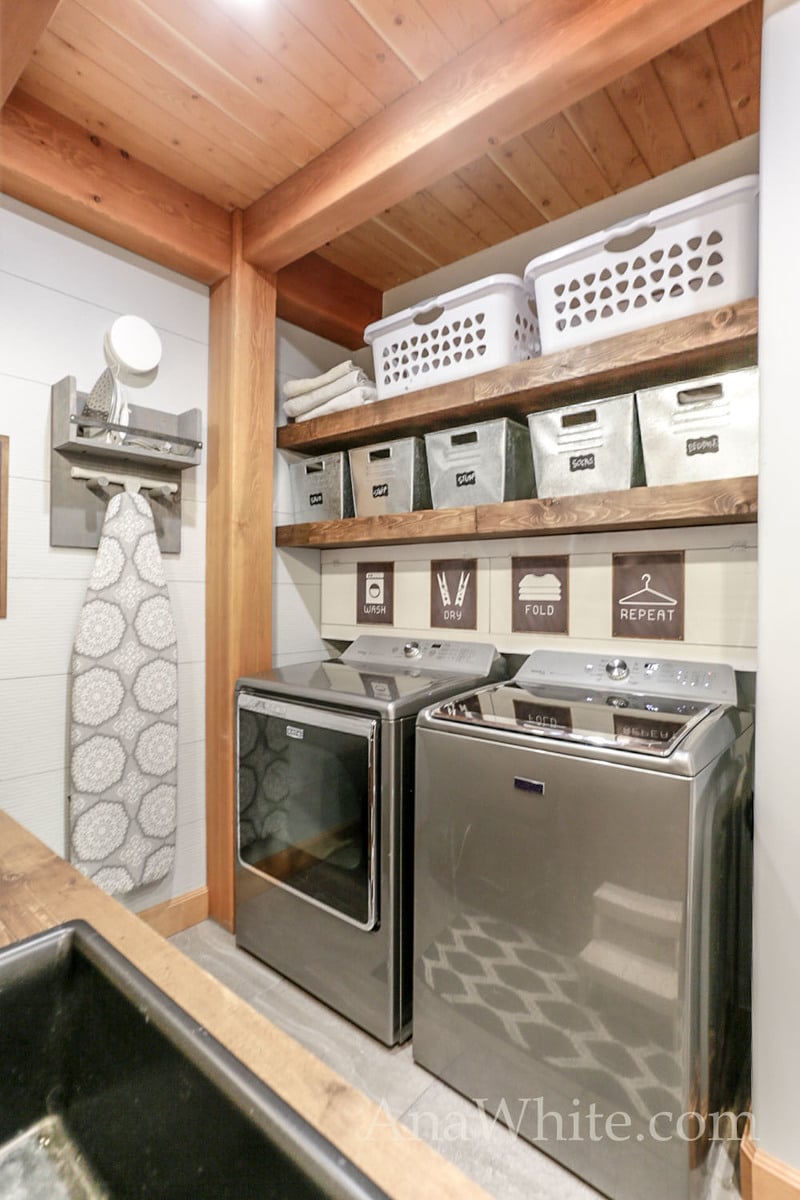
Can you link the plans to making the hidden cabinet behind the washer and dryer thank you so much
emsydaisy
Thu, 09/10/2020 - 06:14
I'm interested in the answer…
I'm interested in the answer to this question too.
emsydaisy
Thu, 09/10/2020 - 06:13
2x3s
Where do you buy your wood? The 2x3s at Lowes and Home Depot are always so warped, I don't see how they could be used to mount drawer slides on and come out remotely straight.
DKlein10
Fri, 09/25/2020 - 04:48
If you live near a Menards,…
If you live near a Menards, their lumber is much better then Lowes and Home Depot.
CQinNorman
Thu, 03/04/2021 - 10:14
Depth limits when using 2X4 framing
I was curious about the limits on the depth of the shelf if I choose to use 2X4s instead of 2X3s. I would like to make my drying racks a little deeper and I think the extra inch is just the thing, but I know it adds extra weight. You have a tutorial for hanging shelves that use 2X4s, but they're much shallower. Any idea? I don't want it pulling off of the wall from the additional weight.
lashlc
Wed, 06/30/2021 - 09:52
Shorter drawer than shelves?
Newbie here! I'm hoping to make these for my laundry room. From what I can tell, for my laundry baskets to nicely rest on the shelves it would be best for them to be 20 inches deep. But I don't want them opening/pulling out that far due to doorway constraints. Does it work to go with shorter drawers slides and making the inner drawer portion shorter than the shelf itself? Otherwise, my space is relatively similar to this design in dimensions.
Thanks!