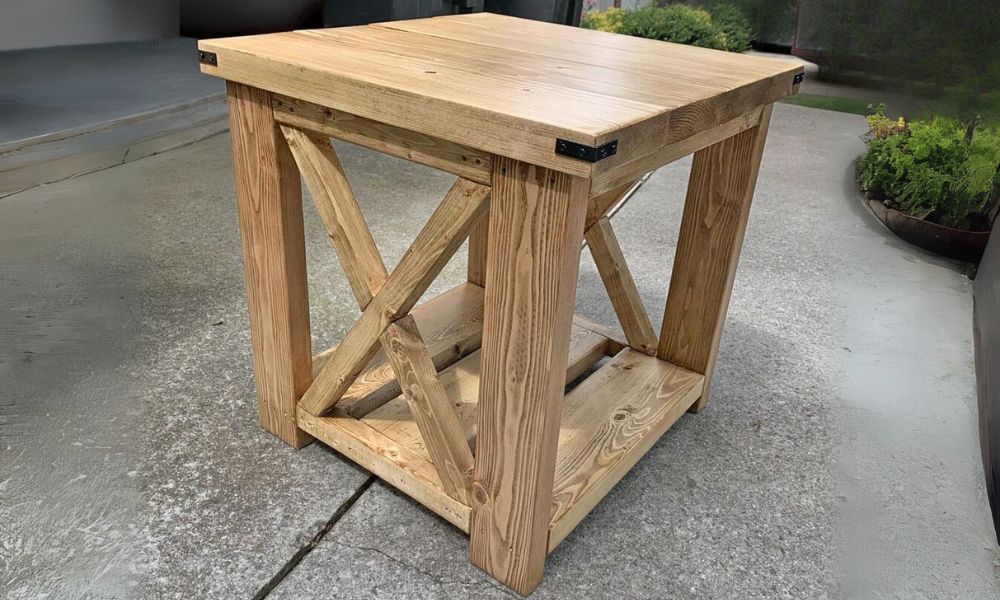


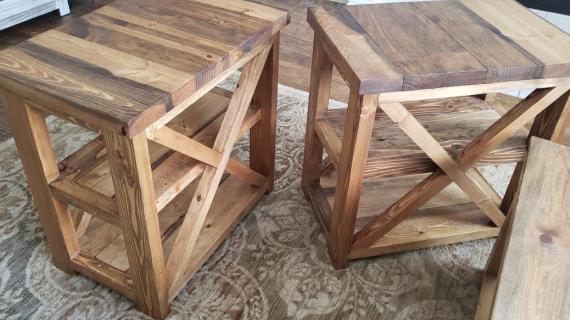
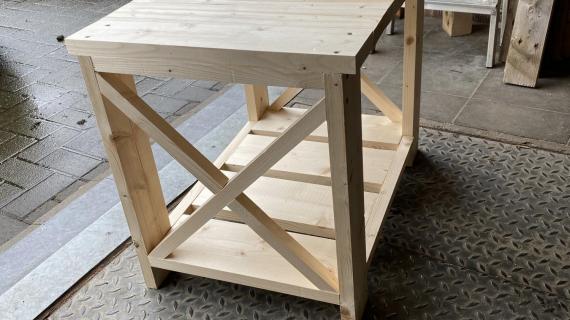
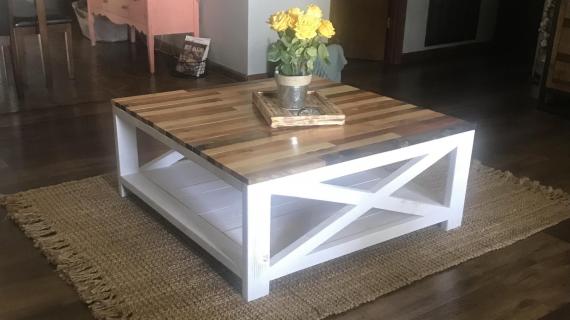
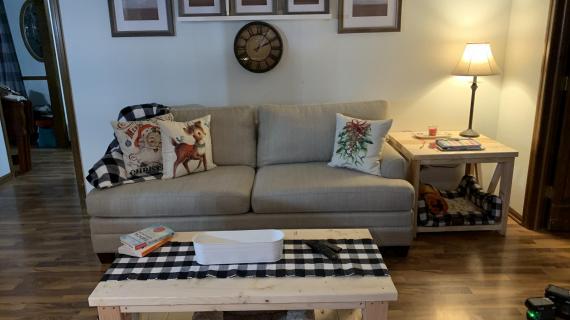
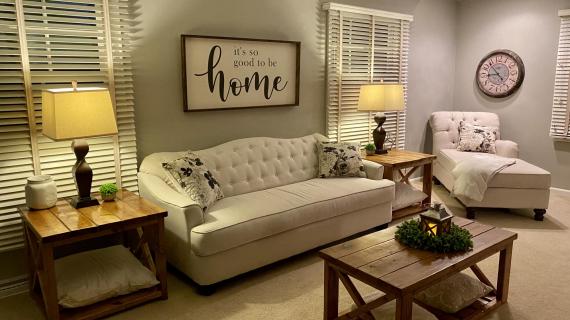
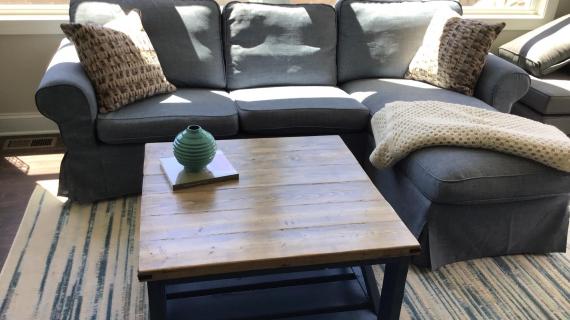
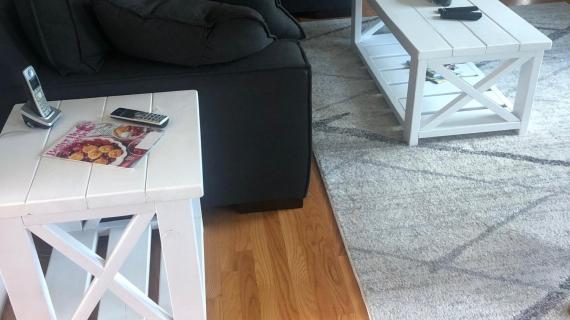
Beginner farmhouse side table plans with X detailing. Matches our Farmhouse Coffee Table and Farmhouse Console Table plans.
This collection is designed to be easier to build and less expensive than our very similar Rustic X Collection.
Preparation
Shopping List for Large Farmhouse Coffee Table
- 1 - 2x4 @ 8 feet long
- 3 - 2x6 @ 8 feet long
- 3 - 2x2 @ 8 feet long
- About 70 2-1/2" long self tapping wood screws
Shopping List for Small Farmhouse Coffee Table
- 1 - 2x4 @ 8 feet long
- 2 - 2x6 @ 8 feet long
- 2 - 2x2 @ 8 feet long
- About 60 2-1/2" long self tapping wood screws
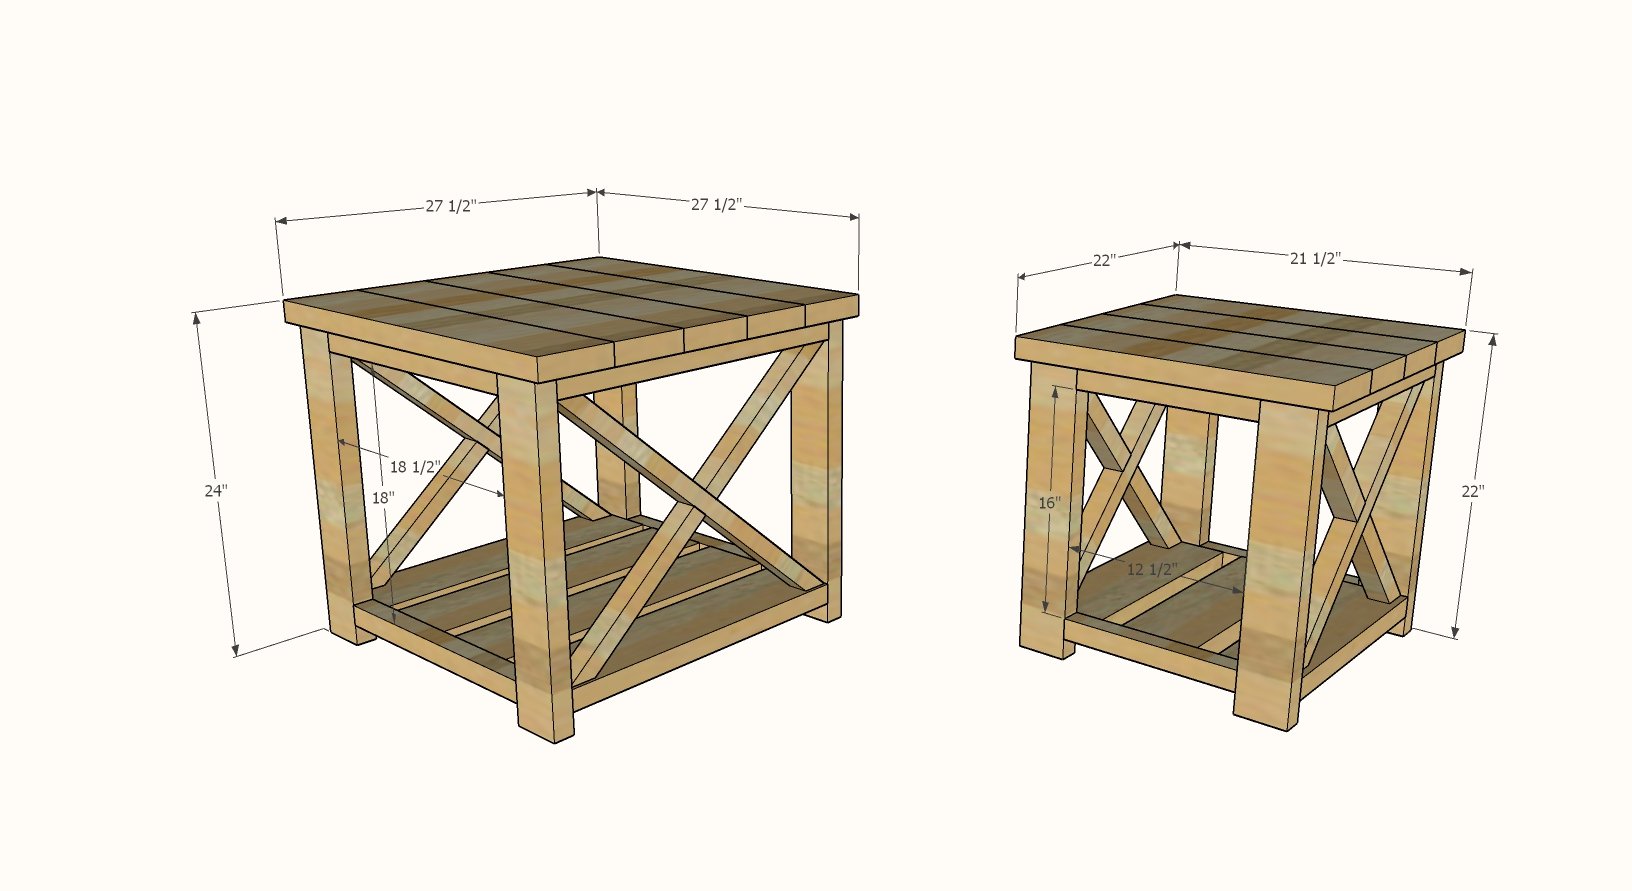
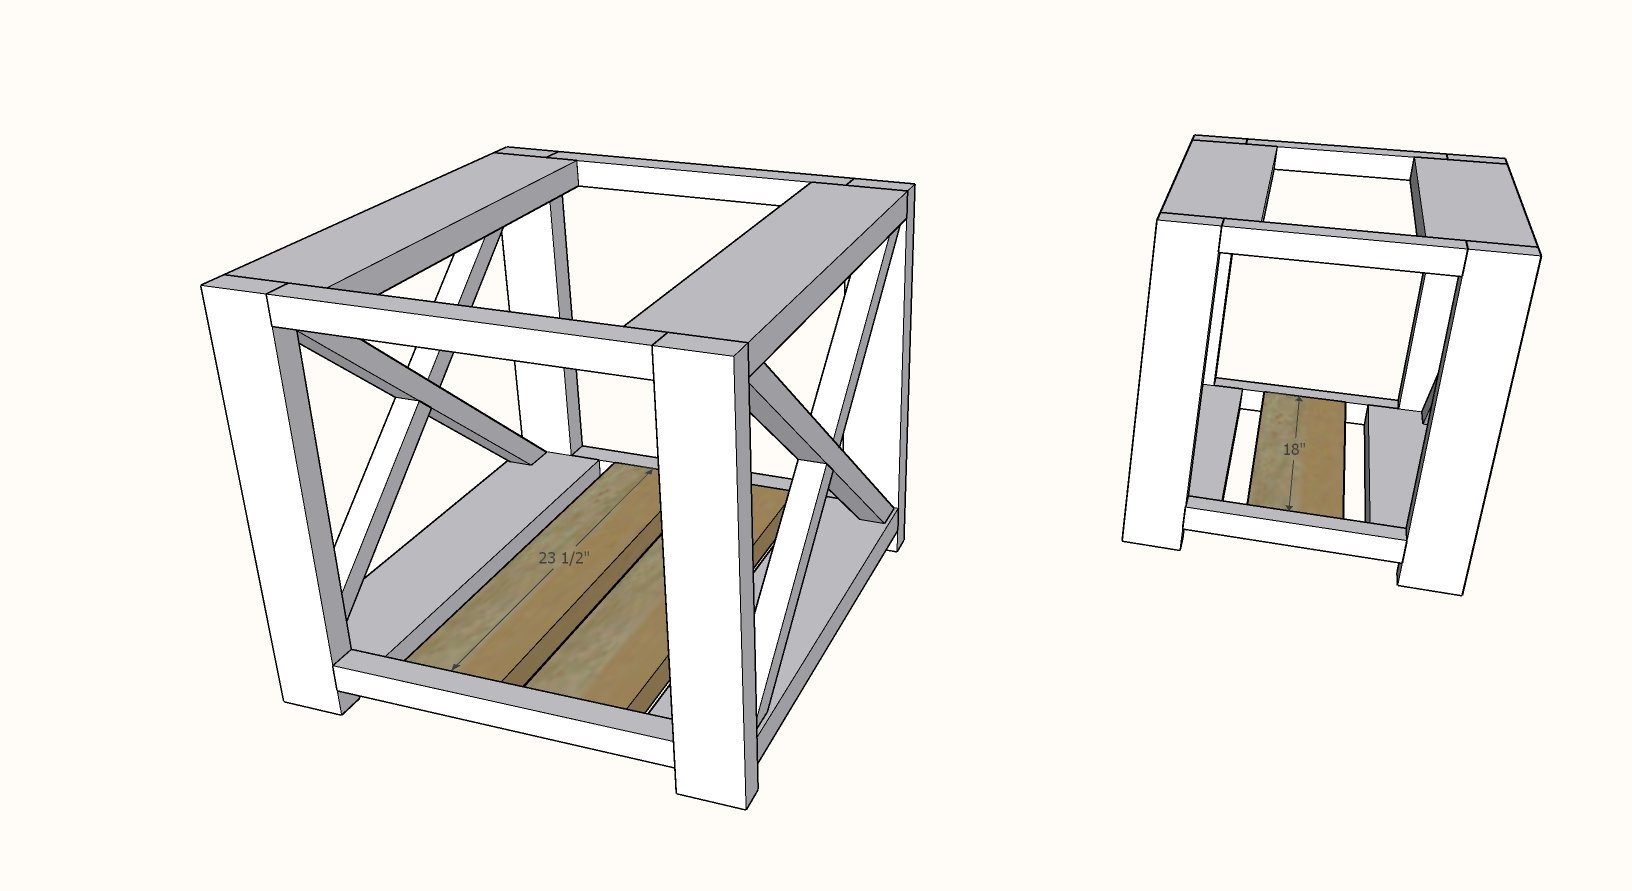
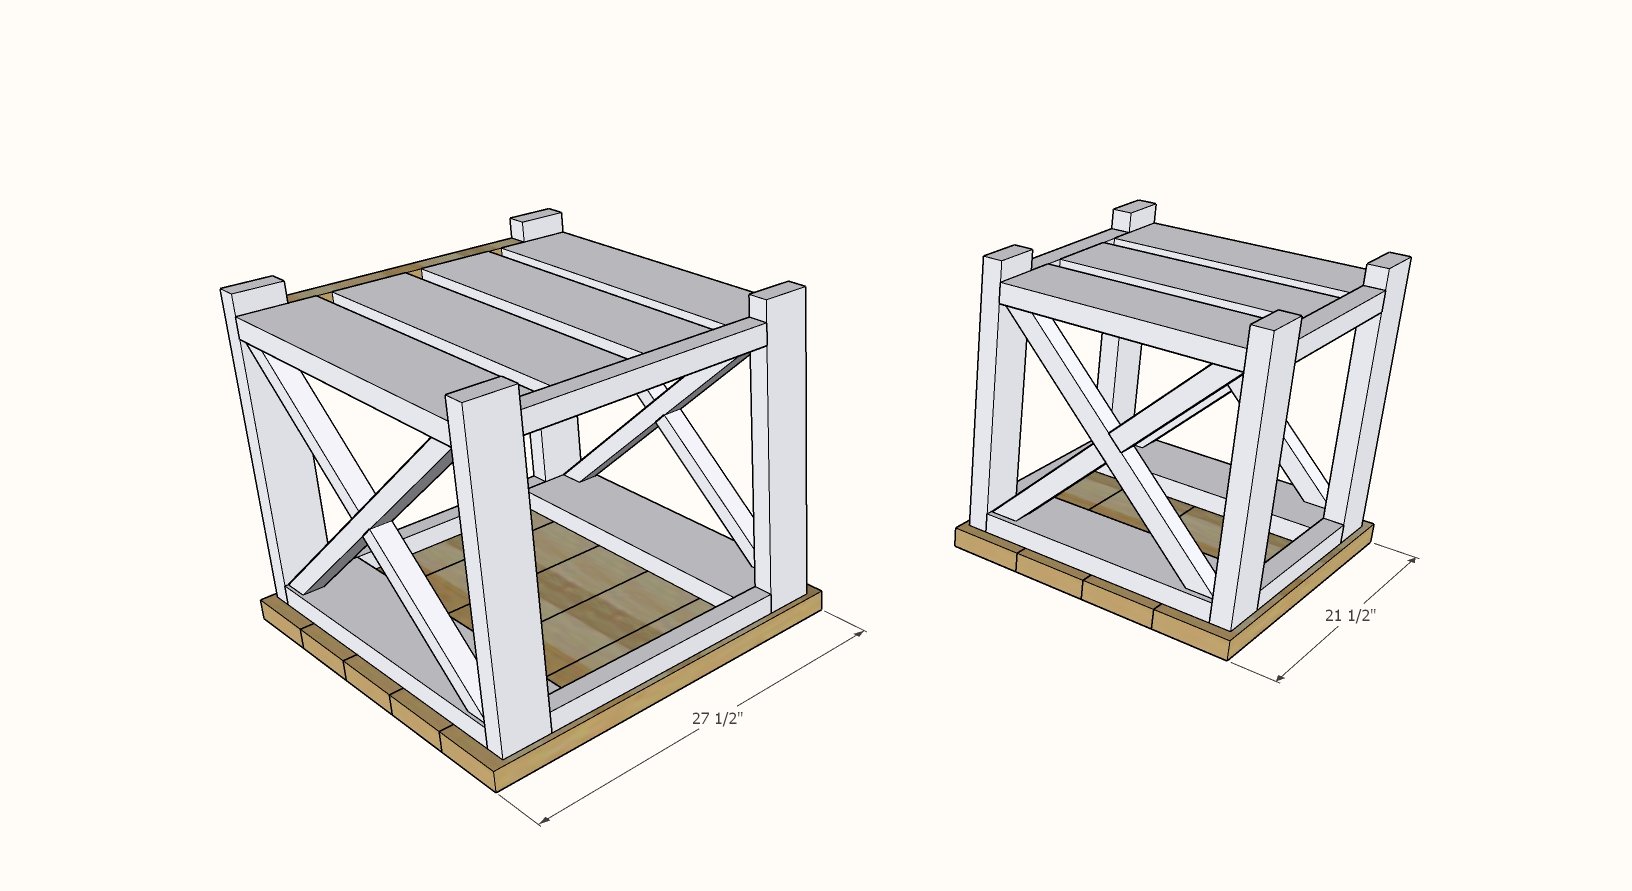
Cut List for Large Farmhouse Coffee Table
- 4 - 2x4 @ 22-1/2" - legs
- 6 - 2x6 @ 23-1/2" - bottom shelf and top aprons
- 4 - 2x2 @ 32" - X detailing, still needs to be cut at an angle
- 4 - 2x2 @ 18-1/2" - side aprons
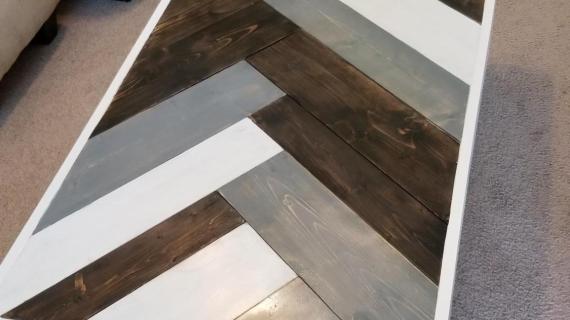
- 5 - 2x6 @ 27-1/2" - tabletop boards
Cut List for Small Farmhouse Coffee Table
- 4 - 2x4 @ 20-1/2" - legs
- 5 - 2x6 @ 18" - bottom shelf and top aprons
- 4 - 2x2 @ 22" - X detailing, still needs to be cut at an angle
- 4 - 2x2 @ 12-1/2" - side aprons
- 4 - 2x6 @ 21-1/2" - tabletop
Cut all boards with a compound miter saw (preferred) or use a circular saw and clamps.


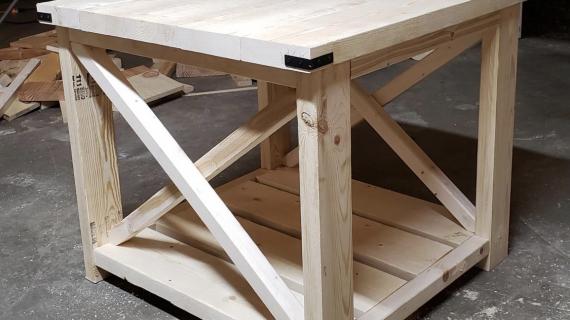
Instructions
Step 1
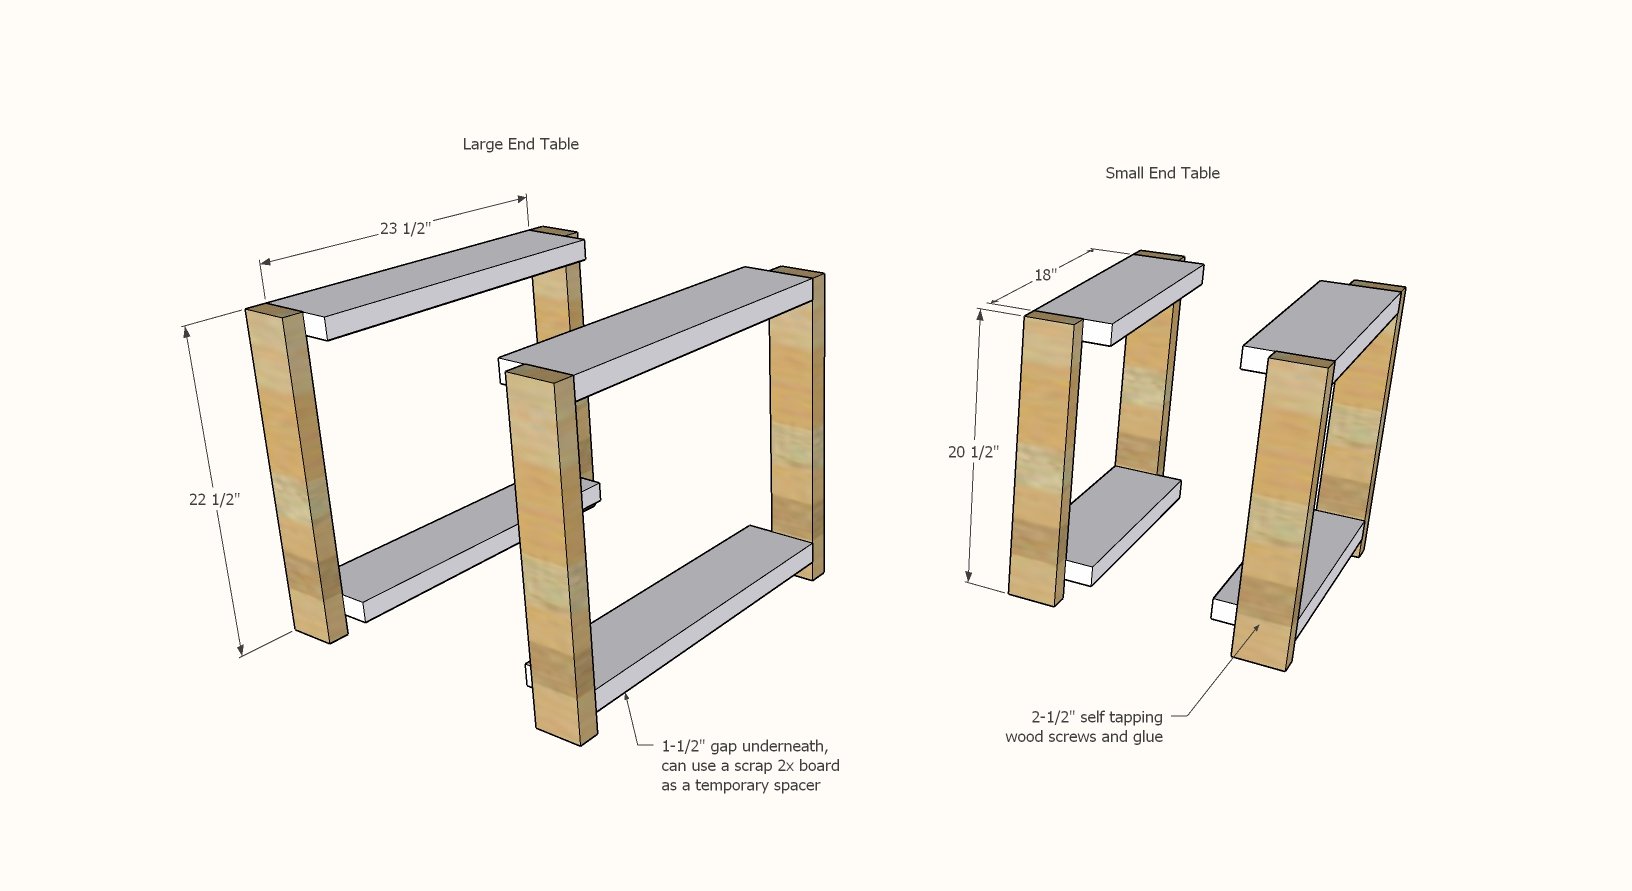
Attach legs to two of the 2x6 shelf boards with 2-1/2" screws, edges flush on top and outside. Leave a 1-1/2" space underneath the bottom shelf (you can use a 2x board as a spacer underneath to get the height right).
Step 2
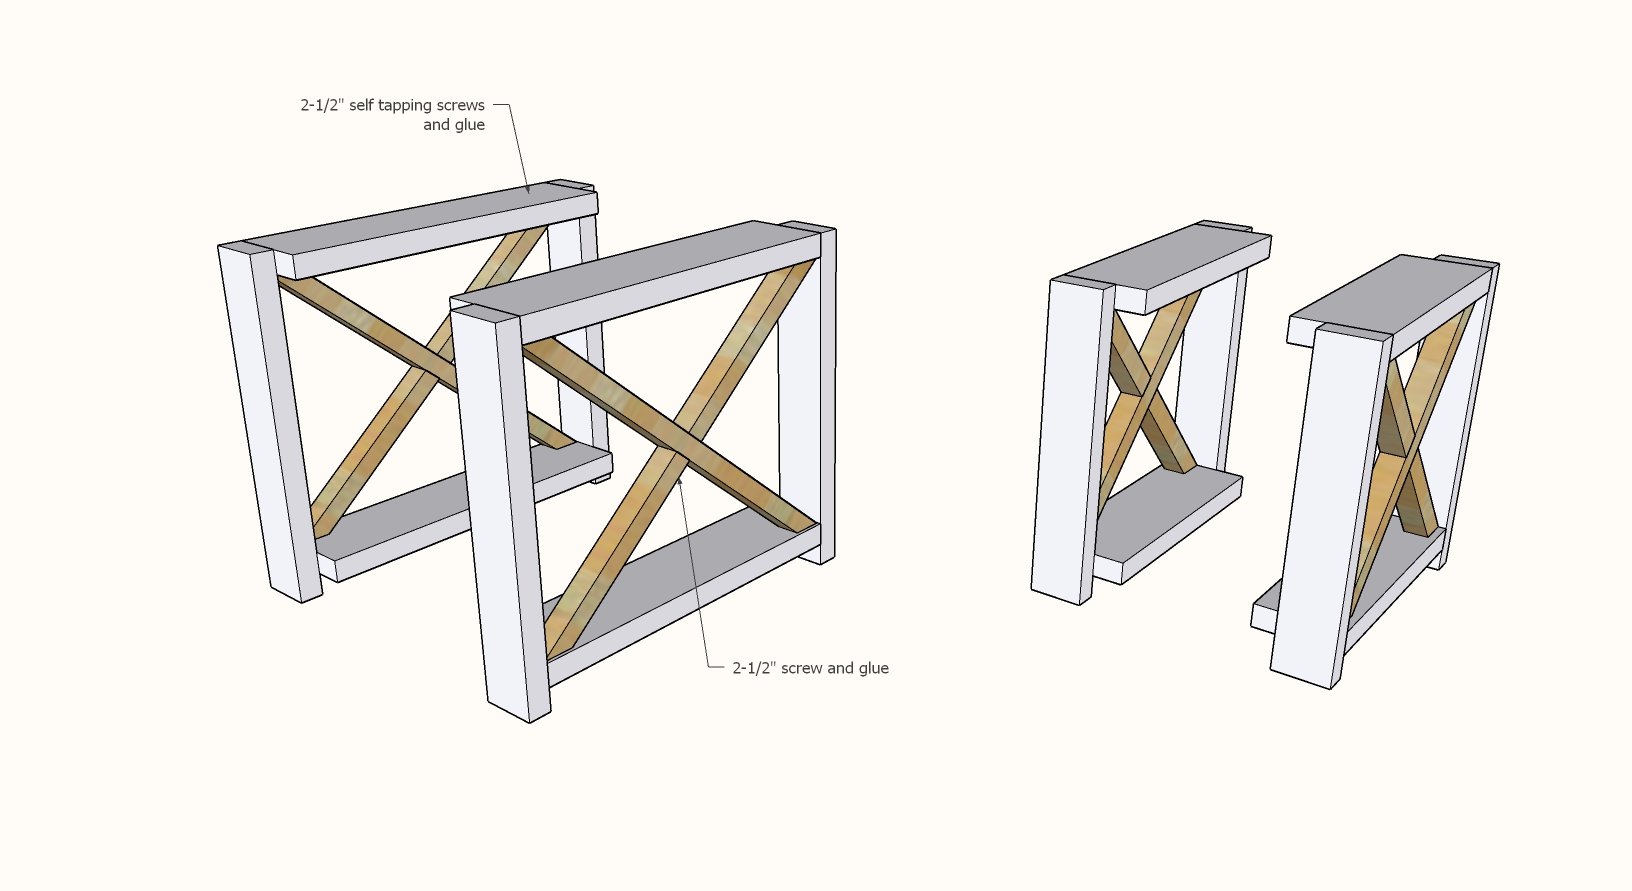
Add the X detailing to the legs. Please see this post for more information on how to do this step.
Step 3

Attach 2x2 side aprons to the leg sets with glue and 2-1/2" self tapping wood screws. Screws at an angle are best.
Step 4
Use 2-1/2" screws to attach the shelf boards to the 2x2 side trim boards.
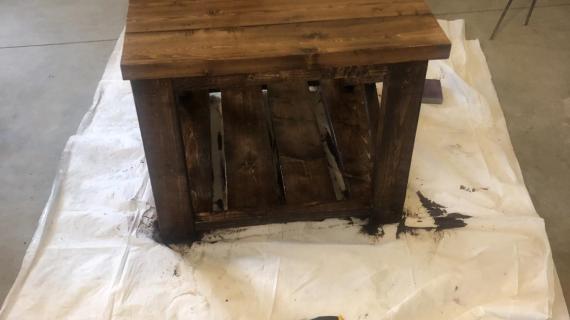
Step 5
Lay out the tabletop boards, face down, on a flat surface.
Attach with 2-1/2" screws and glue from underside to the bases.


Comments
natmoon
Wed, 03/11/2020 - 14:36
Are the cuts 52 degrees for…
Are the cuts 52 degrees for the large version just like the coffee table? We had trouble with the 52 degrees on the coffee table because our saw only cuts up to 45 degrees
williamp99
Fri, 05/22/2020 - 18:42
Try a hand saw- mark your…
Try a hand saw- mark your angle by holding it up to the piece and then with a hand saw, cut on the mark.
cmurphy5
Mon, 05/11/2020 - 11:23
Hi Ana! What are the angles…
Hi Ana! What are the angles of the X's for the small and large end tables? I completed the farmhouse coffee table project where the angles were 52 degrees in the instructions, but I can't seem to find them for the end tables. Thanks!
mpjacob08
Mon, 05/25/2020 - 09:15
So simple! Love it! I’d like to post my photo but unsure how
My second build ever after making the coffee table! Thanks for teaching me so much Ana!
jessica1
Sat, 07/04/2020 - 15:49
rustic end table
Ana; I made the Farmhouse Rustic table, now making the small end table. For the table, the x's were placed in the ends of the table after it was assembled. For the end table, directions say install the x's first, then put the frame tougher. Why the change? tks dan
ptb9896
Wed, 01/20/2021 - 06:27
Farmhouse coffee table
Great job Ana, def. going to make this.
Where did you get the decorative corner pieces?
Thanks for sharing.
ptb9896
Wed, 01/20/2021 - 06:27
Farmhouse coffee table
Great job Ana, def. going to make this.
Where did you get the decorative corner pieces?
Thanks for sharing.
In reply to Farmhouse coffee table by ptb9896
anemtchick80
Tue, 04/06/2021 - 04:59
I just bought corner…
I just bought corner brackets at Home Depot. They were in the hardware area.