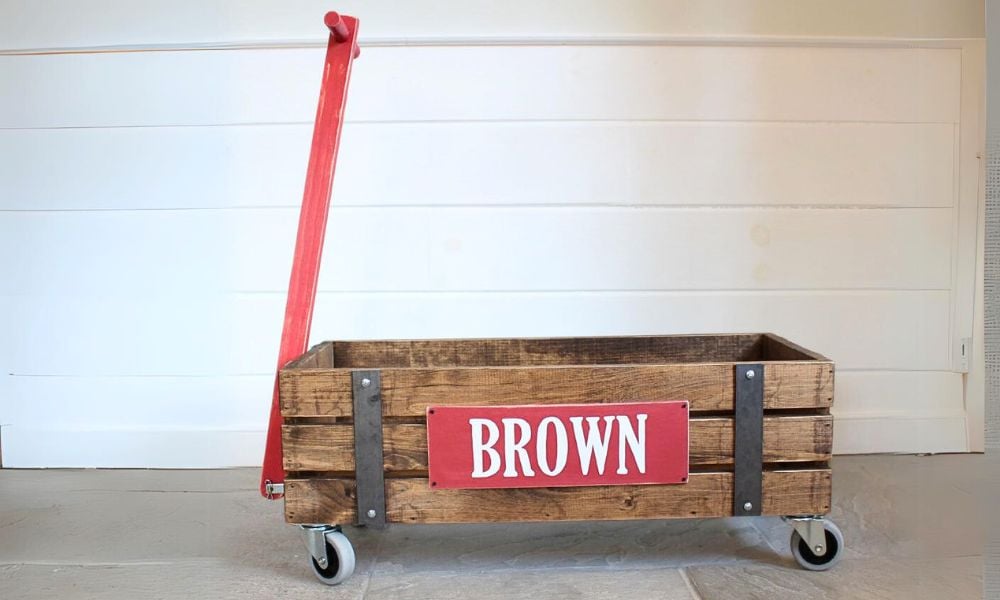
Vintage Wood Wagon Plans

The free plans on this website are made possible with advertising and affiliate links.  Thank you for helping us keep plans free.


diy wagon plans
Difficulty
Beginner Projects
| Print this plan

Make your own vintage wood wagon -  Free plans and detailed instruction from Ana-White.com
diy wagon plans
diy wagon plans
diy wagon plans
diy wagon plans

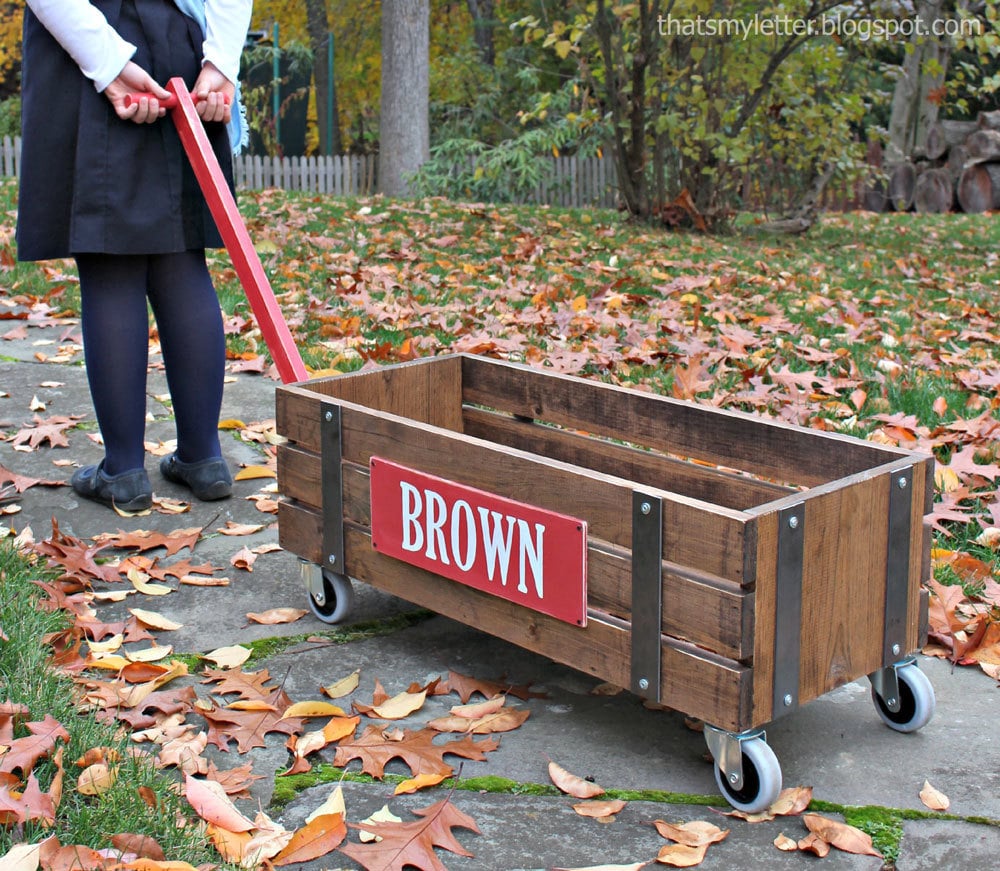
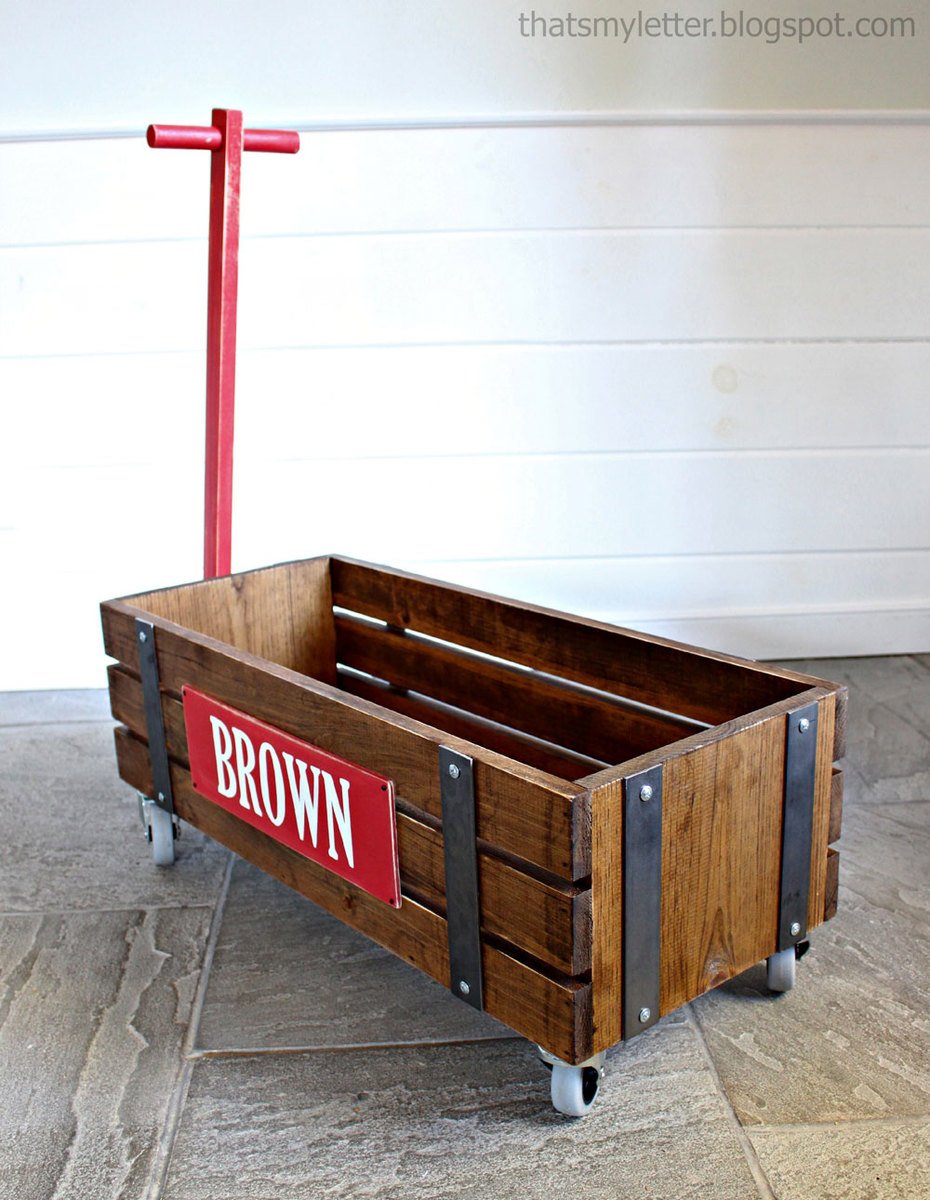
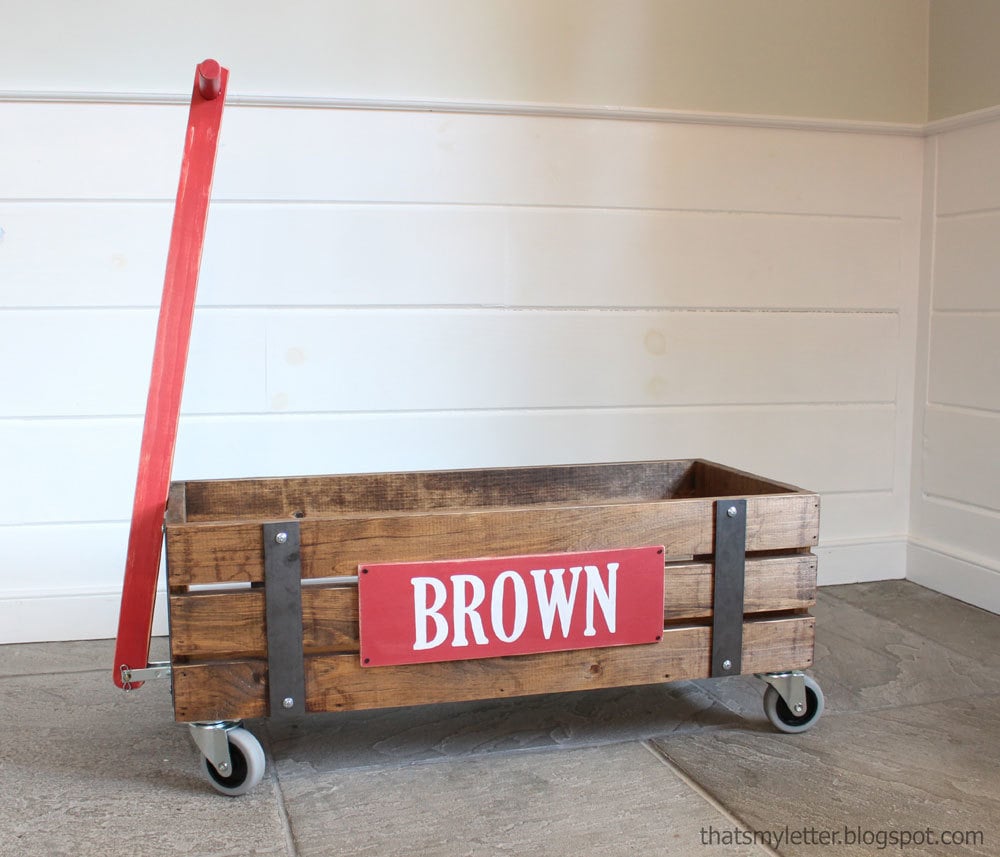
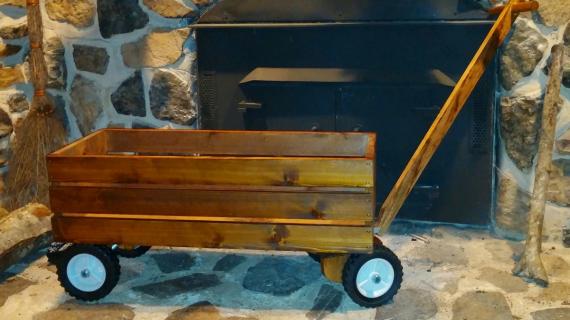
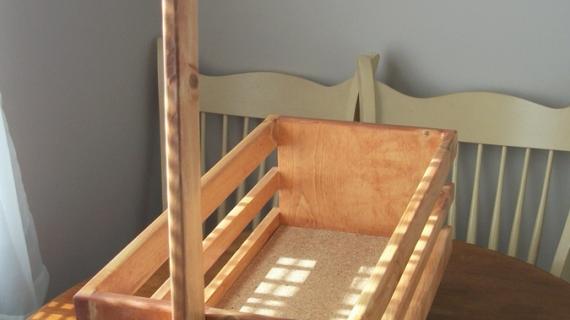
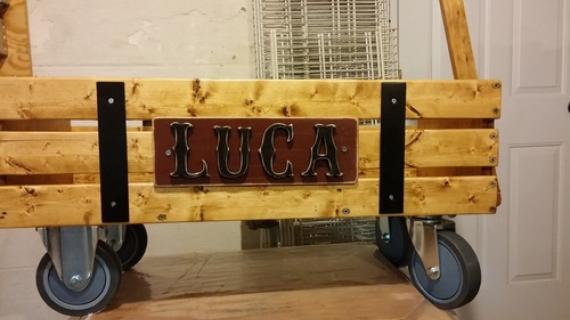
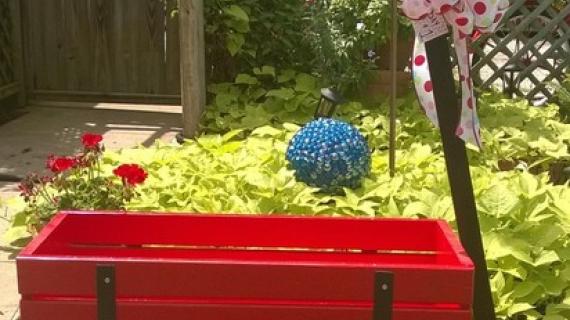
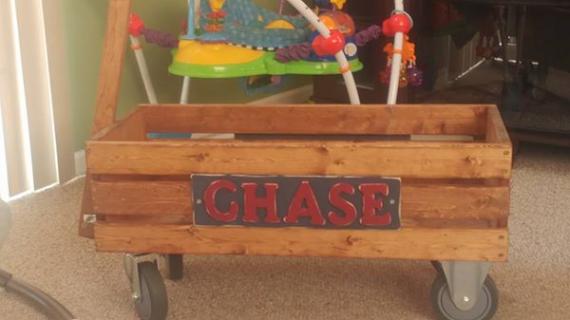
Delight your children this Holiday season with new handmade wood wagon plans.

This beautiful handmade wagon is the latest addition to the Handmade Holiday plans that Jaime from That's My Letter and I are collaborating on.


You can check out all the Handmade Holiday plans Jaime and I have shared right here.

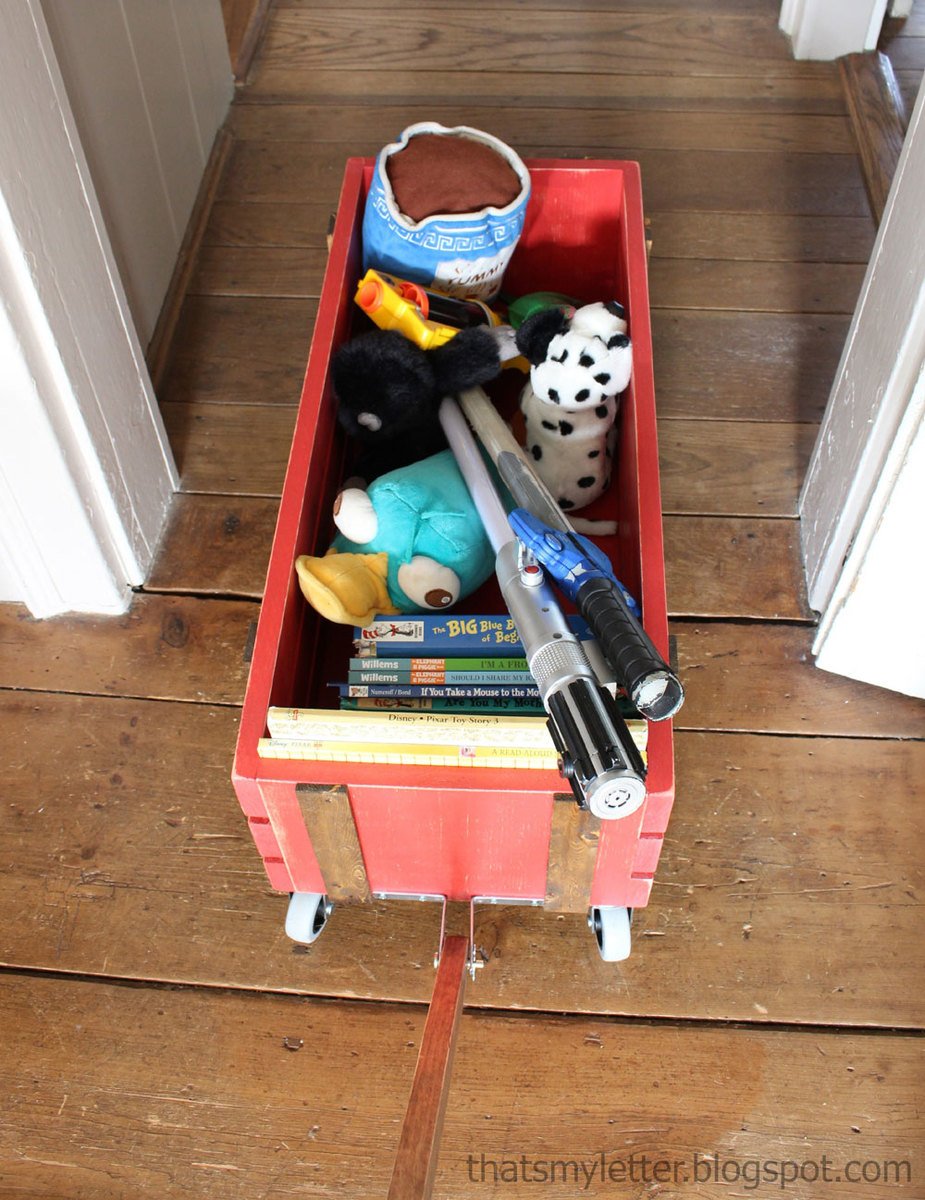
When so many of you asked for wagon plans last year, we put it on the list.  But we knew we wanted to give you something more than just a wagon.  Because wagons are part of childhood, and worn out teddy bears and ragged books need to be towed from room to room in the most treasured of vechicles.  We wanted to create a wagon beautiful enough to treasure forever.


When you make this project, take your time and do a good job.  Put that extra effort into perfect joints, spend the extra ten minutes sanding your boards first.  Because your wagon may be handed down, and someday little children might say, my Grandma made this a long, long time ago. 

Yes, you.  Yes, me.  Someday hopefully we'll be Grandmas  :)

The plans for this wagon follow, but first, go visit Jaime for details on hardware, finish, and of course lots more photos.  See you back here!

XO Ana + Family


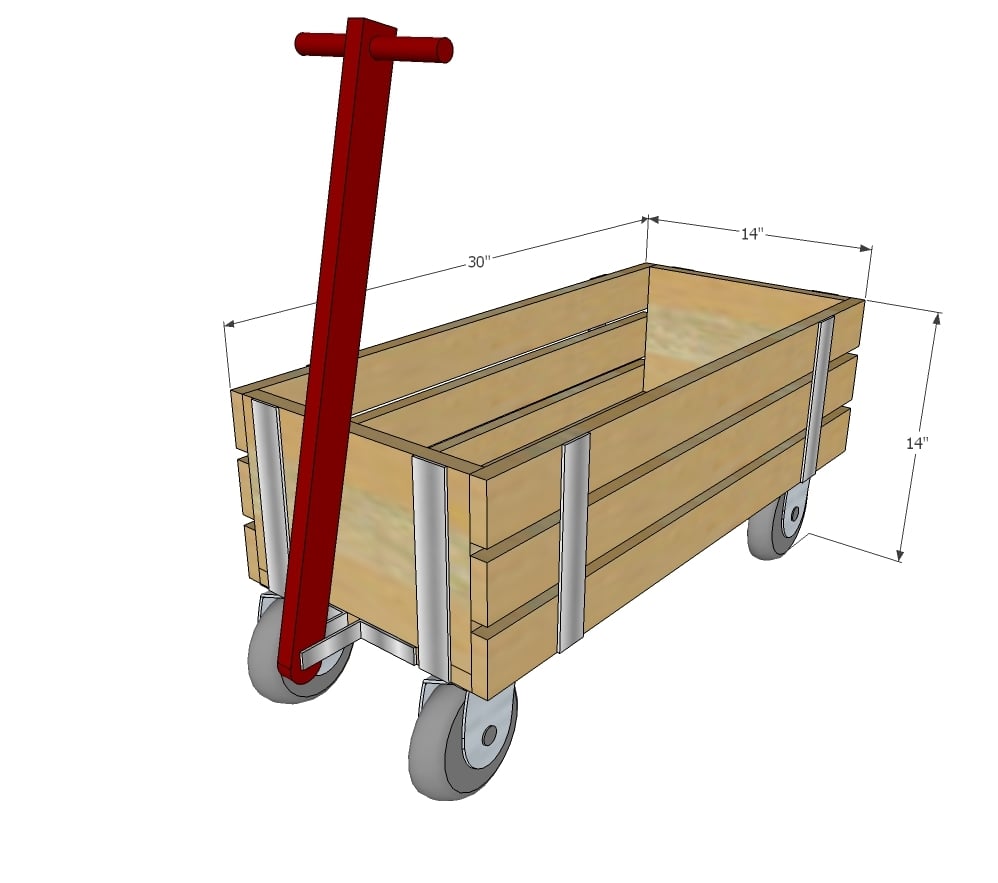
Dimensions
diy wagon plans
Dimensions for wagon box shown above. Height will be changed by size of caster wheels.

Preparation

Shopping List

1 - 1x12 @ 4 feet long

2 - 1x3 @ 8 feet long

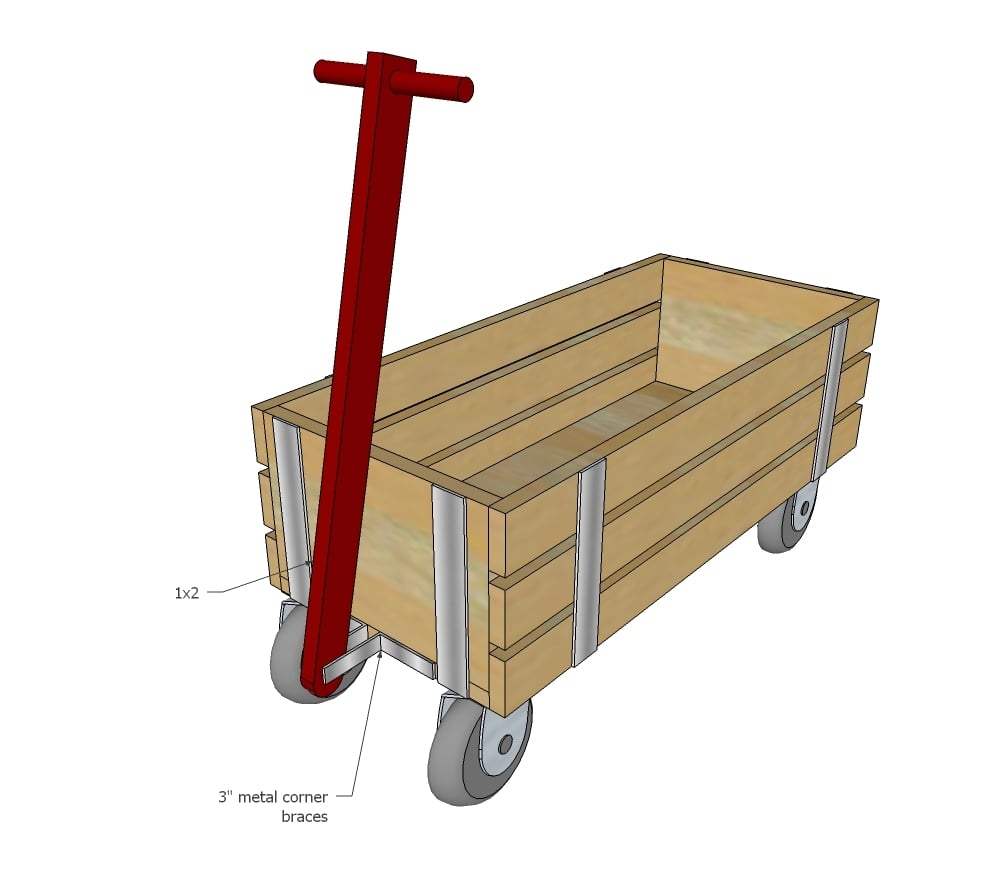
1 - 1x2 @ 30"

1 - 1" dowel @ 7"

72" of decorative metal or wood lath

4 - 4" caster wheels (two swivel, two fixed) non-marking wheels

2 - L brackets (3")

1 - shear pin

Screws for attaching caster wheels and metal pieces (3/4" long)

Cut List

1 - 1x12 @ 28-1/2" (bottom)

2 - 1x12 @ 8-1/2" (front/back)

6 - 1x3 @ 30" (Sides)

8 - lath or metal pieces @ 8-1/2" (decorative strips)

1 - 1x2 @ 30" (handle)

1 - 1" dowel @ 7" long


Tools
Tape Measure
Speed Square
Pencil
Safety Glasses
Hearing Protection
Kreg Jig
Drill
Circular Saw
Power Sander
Drill Bit Set
General Instructions

Please read through the entire plan and all comments before beginning this project. It is also advisable to review the Getting Started Section. Take all necessary precautions to build safely and smartly. Work on a clean level surface, free of imperfections or debris. Always use straight boards. Check for square after each step. Always predrill holes before attaching with screws. Use glue with finish nails for a stronger hold. Wipe excess glue off bare wood for stained projects, as dried glue will not take stain. Be safe, have fun, and ask for help if you need it. Good luck!

Instructions

Step 1

Attach the bottom of the wagon crate the the front and back with 3/4" pocket holes and 1-1/4" pocket hole screws.  This will hide pocket holes on the underside.

Alternatively, 2" predrilled screws can be used.  Make sure you glue as well - we want this project to last forever!

Step 2

Attach the side 1x3s to the 1x12 framing.  2" screws are prefered with glue.  Take your time and line the screws up, as these screw holes may be visible in a stained finish.

Step 3

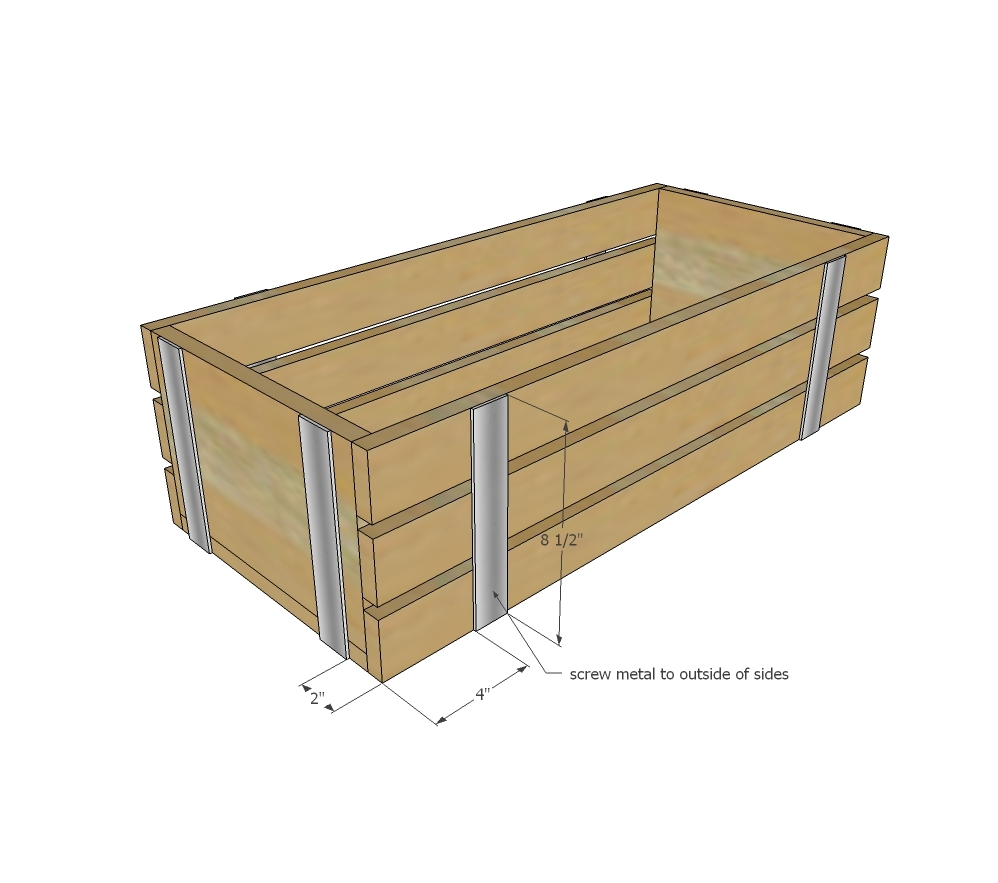
Add decorative metal pieces or wood lath using 3/4" screws.  You will need to predrill holes in the metal.


For more details on Jaime's decorative metal pieces, please read this post.

Step 4

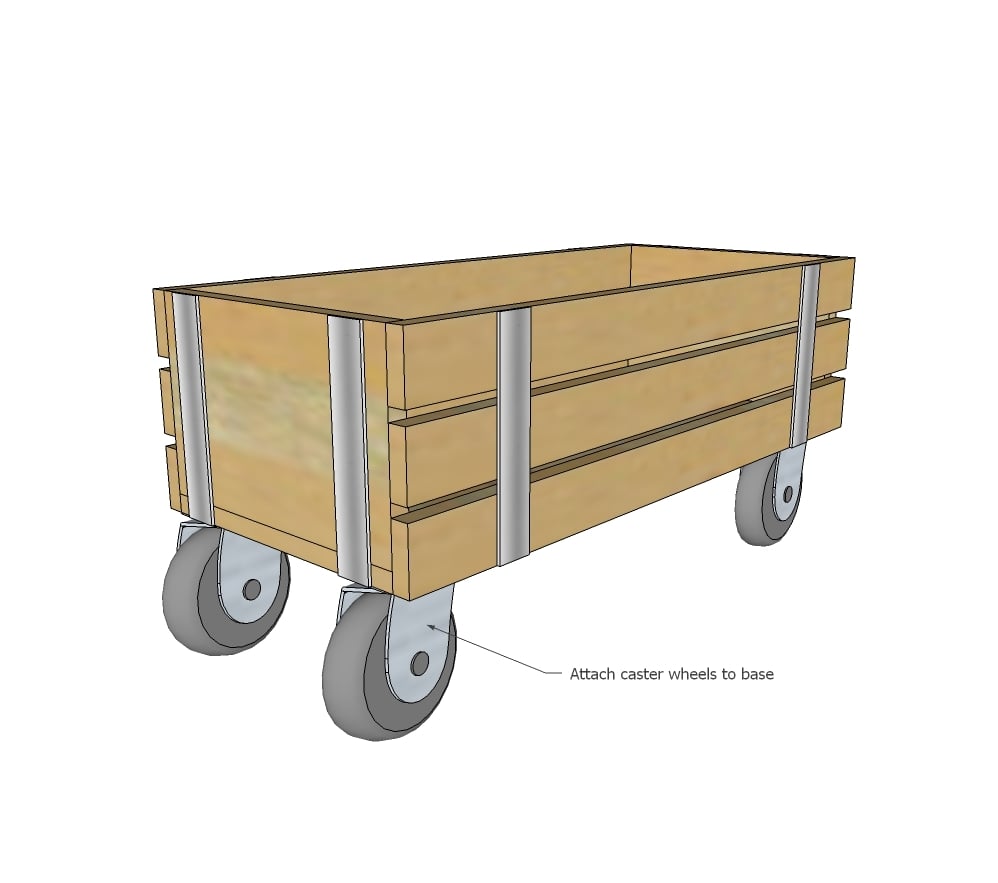
Attach caster wheels to underisde of wood crate.  If using fixed wheels, place on back (like a car, only front tires turn).  You can also use all four swivel wheels as well.


Step 5

Finishing Instructions
Preparation Instructions
Fill all holes with wood filler and let dry. Apply additional coats of wood filler as needed. When wood filler is completely dry, sand the project in the direction of the wood grain with 120 grit sandpaper. Vacuum sanded project to remove sanding residue. Remove all sanding residue on work surfaces as well. Wipe project clean with damp cloth.

It is always recommended to apply a test coat on a hidden area or scrap piece to ensure color evenness and adhesion. Use primer or wood conditioner as needed.
Finish Used
For details on <a href="http://thatsmyletter.blogspot.com/2014/11/w-is-for-wagon.html" target="_blank">Jaime's finishes, please go here.</a>

Comments