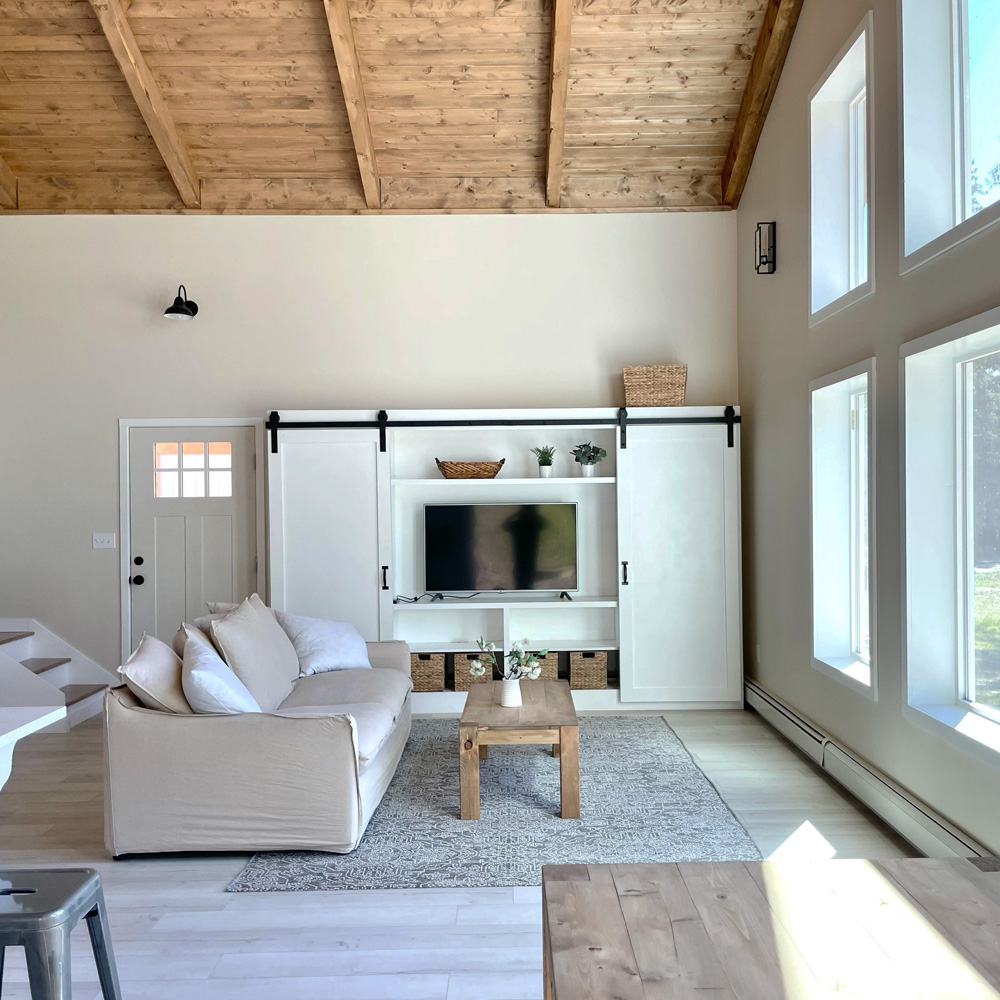
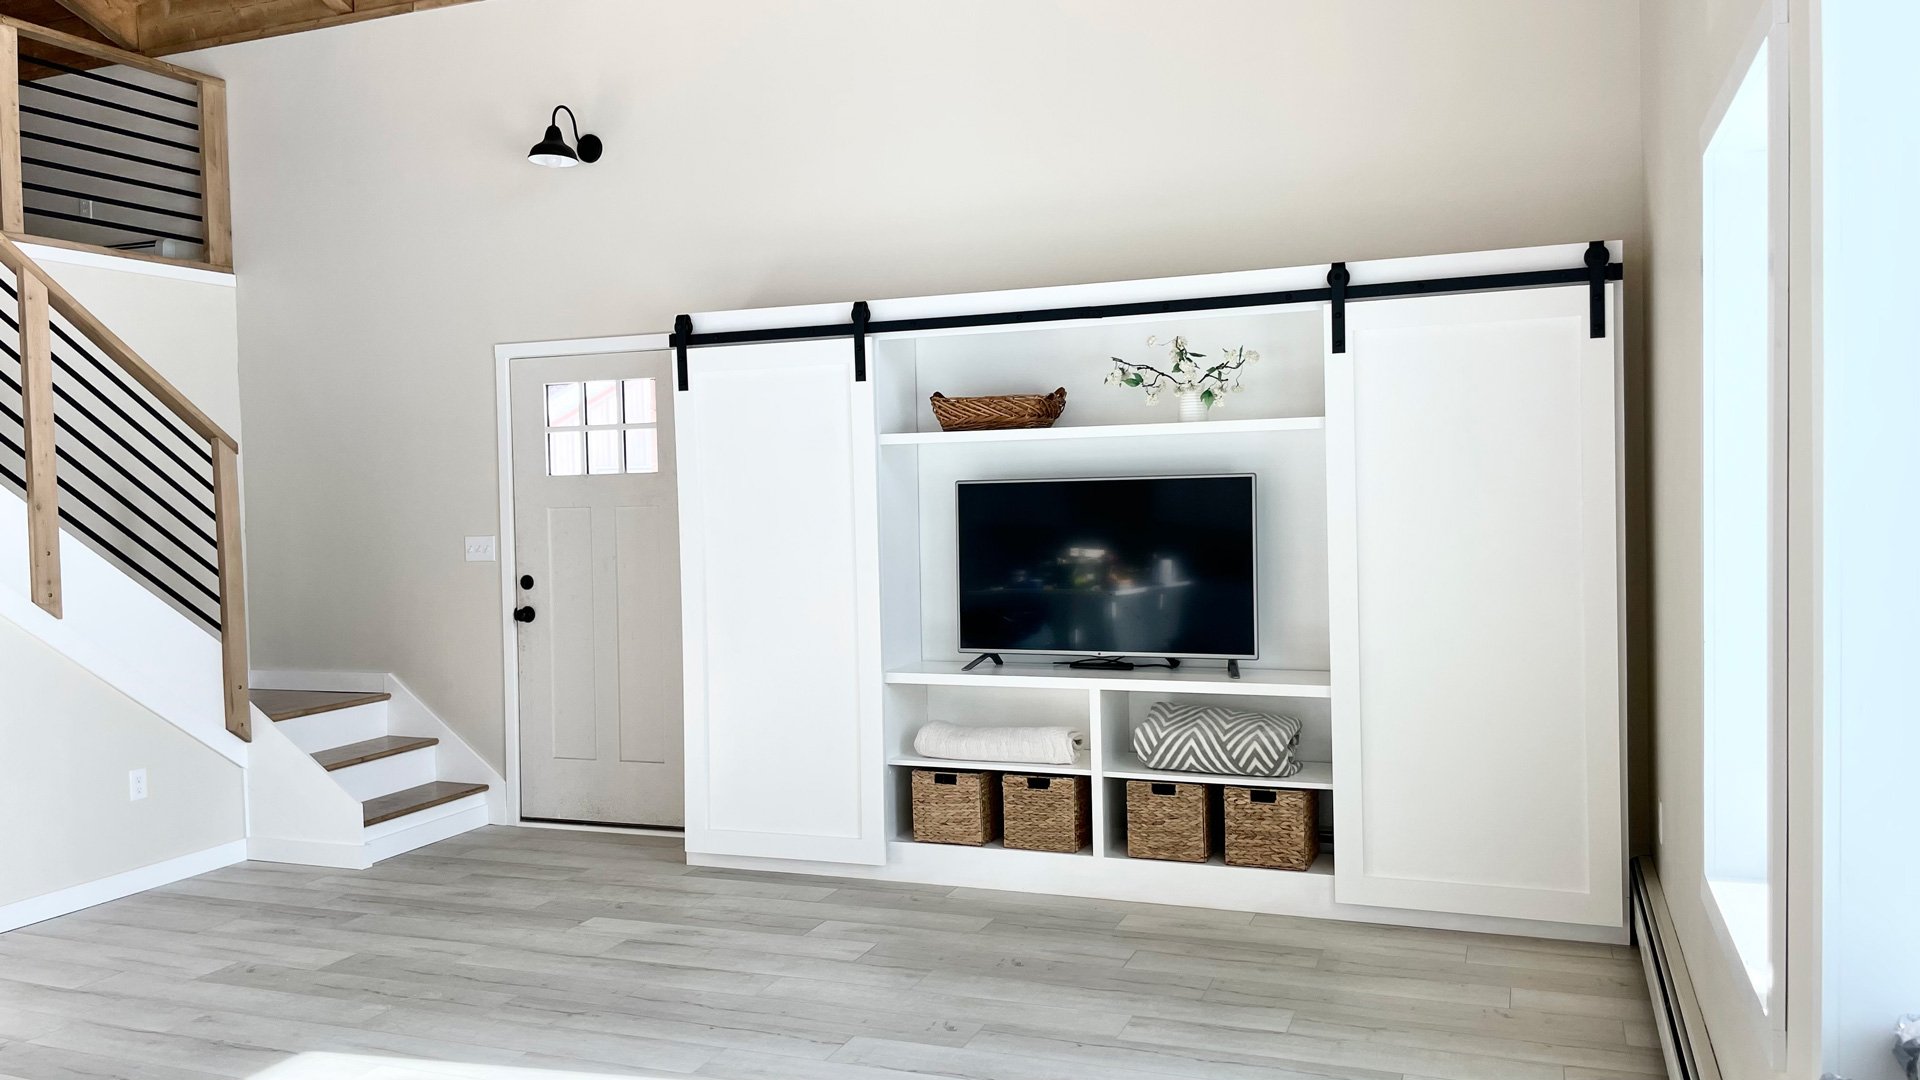
Free step by step plans to build your own barn door entertainment center. This beauty stores and kids and displays! Save thousands and get exactly what you want by doing it yourself. Free plans by Ana-White.com
Pin For Later!!
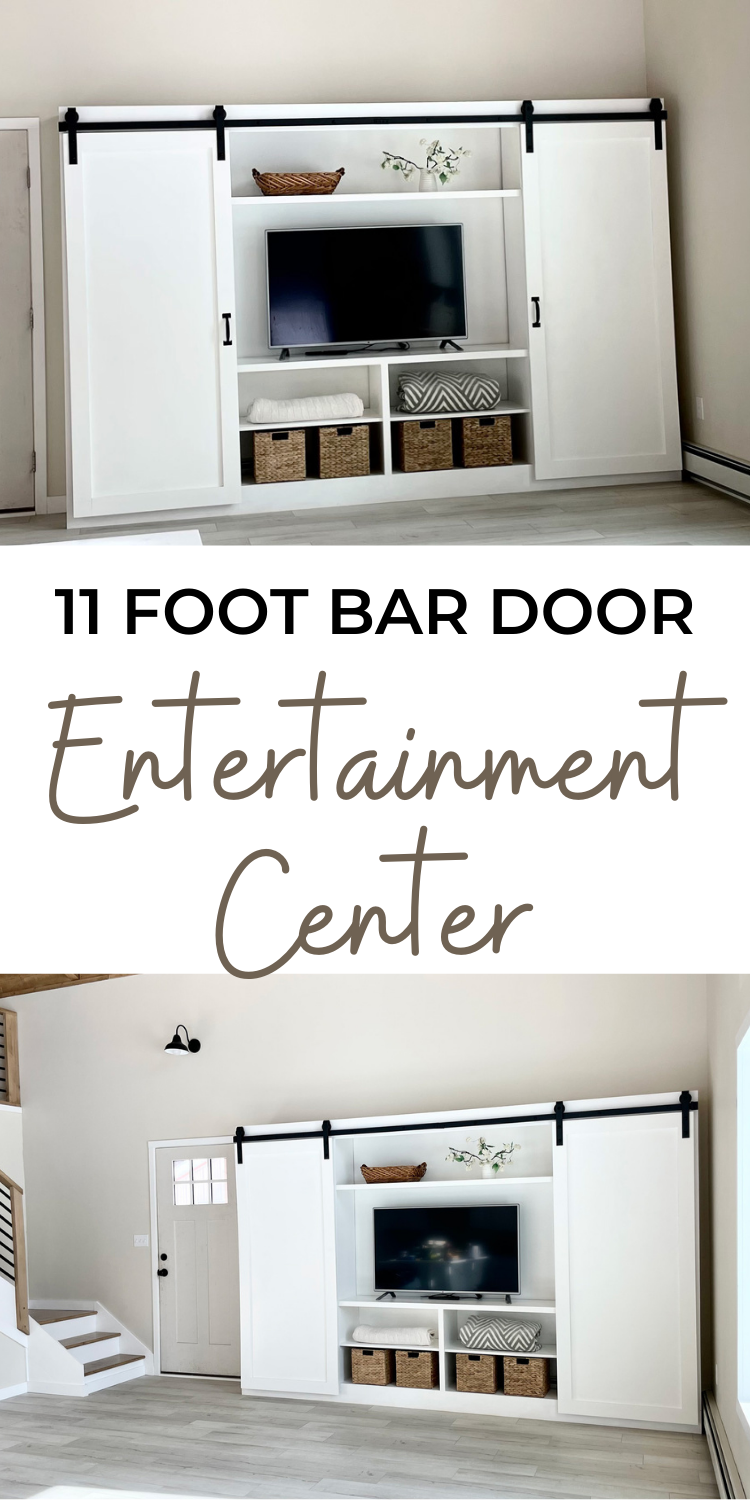
Preparation
- 4 sheets of 3/4" plywood, ripped into strips 15-1/4" wide
- 2 - 1x6 @ 12 feet long
- 4 - 1x2 @ 8 feet long
- 2 - 1x2 @ 6 feet long
- 4 - 1x3 @ 8 feet long
- 4 - 1x4 @ 10 feet long (recommend MDF for paint grade)
- 2 sheets of 1/4" paneling for backs of doors
- 1-1/4" pocket hole scews
- 1-1/4" brad nails
- 11' barn door kit (I used this one, affiliate link to Amazon)
Rip plywood into strips 15-1/4" wide, then cut each strip as follows:
- 84" | scrap - tower side
- 84" | scrap - tower side
- 84" | scrap - tower side
- 84" | scrap - tower side
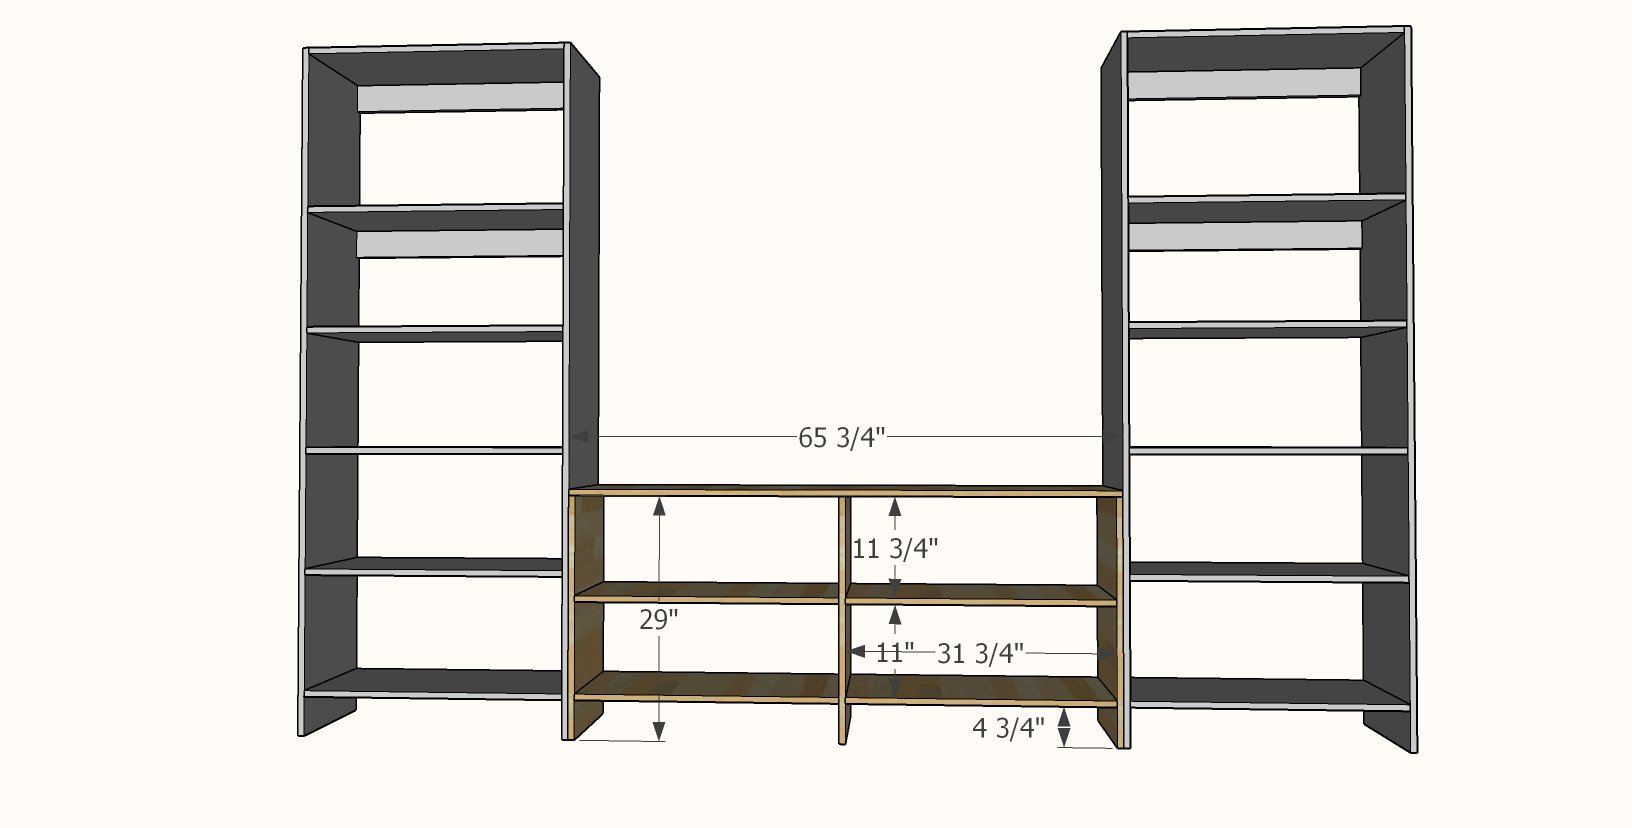
- 31.75" | 31.75" | 31.75" - tower shelves
- 31.75" | 31.75" | 31.75" - tower shelves
- 31.75" | 31.75" | 31.75" - tower shelves
- 31.75" | 31.75" | 31.75" - tower shelves
- 31.75" | 31.75" | 31.75" - center console shelves
- 31.75" | scrap - center console shelves
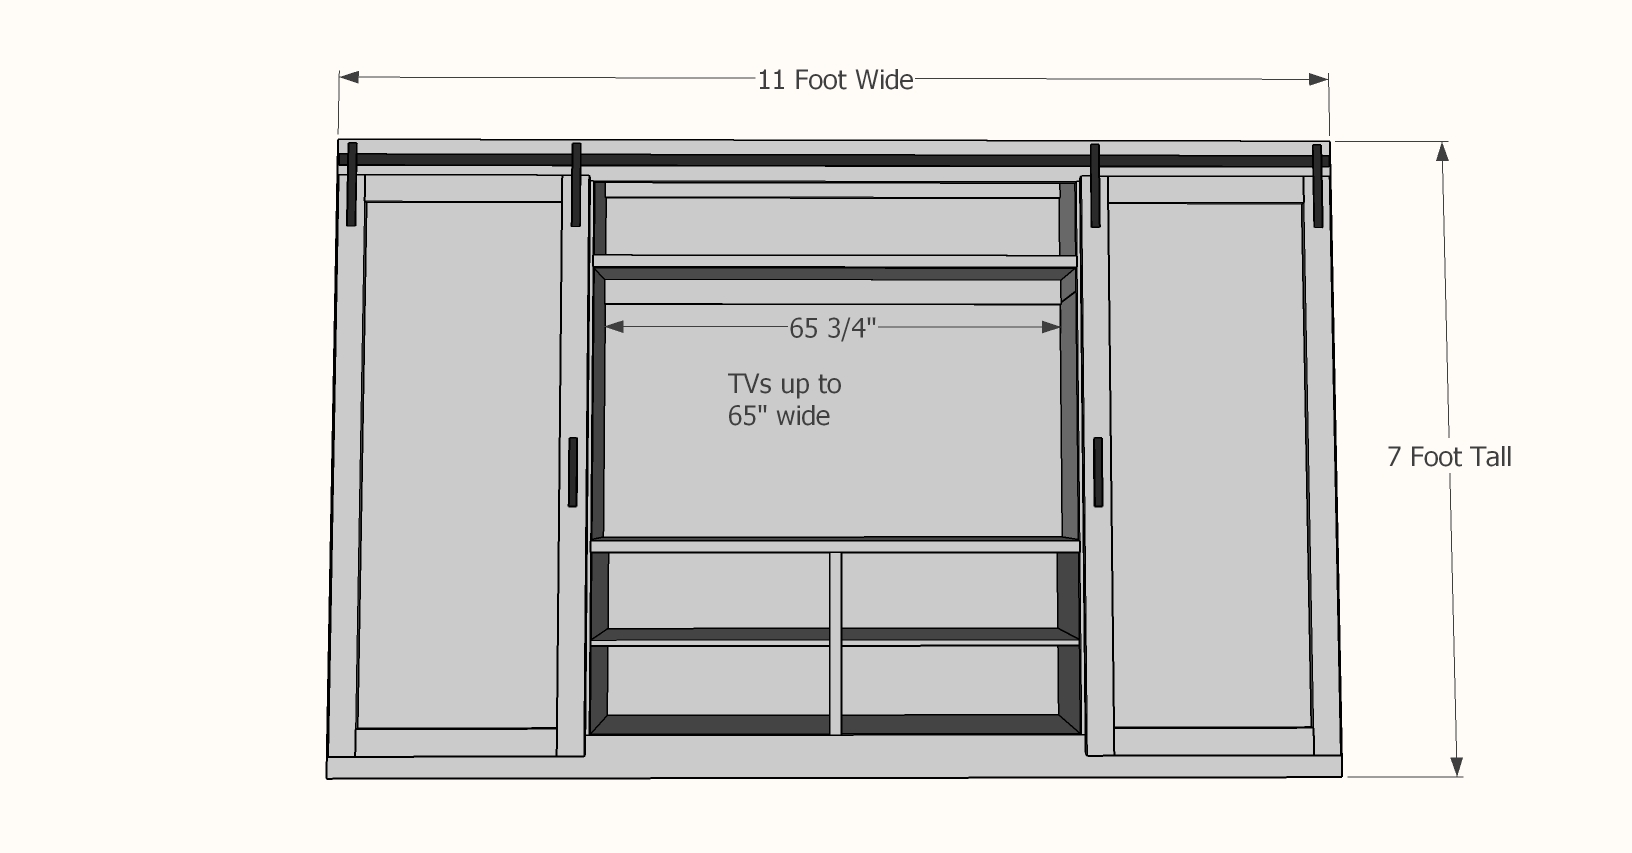
- 65.75" | 29" - center console top and side
- 65.75" | 29" - center shelf and center console side
- 65.75" | 29" - center shelf and center console side
Bay Supports
- 2 - 1x3 @ 65-3/4" - center bay supports
- 4 - 1x3 @ 31-3/4" - tower bay supports
Doors
- 2 - 1x4 @ 76"
- 2 - 1x4 @ 26"
- 2 - 1/4" plywood @ 76" x 33"
Face Frame - should be cut to fit
Rip plywood into strips 15-1/4" wide by 8 feet long. From these strips, cross cut into lengths specified in cut list.
Instructions
Step 1
Start by building two identical towers.
On each shelf board (31.75"), drill three 3/4" pocket holes on each end.
Attach to the sides, spaced as shown in the diagram, using 1-1/4" pocket hole screws. It helps to cut a 14" block to use a a spacing guide.
For the top shelf, I placed my pocket holes facing upward. All other shelves I faced pocket holes downward.
Add 1x3 bay support inside, flush to back, at top, with pocket holes on side and top.
A bottom bay support can be added under the bottom shelf if desired (consider baseboard cut out if not removing baseboard).
Step 2
Build the center console using the same construction methods as the towers, but also drill pocket holes on the sides for attaching the top.
For attaching the top, place pocket holes on the outside, as they will be hidden by the towers on final install. For the center vertical piece, the pocket holes will be visible, if you can, opt for the side that is NOT facing the main room or entrance. I filled mine with wood filler and finished and you can't see them on completion.
Step 3
Drill three pocket holes on each end of the center shelves.
Then drill two pocket holes on each end of the 1x3 bay supports, and three along the top edge, evenly spaced.
Attach the bay support to the center shelves on the underside. Keep the center shelf pocket holes on the top side for attaching to the towers.
Now attach the center shelf and bay supports to the towers.
All pocket holes are 3/4" setting and 1-1/4" pocket hole screws.
The media wall can now be attached to studs in the wall to secure.
TIP: The face frame will cover up alot of imperfections, so don't stress too much about getting everything perfect. This step was for us the hardest step.
Step 4
Face frames cover up joints and hide any errors.
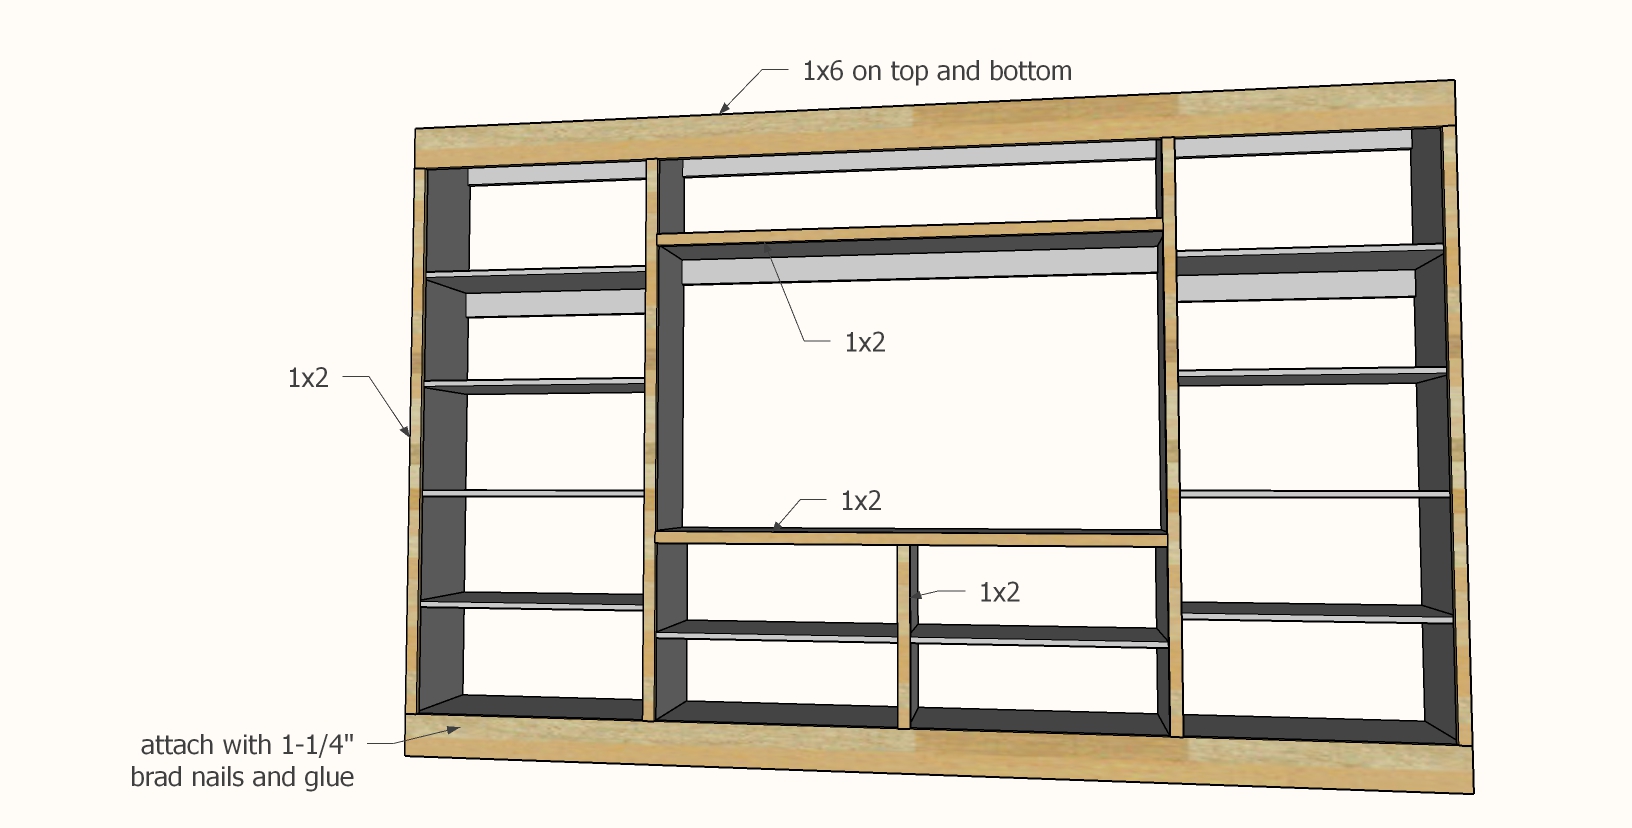
Measure and cut the 1x6 face frame boards to fit. Attach to the top and bottom with 1-1/4" brad nails and wood glue.
Next, measure and cut each 1x2 stile (vertical trim) and attach to the front edges of the plywood.
Next, trim the top shelf with a 1x2.
Finally, trim the center divider on the center console.
Fill nail holes with wood filler and let dry. Lightly sand.
NOTE: Depending on your barn door hardware rail attachment bolts/lags, you may need to add additional blocking behind the top 1x6. I recommend either a 2x4 or a 1x4. The cut lengths are the same as the shelves (two at 31-3/4" and one at 65-3/4")
Step 5
Cut the 1x4 MDF boards and drill two pocket holes on each end of the shorter pieces. Attach to the longer pieces with 1-1/4" pocket hole screws.
Cut 1/4" plywood with a circular saw, elevating the plywood with wood scraps or styrofoam so the blade doesn't cut into the worksurface. Fully support the plywood so the saw blade doesn't get pinched as the plywood is cut.
Nail plywood to the back of the frames with 3/4" brad nails and glue.
Attach the door hanger hardware to the doors as recommended in the instructions. Then hold the doors up in place and mark where the rail should be located. Install the rail. Use a level to make sure the rail is installed level (so the doors don't slide to one side).






Comments
Fernando Garcí…
Thu, 04/01/2021 - 12:18
Muchas gracias, por su…
Muchas gracias, por su trabajo. Si lo estiman tengo una sugerencia: ¿Podrían, también, detallar las medidas y los cortes en el sistema métrico. Es el utilizado en España donde resido y me facilitaría mucho el trabajo.
Juan Butler
Tue, 04/05/2022 - 12:43
Looking to do this as my…
Looking to do this as my next project and order thru shelf help, but have a few questions. I saw the video you put together, did you paint it yourself prior to assembling and noticed that when you were assembling didn't look like you used any glue. Is it necessary to use glue?