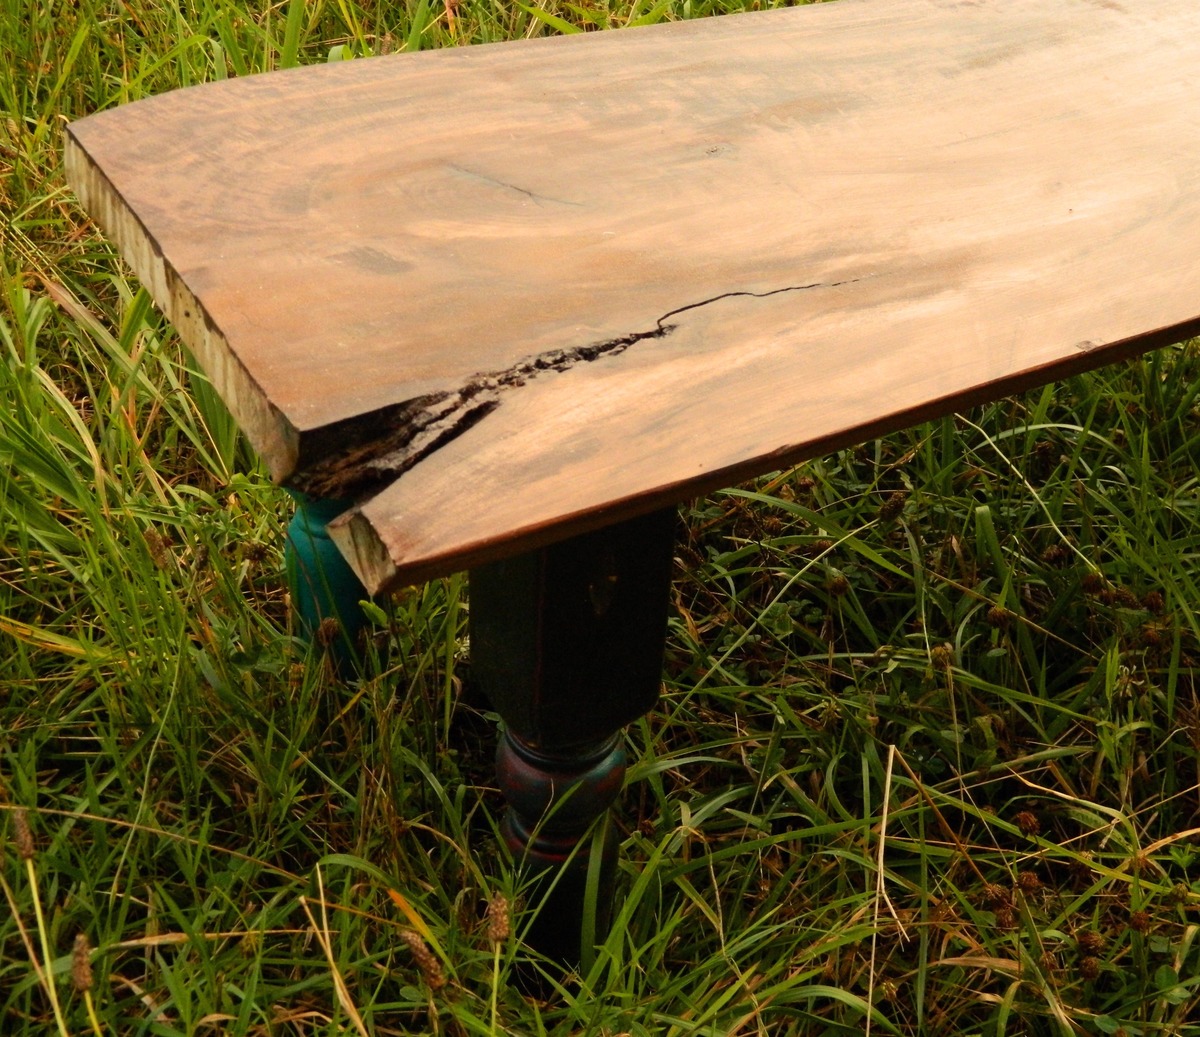
I recently lengthened the legs to an art table for my daughter. I decided to reuse the original legs in another capacity. While my wife was on pinterest she came across a large solid piece of wood with spindle legs attached to it to make a bench. I had recently picked up some large pieces of wood from the burn pile at a nearby sawmill. I cut one of the pieces in half after bringing it home and here is how to easily make a unique bench.
Local sawmills are a great resource. This piece was about 12 ft long and I literally climbed atop the burn pile to fish this out. I grabbed a few more that I will be using in some projects soon.
Preparation
Spindle legs (thrift store or garage sale, or reuse from something you already own)
Wood Stain
Poly
Spindles- 17 in
Wood top- 60 in
*Cut spindle legs to height desired. For my bench, I cut the legs to 17 inches each.
*Cut solid wood to length desired for table. I am making a 7ft table soon, so I wanted my bench about 1ft short on each end 84-24= 60 inches
Instructions
Step 1
Once pieces were cut, I first drilled my jig holes in the spindles. I used a clamp and my pocket Kreg jig to drill one hole on each side that I used to attach the legs to the bench top. You could always drill from the top as well and then fill with wood filler.
Step 2
Step 3
I used some 100 grit sandpaper to rough up the legs and antique them a bit.
Step 4
Attach the legs to the outside edges of the bench bottom using wood glue and screws.
Rustoleum poly


Comments
Guest (not verified)
Sun, 08/28/2011 - 17:58
Nothing should be burned.
Nothing should be burned. Everything should be used.
dmcarwin
Mon, 10/03/2011 - 09:26
Awesome!
I LOVE this! It is so great that you can make something beautiful from left over wood. Thanks for the inspiration!