Planned Outage
Wall Framing!
We are finally building walls! Framing is my most favorite part (well, aside from building the furniture) of building because you see a ton of progress for the work you invest.
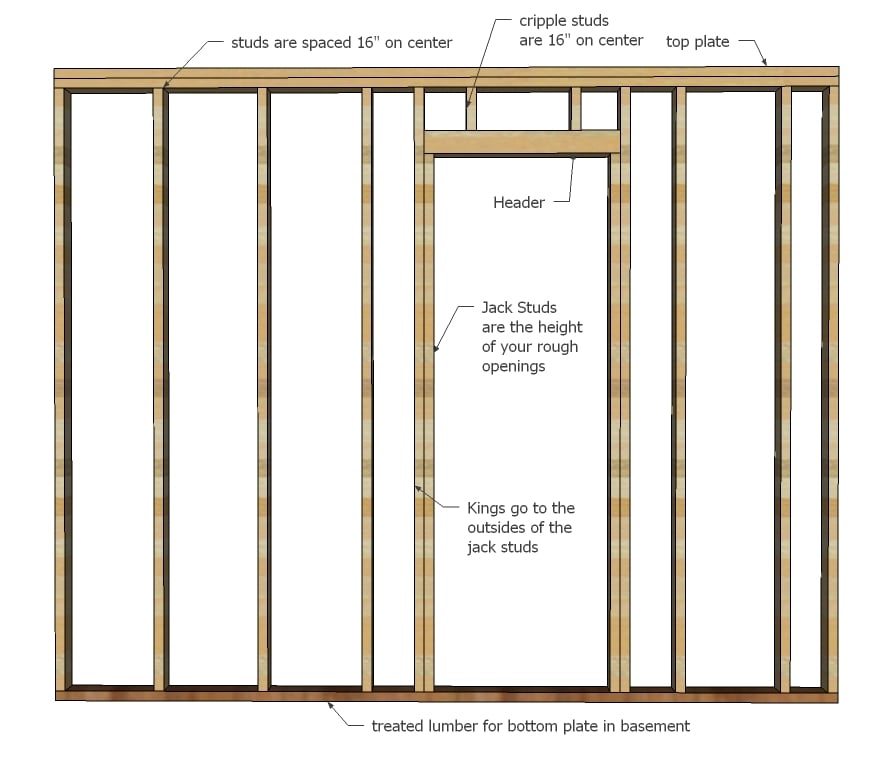
<h1>How a Wall is Framed</h1>Wall framing is pretty simple, but there are a few things you need to know. A wall is comprised mainly of top and bottom plates and studs. The studs are spaced either on 16" or 24" centers. This is done because plywood and drywall comes in 48" widths, so your plywood or drywall seams always end in the center of a stud. You follow the 16" or 24" on center pattern without exception - if you don't, you will just be adding the blocking in later when you hang drywall.<div><br></div><h1>About Studs</h1><div>Studs come in 92 5/8" lengths, so you can just add top and bottom plates, plus the top tie in plate, to get a wall that is 96 1/8" high - just perfect for hanging drywall on. Our walls in this post are actually 9 feet tall, so we cut 2x4s to length.</div><div><br></div><h1>Headers and Openings</h1><div>For doorways, windows and other openings, you will need to frame in a header and support to the sides. This is done by simply adding a King and Jack stud, topped with a header, with Cripple Studs above the header in the 16" or 24" on center pattern. Check with your door or window for rough opening requirements.</div><div><br></div>
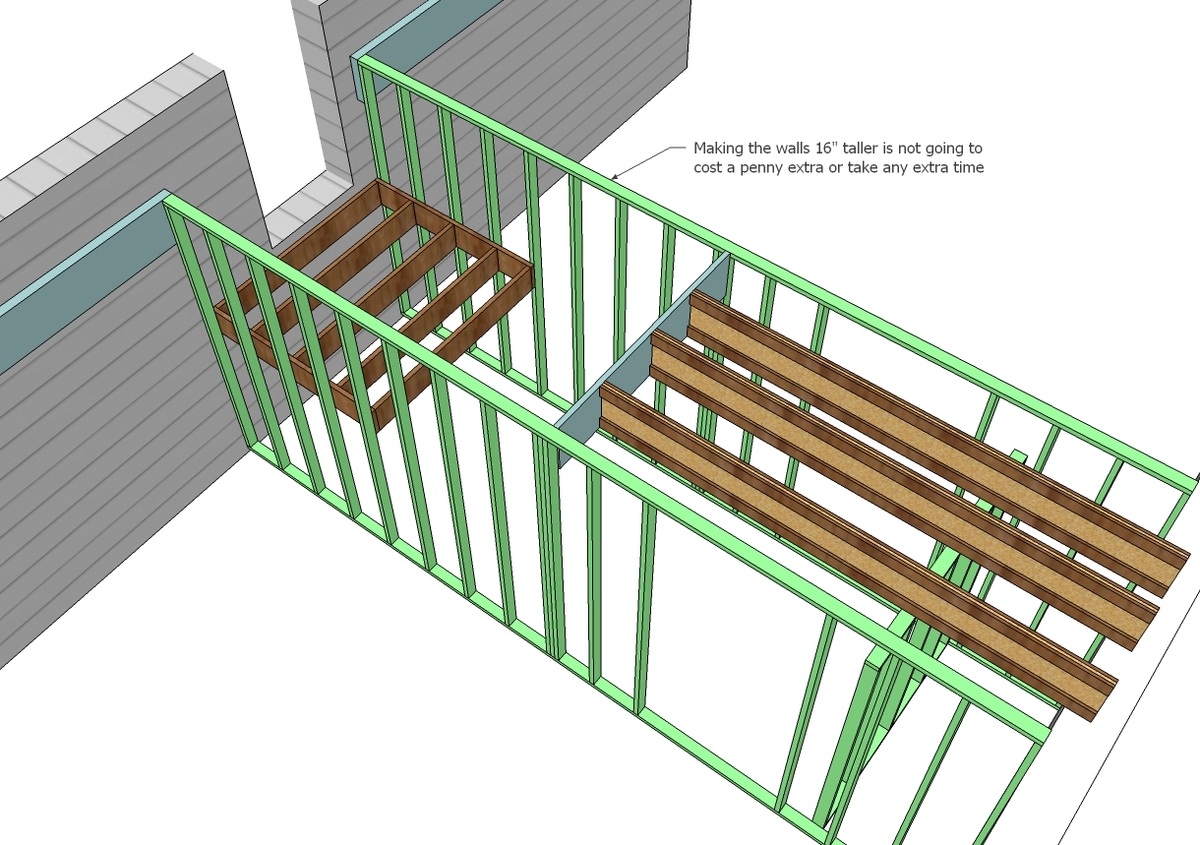
<h1>Basement Walls</h1><div>We have five main walls to build for the Momplex lower floor. It starts with the load bearing wall down the center (not pictured) and then we will build two walls on either sides of the stairs with doorways in them. </div>
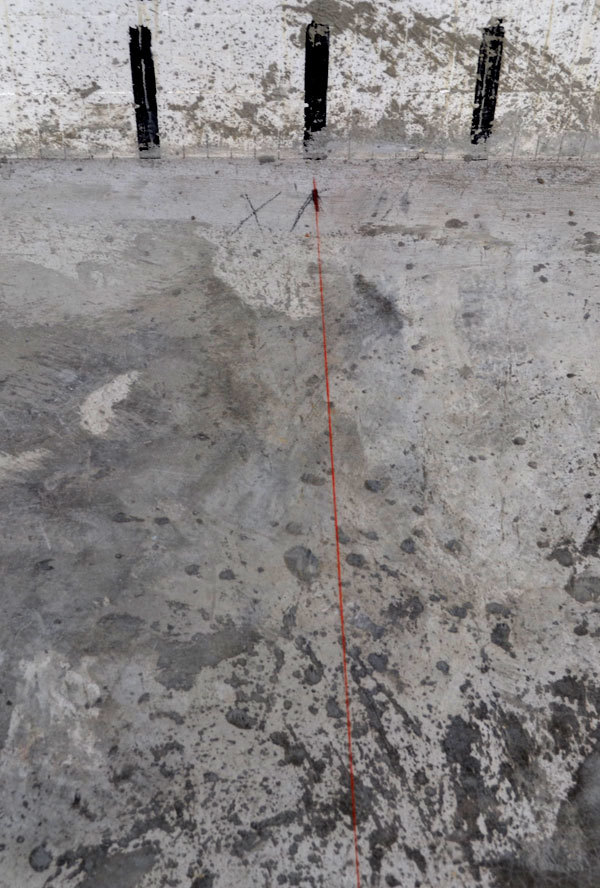
<h1>Chalk Line</h1><div>First things first, the location of walls is marked using a <a href="http://ana-white.com/2011/09/momplex/pouring-monolithic-momplex-slab&qu…; title="" target="_blank">chalk line</a> on the concrete slab.</div>
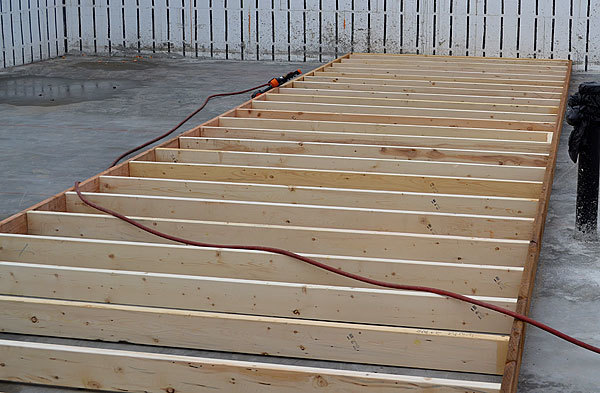
<h1>Load Bearing Wall</h1><div>The center load bearing wall is made of 2x6s per recommendations by our structural engineer. We reused the <a href="http://ana-white.com/2011/08/momplex/bracing-walls" title="" target="_blank">boards from the scaffolding system</a> for the studs to minimize waste and save money. Every little bit adds up.</div><div><br></div><div>A framing nailer was used to fasten the walls, but you certainly could use a good ole hammer here.</div>
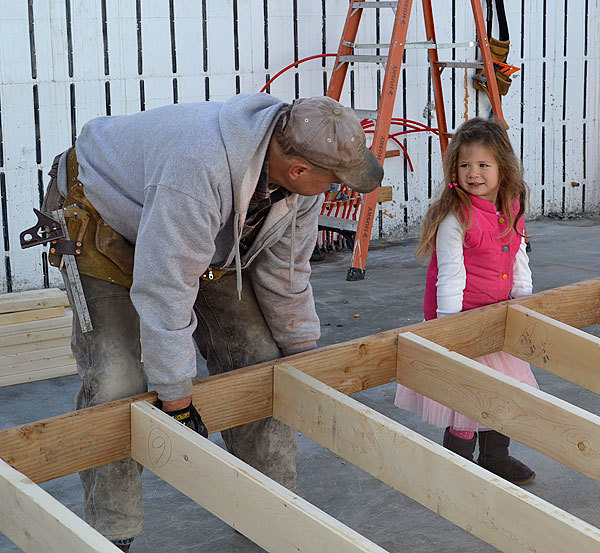
<h1>Standing Walls</h1><div>Every little bit of help helps when it comes time to stand the center load bearing wall - it's a heavy one! Ready, set, lift!</div>
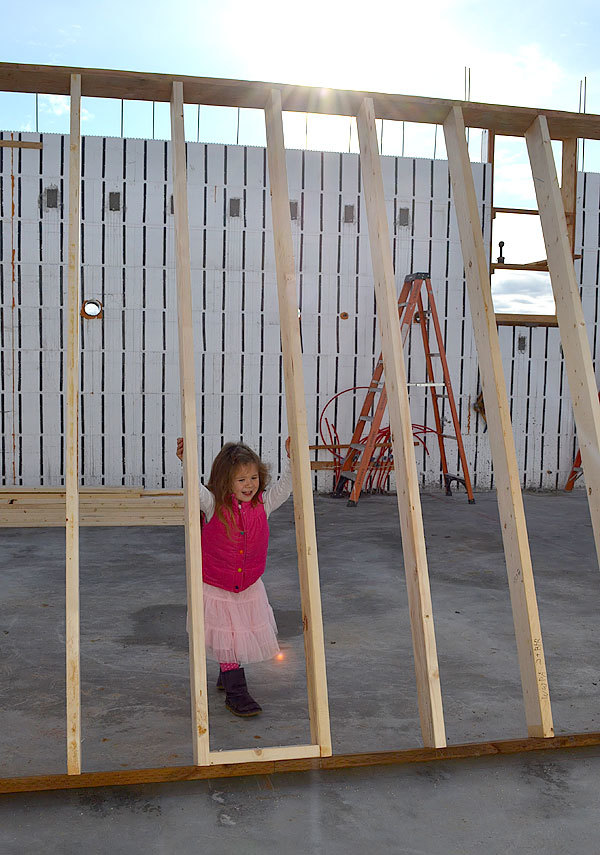
Almost there!
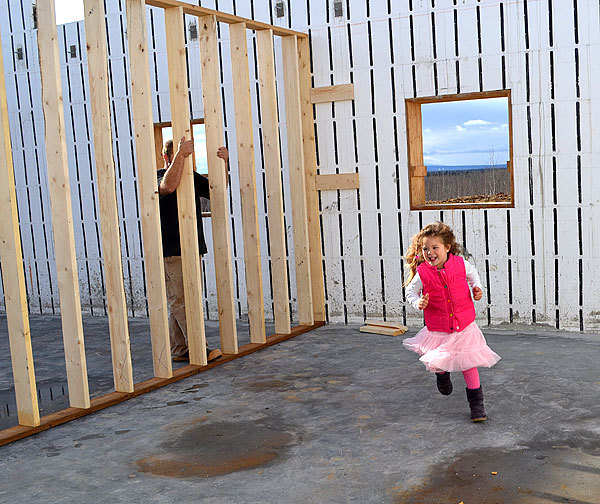
Victory lap.
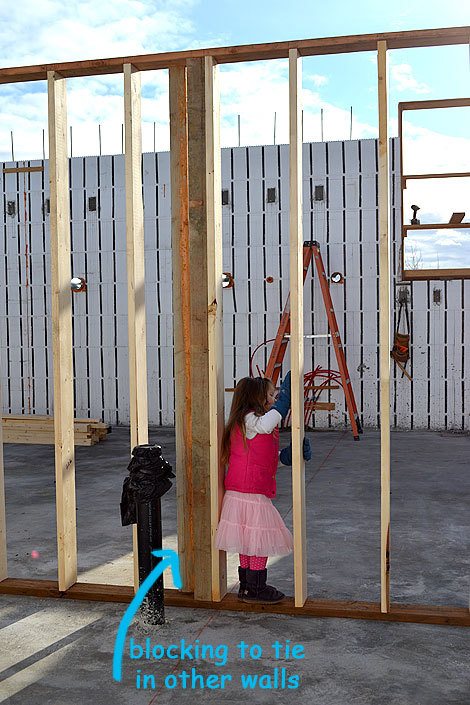
We added blocking to the center wall where the smaller walls are tied in.
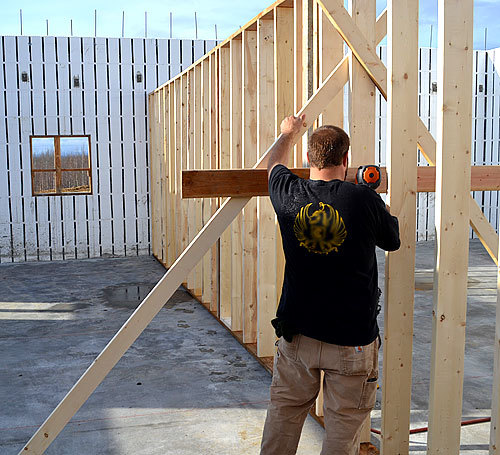
<h1>Bracing</h1><div>Followed by bracing to keep the walls plumb. </div>
<h1>Real Alaska Man</h1><div>We are getting a ton of work done lately, and I know it's because this handsome guy is visiting. What a guy, to volunteer his time off to helping build the Momplex for his family!</div><div><br></div>
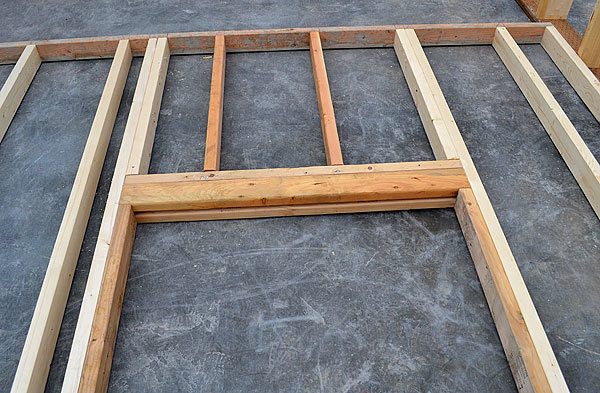
<h1>Headers</h1><div>For the smaller walls, we had to add in doorways. The headers are pretty simple to build, the main thing is keeping with the 16" on center pattern and adding in the extra support. </div>
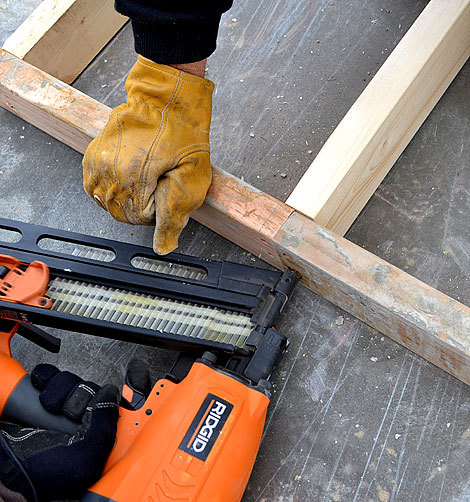
<h1>Long Walls
</h1><div>For longer walls, you may need to join bottom plates to get the full length of the wall. Just plan for the seam to be centered on a stud as shown in the photo.</div>
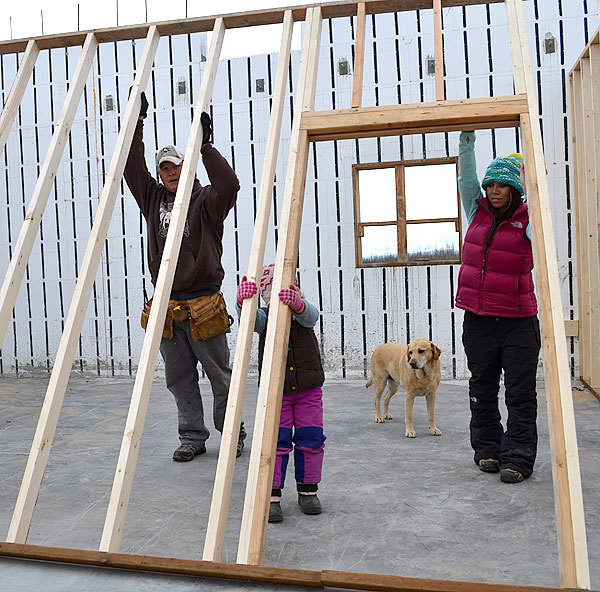
Then it's just a matter of standing more walls.
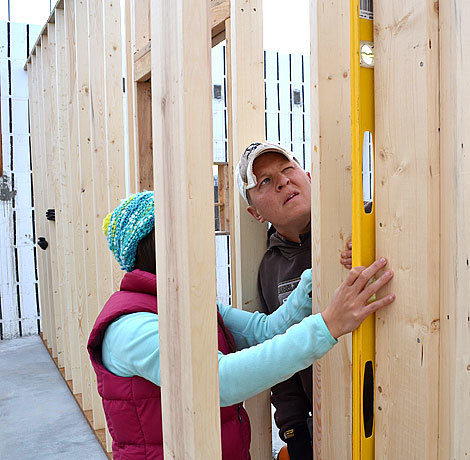
Making sure the walls are level.
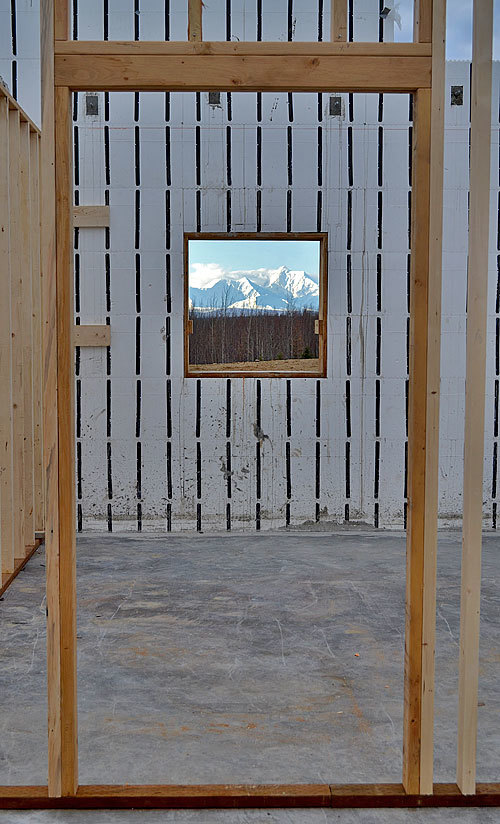
And trying not to look out the window at the approaching snow line.
We've still got some work to do on the walls to get them secured to the slab and adjoining walls, but that's a whole 'nother day and a whole 'nother post!
Happy wall building!
Comments
meg66 (not verified)
Mon, 10/03/2011 - 11:58
why do you use pressure
In reply to why do you use pressure by meg66 (not verified)
Ana White
Mon, 10/03/2011 - 12:23
Hi Meg we use the treated
Brita Carbonell (not verified)
Mon, 10/03/2011 - 12:33
Twirly skirts
In reply to Twirly skirts by Brita Carbonell (not verified)
emmarosemc
Mon, 10/03/2011 - 14:35
Not an option! They need to
k g (not verified)
Mon, 10/03/2011 - 12:38
Looking Awesome! So excited
Kerry Stafford (not verified)
Mon, 10/03/2011 - 12:39
How long till you get to the
In reply to How long till you get to the by Kerry Stafford (not verified)
Ana White
Mon, 10/03/2011 - 21:43
Hi Kerry ... Right now, it's
Cathyg (not verified)
Mon, 10/03/2011 - 13:02
Great! Now i know how to frame a wall!
Tsu Dho Nimh
Mon, 10/03/2011 - 17:46
ROFLMAO! I love the
Oregon SuNsHiNe (not verified)
Tue, 10/04/2011 - 07:23
Absolutely Inspirational
llama (not verified)
Tue, 10/04/2011 - 13:37
planning for the bottom plate to end on a stud...
In reply to planning for the bottom plate to end on a stud... by llama (not verified)
Ana White
Tue, 10/04/2011 - 16:19
This is a good question! On
Guest (not verified)
Fri, 12/16/2011 - 23:35
NAILGUN