If you don't mind a leaky basement, if you don't mind soggy carpet, a "smell" that you just can't get rid ... don't bother reading this post. Today I am going to show you one of those not so glamorous or fun tasks that you must do to build a house right. But it can effect the comfort and usability - not to mention value - of your home incredibly.
Today, we are going to waterproof the below grade foundation of the Momplex!
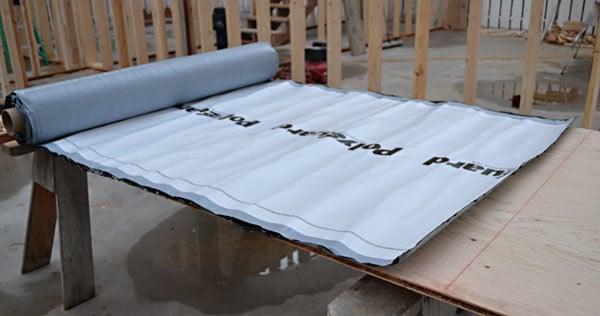
It starts with these giant sticker rolls of waterproofing membrane. We are using two different brands in this post, one black and one white, but essentially the same product ... well, we will discuss that in a moment.
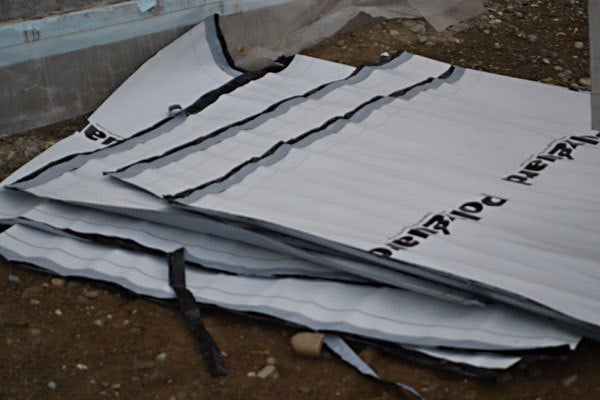
We cut a big pile of the membrane pieces. We also cut pieces of the black membrane (not shown).
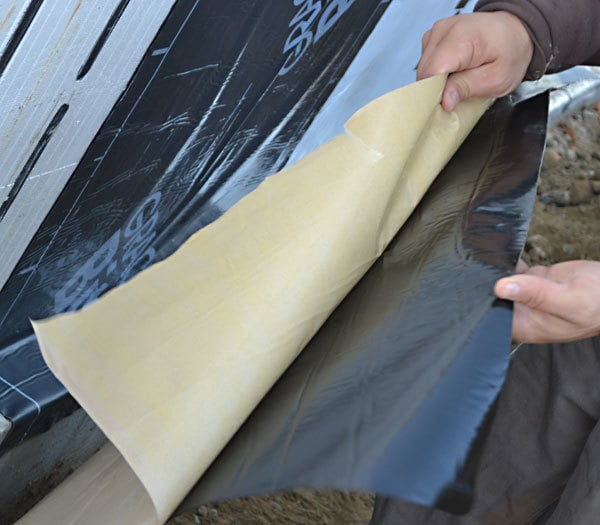
To stick the membrane, first we snapped a chalk line around the Momplex at grade. Next, we peeled just the top edge of the sticker back off of the waterproofing membrane.
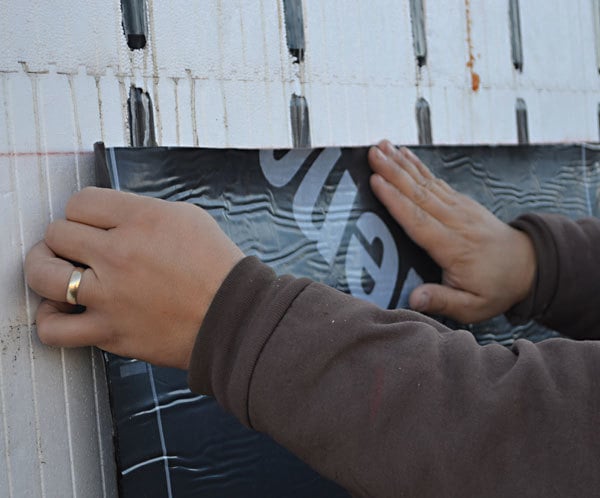
Lined up with the chalk line, the top of the waterproofing membrane is stuck to the Momplex exterior walls.
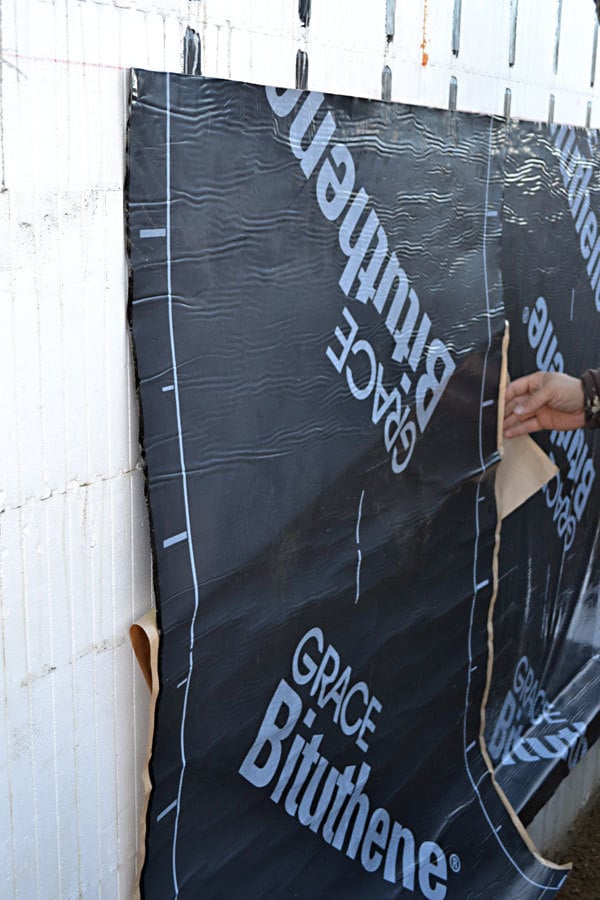
Then we worked our way down, pulling the backing paper off slowly while sticking the waterproofing membrane to the Momplex.
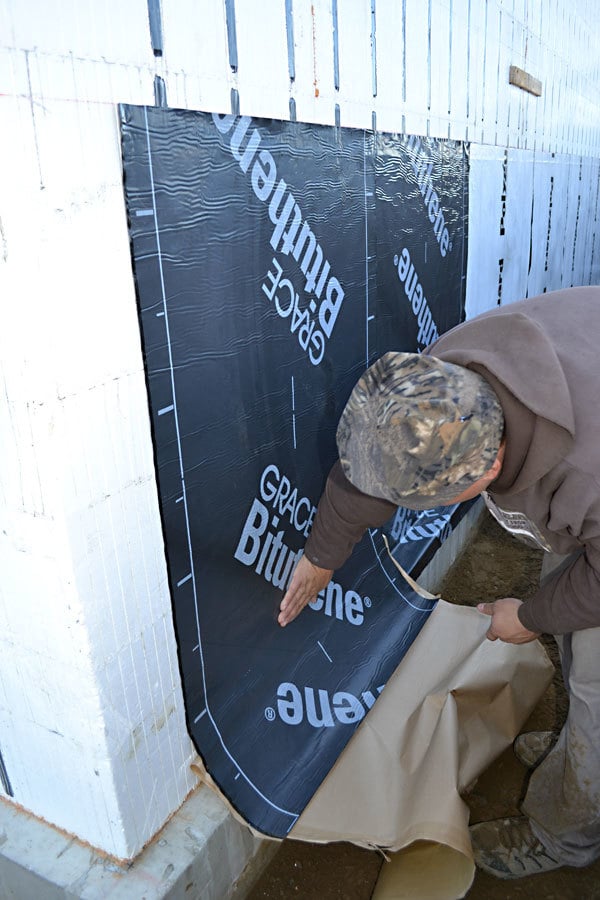
By keeping the backing paper on, you have more control of the waterproofing membrane, so you only have to concentrate on sticking one part at a time.
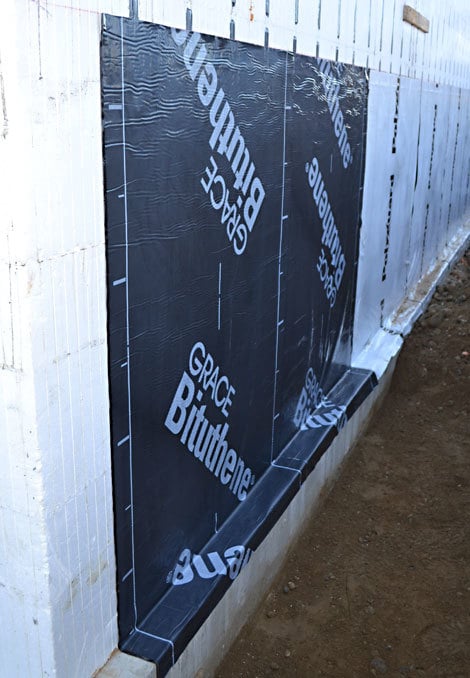
This is going to take no time at all, right?
NOTE: You will want to overlap the membrane to create the best seal.
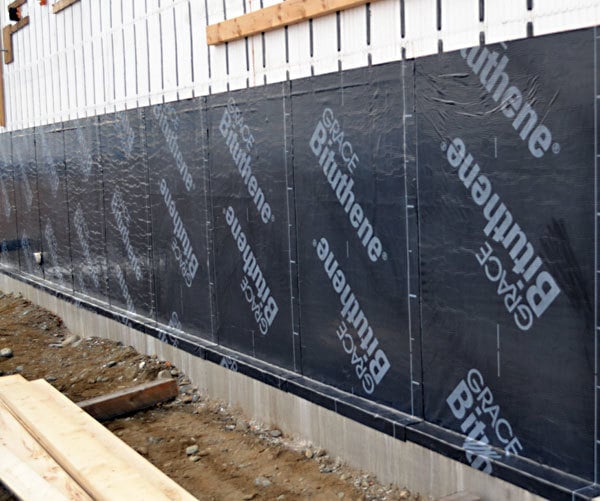
We were rocking and rolling! Or at least sticking and pressing!
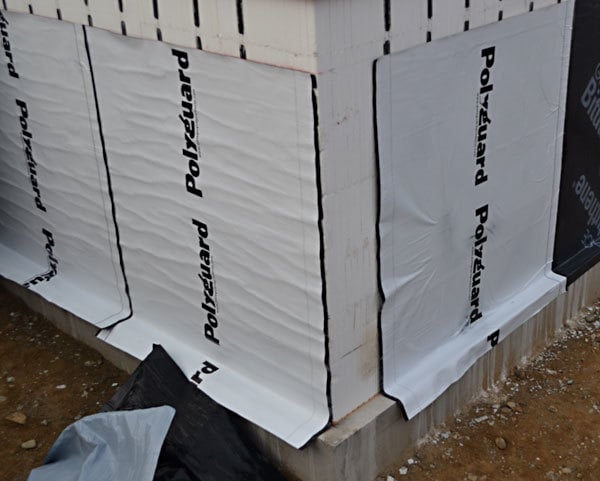
But then we ran out of the black stuff, and started using the white stuff. The white stuff didn't like the cold weather. It just wouldn't stick. After reading the box, we realized that the two membranes do the same job, but the black membrane is for cold climate applications.
That would be us.
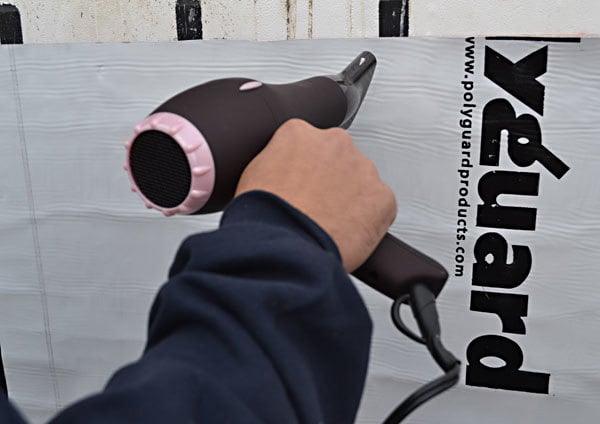
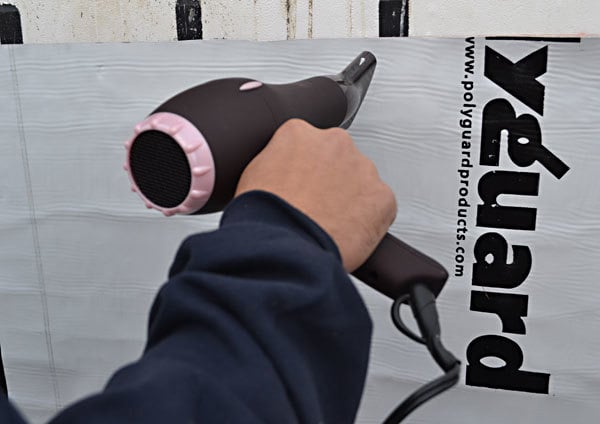
Last week, a box of beauty supplies showed up, including a brand new hairdryer for me! My last hair dryer ended up in the garage being used for who knows what. I was pretty excited to finally have a pink hair dryer!!!
Well, it's missing.
But at least the Momplex is going to be waterproof! This task too forever. Forever.
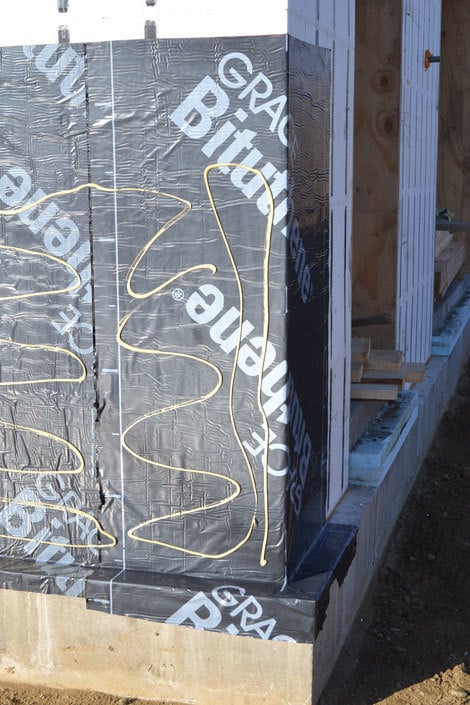
Now the waterproofing membrane is great stuff, and with the overlapped edges, and overlapping the footers, it will keep water from leaking through the foundation walls.
But what happens when we backfill and a sharp rock punctures the membrane?
One more step.
We applied glue to the membrane.
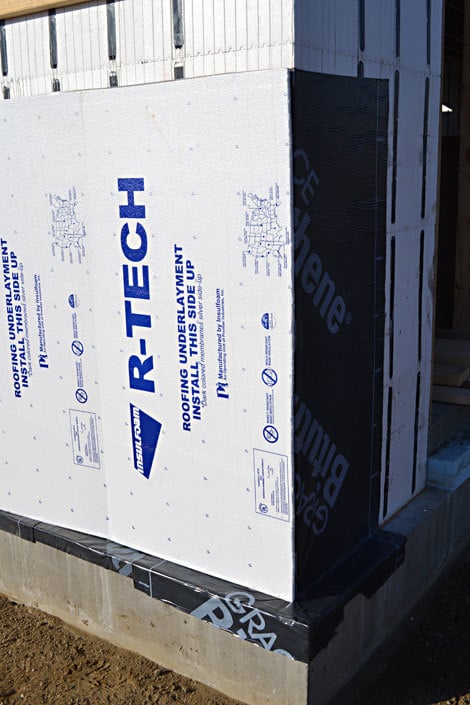
And stuck this flat foam sheets to the membrane. The foam will provide an extra layer of protection as we backfill around the Momplex.
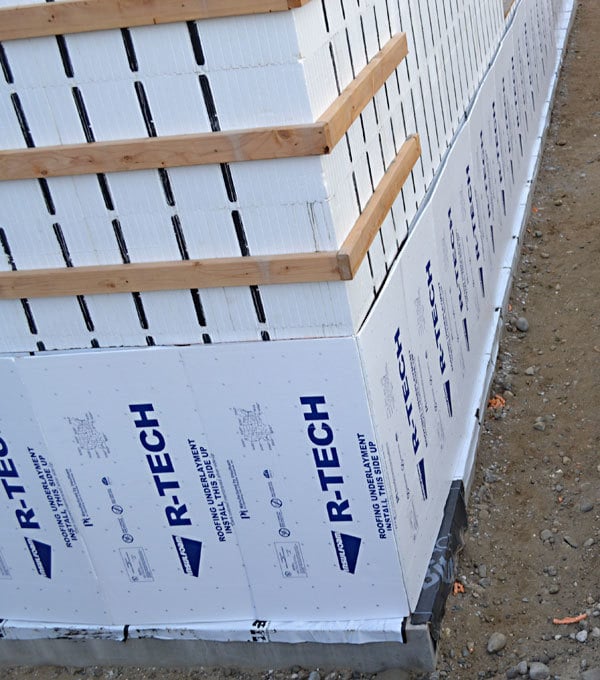
Ready for rock!
Have a great weekend,
Ana
Comments
impex380
Fri, 10/14/2011 - 10:56
Clean
In reply to Clean by impex380
benfoldsfivealive
Fri, 10/14/2011 - 17:24
This made me chuckle. You
Ana White
Fri, 10/14/2011 - 17:50
Thanks! We spend the last
Tsu Dho Nimh
Fri, 10/14/2011 - 18:30
Just like contact paper :)
Cindy from Indiana (not verified)
Sat, 10/15/2011 - 09:37
I love it when family sticks together!
Virginia White (not verified)
Sat, 10/15/2011 - 18:03
Message from Tim - Sorry I
Ana White
Sat, 10/15/2011 - 23:07
We all really miss you ...
Ana White
Sat, 10/15/2011 - 23:07
We all really miss you ...
Virginia White (not verified)
Sun, 10/16/2011 - 12:02
Gum
Ana White
Mon, 10/17/2011 - 21:52
Gracie found the gum, found