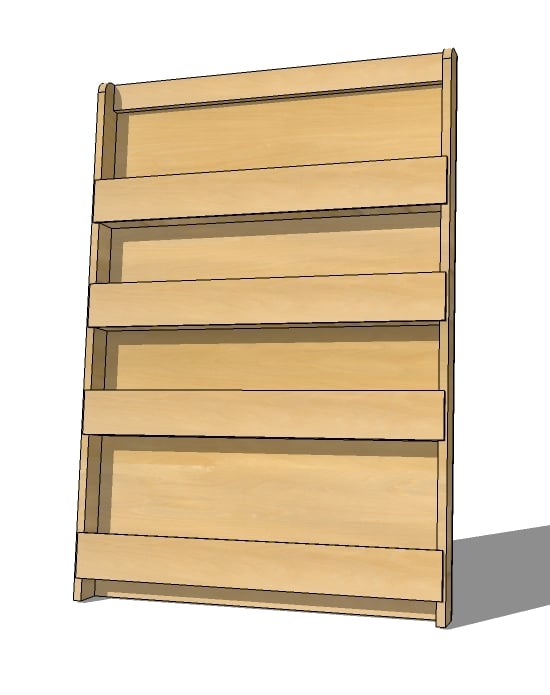
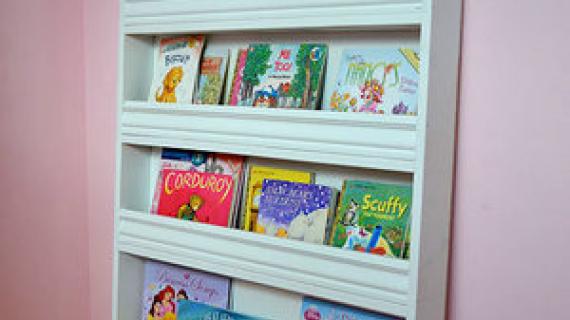
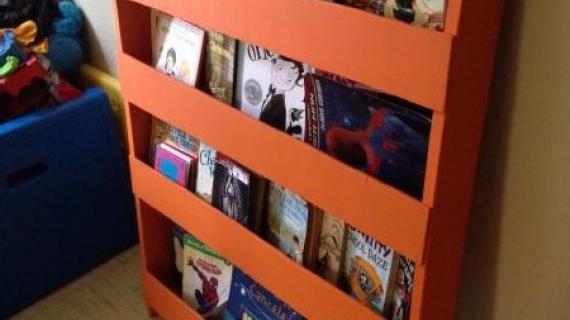
Build your own forward facing bookshelf or magazine rack! These easy to follow plans include everything you need to DIY your own bookshelf designed to help kids put their own books away!
I'm off to build - will be adding an intersting spin to my project! Looking forward to seeing yours! Best luck building - Ana
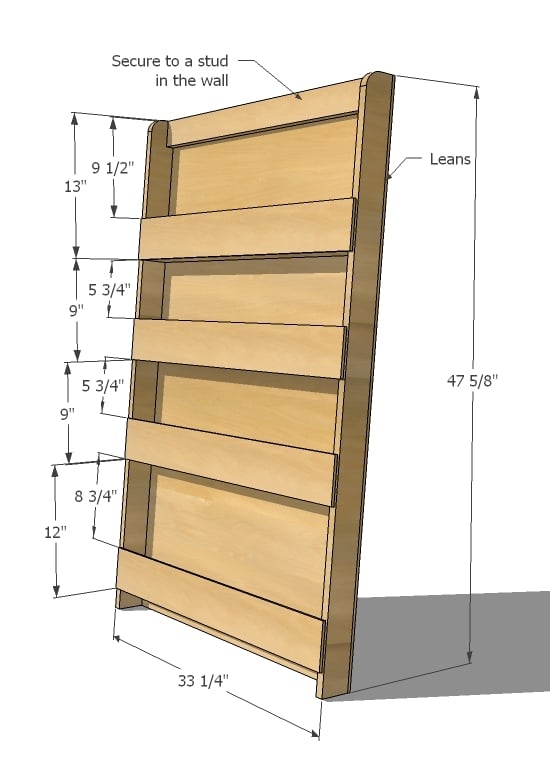
Preparation
1 - 1/4" Plywood or Hardboard full sheet (8 feet x 4 feet)
3 - 1x3 boards, 8 feet long (you can use 1x4s for deeper shelves)
Either pocket holes or 2" screws
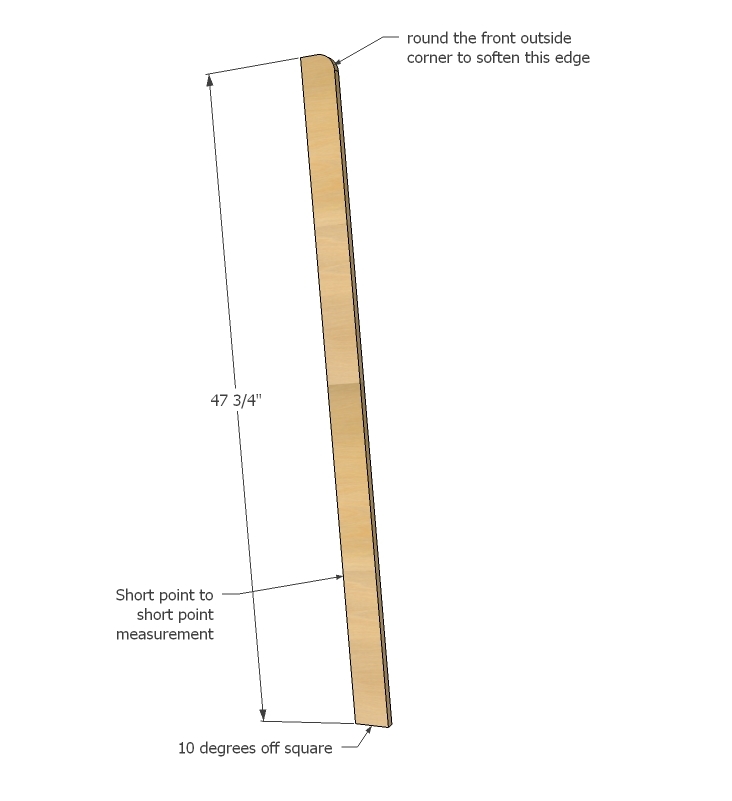
2 - 1x3 @ 47 3/4" (Short point to short point, one end cut at 10 degrees off square)
5 - 1x3 @ 31 3/4" (Shelves)
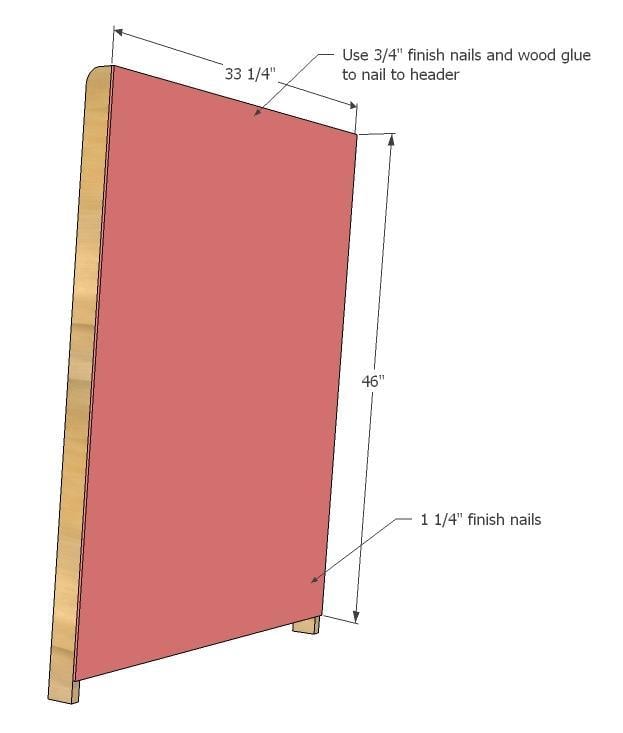
1 - 1/4" plywood @ 46" x 33 1/4"
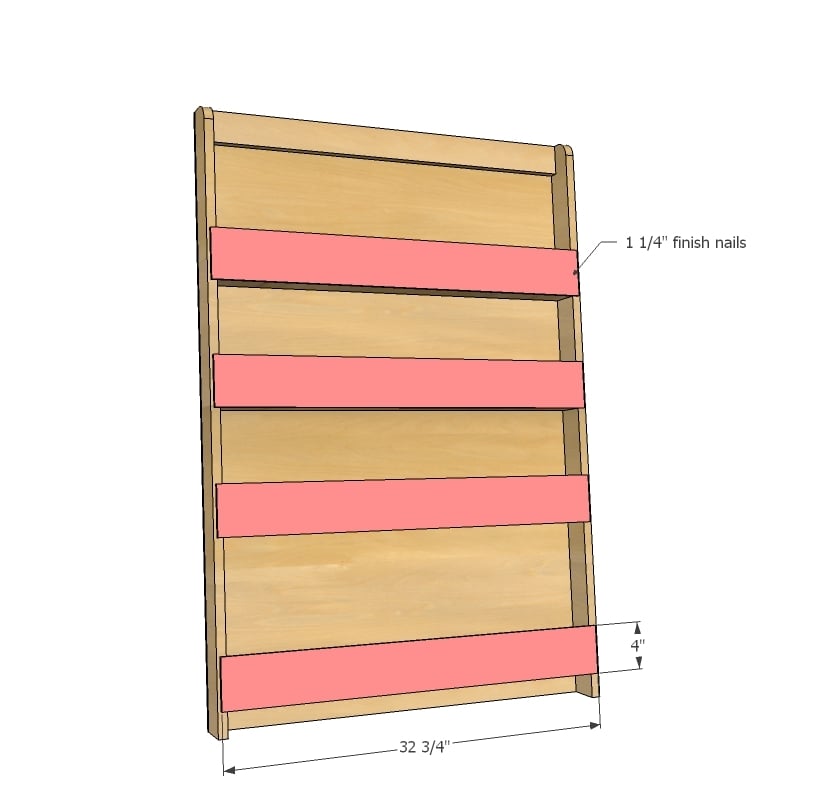
4 - 1/4" plywood @ 4" x 33" (if you are staining, cut the strips with the grain)
Please read through the entire plan and all comments before beginning this project. It is also advisable to review the Getting Started Section. Take all necessary precautions to build safely and smartly. Work on a clean level surface, free of imperfections or debris. Always use straight boards. Check for square after each step. Always predrill holes before attaching with screws. Use glue with finish nails for a stronger hold. Wipe excess glue off bare wood for stained projects, as dried glue will not take stain. Be safe, have fun, and ask for help if you need it. Good luck!
Instructions
Step 1
Step 2
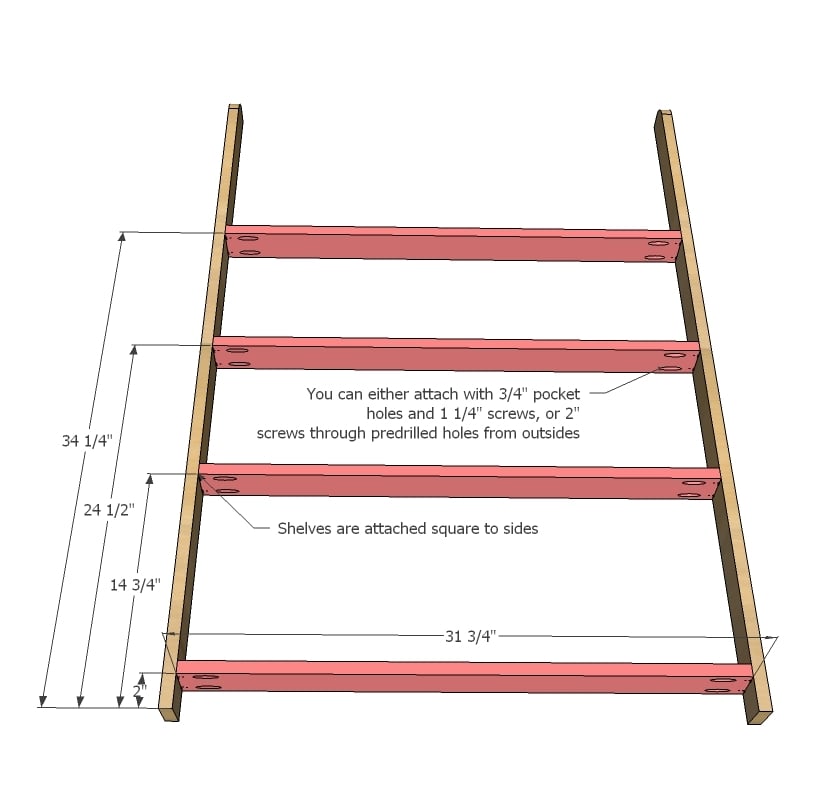
Mark location of all shelves and predrill holes. You can either use the Kreg Jig or countersunk screws from the outsides.
It is always recommended to apply a test coat on a hidden area or scrap piece to ensure color evenness and adhesion. Use primer or wood conditioner as needed.



Comments
Miranda @ The … (not verified)
Wed, 10/26/2011 - 18:14
Love this idea! We built our
Love this idea! We built our entire blog around the same concept :) Can't wait to see what people are doing!
Meagan (not verified)
Sun, 10/30/2011 - 13:08
2011 Pinterest Challenge Fall Edition: Accepted
Just finished my Pinterest Challenge Project. Thanks for getting my butt in gear!
http://revamphomegoods.blogspot.com/2011/10/dear-pinterest-challenge-ac…
Jean (not verified)
Wed, 03/07/2012 - 04:19
Book Ladder Shelf
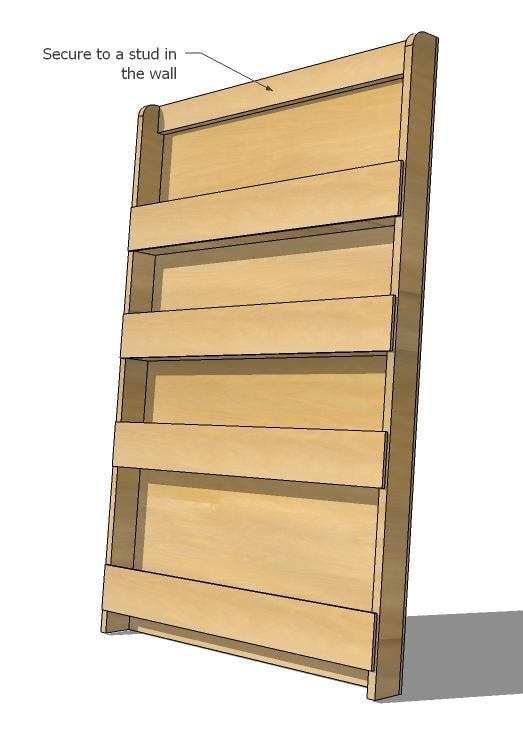
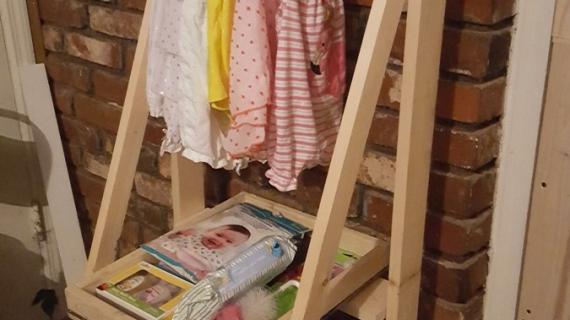
Can you explain how you secure this shelf to the wall? I am wondering if one screw is enough and also, where do you drill the hole in the shelf to put the screw? Because it leans, the top piece will not be flush with the wall.
I am considering using a cleat to secure it to the wall, but I am not sure how I would do that either.
Thanks,
Jean