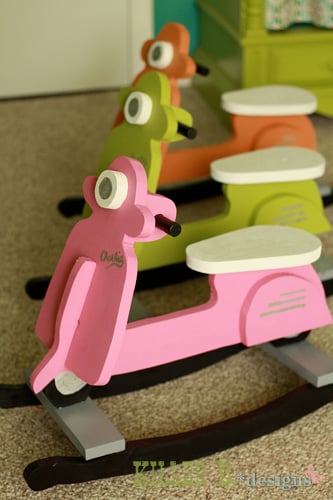
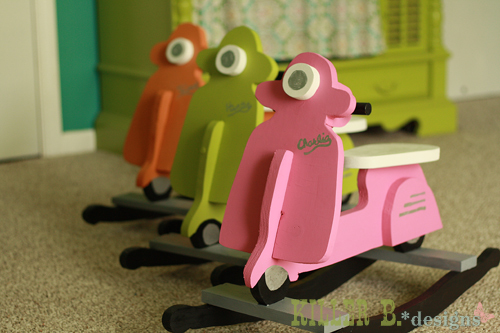
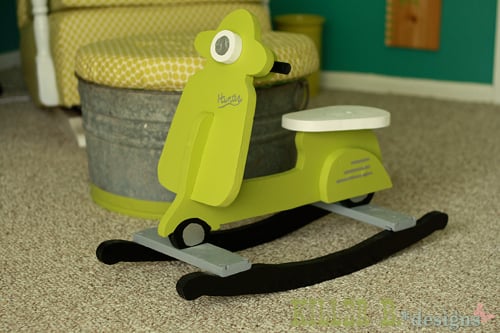
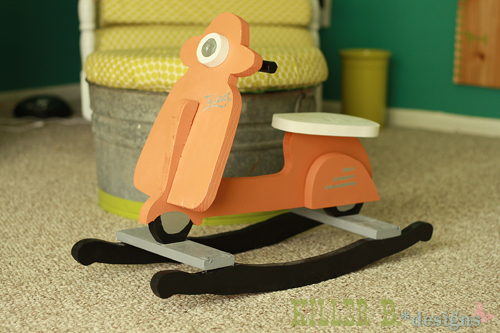
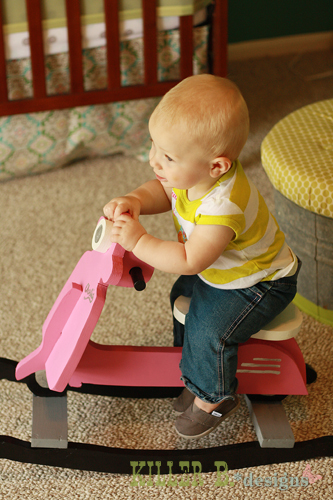
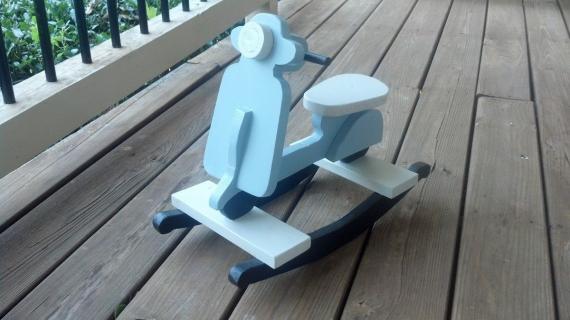
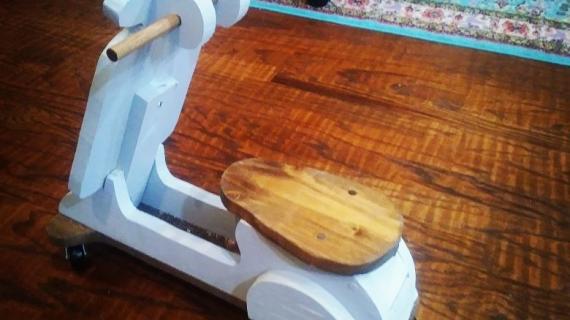
Make this cute rocking scooter!!! It's DIY and you can do it! Free plans!
Preparation
1 - 1x10 @ 8 feet long
1/2" dowel rod - 7" long
See PDF cut diagram.
Please read through the entire plan and all comments before beginning this project. It is also advisable to review the Getting Started Section. Take all necessary precautions to build safely and smartly. Work on a clean level surface, free of imperfections or debris. Always use straight boards. Check for square after each step. Always predrill holes before attaching with screws. Use glue with finish nails for a stronger hold. Wipe excess glue off bare wood for stained projects, as dried glue will not take stain. Be safe, have fun, and ask for help if you need it. Good luck!
Instructions
Step 1
The first step is to cut out all of the pattern pieces. The PDF for the pattern pieces is here. All the pieces should print out in a tiled format (thanks Brooke!). Then use a sharp pen to trace the pieces on to the 1x10 board - the ink won't bleed through but the pen will create an indent in your wood.
Cut all the pieces out with a jigsaw and sand the edges smooth. Then paint the pieces - it will be easier to do this now rather than later.
Step 2
Step 9
A HUGE thank you to Brooke of Killer B Designs for providing and sharing this plan with us today. Brooke has a ton more photos and details on this project and then when she built more on her blog. Stop over and visit her!
It is always recommended to apply a test coat on a hidden area or scrap piece to ensure color evenness and adhesion. Use primer or wood conditioner as needed.




Comments
tannisg
Fri, 05/11/2012 - 10:53
Absolutely adorable!
I might have to make one for my little guy - great thing about solid wood is it will be strong enough for his sisters who will undoubtedly want to ride it too!
thank you so much for sharing!
brookifer86
Fri, 05/11/2012 - 12:24
Additional Cuts
Whoops! I forgot to mention that you need to slot out the base and the front pieces. I just held a 3/4" thick board up at the angle I wanted and traced it with a pen, roughly 3.5" deep for both pieces. I drilled a pilot hole in each corner, then cut with the jigsaw. Dryfit the two pieces to see if you like the angle and height. Thanks so much for the post today! I cannot wait to see brag posts!
Ana White
Fri, 05/11/2012 - 12:34
Brooke, you are so amazing.
Brooke, you are so amazing. Just wanted you to know that. Happy Mother's Day, and thank you for sharing with us!
Christianne Baldwin (not verified)
Fri, 05/11/2012 - 13:21
Scooter
Love this scooter - so cute - a modern twist on a rocking horse. I'd love to make one but I can't get the PDF to print off correctly. I found the TILES setting - in mine it is under advanced settings and then poster settings but I still printed it all on one piece of paper. Has anybody gotten this to print correctly and offer advice! This is an amazingly creative project Brooke.
Christianne Baldwin (not verified)
Fri, 05/11/2012 - 14:47
bummer
I found out that adobe reader 9 and lower versions do not support tiling. :(
margjack
Fri, 05/11/2012 - 14:16
Brooke - would it help to
Brooke - would it help to have foot pegs or can Charlie make it rock without them?
brookifer86
Fri, 05/11/2012 - 20:16
Answers:
@Marg - Foot pegs would probably work for an older baby, but right now Charlie is 8.5 months and I just prop her up and push her on it. She can't really rock yet ;) I think bigger kids would be able to push off the ground.
Christianne - Is there a box checked called "fit to page"? That might be your problem. See if there's something like "Do not scale". For those with a silhouette machine I created a doc for that, you can send me a message and I can email it to ya!
Jennifer D (not verified)
Mon, 05/14/2012 - 09:43
Brooke, have you thought
Brooke, have you thought about making and selling these? I wouldn't be able to make this because I do not have the necessary tools, but would certainly be willing to buy one! This is so adorable!!! Thank you!
In reply to Brooke, have you thought by Jennifer D (not verified)
brookifer86
Tue, 05/15/2012 - 14:07
Selling
Jennifer, I have considered selling these, but it's going to take a little bit first. I think I'm going to start an LLC for building/selling furniture, so if anything happens, like an injury, my personal property is protected. Especially with children's toys and furniture. It's kind of like the reason why Ana won't post crib plans. It's just a huge liability when it comes to kids and babies. I also need a little more practice with the jigsaw. I know these look great in photos, but in real life (and in the tutorial) you can tell things are uneven, cuts are rough, etc. and I'm not comfortable selling something unless I think it's almost perfect. Once I do get it down, and a business started, I think I'd price these at $50 to sell. Is there anybody handy in your life you can forward the plans to as a gift hint??
Diane Boom (not verified)
Thu, 05/17/2012 - 09:37
Love the scooter
I just fell in love with this. My grandson Orion is going to get an orange one.
Thanks for the plain they printed out just fine for me. Was glad to see more pics of putting it together.
I saw this on Ana's web I have built a bed from her and toy box's.
Once again Thanks.
Diane
Katy (not verified)
Sat, 05/19/2012 - 11:12
Excellent Gift
I think this would make an excellent gift idea. I might give this project a go tomorrow as I have a baby shower to attend next weekend. I think the best gifts are from the heart. Plus this project looks super fun! Thanks for sharing.
Taniacx2 (not verified)
Thu, 06/07/2012 - 08:36
Cross Braces
Hi Brooke.... This is Just amazing.. I have already cut out the pieces, they printed out just fine on my printer... I do Have one question though, When it printed out it didn't mention the Cross Braces to space the rockers.. Could you please let me know what the dimensions of the Cross Braces are... I'm so excited and can't wait to finish this project... I am making it for a little Girl and I am going to paint it Pink with maybe some white and Lime Green Graphics down the side and maybe on the front.... Thanks for sharing your wonderful Idea and I can't wait to hear back... Cheers! Tania
Naomi P (not verified)
Thu, 06/07/2012 - 19:41
Cross Braces
Thank you for this wonderful plan. I am making it for my 1 year old cousin. I also printed everything but noticed there are no dimensions for the cross braces. I am not good at estimating these things so I was hoping to get those dimensions. Thanks a bunch.
tylerdr
Mon, 07/09/2012 - 00:12
Cross Braces/Notching
What I did for the cross braces was measure the base of each wheel (the flat portion) and add about a 1/2". I cut the width off of the end of the 1x10 that is left over from the project. That would make the width of the brace 10" and each brace 1/2" wider then the wheel base.
Also for the notching, I found that only notching the front piece (the piece that the handle bar is attached to) about a 1/2" to 1" and the body portion 3 1/2" makes it a little more sturdy. The body portion where it gets notched out is sort of thin and can break. So by notching only enough to set a proper height, it should hold up a little better. Just a suggestion though.
brookifer86
Sat, 08/04/2012 - 06:34
MORE BUILDING TIPS
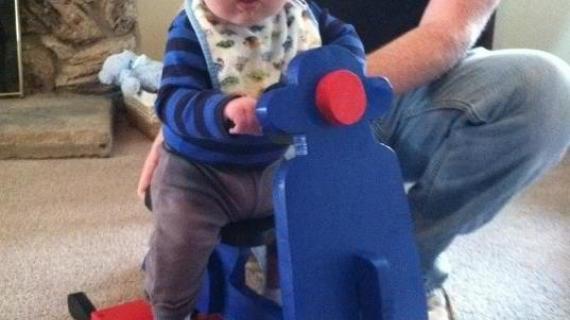
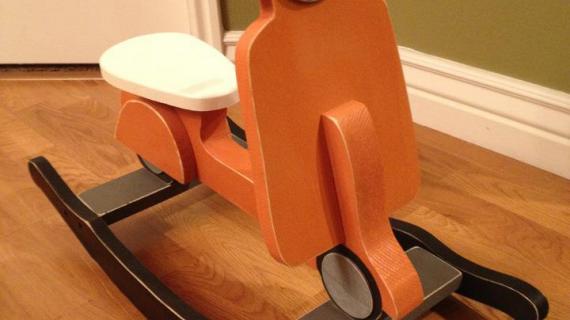
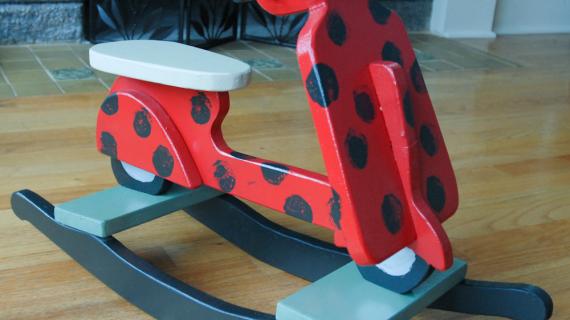
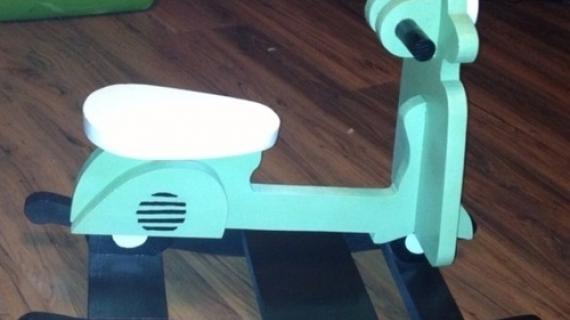
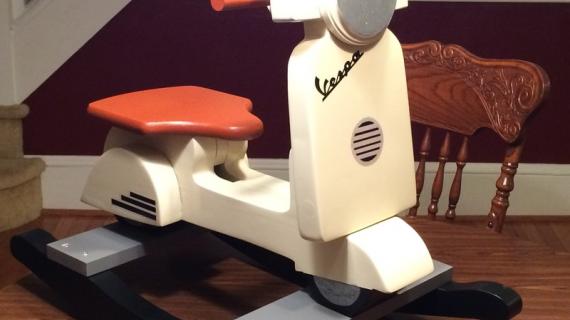
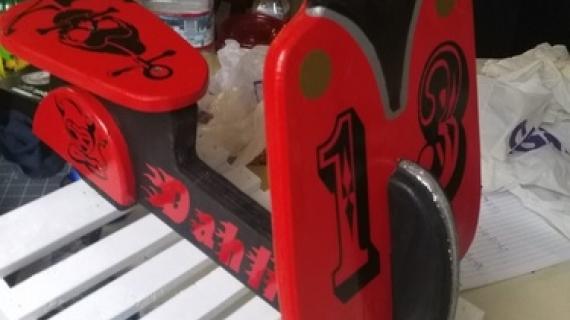
Hey guys! I've been building a few of these (the plan photos show the first three I tried out) and have been plagued with a few problems. Specifically the pine splitting and cracking, as well as the rockers not rolling right. Here are a few tips I've found from building them, and from others who have built them.
1) Use a harder wood than cheap pine (I've used PureBond 3/4" plywood scraps with good luck). OR choose 1.5" thickness instead of the 3/4" just for the body, and make the details with 3/4". I DO NOT ADVISE using any sort of cheap plywood with chemicals. As this is a baby/toddler toy, odds are it will be chewed at some point.
2) Instead of putting cross braces on top (I use a 1x3 or 1x4 scrap cut at 7", or you could cut something custom from your scraps) sandwich them between the two rockers. This will help keep things even and rolling more smoothly.
3) Countersink your holes prior to assembly, and there will be less cracking. I usually follow up the countersink with a 3/8" spade bit so I can fit wood plugs instead of using putty.
4) If the handlebars are giving you trouble (mine are hit or miss a lot of the time) just use a 2"x2" square and drill into the back of your top piece, then pre-drill the center of your dowel and screw into your square spacer.
Thanks so much for being patient with me! Projects like this that have a lot of little pieces you cut with a jigsaw can bring endless trouble, or be so awesome when everything comes together just right. Happy Building!
Bridget-Philly (not verified)
Fri, 12/21/2012 - 21:41
Finishing question
Hi there! I'm about 90% of the way through this project (I'll post a pic when I'm finished), and I was wondering what type of varnish/lacquer you'd recommend to seal & finish it off? I wasn't sure if anyone had any thoughts on something that would be safe for kids (I'm making this for my 2-yr old niece, and imagining lots of chewing, haha).
I didn't have any luck finding any low-VOC clear coats, but maybe a regular lacquer is fine? Let me know what you think, thanks!! Back to painting- only 3 days till Christmas!
Joey9509 (not verified)
Tue, 12/25/2012 - 22:31
this was so cute I made 4 of
this was so cute I made 4 of them for Christmas gifts. I did a little tinkering with it and rounded all the edges off with my router and then pocket holed a lot of it I also used oak since that's what I had as some scrap from a desk and it turned out great thanks again and I cant wait to get started on your airplane swing
Joey9509 (not verified)
Tue, 12/25/2012 - 22:35
also I did one it true OCC
also I did one it true OCC style and made it a theme scooter lol when I get it all finished up I will post a pic ( the mom and dad I made this for are huge Arkansas Razorback fans though the thick and thin )
curlymo (not verified)
Fri, 01/04/2013 - 12:27
Thanks! So cute!
My husband made this for my daughter for Christmas and she loves it! He did fudge with the plans a litle, but it's so cute! Pictures here: http://curlymo.blogspot.com/2013/01/diy-rocking-baby-scooter.html.
Nascarncoke
Sat, 04/27/2013 - 06:58
Dowel pin size
I found the size mentioned is 1/2" by 7" but while shopping I noticed a 1/2" dowel rod is too small and doesn't match the pictures so I used a 7/8" dowel rod.
Renee Osaer
Wed, 07/06/2016 - 20:29
Couple of questions
How long are the support boards? Is the scooter glued with finish nails?