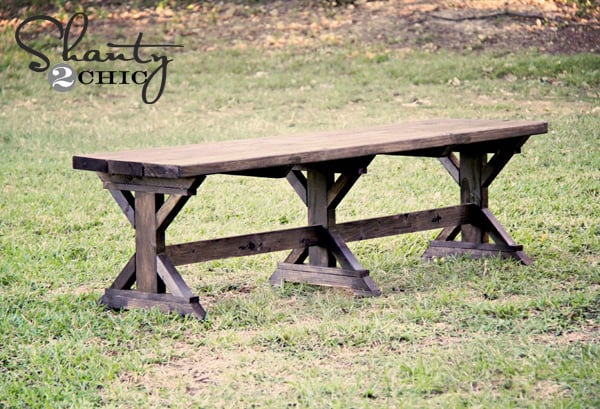
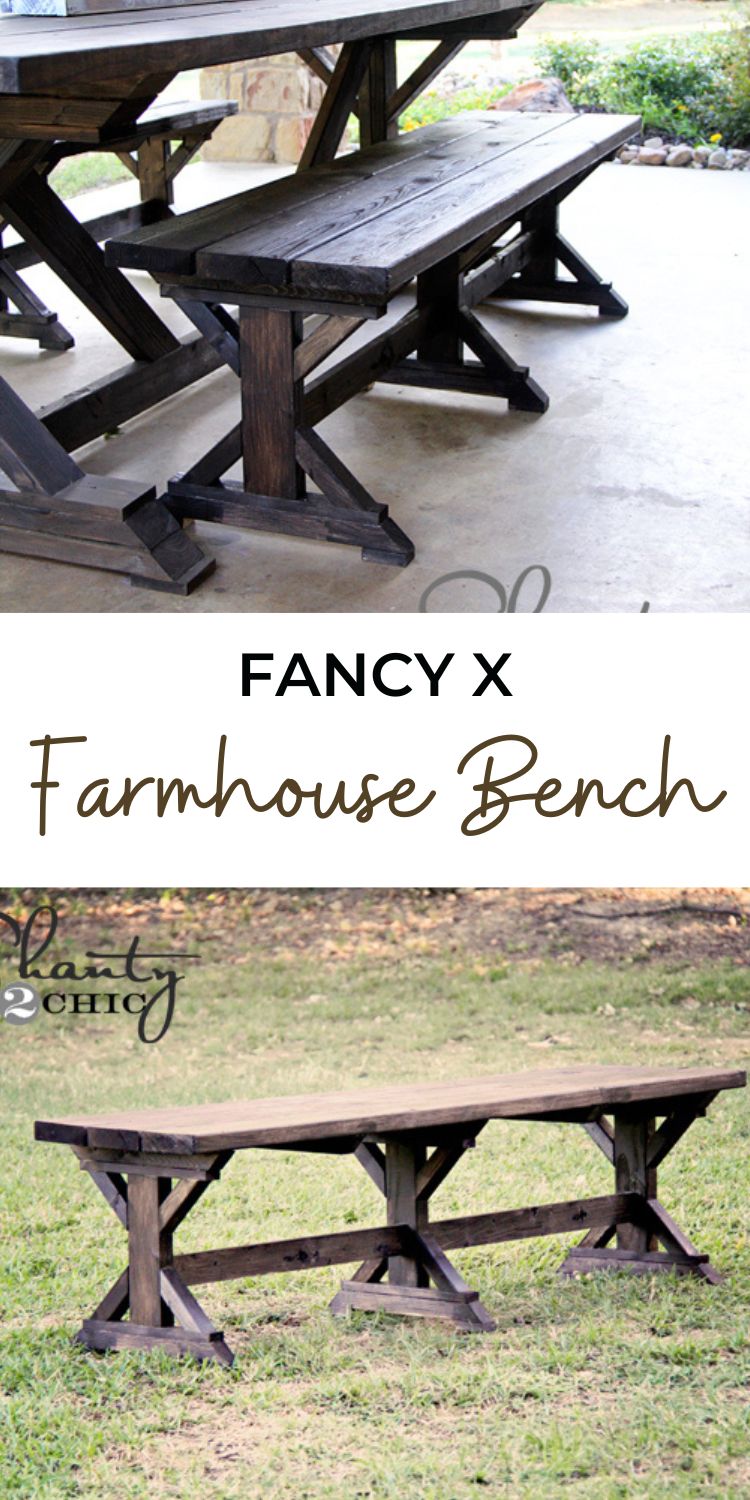
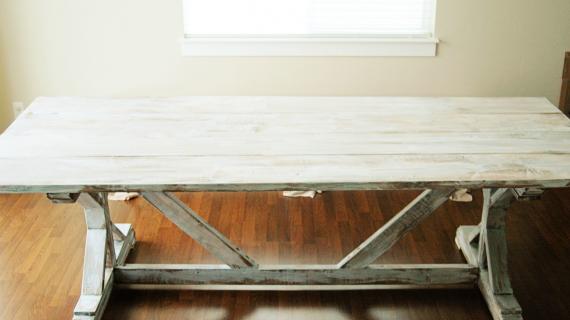
Free plans to build a Fancy X Farmhouse Bench! Step by step instructions with diagrams from ana-white.com
Build the matching Fancy X Farmhouse Table and browse our catalog of Farmhouse Furniture plans.
Pin For Later!
Preparation
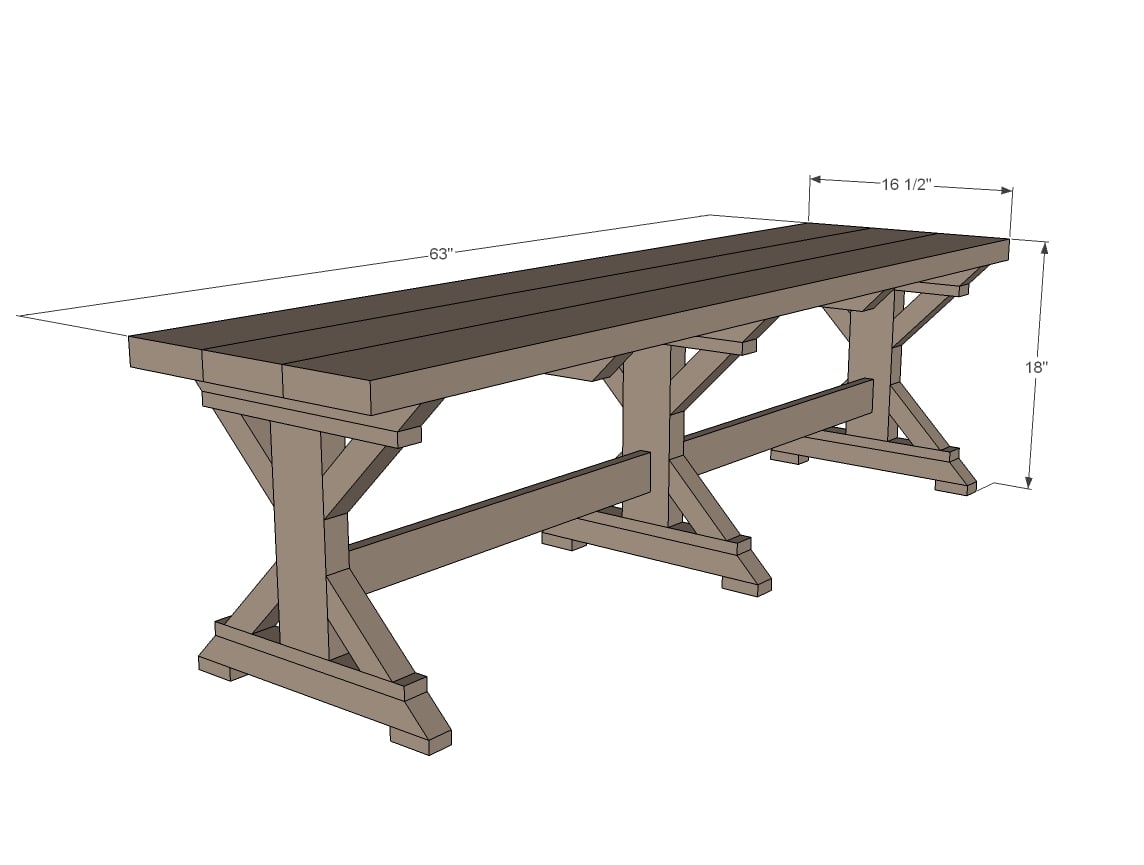
SHOPPING LIST FOR 63" LONG BENCH
3 – 2x6 @ 6 feet long
1 – 2x4 @ 3 feet long
3 – 2x2 @ 8 feet long
2 – 1x2 @ 8 feet long
1 – 1x3 @ 8 feet long
SHOPPING LIST FOR 96"LONG BENCH
3 – 2x6 @ 8 feet long
1 – 2x4 @ 3 feet long
3 – 2x2 @ 8 feet long
2 – 1x2 @ 8 feet long
1 – 1x3 @ 8 feet long
LEGS FOR ALL BENCH LENGTHS
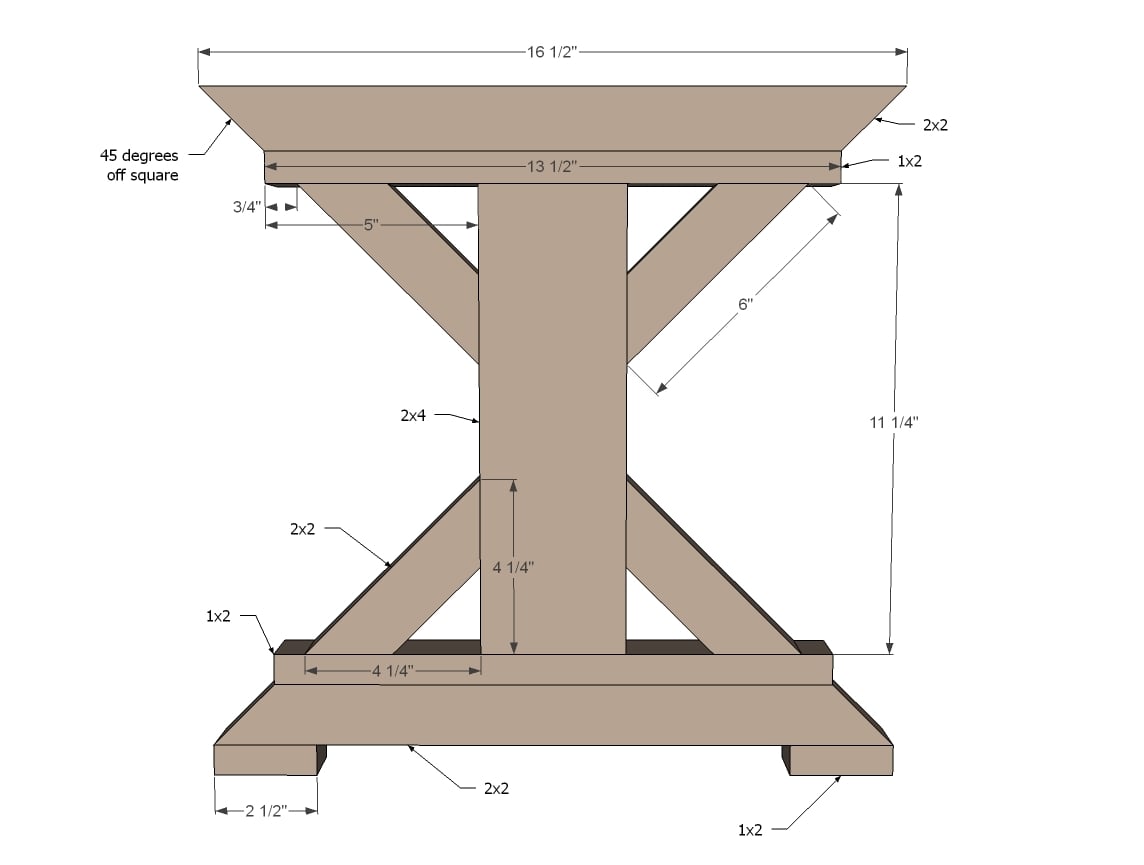
3 – 2x4 @ 11 ¼”
12 – 2x2 @ 6” (long point to long point, both ends cut at 45 degrees off square, NOT parallel)
6 – 1x2 @ 13 ½”
8 – 2x2 @ 16 ½” (long point to long point, both ends cut at 45 degrees off square, ends NOT parallel)
6 – 1x2 @ 2 ½”
TOP/STRETCHER FOR 63" LONG BENCH
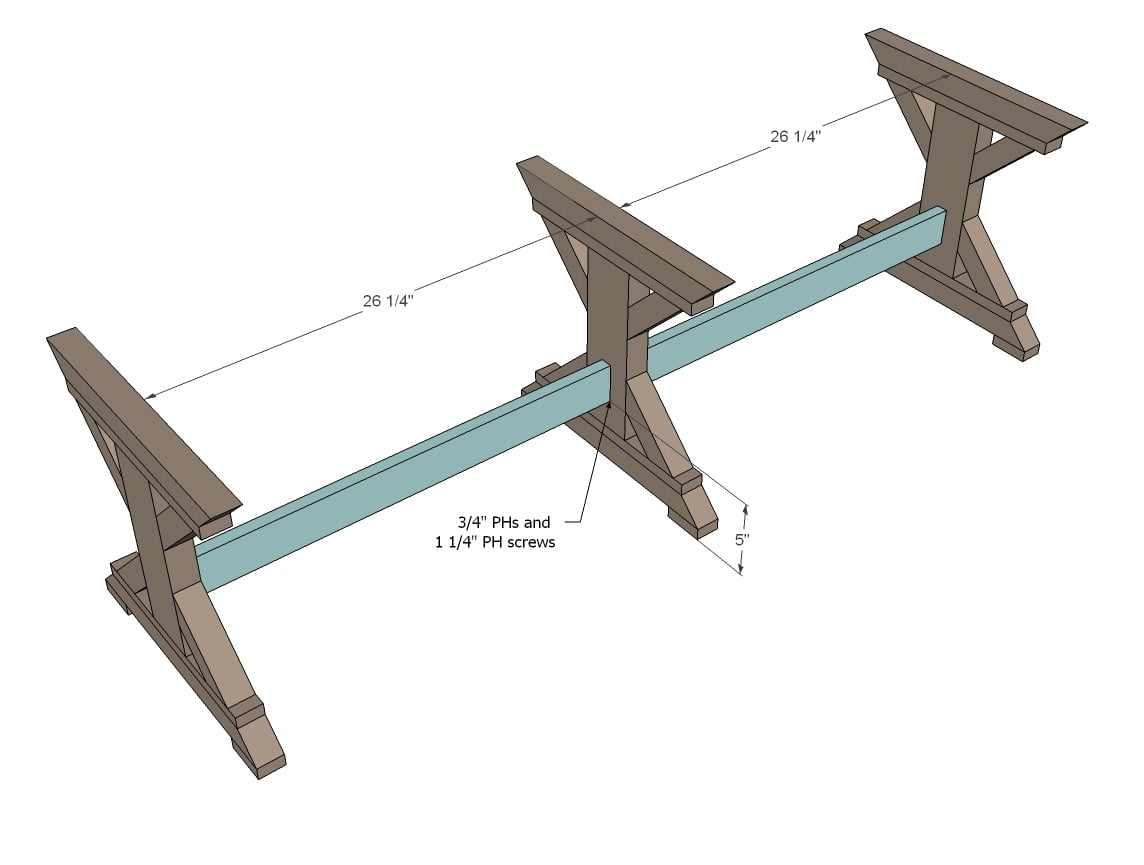
2 – 1x3 @ 26 ¼”
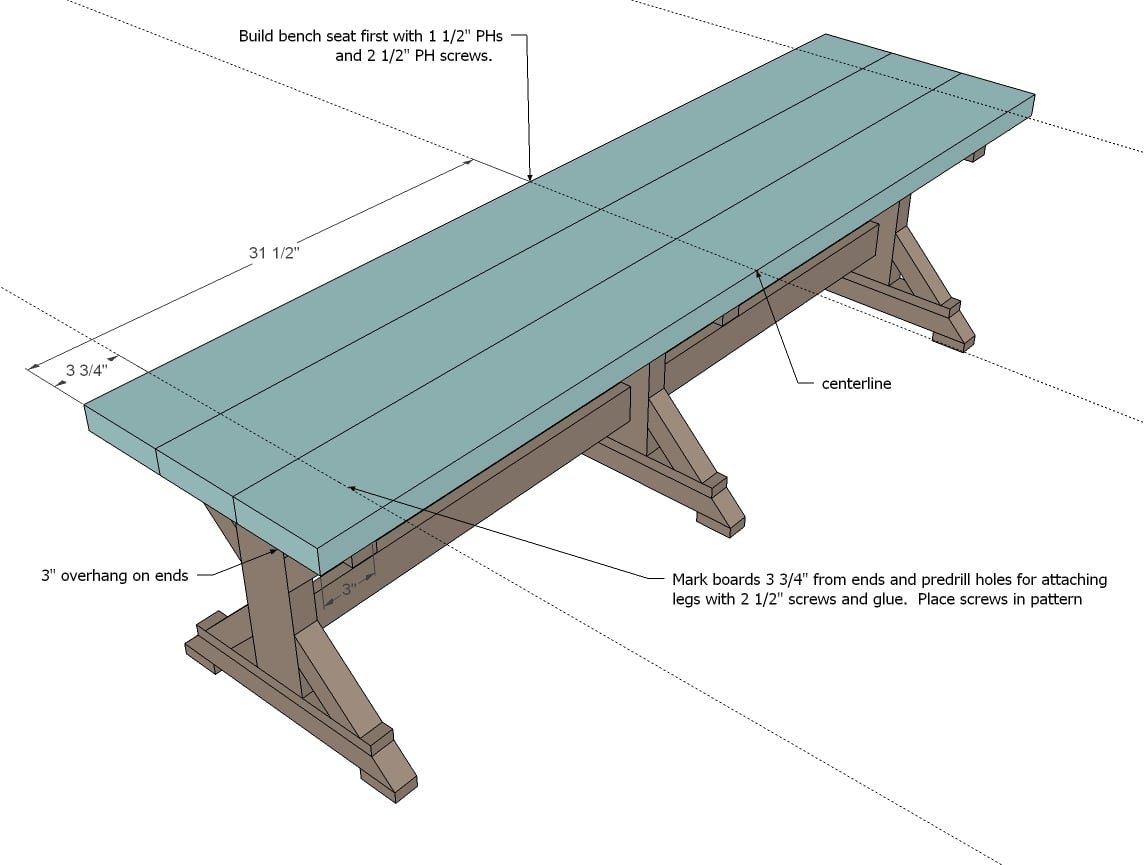
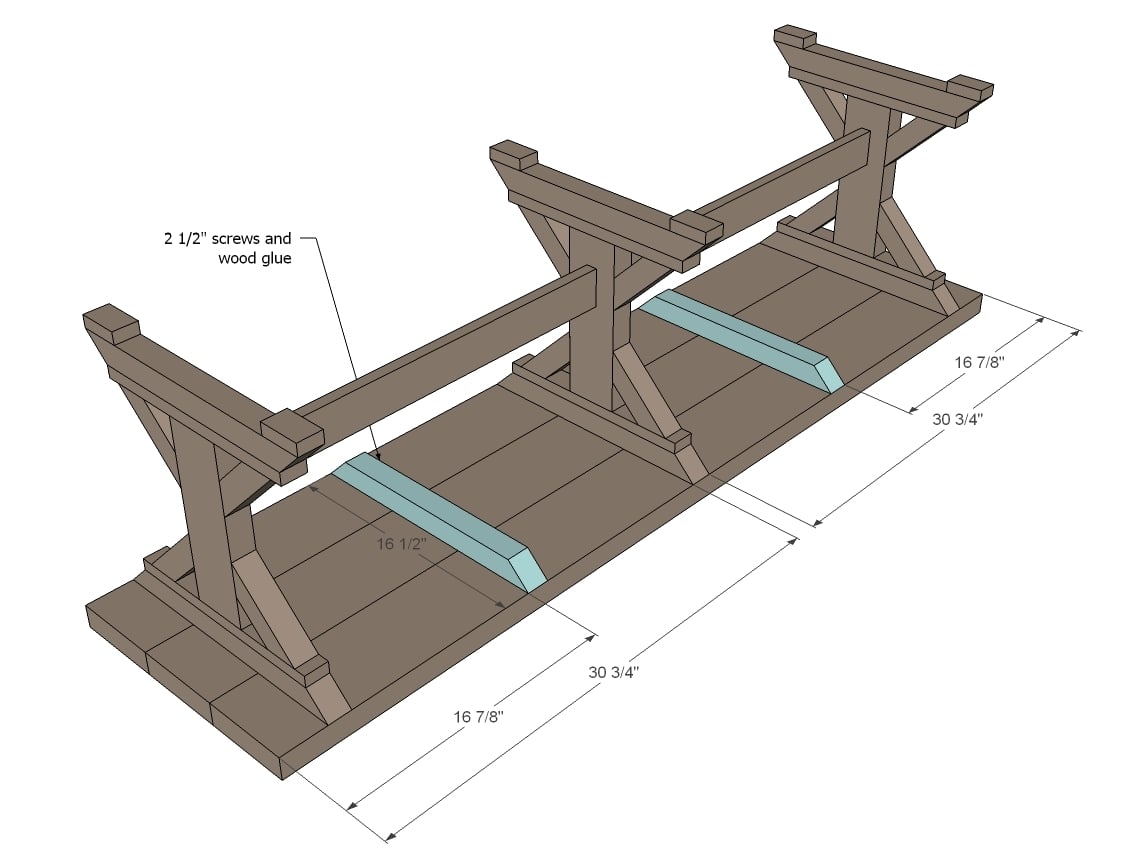
3 – 2x6 @ 63”
TOP/STRETCHER FOR 96" LONG BENCH
2 – 1x3 @ 34 1/2” (this puts the bench legs to the outside of the table legs just slightly to allow the benches to slide in somewhat)
3 – 2x6 @ 96”
Please read through the entire plan and all comments before beginning this project. It is also advisable to review the Getting Started Section. Take all necessary precautions to build safely and smartly. Work on a clean level surface, free of imperfections or debris. Always use straight boards. Check for square after each step. Always predrill holes before attaching with screws. Use glue with finish nails for a stronger hold. Wipe excess glue off bare wood for stained projects, as dried glue will not take stain. Be safe, have fun, and ask for help if you need it. Good luck!
Instructions
Step 1
It is always recommended to apply a test coat on a hidden area or scrap piece to ensure color evenness and adhesion. Use primer or wood conditioner as needed.





Comments
Jamie L (not verified)
Mon, 09/10/2012 - 16:44
Love this bench design! The
Love this bench design! The Hubs and I just built an outdoor table from some old interlocking boards and two of these benches are just what it needs! :)
smacneil
Tue, 09/11/2012 - 11:58
perfect timing
I just finished 1 of the 3 projects I'm building... so there's an opening! LOL!
I might try building this with some sort of backrest and a few seat cushions and use it with the Fancy X computer table I just built. that way we can both work at the desk without having to try jamming chairs in there.
great job!!!
RHgaijin2
Thu, 06/13/2019 - 09:08
Bench Youtube video
I just finished this to go along with the Farmhouse Table. I made a video for Youtube of the bench project
https://youtu.be/B-5KKcPxM24
Kaleigh (not verified)
Tue, 09/11/2012 - 17:52
I LOVED this table when I saw
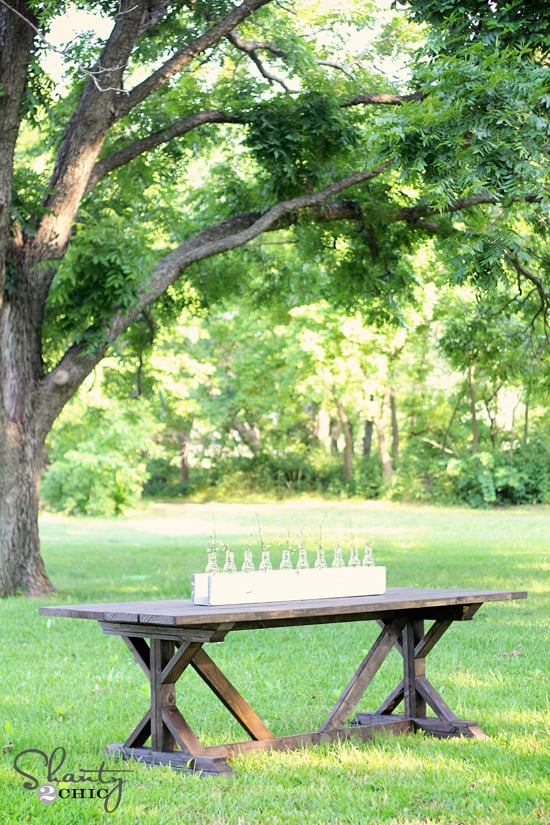
I LOVED this table when I saw it on pinterest. I sent the link to my daddy and asked him if we could make it soon. Couple weeks go by, we move into our new house with an empty dining room. We planned a housewarming party and planned to use the living room and kitchen area.
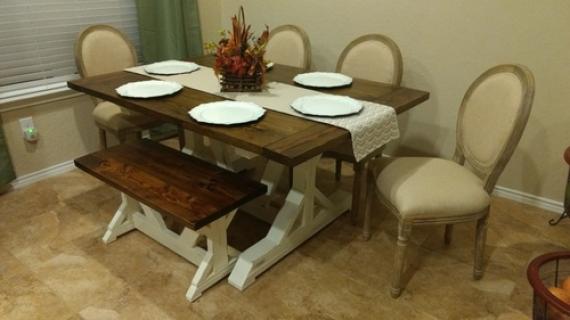
Dad got to the house before us and when my husband and I drove up with our kiddos, I saw it. The most beautiful handmade piece I had ever seen. My dad had made it for me right before he came over. He said it was easy, cheap ($50 + $13 for stain), and took about an hour and a half. I was elated. The kids and I went to work with a hammer and screwdrivers and anything else we could find to bang it with. I dressed up the rustic table with parson chairs from pottery barn and lace doily table runners and big tall glass hurricane vases. Amazing. I can't WAIT to try the fancy x desk all on my own!
Sabrina Robinson (not verified)
Thu, 11/29/2012 - 17:22
I ran across this site
I ran across this site randomly today. I love it!! So many great ideas and I love that the furniture is made to last. I already have a long list furniture I want to get started on. Ana White, I like your style!
Dpregs
Thu, 12/19/2013 - 06:46
Thank you!
Just wanted to drop a quick note and a quick thank you! I had a co-worker ask me if I would build this bench for her dining room set. I finally got around to it, and it came out great! So great I am now building a few more for me and some friends. And all this from carefully selected home depot wood....wish I could find elsewhere to buy quality wood :(
I modified some stuff and added a few steps:
(Summary)
1. Instead of 2x2x8 I bought 2x4x8 KD studs and cut down to match the size of the 1x2 pine boards. The 2x2 comes out much cleaner looking this way and not so ragged as the store bought 2x2 looked.
2. On the 2x4 uprights I trimmed the rounded edges off so that the 2x2 angle pieces sat "square" against them and did not leave a gap between the rounded outer edge of the 2x4 and the flat surface of the 2x2
3. Set up a jig to cut all the 2x2's!!! So important!!!
4. Painted the bottom and made some distressing marks on the boards and the edges of the bottoms (painted, sanded some edges, used minwax marker to darken)
How do I upload pictures?
Thank you again!
sthomas
Fri, 06/06/2014 - 09:31
Question on Sizing Bench Top/Stretcher to 83"
Hi Ana, great bench! I'm building the Shanty sisters' most recent dining table (http://www.shanty-2-chic.com/2014/05/restoration-hardware-inspired-dini…) and would like to build this bench to go with it. Since the table will end up being around 87", I think I'd like to modify the bench top to be 83" so it is closer to the length of the table top with a couple of inches at each end. How do I figure out the cuts for the two 1x3 cuts? I think the 3-2x6 cuts will be @ 83", I just can't figure out where to make the 2-1x3 cuts. Thank you in advance!
mattkork
Thu, 05/05/2016 - 06:34
Plans wrong for full length bench
I just wanted to let everyone know the plans are wrong for the full length bench (if you are making it to go with the table). The plans for the full length bench are supposed to be such that the bench will slide under the table. The table legs will end up being at 72 inches measure from outside of leg to the outside of the other leg (65 inch stretcher + 3.5 + 3.5). So the INSIDE measurement between the 2 outer bench legs needs to be slightly greater than 72 inches. The plans call for two 34.5 stretchers so what you end up with is 34.5 + 34.5 + 1.5 for the middle leg = 70.5, thus about 2 inches short.
I think when these plans were made they incorrectly accounted for the middle leg being 3.5 inches but the 2x4 is turned the other way so it only adds 1.5 inches to the overall measure.
So in short, the leg strechers need to be 35.5 (or 36 to be safe) instead of 34.5. Unfortunately I found this all out the hard way, already built the table and the bench and found out the plans were wrong when I tried to slide the bench under the table. Hope this helps someone else and I hope the plans are updated.
loisknows
Fri, 06/10/2016 - 20:16
x bench plans
extremely glad I read your comment before I cut my boards... I see what youre saying...
Thanks.
sfzed
Sat, 09/03/2016 - 20:12
fancy farmhouse bench
I just built the fancy farmhouse table and it was my first project. I now want to make the bench but am not sure where the screws should go especilly the small 2x2 ( 6 inch) pieces for the legs- attaching them to the centre piece . I am making the 63 inch bench.
Rusticsparkle
Wed, 12/27/2017 - 11:08
Bench wobble
I have made several of these benches in last few years , with few changes . My question is why do some of them wobble ? I usually attach my base to top upside down and do from under , so tried doing from top and still had a wobble . Any ideas why this sometimes happens ?
i did 6 of them in dec and happens 60% of the time :(
Cottonscout
Sun, 02/18/2018 - 15:08
Mine do it too sometimes :(
Mine do it too sometimes :(
big_kahuna642
Wed, 06/03/2020 - 05:50
Pocket Hole Screws for the stretcher location
Where do the pocket hole screws go for the stretchers? Top and bottom or both next to each other on the sides?