Well, it's that time again.
Time to start cutting holes in the Momplex, and blocking off wasted square footage behind walls.
At least this time, we've got a pretty good reason.
We are creating a secret escape passage.
That once a year can be used by a strange man in the middle of the night to climb down into your house while you are sleeping.
Yep, it's chimney time! That smoke's gotta escape somehow!
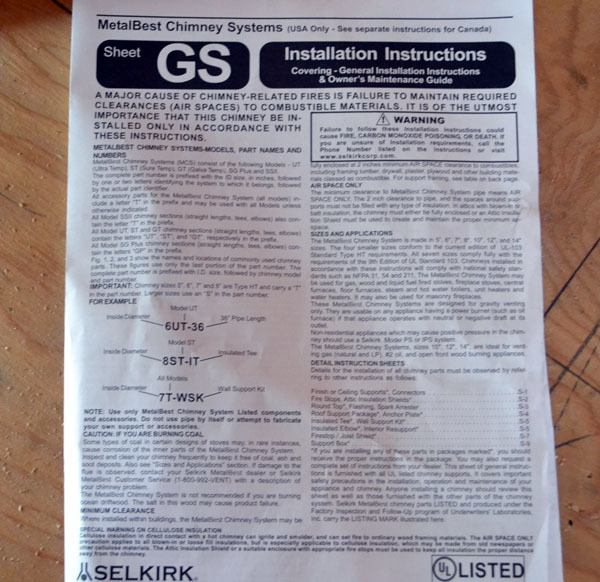
We've tackled alot of projects. And there's certainly been alot of googling and youtubing and we even have code books stacked up inside the Momplex for referencing.
But this is one of the first times I've seen instruction manuals come with building materials.
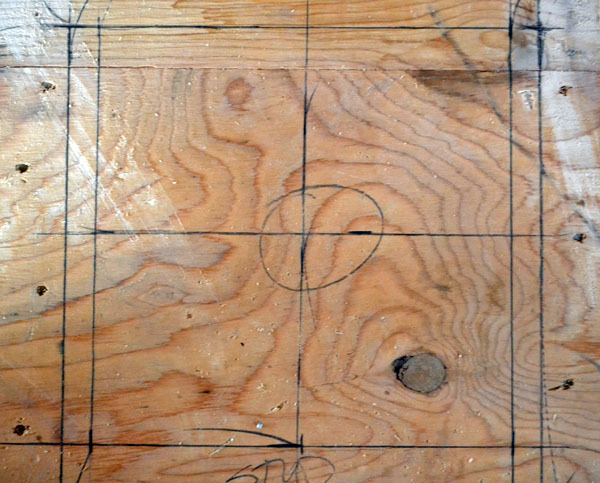
They say cut a big hole in the floor.
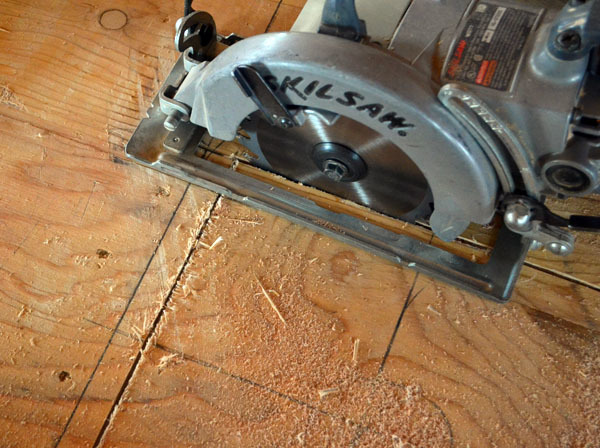
We cut a big hole in the floor.
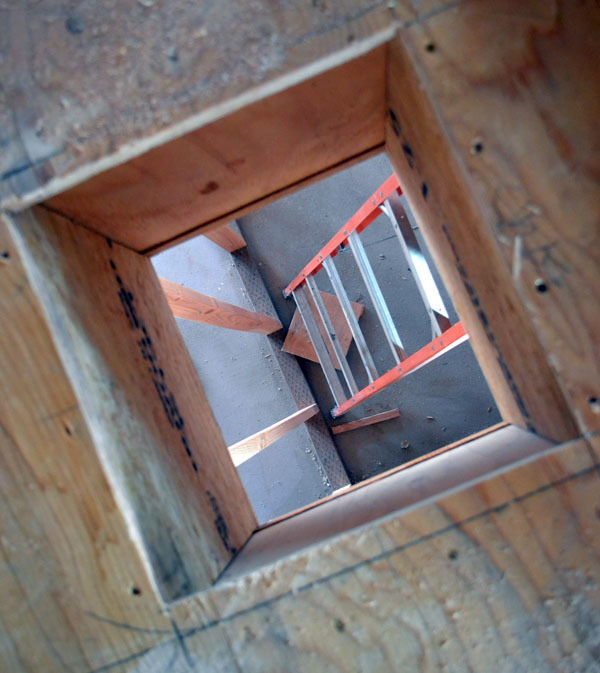
Hello down there!
Would make a great laundry chute ... if the laundry was not already upstairs.
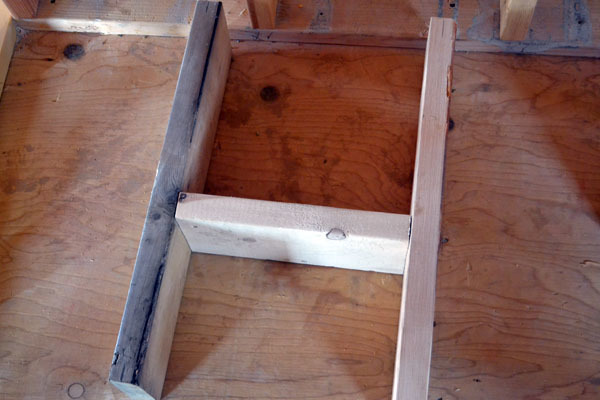
Then we build an H shaped thing out of wood.
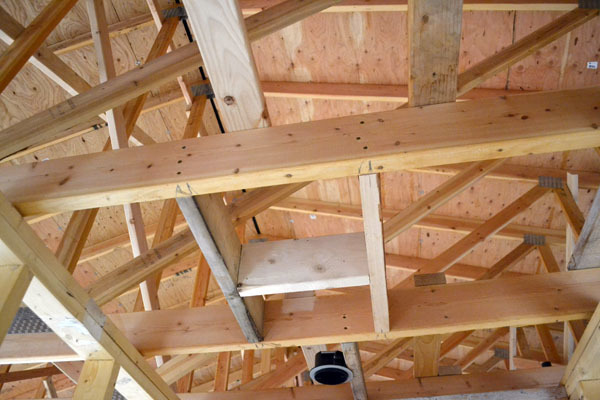
And it get's placed in the ceiling.
We actually put one of these in the floor too.
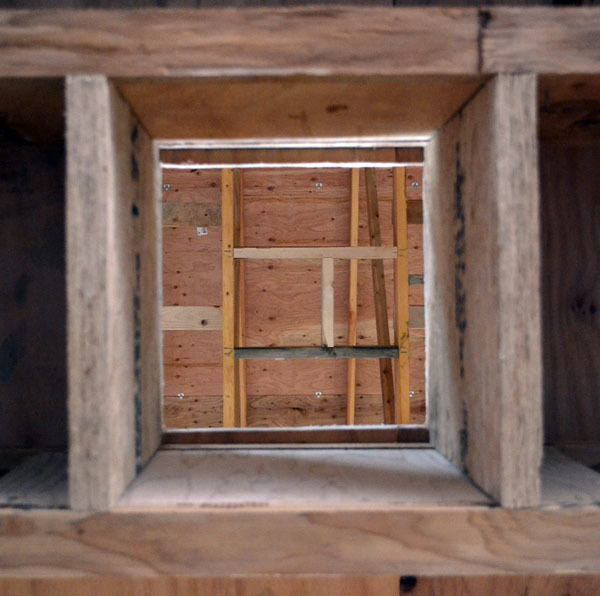
See it? The pipe will go up through these two squares and through the roof.
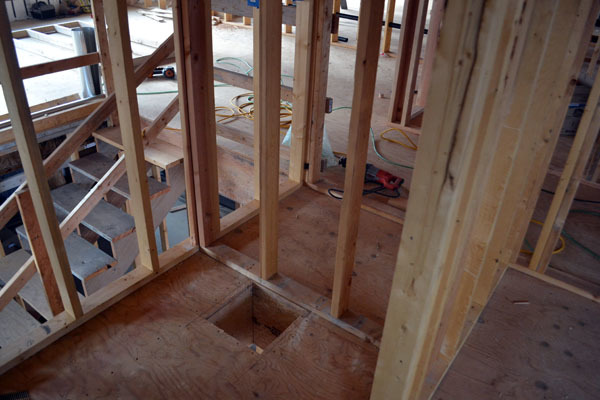
The hole is only drilled in one side of the Momplex because we decided that we are only putting one boiler in. Both units have to be heated all the time. If one unit froze up, it would freeze water lines on both sides.
Not only does sharing a boiler save a ton of money, it saves a ton of space. The chimney takes up a side of the smaller bedroom closet.
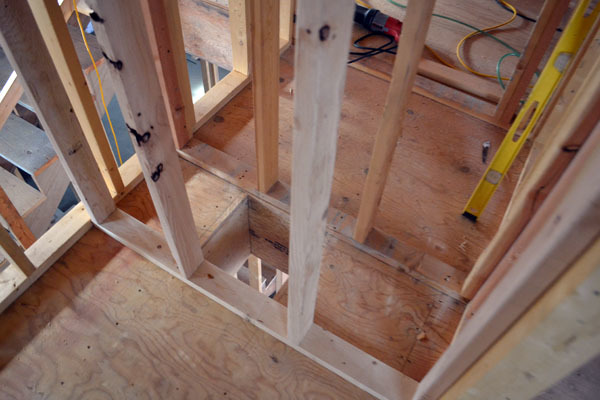
It gets framed off - and there's nothing we can do about the wasted space on either side.
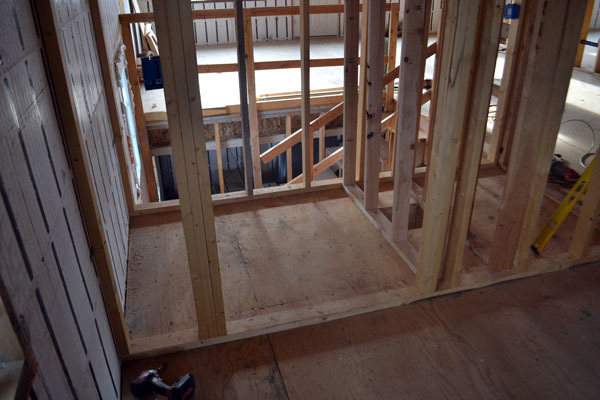
The closet is still plenty big - bigger than any closet in my house! And this is the guest bedroom, so we aren't too stressed about the lost space.
Fairest way to decide which unit goes to which mom?
We'll have to do a grandkid count.
Siblings, better get busy.
We don't count. Our kids belong to both grandmas.
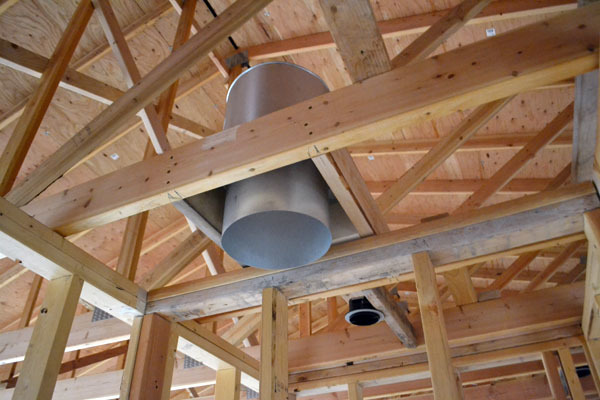
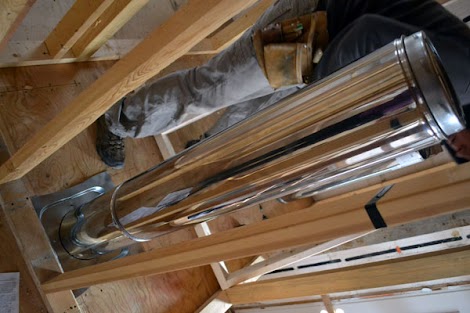
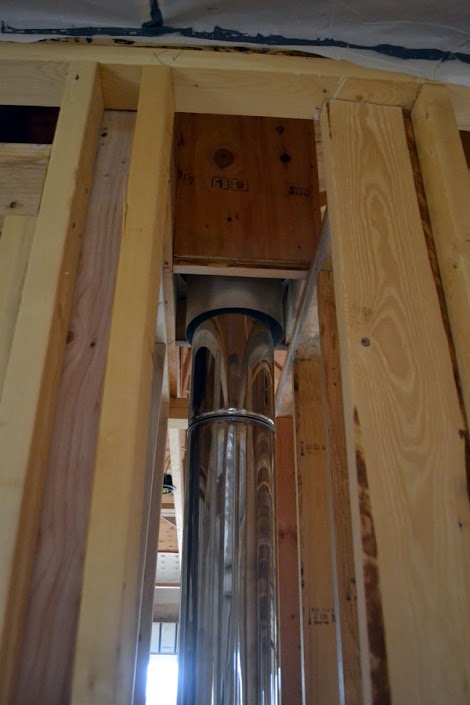
Now that we've got our chimney placement, it's time to start putting the pieces in. It's kind of like a jigsaw puzzle where you do the outsides first and fill in inbetween.
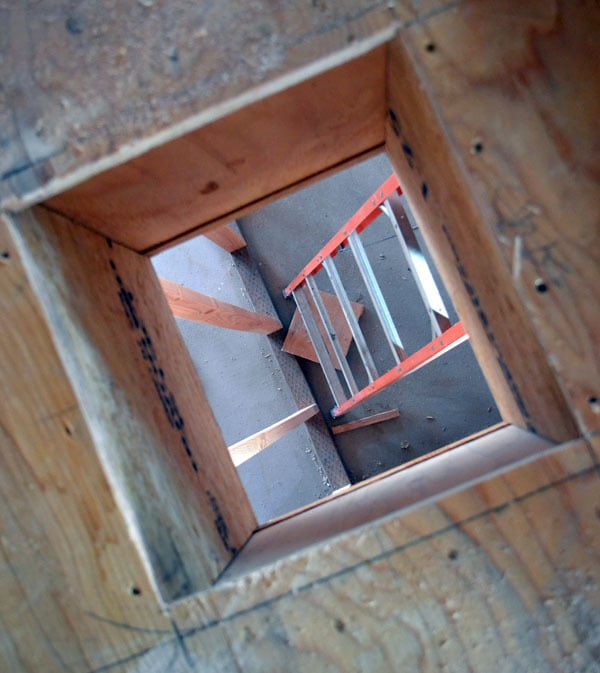
Here's the top where it goes through the upstairs ceiling.
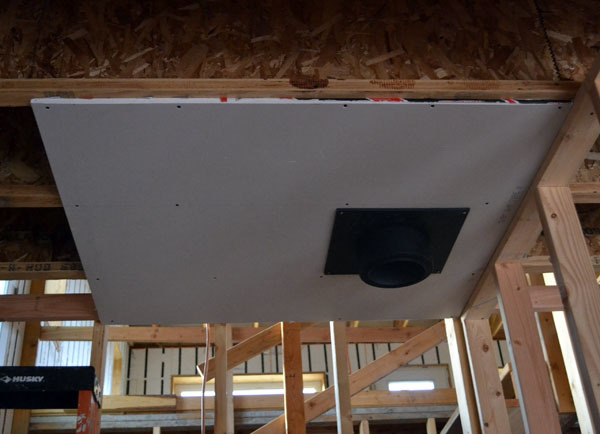
And the basement top. We had to drywall this one because the ceiling is exposed here.
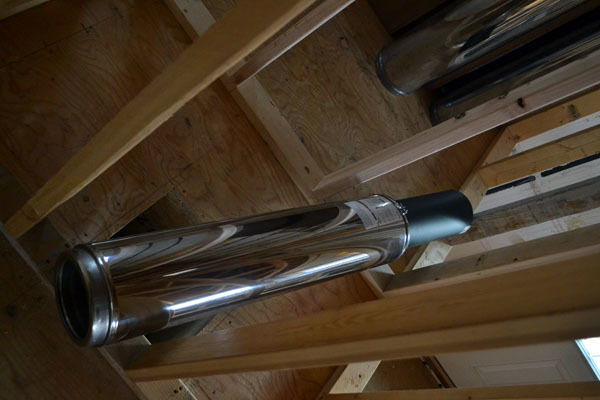
Now those in between pieces .... hmmmm ...
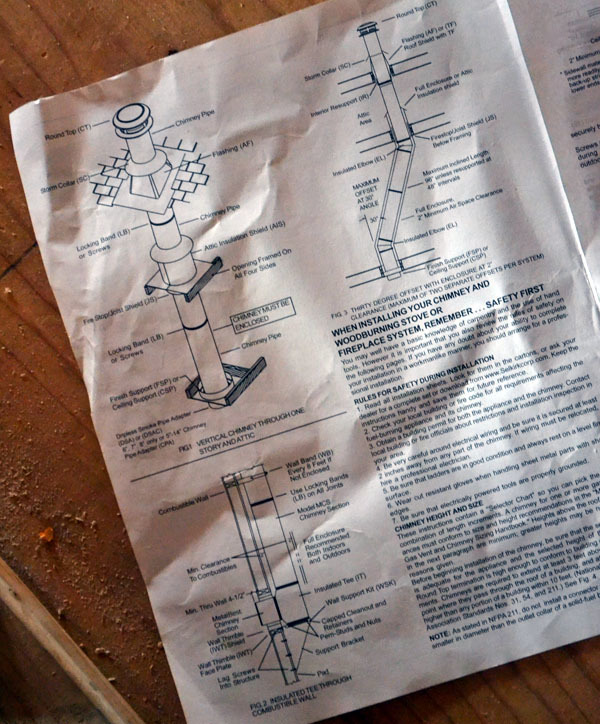
Oh, right! There's a manual with this installation!
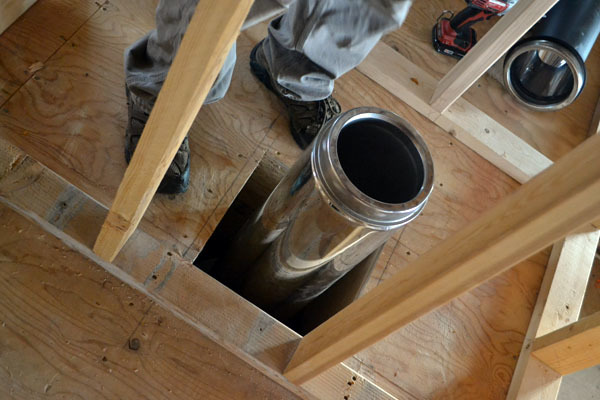
Okay, that goes there ... but wait a second, it just sits in there?
Somethin's not right here ....





Comments
spiceylg
Thu, 11/15/2012 - 12:37
YAY!
In reply to YAY! by spiceylg
Ana White
Thu, 11/15/2012 - 20:15
Hi spiceylg! We are!!!! It
Maxie Sykes (not verified)
Thu, 11/15/2012 - 17:44
WOW
Ana White
Thu, 11/15/2012 - 20:21
Hi Maxie! Thanks! We threw
Irene (not verified)
Fri, 11/16/2012 - 01:59
This is such an exiting and
In reply to This is such an exiting and by Irene (not verified)
Ana White
Fri, 11/16/2012 - 13:35
Thank you Irene! We can
Shelbee (not verified)
Fri, 11/16/2012 - 13:03
Closet space
In reply to Closet space by Shelbee (not verified)
Ana White
Fri, 11/16/2012 - 13:37
I hear you on the small house
Ivy T (not verified)
Fri, 11/16/2012 - 13:43
wasted space
Brenna Marie (not verified)
Fri, 11/16/2012 - 16:19
Fantastic - progress in spite of frreeezzziinngg!
jeannette (not verified)
Mon, 11/19/2012 - 09:30
ana, whenever i think i have