Do you ever wonder what happens between your dryer and the vent outside?
We are in the utility installing phase of the Momplex. We are starting with who has the biggest pipes and working our way down to the smallest. First up, we installed 6" diameter piping for the ventilation system. To get the ceiling insulated to hold heat, we've already installed bathroom and kitchen vents as well.
Next up is the dryer vent.
And of course, since this is the Momplex, we gotta do everything twice. Otherwise one Mom will say, Oh no, I don't need a dryer, save it for the other Mom. And the other will say the same thing and we'll end up with two clotheslines out the front of the Momplex.

Dryer vent pipe is 4" in diamenter, which is still too wide to go through a 2x4 interior wall. It has to be squished a little to get through the studs.

We use a smaller hole saw bit to drill two holes instead of just one.

The Ram's wood eating machine to the rescue.

And the second hole is drilled right next to the first.

Then we just need to connect to the dots.

The best tool we found for this is the sawsall. It can reach in pretty tight places and since pretty isn't top priority here, it does the job quickly.

Ah, look he made me a heart!

Pipe fits!

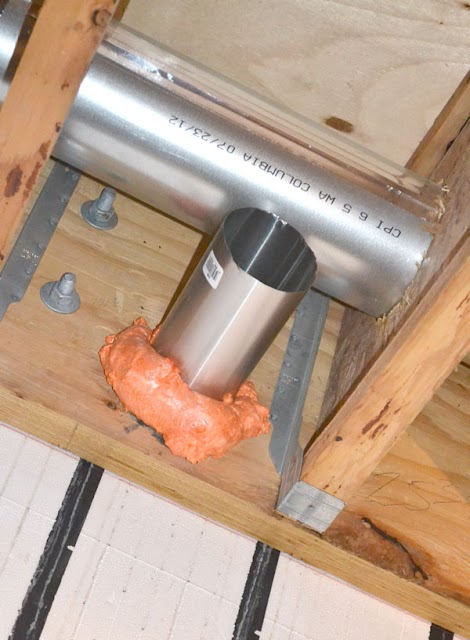
We've got one dryer vent stubbed through.

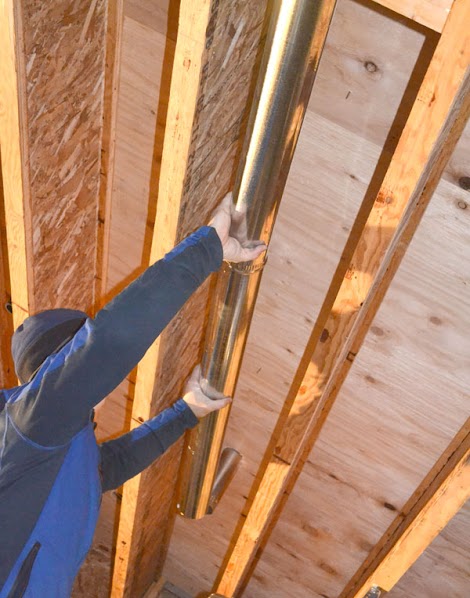
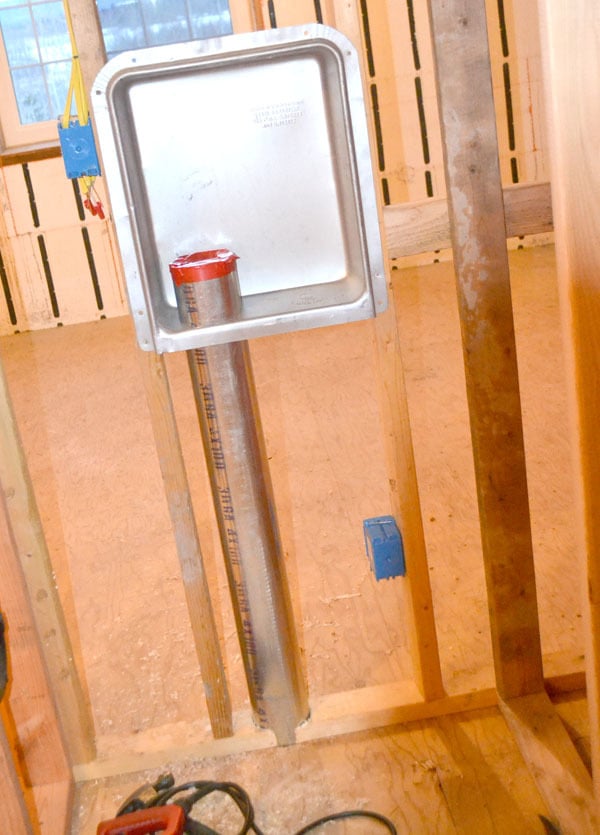
Down below the Ram pushes the pipe up, and it's my job to line the pipe up into the dryer vent box.

The pipe has to go back to circular from oblong to fit in the dryer vent box opening. I know, I'm trying to make my job actually seem difficult ... it is not.

One down ... or should I say up? We've still got the downstairs to do.

Downstairs the pipe is stubbed out. Notice that the stubbed out end is crimped? That's because with a dryer, you have to run the pipes so the crimped end always fits inside the smooth end as air (and lint) travels outward. If you don't, lint will build up and best case scenario is your dryer runs inefficiently. Worst case scenario you've got a lint fire.

So we've already got a problem. Where we've stubbed out the dryer vent to the outside wall, the pipe has the crimped end out.

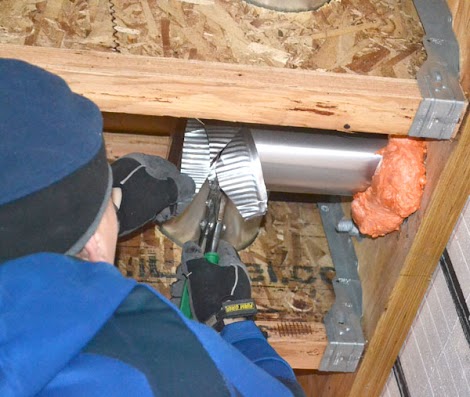
So we have to cut the crimped end off.

Much better, no lint magnet here!

From the exterior vent, we will run ducting to the piped stubbed down from upstairs. The first pipe is connected to the exterior vent.

We'll need to support the pipe on this long of a run.

To support the pipe, boards are screwed to the joist under the pipe.

And then we can just connect the stubbed down pipe to the ducting run to the exterior vent.

And then tape everything up.

Uh, did I say tape?
Ever possible spot where air could leak gets taped up.

Dryer vents, check.
So what's left?
Next we will finish up any drains. Then we'll run central vac if we decide to go that route. And then it's water supply lines. And I do believe that's it for pipes, with the exception of the heat system. After that we'll be running wire.
So how does your dryer vent? Do you have problems with it? Or have you never had to even think about it because it never causes any problems?

Comments
AmandaW (not verified)
Tue, 01/15/2013 - 12:02
Watching your progress has
bhoppy
Tue, 01/15/2013 - 13:12
dryer vent issues
In reply to dryer vent issues by bhoppy
Pam the Goatherd
Tue, 01/15/2013 - 20:33
bhoppy, my husband has been
AnnaM (not verified)
Thu, 01/17/2013 - 22:47
Dryer venting
Tomgodfrey (not verified)
Tue, 01/15/2013 - 13:18
Condensers
CGCouture
Tue, 01/15/2013 - 14:42
Definitely go with the
Chris McG (not verified)
Tue, 01/15/2013 - 16:43
Check your length for 4" vent
In reply to Check your length for 4" vent by Chris McG (not verified)
Pam the Goatherd
Tue, 01/15/2013 - 20:40
Chris makes the same points
Janet Crit (not verified)
Wed, 01/16/2013 - 05:47
Pam the Goatherd
In reply to Pam the Goatherd by Janet Crit (not verified)
Pam the Goatherd
Wed, 01/16/2013 - 15:59
That makes sense! Thanks,
Chris McG (not verified)
Tue, 01/15/2013 - 16:47
Check your length for 4" vent
Kim Eminem (not verified)
Tue, 01/15/2013 - 17:51
Our newly installed Broan
BookladyDavina (not verified)
Tue, 01/15/2013 - 17:51
when we first moved in.. our
Anon (not verified)
Tue, 01/15/2013 - 19:21
Indoor dryer vents
NatashaC (not verified)
Tue, 01/15/2013 - 22:10
I have never seen a drier
Matthew (not verified)
Wed, 01/16/2013 - 07:47
Humidity and extreme cold
Rick H (not verified)
Thu, 01/17/2013 - 08:40
Venting a dryer into attic or crawlspace
Doyletron (not verified)
Thu, 01/17/2013 - 13:19
Wow!
Ana White
Thu, 01/17/2013 - 16:20
Hi Rick, thank you so much
Welmoed (not verified)
Sun, 01/20/2013 - 10:32
Glad to see the solid vent pipe!
reshhia
Fri, 05/10/2013 - 01:05
The car is programmed to have
alasiri
Sun, 05/19/2013 - 06:00
I'm surprised, Ana, that you
murrjohn987
Mon, 07/08/2013 - 17:14
Thanks Ana