We are wired.
And you know I'm not talking about too many cups of coffee for me, or too much sugar for Grace. I'm talking about the Momplex of course!
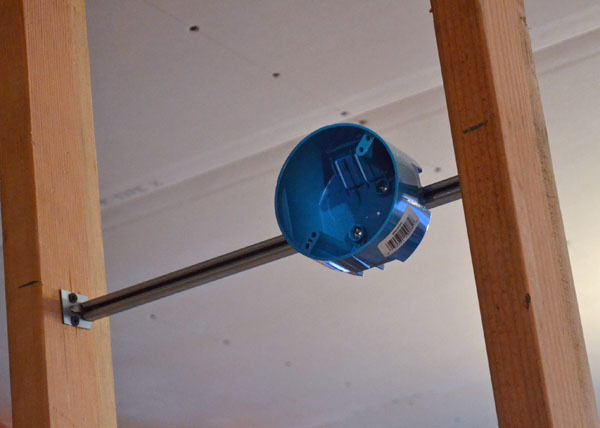
We had one last box we overlooked. The oh so important vanity lights in the bathrooms. For these boxes, we've got the adjustable brace ones because while I'm usually a type B+ personality ... when it comes to things like vanities lights perfectly centered over vanities ... well that's where the + comes in and my type A comes out. The vanity light must. be. centered. Are you with me?
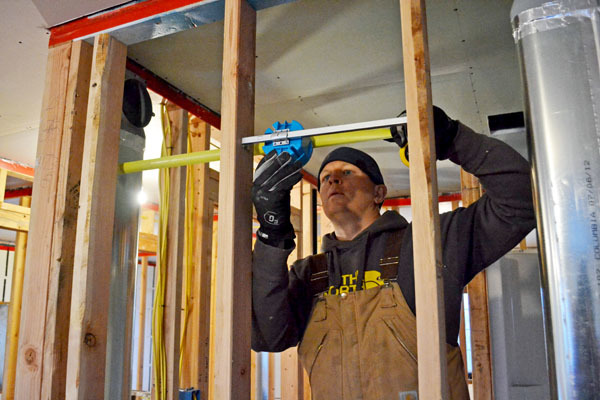
We are planning for a 48" vanity, so we center the light at 24" plus 1/2" for drywall.
I can hardly believe this here is the last box! It's time to run wires now!!!
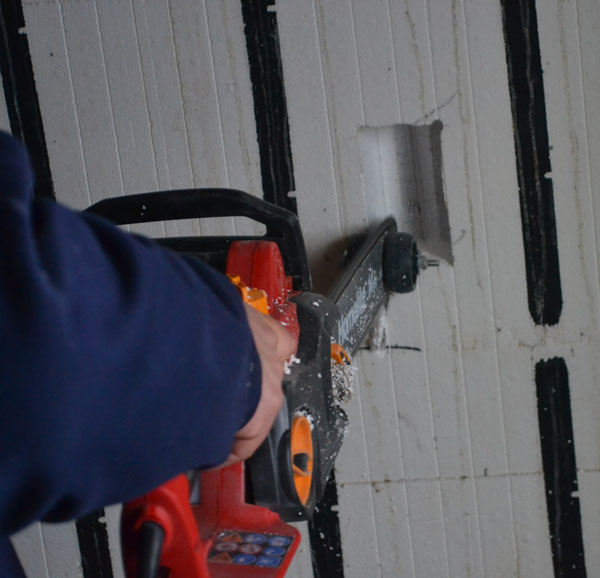
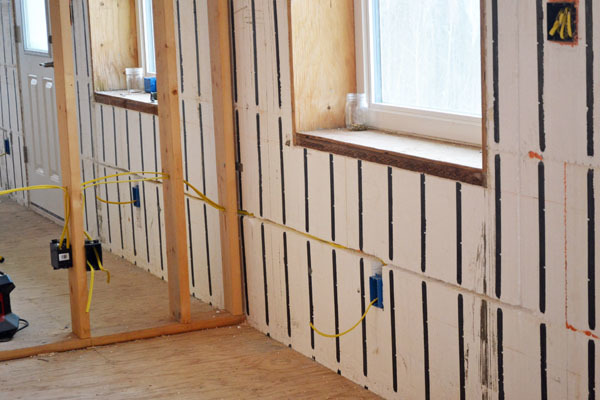
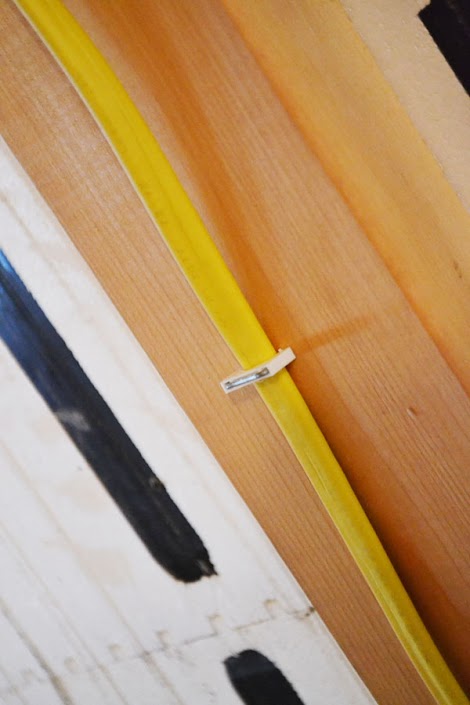
For the exterior ICF walls, we've already cut a channel in the foam ARXX blocks for the wire to be run from box to box. In case you missed it, the <a href="http://ana-white.com/2013/02/momplex/boxes-foam" target="_blank">Ram has a modded out chainsaw for this task.</a>
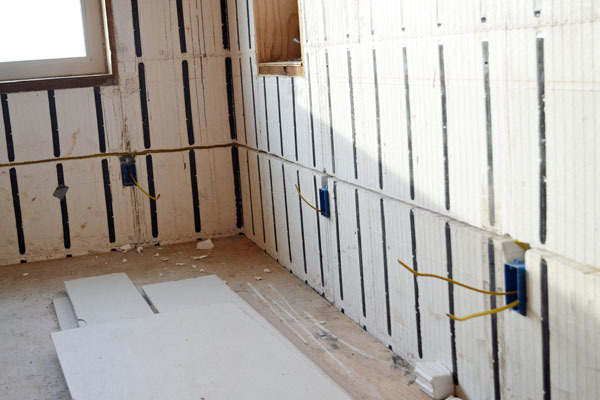
And then it's just a matter of cutting wire to length and placing it in the channel, from box to box. The outlets themselves will eventually connect the two wire ends together to keep power running, but we'll get to that after drywall.
I know there are some of you thinking, well, where does the end wire go? And how does it connect to the wall studs or floor system? Because eventually, the exterior wiring has to go to the main panel, in the center of each Momplex's basement.
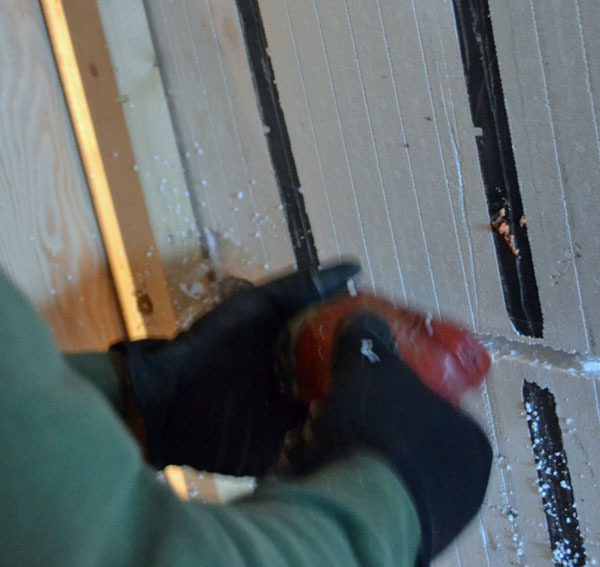
Where the exterior walls meet the stud walls, you take a drill bit and remove a little foam behind the stud.
And then drill a hole in the stud itself
And bring the wire through.
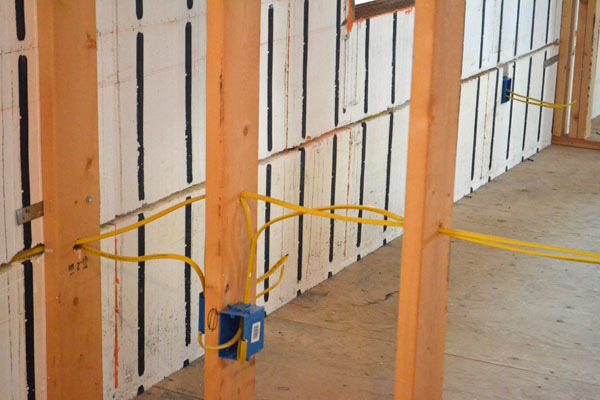
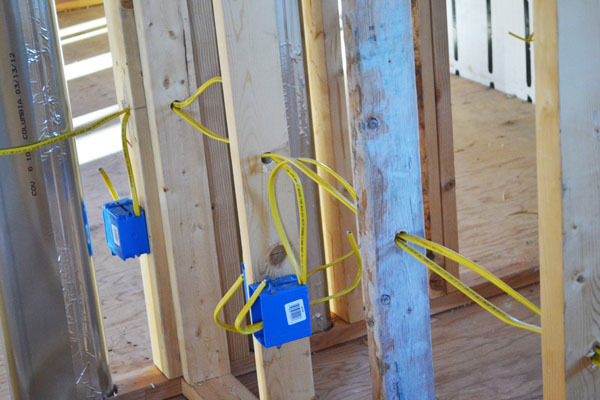
Make sense? Then when you wire is in the stud walls,
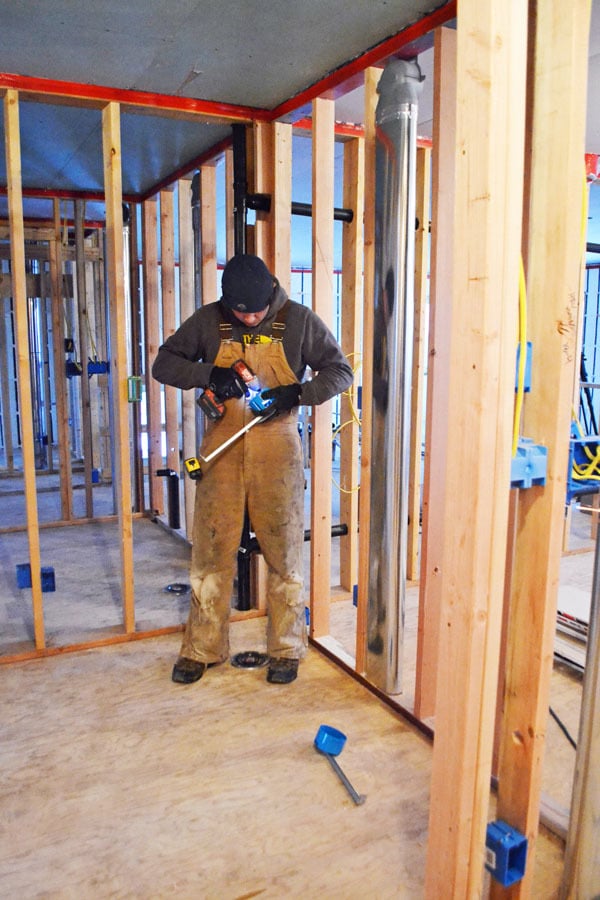
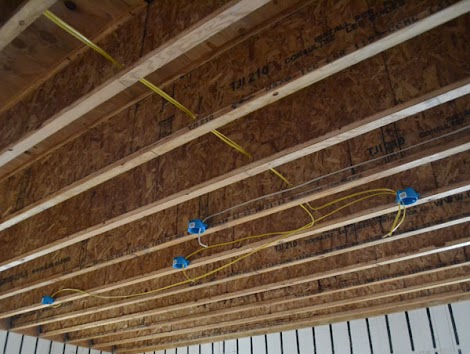
You just go from box to box, drilling holes in the studs themselves and pulling the wire through.
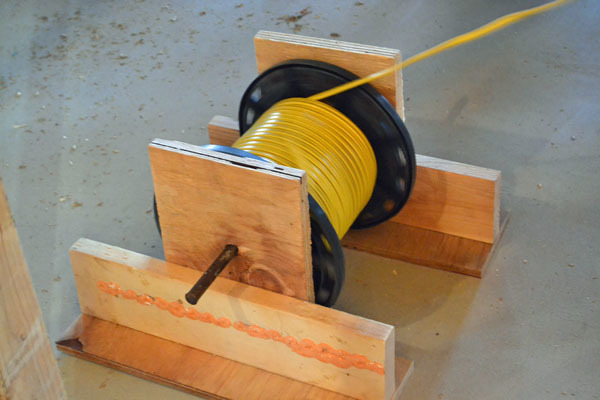
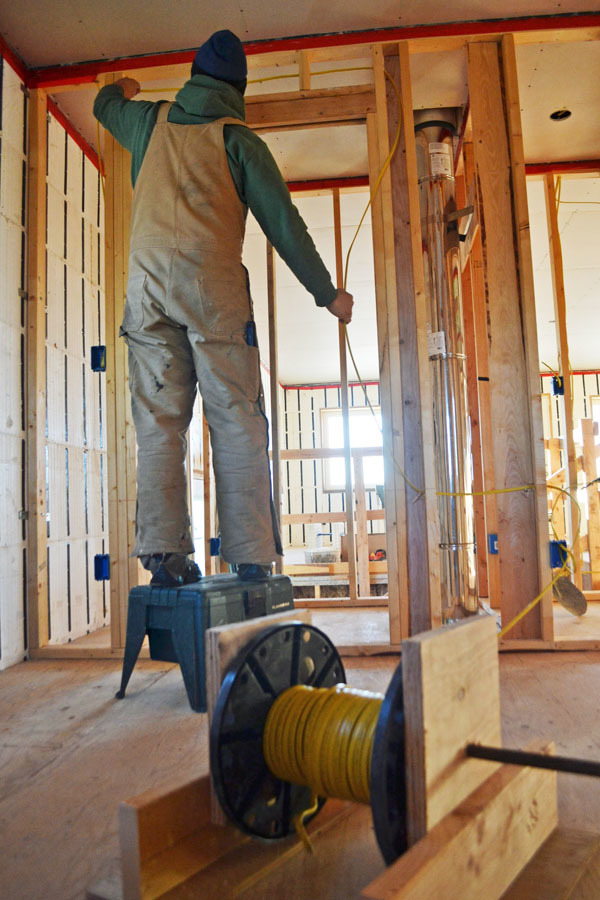
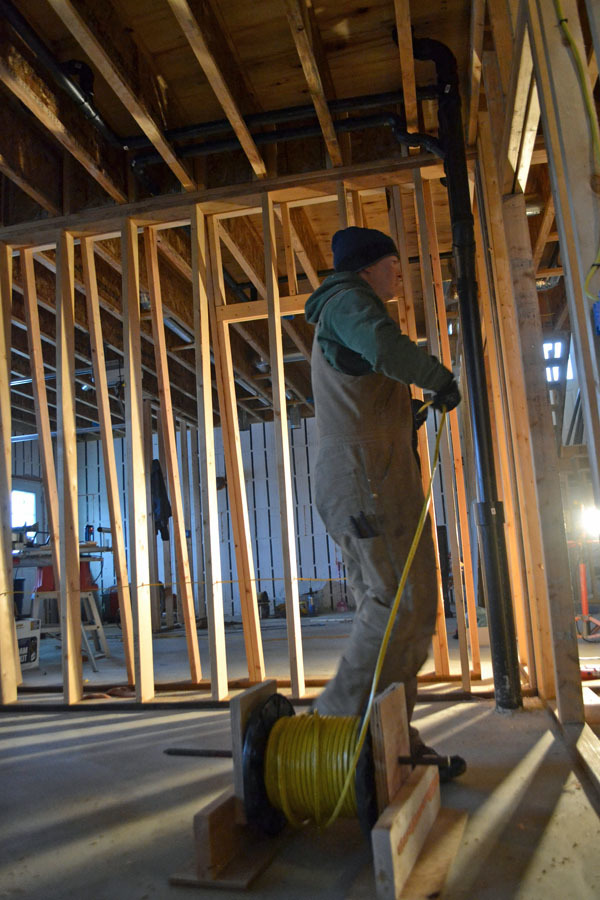
Speaking of pulling wire, a spool is an absolute necessity.
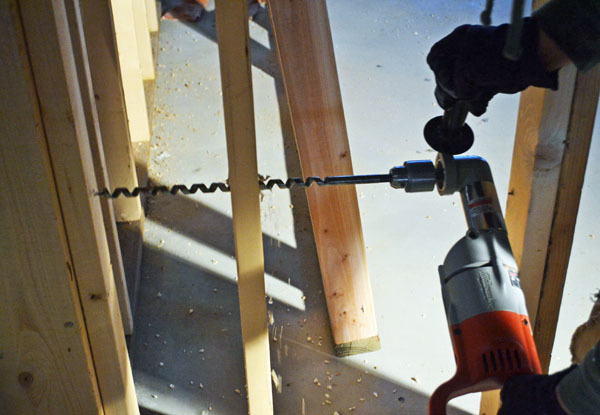
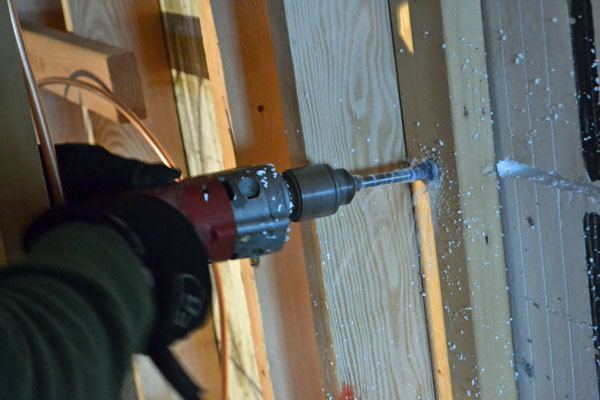
The Ram's got a few more tricks too - like using a crazy long drill bit to drill through multiple studs at once.
When there's a doorway, wires are simply run over the doorway.<p><br /></p><p><img src="https://lh5.googleusercontent.com/-4zl99XFiGro/URp7_JauK6I/AAAAAAAANfo/…; style="width: 470px;" alt="" /><br /></p><p><br /></p><p>And down to a box. </p><p><br /></p><p>Since this is the Momplex, you do one side, and then you do the other side. </p>
So there's double the boxes and double the wiring to do.
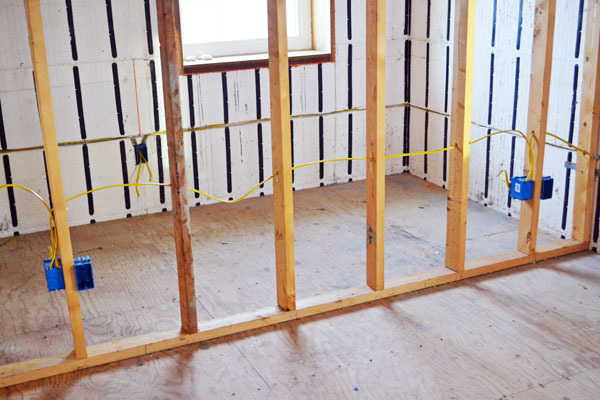
Downstairs is no exception. We really want the downstairs garages and bonus rooms to be very useable spaces with good light and lots of electrical box. Rumor is one room will be a sewing and craft room and the other a playroom for grandkids.

The same thing goes downstairs, holes are drilled and wire is pulled between boxes
Once we pulled wire between all the boxes to the electrical plan specs, it's time to pull what is called the "home runs" to the electrical panel.
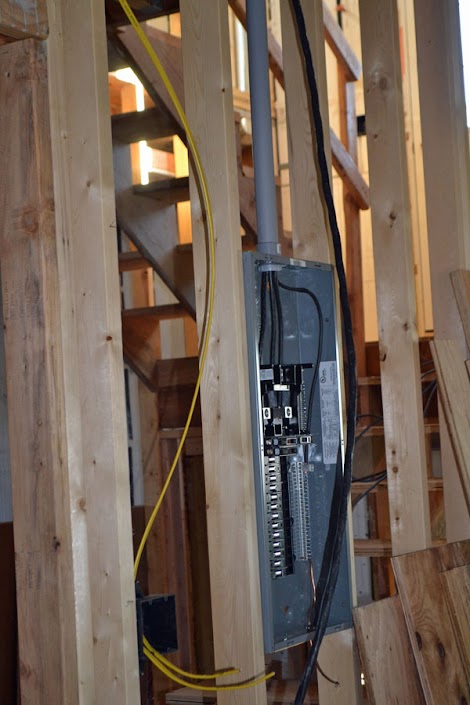
And it's just that, you pull a wire between the end box and your panel that will supply power.

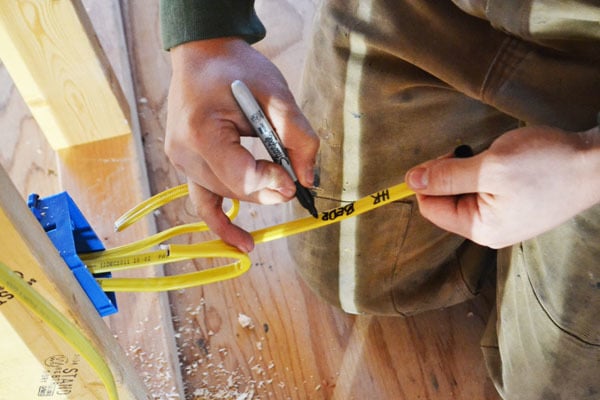
The other end is clearly labeled so when we go to hook up the electrical, there's no confusion which wire goes where.
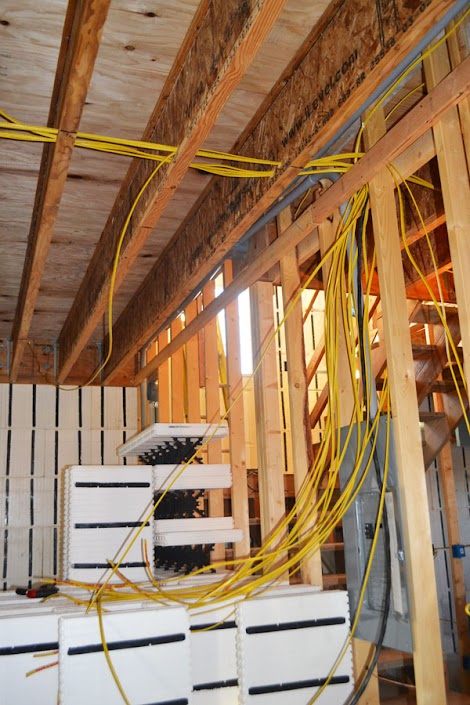
Home runs done! This might look like a big mess, but to me, I was overjoyed that we have finally completed the electrical wiring! We'll still need to go back and hook up the outlet boxes and switches and light fixtures, but for months now, the Momplex hasn't changed much in overall appearances as we've installed all the electrical systems, and I know this is one step closer to drywall!
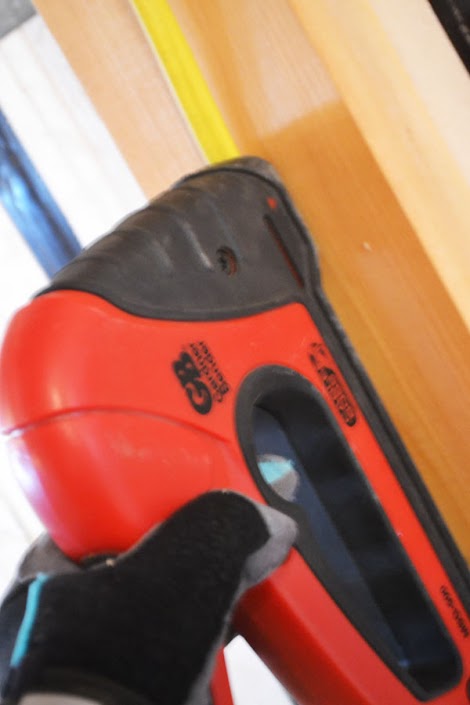
That is, after we staple all the wire off.
Next up, we've got plumbing!
Comments
dmcarwin
Tue, 02/12/2013 - 10:35
Wow!
UlrikeDG
Tue, 02/12/2013 - 13:28
Yay!
Lady Goats
Wed, 02/13/2013 - 07:09
OOH! OOH! OOH!
karahart
Wed, 02/13/2013 - 12:15
Great Job
Stormi
Thu, 02/14/2013 - 09:01
So awesome!